10 Tips for Cricut Design Space -top tips as well as a Harry Potter inspired DIY hat for the Cricut Design Space Beginner.

Years ago when I had my first Cricut, you had to use different cartridges with designs on them for all of your cuts. The system is so different now.
With the Cricut Design space you can design anything on your computer and it's so flexible, then just connect it to your Cricut Maker and start cutting out your design. The sky is the limit for creating designs now. I wanted to share a few Cricut design space tips I've learned working on different projects.
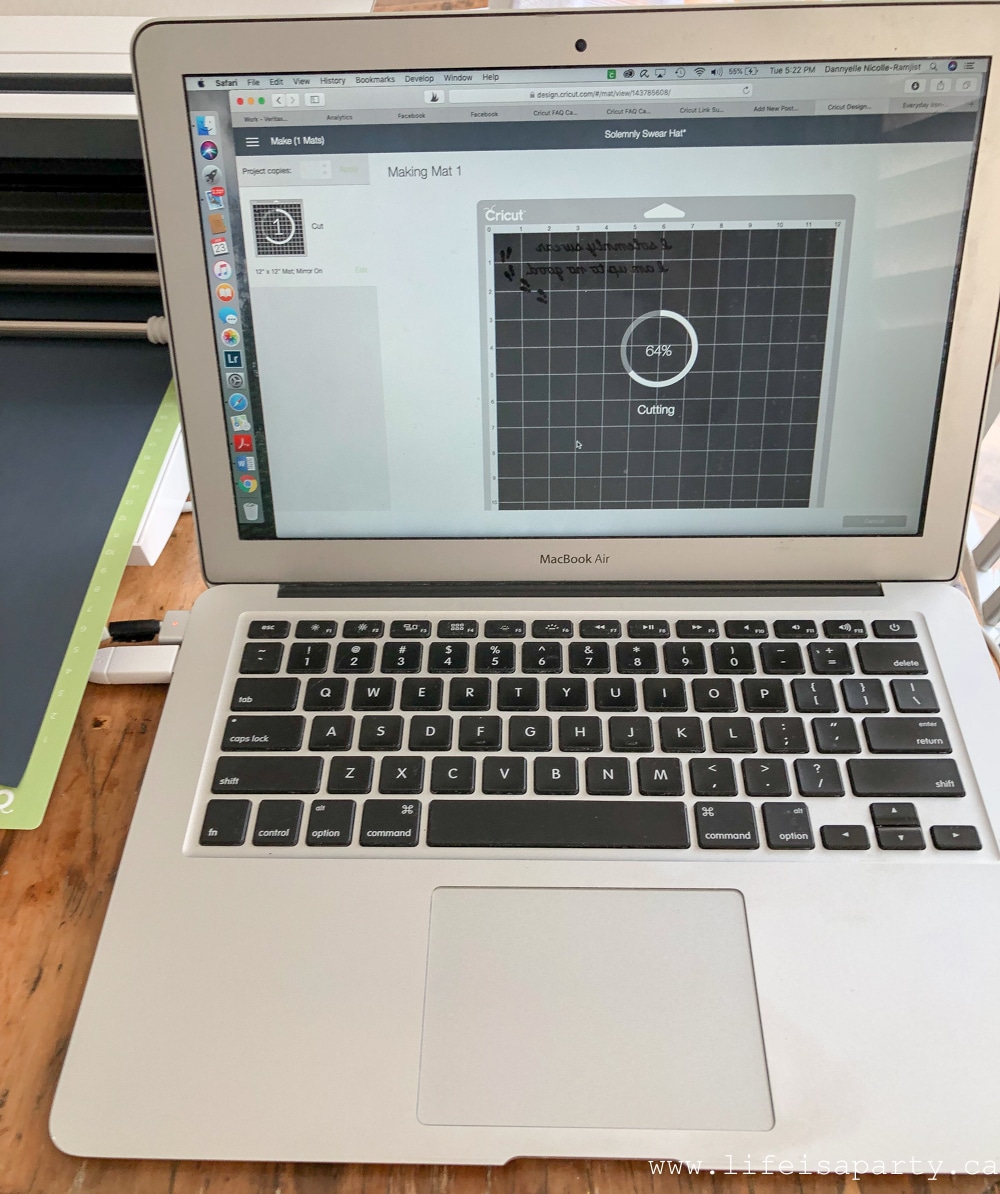
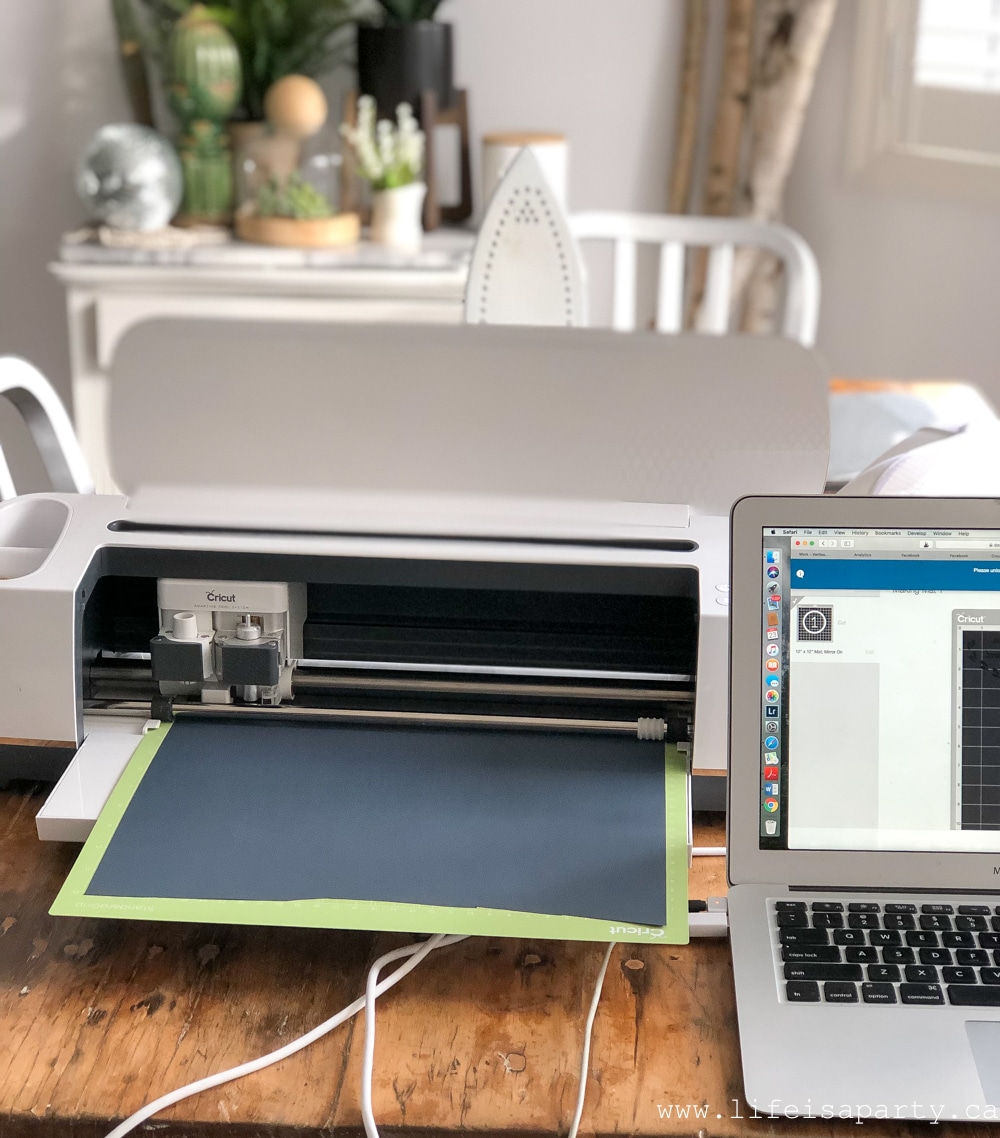
When you buy a Cricut Maker you'll have access to design space. There are lots of free designs you can use there, or create your own.
10 Cricut Design Space Tips and Tricks
1. The templates in Cricut Design Space are really helpful. When designing a T-Shirt, for example, use the template to help with size and placement of your design. There are lots of different templates to choose from.
2. You aren't limited to what is available in Cricut design space when it comes to designs, you can upload your own images. This makes it possible to create almost anything. Time to get creative.
3. The Cricut Design Space videos are worth watching to get you started with the program and give you all the Cricut design space tips you need to create anything you like. Plus if you get stuck when working on a certain design, you can re-watch them as needed.
4. You can start with a Cricut ready to make project and customize it in the Cricut Design Space, by deleting parts you don't want, or changing the size, etc. This makes even the ready to make projects really flexible.
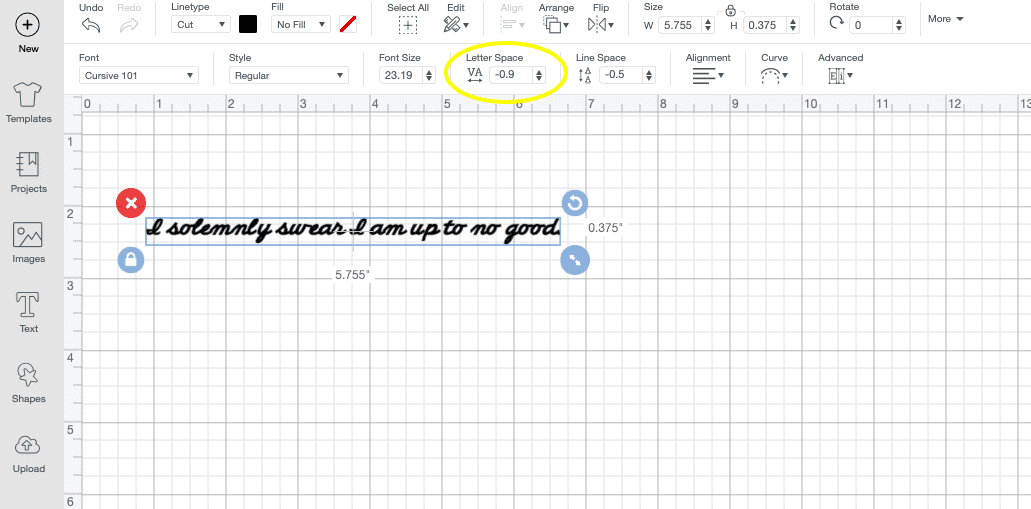
5. When you're adding a font, attach the script font together in a word by decreasing the letter space between letters. We decided to make a Harry Potter inspired hat for our trip to Universal this summer. We added the words "I solemnly swear I am up to no good", and then decreased our letter space to -0.9 to attach the letters.
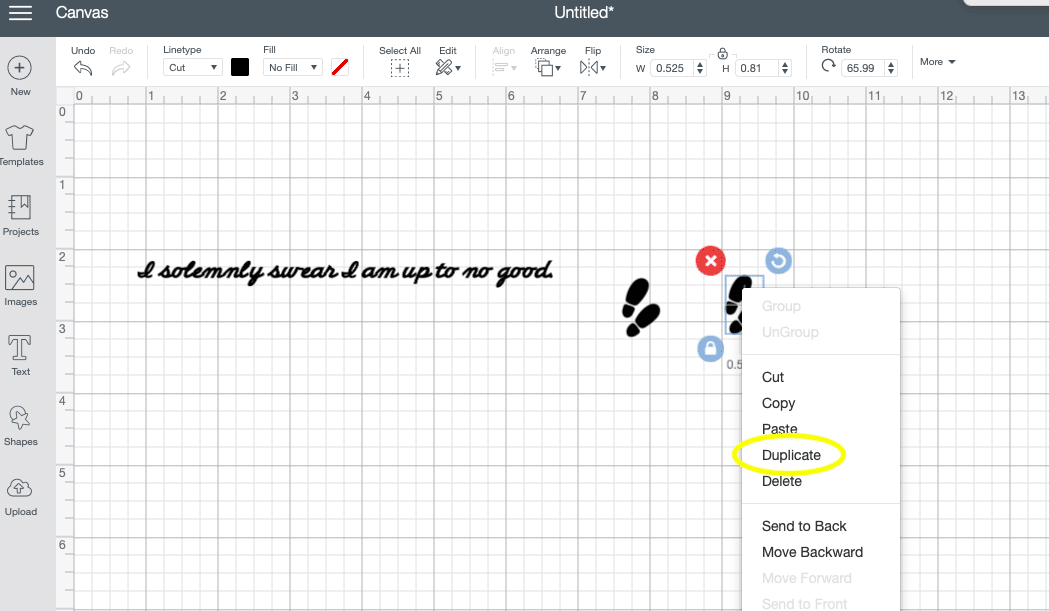
6. Use duplicate to copy and paste part of your design. We wanted to add some footsteps to our design so we started out with one set, and used duplicate to add more the exact same size.
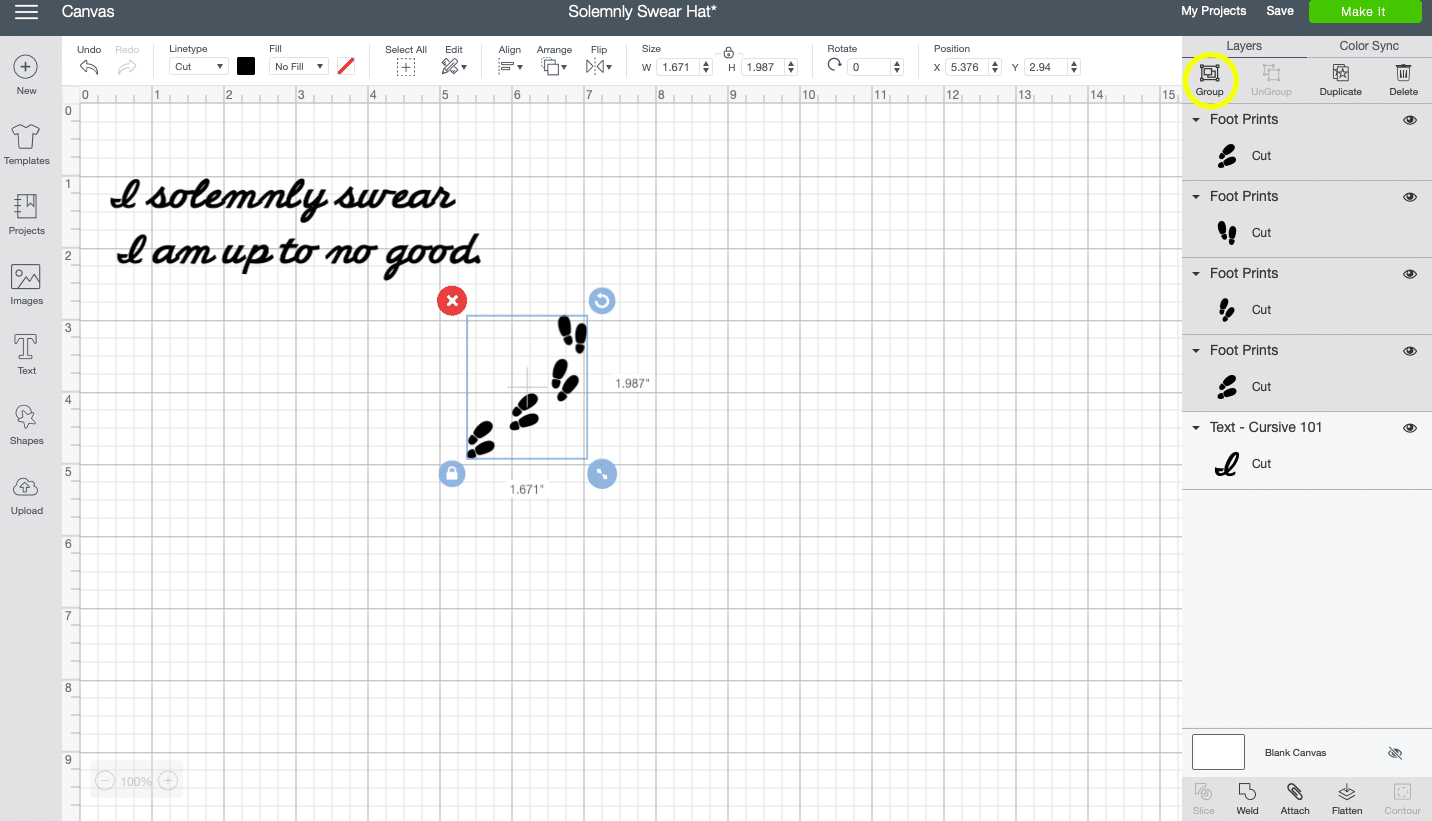
7. Use group to move an entire section of your design all at once. Once we had our footsteps all added in we grouped them together to move them all together into the right location.
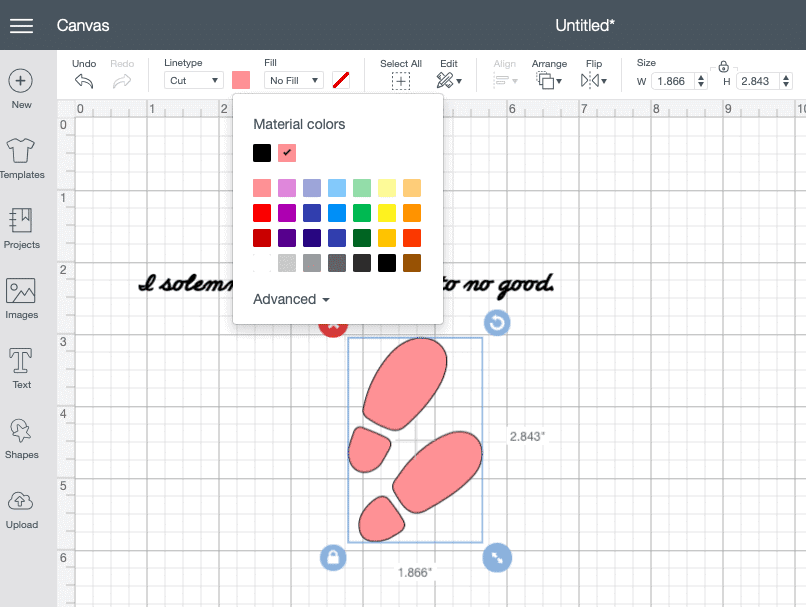
8. Add different colours to your design here, to test out the final look. You can cut out different aspects of the design in different colours if you want a multi-coloured final look.
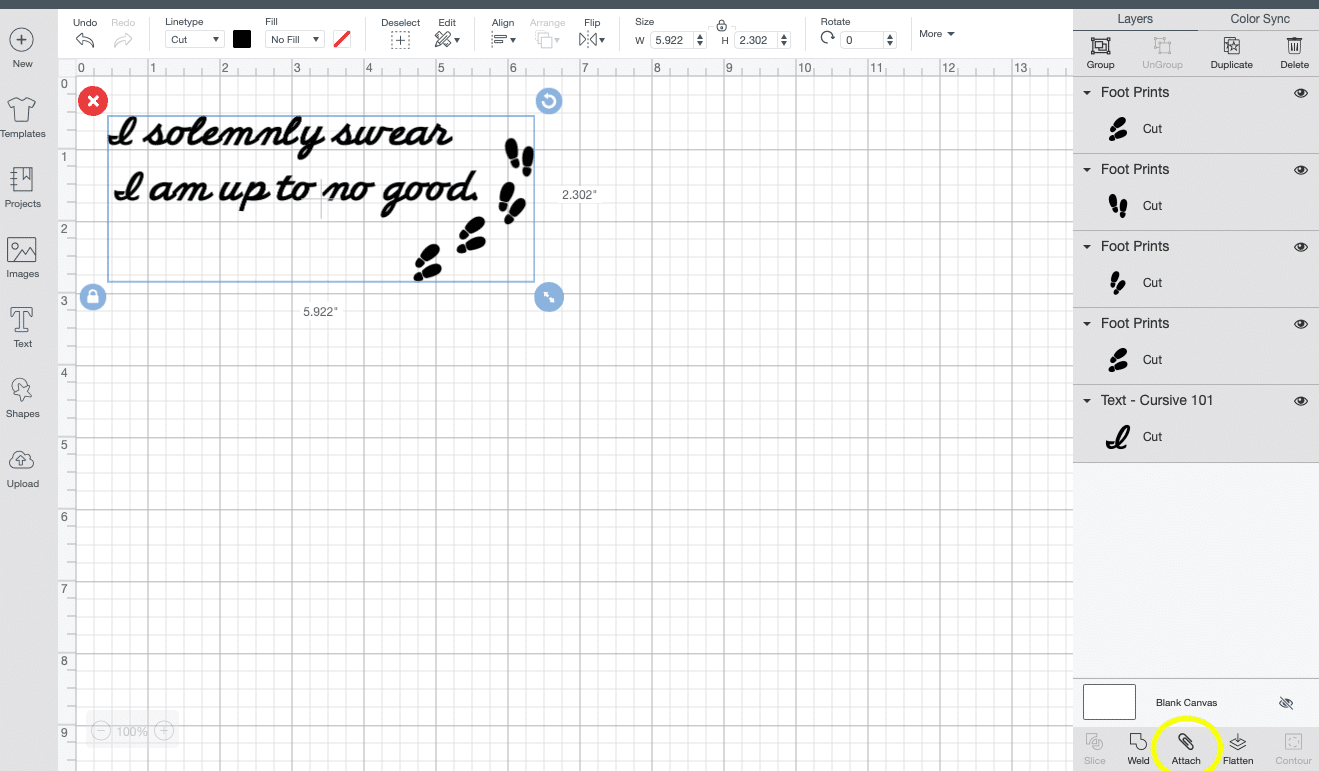
9. Use the attach tool to keep your design in the exact location it appears in Cricut Design Space, so it doesn't change when you go to cut it out. In our case, without it attached, the foot prints wouldn't stay in their location.
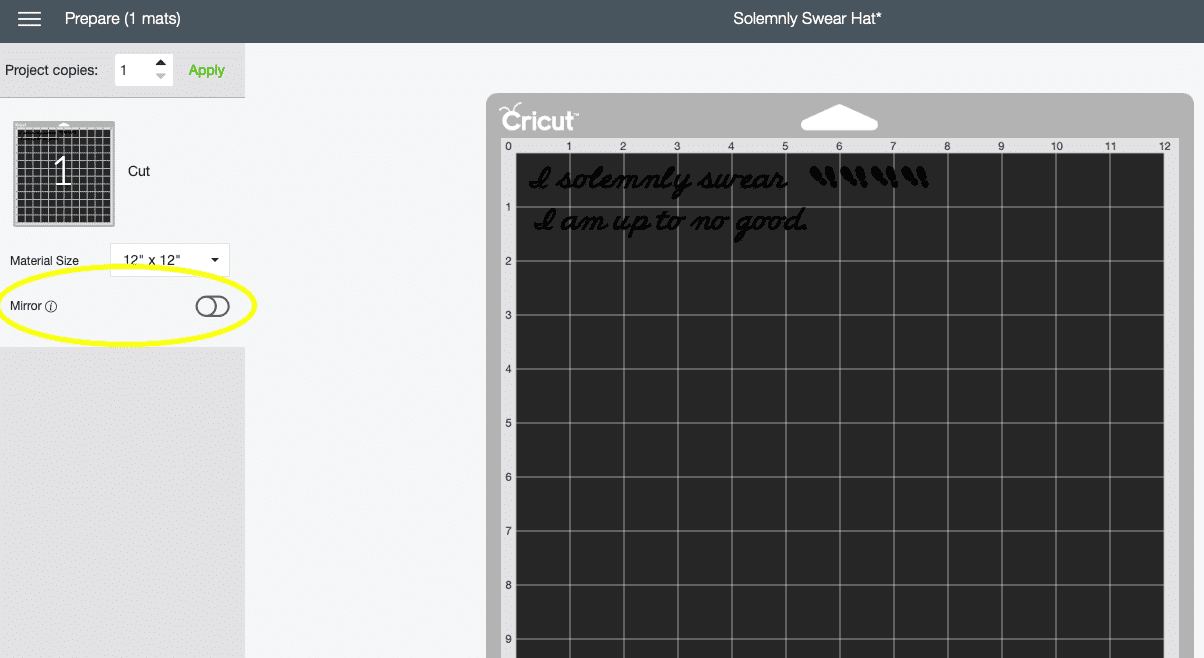
10. If you're working with text and iron-on like we were here, be sure to turn on "Mirror" before cutting. This will cut out a mirror image, and when you go to iron on the design it will be correct.
This little hat was quick and easy to make and will be such a fun piece to wear on our park visit.
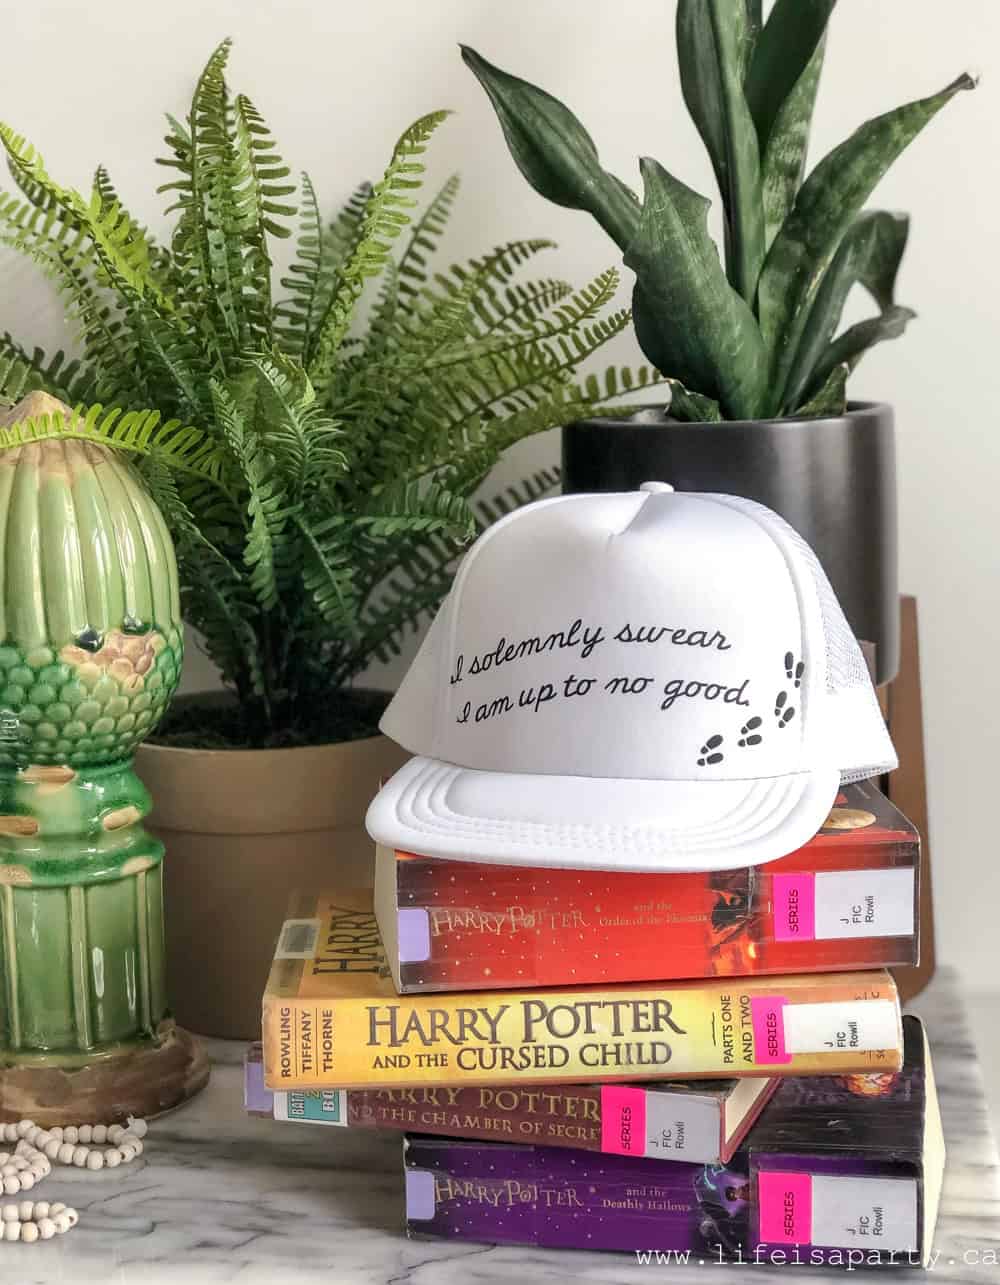
We'll make some t-shirts too. I love that you can easily customize anything.
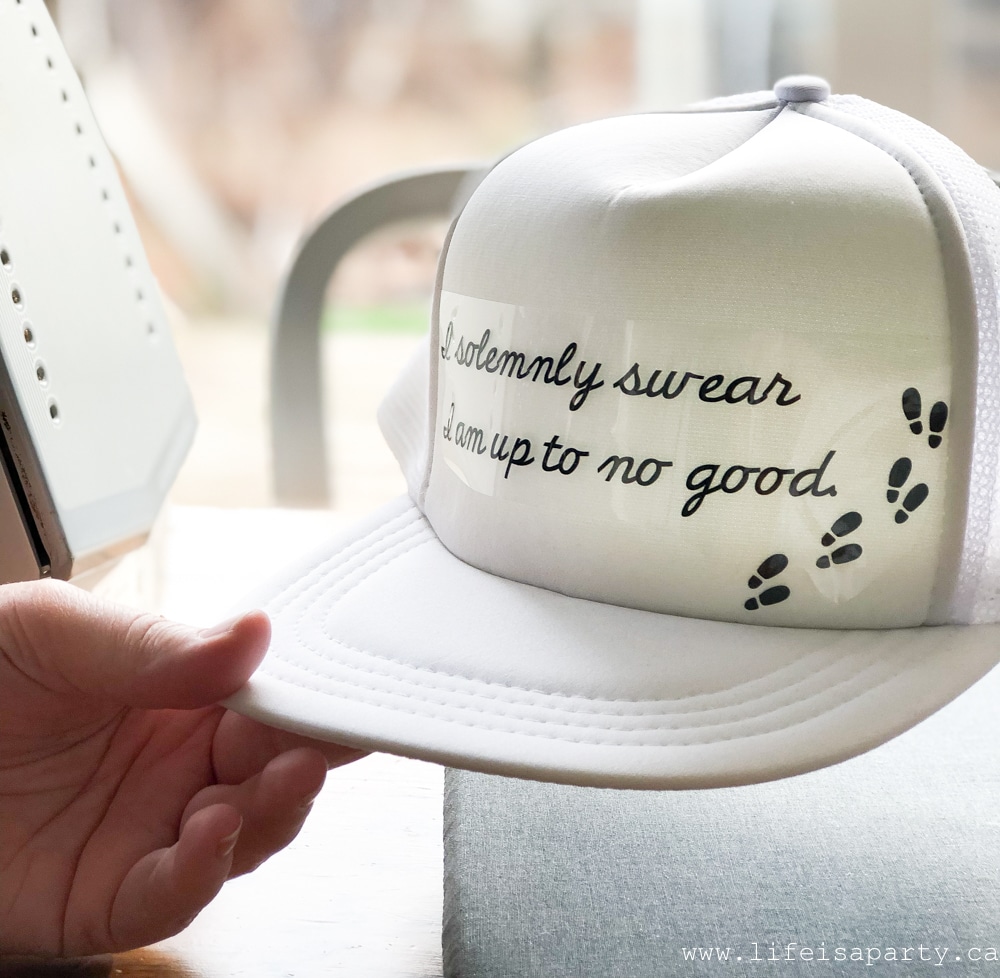
It's so much fun for kids and teens too -or their mothers. 😉
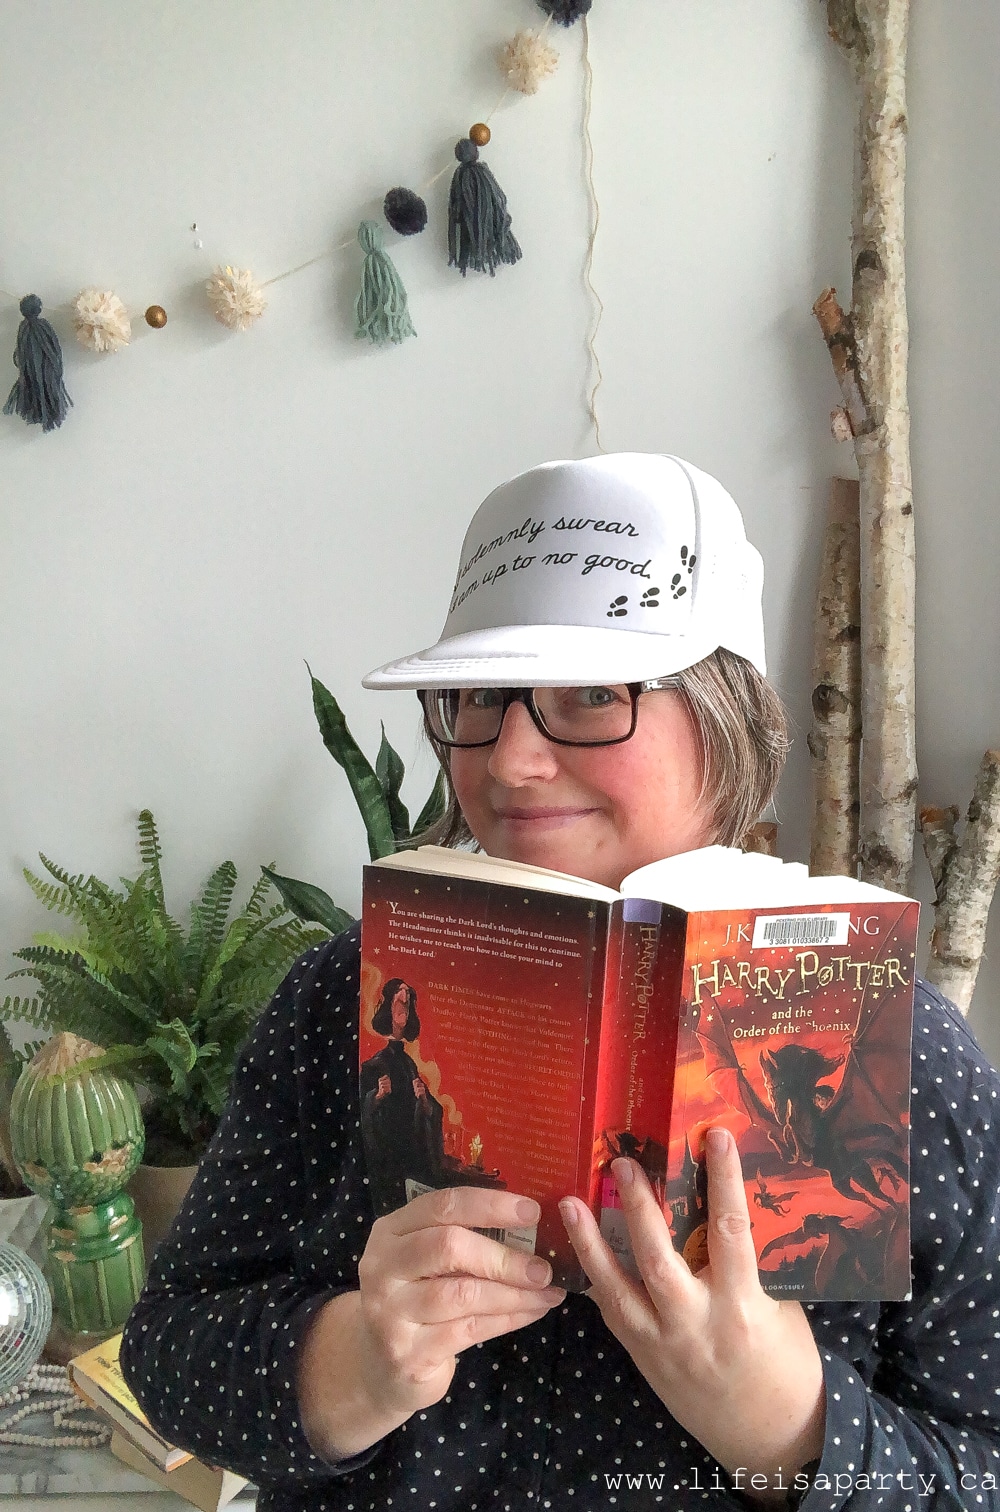
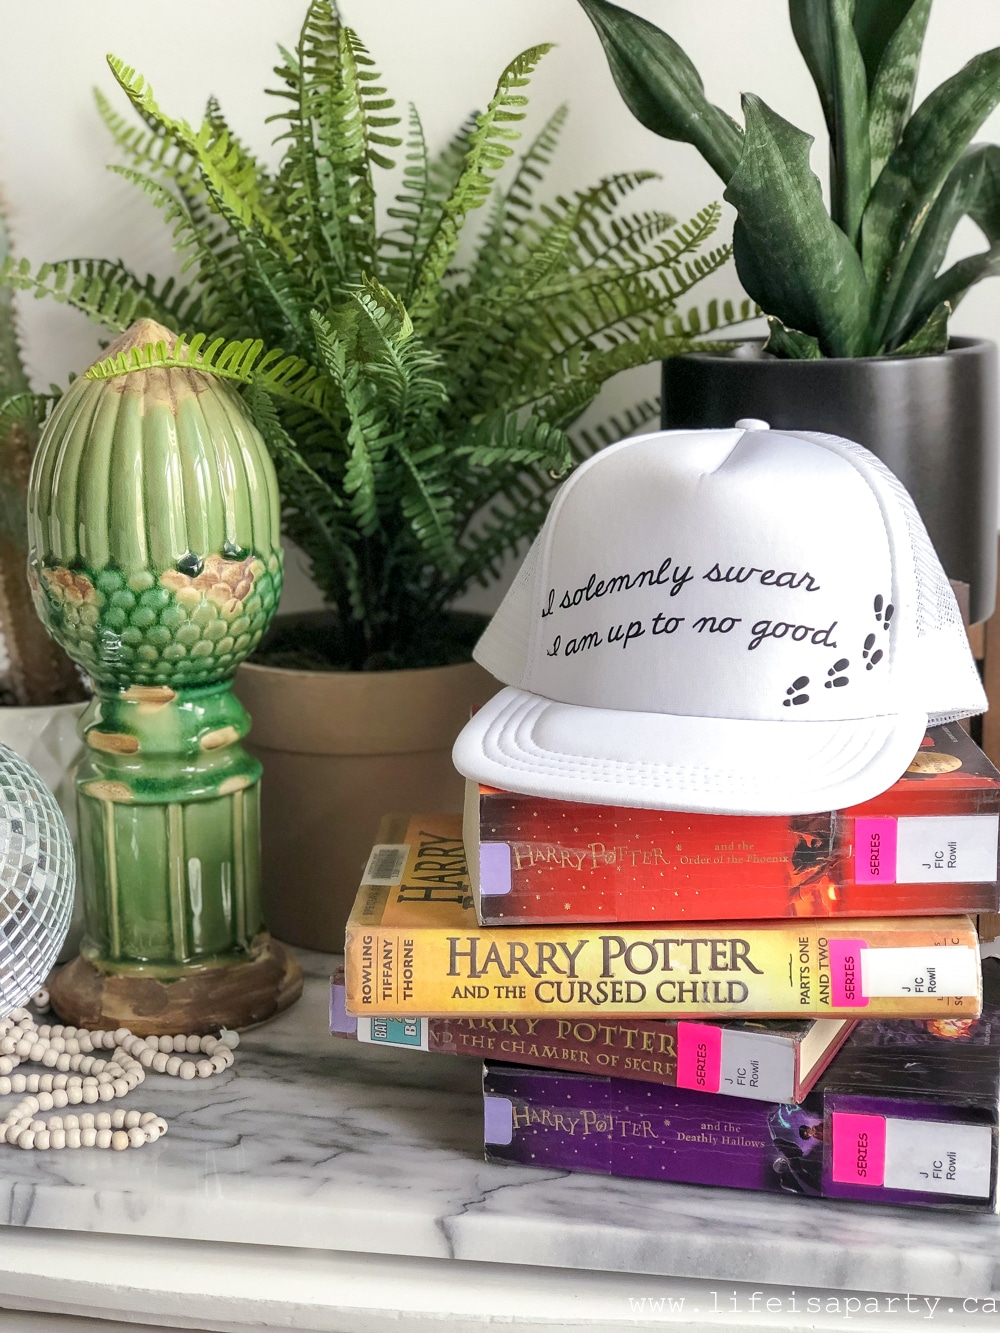
Want to make your own "I solemnly swear I am up to good" Harry Potter inspired hat? Use my free pattern here.
With these 10 Tips for Cricut Design Space, life really is a party!
This is a sponsored conversation written by me on behalf of Cricut. The opinions and text are all mine.
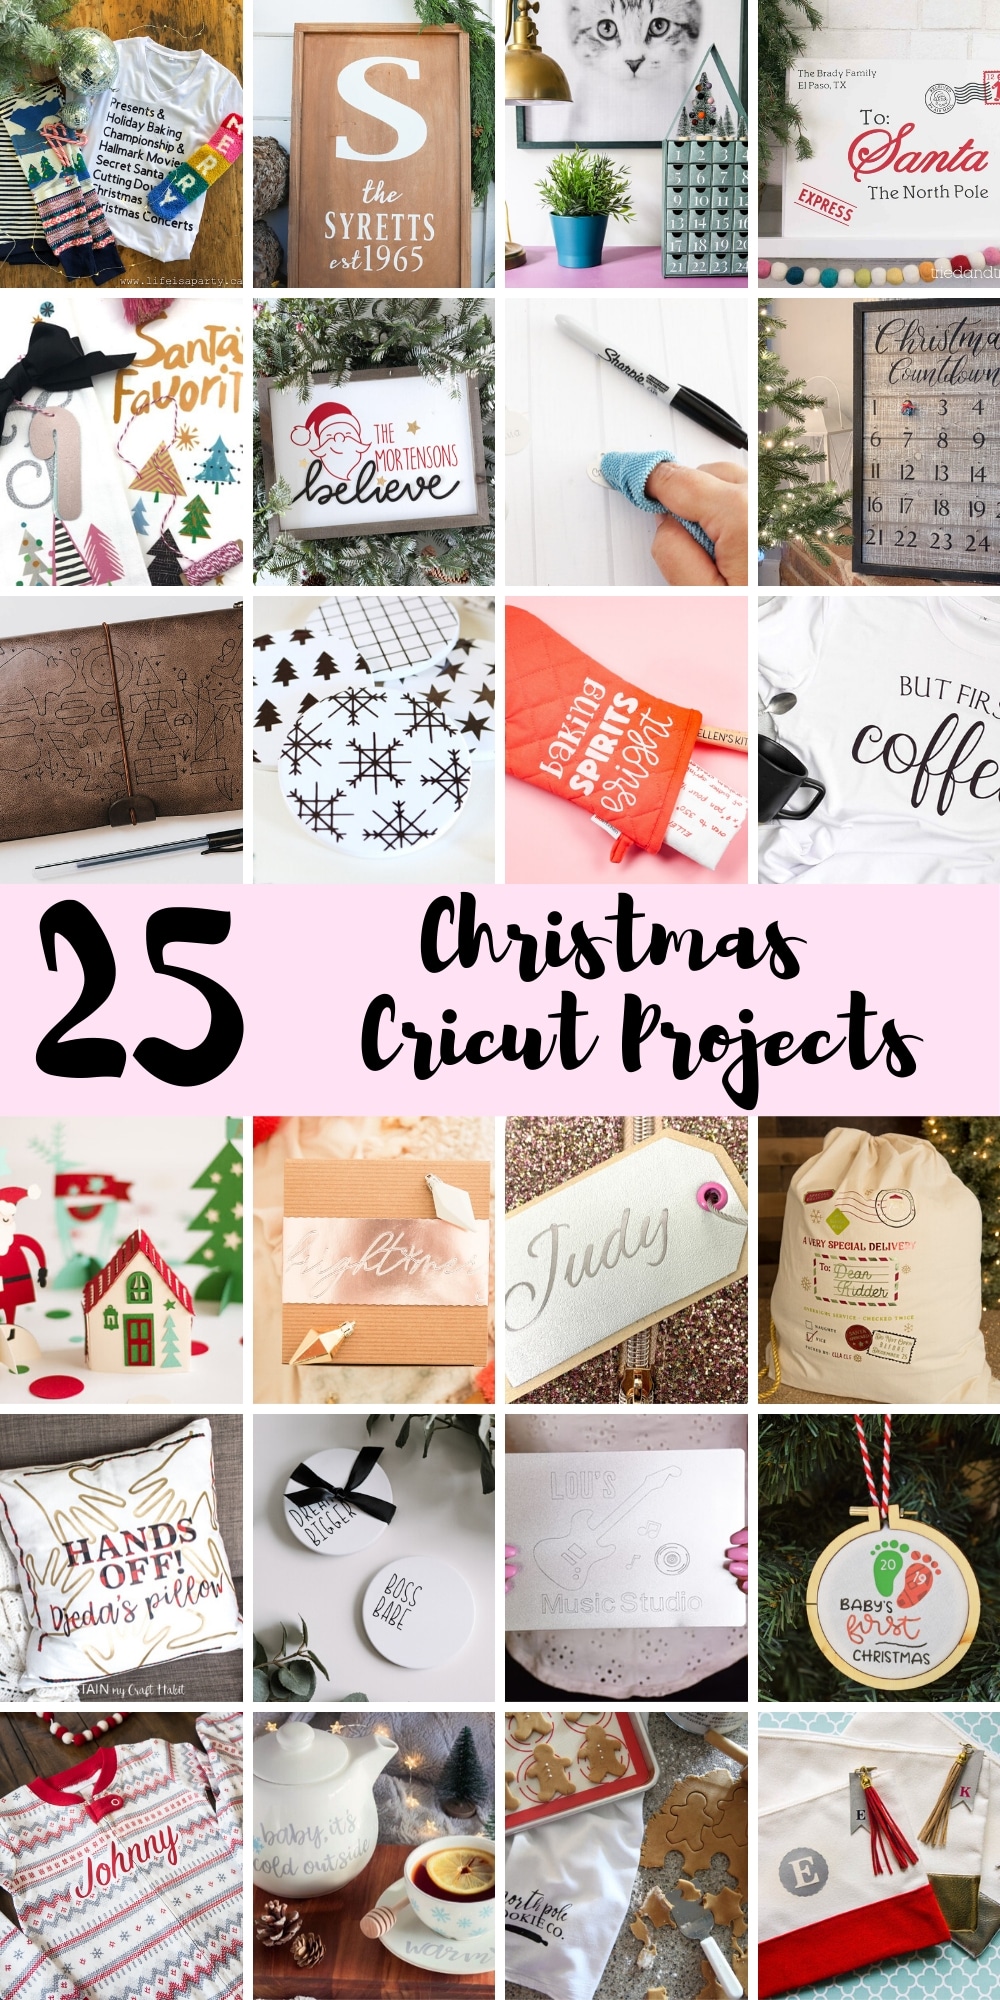
You might also enjoy 25 Christmas Projects You Can Make With Your Cricut here.
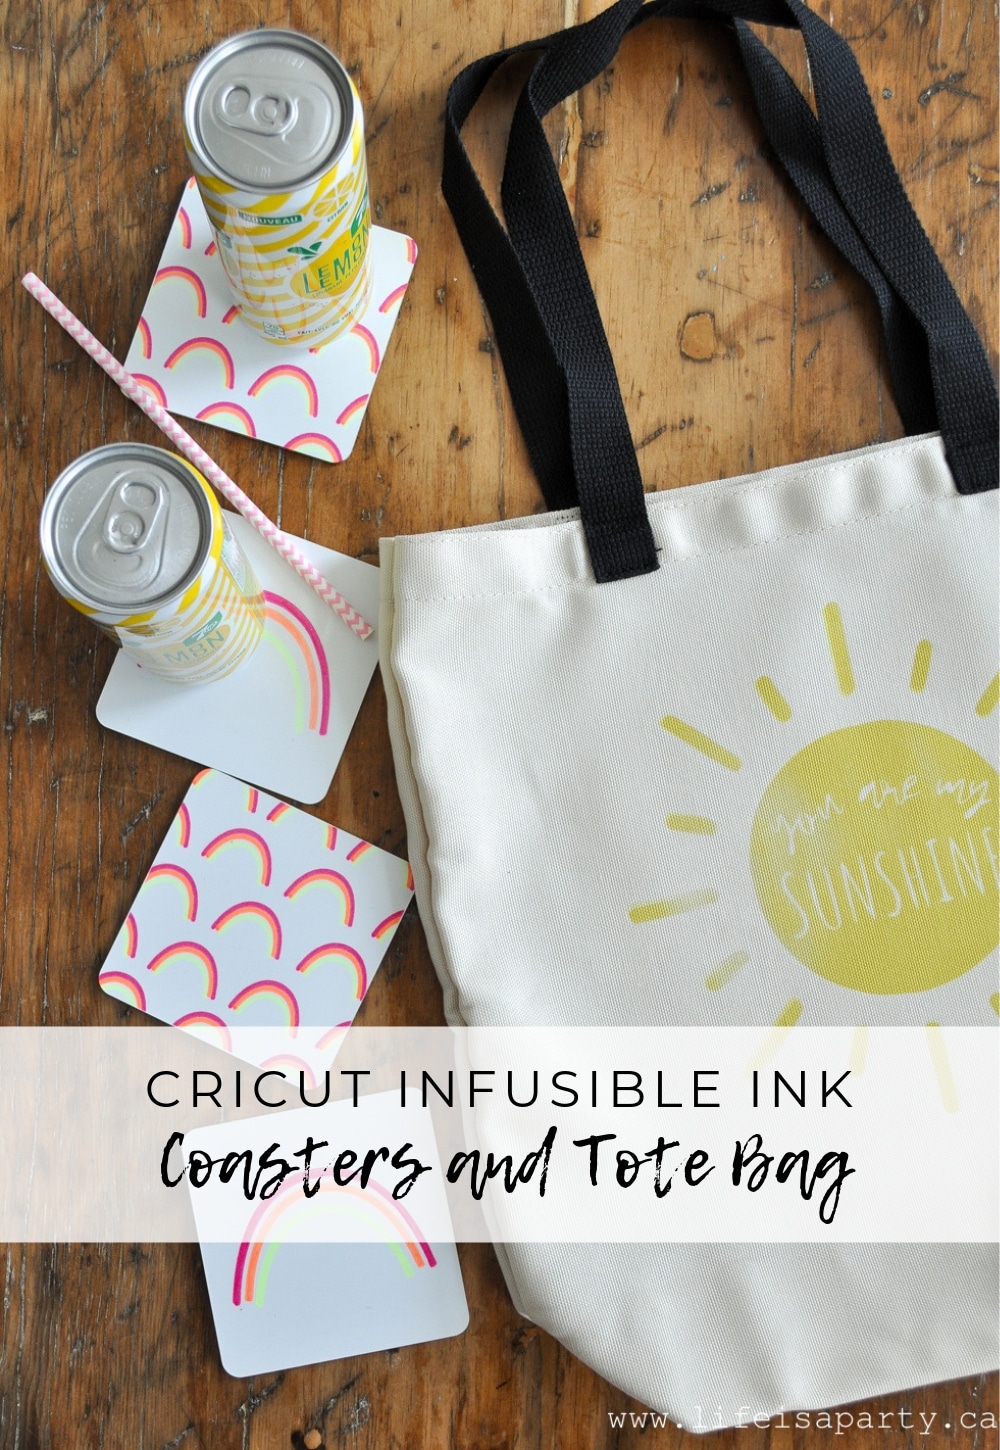
Also check out our Cricut Infusible Ink Coasters and Tote Bag here.
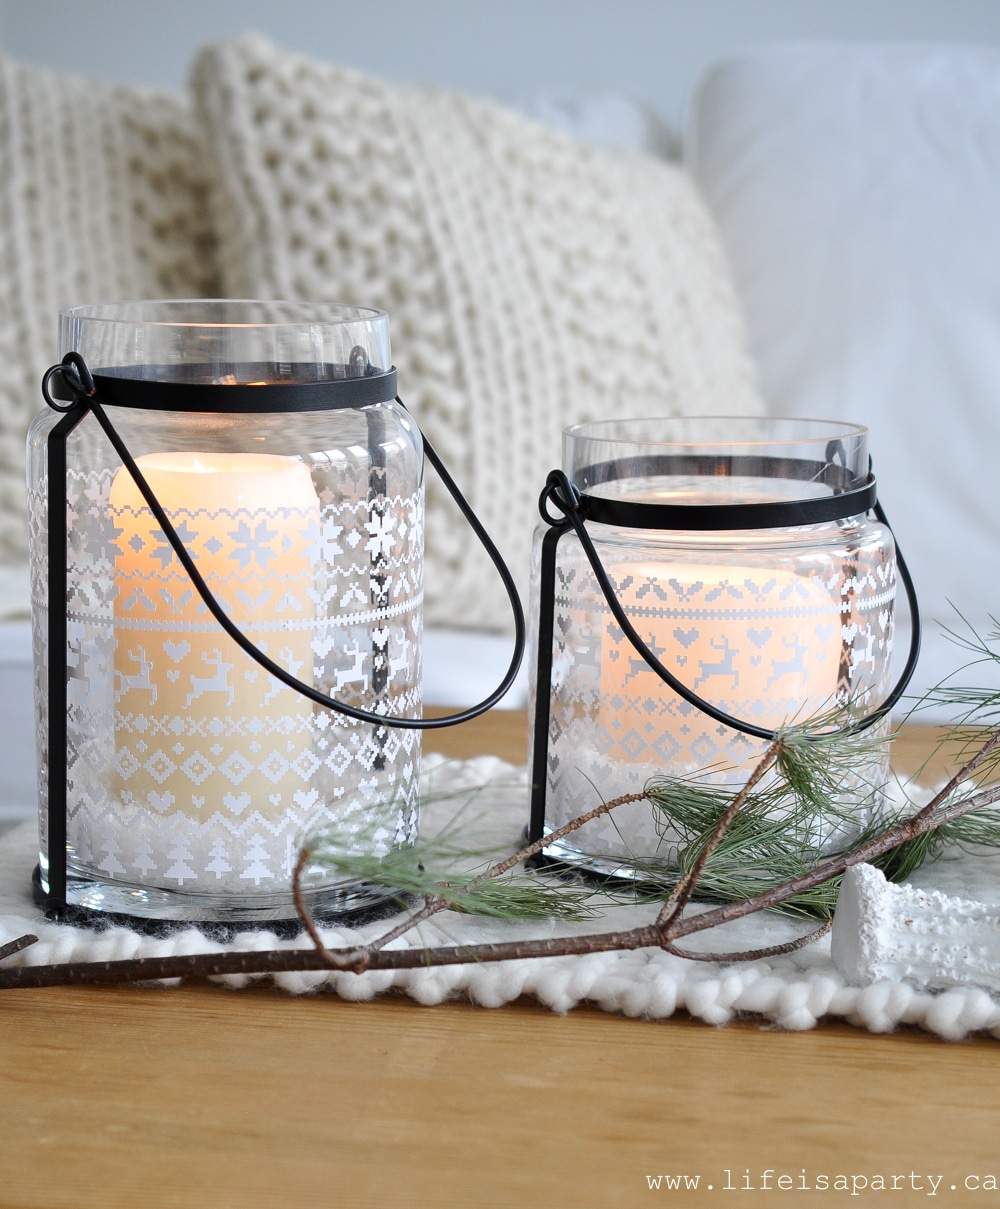
Also check out our DIY Fair Isle Candle Holders.


Leave a Reply