Camping Fairy Garden: a tent, a hammock, an outhouse, and a campfire to roast marshmallows make the perfect miniature fairy size campground.

Jump to:
This camping fairy garden is the perfect long weekend project. The weather has finally turned, and it’s warm enough outside to think about things like camping and gardening, especially with VictoriaDay long weekend in Canada and the un-official start to summer! I always plant my garden on the long weekend, and one of my annual favourite garden projects is making fairy gardens.
I’ve been making them for years now, see some past ones here, and every year I try to change them up a bit. My girls and I have a great time thinking about what to do each year. This time I've created a camping fairy garden, and it’s so, so cute.

Every year I end up saying it’s my favourite project ever, and this year is no exception. It’s so much fun thinking up all the little details to re-create in miniature.
Fairy Garden Container and Plants
I always start with a big galvanized bucket filled with soil and grouped with other reclaimed plant pots on my deck. I love making the fairy gardens in containers because it really allows you to see all the little details up-close.
After you have a container, pick out some small plants. Because I was going for a woodland feel for the camping fairies I used some little tree/shrubs, a fern, and a few flowers for colour. Plant them around the perimeter, leaving room to create your little scene, and then it’s time to get creative.

Camping Fairy Garden Tent
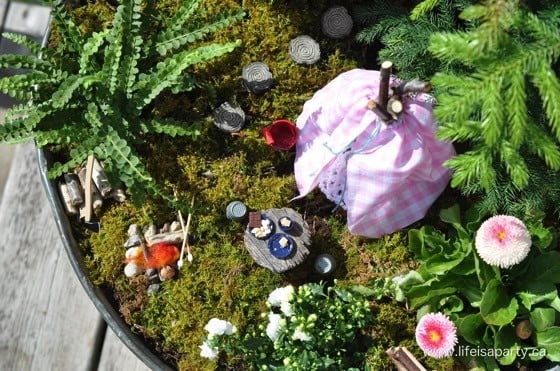
I made the tent out of some twigs, bound together with twine, and pushed into the soil. The tent has a little doily base inside, and the fabric is sewn at the top and gathered together to make the little tent. Easy and sweet.

I named our site “Pixie Hollow Campgrounds” and made the sign out of some wood and twigs, held together with a little hot glue.
Miniature Camping Accessories
I picked up a few of the fun accessories at a craft store, like the red bucket and the little camping dishes.

I remember a rule from my girl guide camping days, you always have to have a bucket of water beside your tent, in case of fire.

Fairy Campfire and S'mores
The sweetest little fairy campfire is made with some stones, twigs and wool. And what would a campfire be without s’mores? I made the little marshmallows for roasting out of toothpicks and polymer clay.
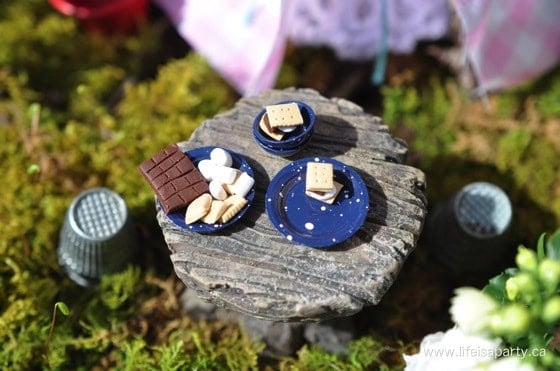
Of course for s’mores you also need chocolate and graham crackers, so I made a few of those too. I formed them out of polymer clay and baked them in the oven according to the package directions.
I know from past experience that the baked clay stands up really well, the cupcakes I made for the fairy birthday party garden, are still looking great after a few seasons outside.

To give you a sense of scale, and how tiny these little s’mores are, they’re pictured here with a dime.
Use a serrated edge plastic knife to create the edge of the graham cracker and a toothpick to add the signature holes in the top.
For the chocolate, use a toothpick to create the details of the individual chocolate pieces.
The little table is one I found at a garden store last year, and the seats are little thimbles.

Beside the fire, more wood for later, and the axe in case we need more.
How To Make A Fairy Sized Hammock
Off to the side of the campground, there’s a little hammock for relaxing.
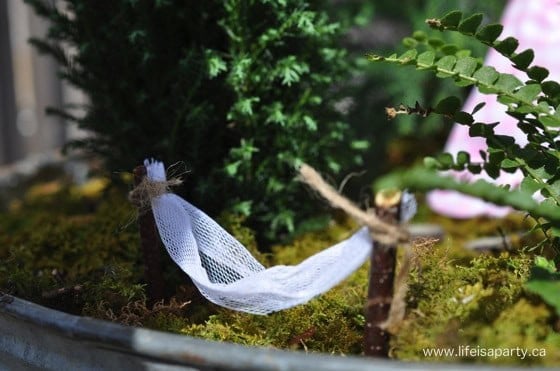
The hammock is made out of a few twigs, some twine, and an old garlic bag that I saved.
Just cut the twigs and push them into the soil. Use the bag that garlics come in, and cut a rectangle out of it. Tie it with some twine to the twigs. Now it's all set for a tired fairy to enjoy.
Making A Fairy Outhouse
And, in case nature calls, I had to include a little fairy outhouse.
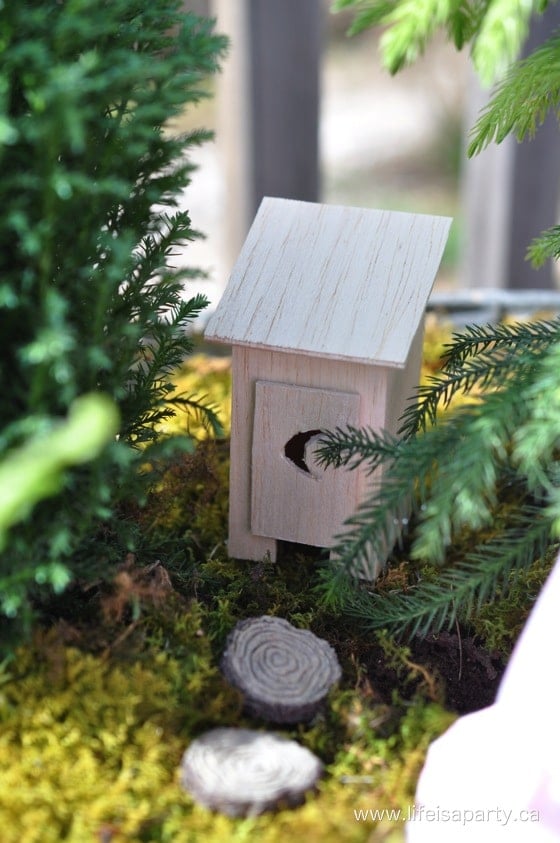
I made it out of very thin Balsa wood. You can find it at the craft store. It’s so thin you can cut it with an exacto knife. Cut out your pieces, and don't forget that typical slanting roof. Add the characteristic moon cut out to the door too. Hot glue a stick to the inside and push it into the soil in the pot to hold the outhouse in place.
I used hot glue to put it together. It won’t last forever in the wind, rain, and sunshine. But, there’s something that seems right about fairy gardens made of natural materials and breaking down after a season or so of service.

I tucked the little out house in the back for a little privacy, and made a little pathway leading up to it.

It was so much fun creating this little fairy garden campsite and thinking up all the fun little details to include. Heading into the beginning of garden season, I hope you’ll try a fun fairy garden this year. With a little make-believe in your day, life really is a party!
More Fairy Garden Inspiration
You might also enjoy our Teacup Fairy Garden here.
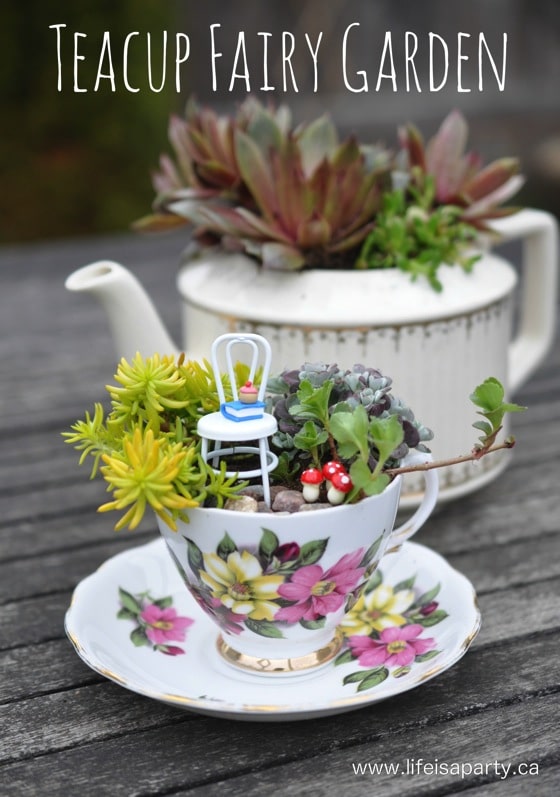
Also check out our Fairy Garden Birthday Party here.
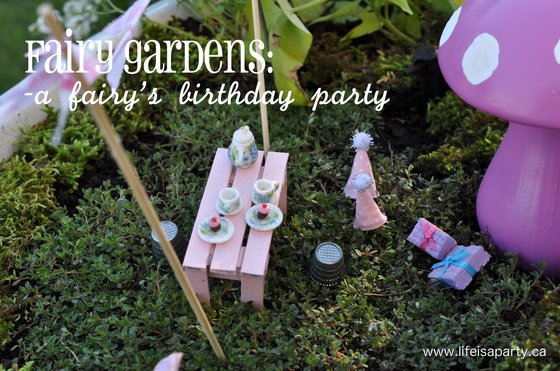
You might also like our Fairy Garden Gazebo tutorial here.
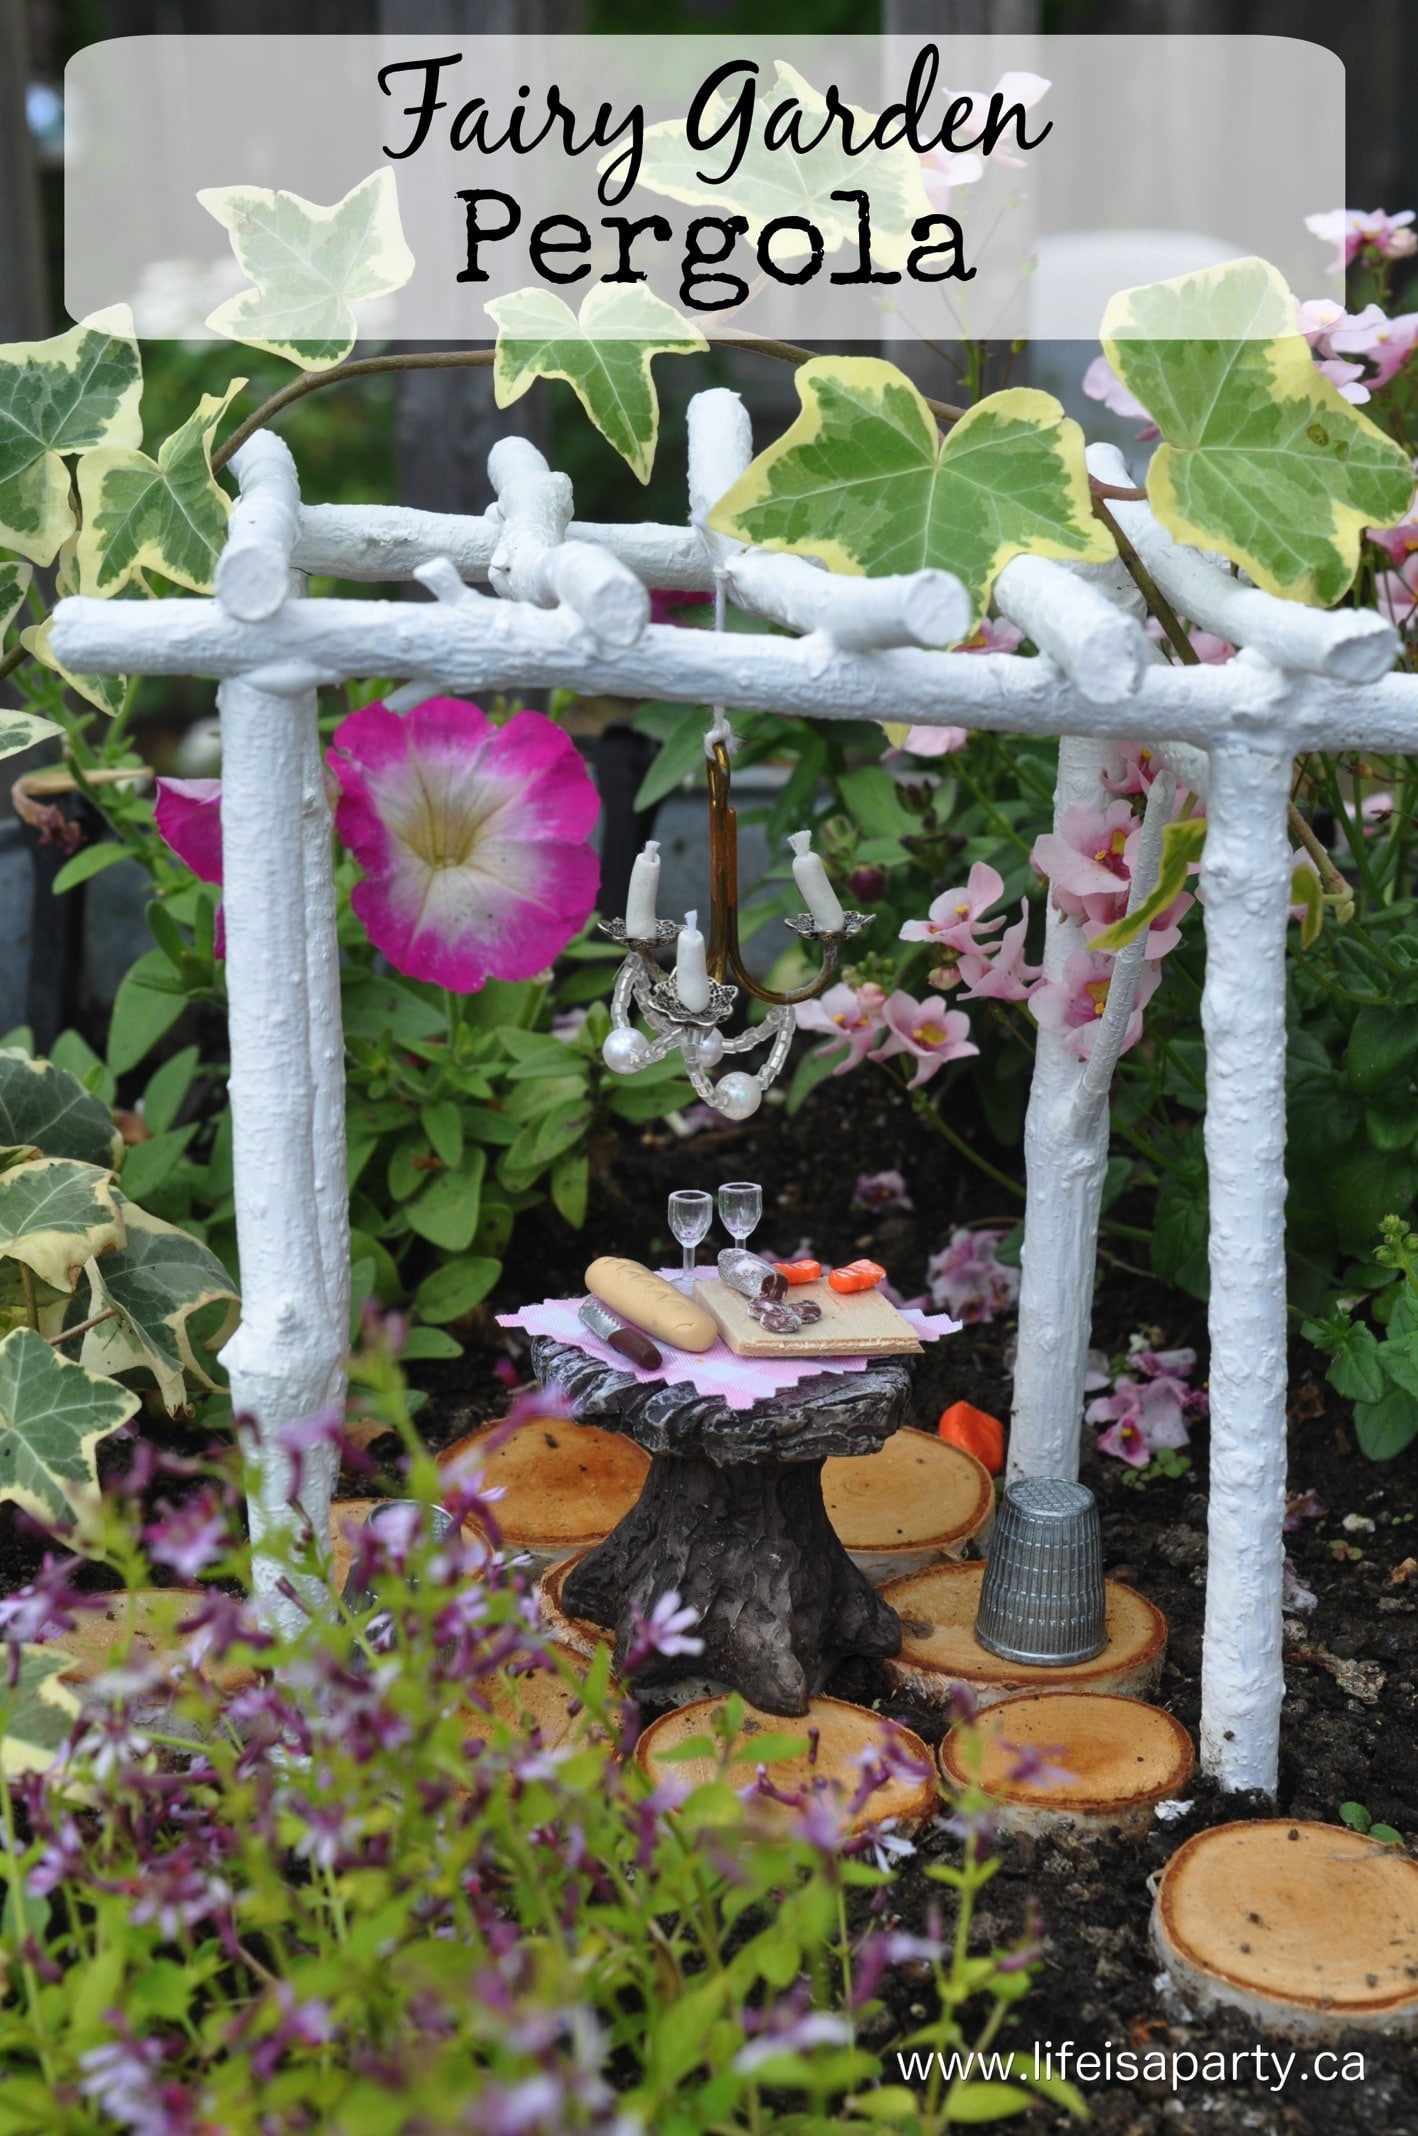


dnr says
Cyn, glad you like it. It is the perfect project to tackle with a little one. My girls had a great time helping me.
Dannyelle.
CynGagen (@CynGagen) says
This is one of my favourite ideas ever. I love how creative it is and all the little details you added. Can't wait to make one with my little grand niece and grand nephew! #client
dnr says
Thanks Jen, maybe fairy gardens are so popular because it lets us be little girls again. 😉
Dannyelle
Jen says
That is the cutest fairy garden ever! Such a delight, down to the s'mores! I can spend hours in dollhouse stores myself so can imagine how fun it was to gather and make all those little miniatures. Well done!