DIY Large Wall Art: Deer Book Art made with old books as the canvas. Easy, no painting skill required just transfer the pattern and fill in with paint.

Jump to:
Yesterday I revealed my Rustic Scandinavian Dining Room, after taking part in the six week One Room Challenge. One of the highlights of the reveal was sharing this fun DIY large wall art piece made from old books.

I was inspired by a photo on LizMaireBlog's instagram account. She shared this photo from her trip to Magnolia Markets a few weeks ago. I thought it was so pretty, and immediately stated thinking “I wonder how they made that”?

I thought it would be fun to add something inspired by the photo to my new dining room.
DIY Large Deer Wall Art Materials:
- 12 old books
- paint sticks
- hot glue
- string
- tacks
- glue stick
- small nails
- hammer
- tape
- image
- carbon paper
- black, grey and white craft paint
Preparing the Old Book Canvas
I started out by collecting the vintage books. We used 12 in my project. I tried to choose ones that were relatively the same size and thickness, but a little variation adds interest. First I lined up my books on my table to work, and tried to find the middle of each book.

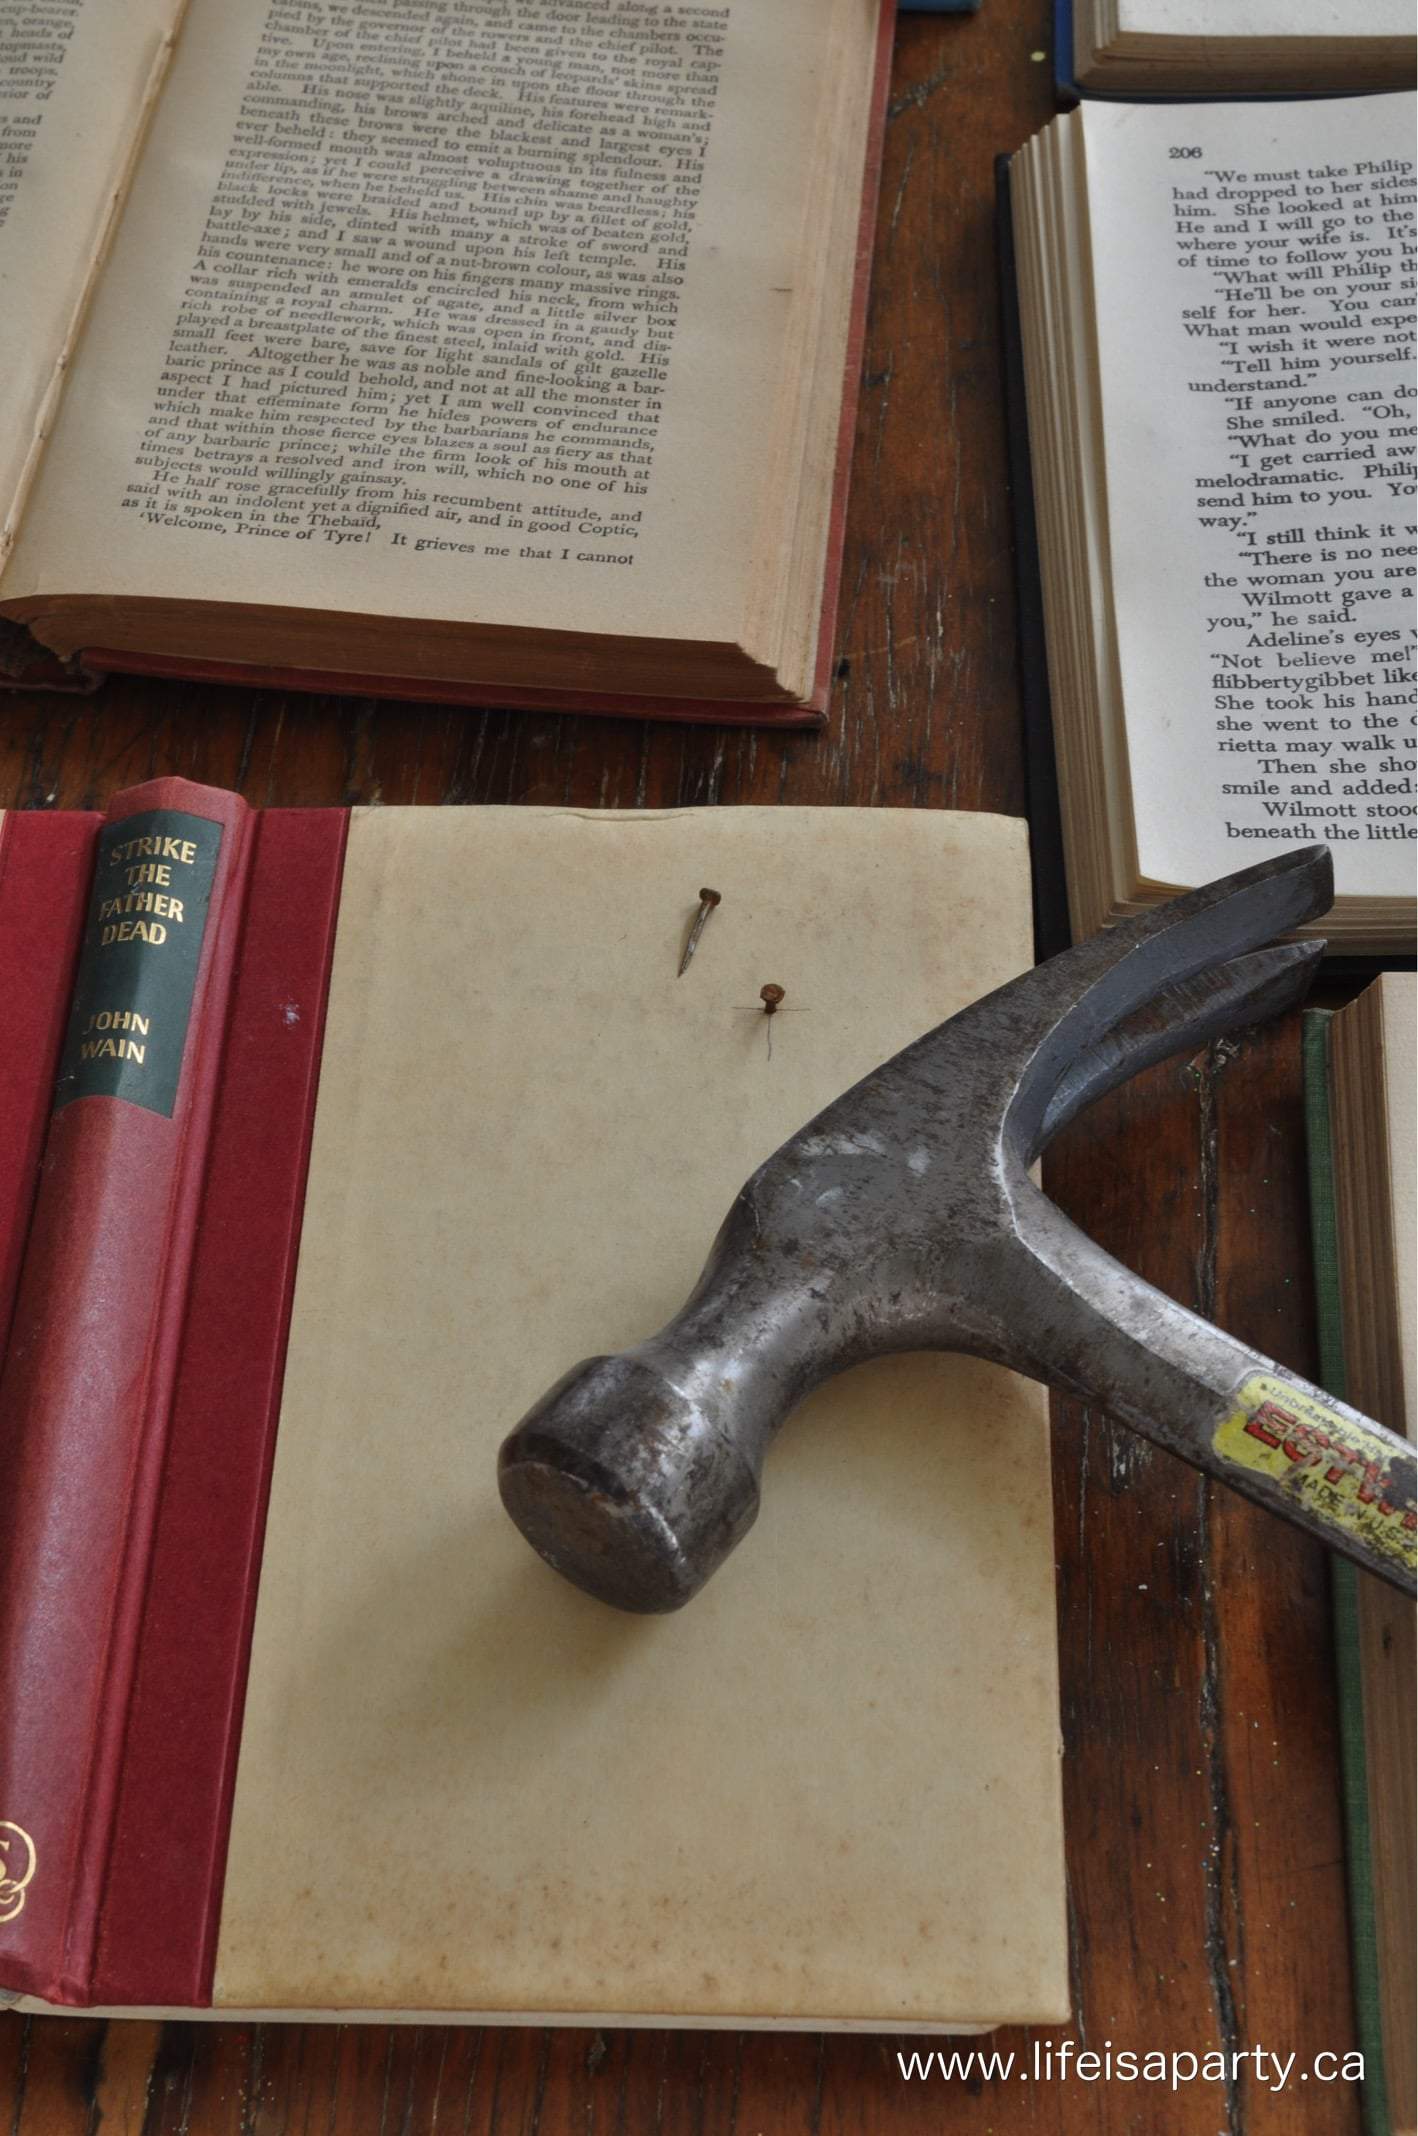
In order for the books to hang on the wall, you need to keep the pages from opening. I started out my trying to glue the pages together, but that was too time consuming, so I had the idea of using tacks. I pushed thumb tacks through the pages and then glued one page over top to hide the tack. On a few of the thicker books I used a couple tacks.

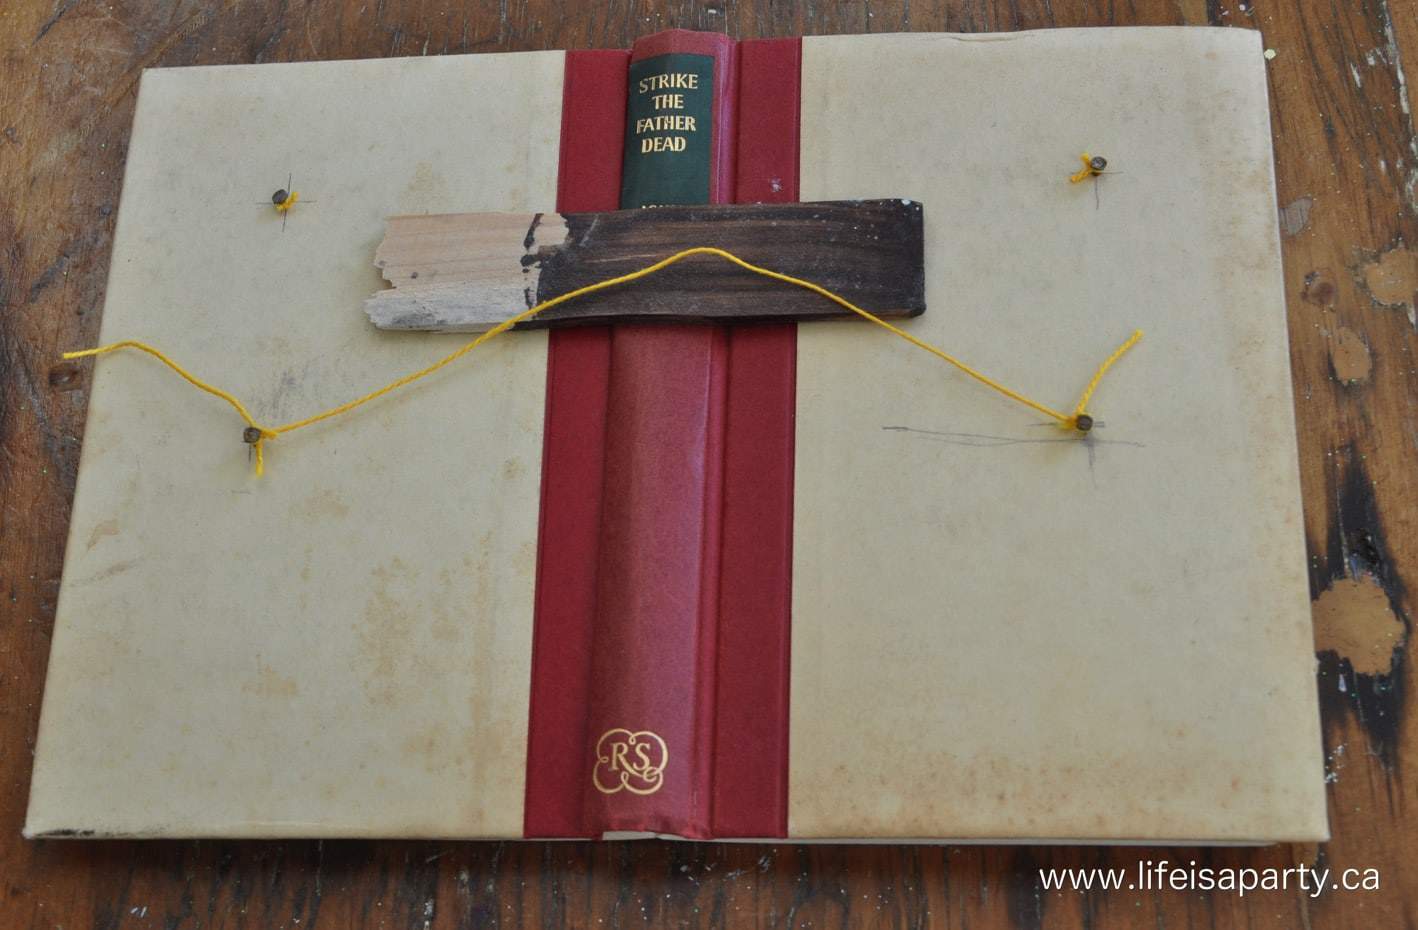
Then on the back of the book, I measured in from the top and side of the book, and used a small tack/nail that I hammered into the book. I left it sticking out of the back a little so that it didn’t go through, and so that I could attach a string to hang it on the wall.
Next I had to reinforce the book, so that it would stay open and not fold in as it hung. I broke paint sticks in half and hot glued them to the back of the book to reinforce them.
Once the book canvas was all prepared it was time to add my image to the front.
Creating the Deer Image
I used a deer print from PrintAvenue. The geometric print, and the grey, black, and white colouring are really striking. I used a website to transform the image into poster size. Once I had the image printed large enough, I taped the image together, and then cut up the image to match the book sizes.

I originally planned to use a fabric photo transfer paper to add the image to the books. I printed the poster size image (the size of my book canvas) but I had trouble with the iron-on transfers. They’re designed for fabric, not paper, and I had trouble lining them up, and getting the image transferred well. It didn’t really work out as well as I’d planned. So I needed a plan B.
I ended up using good old carbon paper (like when I made these mugs, and this Christmas art). I placed it under the poster size image and used it to transfer an outline of the image on to the book canvas.
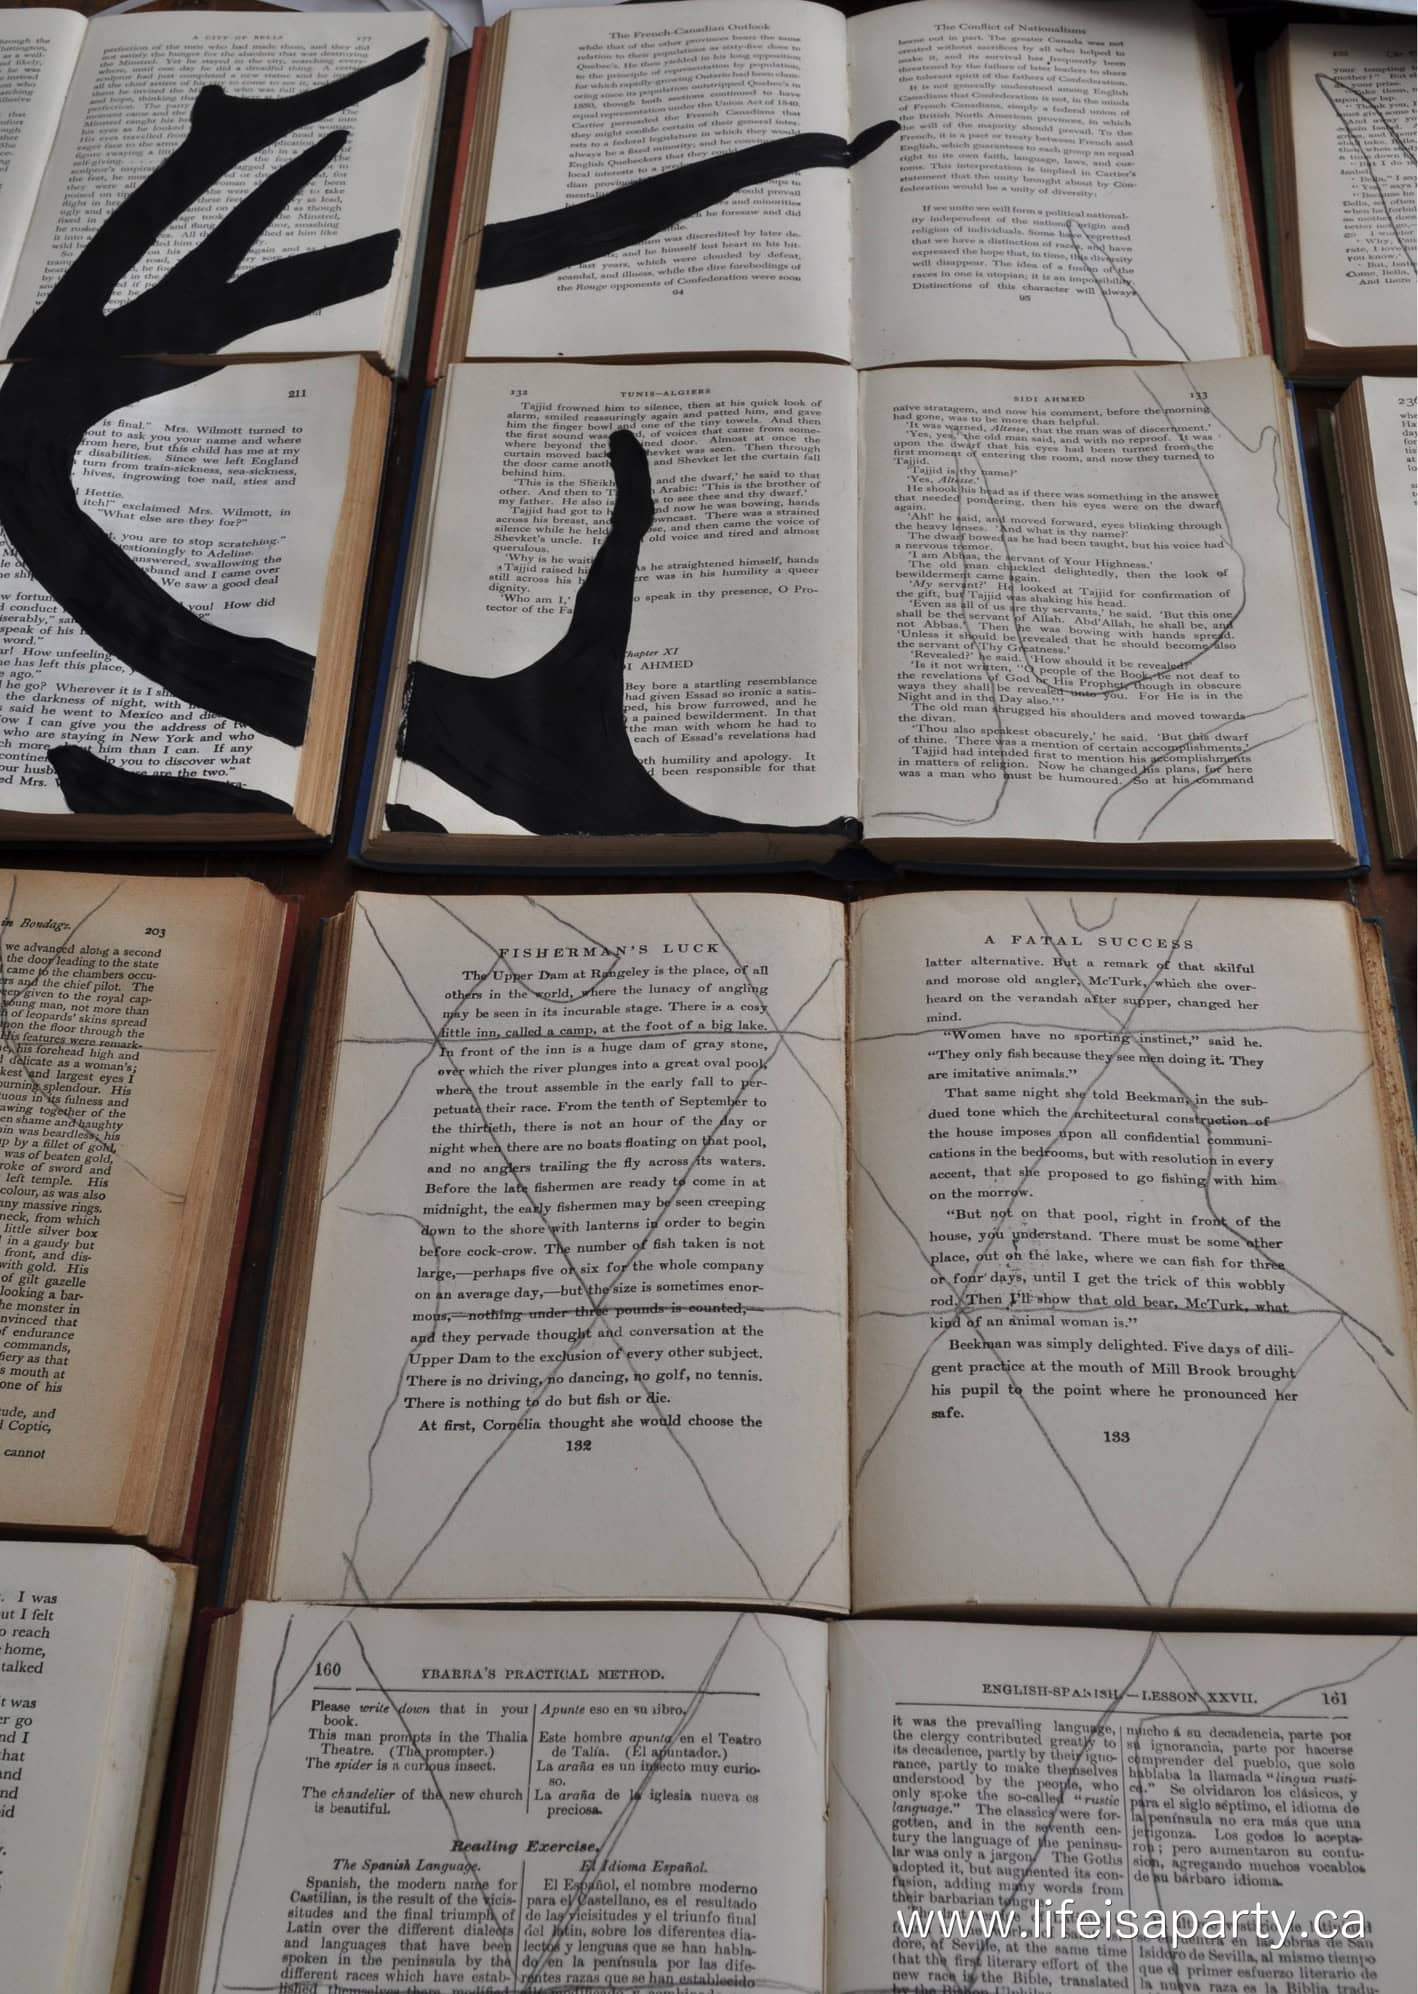
Once I had my outline, I used craft paint to fill it in.
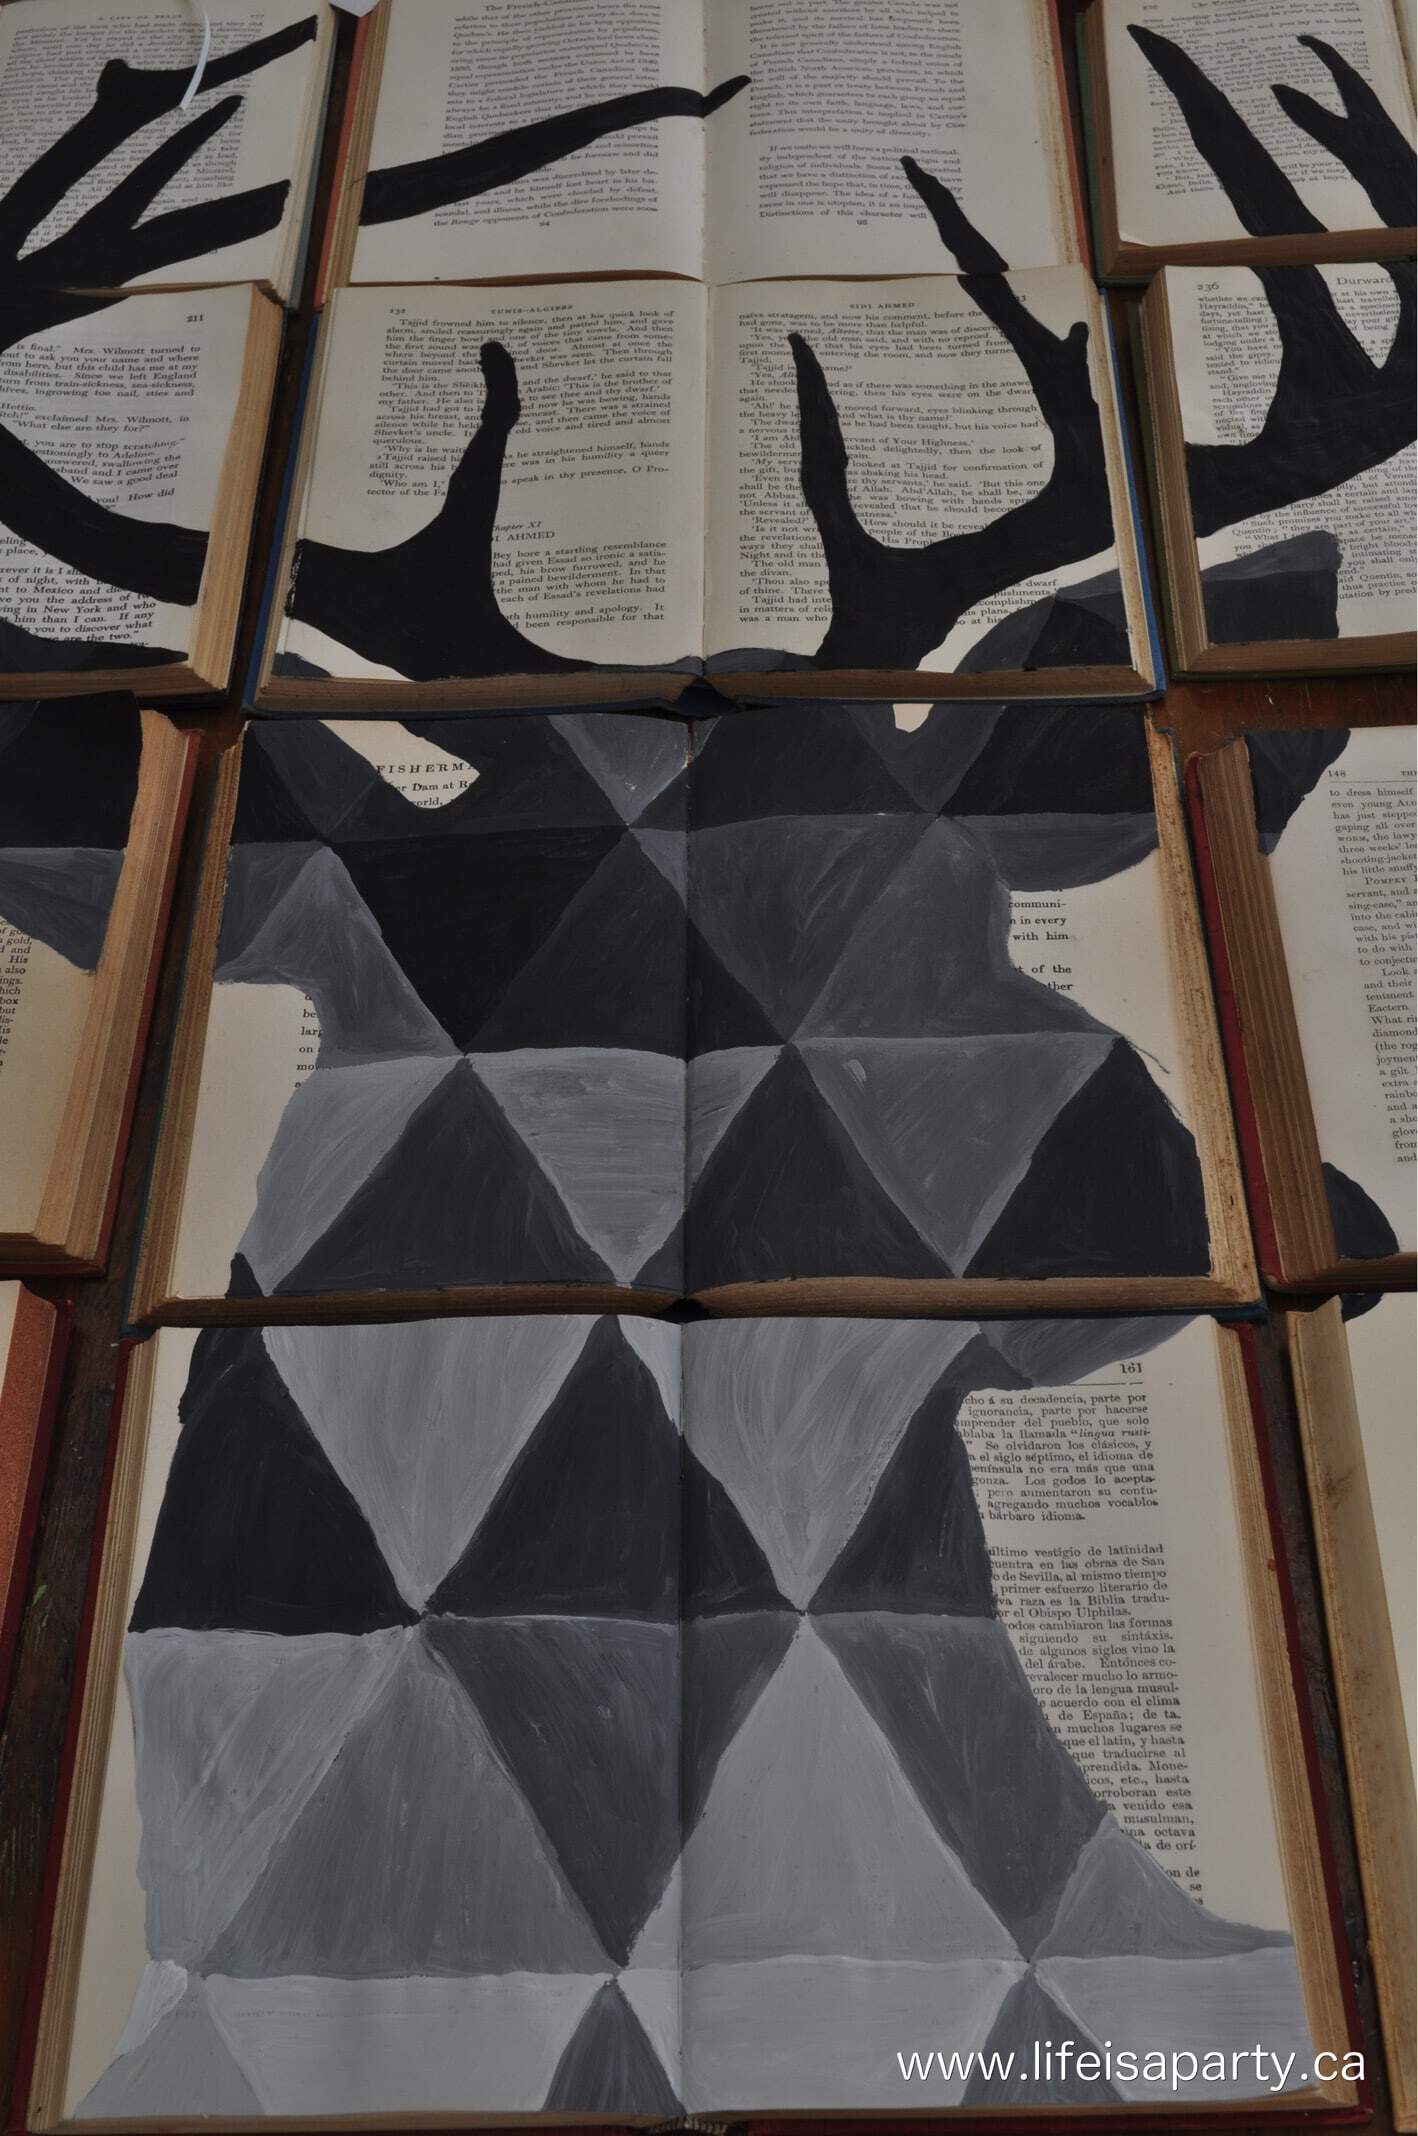
The next challenge was to mount the books to the wall. There was a fair bit of fiddling to get it all lined up, but I used command hooks which I love since they’re not permanent.

In the end, it all came together and I really love it. It was inexpensive to put together, and this DIY large wall art makes a big impact in the room.
With new DIY Deer Book Art, life really is a party!
More Inspiration
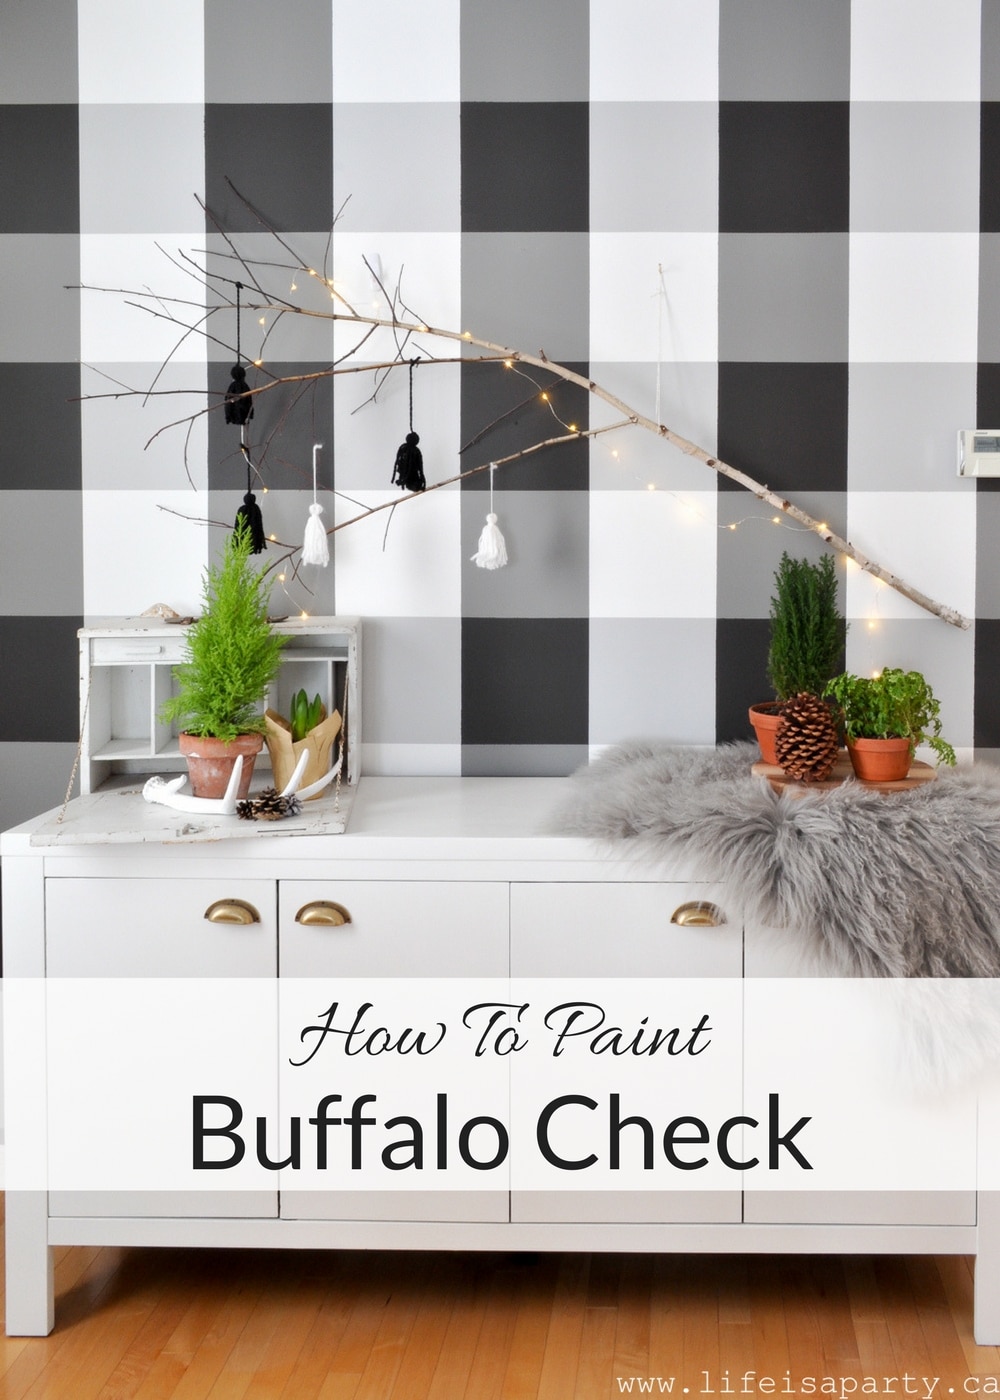
You might also like How To Paint A Buffalo Check Feature Wall here.
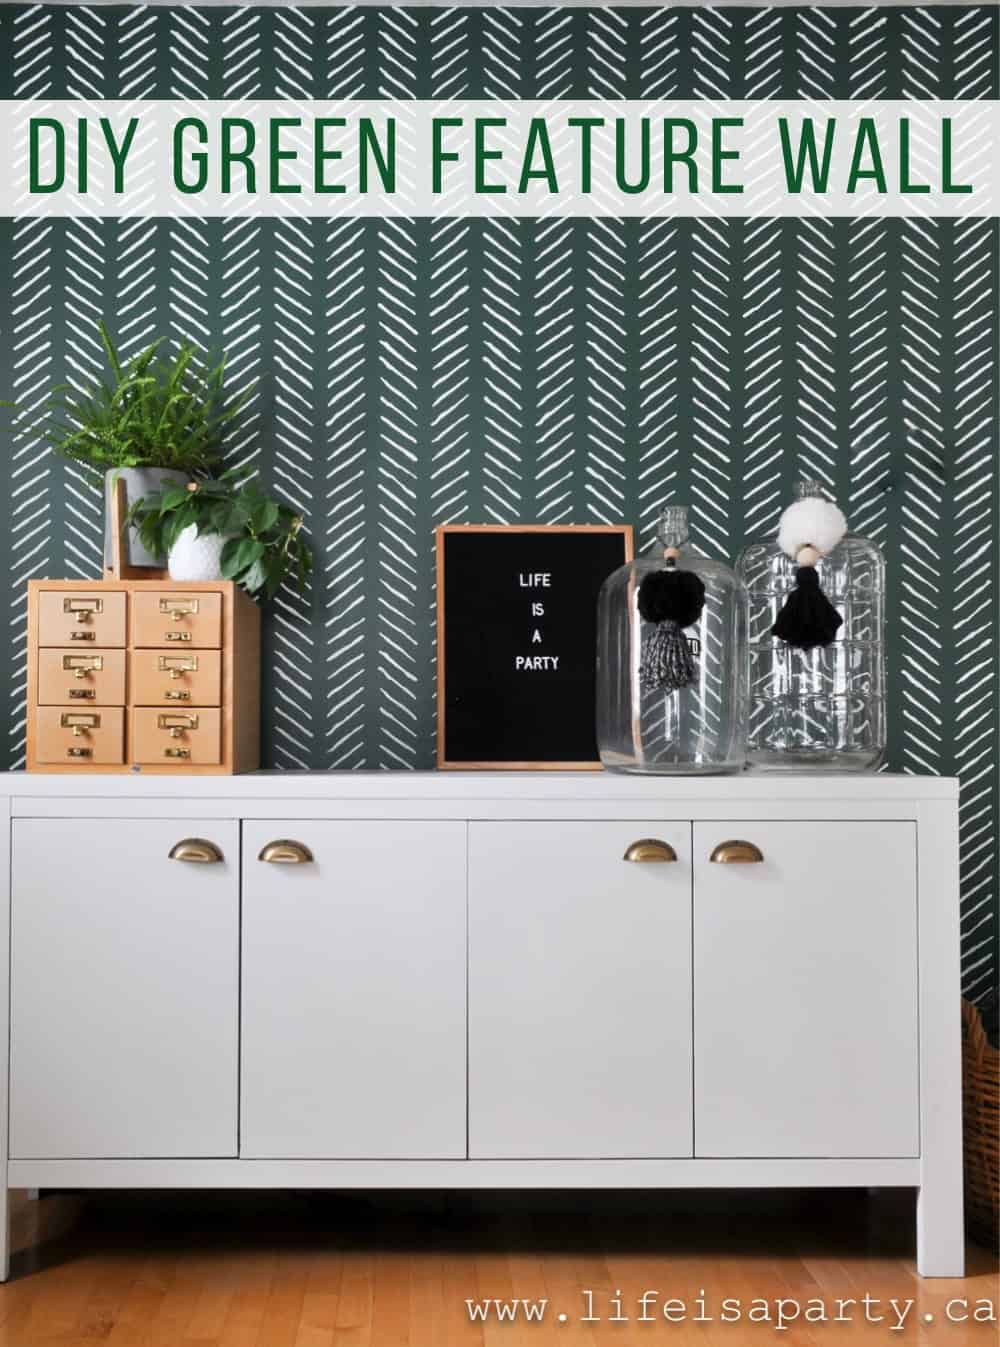
Also check out our Green Feature Wall here.
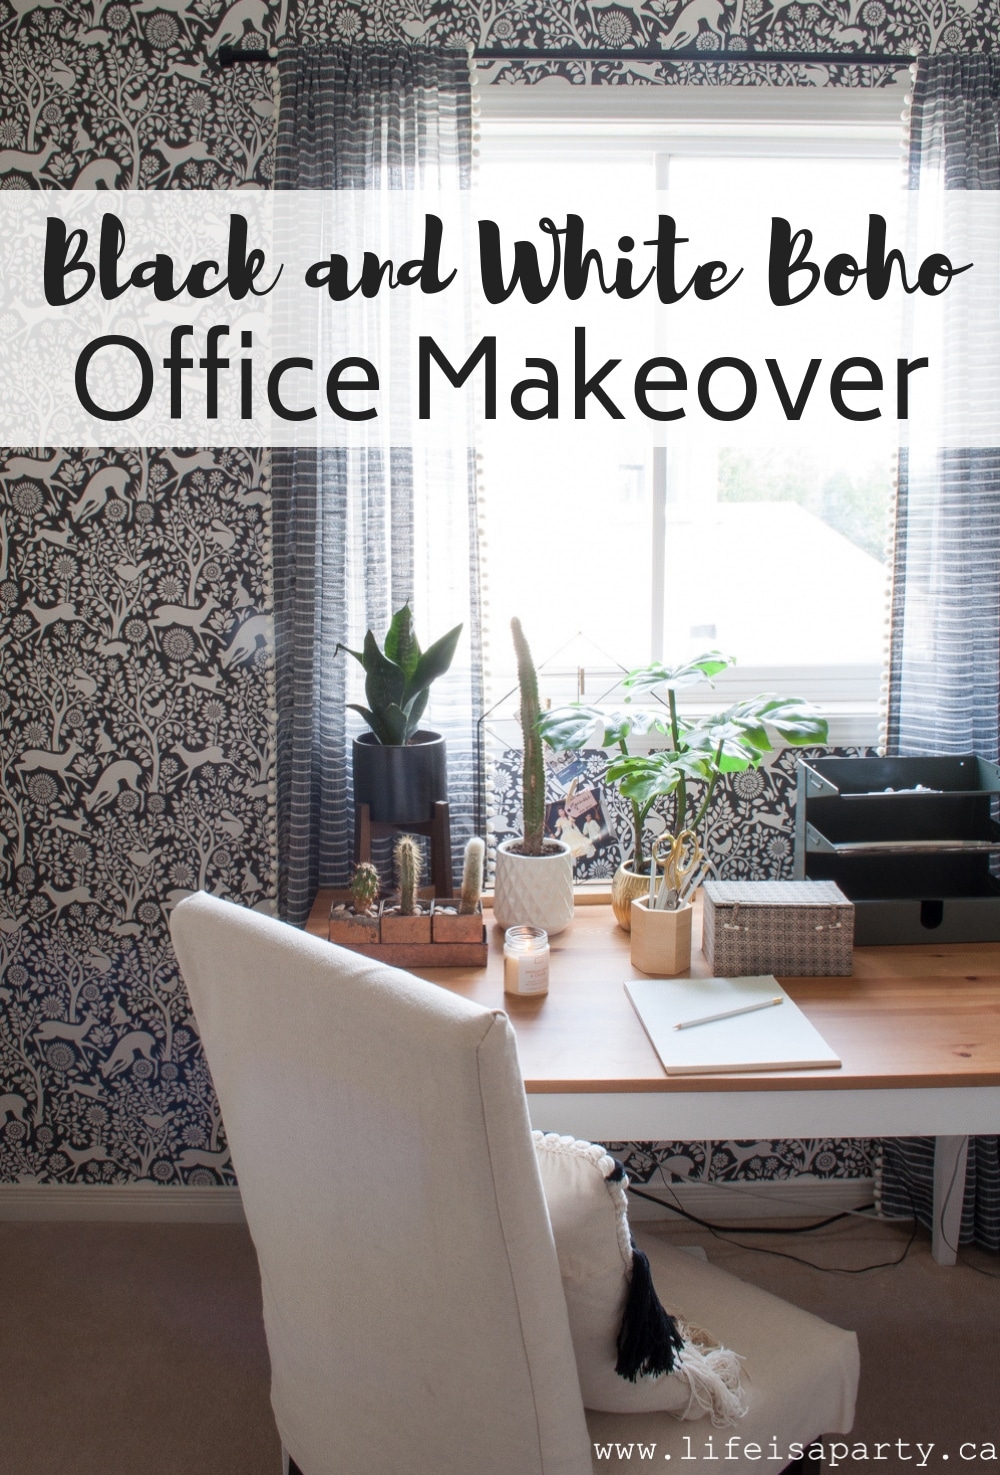
You might also like our Black and White Boho Office Makeover here.


dnr says
Thanks so much Kerri, hope yours turns out great. You can do it!
Dannyelle
Kerri says
Wow! You are a creative genius and get an A+ for figuring out a way to create that stunning wall piece! I also visited Magnolia Market recently, and I was blown away by the vintage book/dear art wall installation. I am also crafty and love to DIY, but I thought, "there is no way I could figure that out!". Thanks for sharing and you have inspired me to give it a try!