How To Refinish A Veneer Table: Tutorial to refinish a dining room table with a veneer top by removing the finish, staining, and sealing.

Jump to:
I took part in the One Room Challenge this year and made over my dining room -you can see the big dining room makeover reveal post here.
One of the biggest projects in the makeover was figuring out How to Refinishing a Dark Wood Veneer Dining Room Table. I wasn't even sure if I could refinish a dining room table with a veneer top.
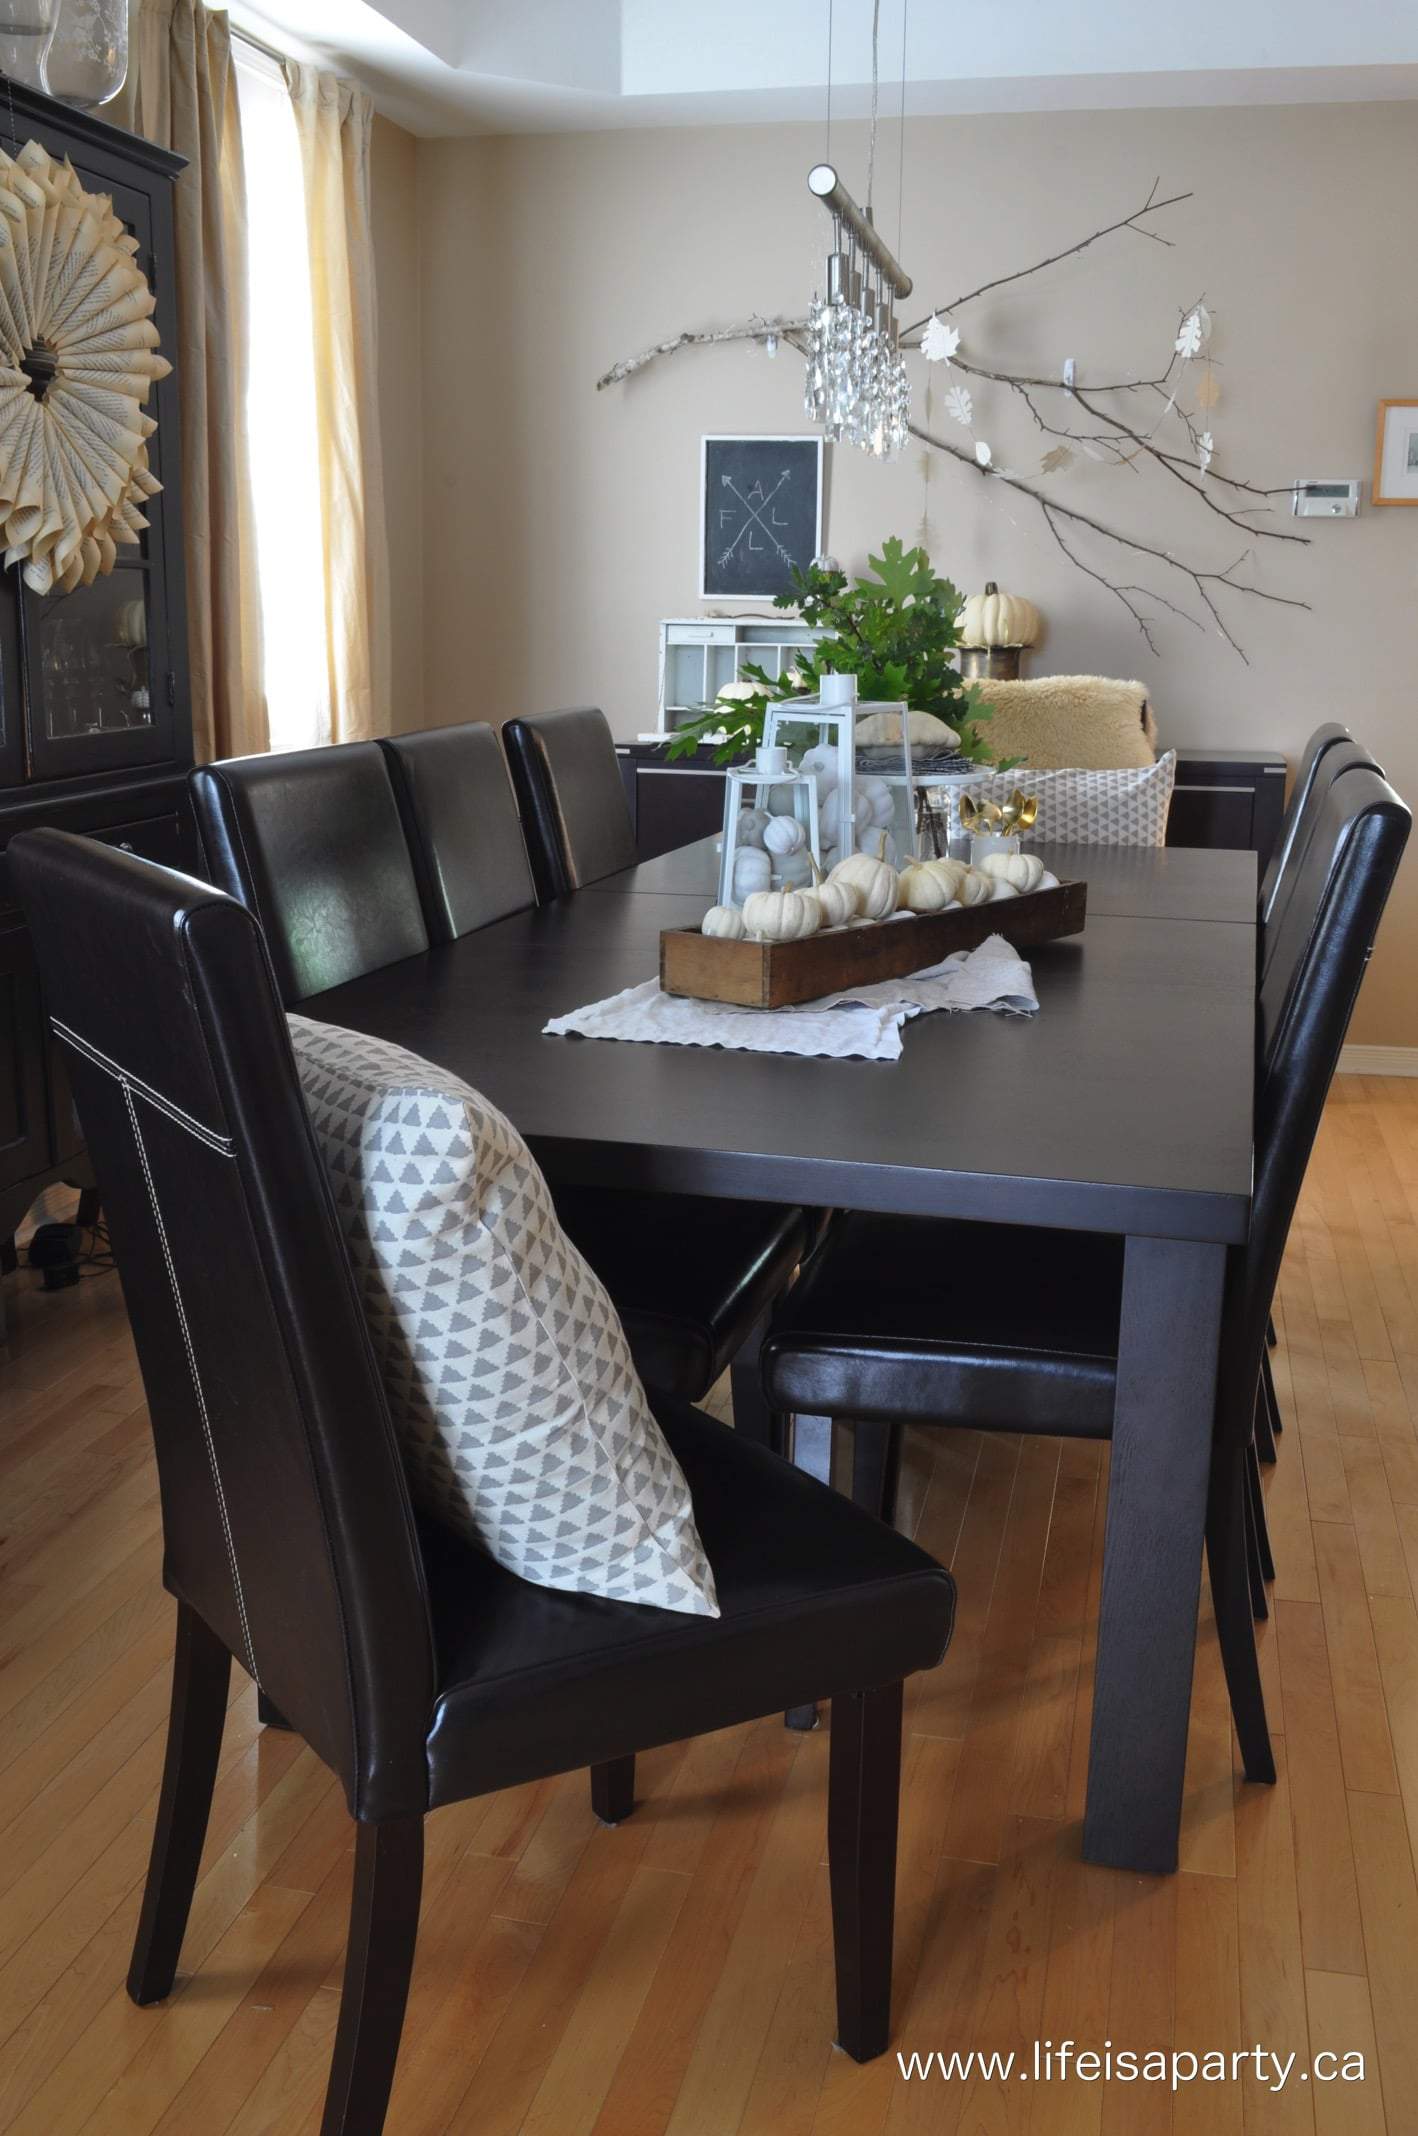
At first, I had hopes of replacing my large dark wood veneer dining table with an antique harvest table or something like the beautiful Restoration Hardware ones that I was drooling over. Unfortunately I couldn’t find a harvest table in the budget that was long enough. And, I couldn’t afford the Restoration Hardware table either. You might be in the same position as me, so I wanted to share how I refinished my old dark wood veneer table, and turned it into my dream table on a budget.
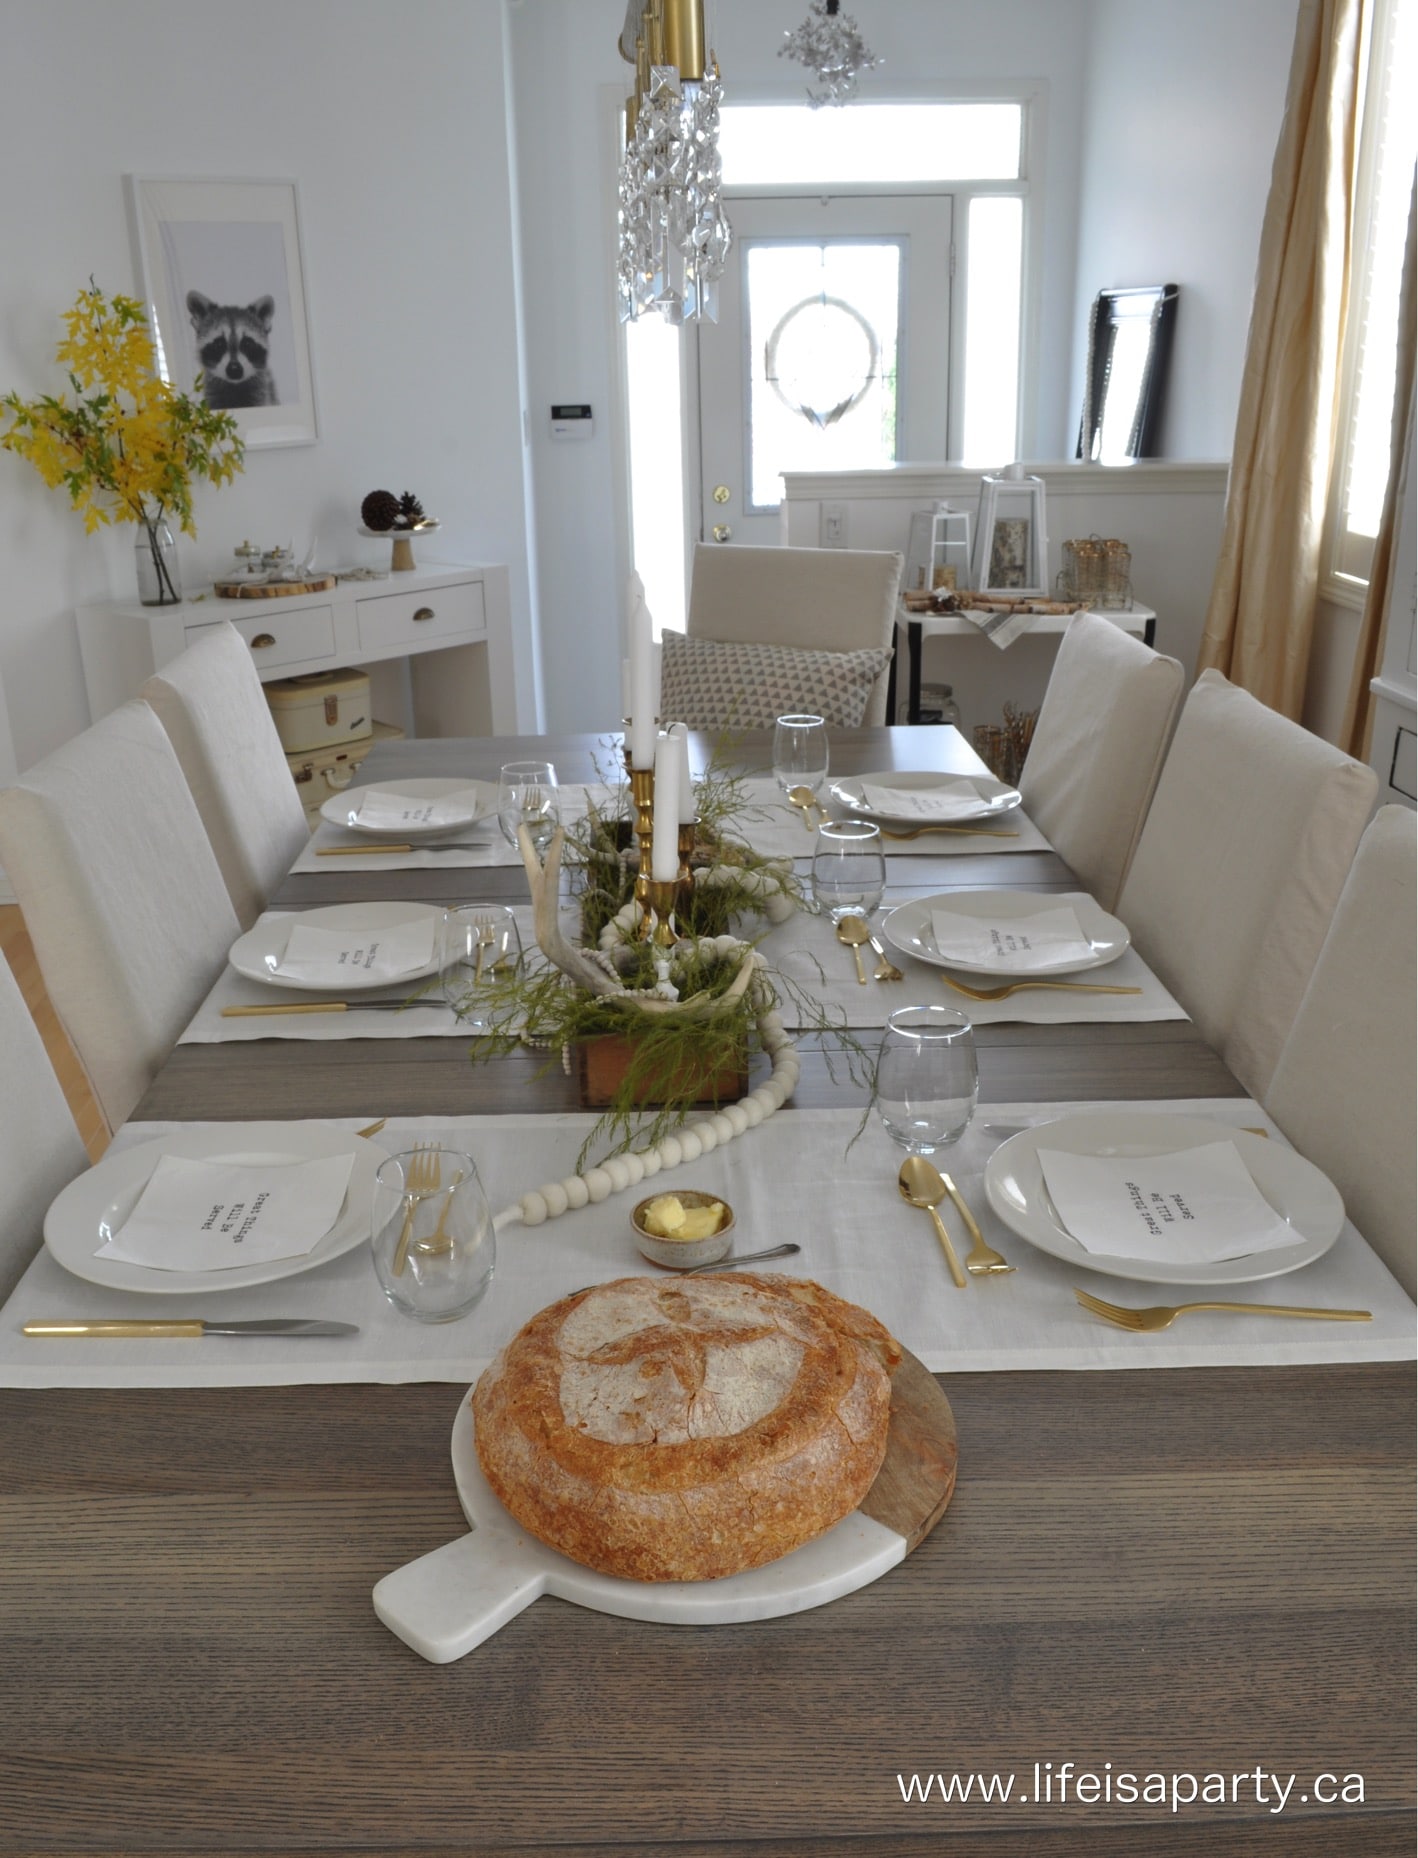
Can You Refinish A Dining Room Table Veneer Top?
I actually didn’t realize I could refinish dining room table veneer top, because I thought you could only refinish solid wood furniture. After a little research though, I realized I could probably achieve that grey, driftwood finish I'd admired on a solid wood table with my wood veneer surface.
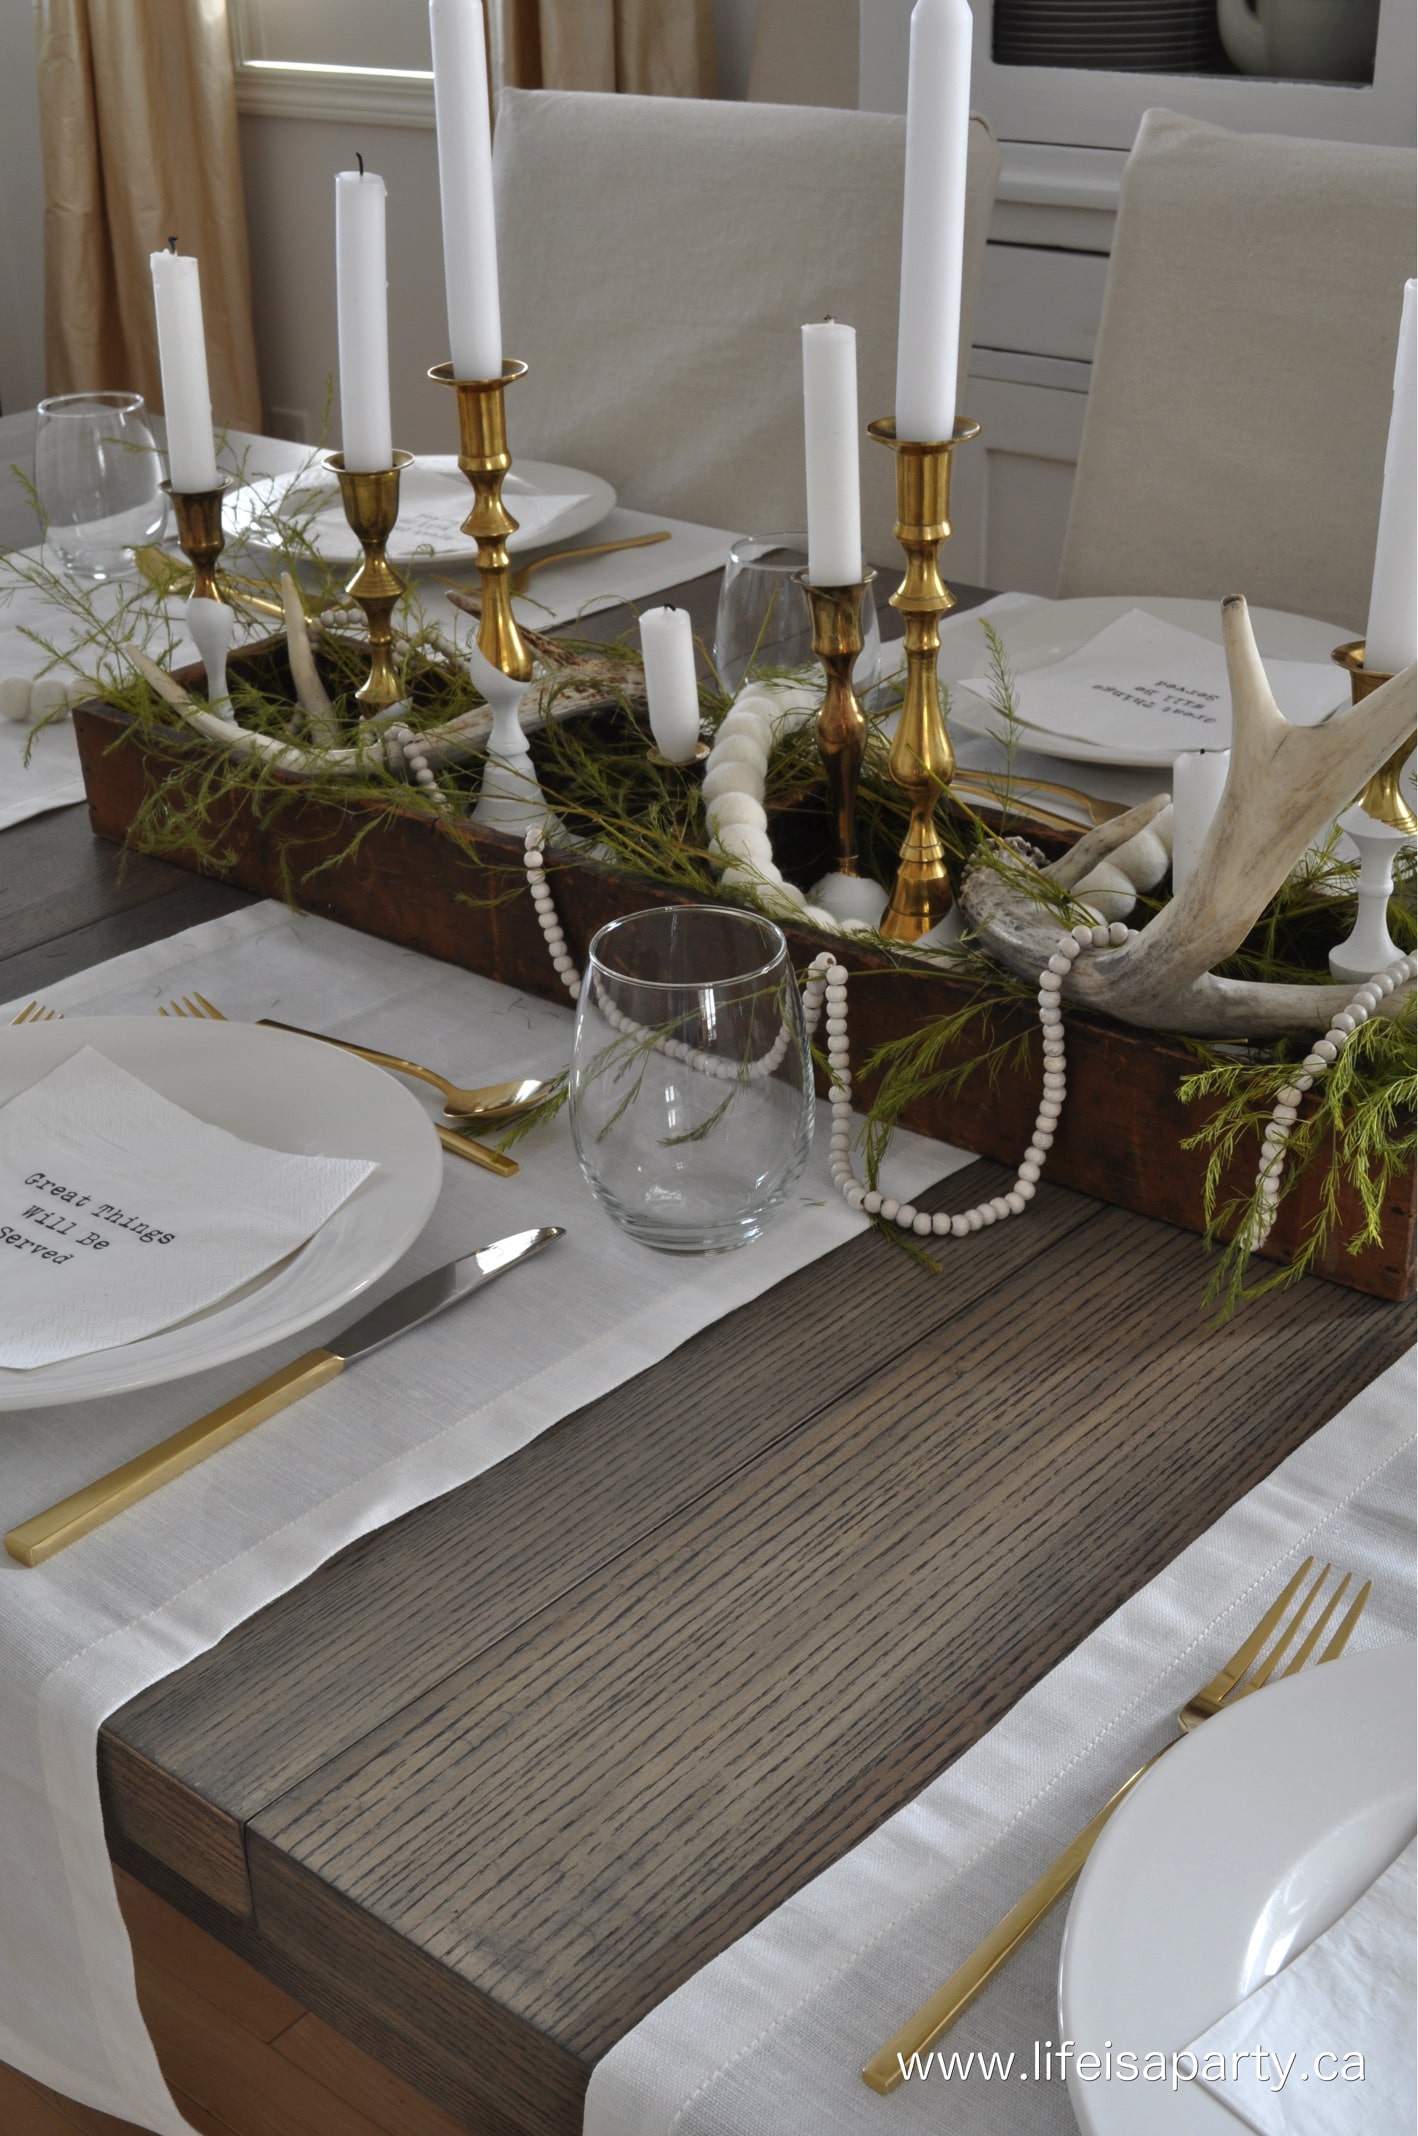
Is It Worth It?
I am so, so pleased with there results. But, I have to say right up front that if you are considering giving this a try, it’s a really difficult project. I think it took about 22 hours of work, not counting dry times inbetween. It was one of the hardest projects I’ve ever done, but the results are amazing. It’s not for the faint of heart.
The reason it’s so difficult is that modern factory furniture has a very hard, baked on existing finish that is extremely hard to remove. The majority of the hard work was in striping the table. If you have an older antique piece with a veneered surface it might not be as difficult, if it doesn't have that baked on finish that's so hard to remove.
Our table was about 10 years old, but still in really good condition with no damaged veneer. It was a fairly expensive piece when we bought it, and had good quality mechanisms for expanding it, it also fit the room and our needs really well, and was in good shape. All this made it worth the effort. It might not be worth it for a lesser quality piece of furniture.

Getting Started To Refinish A Dining Room Table Veneer Top
The first day, a friend who does a lot of antique furniture refinishing -a real expert with lots of experience, came to help me. Because the table is veneer we knew we had to be careful about how we striped it.
What is Veneer Furniture?
What exactly is a veneer furniture piece? It's furniture that has a thin veneer layer that is just a thin sheet of wood glued on top of a less expensive wood product usually particle board. Lots of modern furniture is made this way because it's cheaper to produce than solid real wood furniture. It was less common, but there are also antique pieces of wood veneer furniture too.
It would be easy to damage the veneer with sanding because it's so thin. So the first rule of refinishing veneer furniture is to not sand it so hard as to remove the veneer and expose the particle wood underneath.
Because of factory finish that's baked on in a large kilm when the piece is finished, we found the stain extremely hard to remove. We couldn’t get past the dark, hard like a rock, nearly impossible to remove finish on the entire piece.
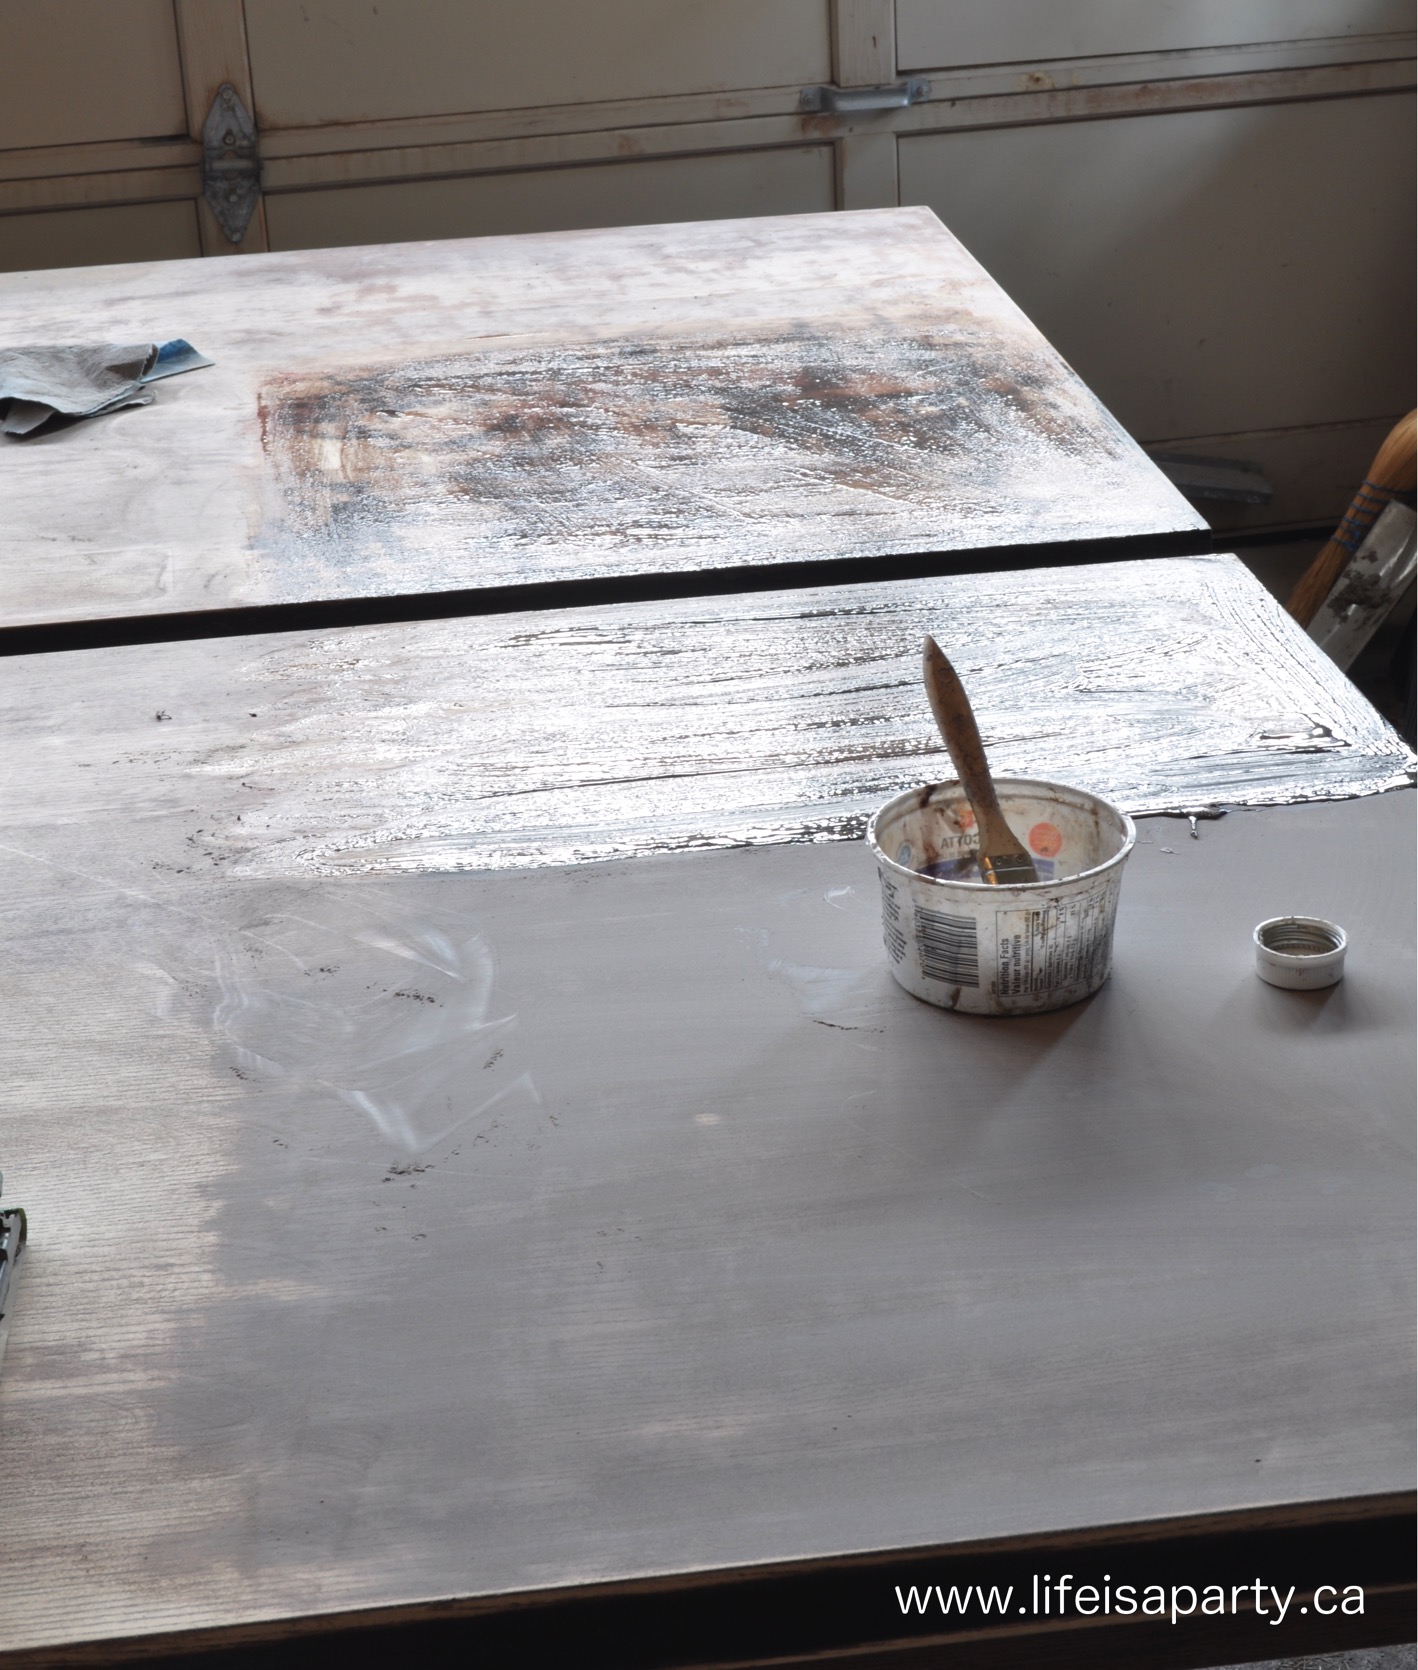
We started out with paint striper. A chemical stripper is a good choice with veneer, so you don't risk sanding to much. We started with thick coat of paint stripper applied with a brush, but even after letting it sit for 10, 15, 20 minutes, we saw very little effect when we tried to remove the old stain with a putty knife. At that point though, there was no going back. I felt a little sick, and talk turned to maybe having to just paint it.
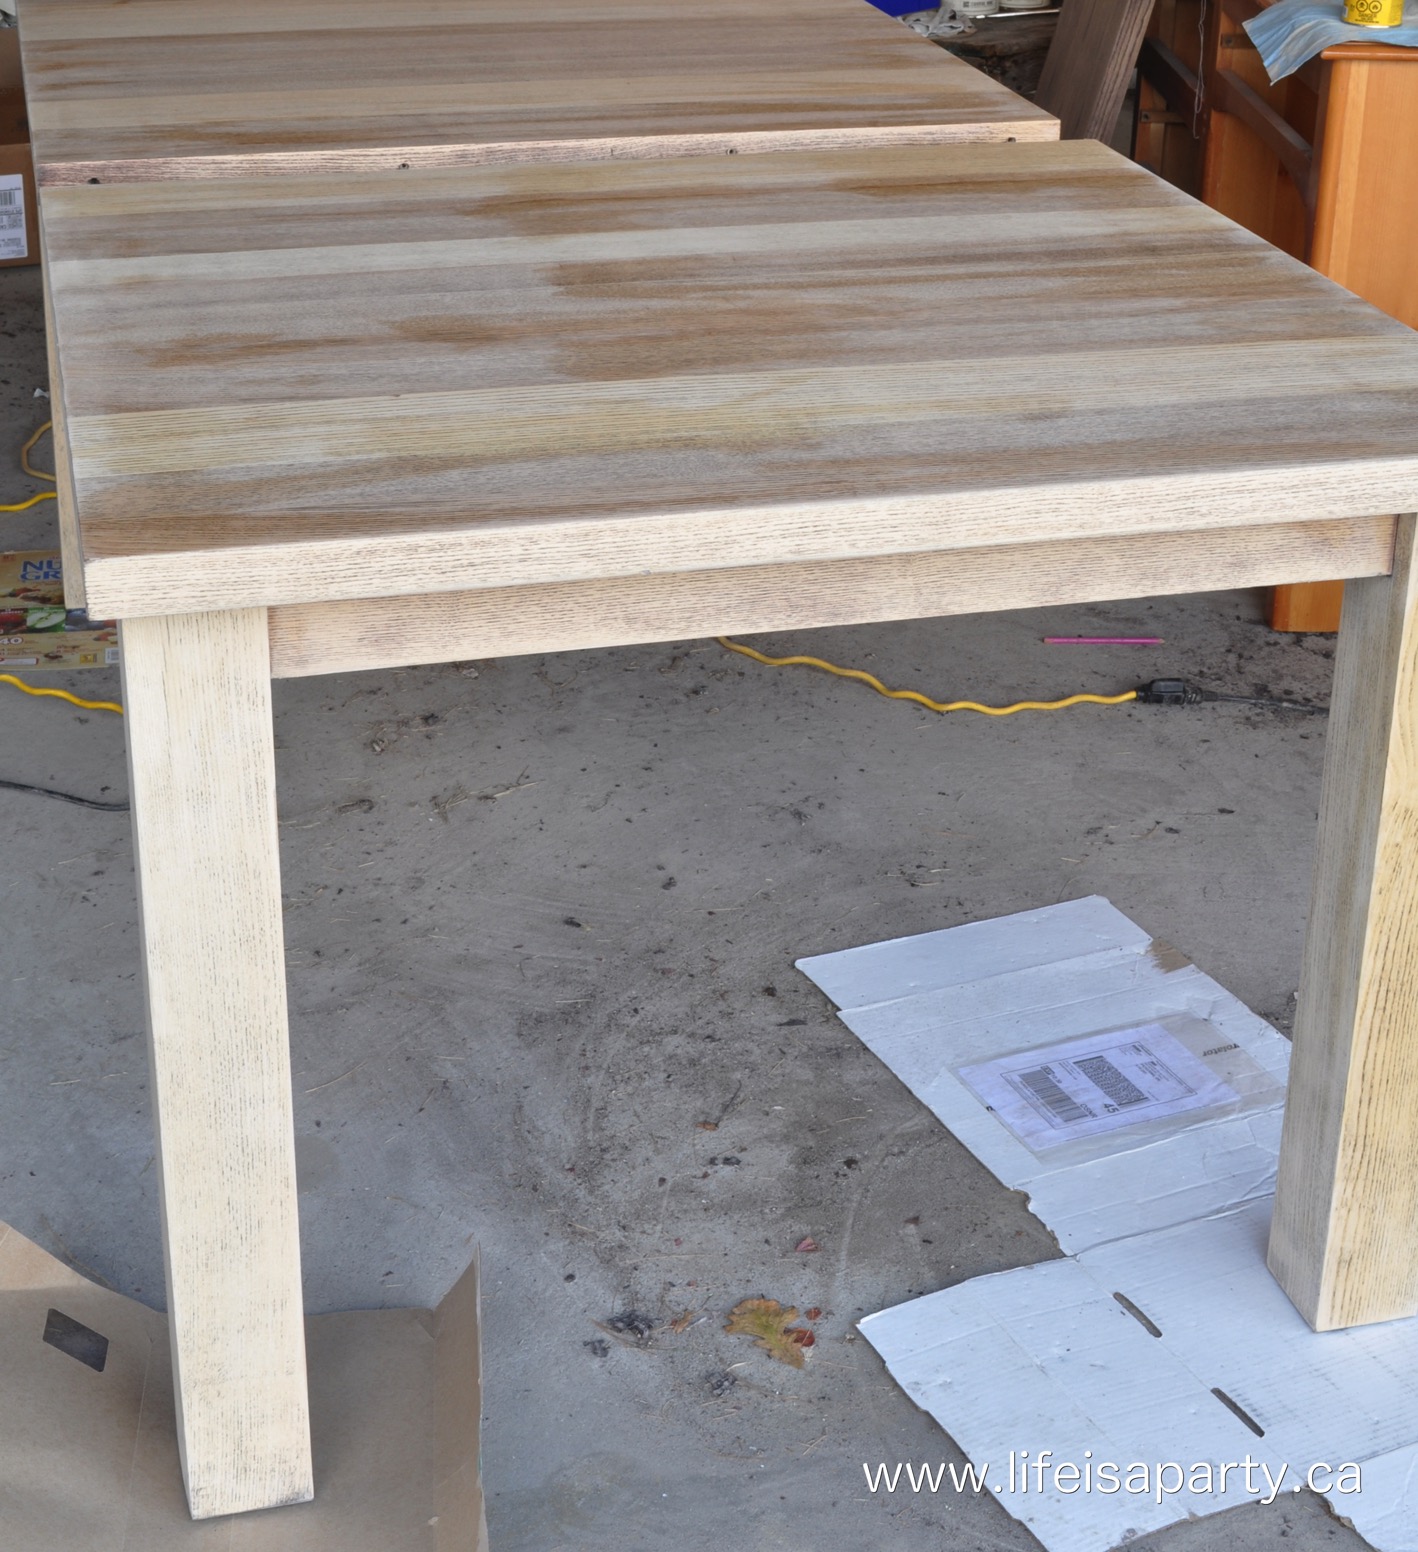
It seemed like we’d never be able to get the dark finish removed. But I kept trying and trying, and scrubbing and scrubbing with coarse steel wool, until finally a small patch of the light wood underneath was visible.

Through a process of trial and error we came up with a method that worked. But it sure did take a fair bit of elbow grease to get it back to bare wood, or as close as possible.
How To Remove the Old Finish
Materials:
- palm sander
- course, medium, and fine grit sandpaper
- scraper
- paint remover
- coarse steel wool
We sanded the initial glossy coating off with a palm sander, then applied a generous amount of paint remover on the wood surface and let it sit about 10-15 minutes. You'll want to use a electric sander for this first step with a very coarse grit of sandpaper.
We then VERY CAREFULLY used a scraper to scrape off the finish. You have to go with the direction of the grain of the wood, and be really, really careful to not make any gouges in the wood. We found this to be the best way to remove the old stain.
We then applied another coat of paint remover, let it sit again, and went over it with coarse steel wool for the best result. You will want to work in a well ventilated area for this step especially and wear rubber gloves to protect your hands.
We then carefully sanded the wood in the direction of the wood grain, with a medium and then fine-grit sandpaper on the palm sander.
It was a really long process, which we divided over two days of work together. In the end, there were still some dark stain marks in the grooves of the grain, but it worked well with our grey finish.
Staining the Striped Table
Materials:
- wood stain
- clean cloth
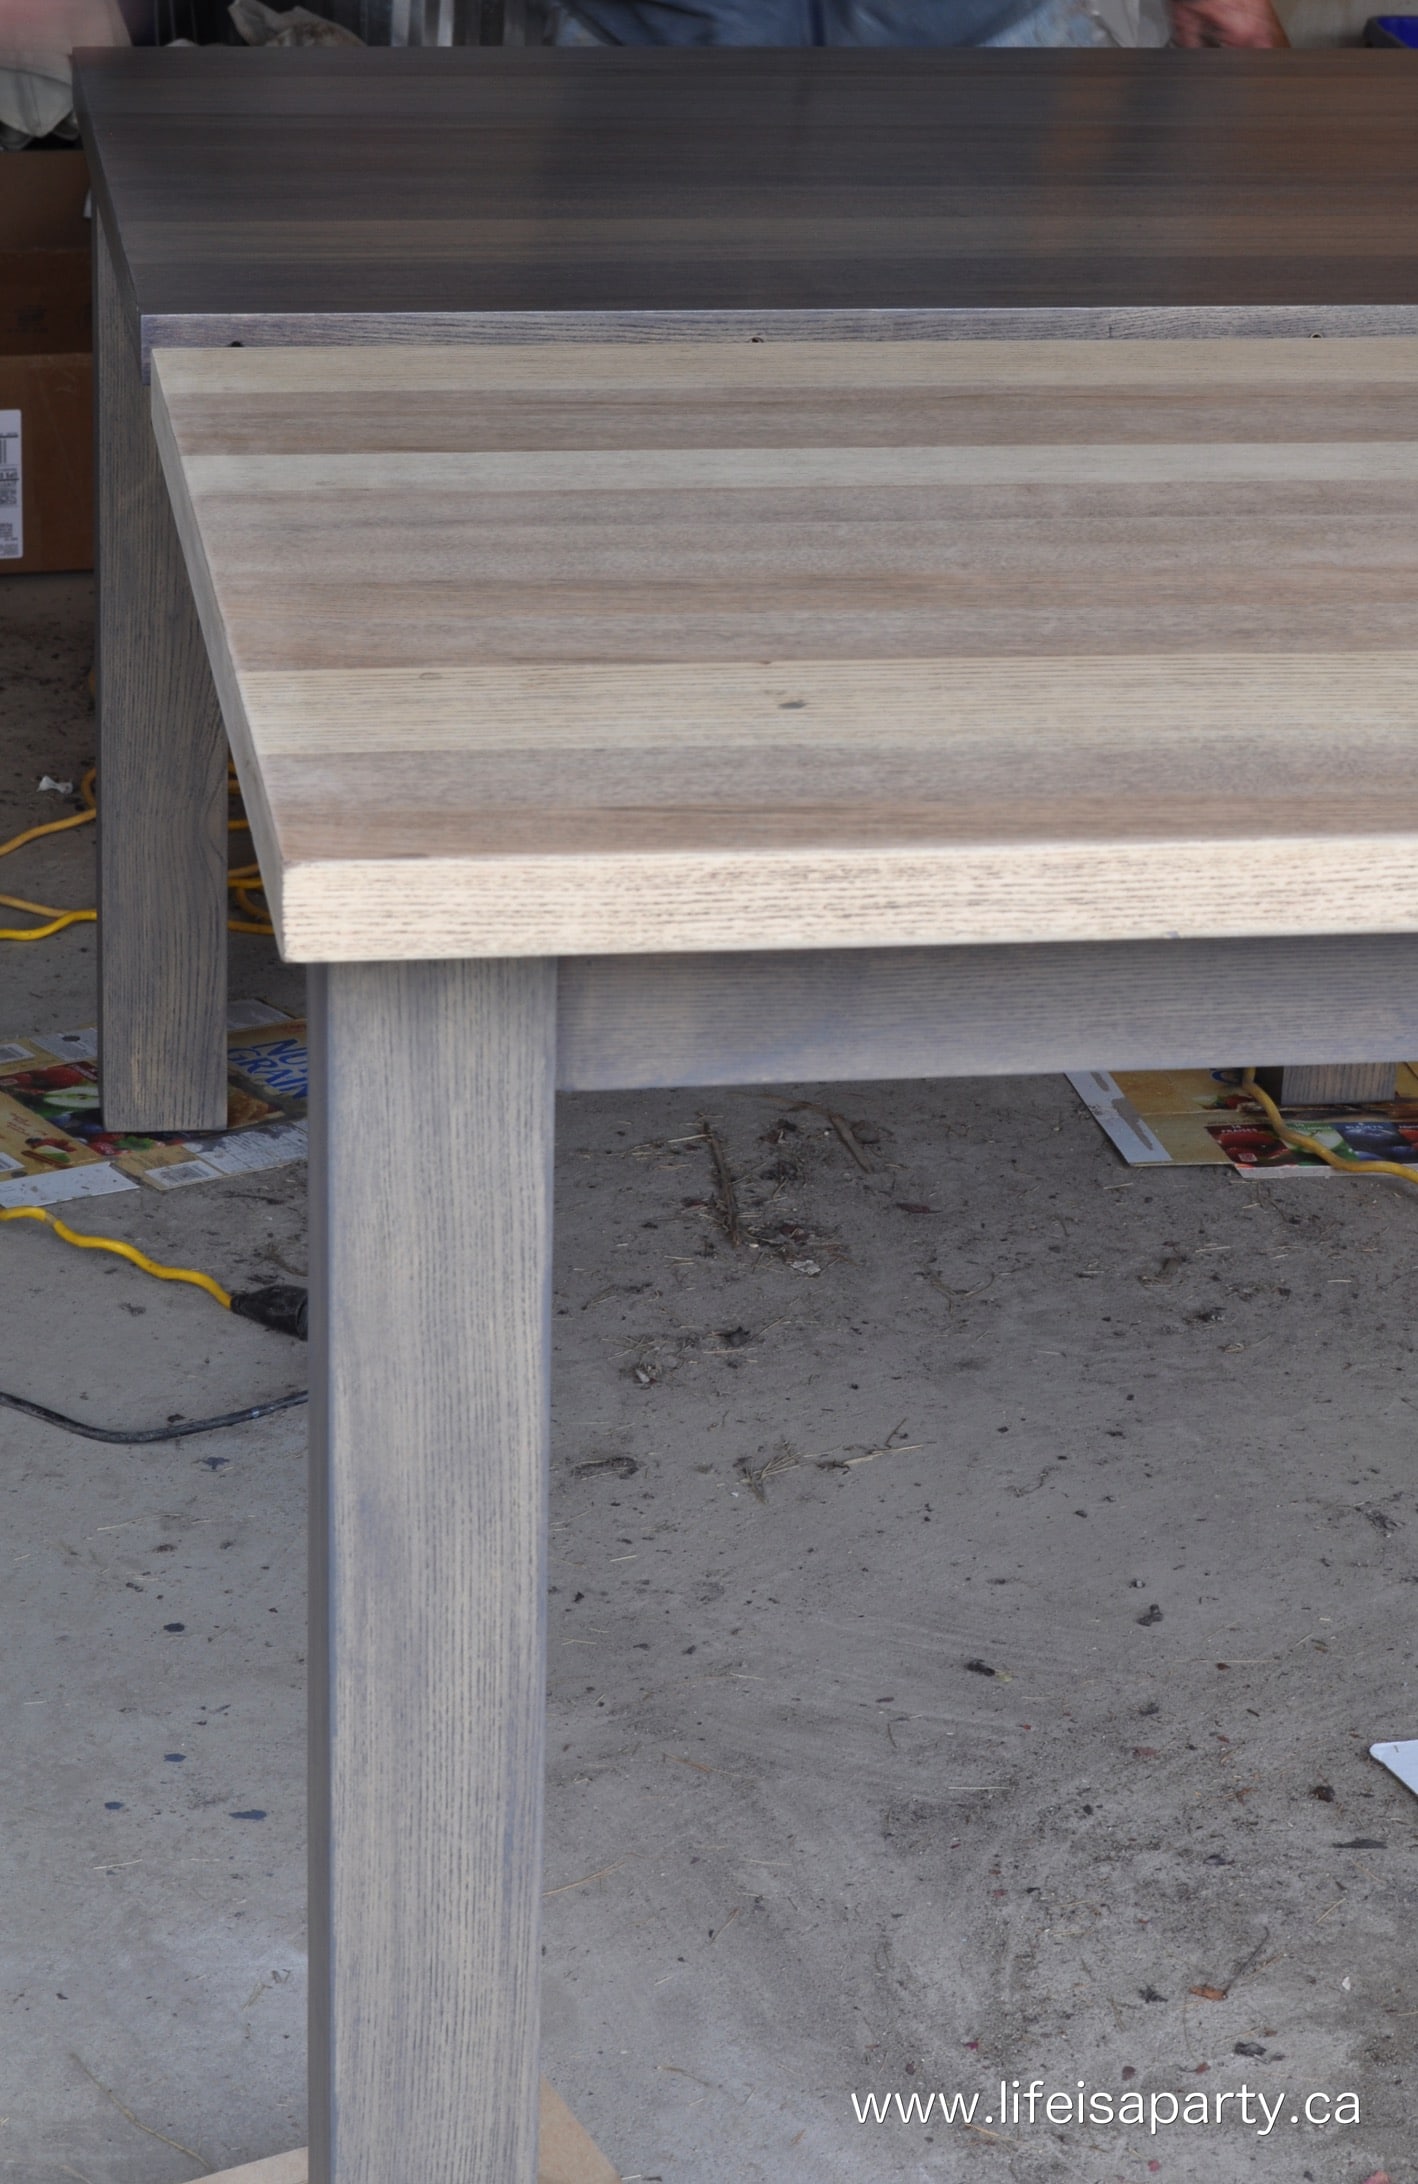
We used Minwax's Wood Finish Classic Grey Penetrating Stain on our stripped table to stain it.
Begin by cleaning the entire surface of the whole piece with a tack cloth, or damp rag to remove any sanding dust. It's a good idea to test your stain color on a scrap piece of wood or on the underside of the table or in an inconspicuous spot first. We applied our stain with a clean rag. I choose not to apply wood conditioner to the raw wood first, but you could if you like, it is supposed to help the stain apply more evenly.
We were happy with the color of the stain after the first coat. You may find a second coat of stain is needed to create a color you're happy with.
I love the light grey colour of the stain. After the stain dried overnight, it was time to apply the sealer.
Sealing The Table
Materials:
- polycrylic protective finish
- fine grit sandpaper
- clean cloth
I sealed the table with Minwax’s Matte Finish Polycrylic Protective Finish. I applied the sealer with a good quality brush. Some people prefer a foam brush to avoid brush strokes. I worked really carefully, taking care to not over work the product. After so much hard work getting to that point I really didn’t want to mess things up at the last stage of the game.
There are two coats of the protective finish over the whole thing, and third final coat on the top of the table to make it last a long time. For the best results, in between each coat I very lightly sanded the entire table with a very fine grit sandpaper, and wiped it down with a clean damp cloth to remove the fine dust.
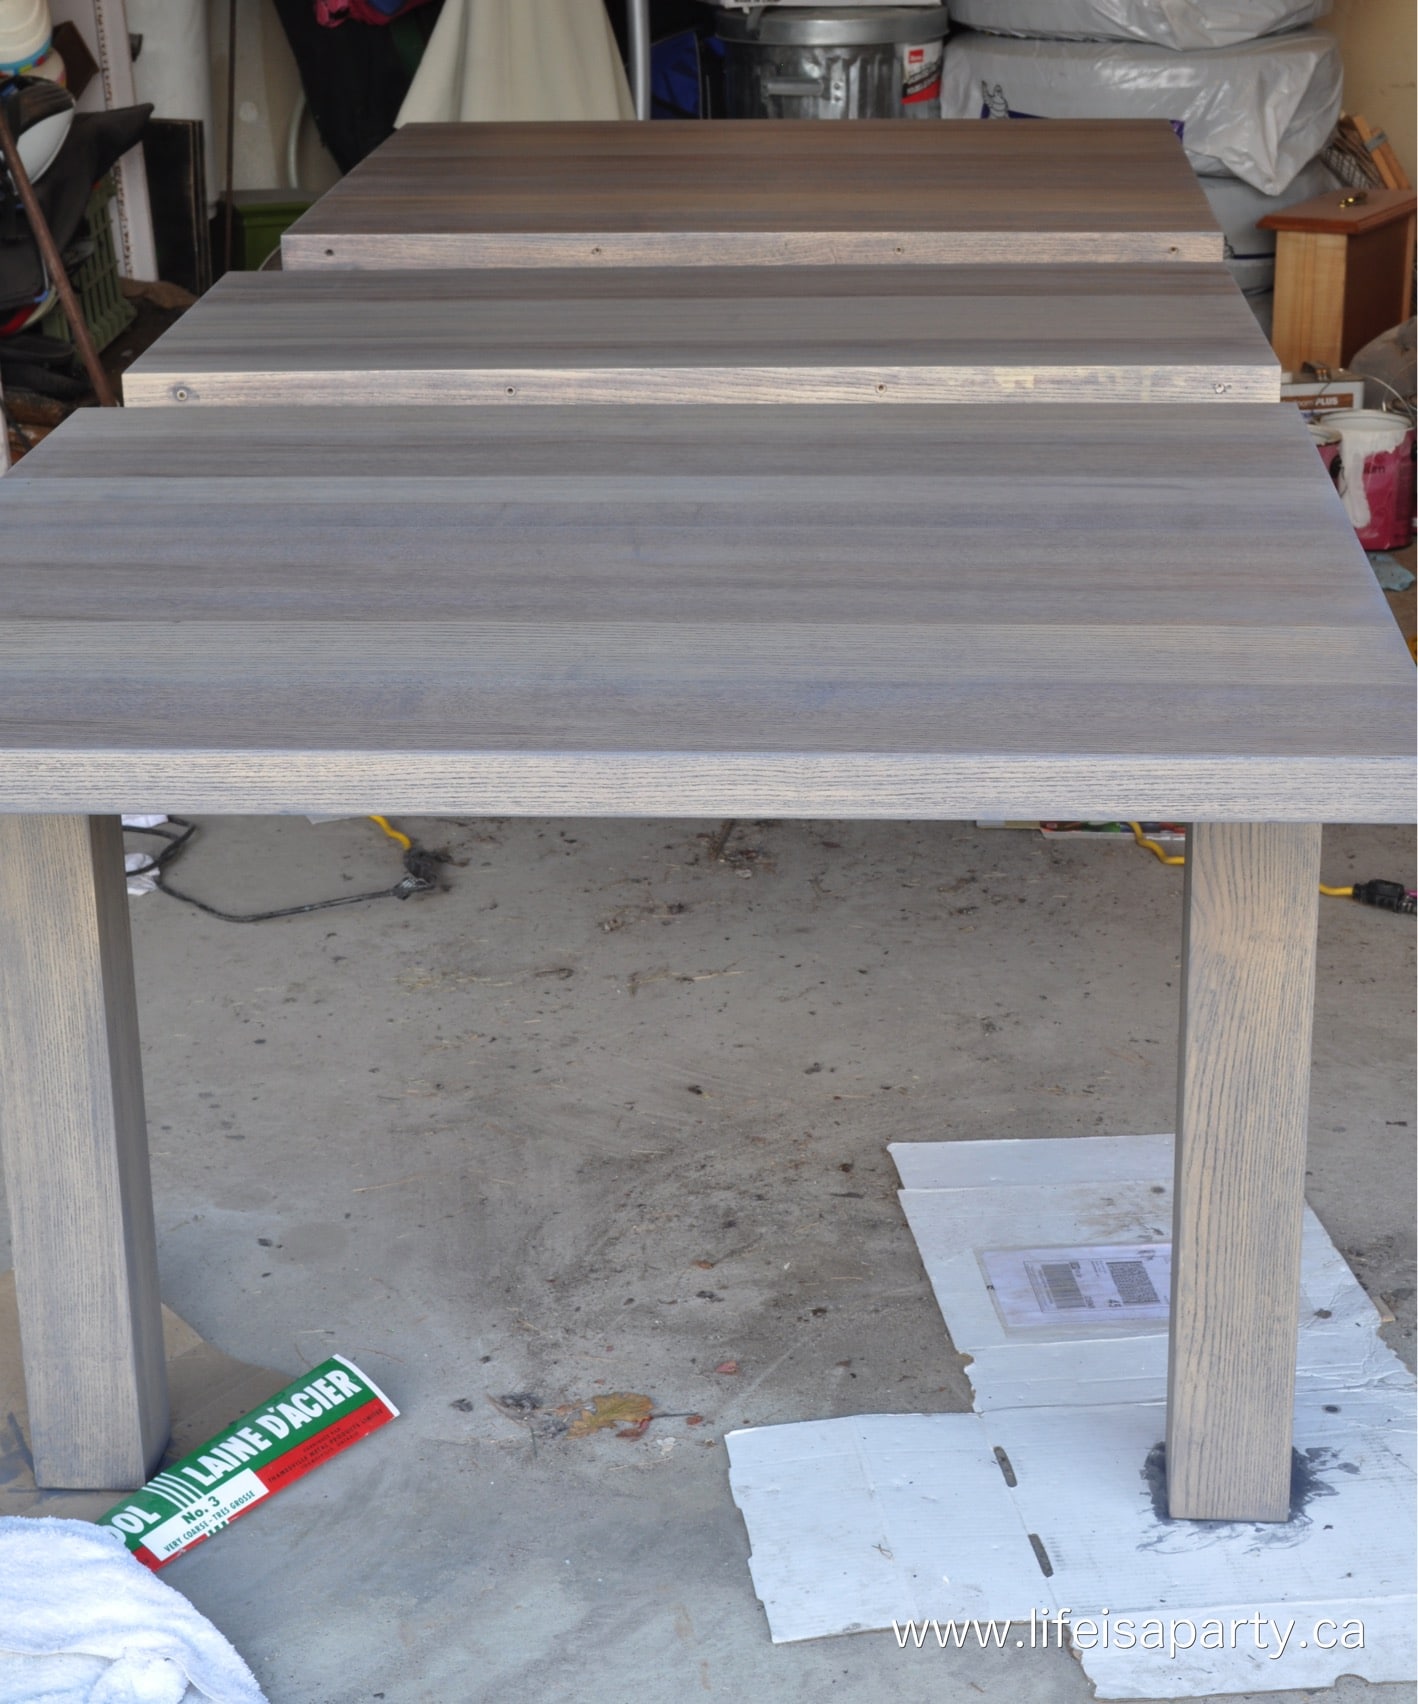
After all that hard work, the table came out looking amazing! It was really worth it all in the end. If you have some old furniture with wooden veneer, it's a great way to give it new life.

It was so fun to set my new beautiful table.
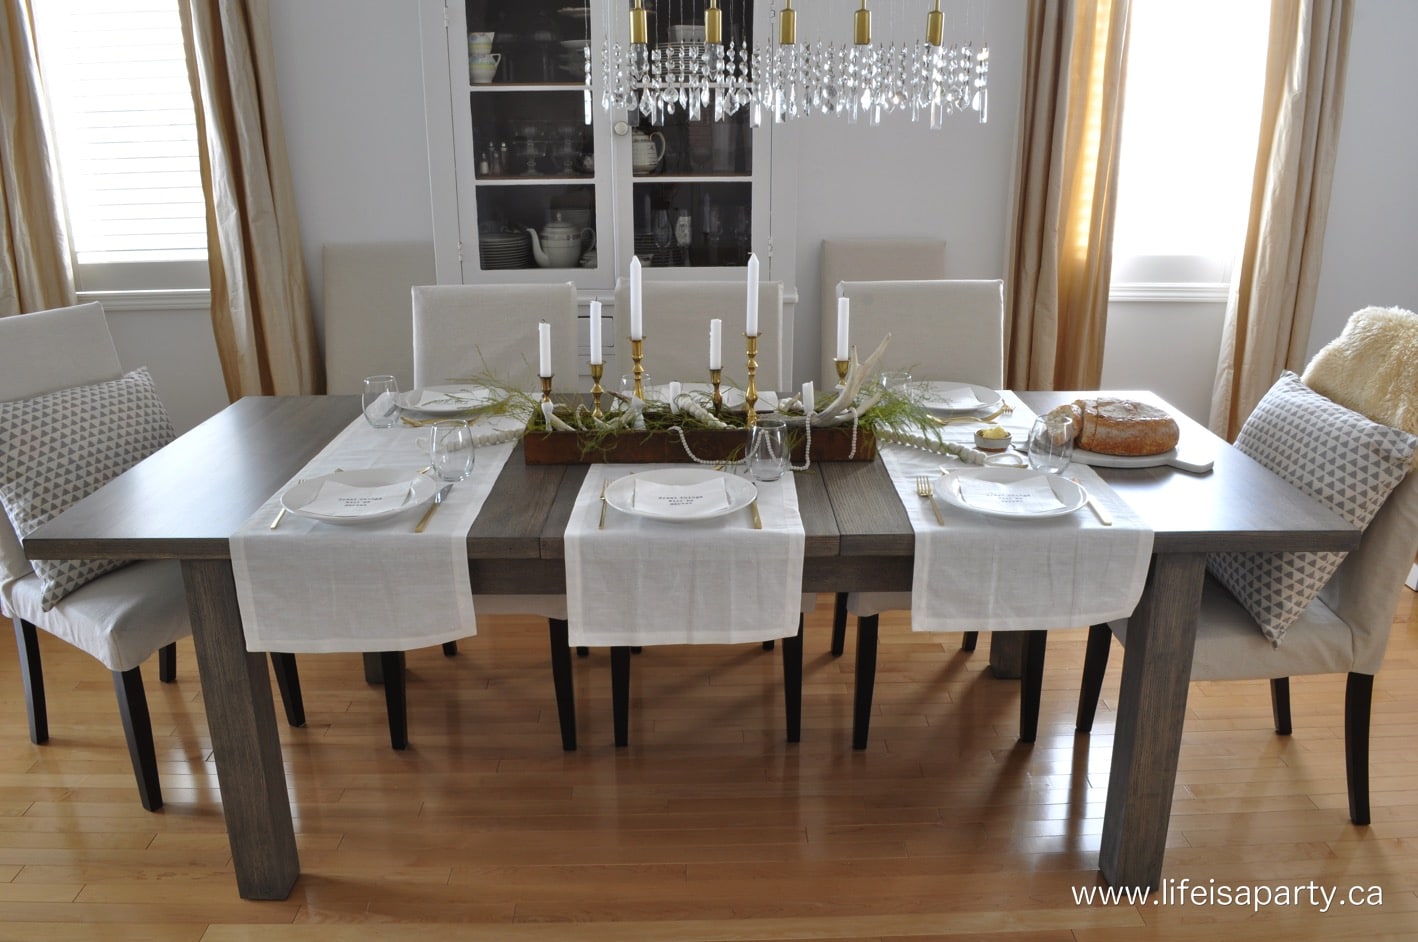
Friends who saw it actually thought I’d gone out and bought a new table. I’m really glad I did it, now that it’s all done, it really was the best option for me even though it was quite time consuming.

With a newly refinish veneer dining room table that looks like new, life really is a party!
Disclosure: Minwax kindly supplied materials for this project, but the opinions -as always, are my own. Thanks for supporting the brands that make Life is a Party possible.
More Inspiration:
Or you might like Expert Tips From A Contractor On How To Install Shiplap.


Hannah J Parrish says
Absolutely love it and agree the sides should be painted. Just love everything you do!
dnr says
Hi Alyssa, I just used the generic hardware store brand. The friend that who was helping me felt they were all pretty much the same, so I went with his advice. Best of luck.
Dannyelle
Alyssa Trumic says
Hello! I am about to embark on refinishing my dark stained veneer bedroom furniture. And this was so helpful! It's not quite as dark as your table, but instill have a healthy fear of this project! What stripper did you use? I am trying to figure out which product to us! Thank you.?
ramjisro says
Yes, for me it was so hard to remove. Start with a rough grit, and get finer as you go. You can even very lightly sand with the very finest grit between coats of varnish. Good luck!
Tara says
Hi I have have same exact table and just doesn’t match the rest of my stuff anymore. I’m planning on just sanding as you said with the finest sand paper, then use paint remover and carefully scraping. After scraping did you use sandpaper again my band?
dnr says
Hi Carrie, we actually found it impossible to get through that baked on factory finish by hand, so we had no choice but to use the sander. I'm sure it depends on the finish that's on your table. Best of luck with your project.
Dannyelle
Carrie says
This is gorgeous and I was so happy to find it because I have a very similarly finished table that I want to sand down. From what I've read, it's recommended to hand sand instead of use the electric sander, but what is your recommendation based on your experience? Use it but be very careful? Seems like it would really help cut down on some of the elbow grease!! Thanks!!
dnr says
Hi Kaitlynn, It would really cut down the time to just to the table top, really hard to say by how much because the top was the hardest by far. Wishing you lots of success with this project.
best,Dannyelle
Kaitlynn says
Absolutely gorgeous! About how long do you think it would have taken if you didn't do the legs or the edge? I'm planning to restrain my table top a lighter color but painting the legs and chairs.