How To Sew Parson Chair Slipcovers: Inexpensive chair makeover with drop cloth slipcovers you can sew yourself without a pattern.

Jump to:
Dining chairs are a big part of a dining rooms design. This week I'm making over my parson chairs by creating my own parsons chair slipcovers for them.
Parson Chair Slipcovers
I started things off with making ten slipcovers for the Parson Chairs in my dining room. I have loved these black leather Parson Chairs over the last ten years of having them. They’re comfortable, they're still in good shape, and they have been easy care since the leather could just be wiped off if needed. I wanted to keep the good parts, but give them a makeover to fit our new lighter colour palette. I decided making a slip cover would do the trick. With slipcovers they’d still be comfortable, cute, and with removable slipcovers, they’d still be easy care too. Here’s the before shot of the room.

I debated buying slipcovers instead of sewing my own. But these chairs were bought at a big box store and aren’t available any more. I couldn’t find the exact size slipcover I was looking for, since these are a smidge smaller than most. After debating buying some readymades and adjusting them, I figured if I had to sew anyway I may as well make them myself.
I originally planned to make long slipcovers, but while I was looking for some to buy, I saw the short ones and thought they were a great way to get a little more contemporary look in the dining area. If you're making your own chair covers, you can easily adjust these to create a longer chair skirt.
Materials:
- fabric painter's drop cloth
- thread
- pins
- sewing machine
- scissors
- large paper to make a pattern
- velcro
How To Make Parsons Chair Slipcovers
The Fabric
The fabric I used was actually large fabric drop clothes from the hardware store. These were used as table cloths for an event, and instead of them getting thrown out at the end, I took them and brought them home. After a good wash they were ready to go.
I really recommend using these for this project. The drop cloths are a nice and neutral colour, in a natural warm cream colour cotton muslin fabric. The drop clothes are much cheaper than buying yards of fabric at the fabric store. After a few washes the fabric pieces are nice an soft. I also found that the fabric was nice and thick and hard wearing, so a great choice for making a project like slipcovers which will have a lot of wear and tear. For the look, cost, and durability of the drop cloth material, I think it's a really great option compared to home decor fabric if you're making a new cover.
Also, do make sure to prewash and dry your fabric, to avoid any shrinkage when you wash your slipcovers.
How To Make Your Own Pattern
The hardest part of the project was getting started on the pattern. I saw lots of examples on-line where people just cut and pin to make slip covers, but needing to make ten of them, I knew I would fare better with a pattern that I could reuse each time.
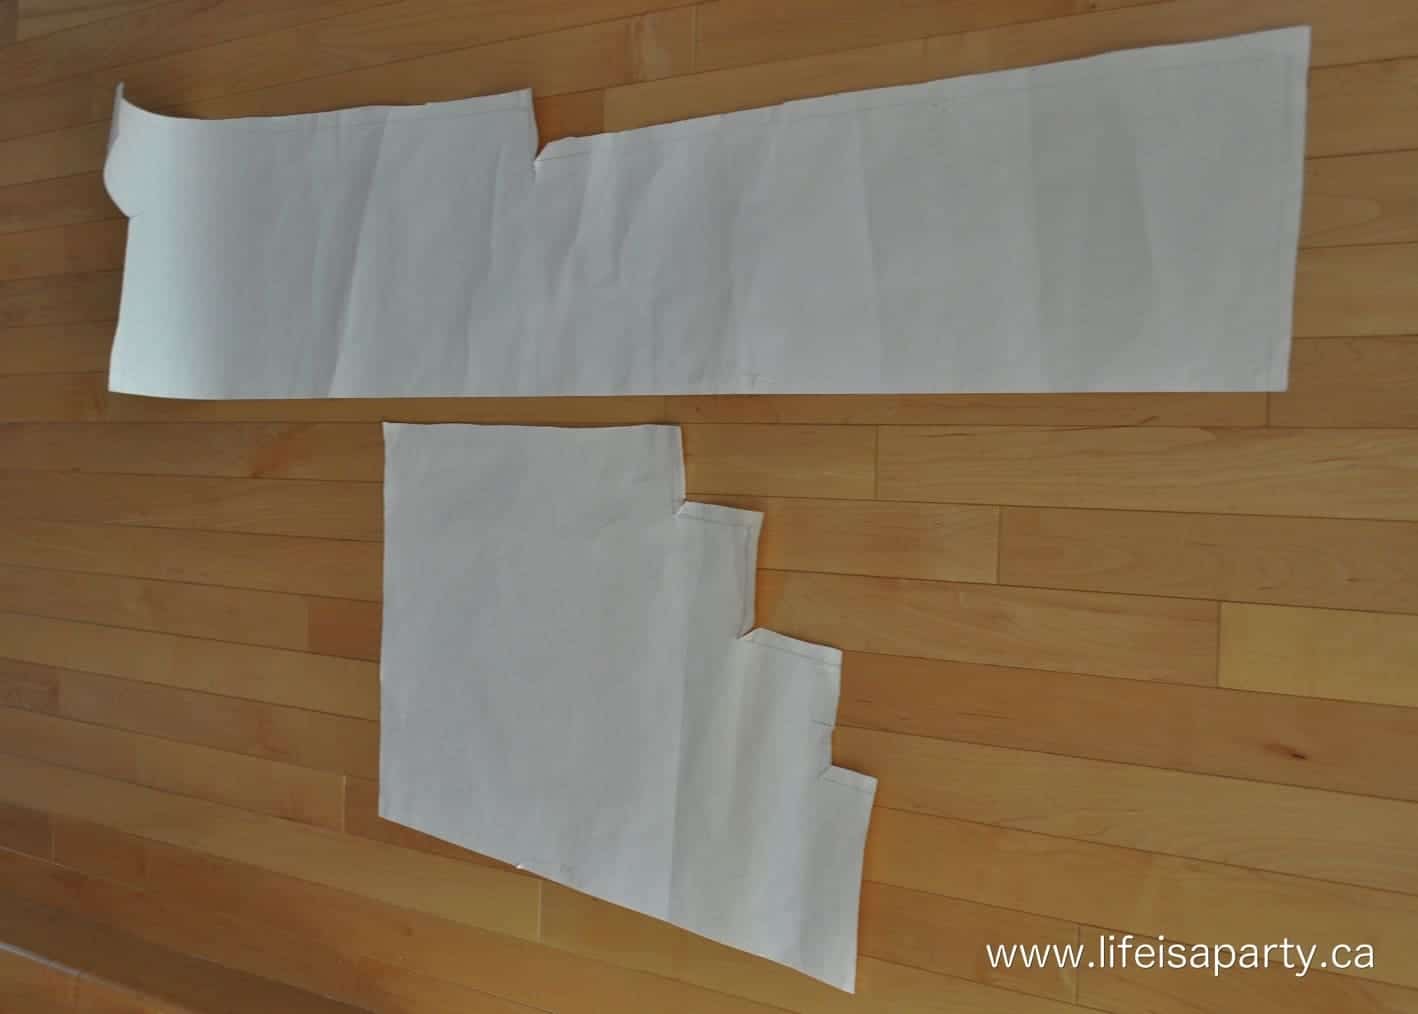
To make my slipcover pattern I spent some time researching and thinking about how to do the least amount of sewing. I came up with one back piece and one seat piece. The only drawback to this pattern is that it requires large pieces of fabric, but that’s where the drop cloths work out great.
Start With Newspaper
I started out by taping newspaper to the chair as a cover to fit the shape of the chair. I then carefully cut it off the chair along the spots where I wanted the seams. For the back of the chair, I made two seams, one along each side, so that the back piece could be made from one large piece of fabric folded over the top of the chair. There's also a seam at the base of the back, where the seat piece connects to the back piece. I also cut seams at the corners at the front of the seat of the seat. I tried to minimize the seams that I would have to sew, and keep the pattern as simple as possible. The seat piece is designed to wrap around the bottom of the seat.
Next, I laid out the newspaper on a large flat surface, and folded it exactly in half and straightened out my edges.
White Paper
For the next step, I placed the newspaper pattern onto thick white paper and traced it. Then I added a half inch seam allowance, and cut out the pattern in the white paper. The white paper allowed me to add the seam allowance after, but also to keep the light fabric from getting dirty from the newsprint. The white paper was also thicker and easier to work with and reuse as a pattern.
The straight edge of each pattern is the fold line, so the fabric is folded in half and the pattern placed on top. When it’s all cut out, you unfold the fabric and have the complete piece, with both sides matching each other. This makes the whole process of cutting out all the different pattern pieces a little bit quicker and easier.
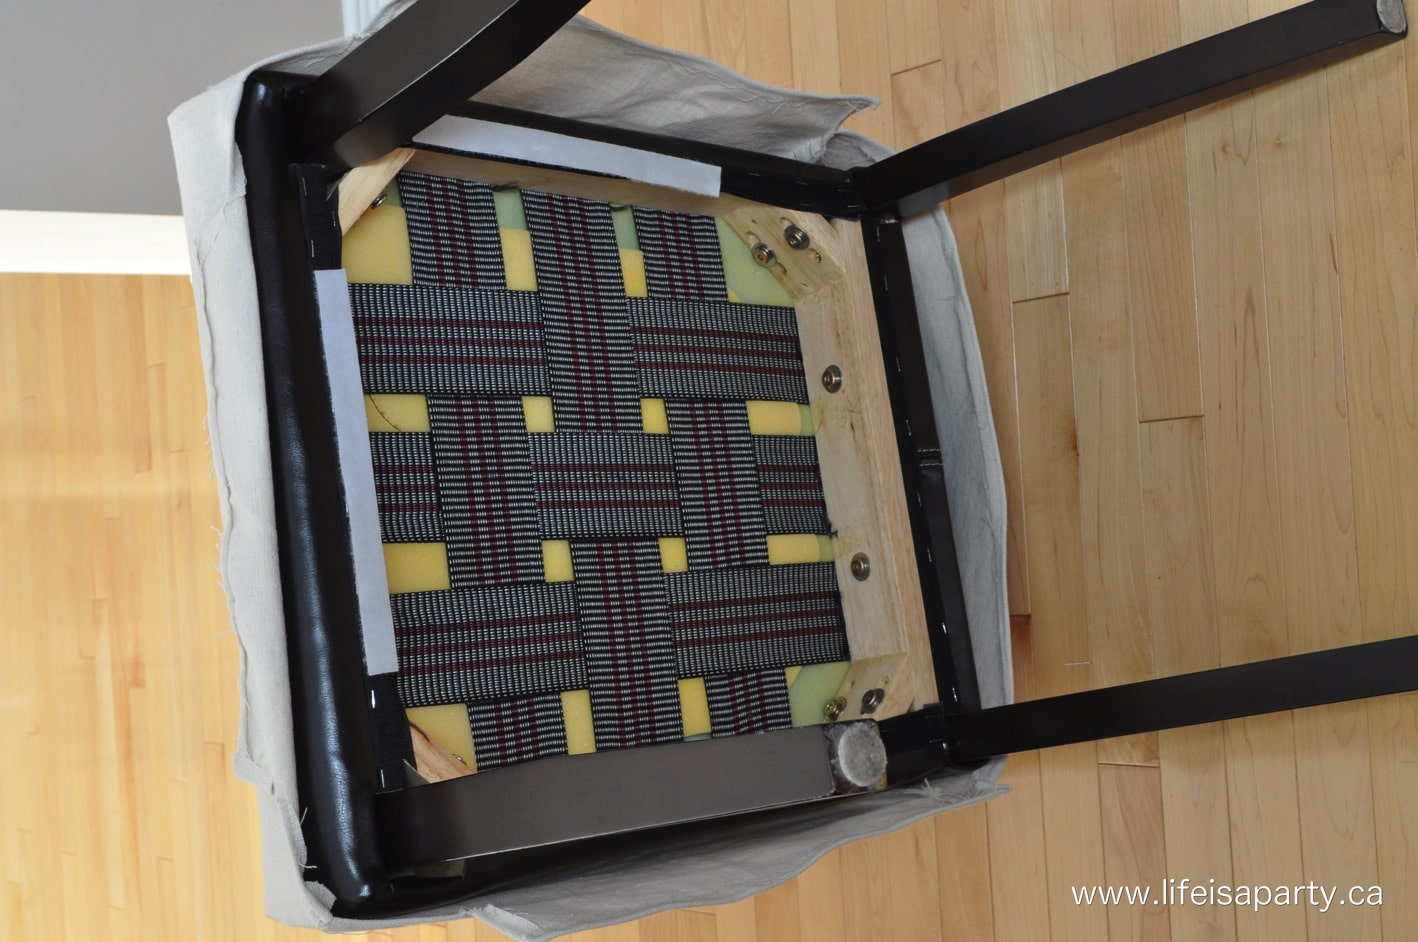
Once I had created my pattern, I cut out my first cover. I used pins to pin the fabric into place on the chair, and adjusted the fabric as I went. For my first attempt I used a disappearing marker to mark along the pin lines so I knew where to sew.
Trial and Error
After each seam, I tried the slipcover back onto the chair and adjusted if needed, and snipped off any excess fabric. The first slipcover took a long time, but I knew that after I’d figured out the pattern and my method it would get quicker and it did.

For the second chair, I made a few adjustments to the pattern, and then cut it out and pinned it to another chair. This time I used the pin lines as the sewing line.

After the second one was done, I was confident with my pattern, and was able to cut out more out at a time. Once I developed my method the pinning and sewing got quicker too for each new slipcover I worked on.
Velcro
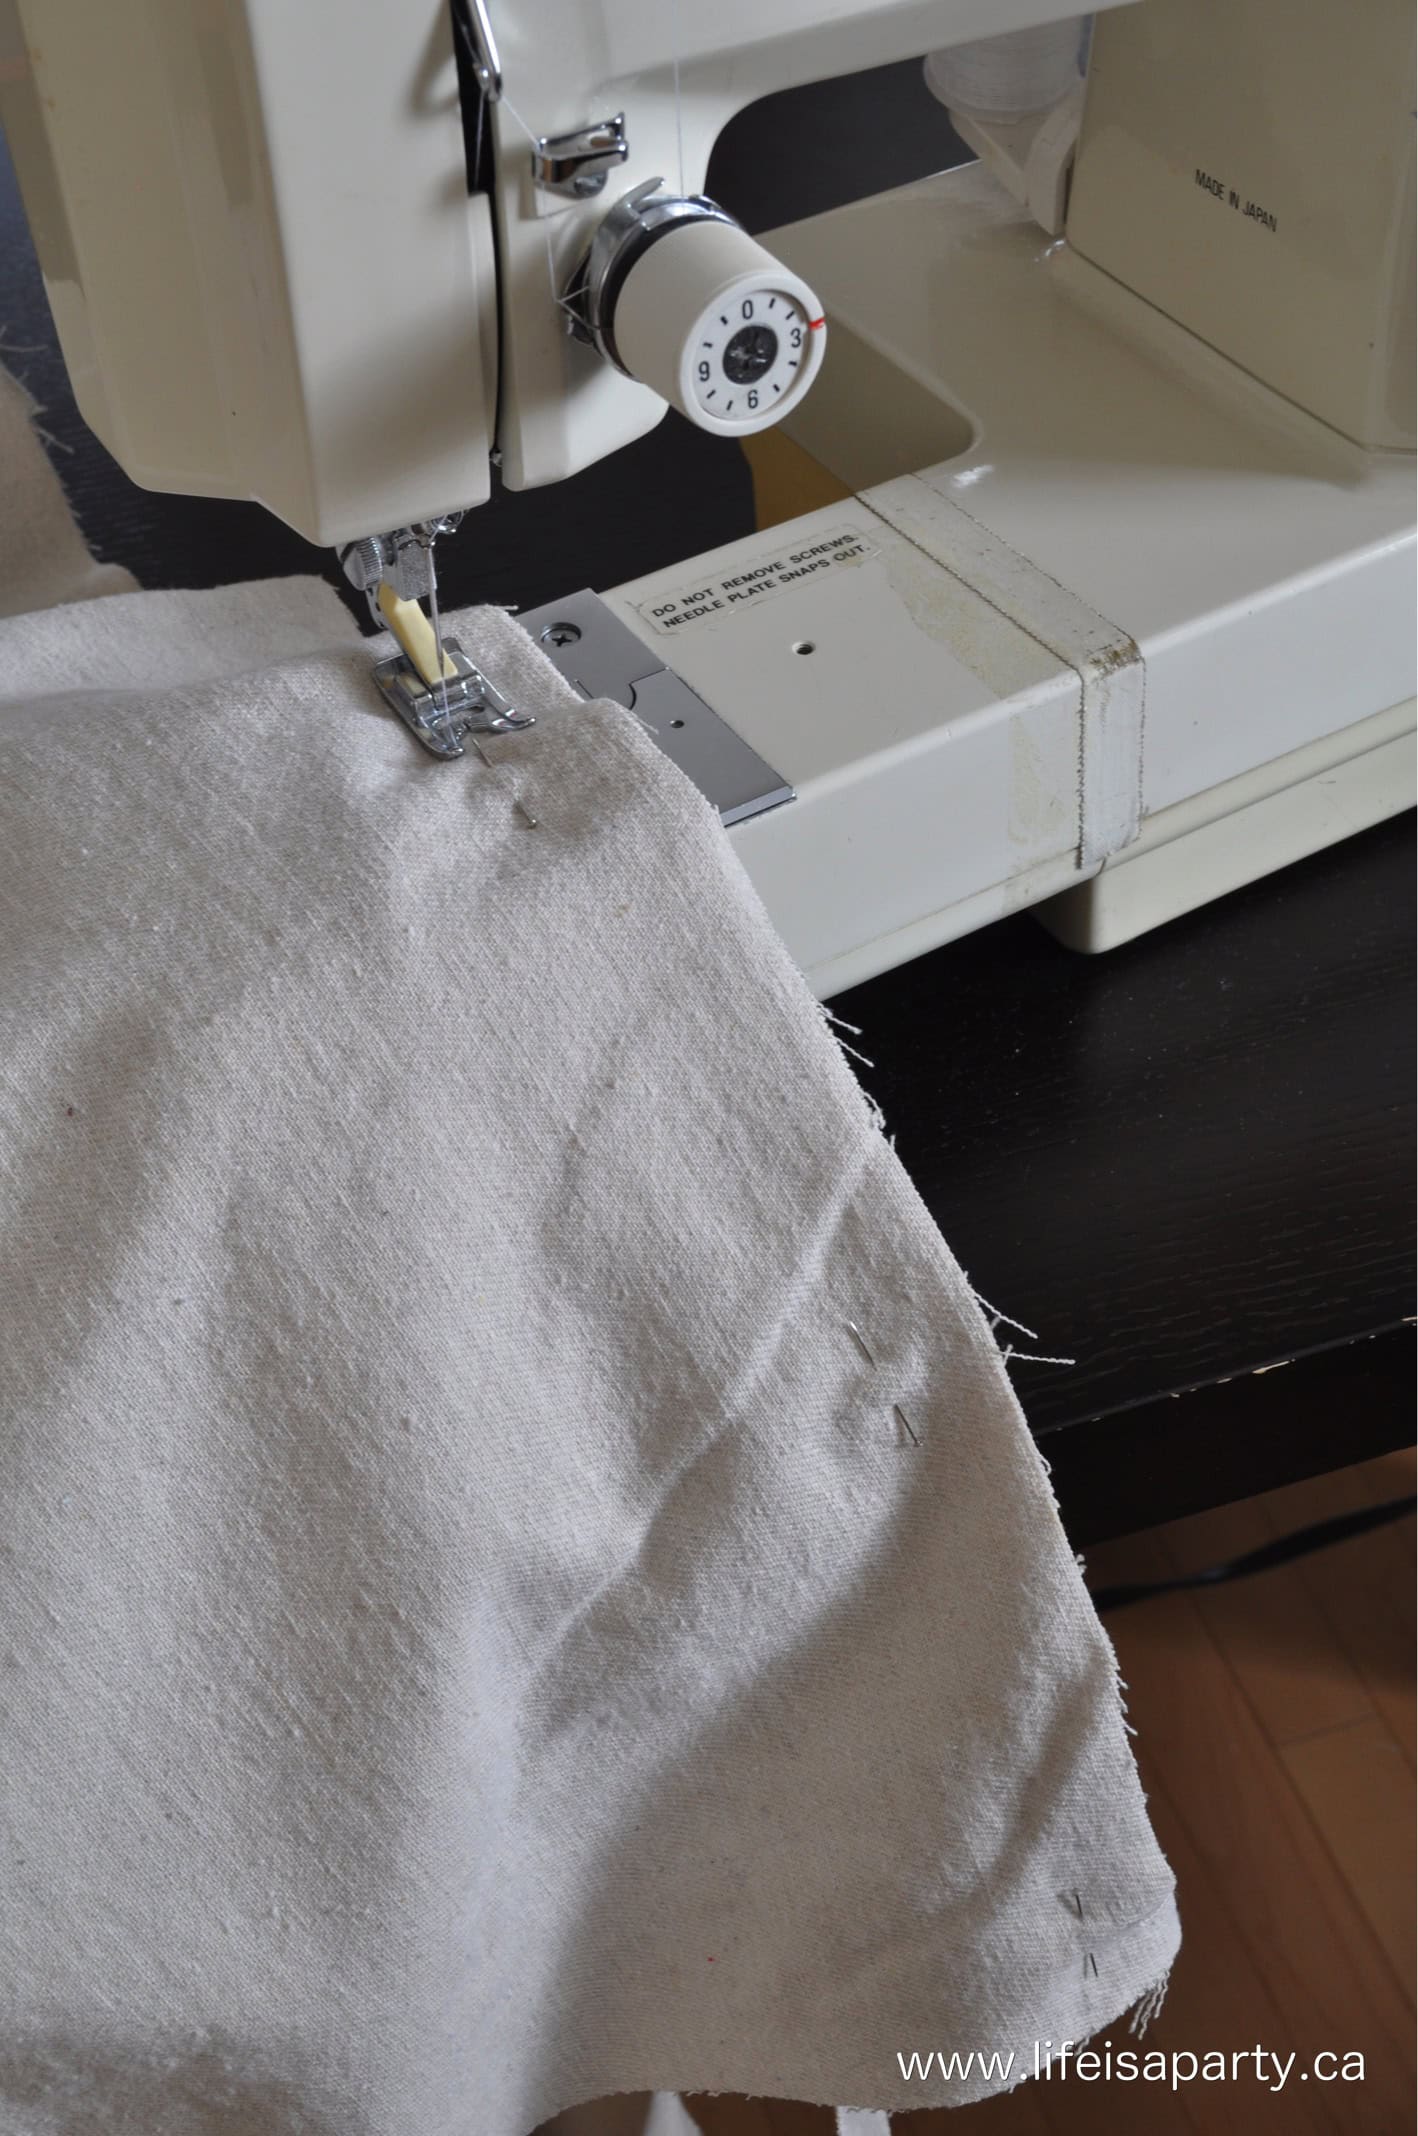
To finish the covers, I removed the bottom of the original chairs, which were velcroed in place, and added a long strip of velcro to each side of the chair base and the new covers so they could be wrapped around the sides and back of the seat and give a more tailored look. This will make it easy to remove and wash the seat cover in the future if it gets dirty.
If you were making long skirts on your chair seat, you can skip the whole velcro step and just make long seams down to the floor, and finish the bottom raw edges with a seam on the bottom edge of the chair cover.
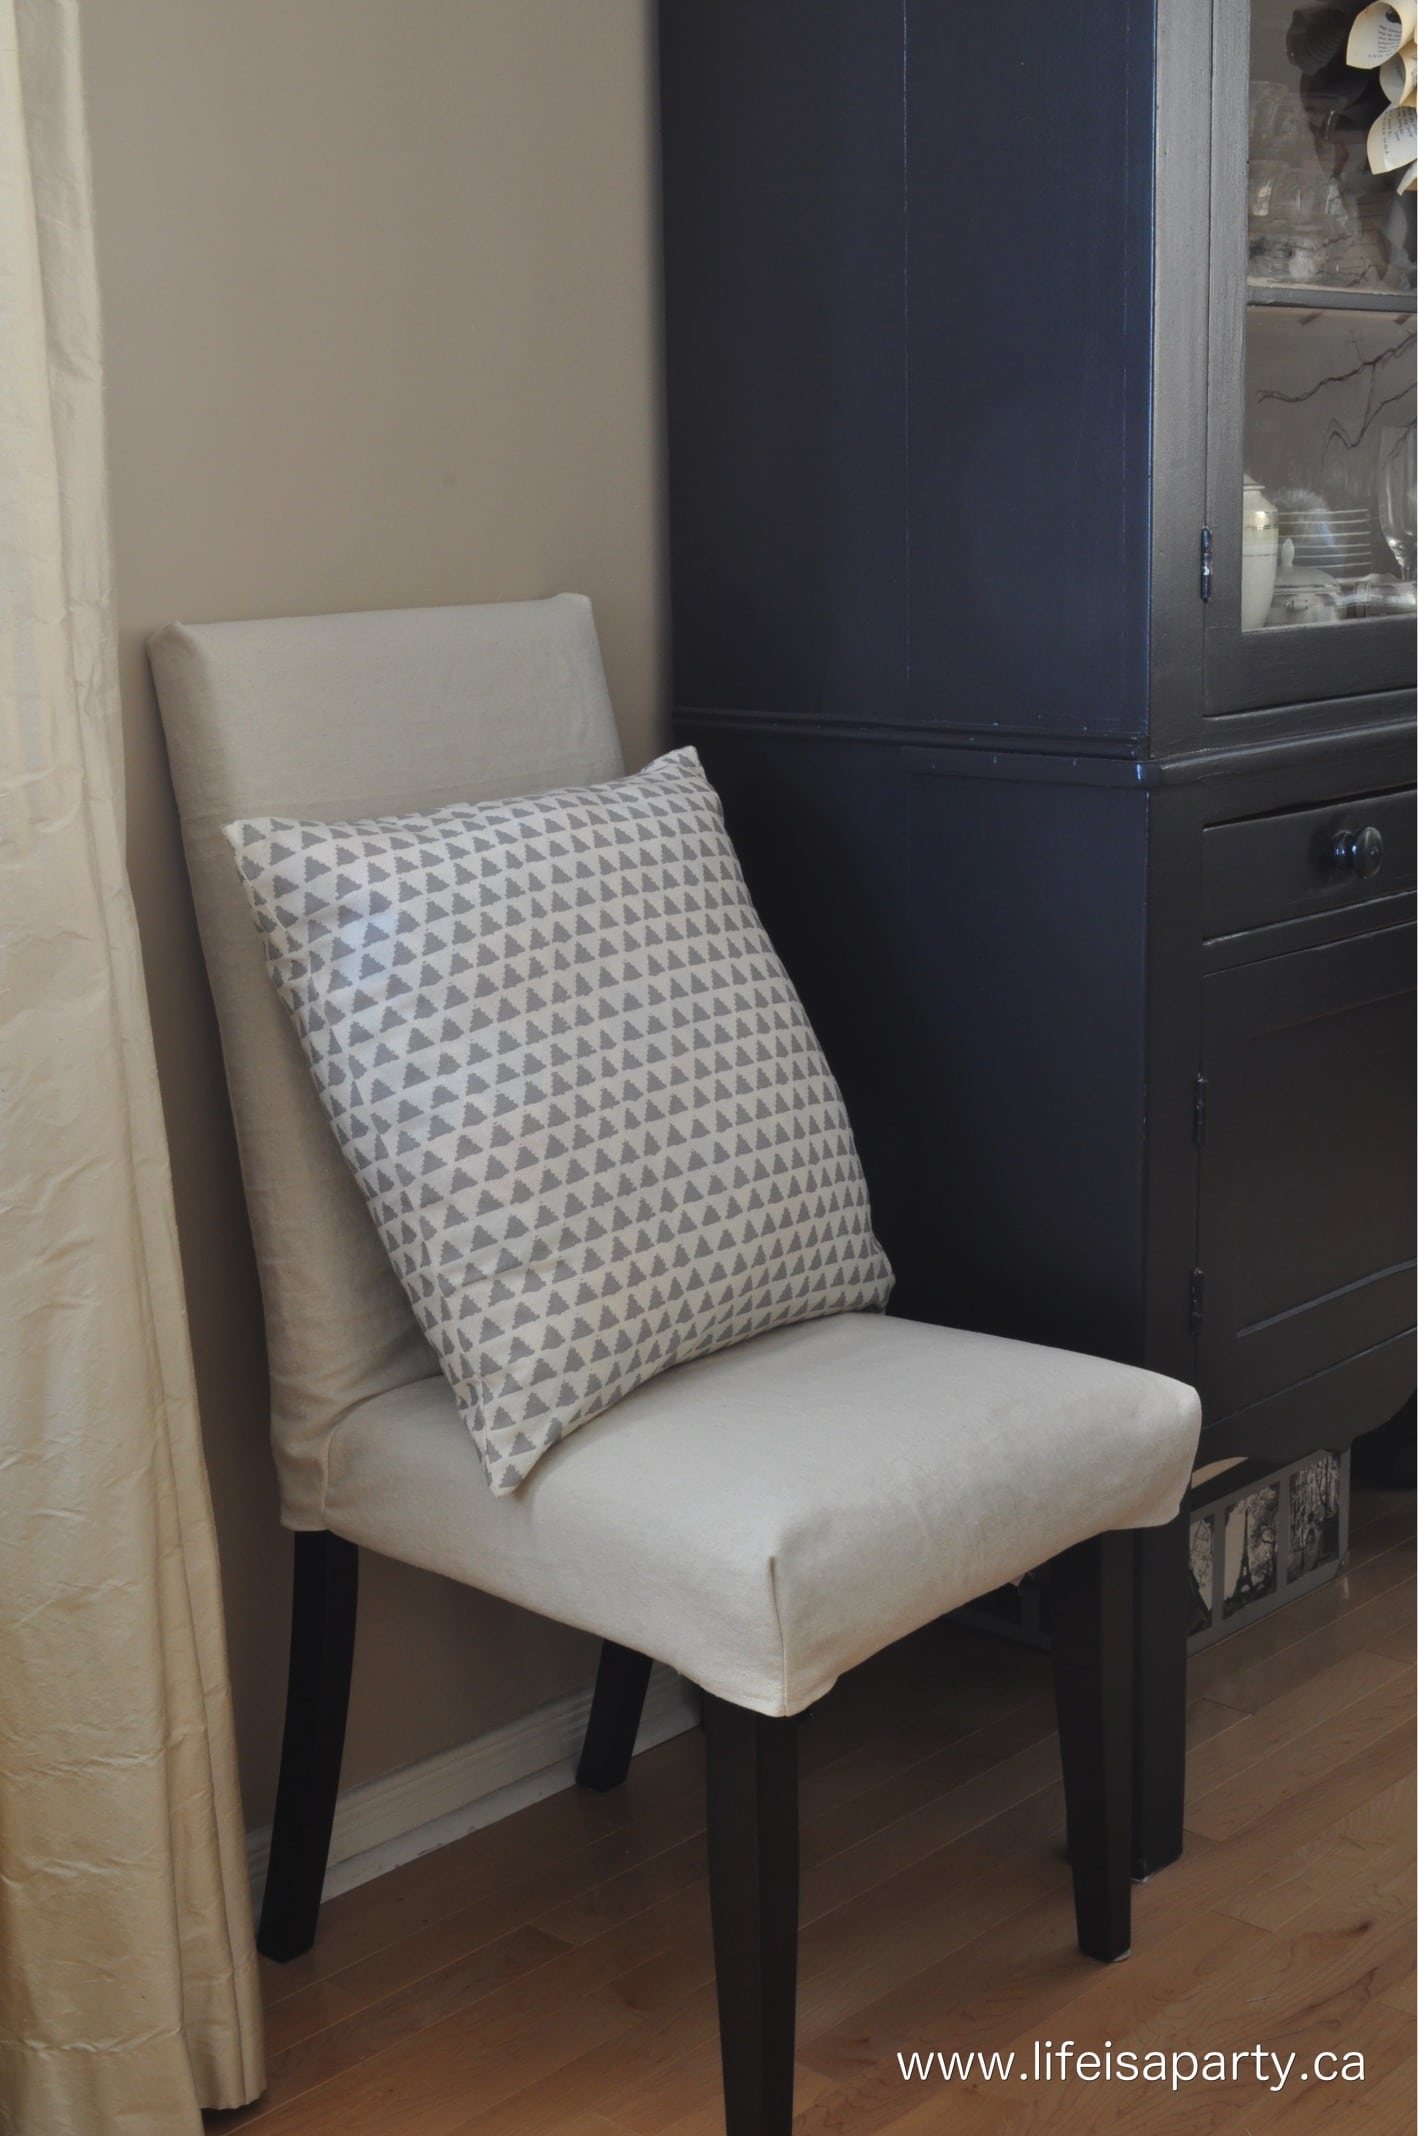
The covers aren’t quite perfect. There’s definitely a few differences between them, there are some not perfectly straight line seams and some of the slipcovers don’t lay perfectly everywhere. I'm not a professional seamstress by any means. But, they were so worth doing. This was such an economical way to give an old chair a makeover.
The whole room is already looking lighter. I can see that the chairs will be a perfect neutral backdrop for things I’m photographing in the room in the future.

The Rest Of The Room
I am thinking I might refinish the wood legs to something a bit lighter? But then again a little bit of black in the room might be a good thing. For now I’ll leave them, and see how they look as the room evolves over the next 5 weeks.
I’m so pleased that this project only cost me about $10 for thread and velcro. Even if you had to buy the fabric, this would be a really inexpensive way to give your old parson chairs some new life.
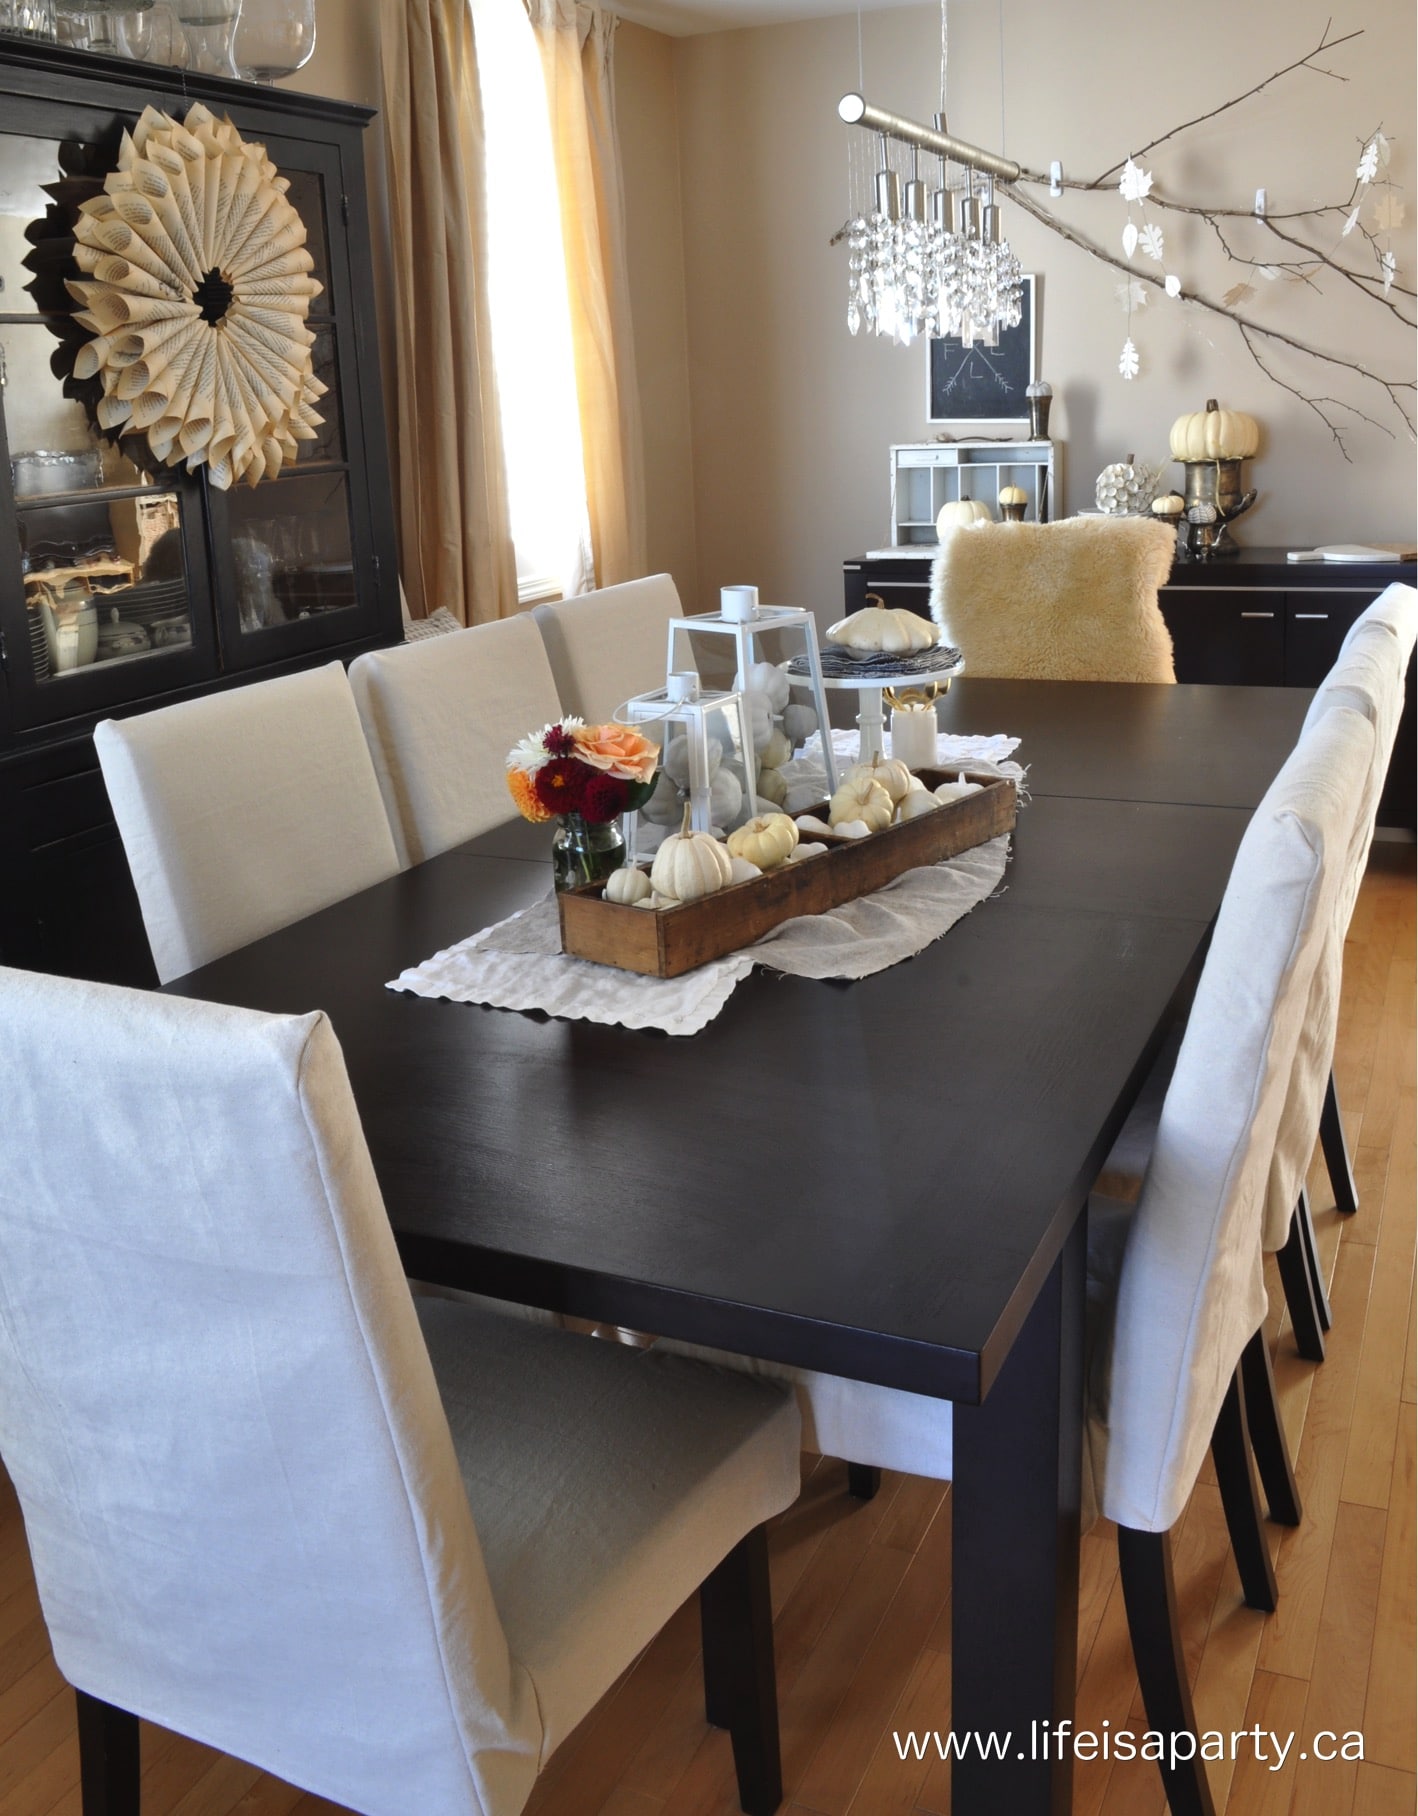
With handmade Parson Chair Slipcovers, life really is a party!
You can catch up on my other projects for the One Room Challenge here:


Dannyelle says
Hi Jean, you can get the drop cloths in all different dimensions, depending on how many chairs you're covering and where you purchase them. I did cut the hem off. Good luck with your covers! Dannyelle
Jean Herndon says
What size are the drop cloths?
was it hemmed and did you cut off the hem? I was all so wanting to put small skirt around the bottom of the chairs.thanks for your inspiration and I hope you answer my questions
I
dnr says
Thanks Karrie, you're so sweet. Go for it, once you get going on the slipcovers it's all worth it.
Dannyelle
karrie Trowbridge says
I love them! I have a similar table that I've had for the last 13 years that I'd love to make slipcovers for... Just waiting for the perfect fabric...Or, time... Or, maybe the Spring One Room Challenge! You've inspired me to follow through. I can't wait to see your dining room transformation! I love Scandinavian design!
dnr says
Thanks Delia, can't wait to see it all it come together for both of us. Your plan looks great. Looking forward to the end when we get to enjoy it!
Dannyelle
dnr says
Thanks Laurie, here's to brighter pictures in the future -hopefully.
Thanks for your encouragement.
Dannyelle
Delia Gibbs says
Hi Dannyelle : ). You did an amazing job on those slipcovers. I have a few I need to tackle as well. I am also making over my dining room for the ORC, and am excited to see you partaking in a similar endeavor. Good luck!
Laurie @ VinYet Etc says
Beautiful, what a difference a lighter colour makes. I always find it amazing how much of the light black absorbs from a room!