How To Make A Fall Leaf Backdrop -use real leaves and washi table to make an inexpensive stunning fall backdrop for your fall entertaining!

Jump to:
Yesterday I shared an amazing Fall Thanksgiving Dessert Table -you can read about it here. One of my favourite elements of the whole dessert table was the amazing Fall Leaf Backdrop. This fall backdrop was really inexpensive to put together, and adds a big impact! This easy DIY backdrop is a great way to bring the beauty of the outdoors in fall in.
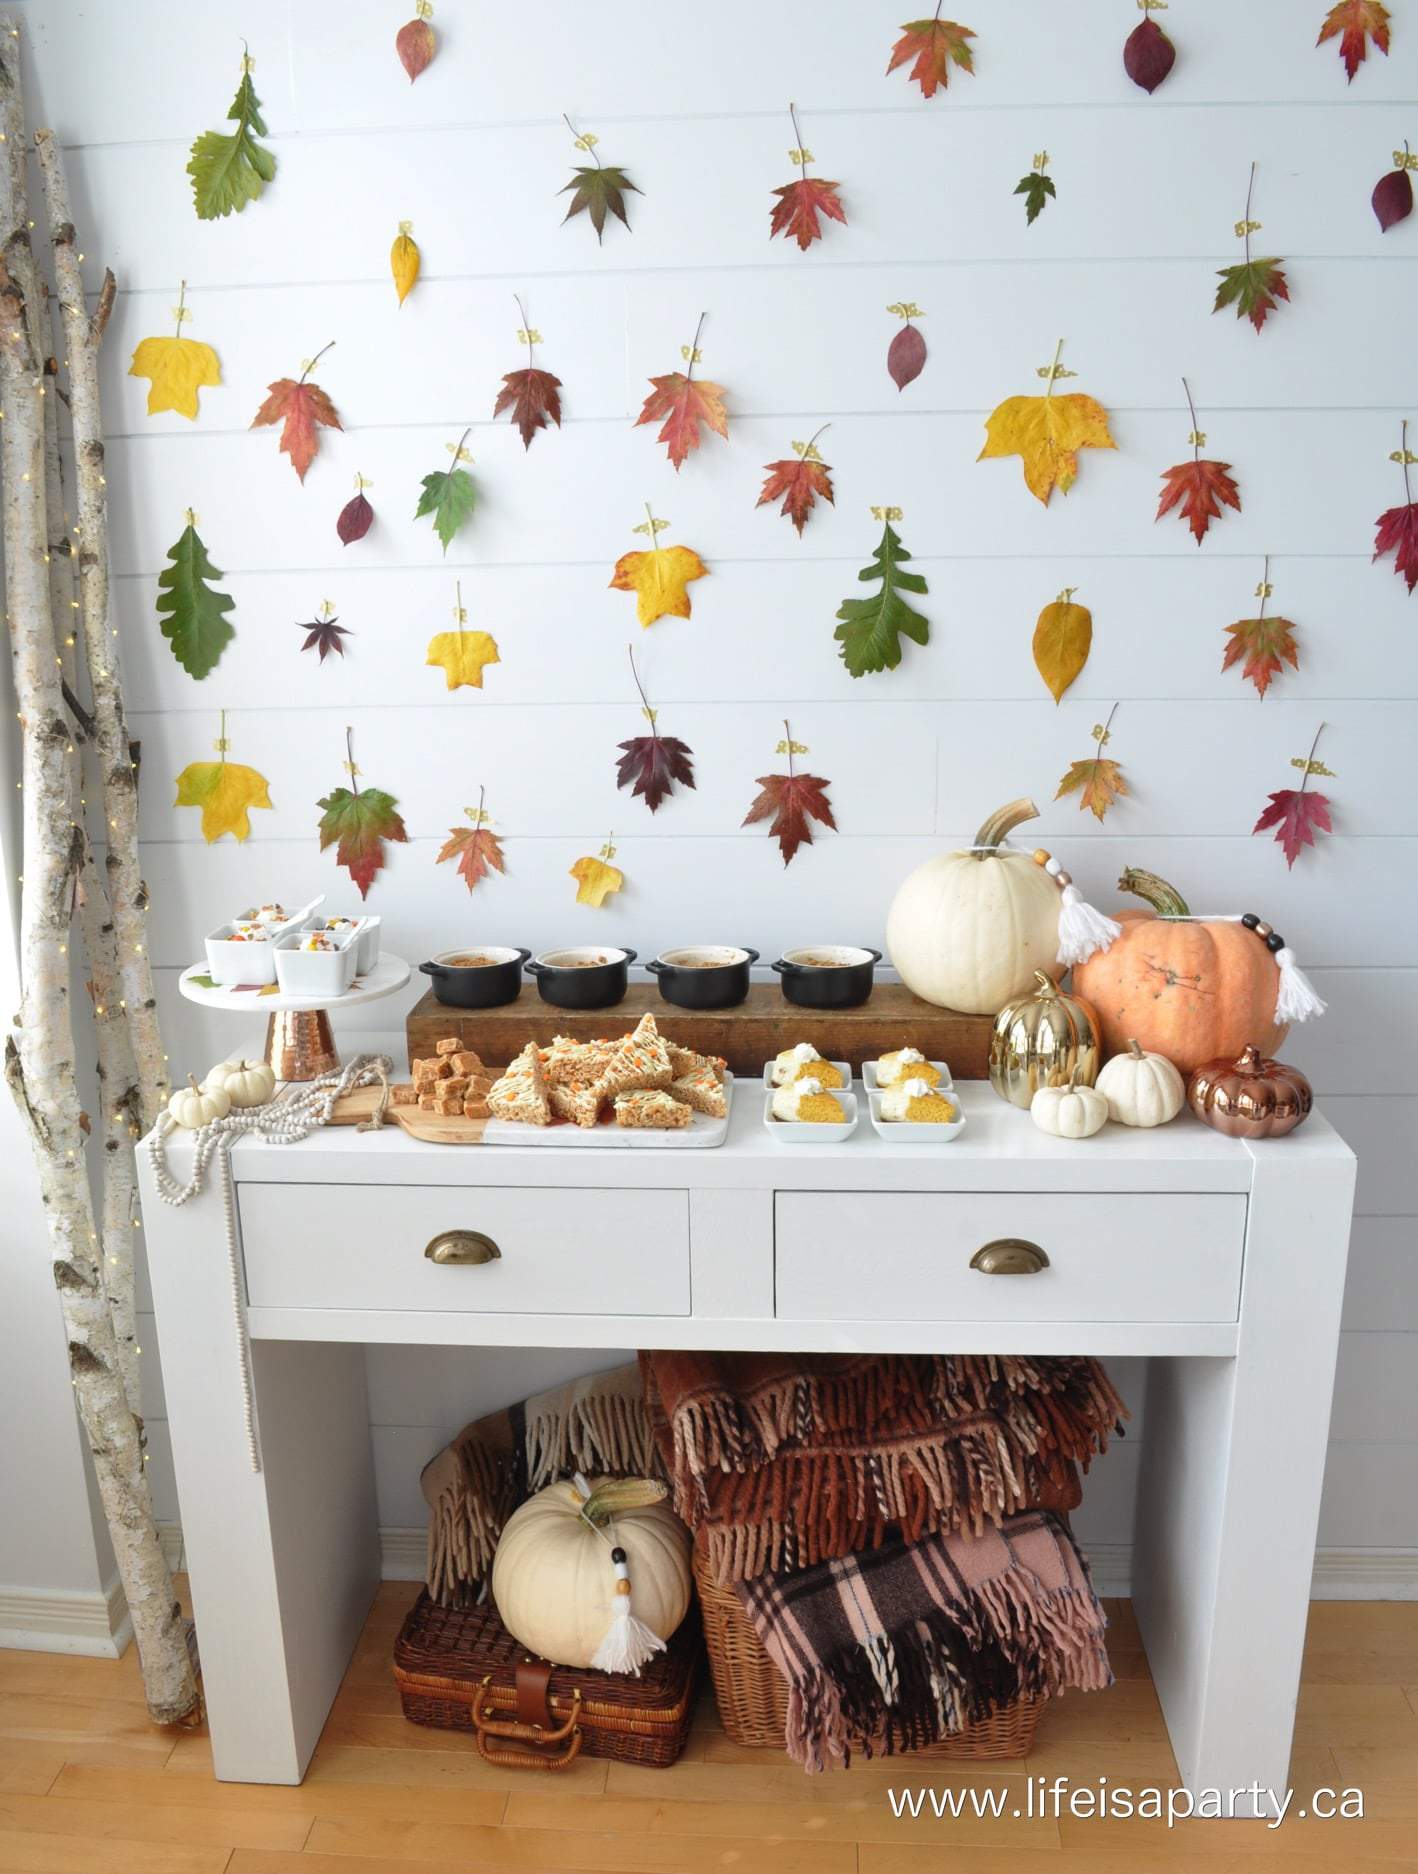
Dessert Table Backdrop
We love dessert tables or food buffets for entertaining. This backdrop is the perfect creative idea to add some interest and a focal point behind the food. We used our dessert table for a Thanksgiving dinner, you could use it for any fall celebration, like a wedding backdrop or shower dessert table, or a Halloween party.
DIY Photo Booth Backdrop
This backdrop worked perfectly for a dessert table backdrop, but it would also be great as a backdrop for a photo booth. Imagine using it as a photo booth for guests at a wedding, wedding shower, fall birthday party, Thanksgiving, or baby showers. Set it up and invite your guests to take a memorial photo to share in front of this colorful backdrop. I love this beautiful backdrop, especially for fall wedding photos. Add in some pumpkins and hay bales for guests to sit on in front of the camera, and some fun photo props and you have an great idea for a photo guest book for any fall event.
Professional photographers use this idea take your pumpkin backdrop to the next level. Add interesting texture and fall colors in your photography studio for fall bookings. This is such a fun option for fall portraits. This simple backdrop idea is quick and inexpensive to create.
Fall Home Decor
It would also look great as part of your fall home decor. Imagine adding some fall leaves to the front of your fireplace for fall, or in your windows as fall decor. It's such an affordable way to add some visual interest and fall decorations to your home.
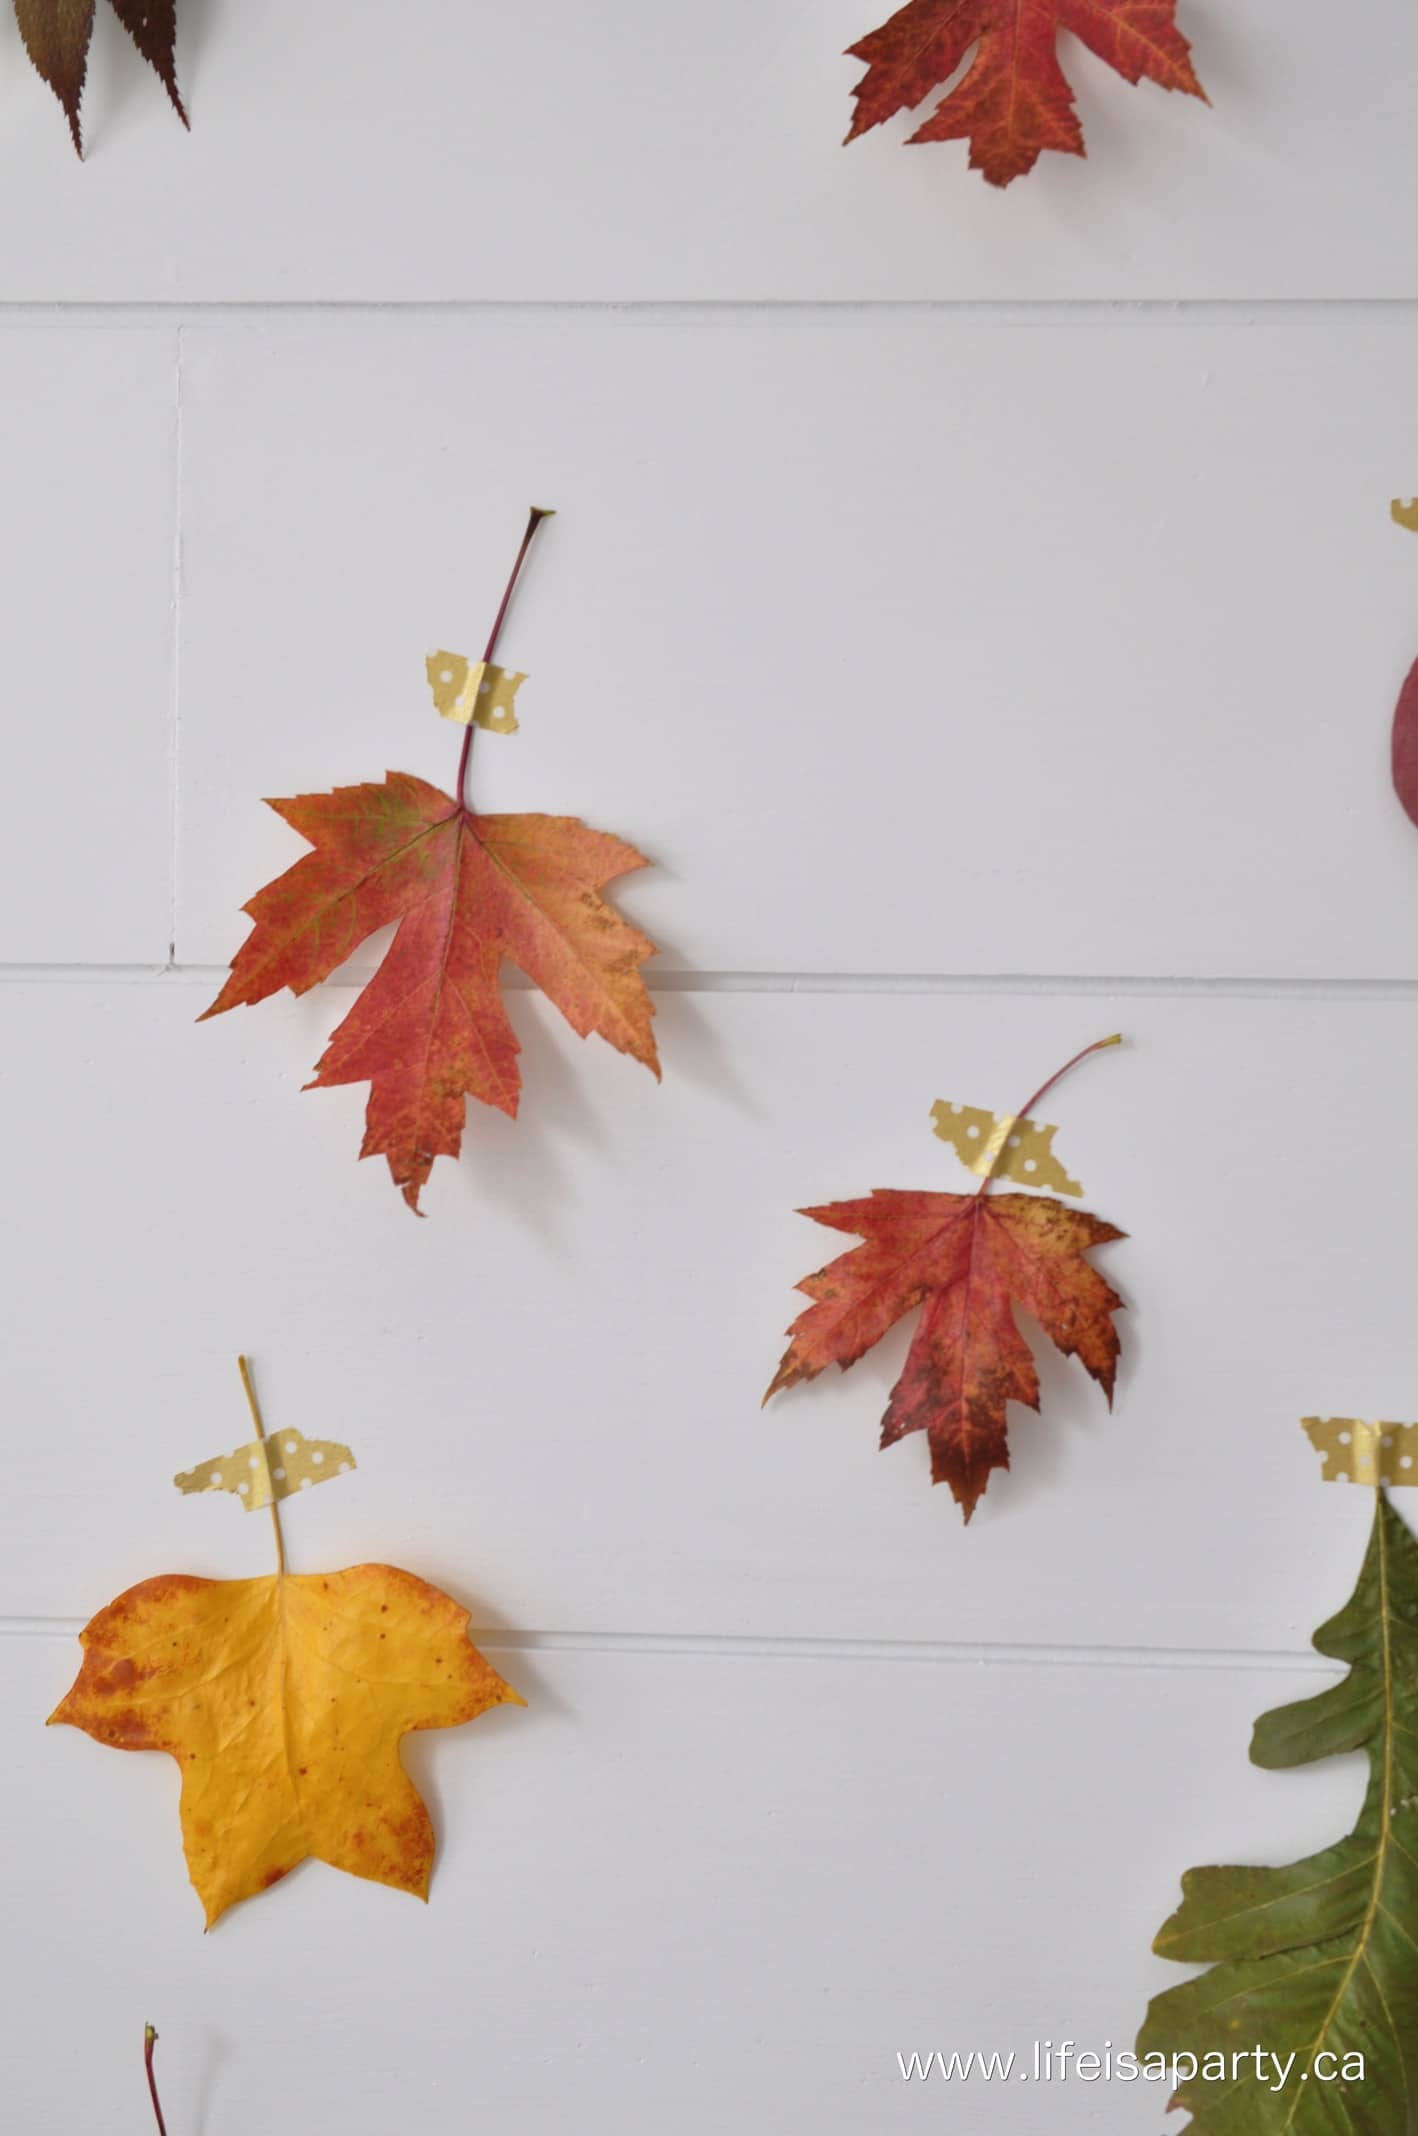
And this Fall Leaf Backdrop is really easy to make, and won't take much money to put together.
Supplies:
- fresh fall leaves
- heavy book
- iron
- paper
- wax paper
- washi tape
How To Make A Fall Leaf Backdrop
Pressing Your Leaves
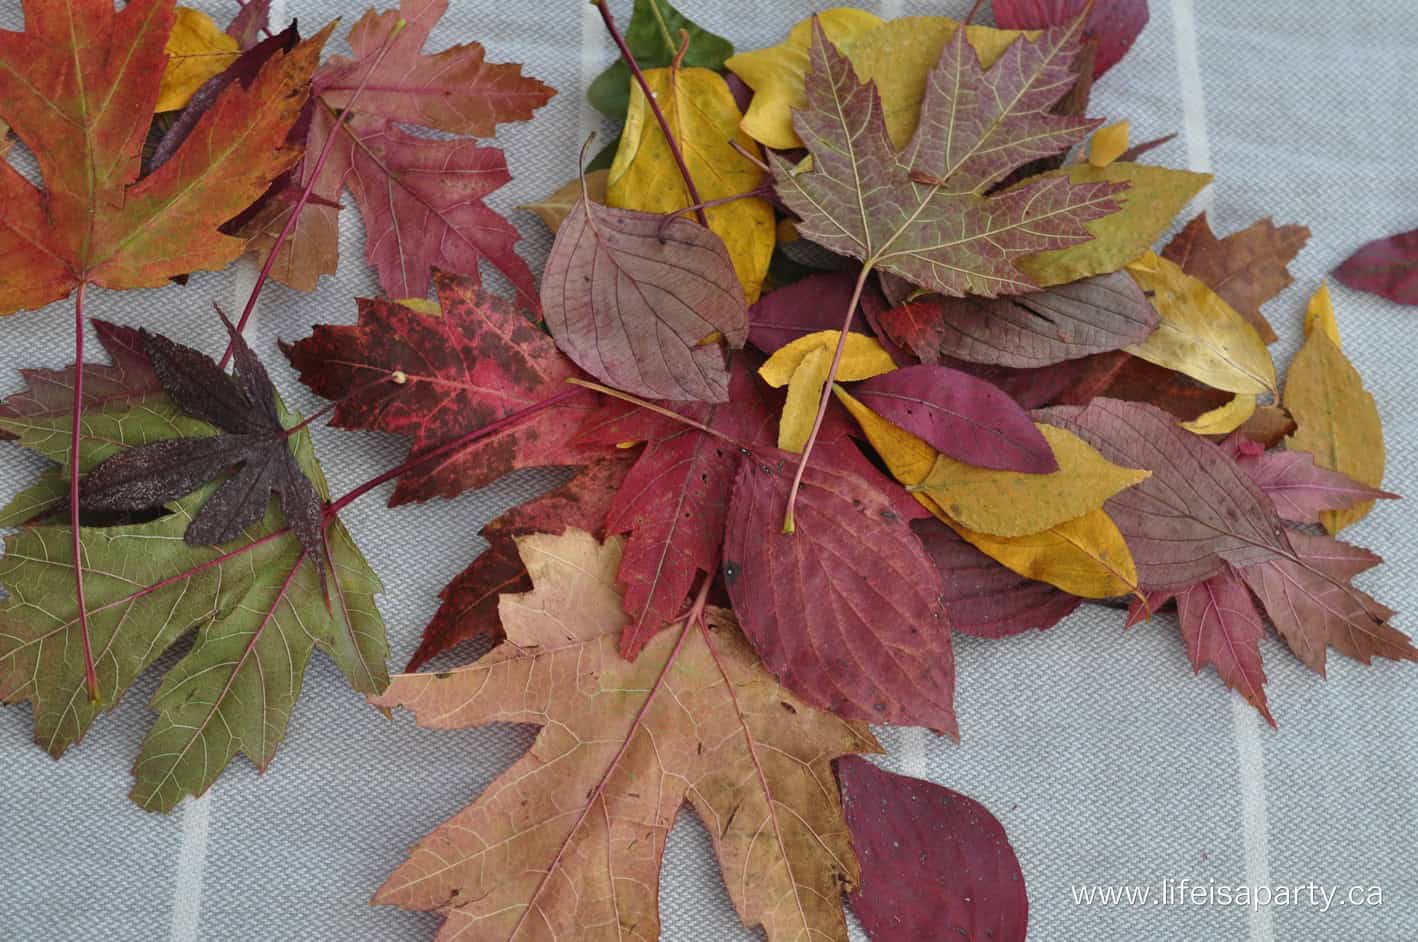
1. First you’ll need to collect some fall leaves from your neighbour. Look for different leaf varieties in different shapes and sizes. We used all the different colors of fall leaves, but you could use just your favorite color for your own backdrop if you prefer.
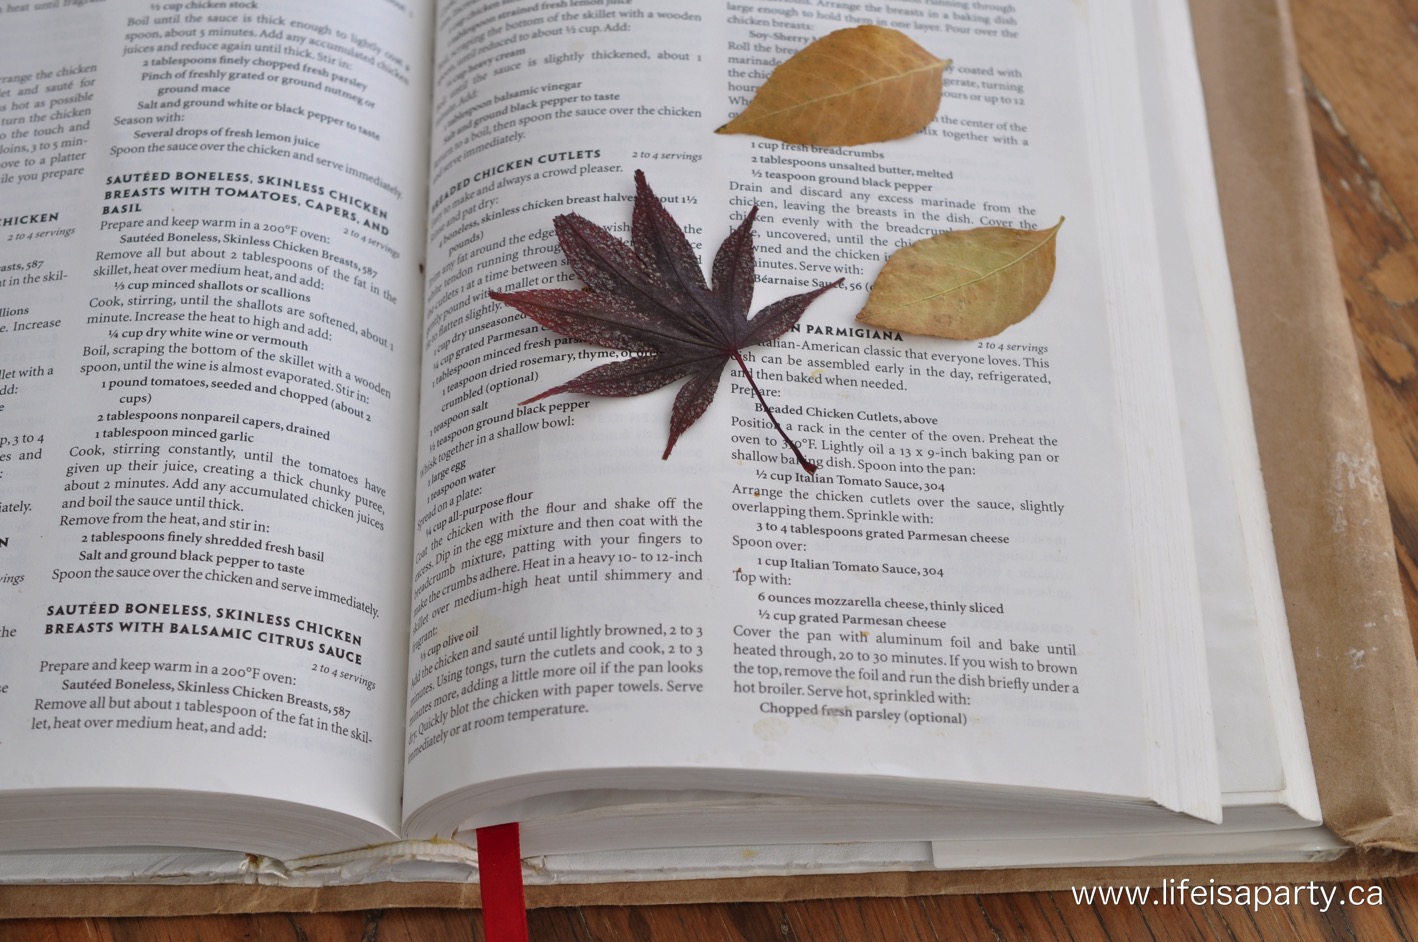
As soon as you get home press the leaves in a heavy book. This is one of the most important things, because the leaves will start to curl up right away if you don’t press them flat. Put them in a single layer, between book pages, and then close up the book and put a weight on top, like wooden boards or more books.
Waxing Your Pressed Leaves
2. After your leaves have been pressed overnight, or for a few days it’s time to wax them using simple wax paper. The wax will help preserve the leaves so they last for a long time, and make them a little more shiny.
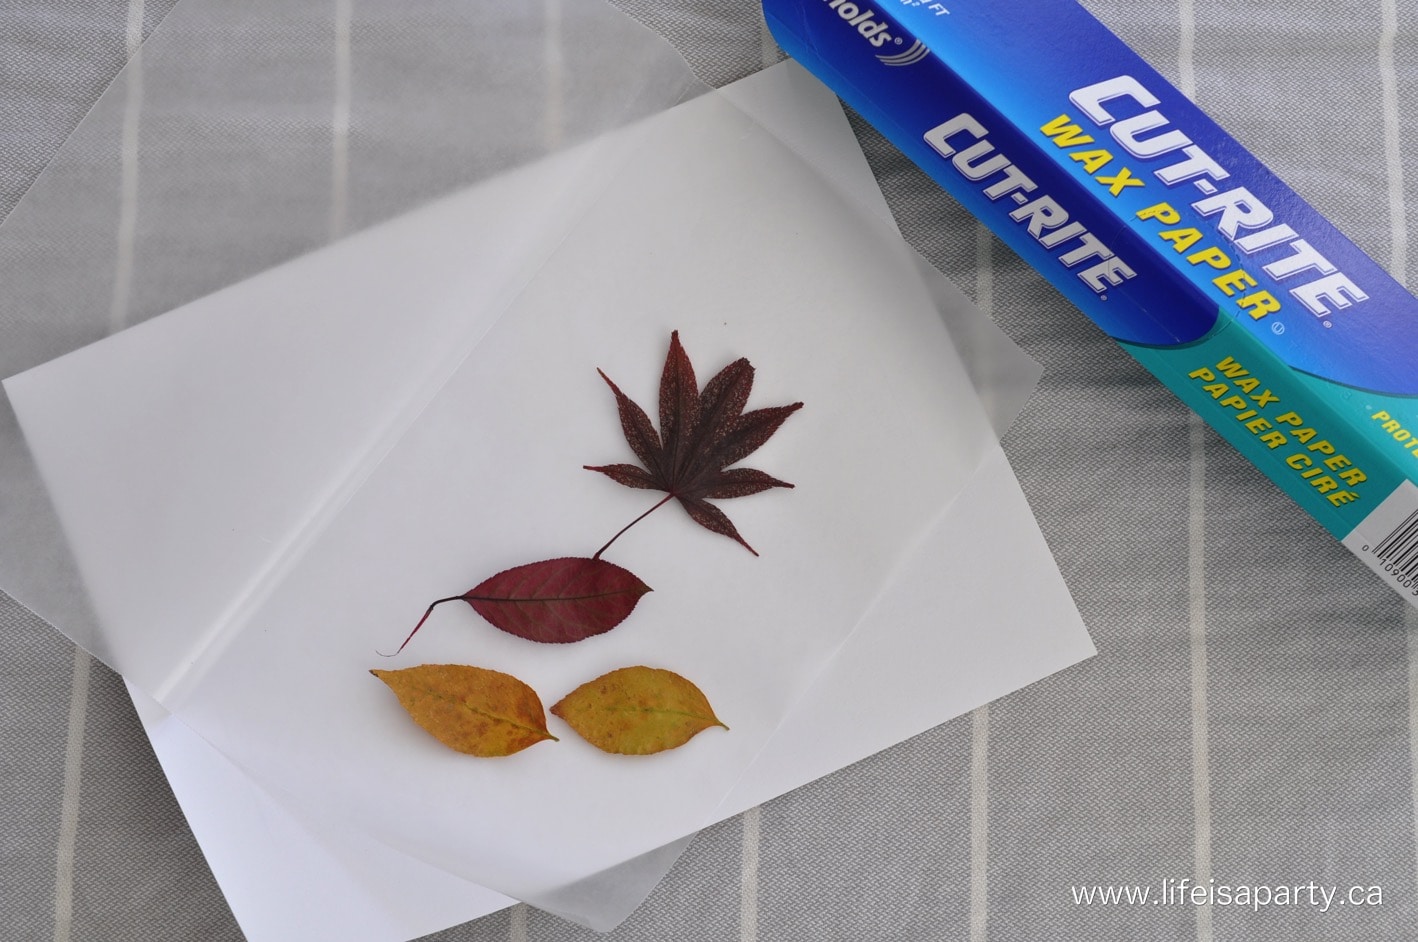
Heat up your iron to the cotton setting, and turn off the steam. Fold a piece of wax paper in half and put the leaves in single file inside.
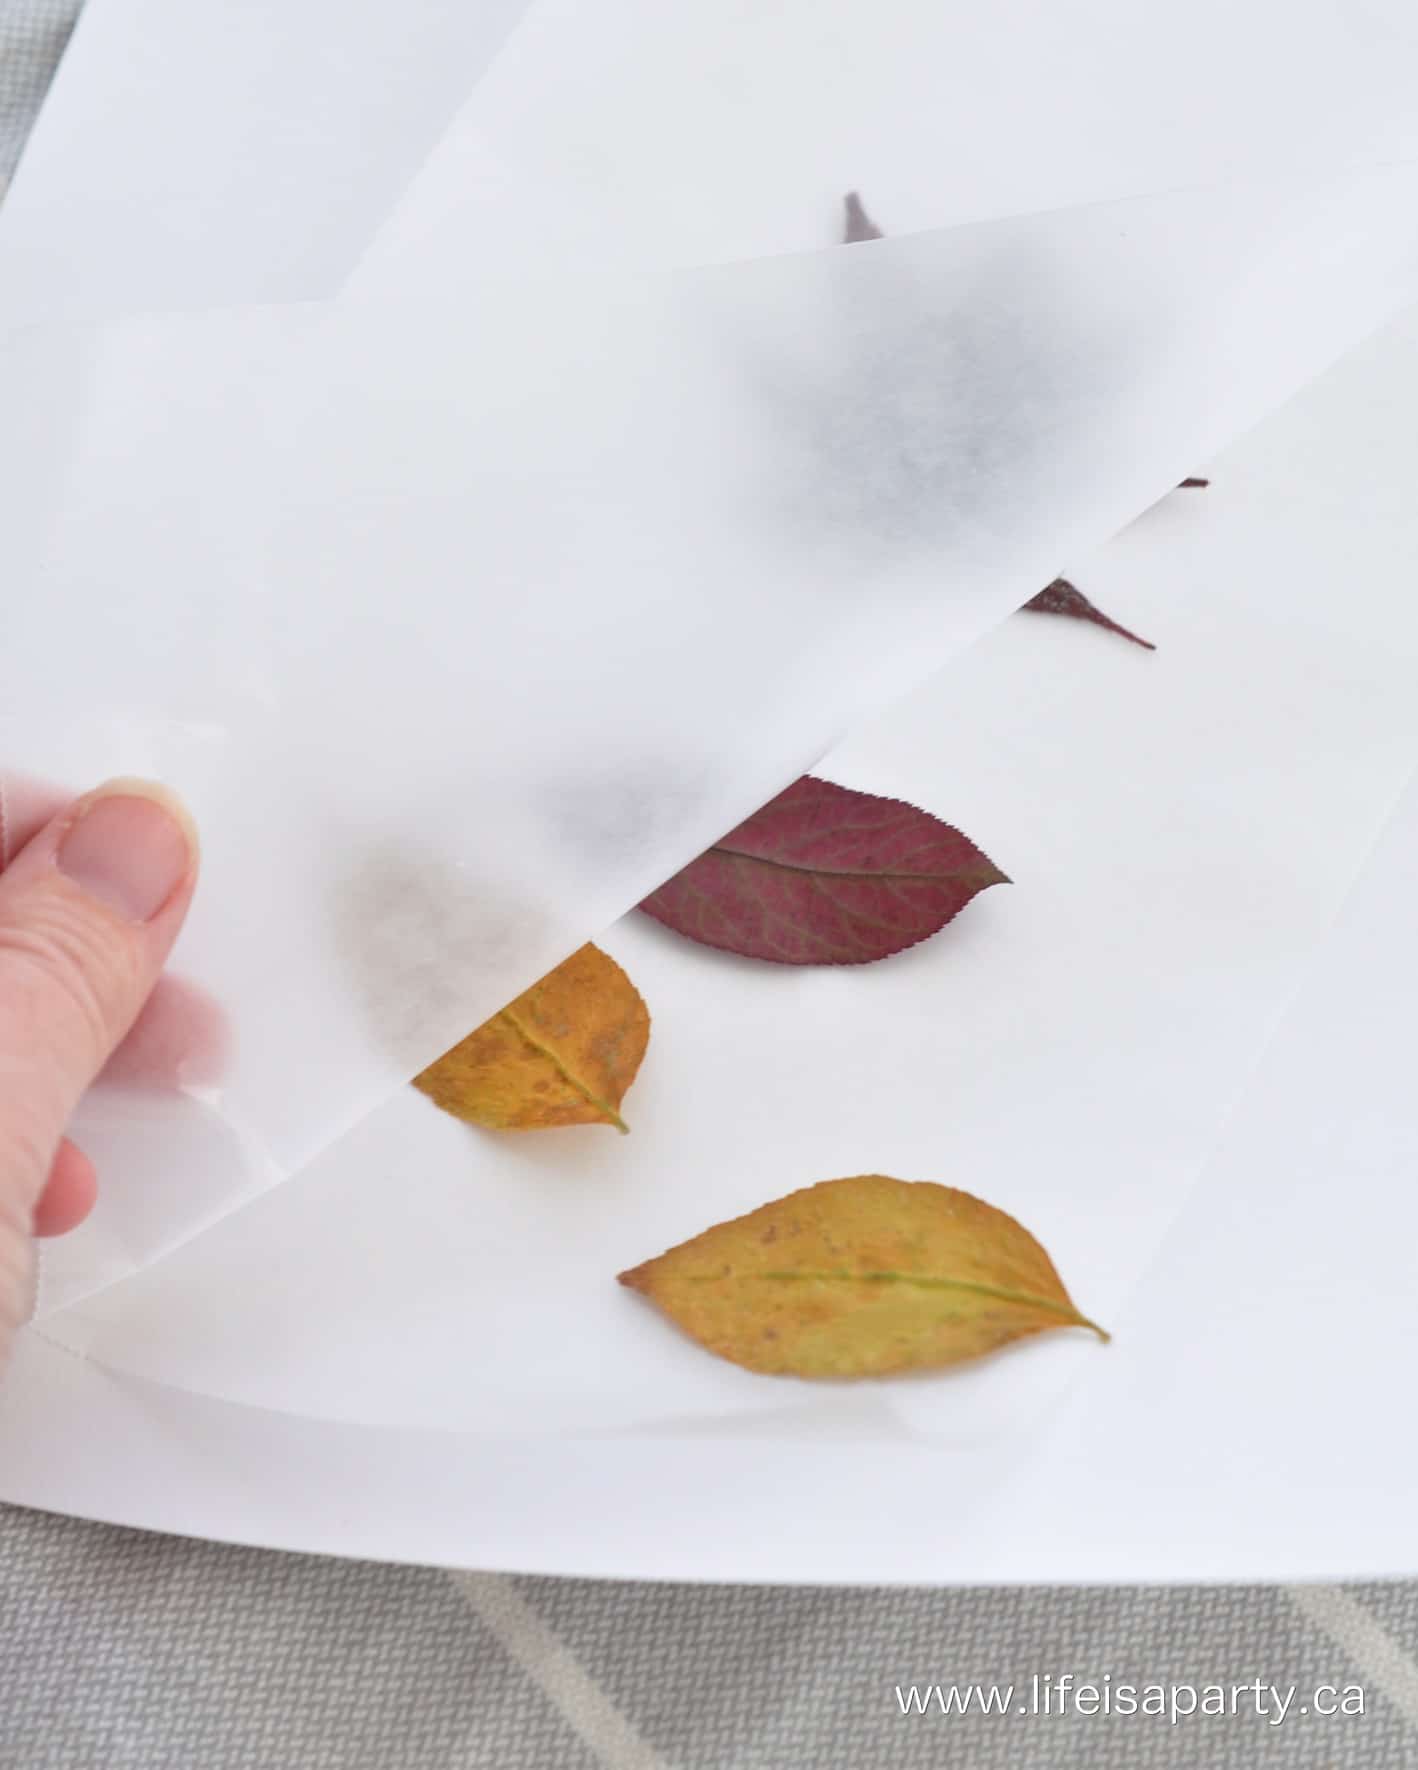
Use some paper on the top and bottom of the wax paper with the leaves to protect your ironing board and iron from the wax and then iron them for a few seconds.
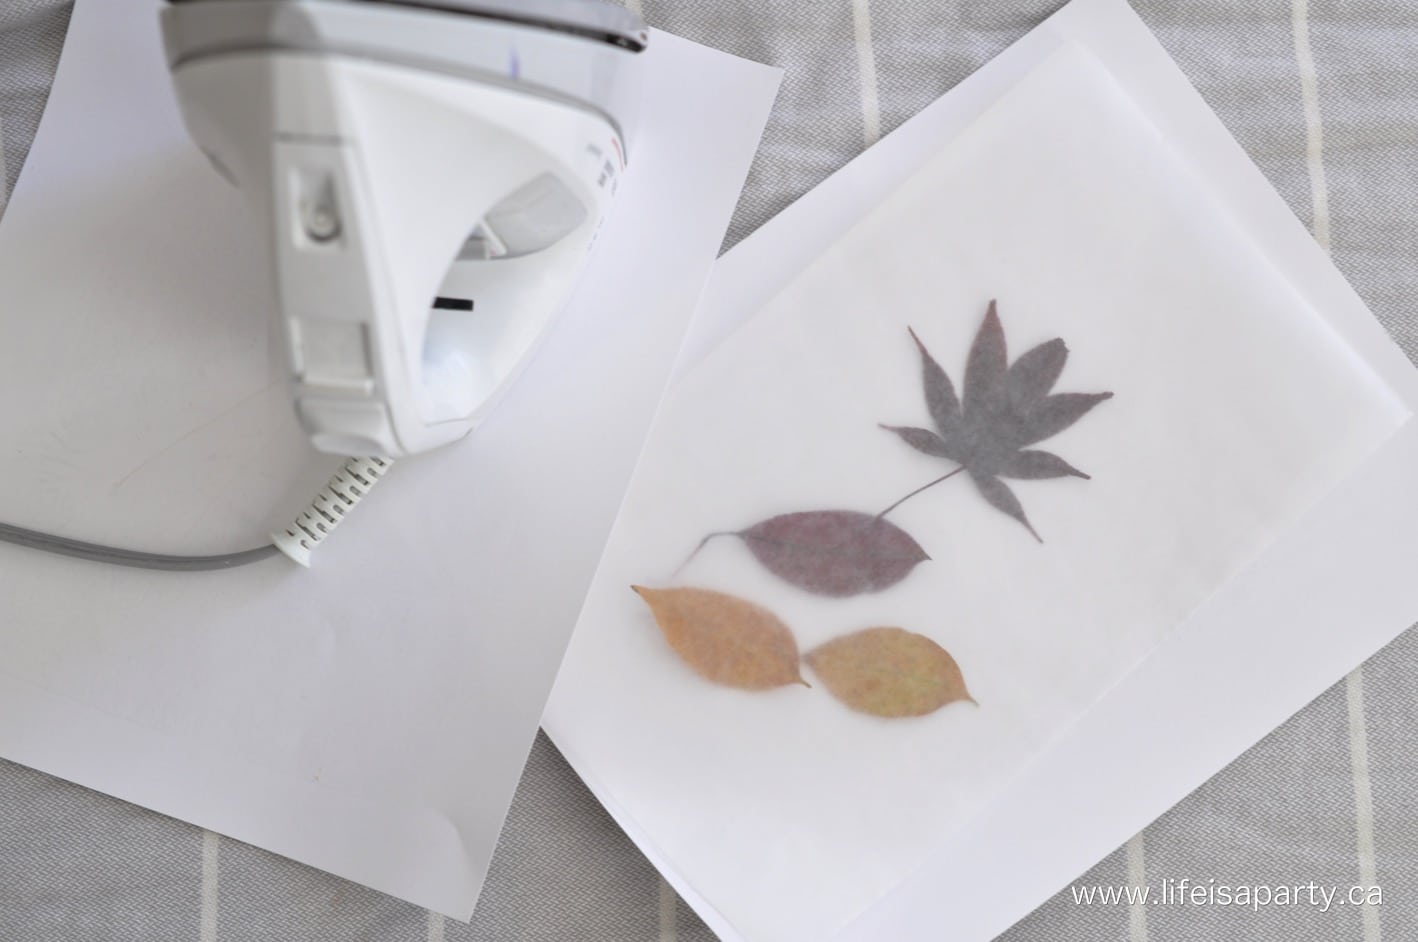
Remove them from the wax paper and they’re all ready to use. You don't have to wax the leaves, but it's an easy way to add a little shine to them.
Creating Your Backdrop
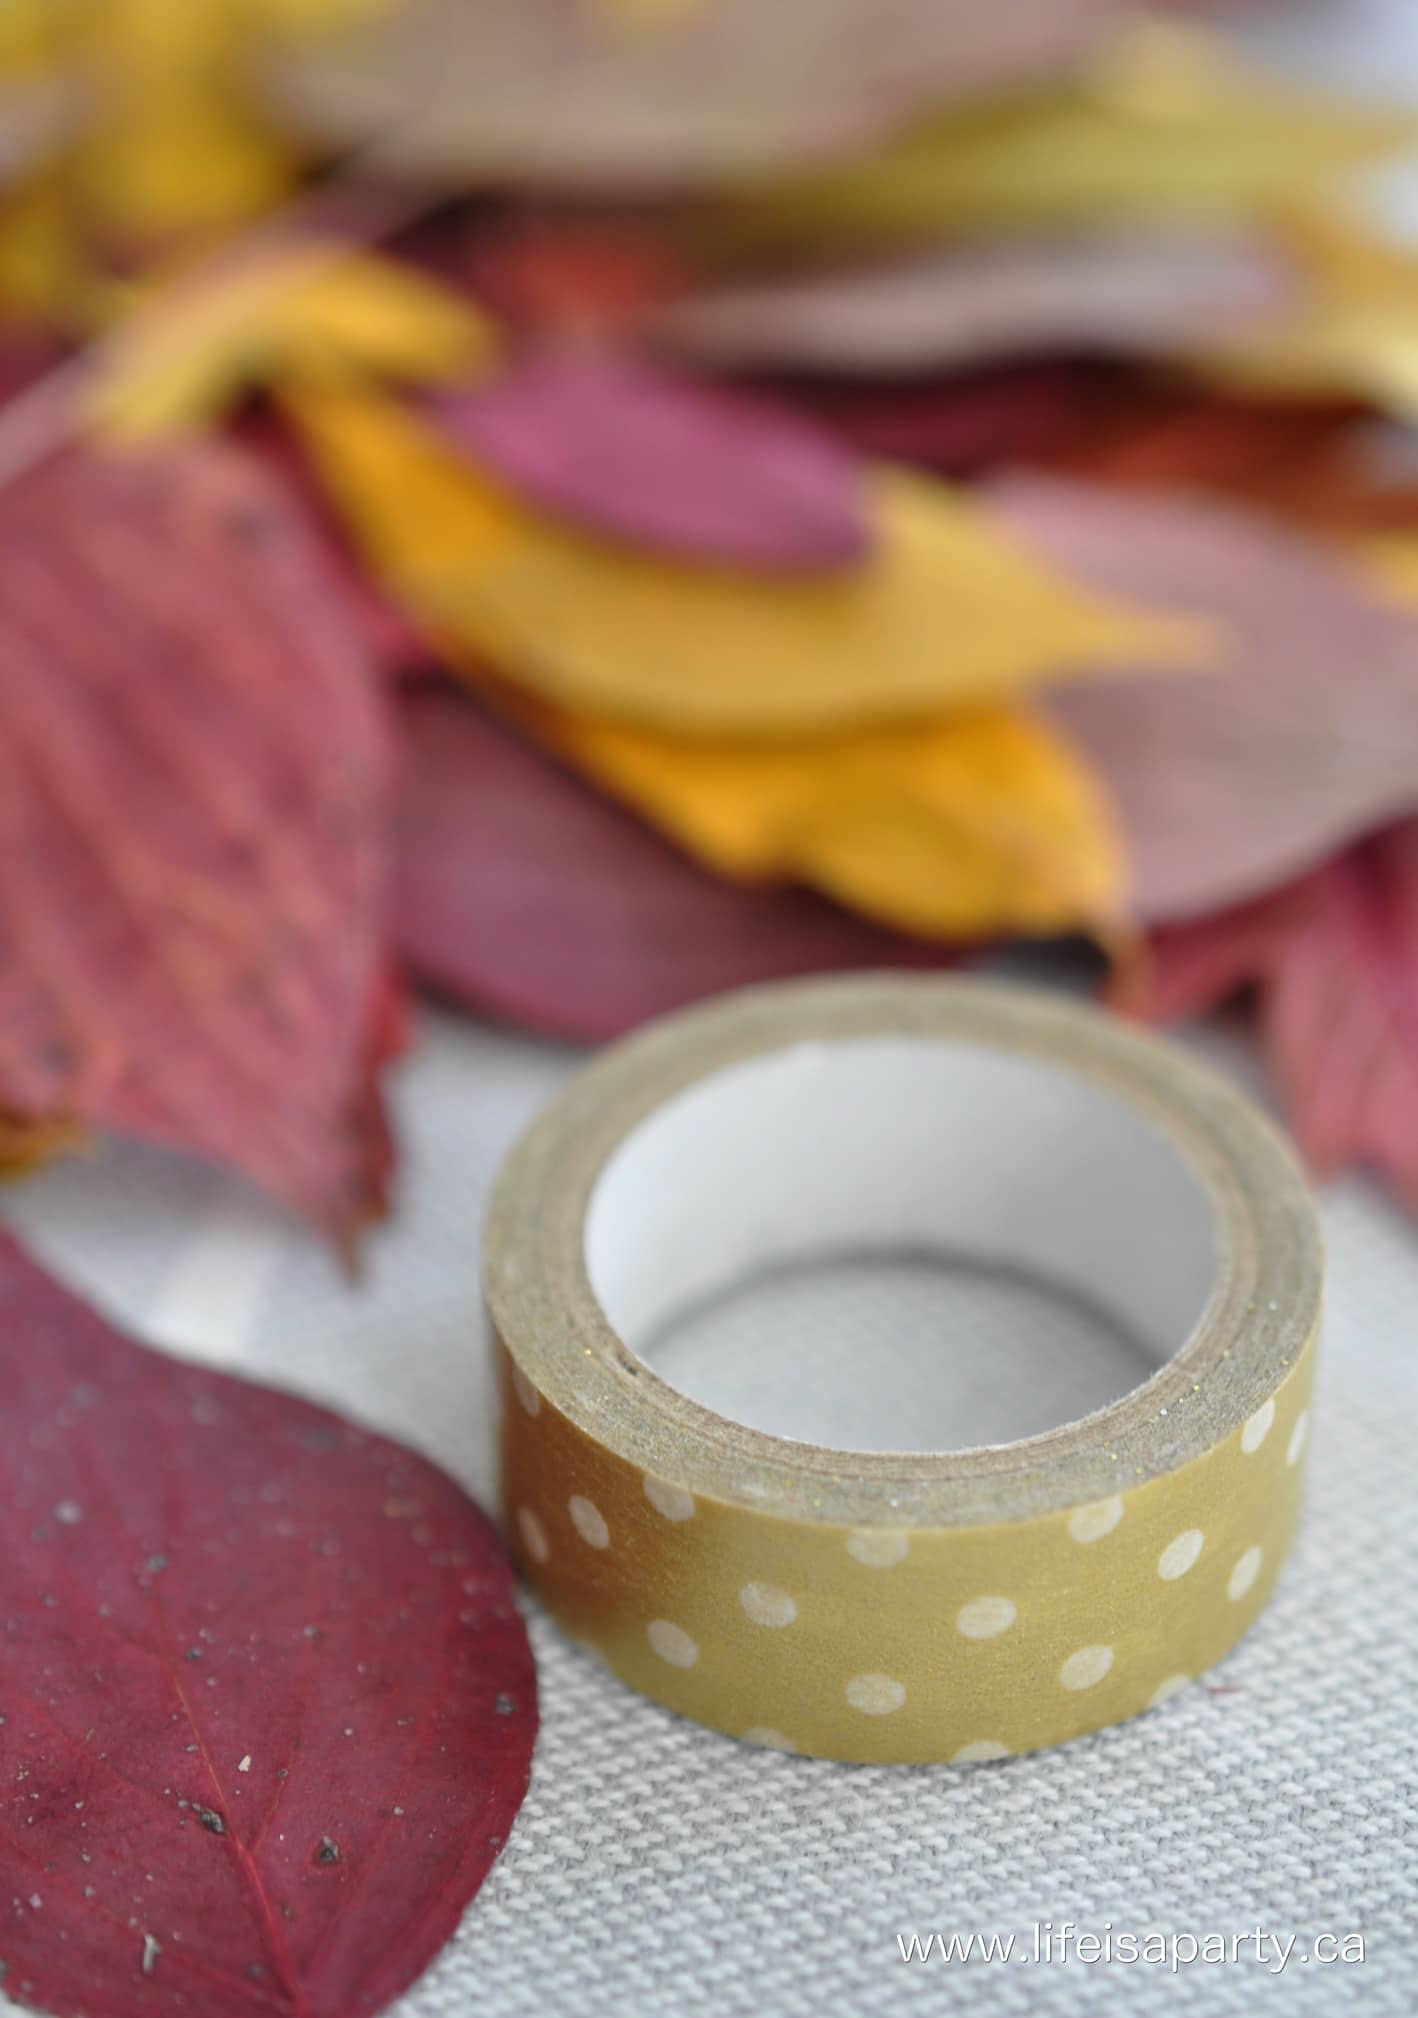
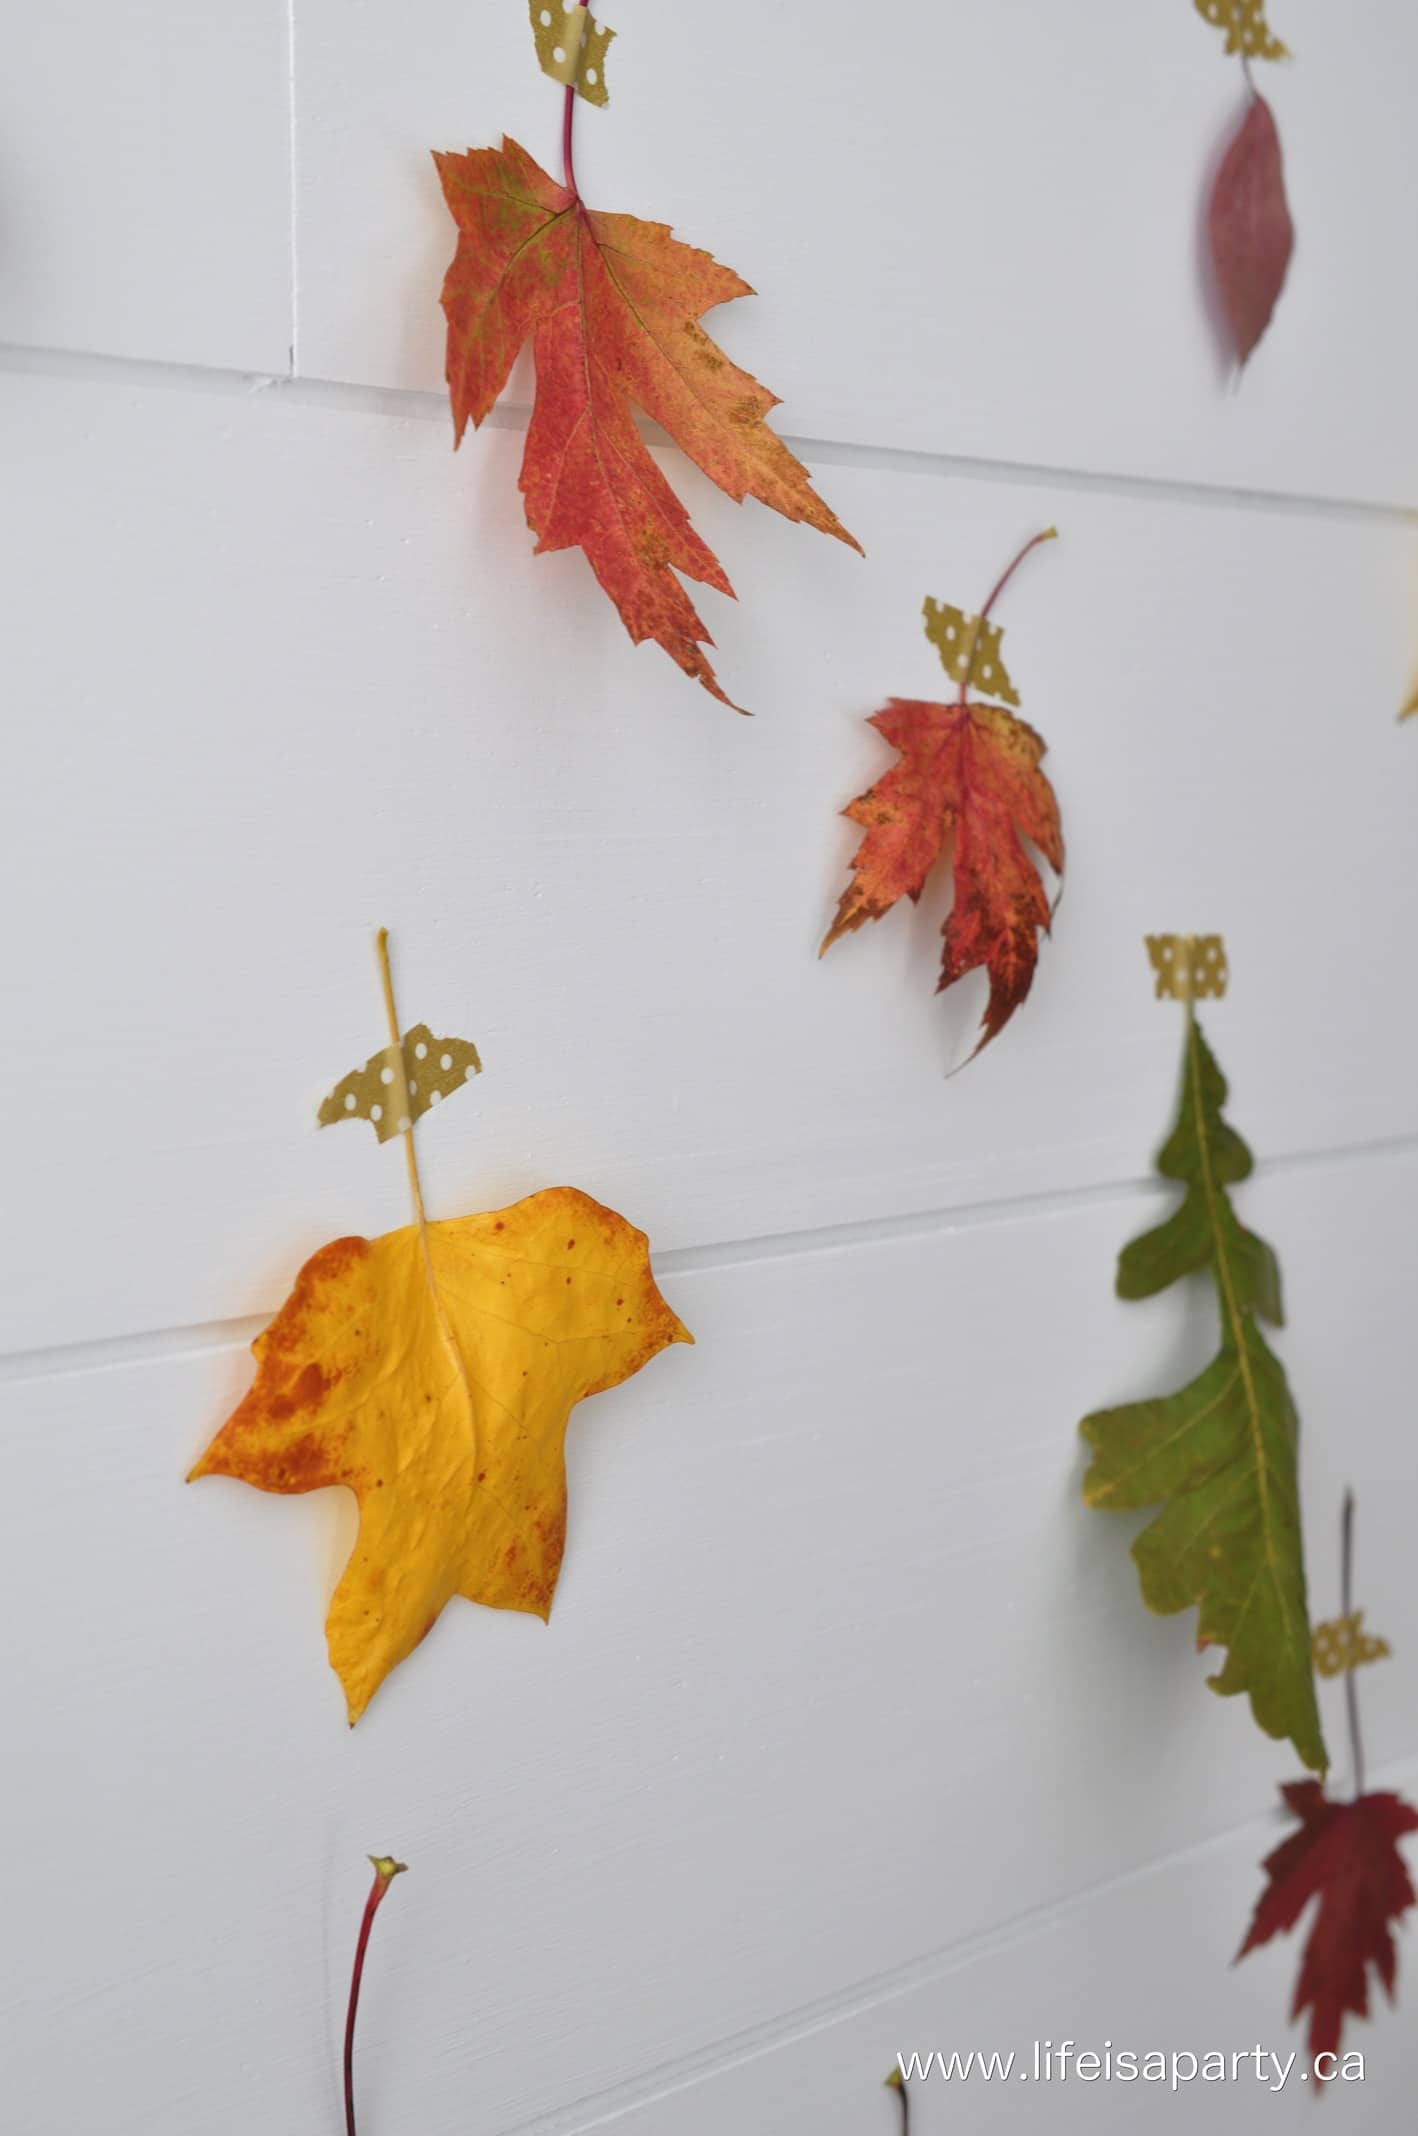
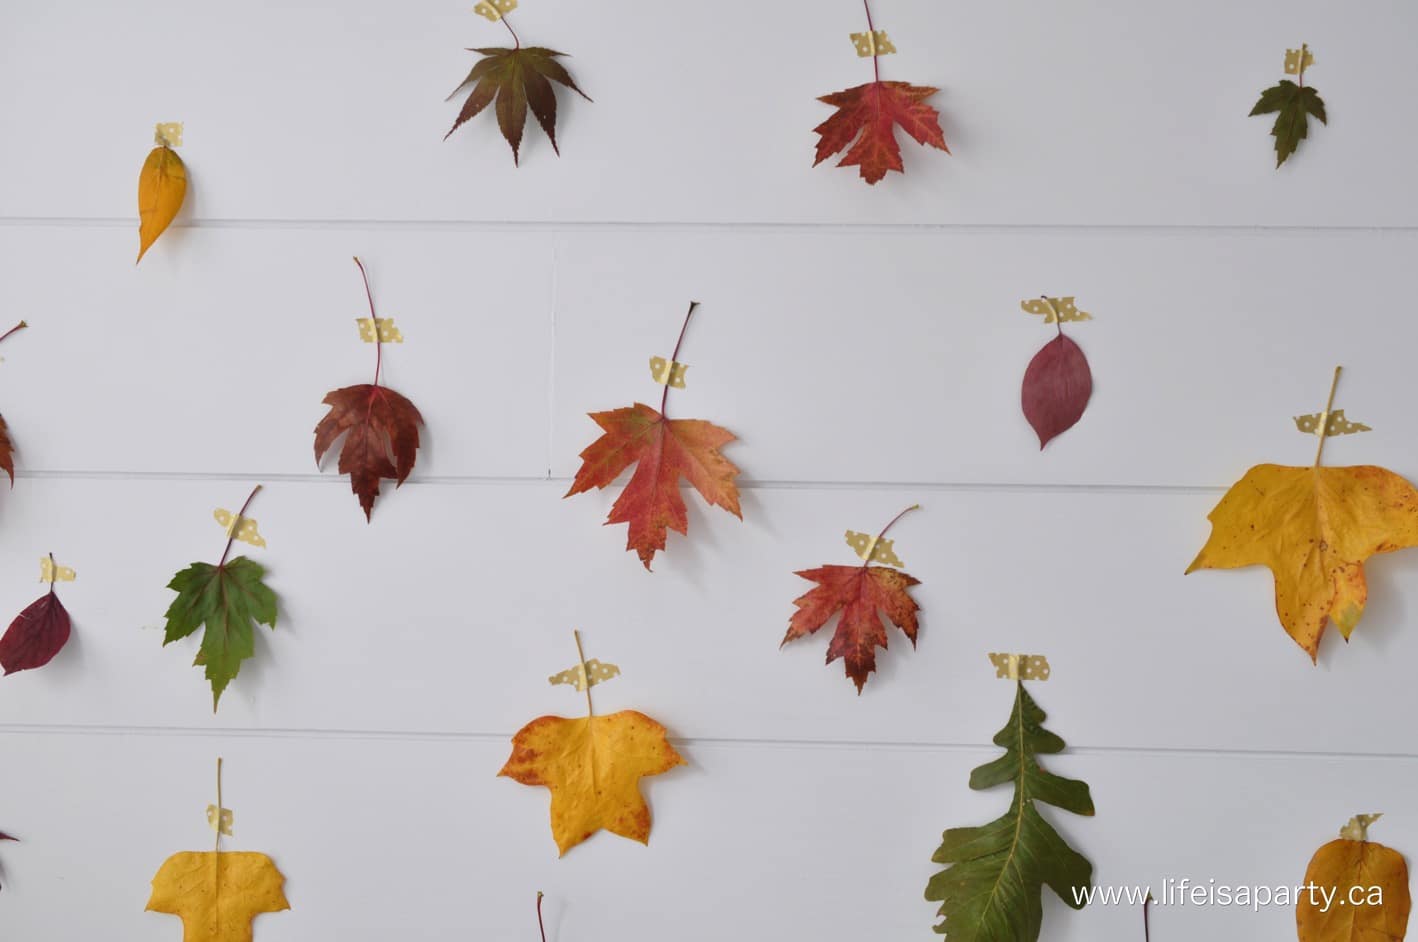
3. To create your backdrop, use some washi tape to attach the leaves to your wall. Washi tape is a good choice because it’s paper and easy to tear, not too sticky so it won’t damage your walls, and comes in lots of pretty colours. Just use a little bit on each stem. The leaves are lightweight and easy to apply.
I placed them in a random pattern, which is a fun way to do it, but you could arrange the leaves in different ways. If you prefer arrange the leaves in rows of straight lines or any pattern with the different colors that you like.

How To Make A Fall Leaf Backdrop
Equipment
- iron
Materials
- fresh fall leaves
- heavy book
- paper
- wax paper
- washi tape
Instructions
- First you’ll need to collect some fall leaves from your neighbour. Look for different leaf varieties in different shapes and sizes. Press the leaves in a heavy book. Put them in a single layer, between book pages, and then close up the book and put a weight on top.
- After your leaves have been pressed overnight, or for a few days it’s time to wax them using simple wax paper. Heat up your iron to the cotton setting, and turn off the steam. Fold a piece of wax paper in half and put the leaves in single file inside. Use some paper on the top and bottom of the wax paper with the leaves to protect your ironing board and iron from the wax and then iron them for a few seconds.
- To create your backdrop, use some washi tape to attach the leaves to your wall.
This backdrop is really inexpensive to make -just some wax paper and washi tape. It takes a little time to put together, but is a good backdrop for BIG impact. It's really perfect for any fall entertaining.
Creating A Keepsake
After the party or celebration, save some of the leaves for a keepsake, or add to a scrapbook with pics of the party or your photo guest book as a sweet keepsake.
With a Fall Leaf Backdrop, life really is a party!
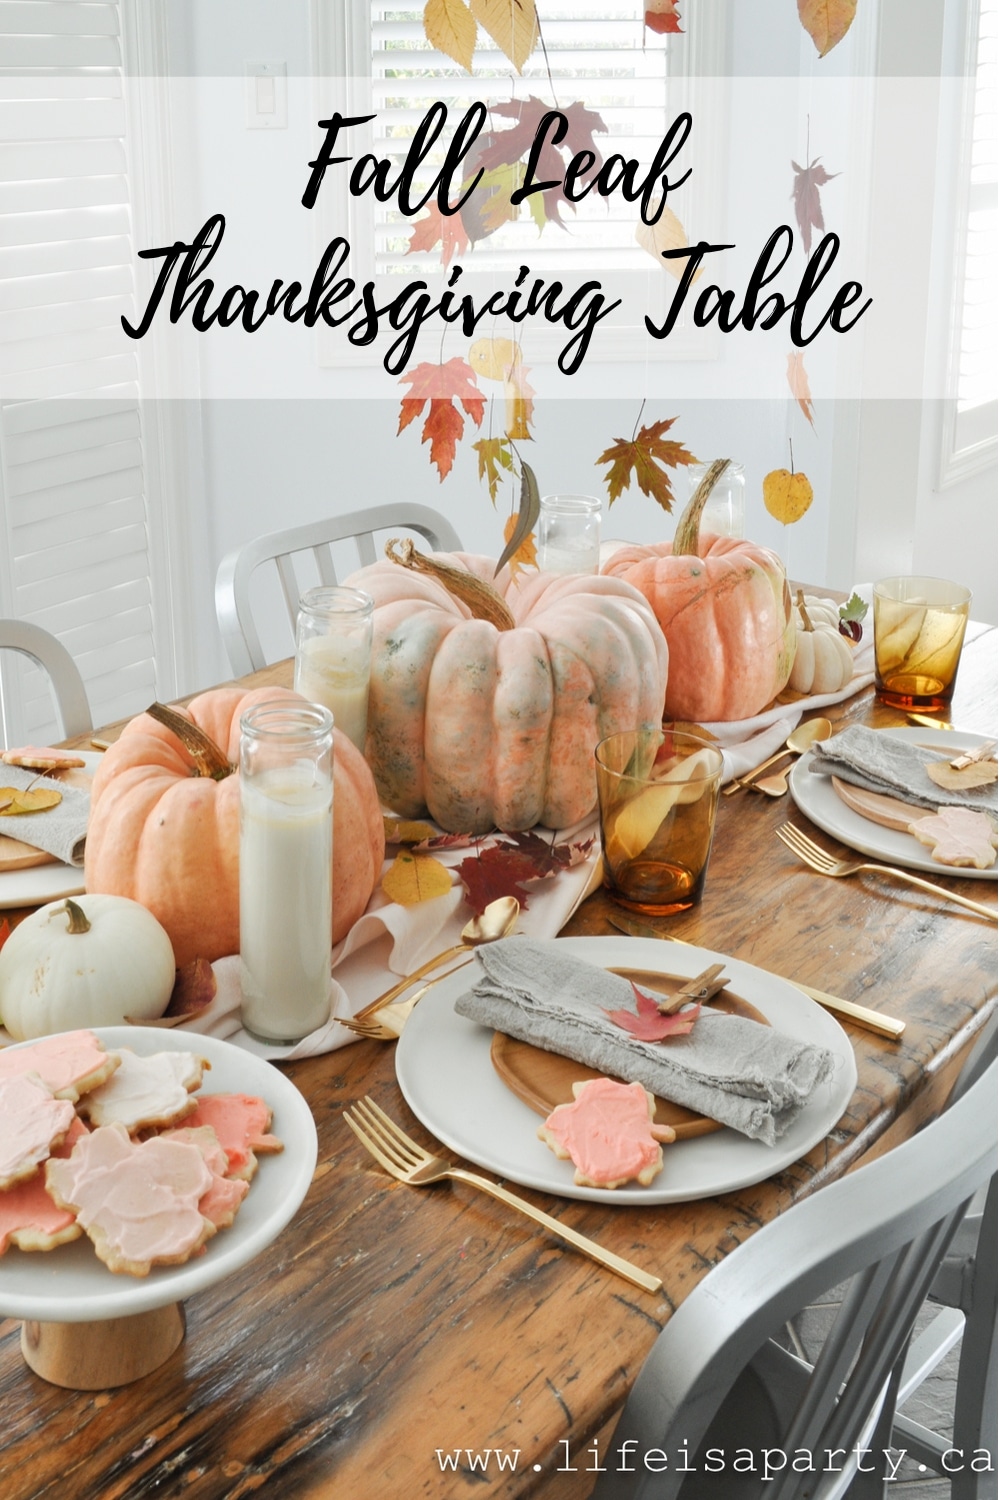
You might also like our Fall Leaf Thanksgiving Table here.
More Fall Inspiration

Also check out our Kids Thanksgiving Table here.

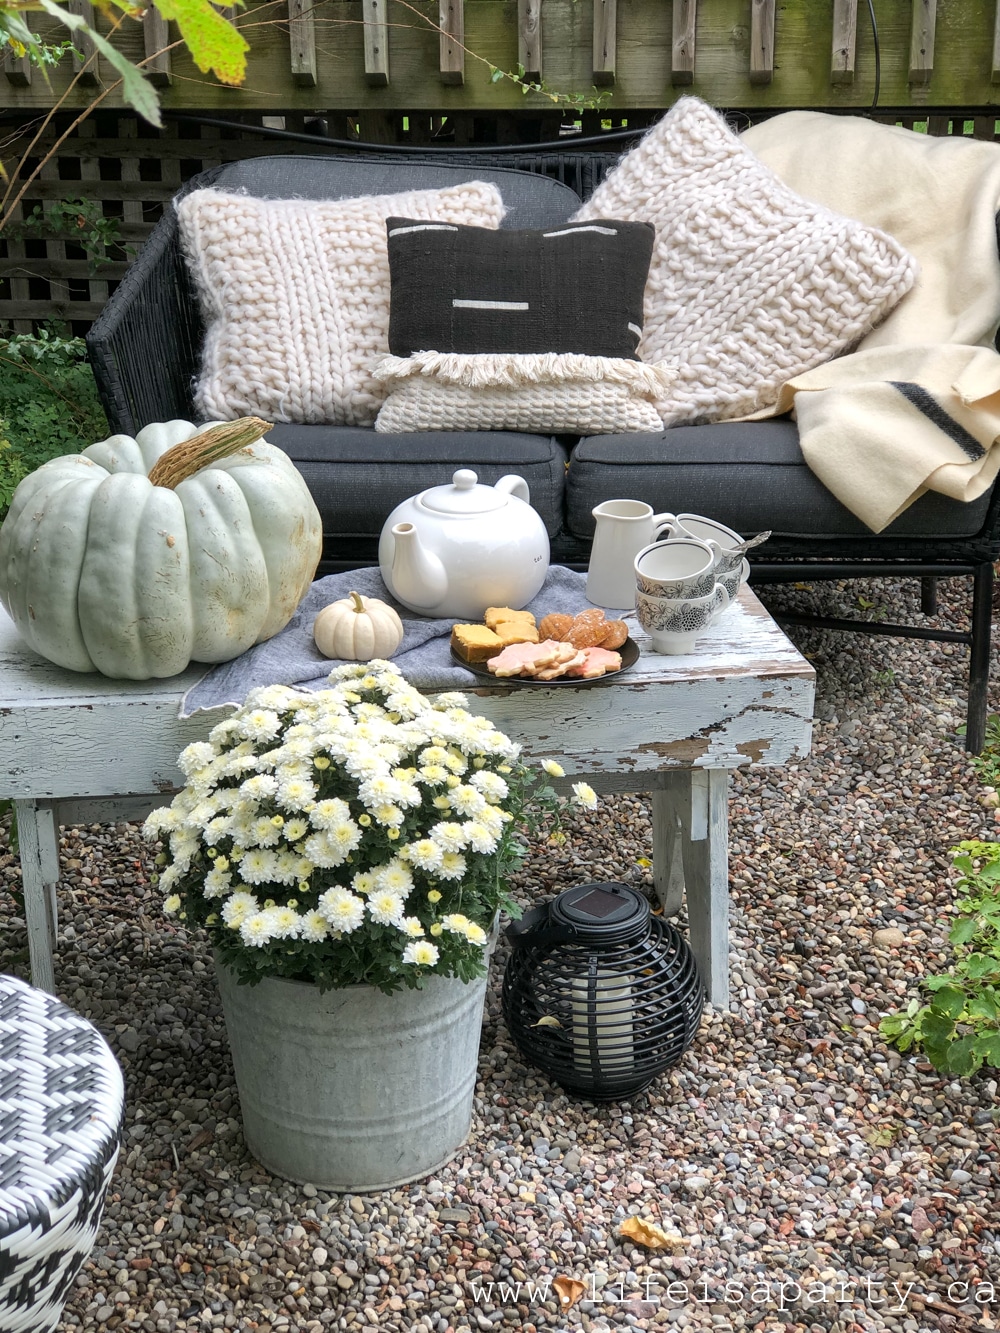
You might also enjoy our Fall Tea Party here.
This post contains affiliate links. Thanks so much for supporting Life is a Party!



Leave a Reply