Boho DIY Play Tent: See how to make an inexpensive reading tent fort for kids with birch poles and an old table cloth.

Jump to:
Today I'm excited to be sharing this sweet Boho Christmas DIY Play Tent with you. It's the first in a week-long series of posts all about our Boho Christmas. I'm decorating the basement family room with a black and white boho theme, and I thought it would be fun to share a different project each day, with the big reveal of the whole space on Friday -see the reveal of all the Boho Christmas Decor here.

This DIY play tent was a wonderful addition for Christmas, but would be great for any time a year. We set it up our DIY indoor tent in our living room, but it would be great in a kids room or any play area. Kids love it as a special reading nook, or for playing with as a camping tent or as their own fortress. It's sure to give your children hours and hours of fun and many fond memories.
Is This The Right DIY Tent For You?
There's different ways to build a DIY kids play tent. Our cute tent didn't take much time to create. Our method was a very easy DIY. I won't necessarily recommend this method if you're kids are very little and you're worried that the frame tent of birch poles might get knocked over and hurt them. My kids are older, but also they're not overly rambunctious. If you're worried about your kids rough housing and knocking it over than you might prefer a DIY tent made of PVC pipes, or with a dowel rod, or a canopy-style tent that hangs from a ceiling hook. This version is super easy to make with little effort, and not a lot of time, and also something you can take apart easily and repurpose the elements without having to worry about storing a frame play tent. It's also really inexpensive to create with things you have, or from the woods, or from the thrift store. I love how it looks too. For all those reasons it was the perfect addition to our boho Christmas decor this year.
This DIY tent is a fun little play fort for my kids and their friends, and also adds so much ambience to the room. The first day it was made my youngest planted herself here with the twinkle lights and her book as soon as she got home from school and saw it. It would also be a fun spot to put some Christmas presents. My girls are just about out of the playing stage so I'm hanging on to all their final days of make-believe.
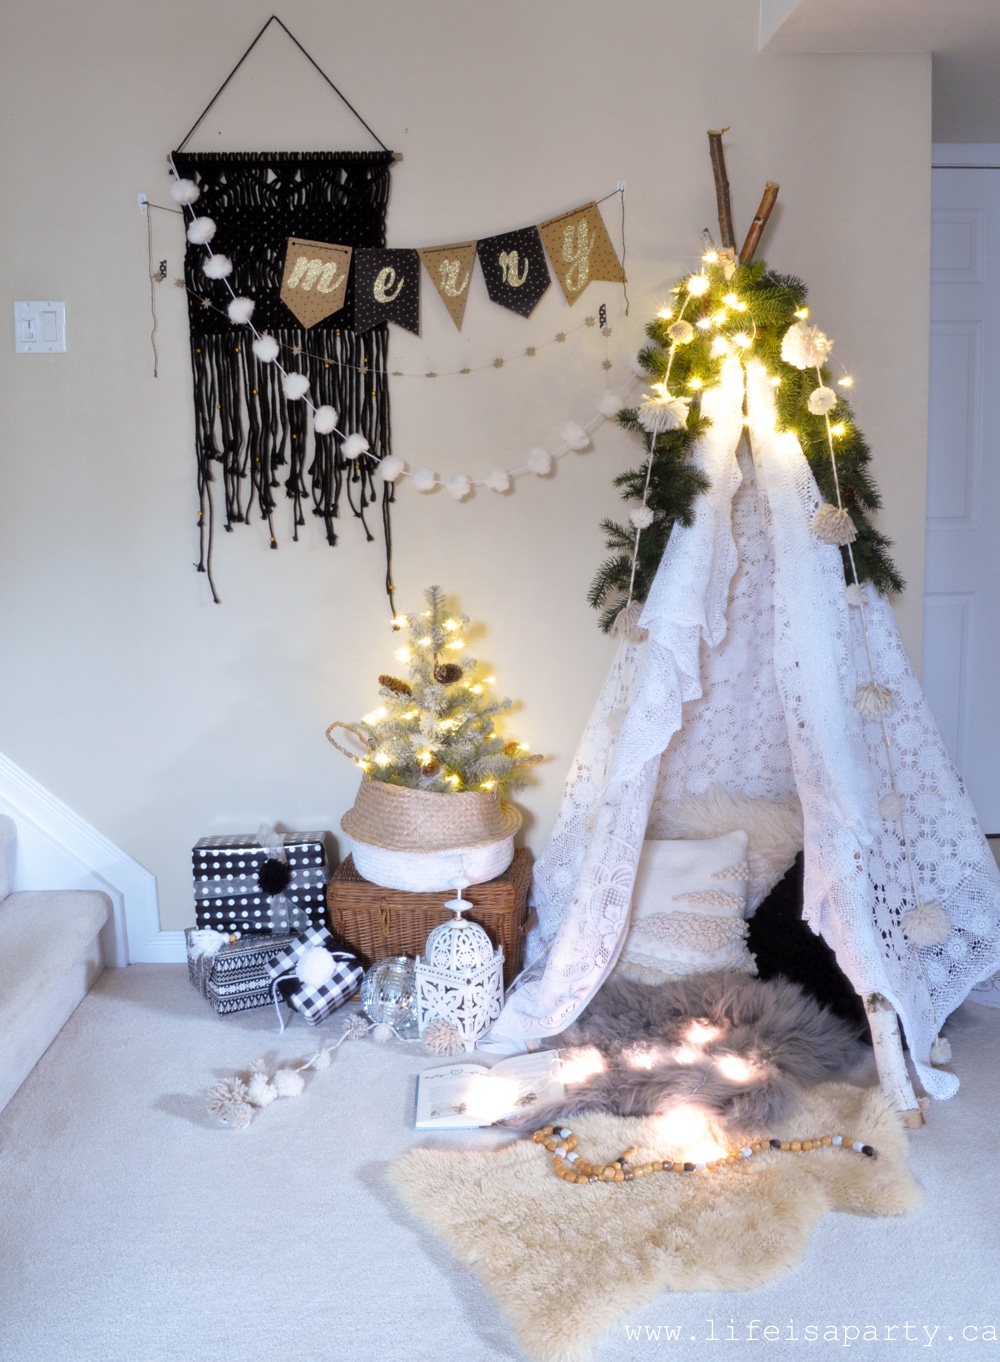
It was super easy to build our homemade tent and cost me under $5 because I had some of the stuff, and was able to forage for some. Even if you had to buy the birch poles, it's still a pretty inexpensive DIY activity.
DIY Play Tent Materials:
- 5 birch tree poles, about 6 feet tall each
- twine
- safety pins
- 2 lace tablecloths
- pillows, sheepskin rug or throw blanket, fairy lights, Christmas greenery garland
How To Make a Boho Christmas DIY Play Tent:
Birch Poles
I started out with 5 birch poles, you could use 6 to make the tent a little bit bigger if you have enough room. My poles were about 6 feet. You could use shorter for a smaller tent. I cut down the poles at a friends farm, but you could also purchase -look for ones used in Christmas outdoor pots this time of year. I love the birch pole look. You do want the thinnest ones, as they are somewhat heavy and you won't want them to topple over on any children. You could also use wooden dowels from the hardware store for the frame of your kids' tent.
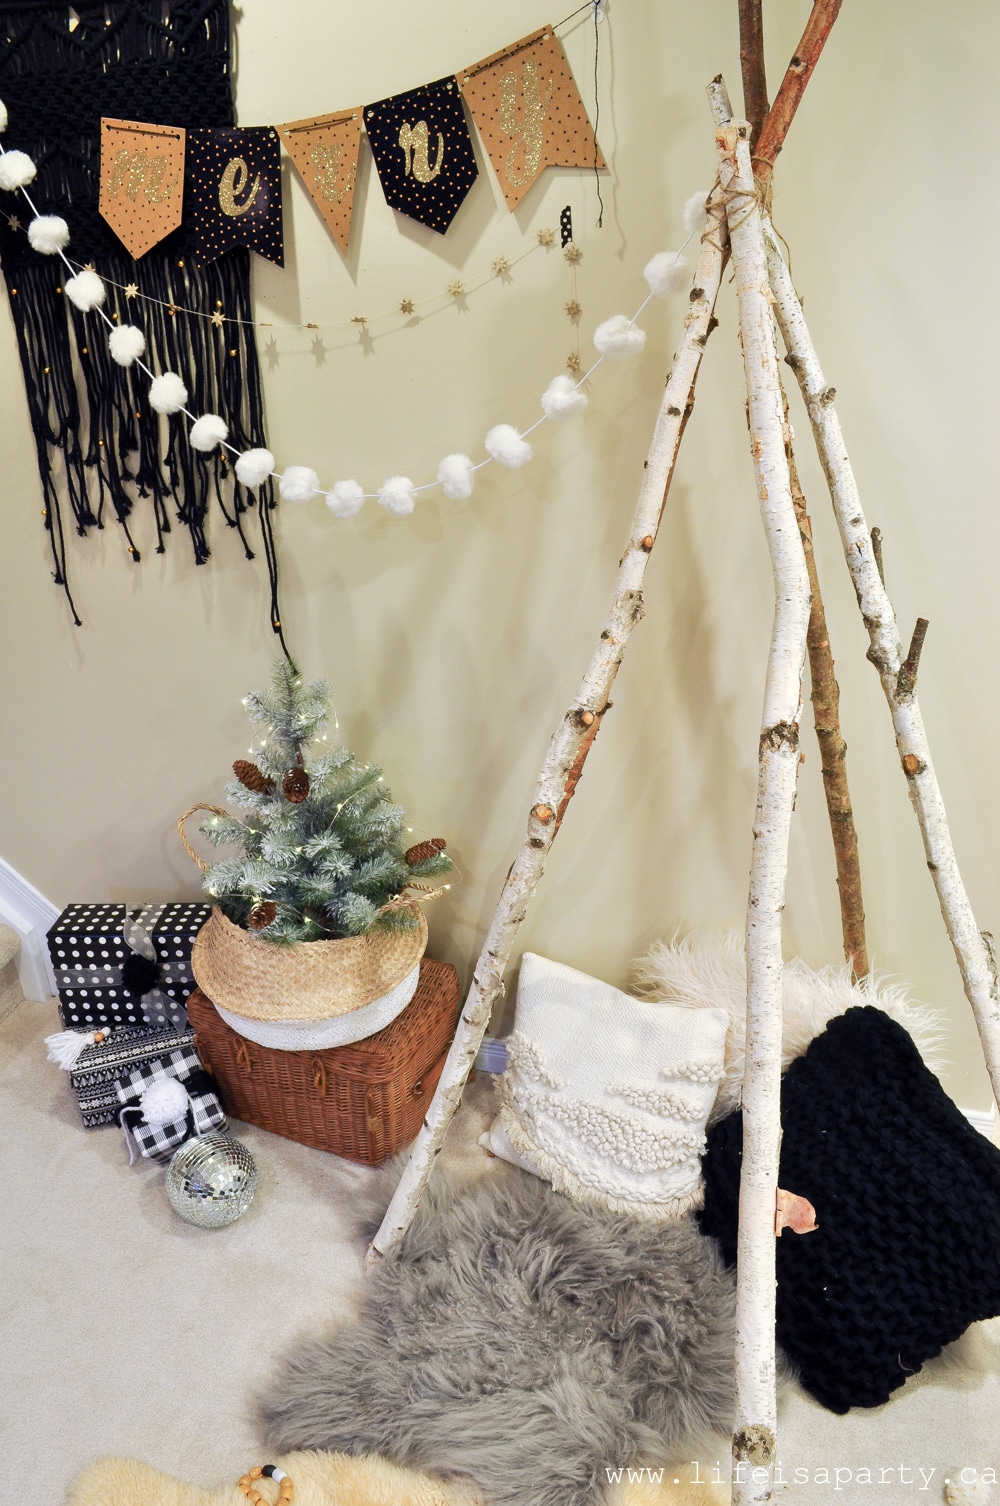
Form a circle about 3 feet in diameter with the poles and lean them in to meet at the top and form the tent shape. Leave a larger space/opening between two poles at the front for the door.
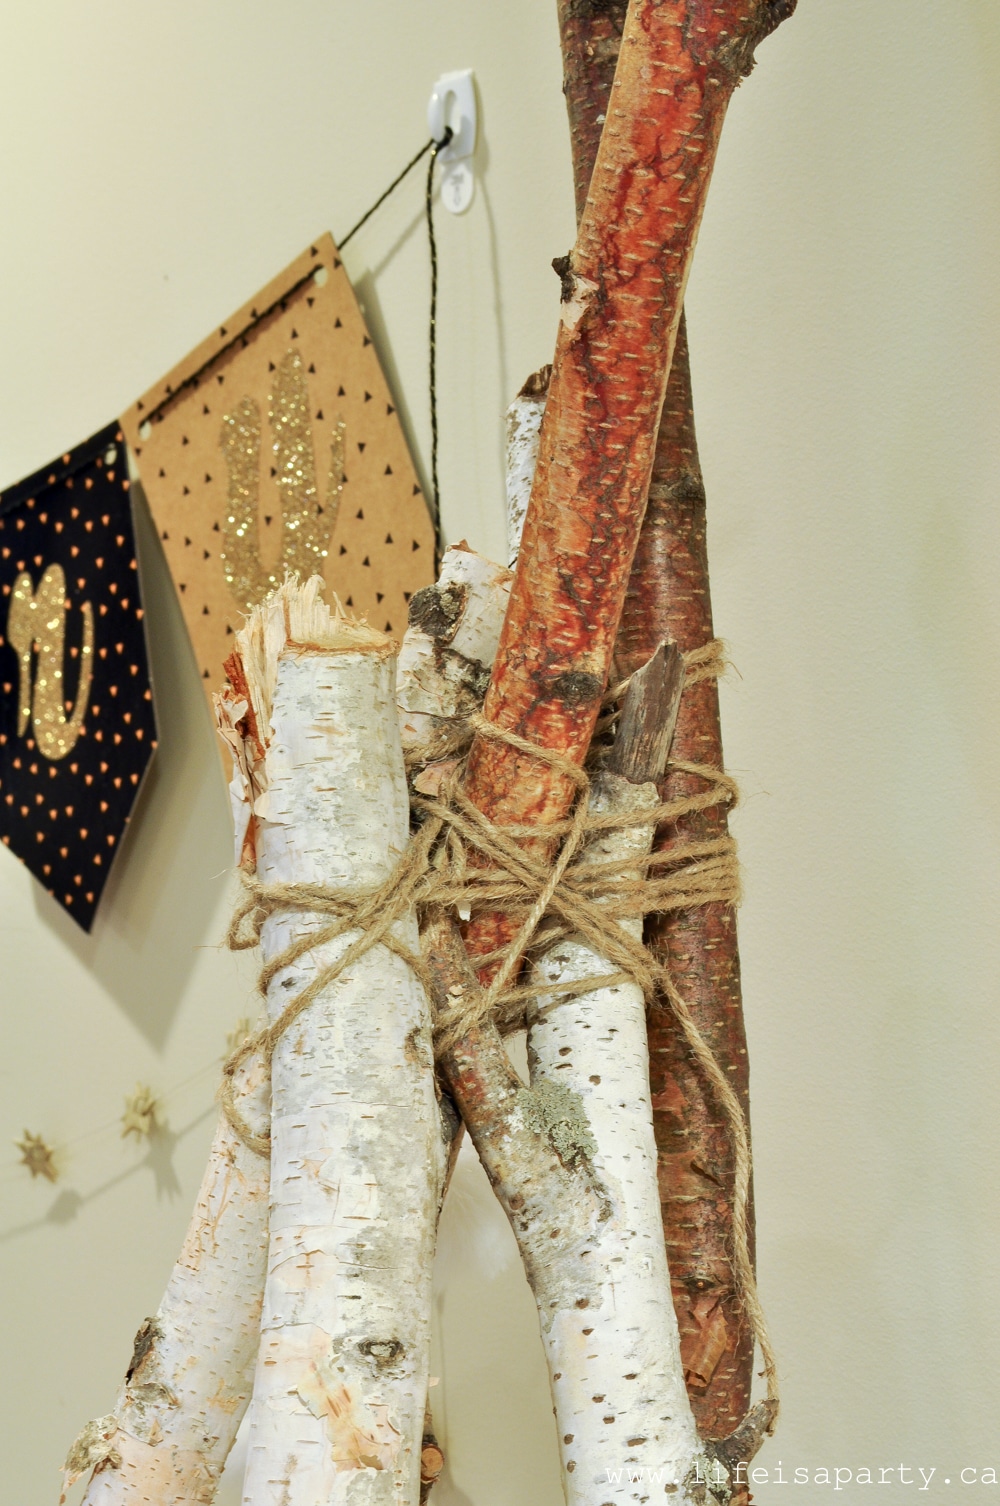
Tying The Poles
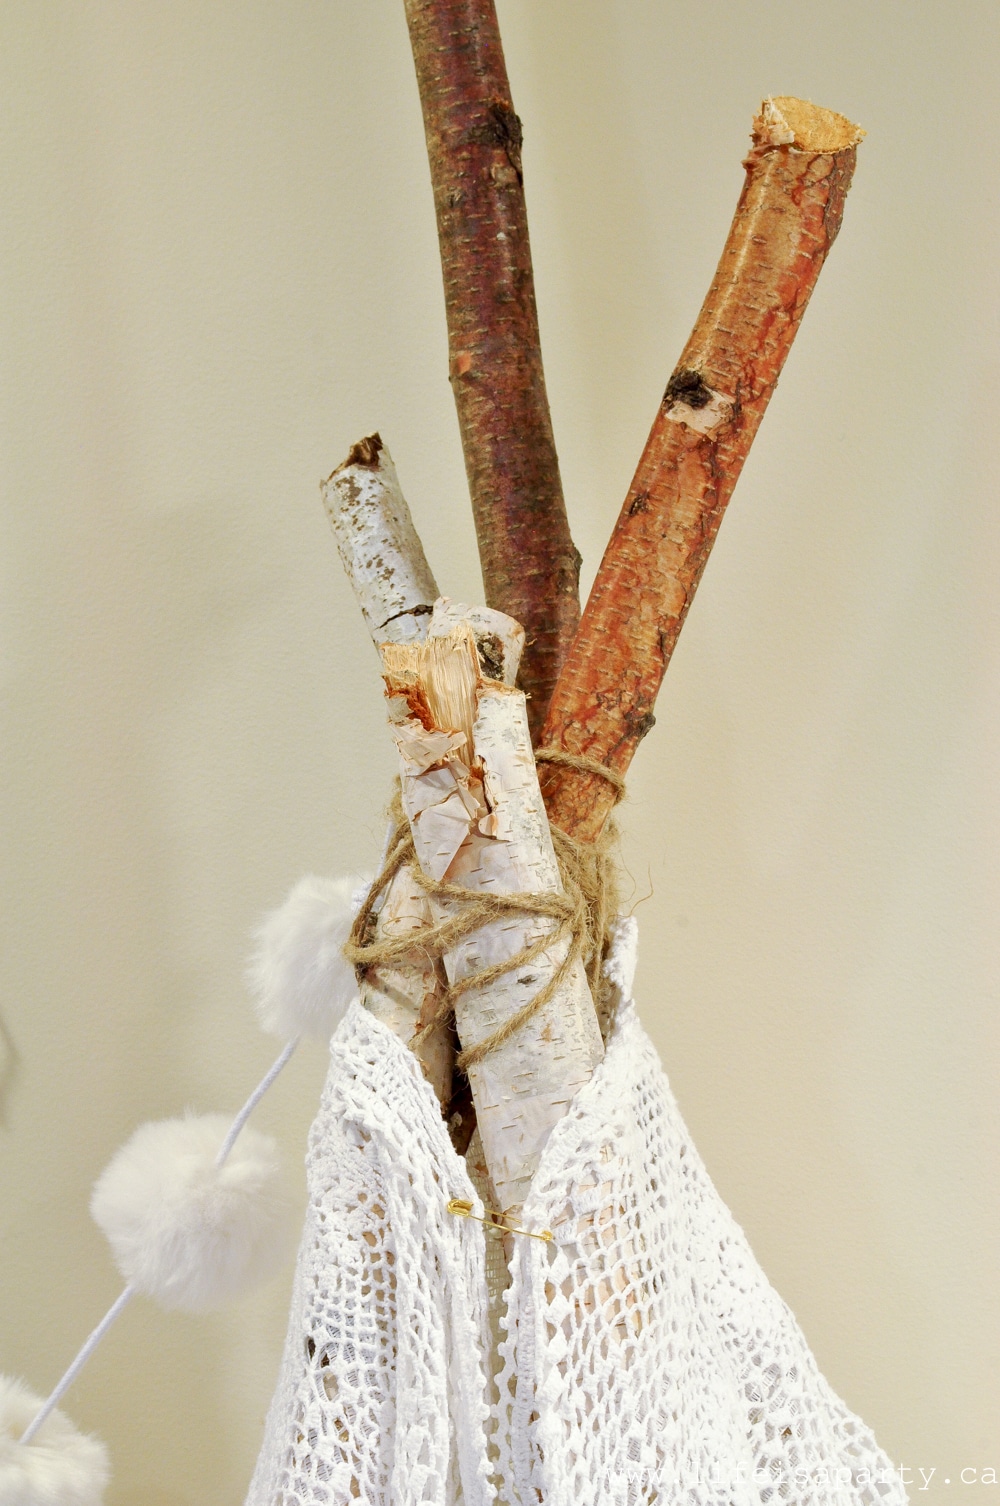
Tie the poles together tightly with twine, taking care to loop around the poles and make them very secure. We did it the easy way and used just twine to hold the tent firmly together. If your children are younger, or more active you might want to get out the power tools and pre-drill a hole through each pole at the top with a drill bit and thread the twine through the holes to make it even more stable. Note that birch poles are a little heavier than dowel which these tents are often made of, so you want to take extra care to make sure it's secure so a little one is never hurt from the poles falling.
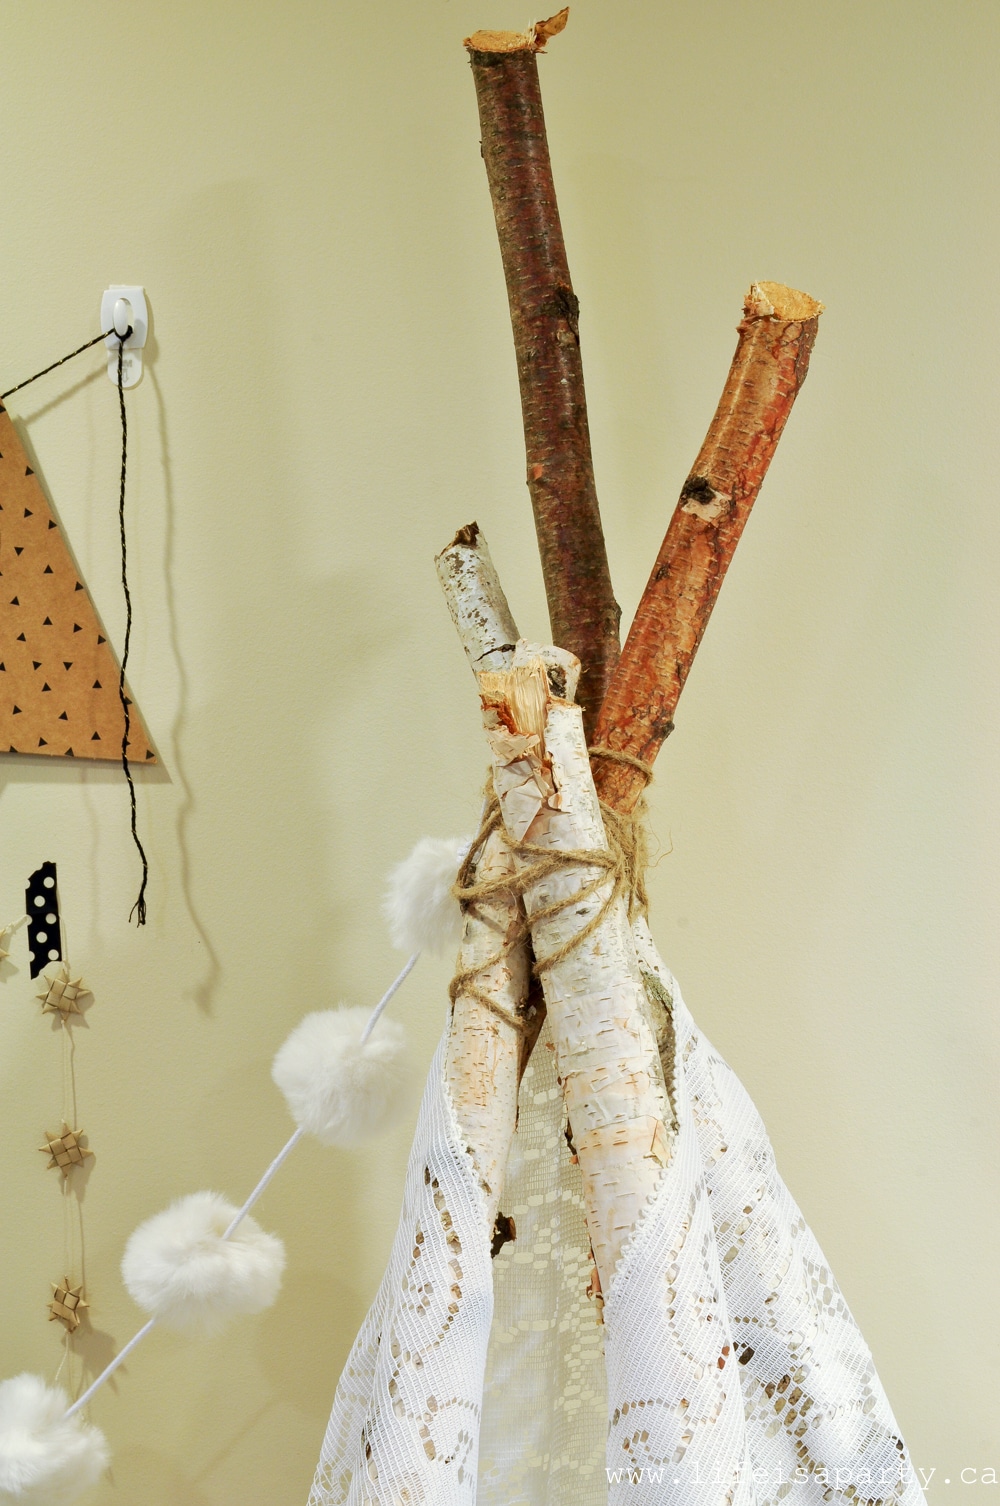
Add the Table Clothes
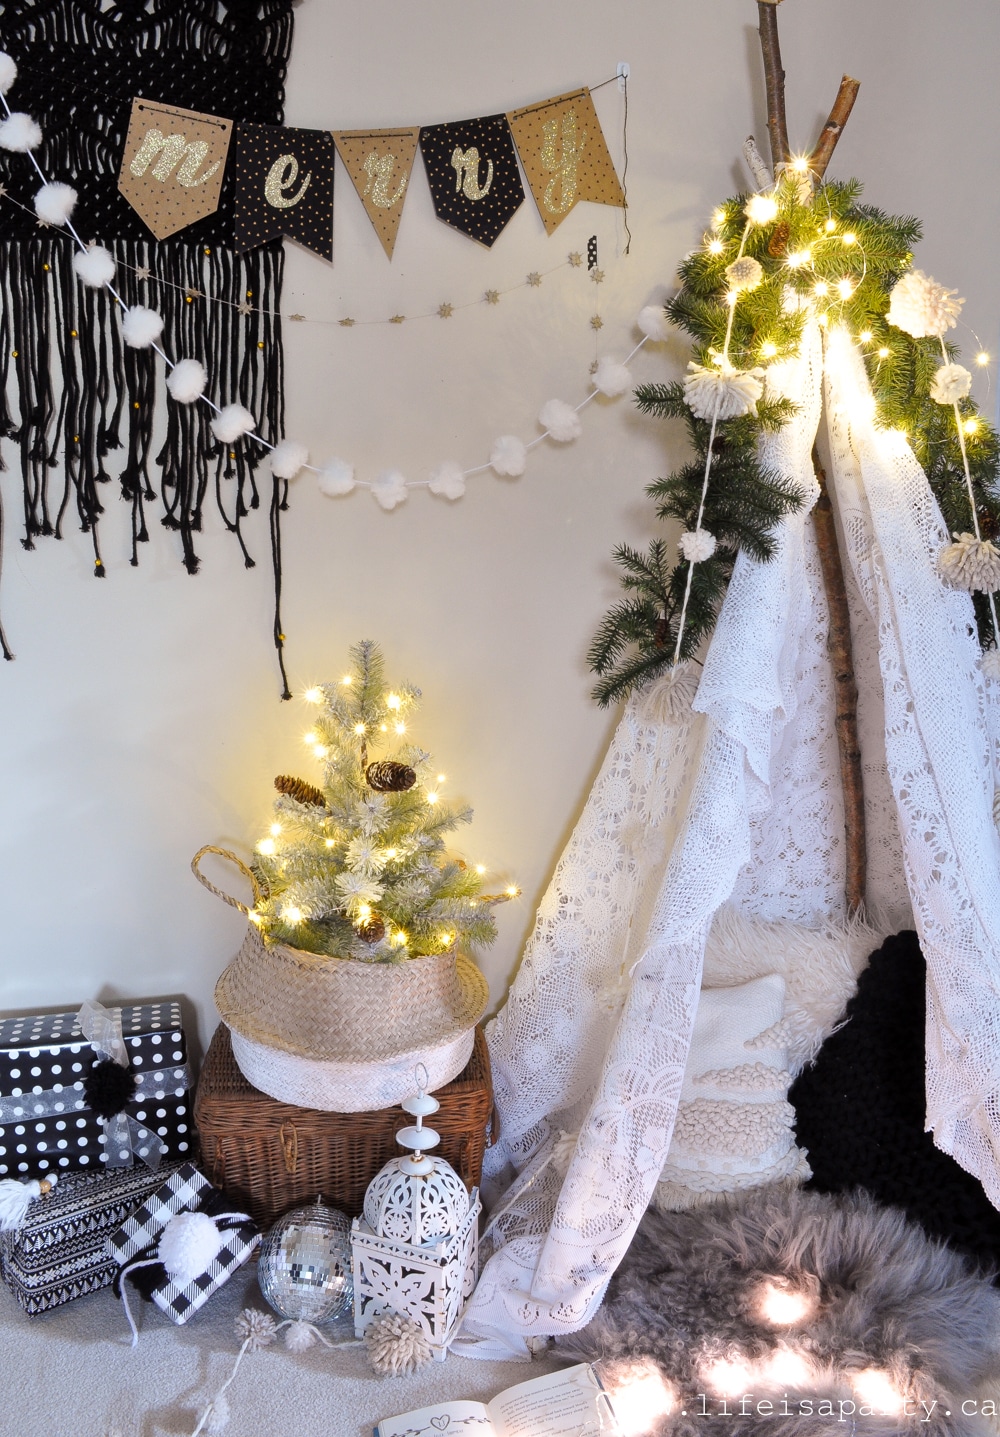
Once the poles are all tied together, it's time to add the tablecloths to create the outside of the thent. This little tent is a no-sew project. No sewing machine or sewing skills required. I used two vintage lace tablecloths and layered them. One was an old one I had, and the other I picked up for under five dollars at the thrift store. One table cloth wasn't quite enough fabric to wrap around my tent, so I used two layered together. It's really easy to get the tablecloths in place because the rough bark catches easily on the lace. Secure the top of the tent with a simple safety pin or two. Lace tablecloths are also a great choice because they don't really have a wrong side of the fabric, or raw edge of fabric to worry about, so they're really easy to work. Alternatively though, you could also use a drop cloth, or bed sheets for this easy project. I love how the vintage lace tablecloths look for our diy children's play tent.
Finish the tent by tucking the tablecloth sides in around the bottom of the tent and fold back the front panel to form the door of your indoor play tent.
Decorate the DIY Play Tent
Now the fun part, add lots of soft cushions and sheepskin rugs, or throws inside. This is such a great way to make the tent cozy.
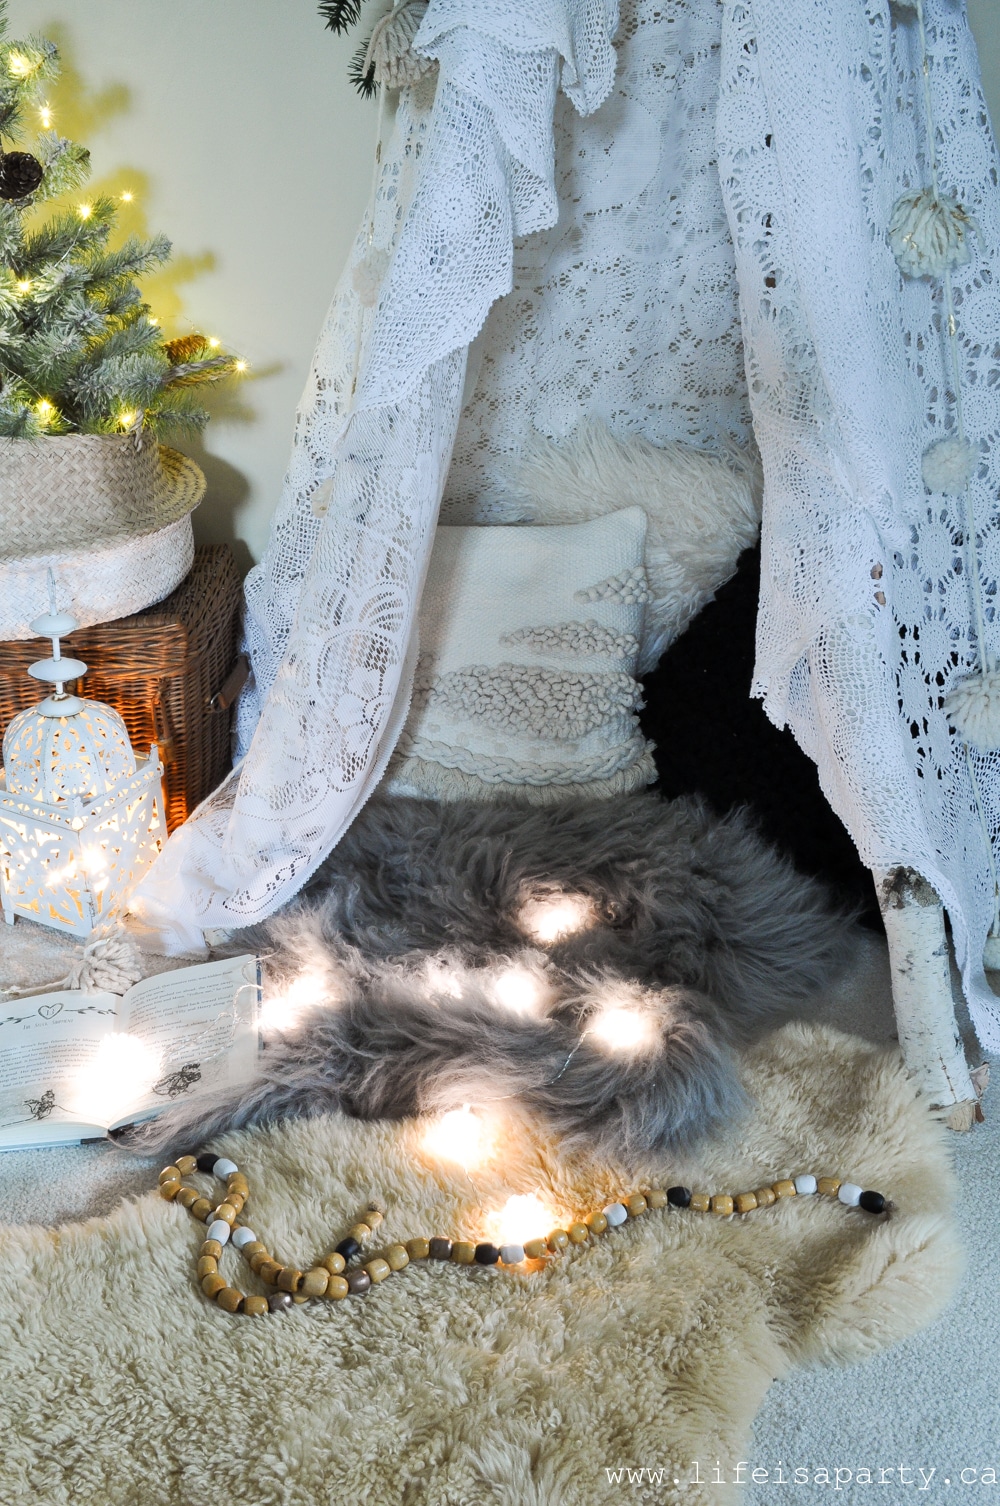
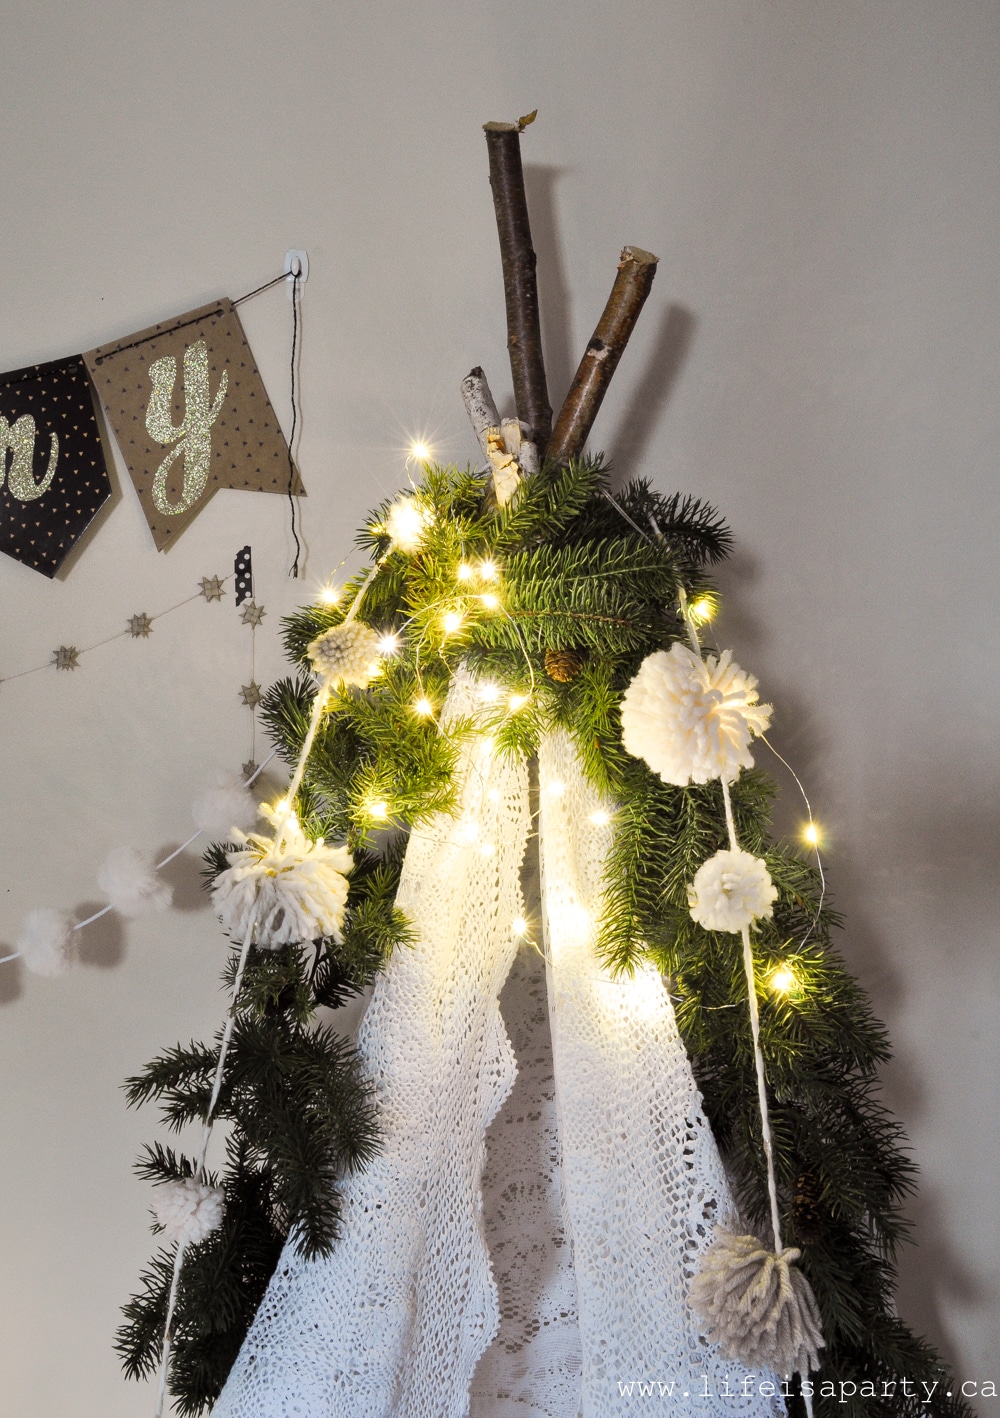
To decorate our tent, we wrapped the top with Christmas garland, fairy lights, and pom pom garland. Some artificial flowers might be a fun touch too depending on your child's preferences.

Materials
- 5 birch tree poles about 6 feet tall each
- twine
- safety pins
- 2 lace tablecloths
- pillows sheepskin rug or throw blanket, fairy lights, Christmas greenery garland
Instructions
- Start out with 5 birch poles, that are about about 6 feet long. Form a circle about 3 feet in diameter with the poles and lean them in to meet at the top and form the tent shape. Leave a larger space/opening between two poles at the front for the door.
- Tie the poles together tightly with twine, taking care to loop around the poles and make them very secure.
- Once the poles are all tied together, it's time to add the tablecloths to create the outside of the thent. Secure the top of the tent with a simple safety pin or two.
- Decorate the inside of the tent with throw pillows and blankets and twinkle lights, You can also add some garland and lights to the outside of the tent.
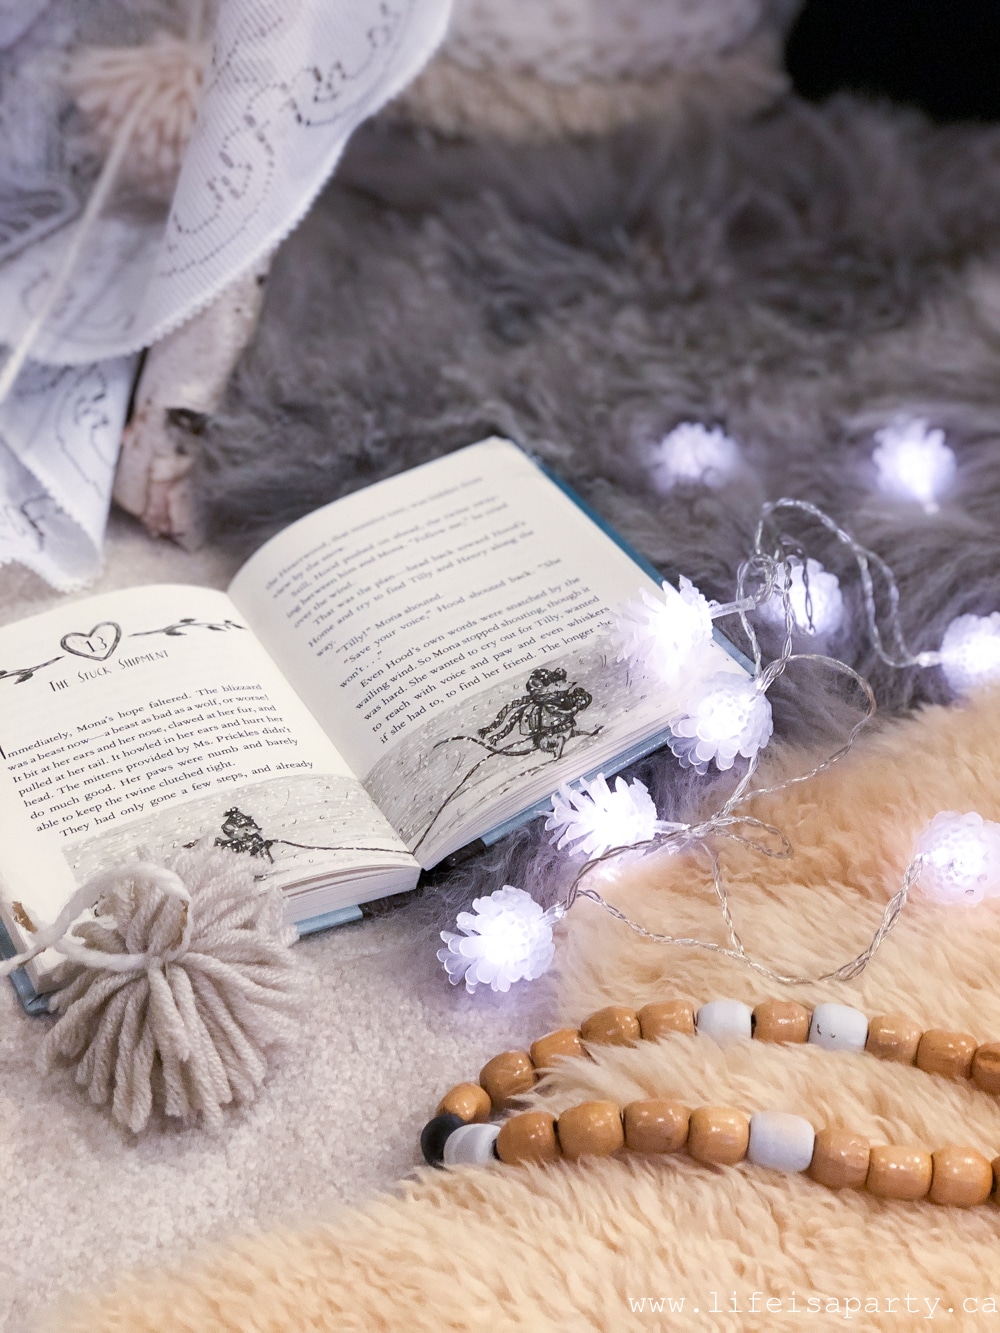
You could also add a stack of new Christmas books inside of the tent. The thrift store is a great place to find these really inexpensively.
Creating the Black and White Boho Christmas Look
I had so much fun decorating this whole little space around our Christmas play tent.
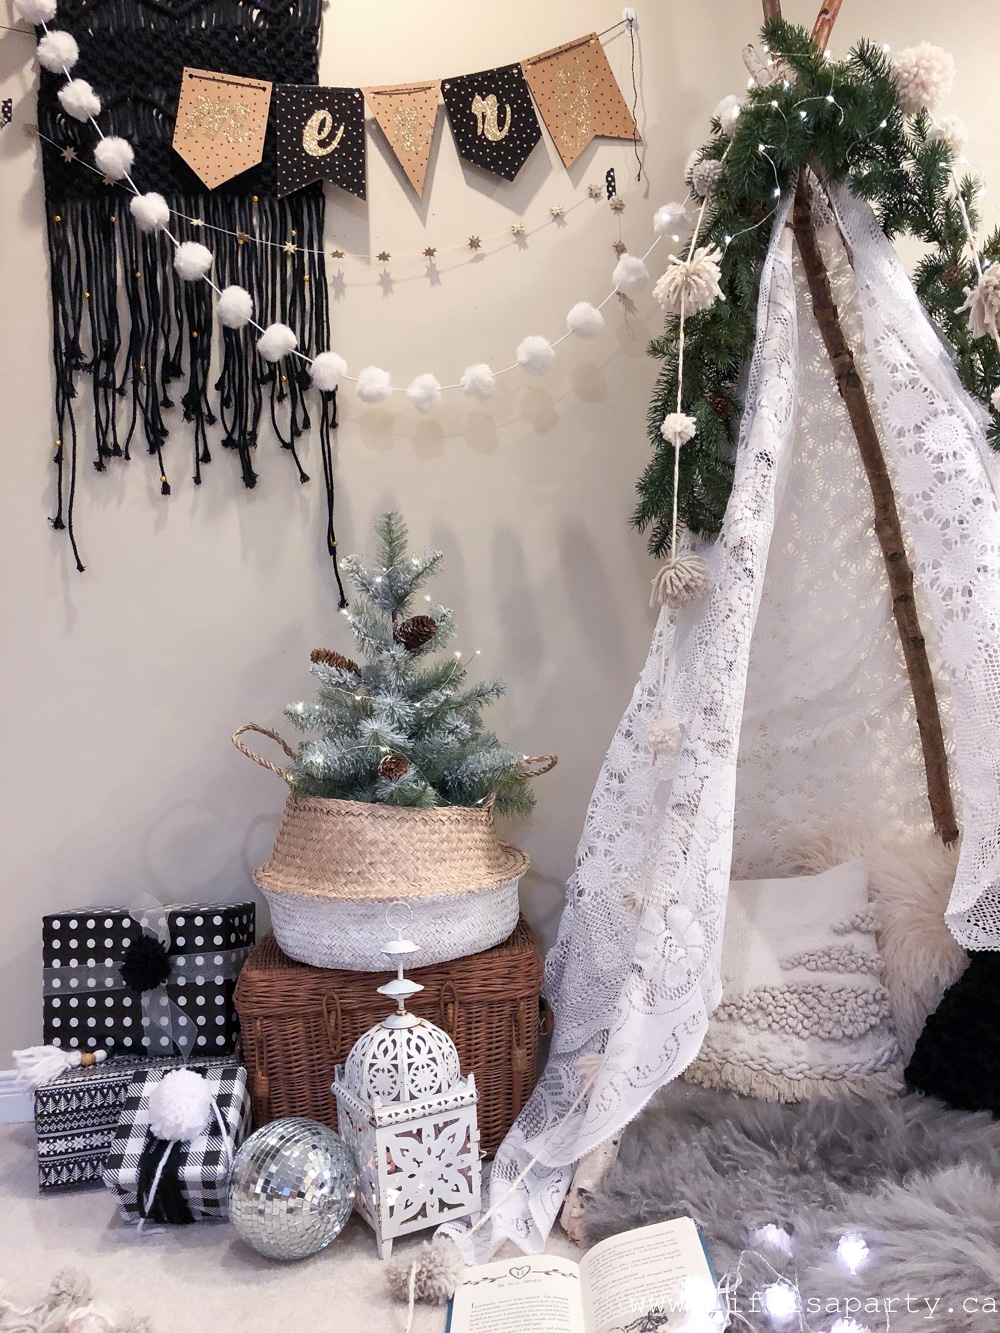
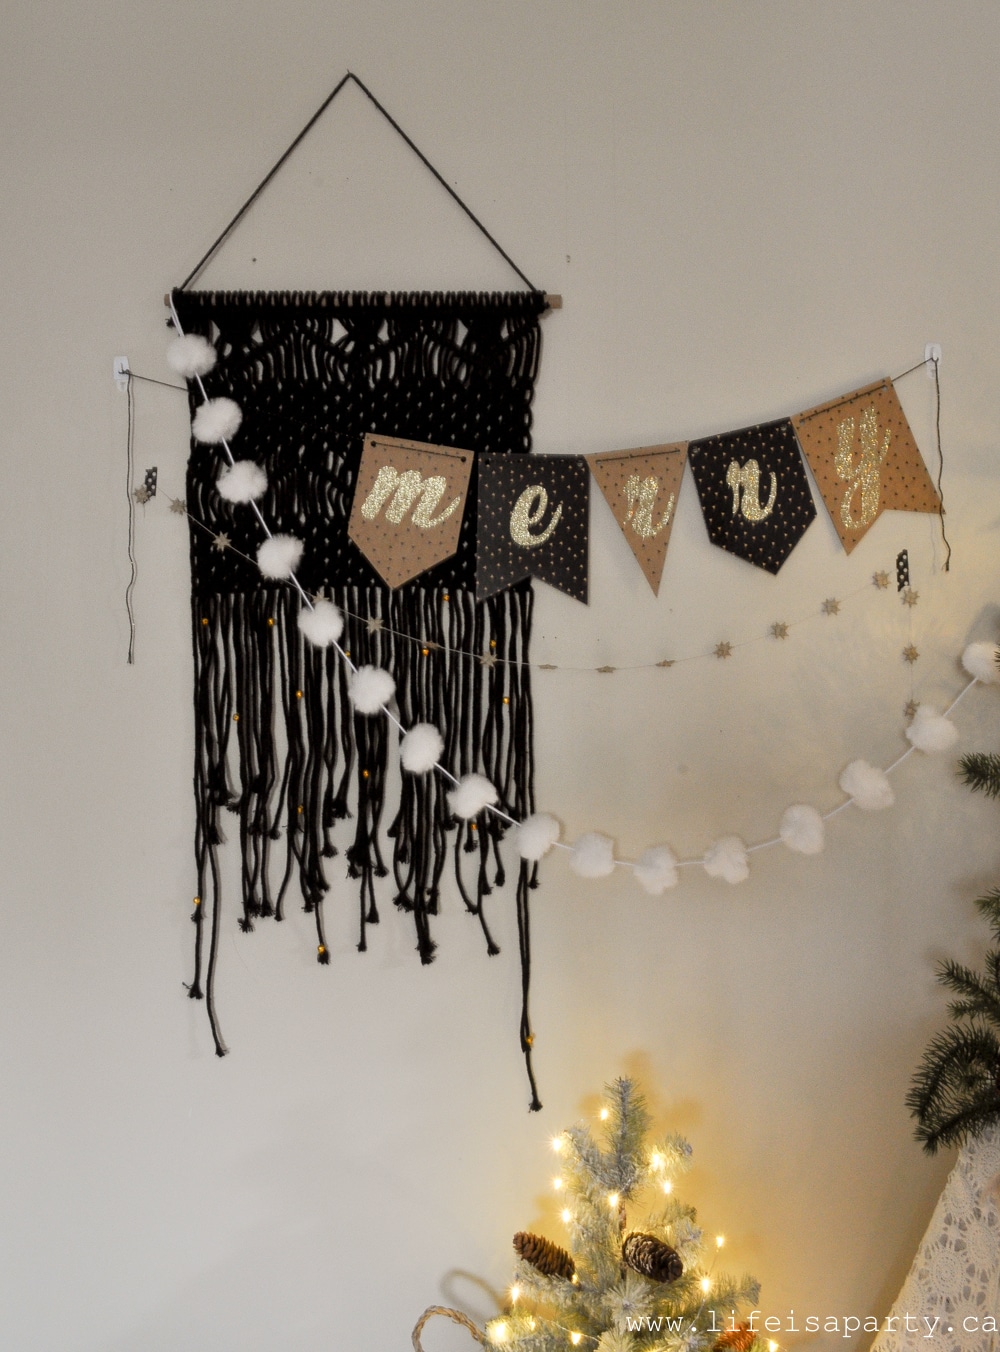
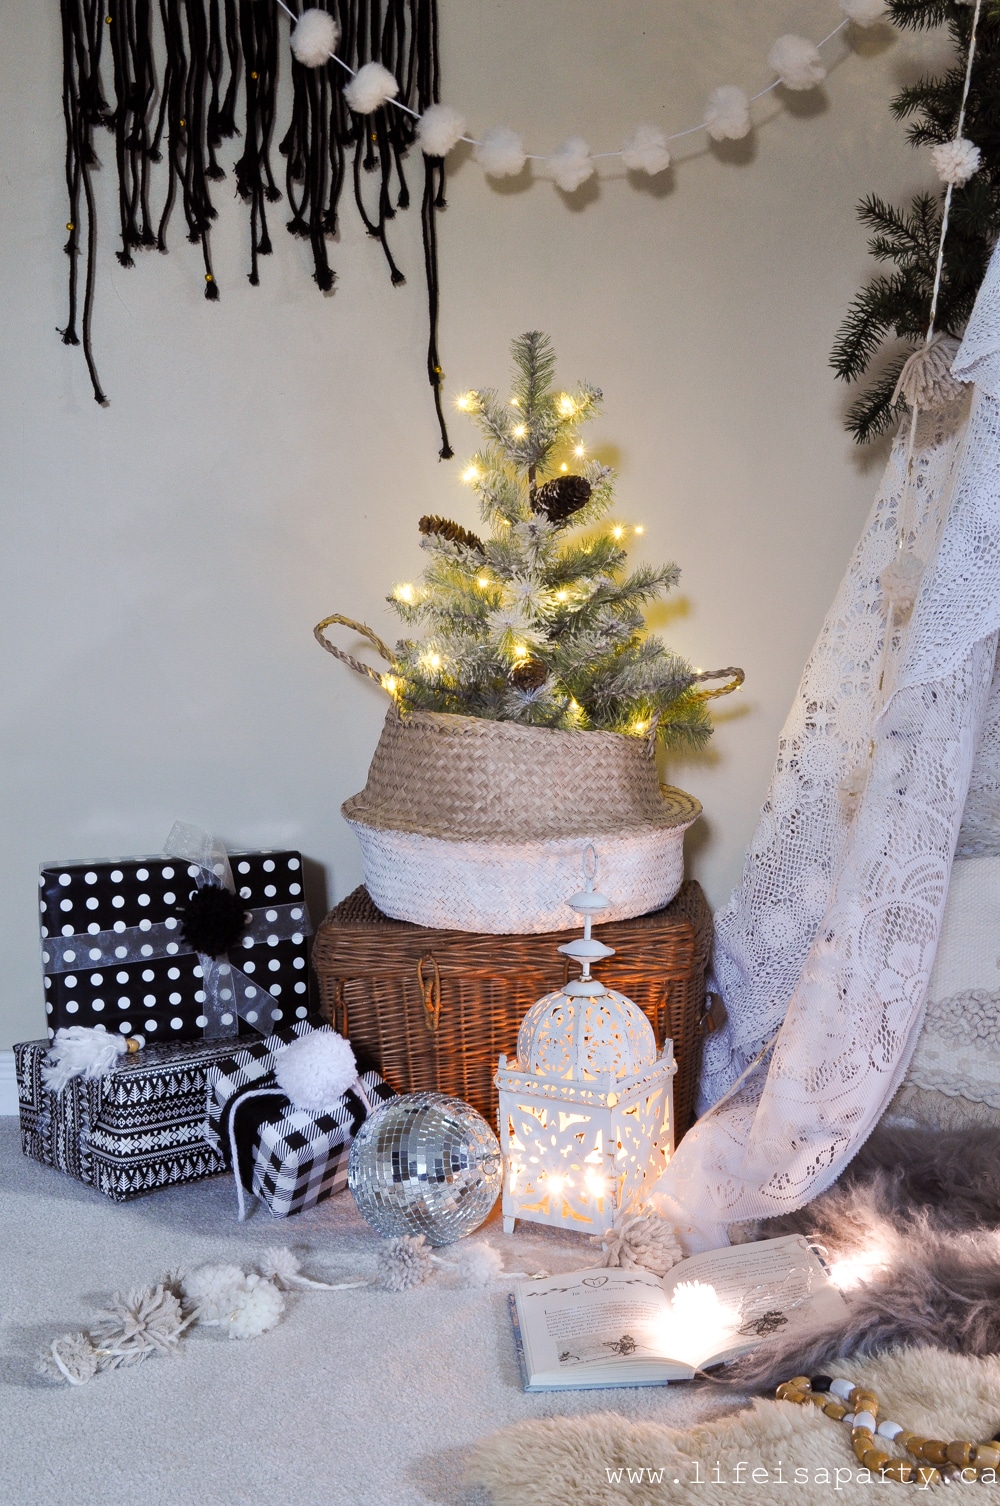
To make if feel even more boho, I added a fun macrame hanging to the wall. We add lots of garland and bunting to create a layered look. Boho decor tends to include a global influence so this, and the Moroccan lantern are great additions to achieve the look. We also incorporated a Christmas tree, and lots of fairy lights.
DIY Play Tent Easy Take Down
If you're done enjoying this spot there's just a few simple steps to but it away. The whole tent breaks down to take apart even more quickly than we put it up! Remove your safety pin and take off the tablecloths, and then untie the twine and take the locks down -the easiest collapsible fabric play tent ever! And you can rebuild it anytime you want.
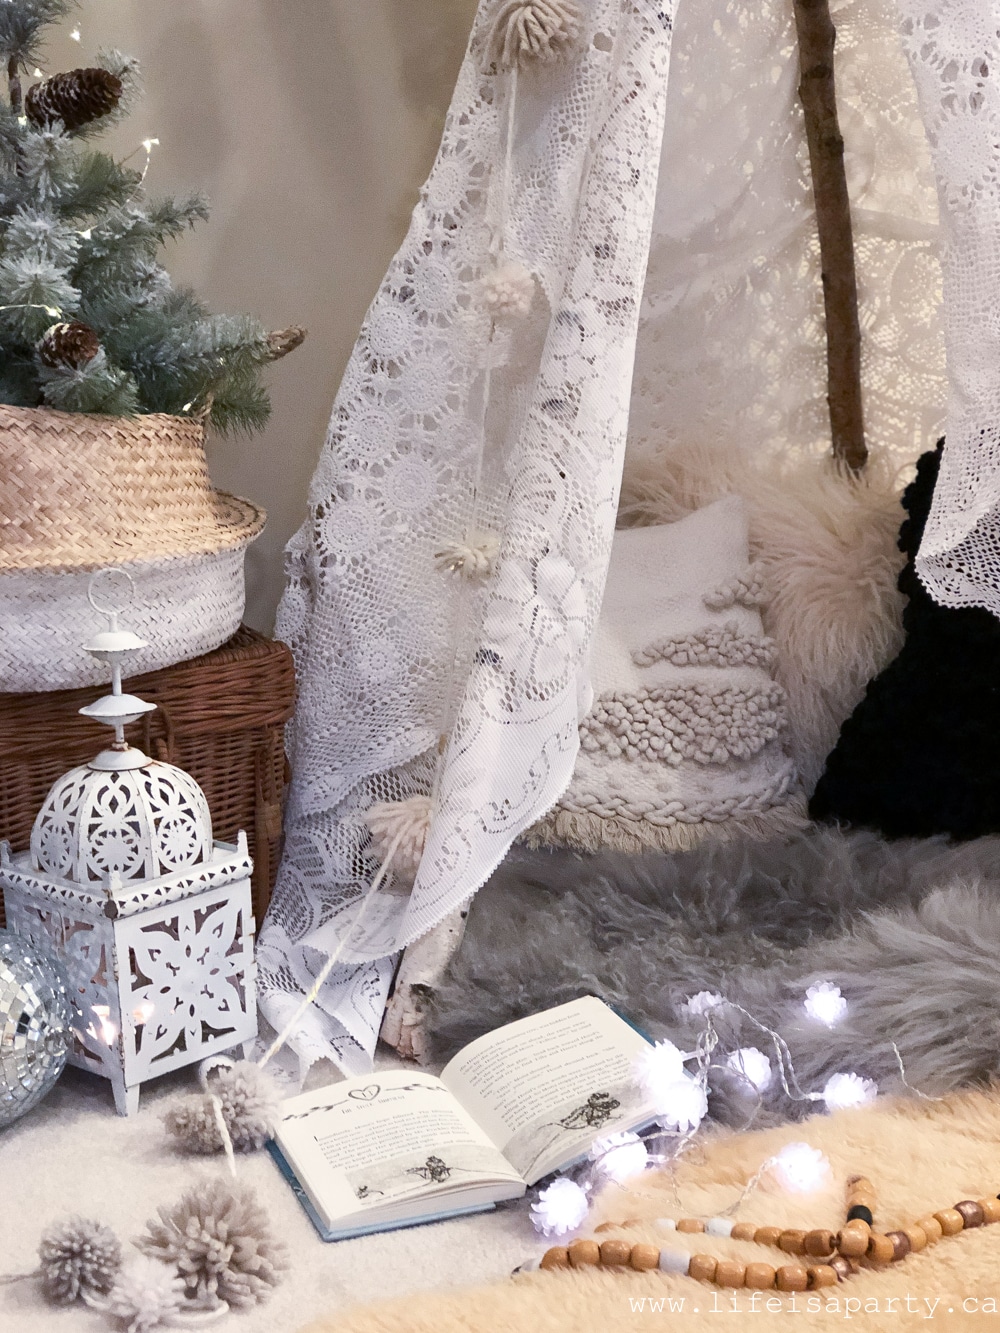
This spot is the perfect place for kids to enjoy. It's one of my favorite DIY projects, because it's inexpensive, quick and easy, and looks so sweet.
With a fun little Boho Christmas DIY Play Tent to enjoy over the holidays, life really is a party!
More Boho Christmas Inspiration
You might also like our Boho Christmas post here.
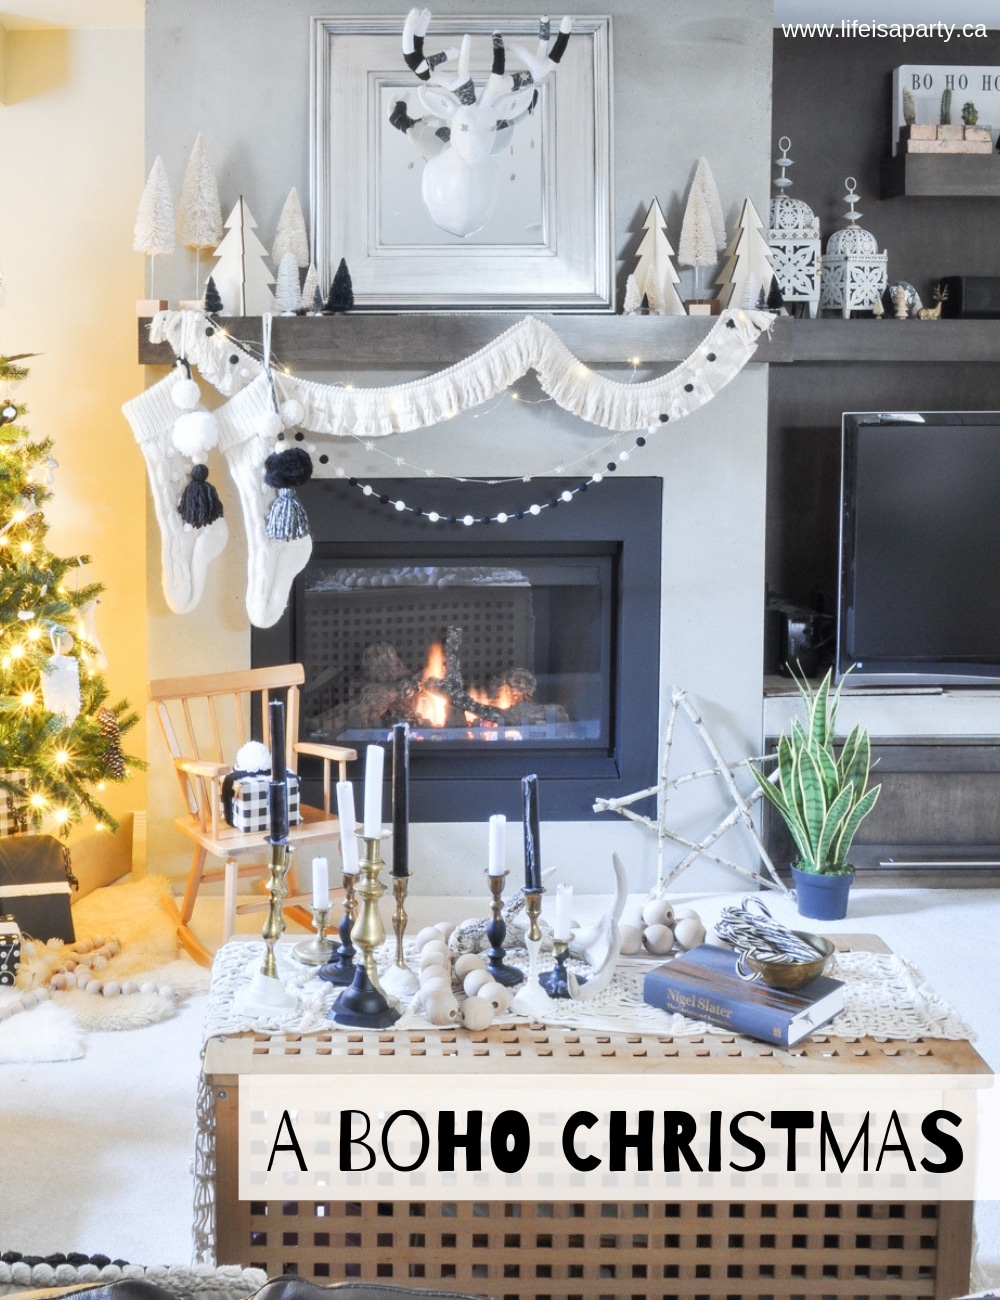
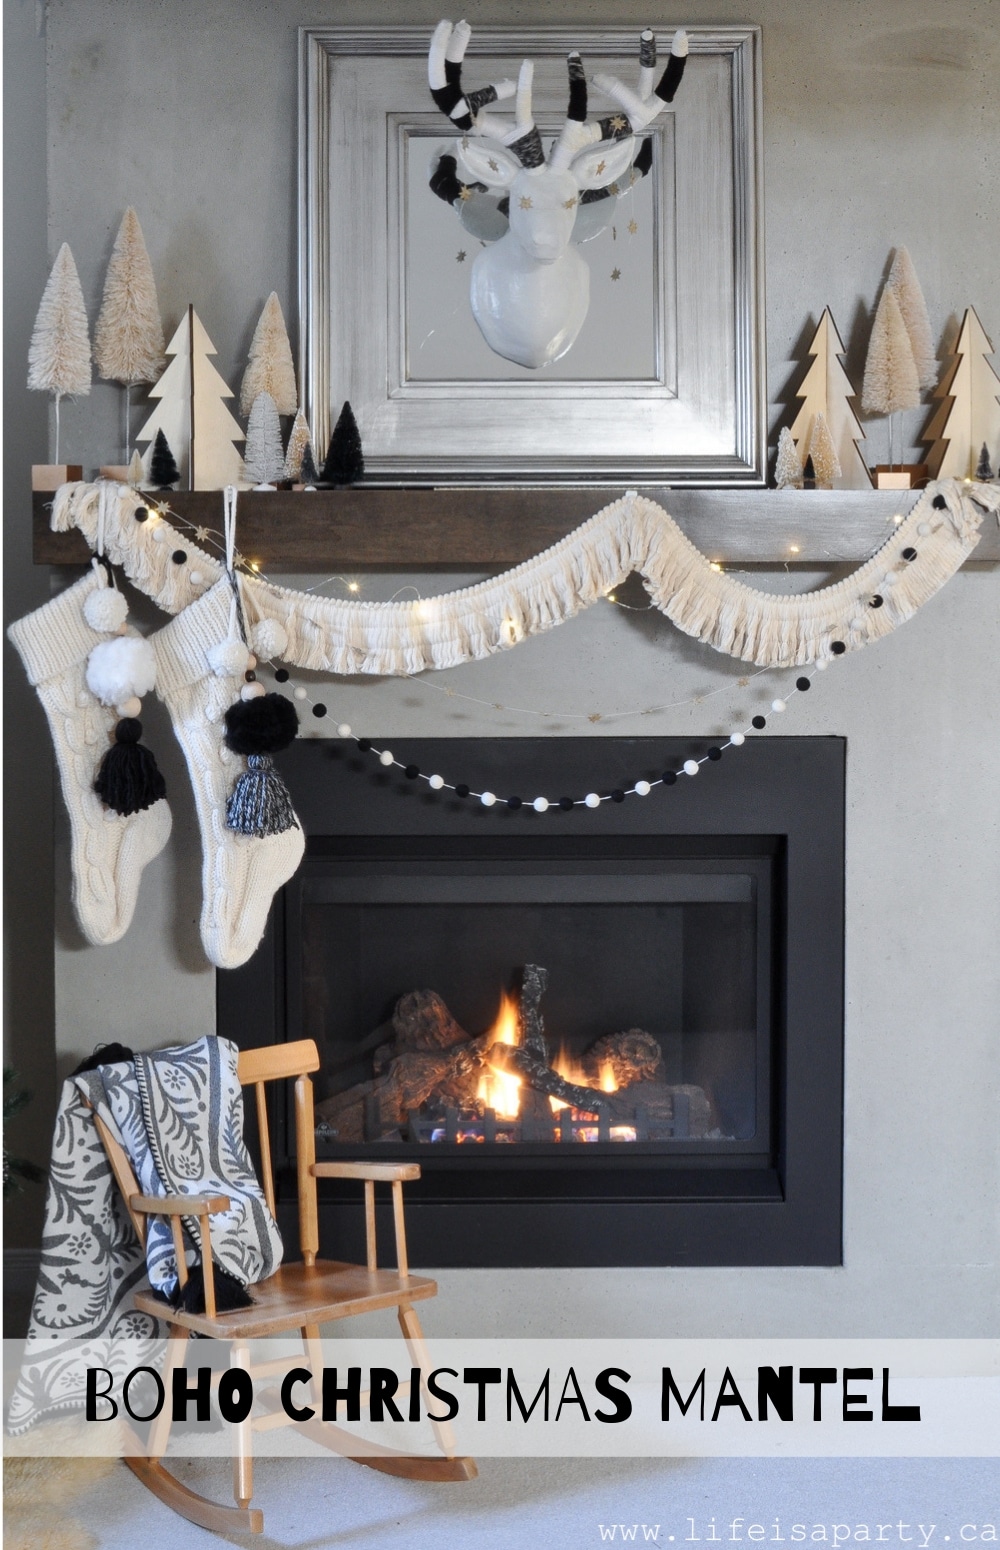
Also check our out Black and White Boho Christmas Mantel here.
You might also enjoy our Black and White Boho Christmas Tree here.

Also check out our Mini Macrame Christmas Ornaments here.




Leave a Reply