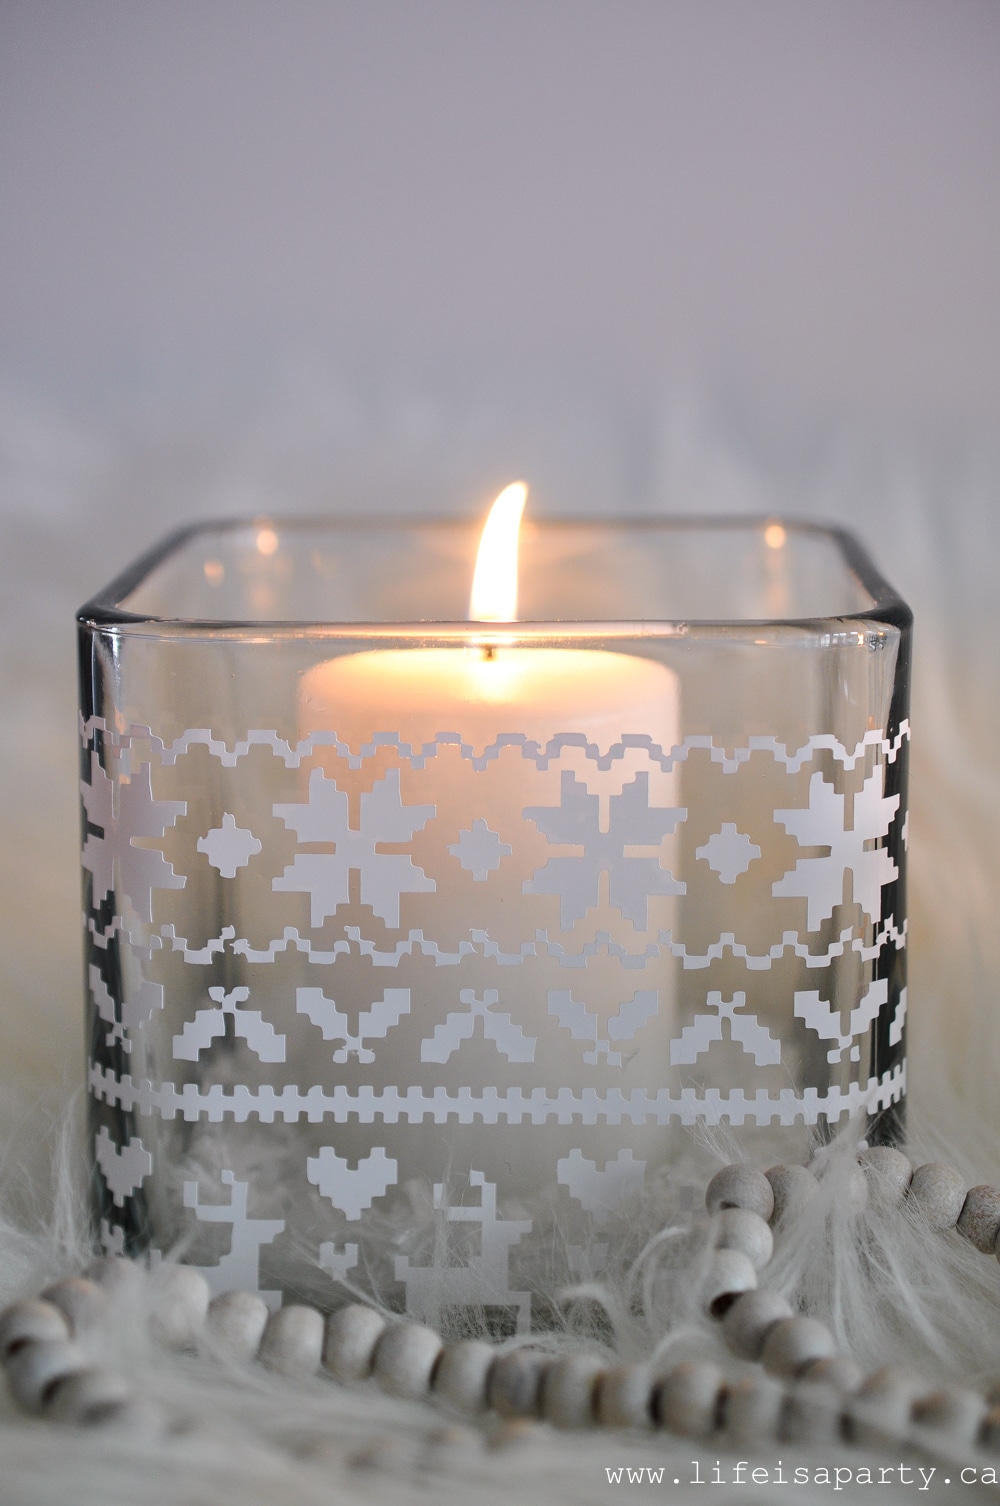
DIY Fair Isle Christmas Candle Holders: Use your Cricut to add a vinyl Fair Isle pattern to your candle holders. Free design space cut file included.
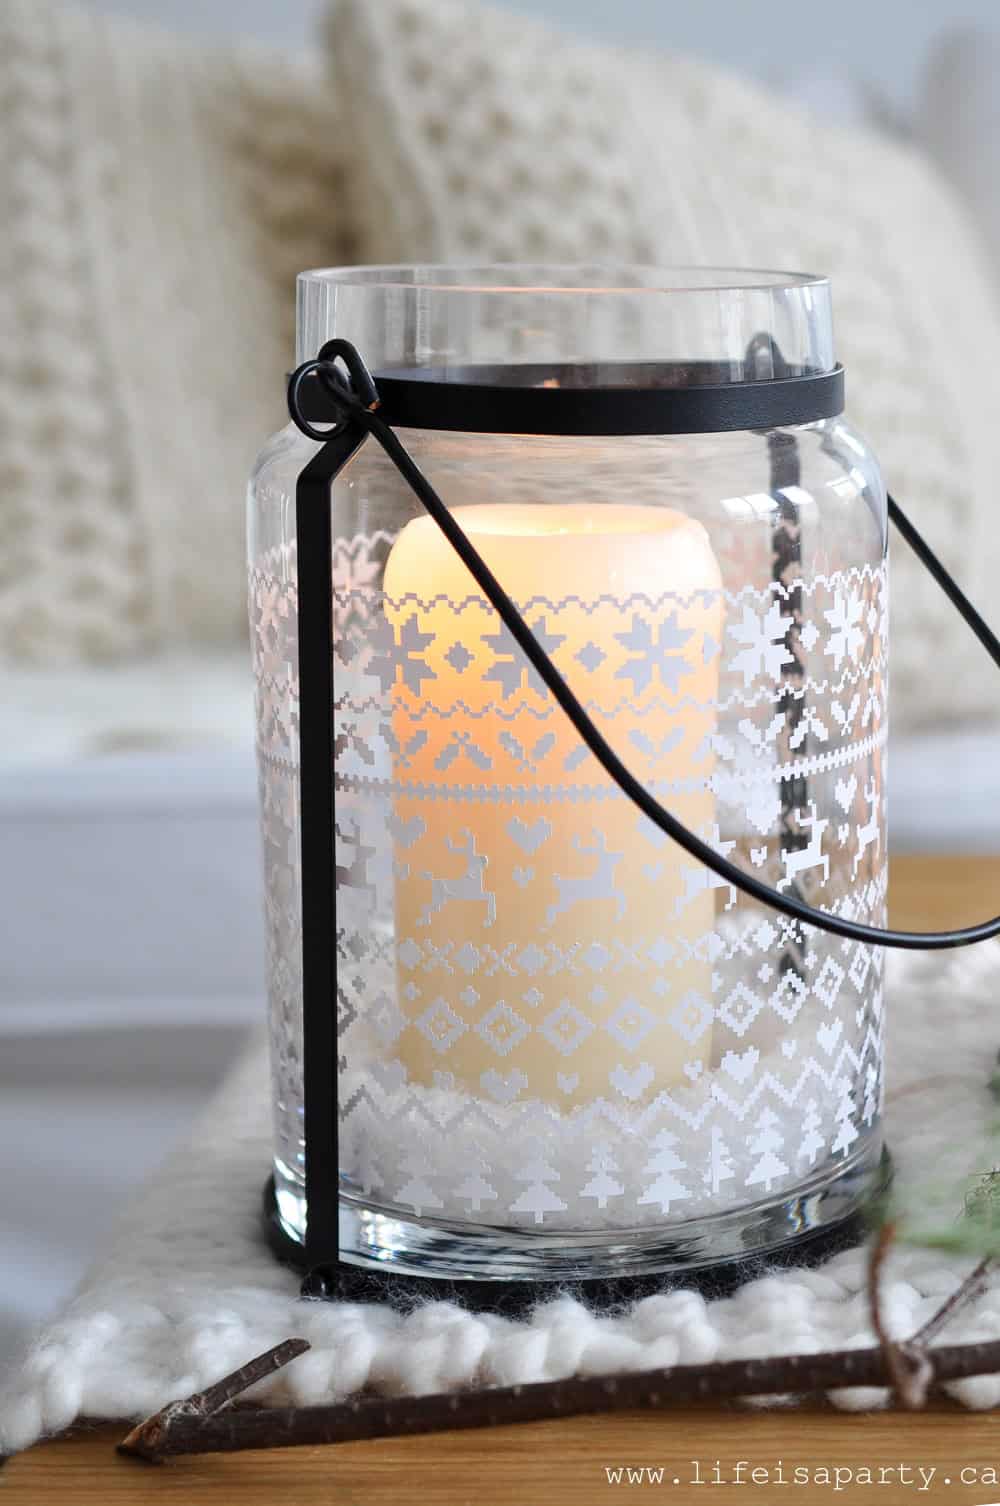
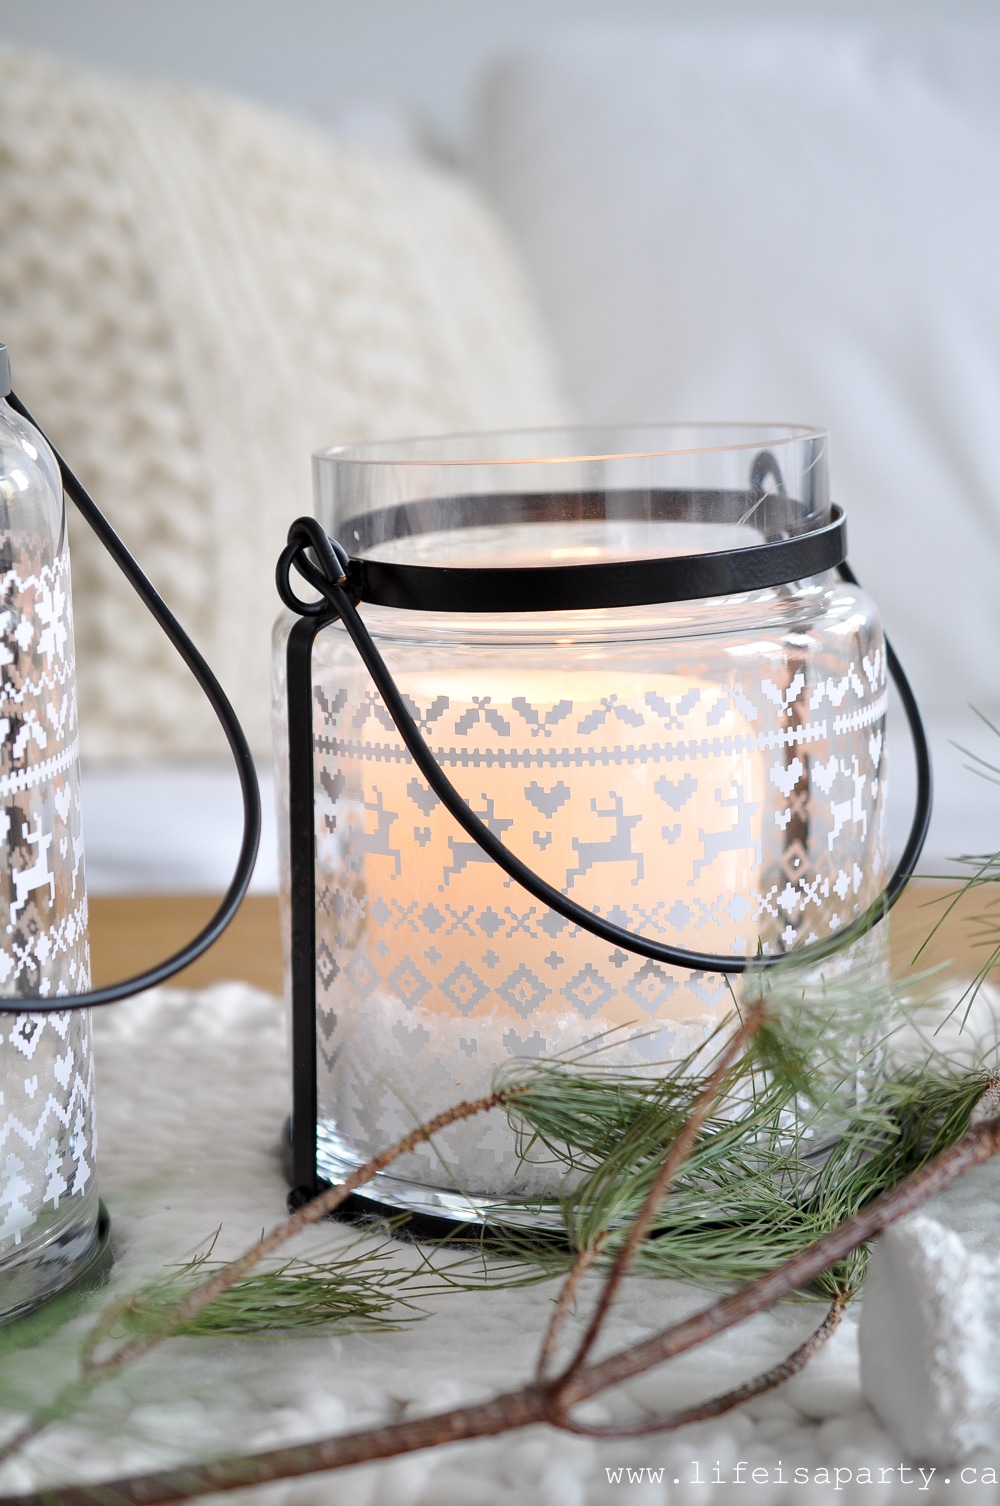
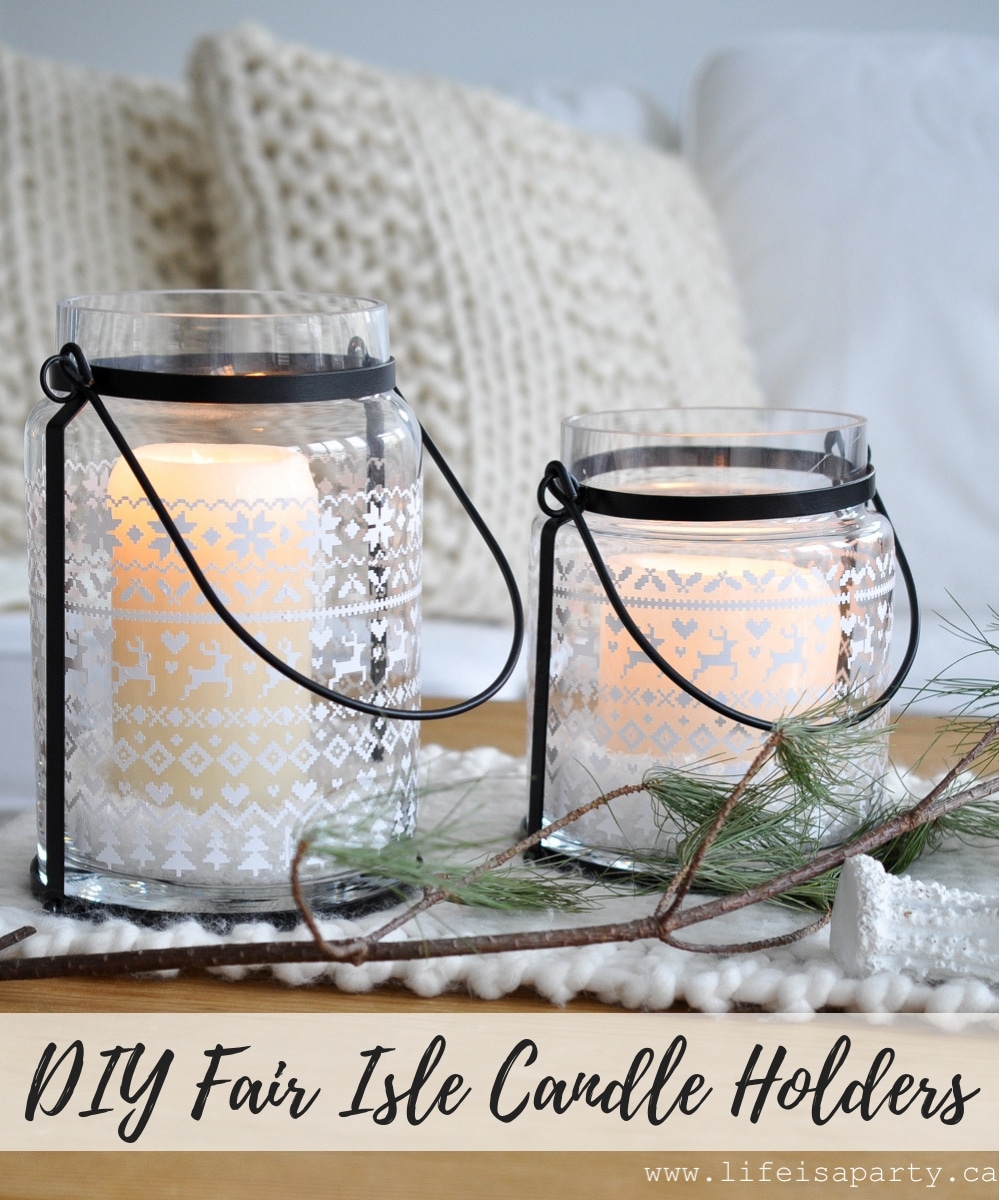 The clocks went back last week because the days are getting shorter, and darker. They're also getting colder. I thought these fair isle patterned lanterns were perfect to add a little warm and cozy feel. Fair Isle is a traditional sweater pattern, and I thought it would be great as part of my Christmas decor. I've chosen a pattern that's got a little Christmas feel to it with some trees, reindeer, and holly. I love how these lanterns turned out, especially since I made them myself with my new Cricut Maker.
The Cricut Maker is a cutting machine, and perfect for any crafter. With this machine you can easily cut simple or complex patterns (like the one I made) in paper, vinyl, fabric, leather, and even wood. I've been having so much fun experimenting with my new machine, and I've been amazed at all it can do. The potential of what you can create is truly only limited by your imagination. It's so perfect for any creative you know -think best Christmas present ever. 😉
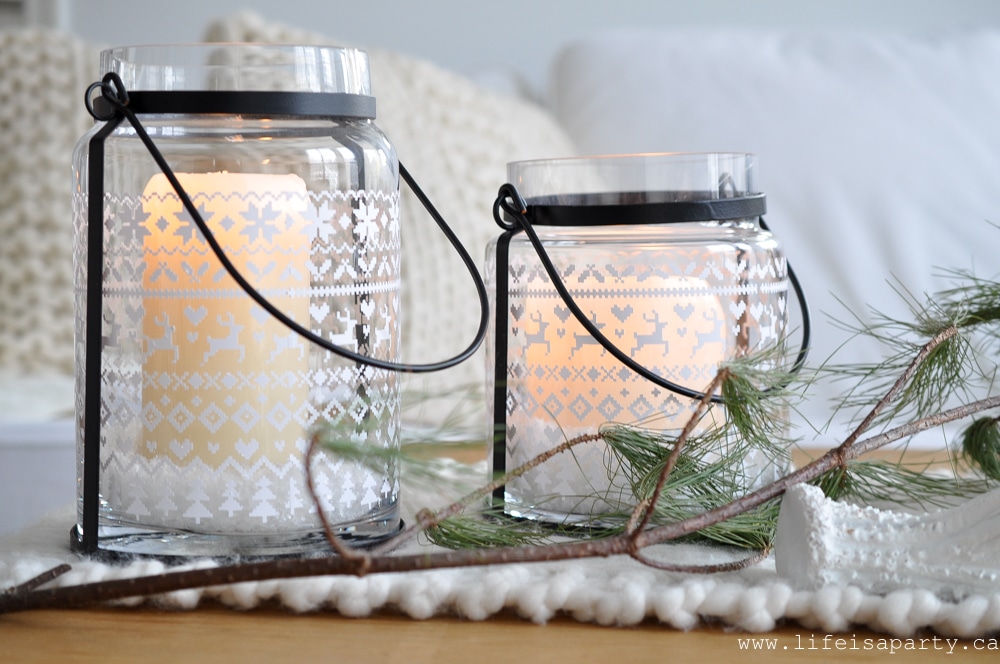
For my first official project I made these candle holders.
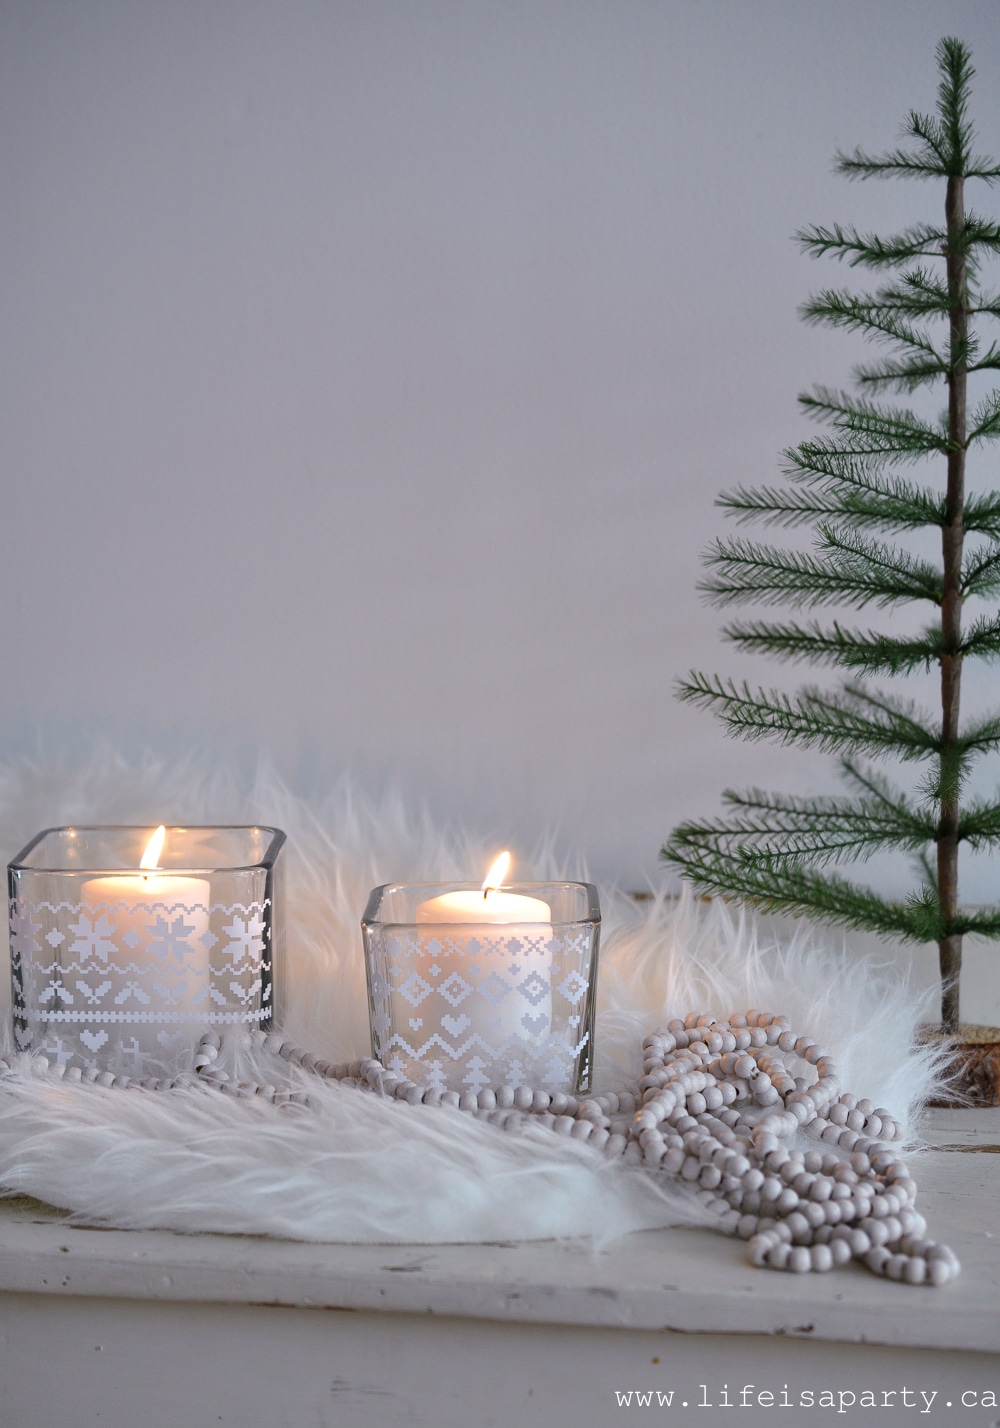
The small square ones were really quite simple to make and a good project for a beginner. The larger lantern style ones were a bit trickier, but I really love how they turned out.
Materials:
- Cricut Maker
- Standard Grip Cutting Mat
- Cricut Vinyl -White or a colour of your choice
- Transfer Tape
- Cricut Tool Set
- glass candle holders or lanterns with straight sides
- Cricut Design Space File -Fair Isle Pattern
How To Make DIY Fair Isle Candle Holders
The Design
I started by importing a free fair isle pattern into the Cricut design space. You can then play around with the sizing, depending on what you're making. I repeated the pattern 4 times to fill up my vinyl sheet. Make your own, or access my design here.
You could also experiment with different colours. I love a neutral Christmas colour scheme, but these would look great in red, or green too if you like more traditional Christmas colours.
Cutting the Vinyl
Once you're happy with the design it's time to cut it out. With your computer attached to your Cricut follow the prompts on the screen.
You will first choose your material, in our case vinyl.
Next you'll be prompted to make sure the fine point blade is inserted in the machine. The clamp system makes it really easy to change the blade depending on what material you're cutting, and the machine will always tell you which one you should have in depending on the material you're cutting.
Then you'll be promoted to load the mat. To prepare it just stick your piece of vinyl on to it.
Then you'll hit the cut button and the machine will work its magic.
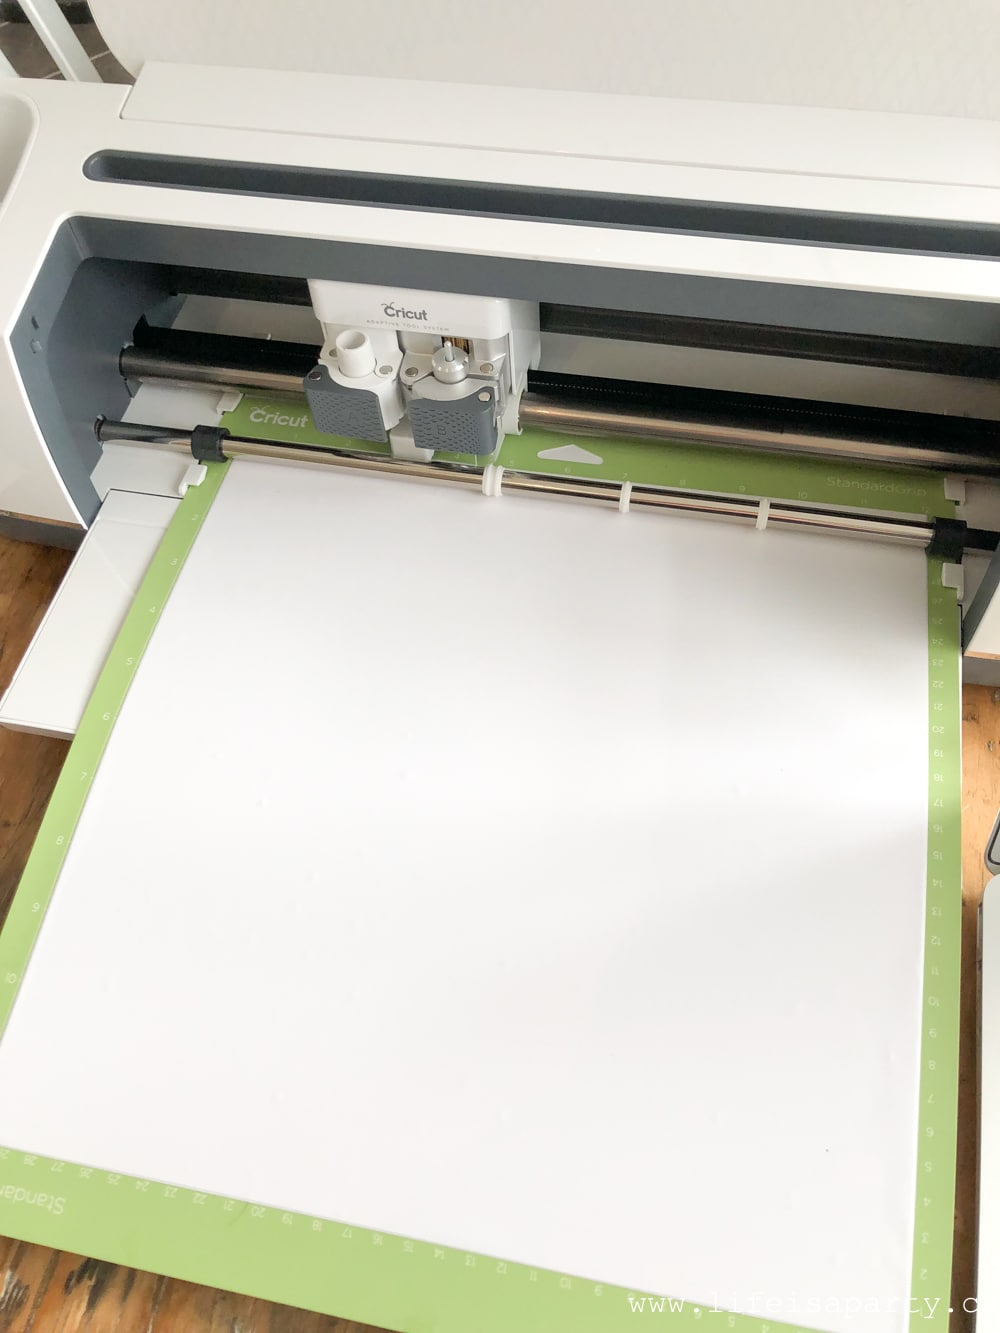
The cuts for this project are quite complex, so it does take a little while to cut out, but the results are amazing.
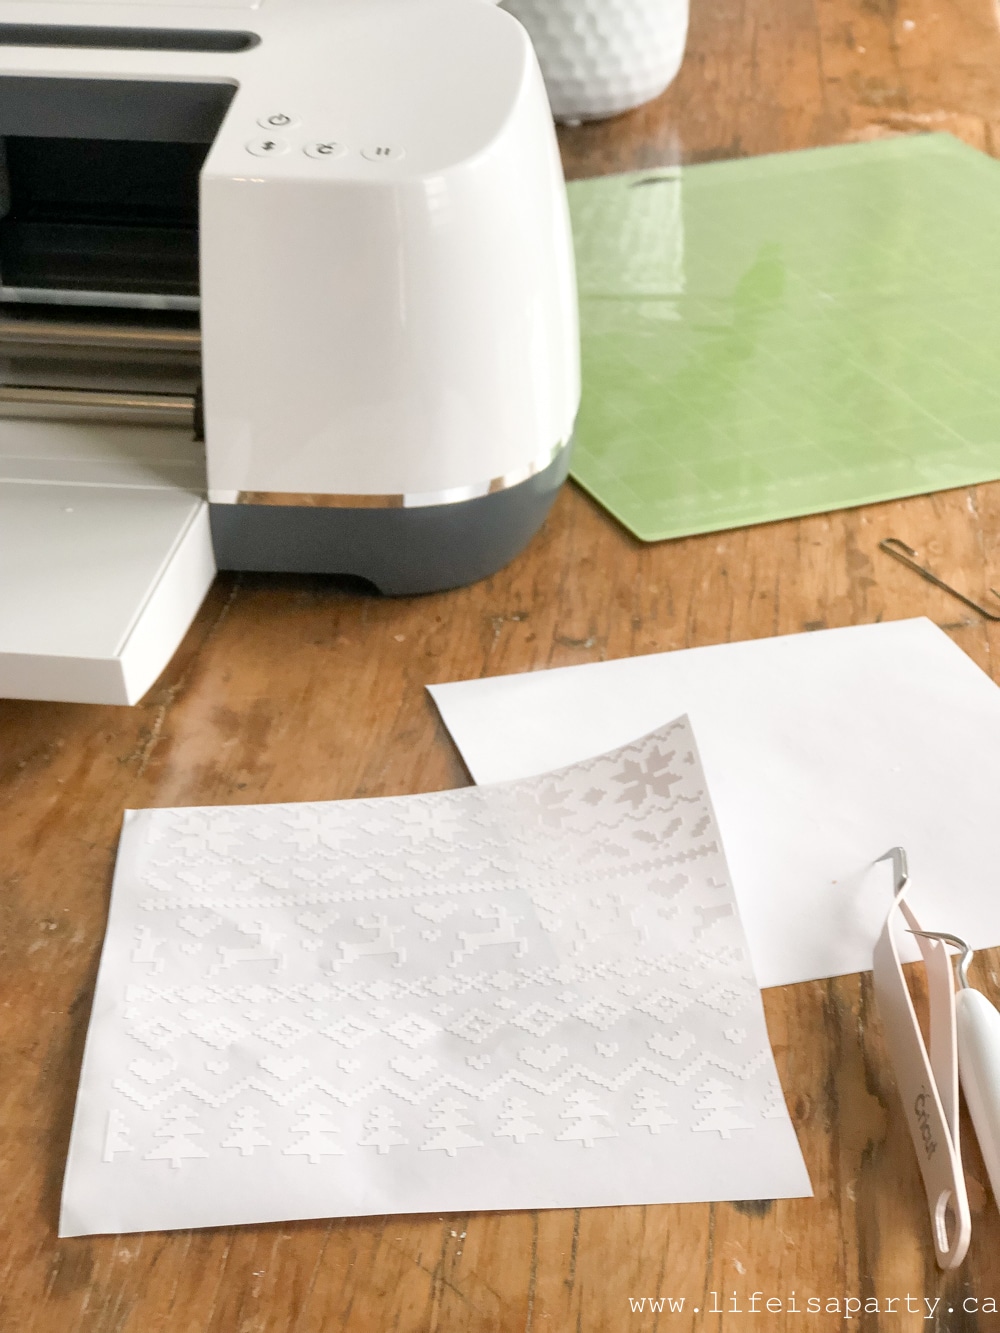
Once it's all cut and the mat is removed from the machine, you'll take the vinyl off the cutting mat and weed the pattern. This is the process of removing the part that you don't want. For this project there are a lot of fine details.
Weeding Time and Transfer Tape
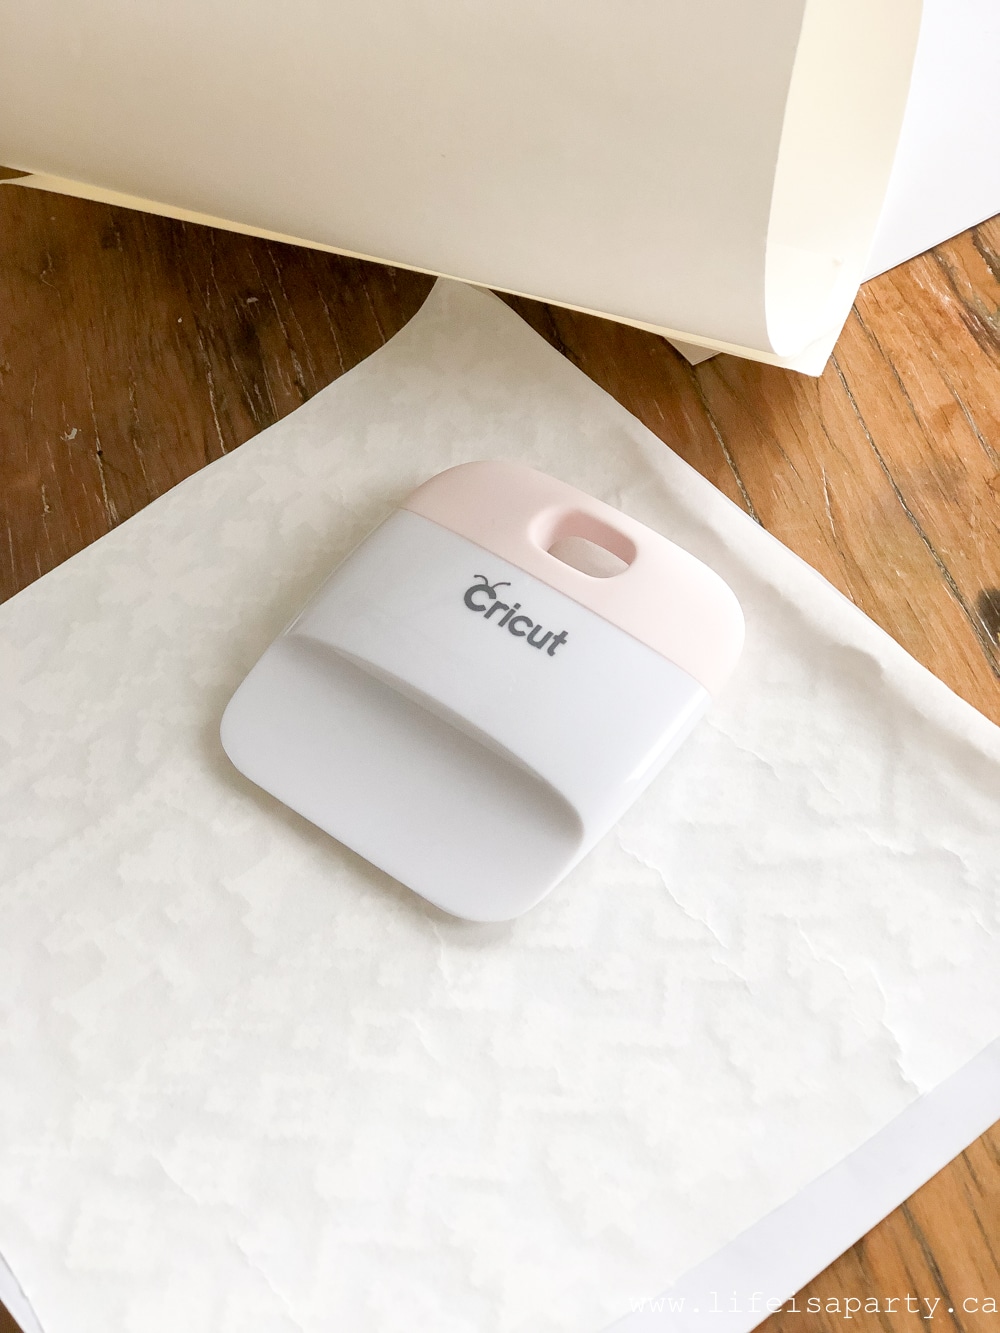
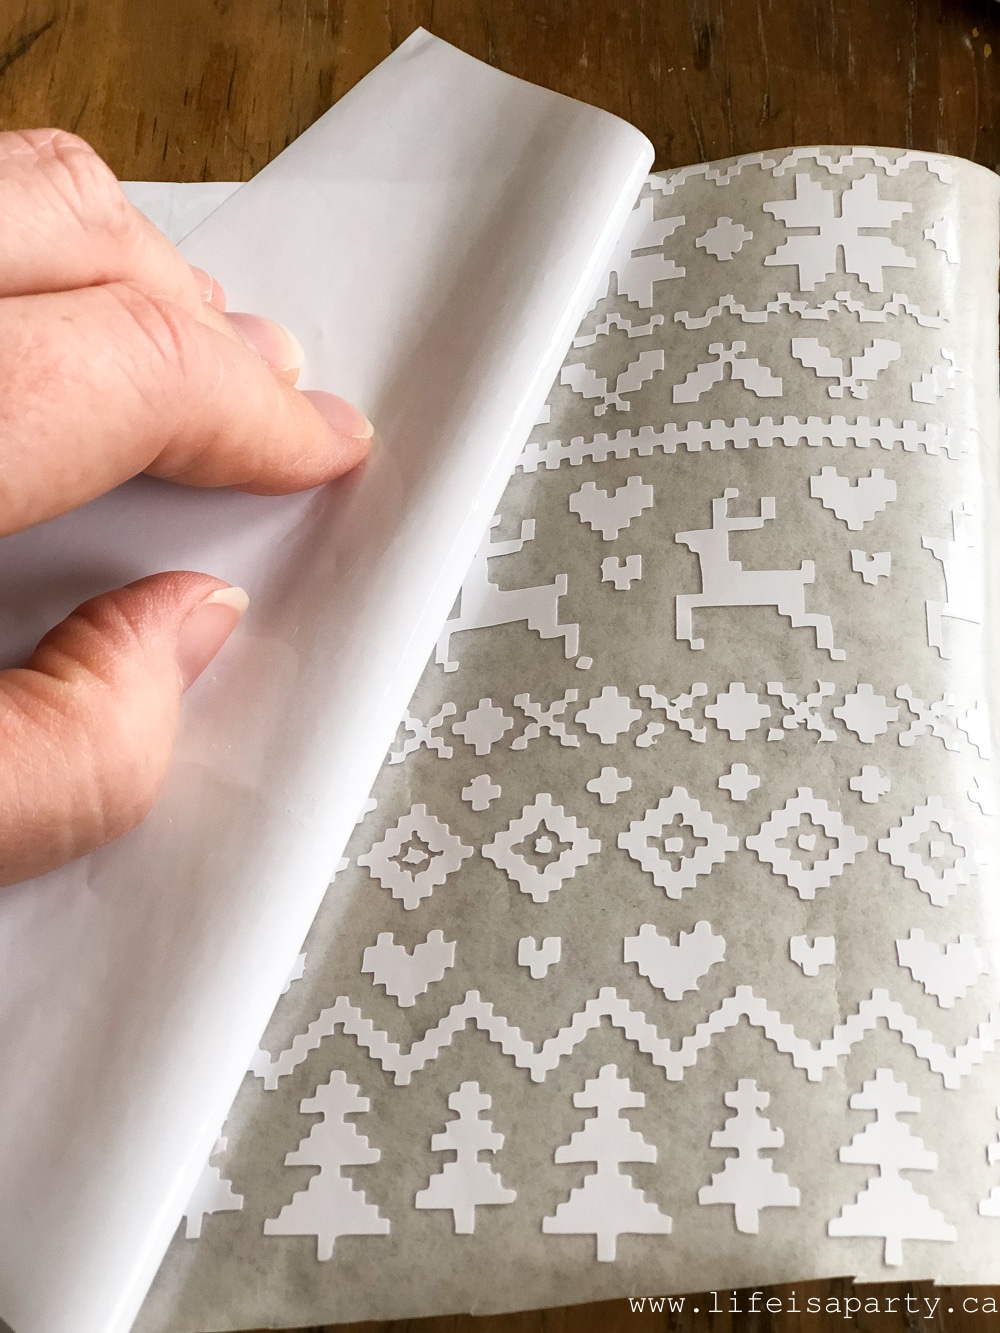
Once the project is weeded you'll use some transfer tape over the vinyl. This step ensures that all the tiny pieces stay exactly where you want them when you transfer them to the lanterns.
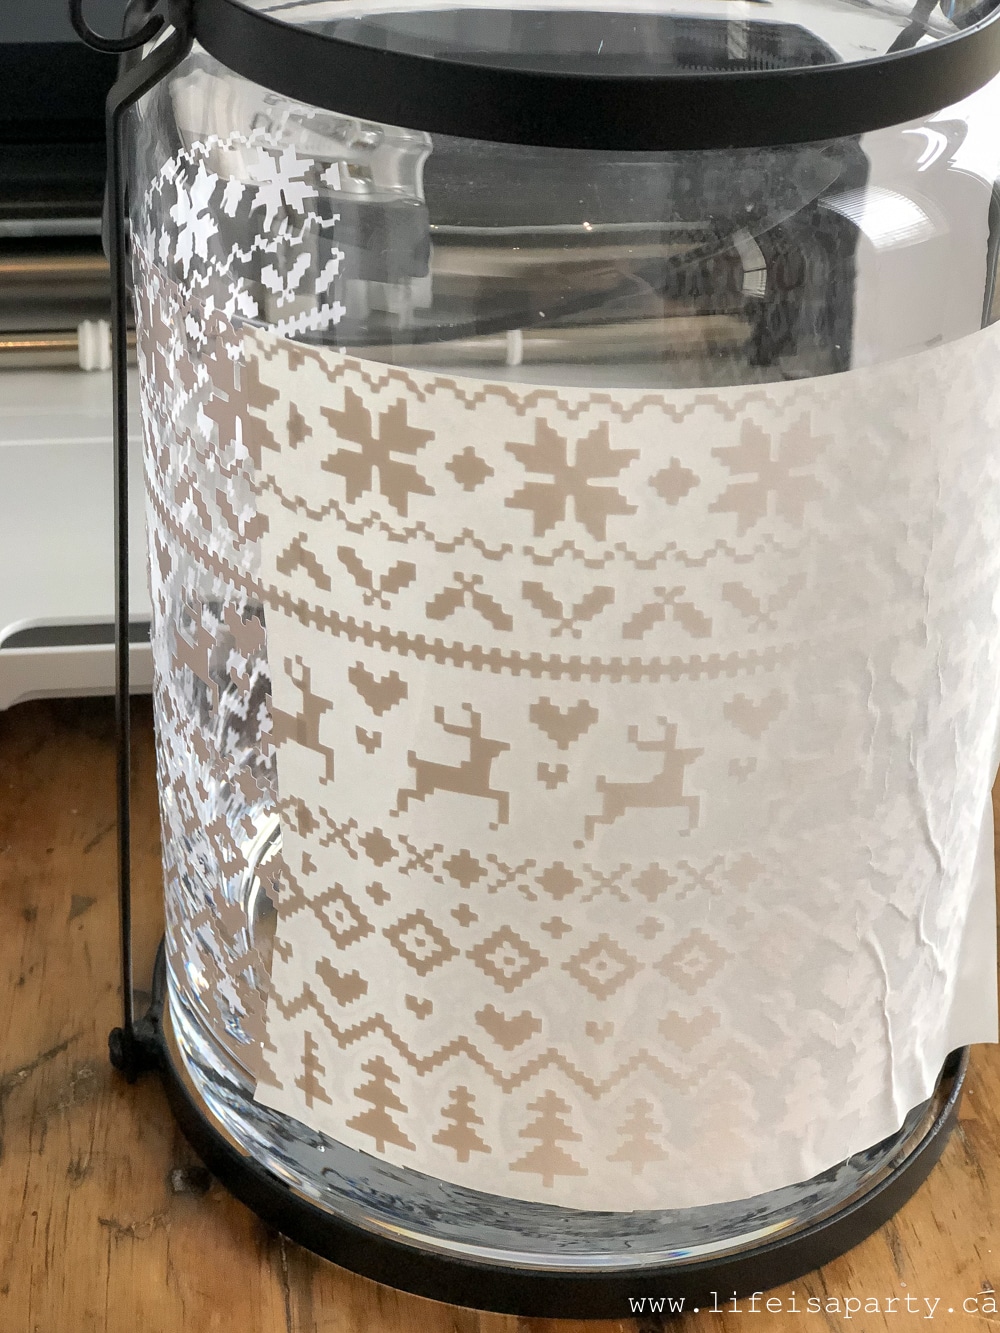
Finally position the transfer tape on to the candle holder and burnish it into place. Carefully peel off the transfer tape, leaving the vinyl on the candle holder. This process is a little tricky because the pieces for this piece are so tiny and intricate. Take your time and peel away the tape at a 45 degree angle.
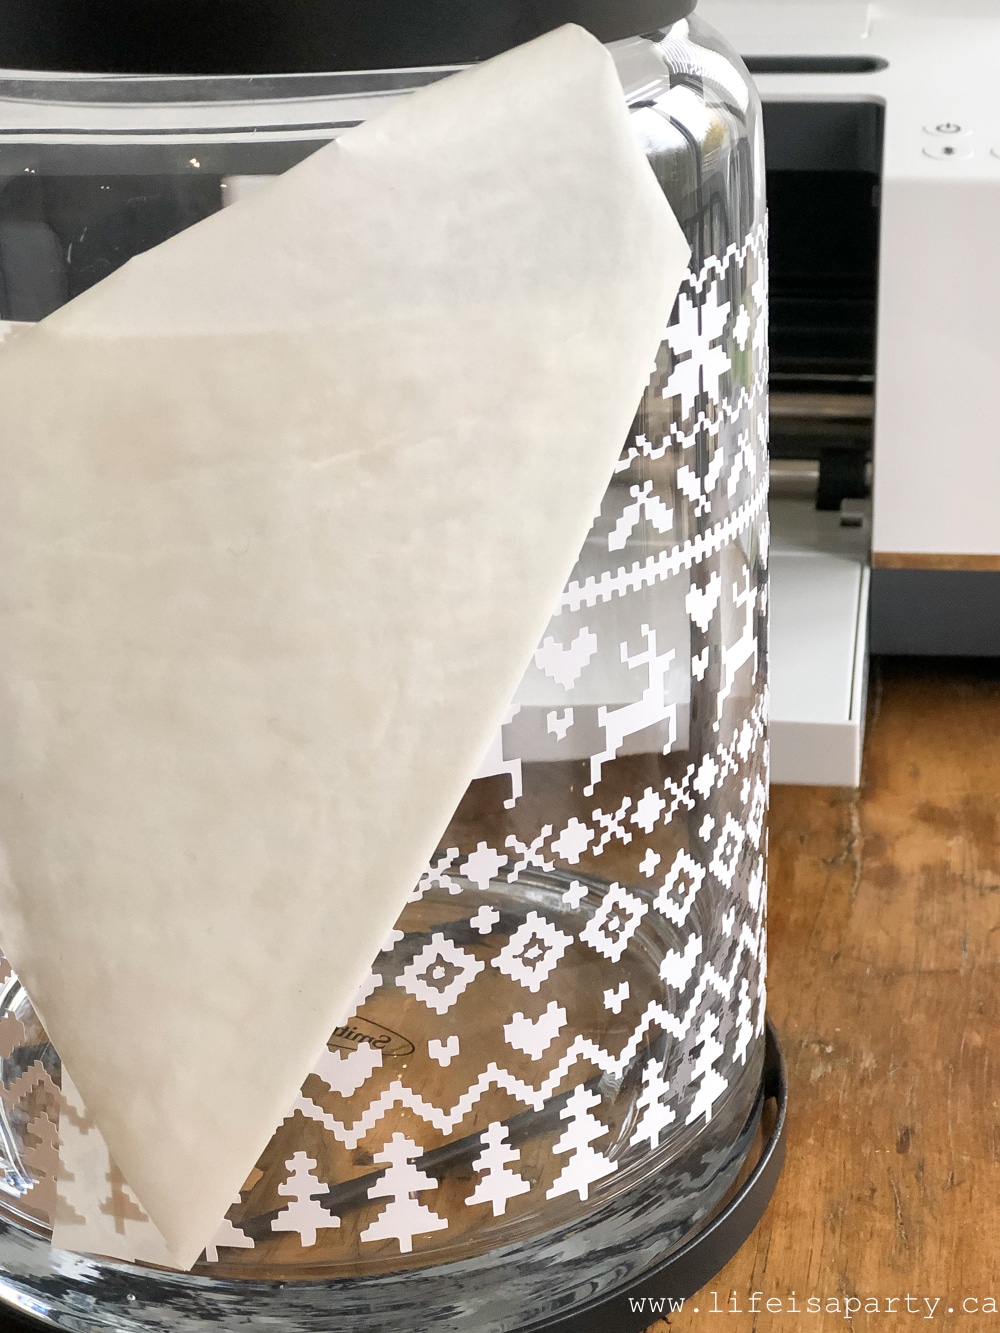
For the small candle holders I only covered one side of the square candle holders. Just use scissors to trim off any excess vinyl.
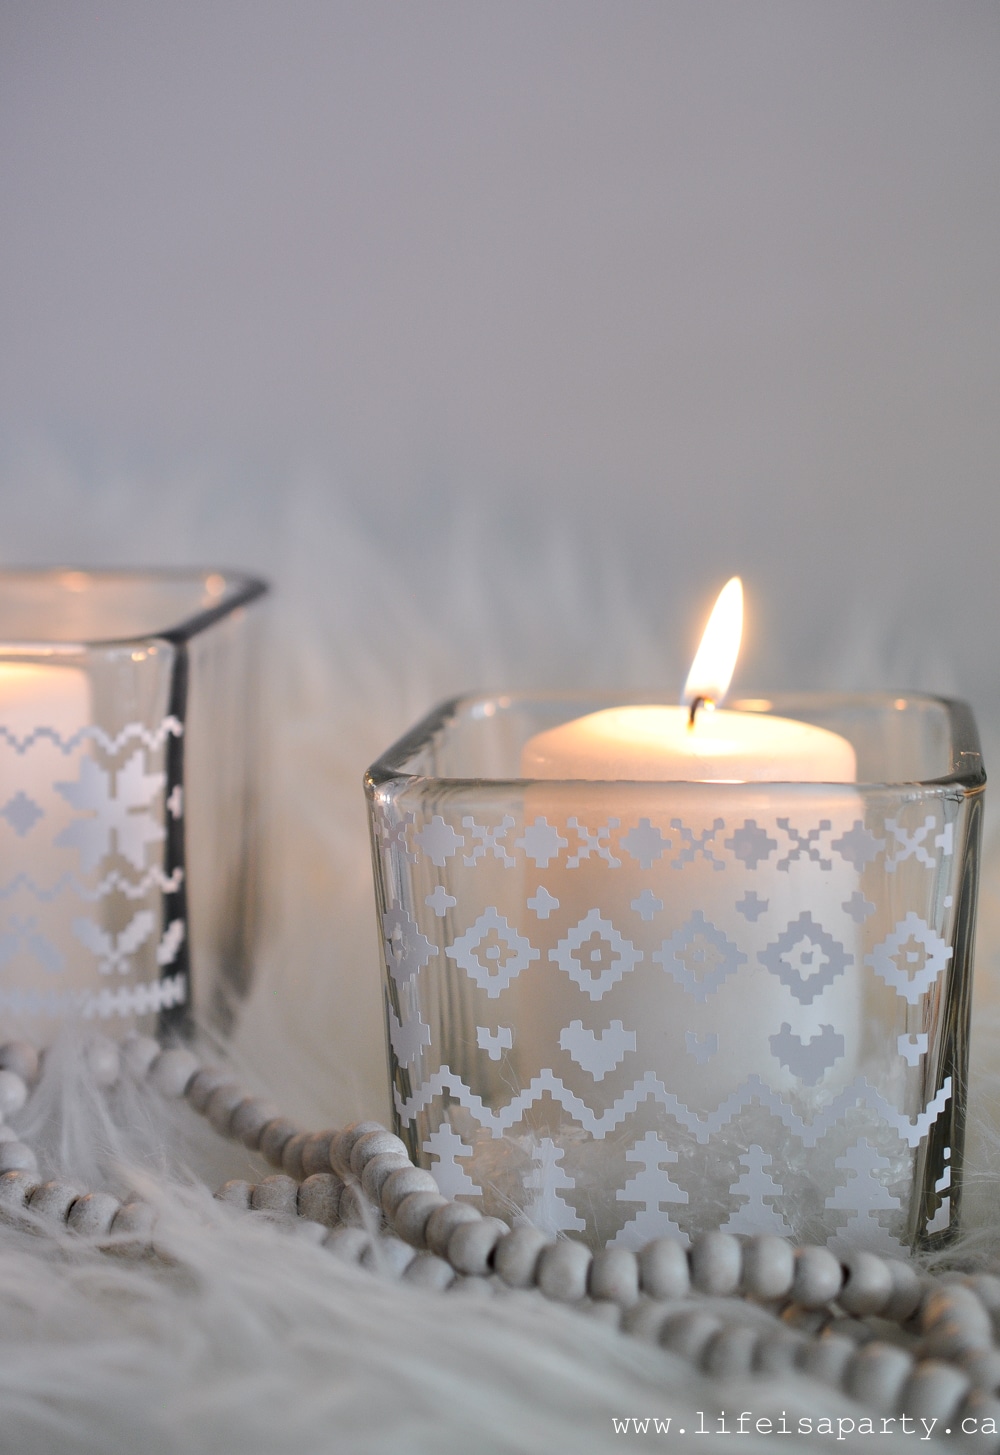
For the large candle holders, I had to use 3-4 pieces of the pattern and match them up to make my way around the candle holder. This process was a little fiddly, but the finished product was worth it. This is where the straight sides of the candle holder are really important, since tampered sides would throw off the pattern and mean it won't line up.
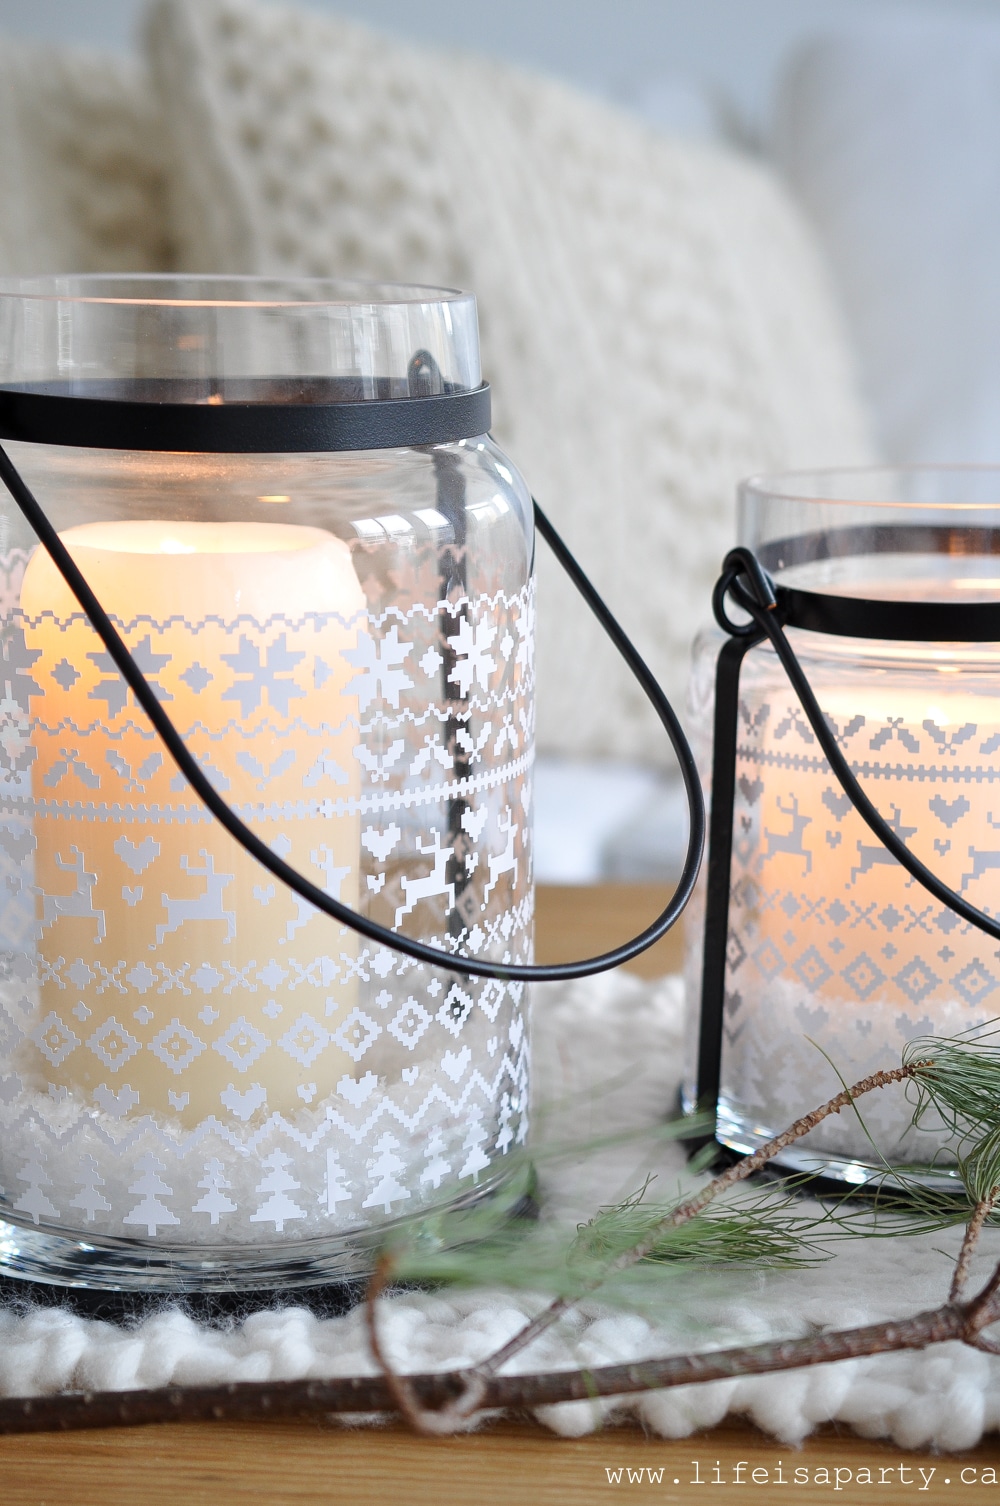
Once the vinyl is on, add in a candle and some faux snow for the perfect little DIY Christmas decoration. I love the sweater feel of the fair isle pattern, and the candle light is so perfect on these cold dark nights of winter.
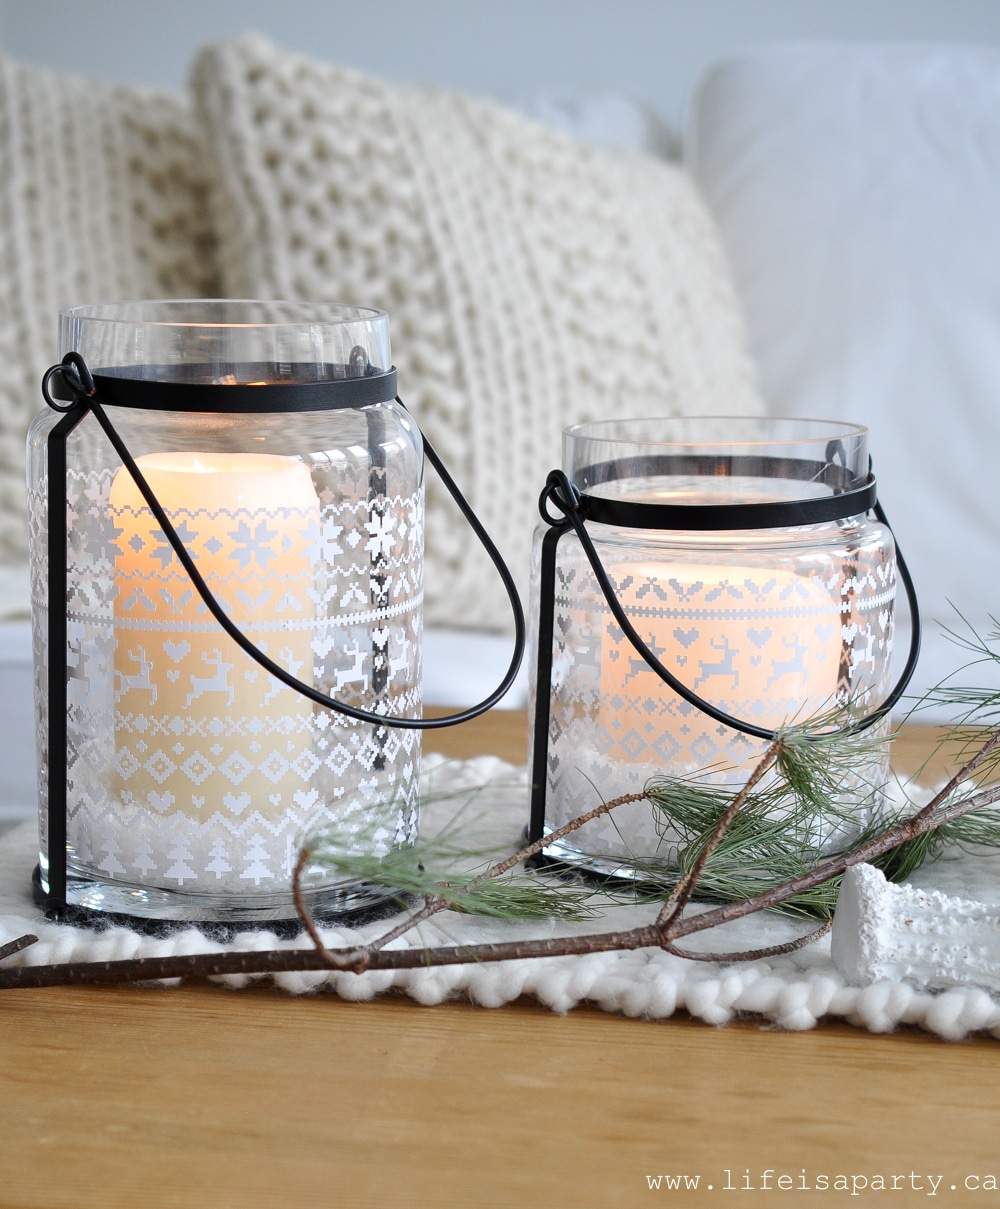
With a DIY Fair Isle Candle Holder, life really is a party.
You might also like our Cricut Fa La La Pillow here.

Also check our 25 Christmas Projects You Can Make With Your Cricut.
You might also enjoy our Cricut Wood Feather Ornaments here.



Leave a Reply