Mini Macrame Christmas Ornaments: Easy DIY Macrame Ornament tutorial, perfect for the beginner. No macrame experience required.

Jump to:
I love making a few homemade Christmas decorations each year, and this year these mini macrame Christmas ornaments turned out so cute.
I actually planned to make these macrame Christmas ornaments last year, and ran out of time to perfect them, so they were on the very top of my list this year. I did attempt some with yarn last year, but it was too thin and they were too hard to make. This year I found the perfect inexpensive rope at the dollar store (Dollarama for my Canadian friends), and love how these turned out. The dollars store is often a great idea to look for inexpensive craft supplies.
They were very inexpensive to make, and relatively easy once you get the hang of it. I am one of those people who can't knit or crochet, so if you are in the same boat there's hope for you too. ;). These easy macrame Christmas decorations have simple DIY tutorials that are easy to follow, even for the beginner, with step-by-step instructions. And if you're more experienced at macrame, these mini projects are a great way to use up ends of the cord from other projects.

Beginner Level Projects
These two designs use only three simple knots, the lark's head, the square knot, and the double half hitch -I'm not counting the diagonal half hitch, since it's just a variation. These basic techniques are ones you will use over and over in macrame. Macrame is actually really easy once you get the hang of it. I've taken step by step photos to help, but if you're still struggling, just watch a quick video on-line of the knot you're stuck on. Once you get it, you're good. It's just the same few knots over and over.
Materials For Christmas Macrame Ornaments
- macrame cord or rope
- twigs
- hairbrush or comb
- masking tape
- scissors
Getting The Cords On To The Twig
To get started on this step-by-step tutorial, cut a small twig and use the lark’s head knot to attach 6 cords to the top. You could also use a metal or wooden ring, or a small piece of dowel, but I really like the rustic look of using a twig. You could even use a cinnamon stick at the top, for a lovely scent. I used rope, so before I added it to the twig I un-wound it and turned it from 3 ply to single ply. Each cord should be about 2 feet long.

Fold the loop over the back of the twig, and then pull the two ends through the top. Pull tight. Repeat for all 6 cords.

Square Knot Mini Macrame Christmas Ornament
First Square Knot
Once the cords are onto the twig it's time to start the first row, which will be three square knots. This is one of the basic macrame knots, and one you will use over and over once you learn it. These knots are tied with four cords, so start on the left and separate out the first four cords.

To make the square knot take the left hand cord pull it out so it looks like a number "4" shape is forming.
Next tuck the end of the 1st cord under the 4th cord.
Then, bring the end of the 4th cord up and behind the middle two cords and through the space between the 1st and 2nd cord that looks like the four.
Pull the ends of the 1st and 4th cord to tighten and move that knot up to the top. This is the first half of a square knot.

For the second half of the square knot, you're going to do the exact same thing, but in the other direction. You're going to make your "4" shape with the 1st and 4th cord, but with the "4" backward, facing the right side.
Then pull the 1st cord over the 4th.
Then feed the tail of the 1st cord under the 2nd and 3rd cord and up through the opening of the "4" shape.
Pull the ends of the 1st and 4th cord to tighten and you have your first square knot.
Rows 1-3

For the second row, you're only going to do 2 square knots. To do this start by separating out the first to cords. The next four cords are for the second square knot on row 2, followed by the next one. That will leave the other two cords out on the other end too.
For the third row, use only the centre four cords of the row to tie one square knot.
You will find you might need to adjust your tension, try to keep the knots all equally tightened and spaced.
Row 4-5

For row 4, repeat row 2 with 2 square knot again, leaving out the two cords on either side.
For row 5, repeat row 1 with 3 square knots.
Row 6 -Half Hitch Knot

To do the half hitch knot, take the 1st cord in the row, and pull across the piece horizontally. This will be your lead cord.
Take the 2nd cord from behind and over the lead and through the hole you've created. Now do that exact knot again with the same 2nd cord. That is one half hitch.
Proceed along the rest of the cords, taking care to keep the lead cord pulled across horizontally and straight bending the other cords around it.
To tighten the knots, pull the lead cord.
Finishing the Ornament

To finish the piece, cut the ends straight across, or into a downward or upwards "V" at the bottom.
Then use a hairbrush or comb to brush out the cord and create the fringe bottom. You might have to re-trim the shape a little after you brush it out.
Finally trim the ends of the twig, and add a piece of cord to hang the ornament from.

The second of our macrame projects, I made was using the diagonal half hitch. It's another one of the basic knots, and much like the half hitch we used on the first DIY macrame Christmas ornaments , just at a diagonal.
Diagonal Half Hitch Mini Macrame Ornament
Start this ornament by adding 6 cords to a twig with a lark's knot, just like the first one.

The first cord will be your lead cord, holding it at a diagonal this time instead of horizontally, loop the 2nd cord up and over it, and through the hole you've created. Then do that again with the 2nd cord to complete the half hitch knot.
Holding the lead cord firmly at a diagonal, tie a half hitch with the 3rd cord slightly lower down, on the diagonal of your lead cord.
Repeat this for the first 6 cords.
Then pick up the last cord, the 12th cord on the far right, and use it as the lead cord and tie half hitches from the other direction to meet in the centre.

Row 2-3
For row 2, repeat the same as row 1. But this time when you meet up in the centre, you can use the cord from the other side to link the 2 sides of the "V" together, as seen in picture 2 of the collage above.
To finish the ornament, trim the edges of the cord along the bottom, and brush out the fringe just like the first one.
Finally trim the twig ends and add a hanging cord to the top of the ornament.

I love how our macrame ornament DIY turned out. They're the perfect little TV watching craft on a cold night. They're also really quite quick to make since they are so small. (So small, the perfect size for Barbie -my girls were already eyeing them to use as wall hangings in their Barbie doll house.) Of course these macrame decorations look great on your tree as a Christmas tree ornament, but they also make great gift toppers. Pair them with some wooden beads, or dried orange slices, or dried flowers for a real boho look to your gifts. Or add wood beads to macrame. Anyone would love to receive one of these handmade pieces.
Variations
To change the look of your final product, or to mix and match, try using different coloured pieces of cord. Use red to make red ornaments for a pop of color on your tree, or any colour that matches your Christmas decor. You could also try macrame yarn, or any thick and chunky piece of yarn in any colors.

I made three of each kind, and look amazing on my Boho themed Christmas tree. And if you love the boho style for Christmas you will love my Black and White Boho Christmas Mantel too.
With easy DIY Mini Macrame Christmas Ornaments, life really is a party!

More Inspiration
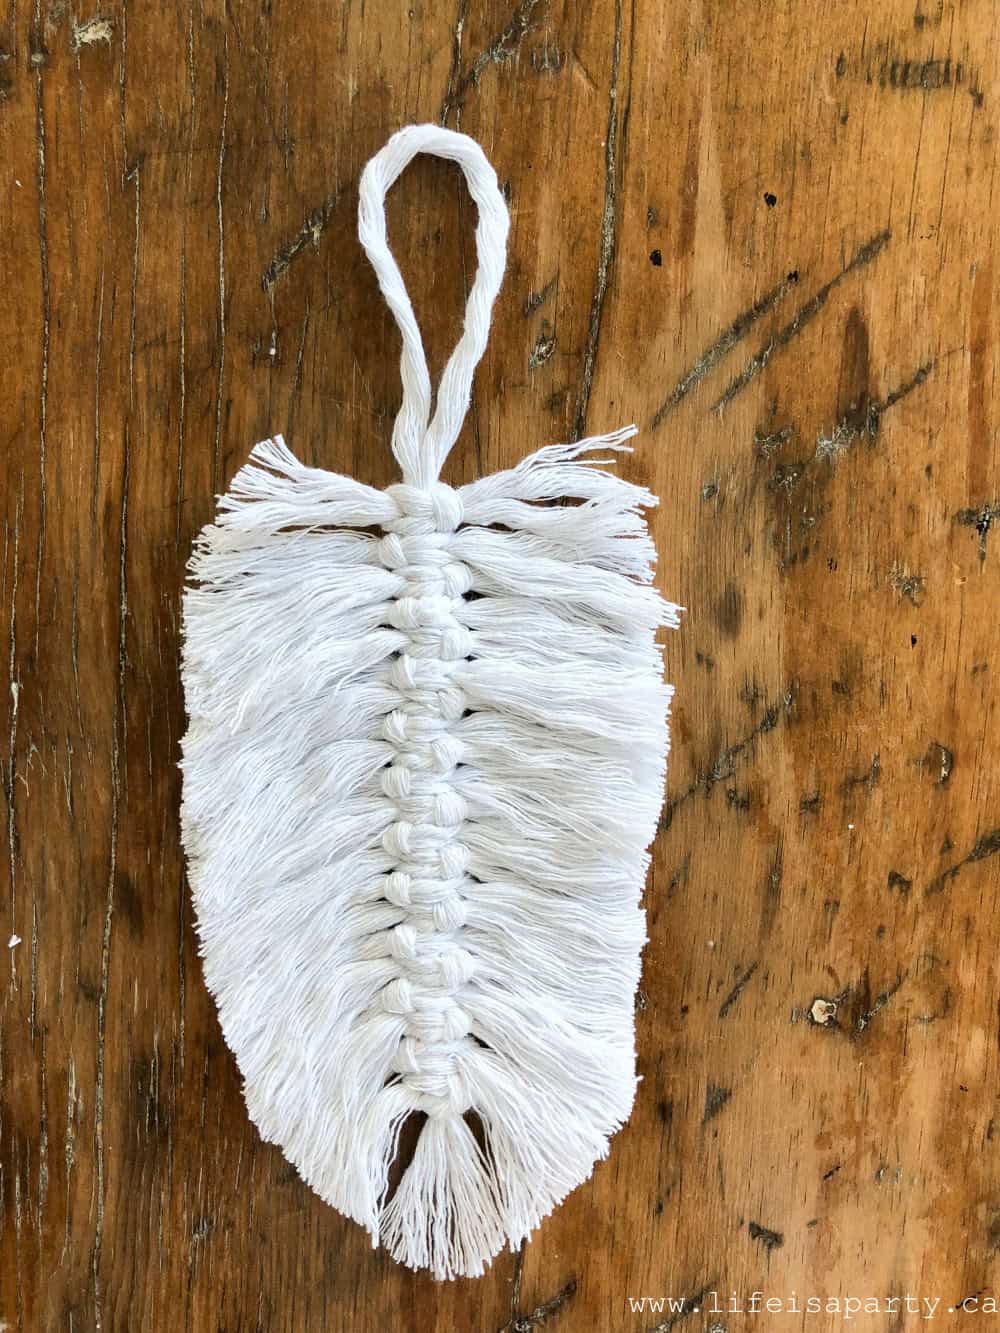
You might also like our Macrame Feather tutorial here.

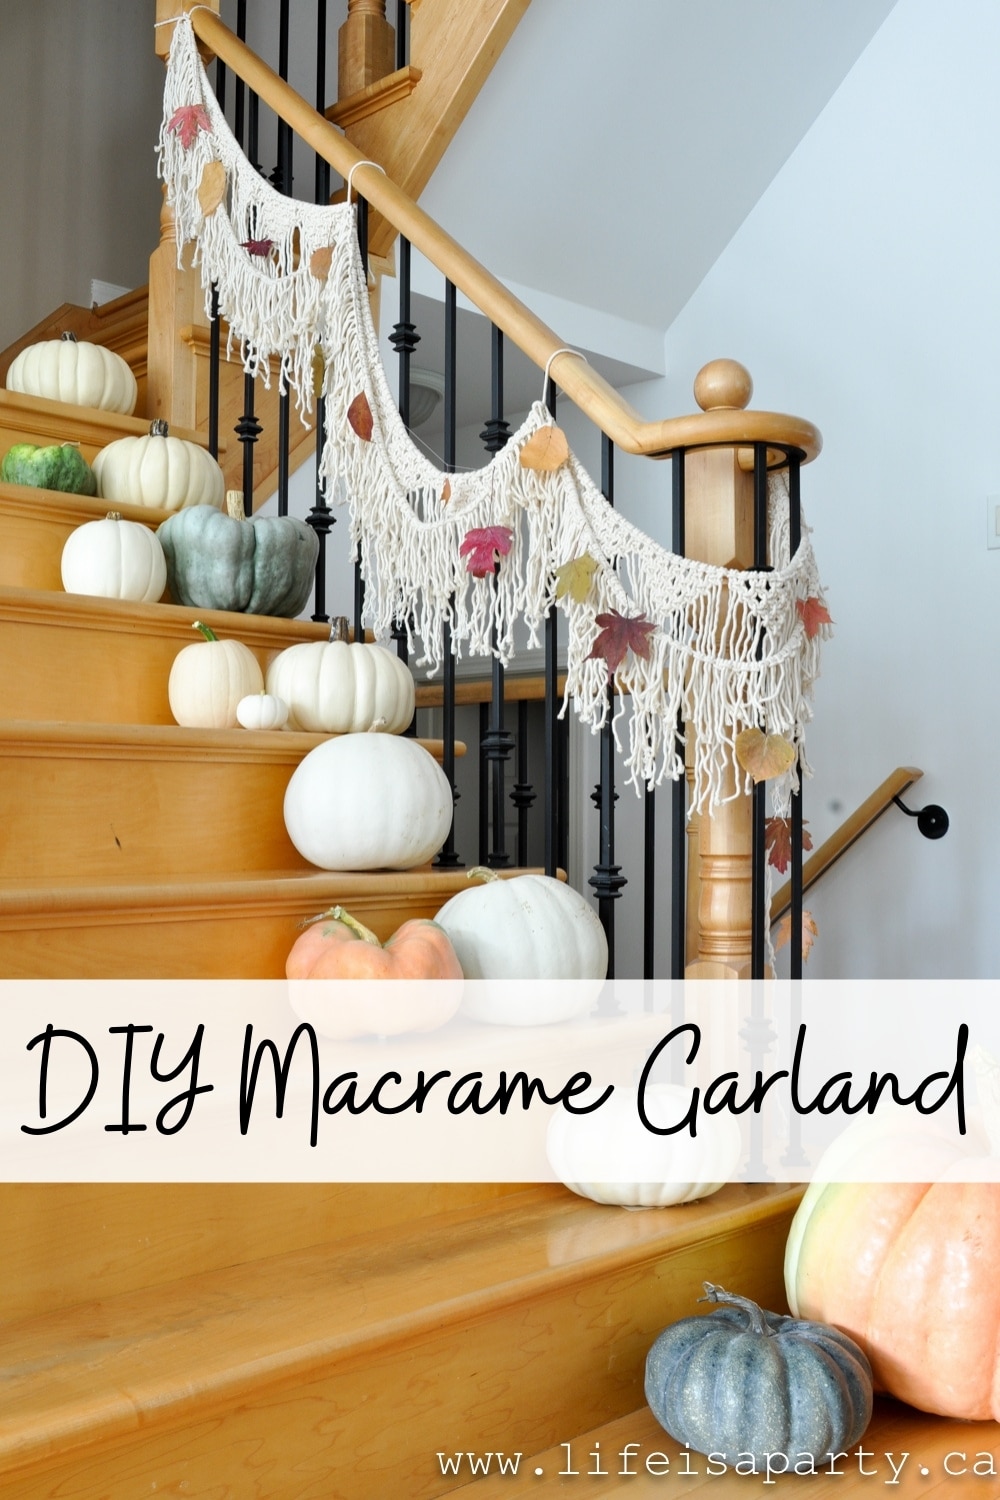
Also check out our Macrame Garland here.

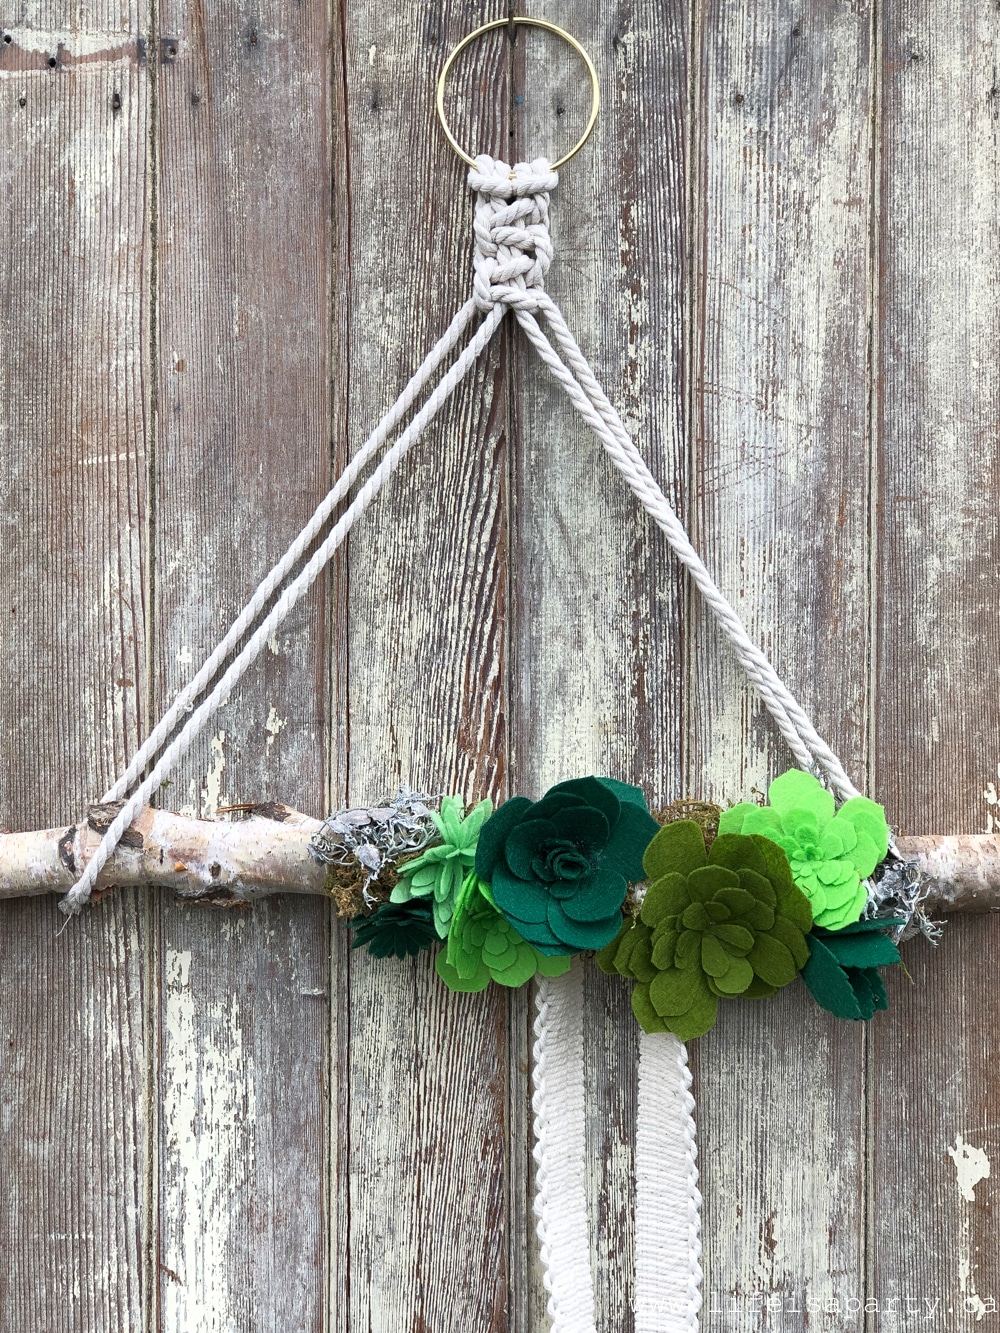
You might also like our Macrame Wreath here.


Sarah says
So sweet! I'll be making lots of these for Christmas garlands. Thank you.
dnr says
Natasha, thank you so much.
Dannyelle
Natasha says
These are so cute and boho! I love them!
dnr says
Ellen, totally do-able. You got this. 😉
Dannyelle
dnr says
Tauni, thanks so much. You won't want to deny them the joy of creating their own. 😉
Dannyelle
dnr says
Krista, thanks so much. Luckily macrame is so easy. 😉
Dannyelle
dnr says
Danielle, thanks so much.
Dannyelle
Danielle says
Love these so much!
Krista says
These are adorable. Looks like I need to get practicing my macrame. Thanks for sharing and being a part of the blog hop!
Tauni says
These little macrame ornaments are gorgeous. If I was truly a good sister I would make a bunch for my brother and sister in law - they'd go perfectly on their tree. Instead, I am just going to send them a link to your blog. Thanks for making my life easier 🙂
Ellen from Ask Away Blog says
OK so I've been wanting to learn macramé but wasn't sure if it would be hard or not but just seeing how this one is done it seems like something I can handle!!!