Chocolate Charcuterie Board: perfect for the chocolate lover, tips on building your board, and ingredient suggestions.

Where are all the chocolate lovers at? This chocolate charcuterie board is perfect for you.
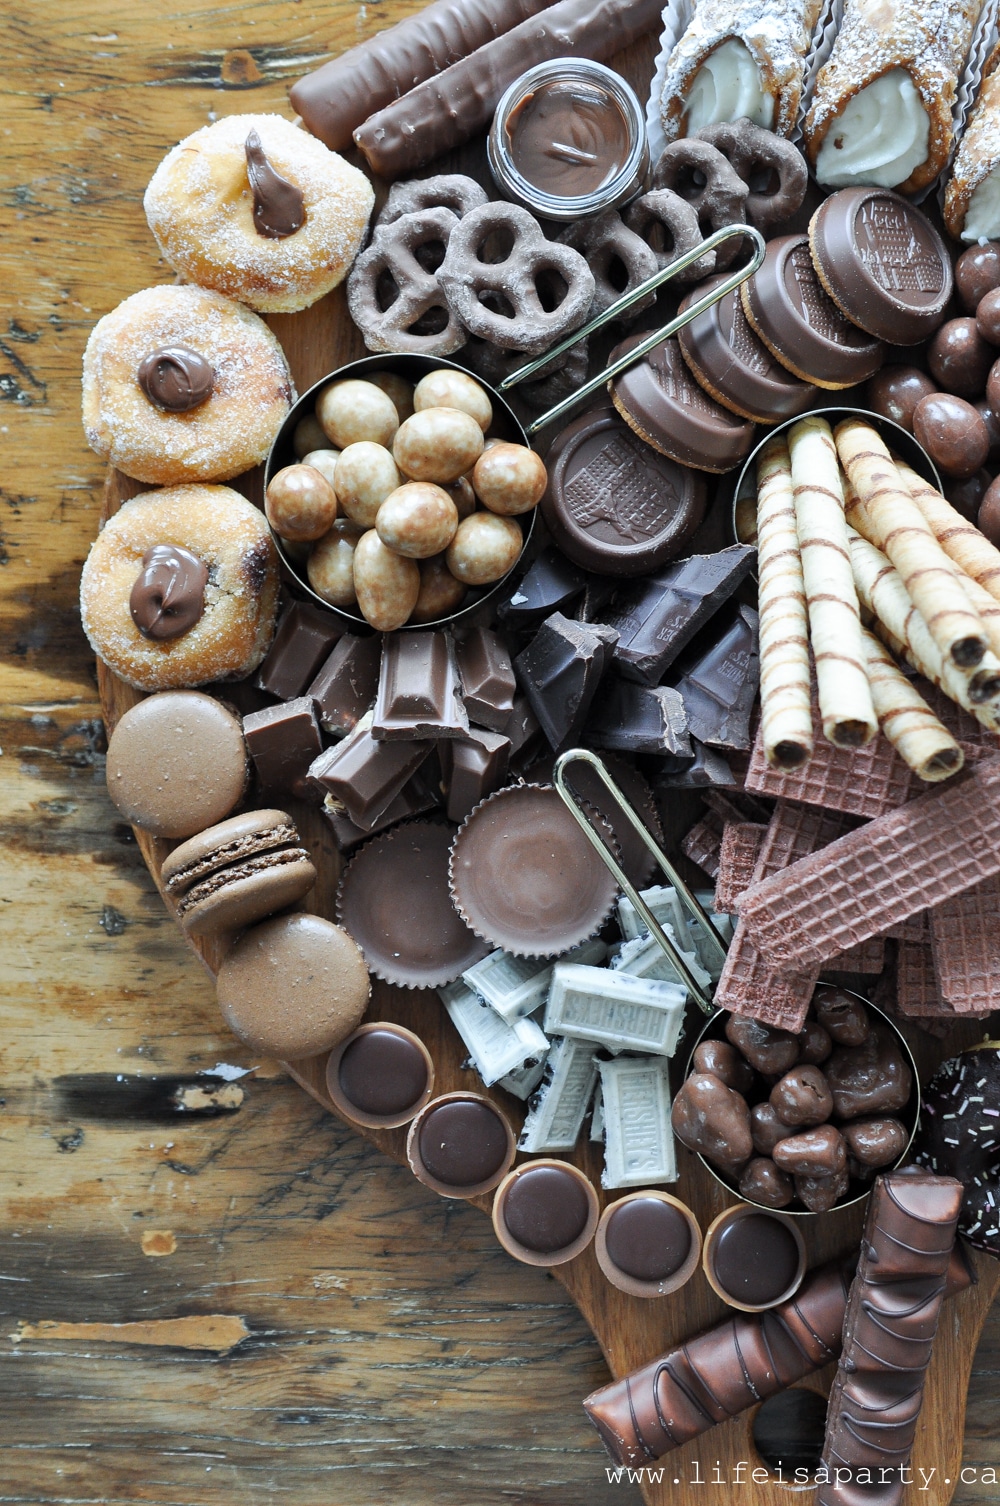
My daughter loves chocolate, so we thought this would be a fun addition to her birthday party as part of dessert -and it was! Everyone loved it the dessert charcuterie board, and it was really fun to put together.
You've heard of a meat and cheese charcuterie board, but dessert boards are becoming more and more popular. Strictly speaking, the classic charcuterie board refer to cured meat, but more and more the term charcuterie board is being used to refer to any collection of items served together on a board -even desserts for the sweet tooth. We've found that these kind of boards are the perfect way to elevate things and make a great addition to any special get together.
This board is great for any chocolate lover for any special occasions, but it would also be a perfect addition to any Valentine's Day celebration. It would also be a fun way to add some sweet treats to a date night. This would also be something great to bring to a holiday party or have anytime during the holiday season, or even to share at the end of dinner parties
There are no real rules when it comes to putting a charcuterie board, especially a chocolate one. But there are a few tips to help you get started.
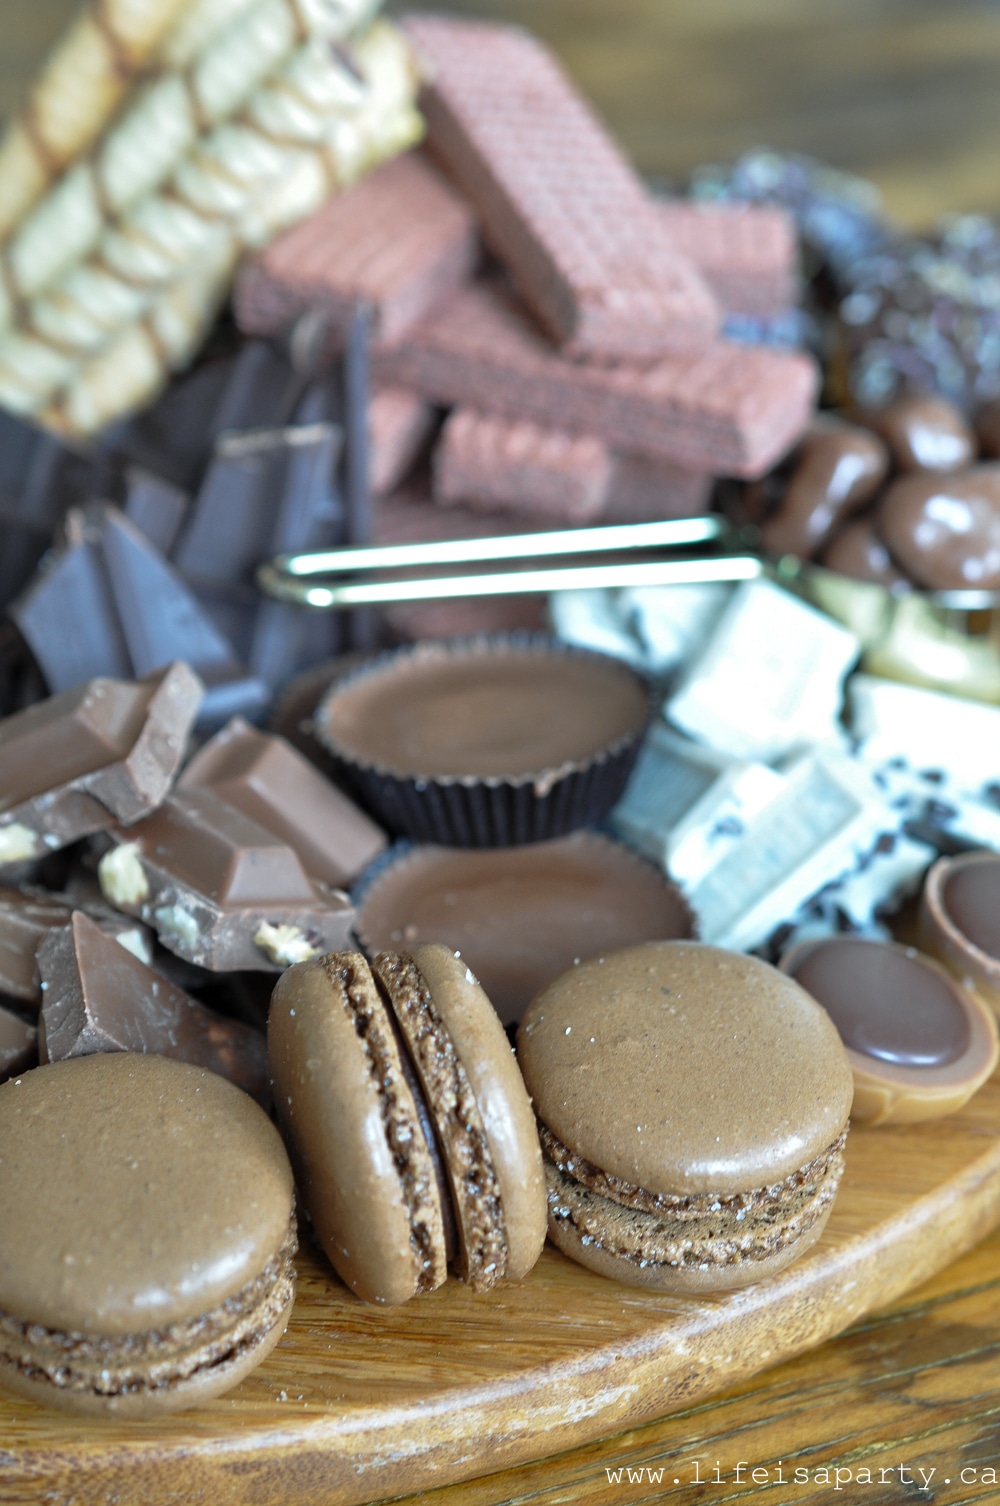
First of all, when you're shopping think about different shapes, sizes, and colours and try to get a variety. We looked at the dollar store and the bulk store for most of our chocolates. I picked up a few extra special treats at the bakery.
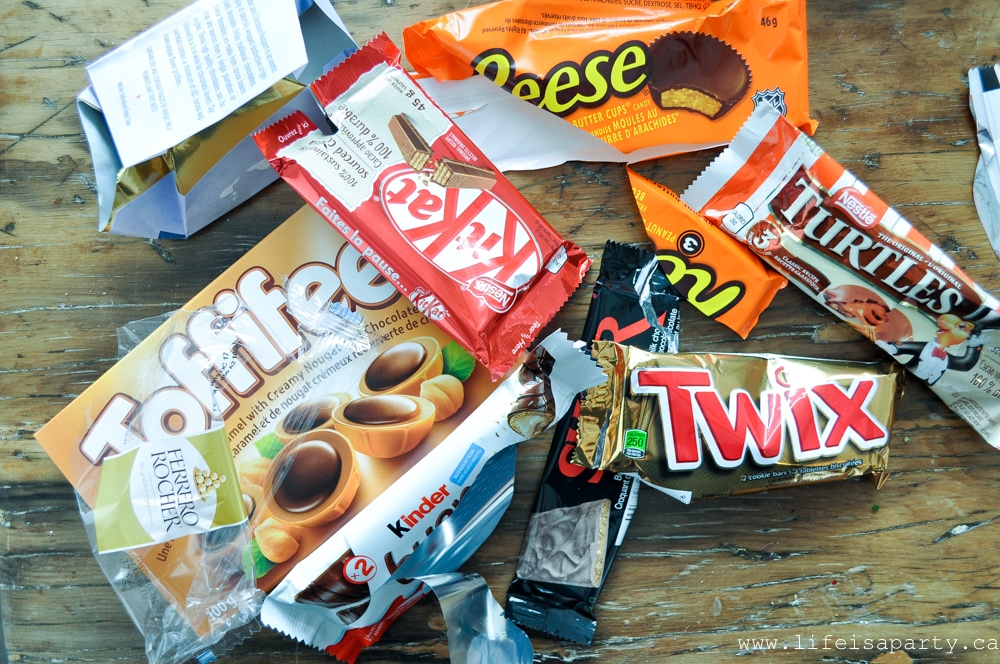
Ingredients:
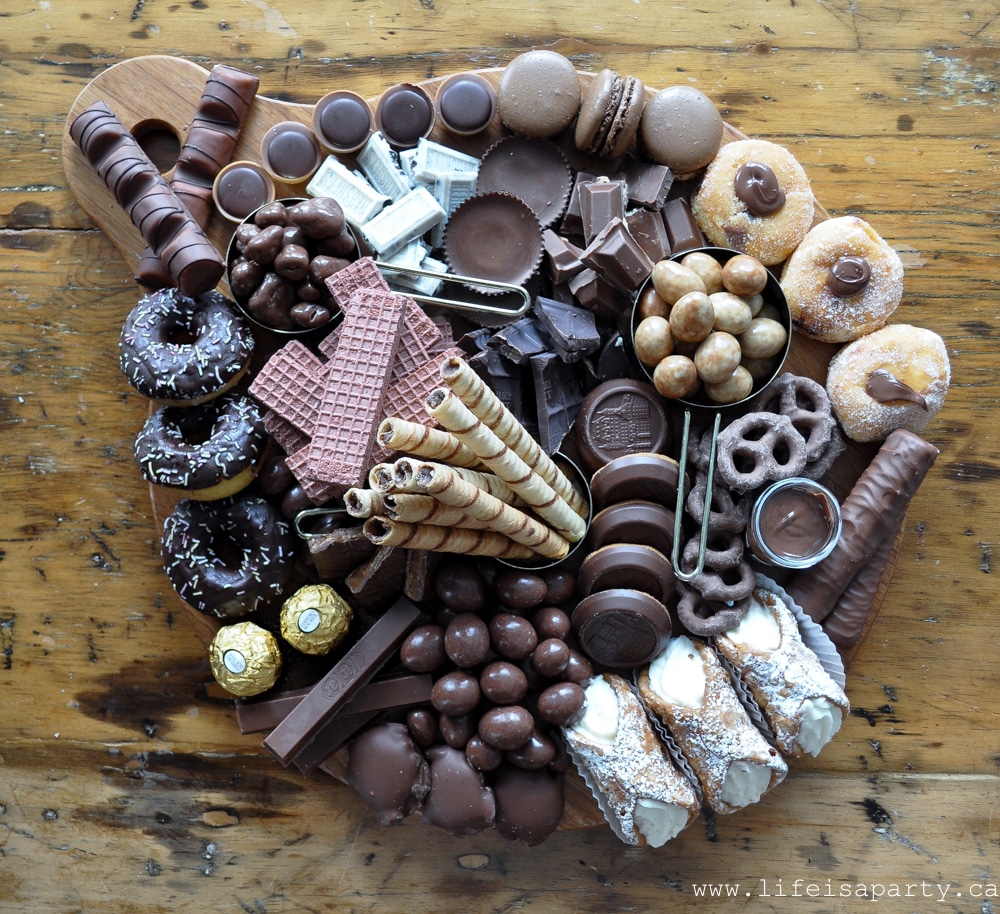
Here's what we used, to give you some chocolate charcuterie board ideas:
- peanut butter cups
- skor bar
- twix bar
- kinder egg bar
- chocolate covered almonds
- kit kat bar
- chocolate covered pretzels
- dairy milk with nuts
- chocolate covered sponge toffee
- cookies and cream bar
- chocolate cappuccino almonds
- turtles
- ferrero rocher
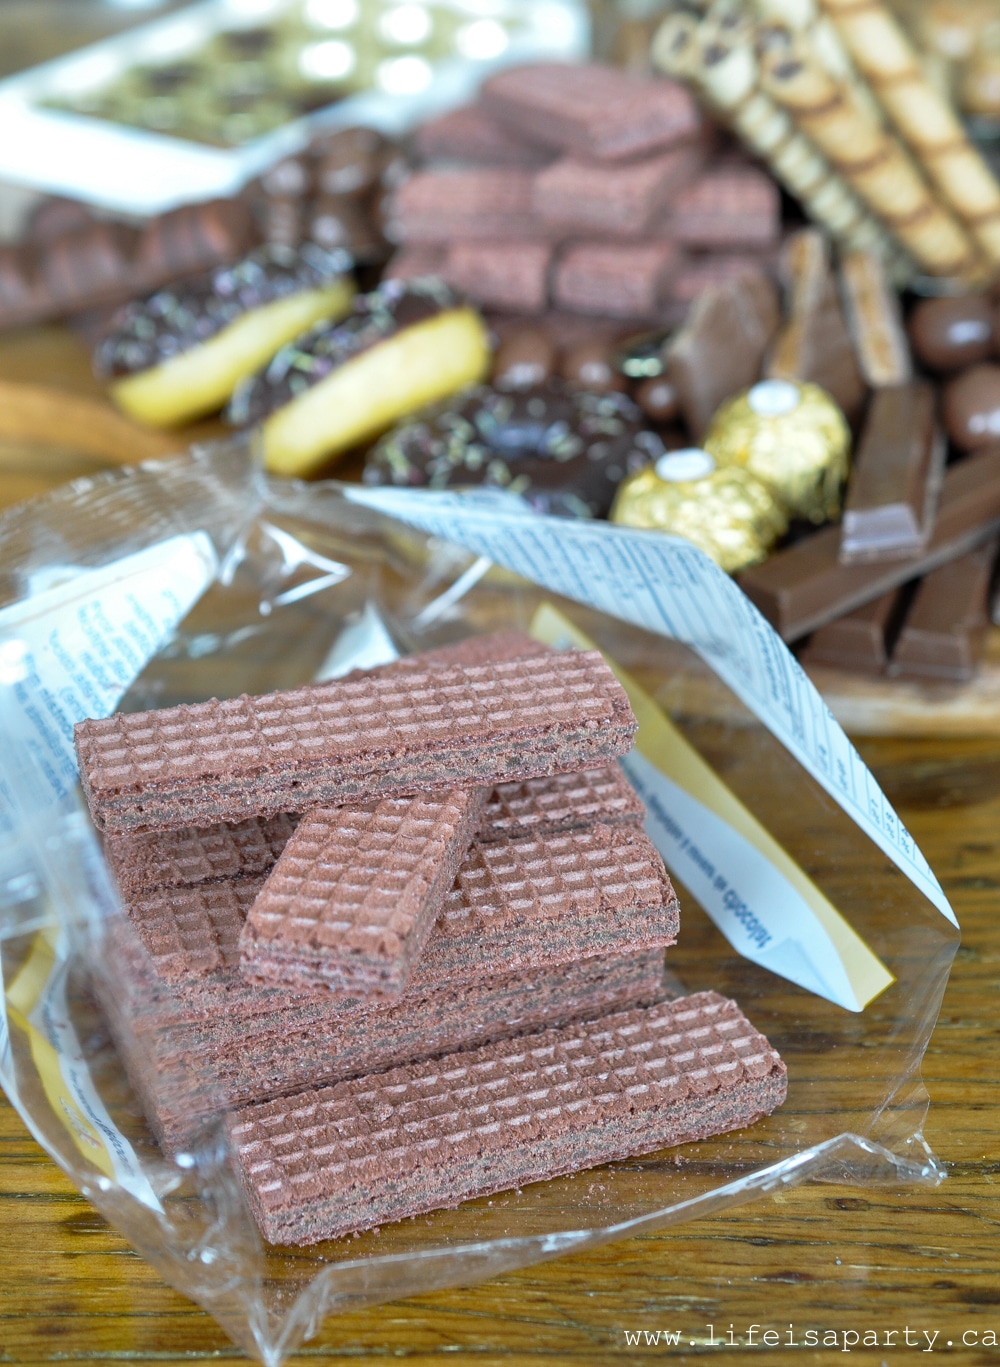
- chocolate wafer cookies
- celebration caramel cookies
- pirouette chocolate hazelnut cookies
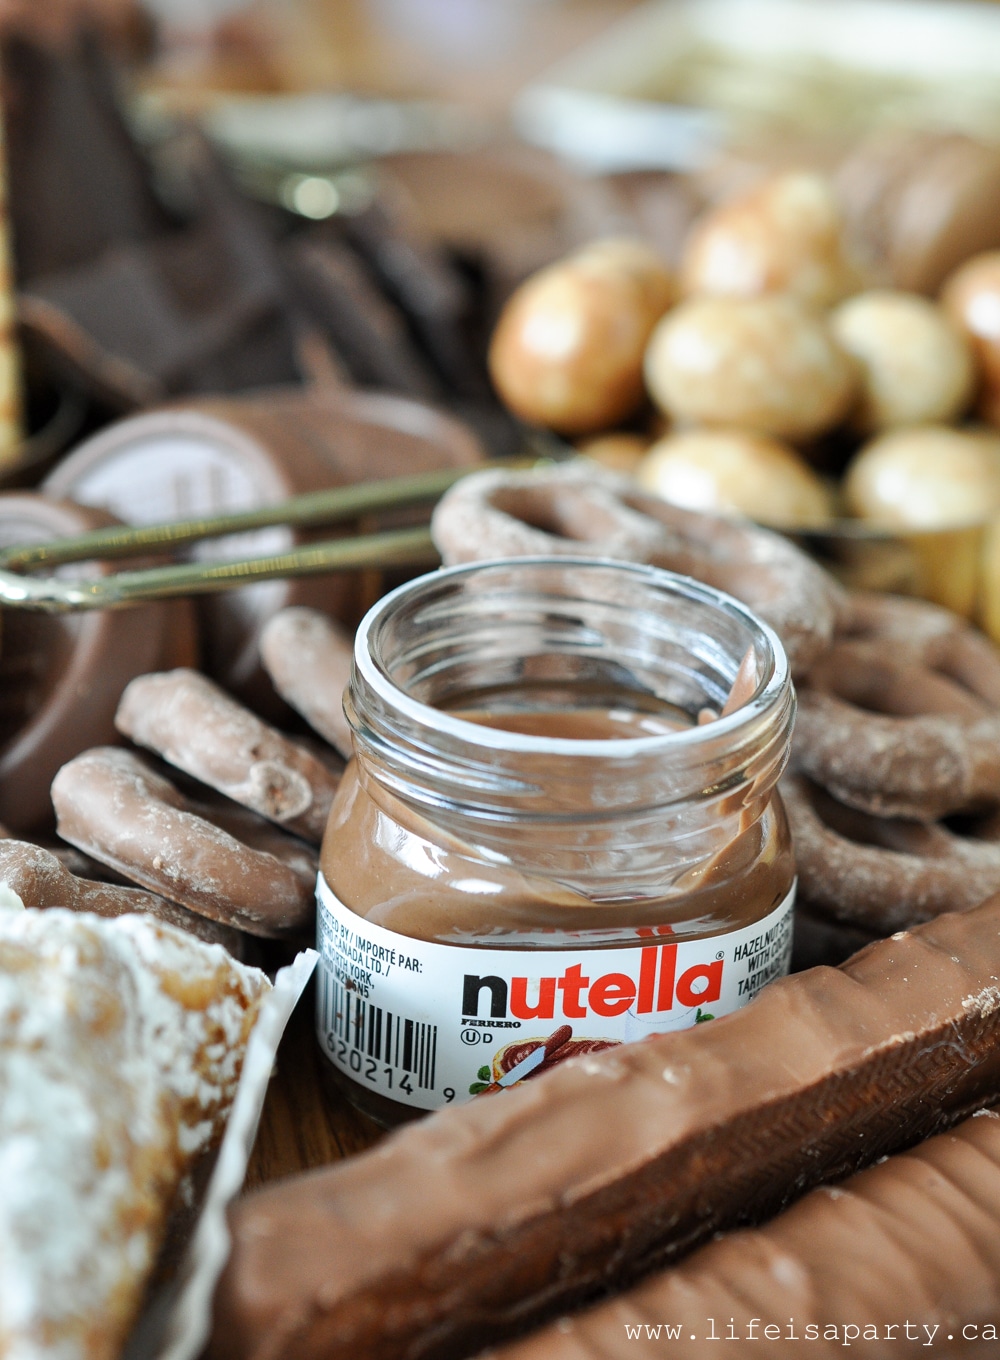
- mini nutella
- mini chocolate donuts
- chocolate macarons
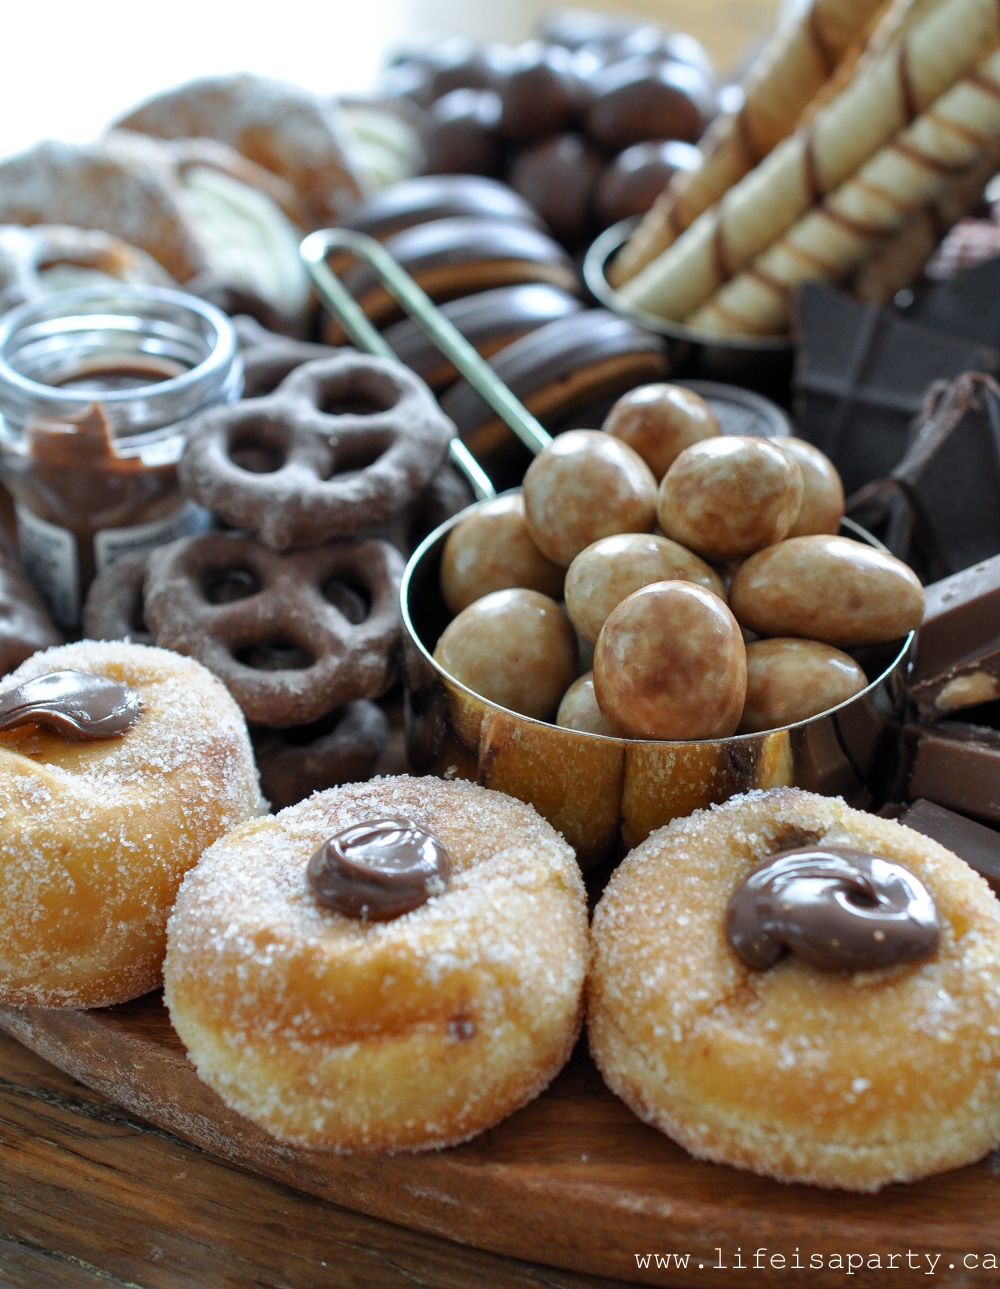
- mini nutella filled donuts
- cannoli
- toffifee chocolates
- dark chocolate bar
I bought quite small quantities of each thing so we'd have a lot of variety on the board -so only one chocolate bar of each kind, and only 3 each of the bakery items. These are all store-bought favorites. I found all the different types of chocolate at the bulk store and was able to purchase lots of different small amounts there easily. This was a really fun twist, because it meant the girls could have lots of small treats, and try a lot of different things.
I tried to include some of our favorite chocolate bars, chocolates, snacky items, cookies, and a few baked goods from the bakery as the main components. It's nice to try and have a good variety. And there are certainly tons and tons of chocolate items that you could include. I didn't include any fresh fruit for our board, but you might want to consider fresh strawberries.
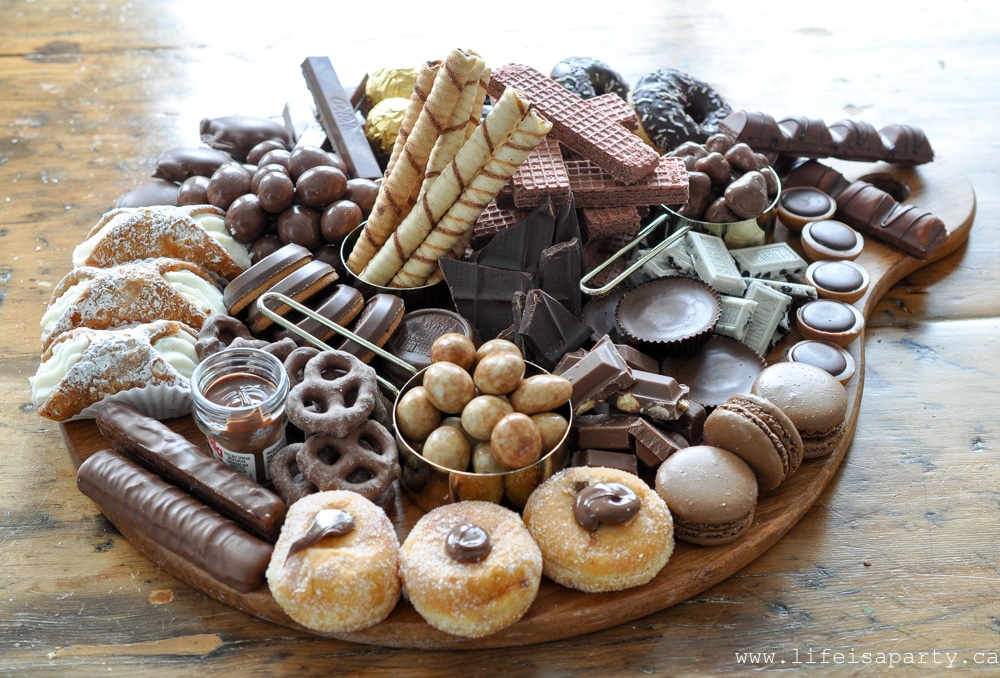
How To Build Your Chocolate Charcuterie Board
The Board
You'll want to begin with a board to use as the base. Look for the perfect size for your group. Use smaller boards for a smaller crowd, and something larger when there is lots of people. We used a round board for our base, but round, square, or rectangle are all great choices.
Start With Containers
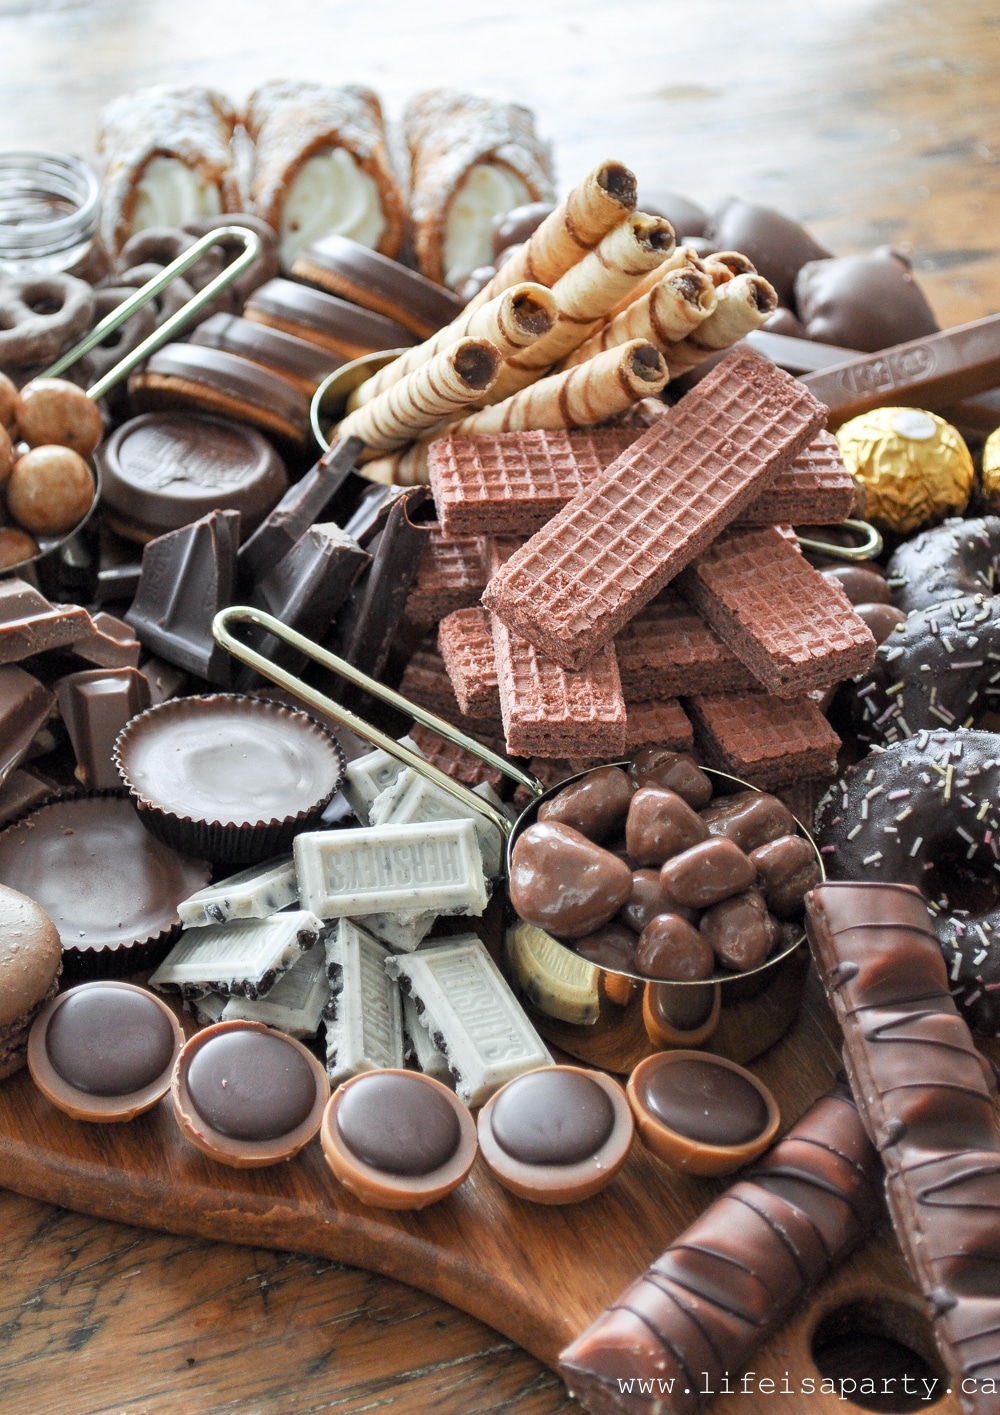
I used three gold measuring cups as containers on my board. You could also use small bowls or ramekins. The bowls help define the board a little, and help coral small items.
Add Height In The Middle
I used my measuring cup to stand up the pirouette cookies in the middle, and stacked up the wafer cookies. These two components were my starting place and helped create some drama and height in the middle of the board -and take this board to the next level.
Fan Around A Container
Pro Tip: We fanned out some of the Celebration caramel cookies around one of the measuring cups, it helps add interest to the board.
Use Odd Numbers
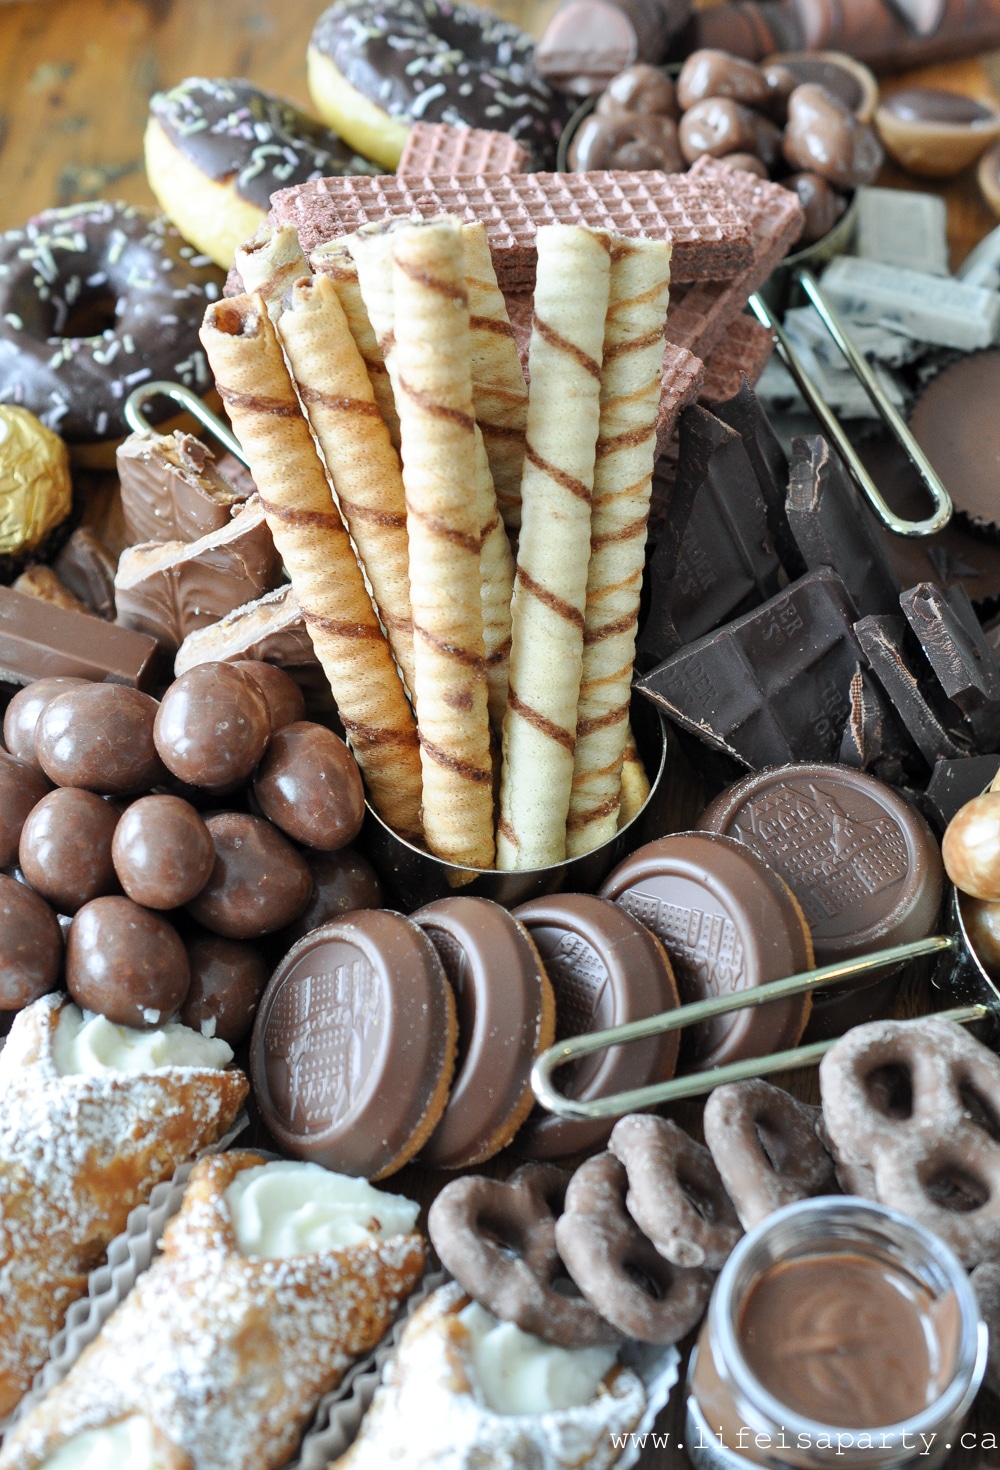
In design, odd numbers of items add interest, so think about using groups of three or five of an item. I used three measuring cups, and three of most of the baked goods.
Fill In The Outside Of The Board First
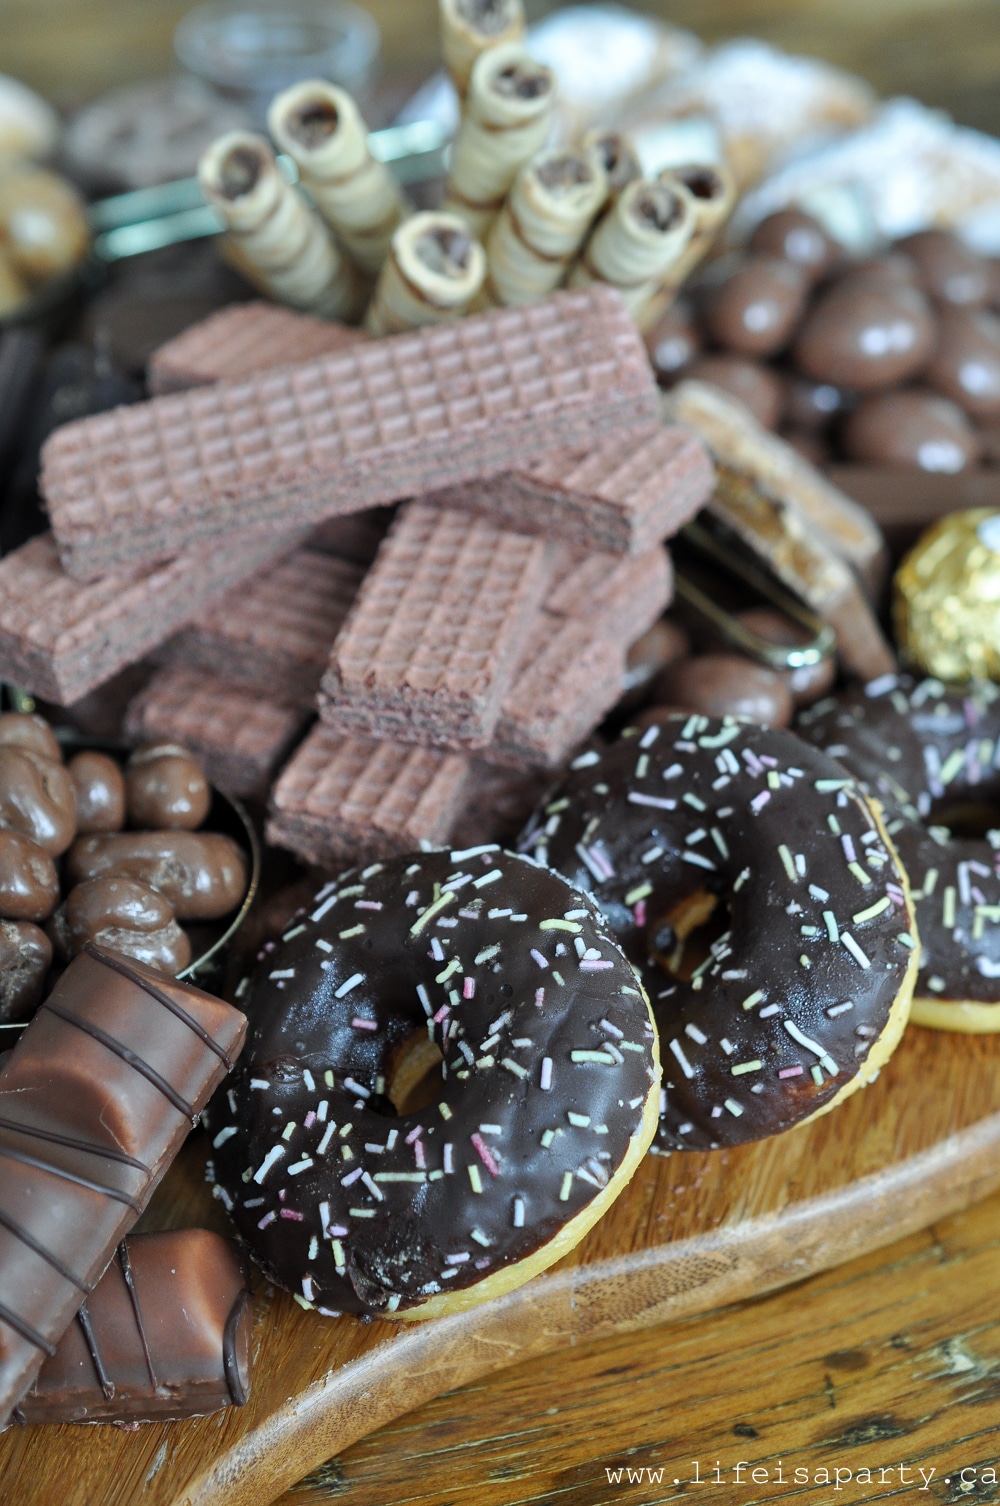
Use some of your items to create a border around the side of the board with them. Then just fill in the rest of the board. It makes building the board easier and looks great.
Use Different Sizes, Colours, and Textures
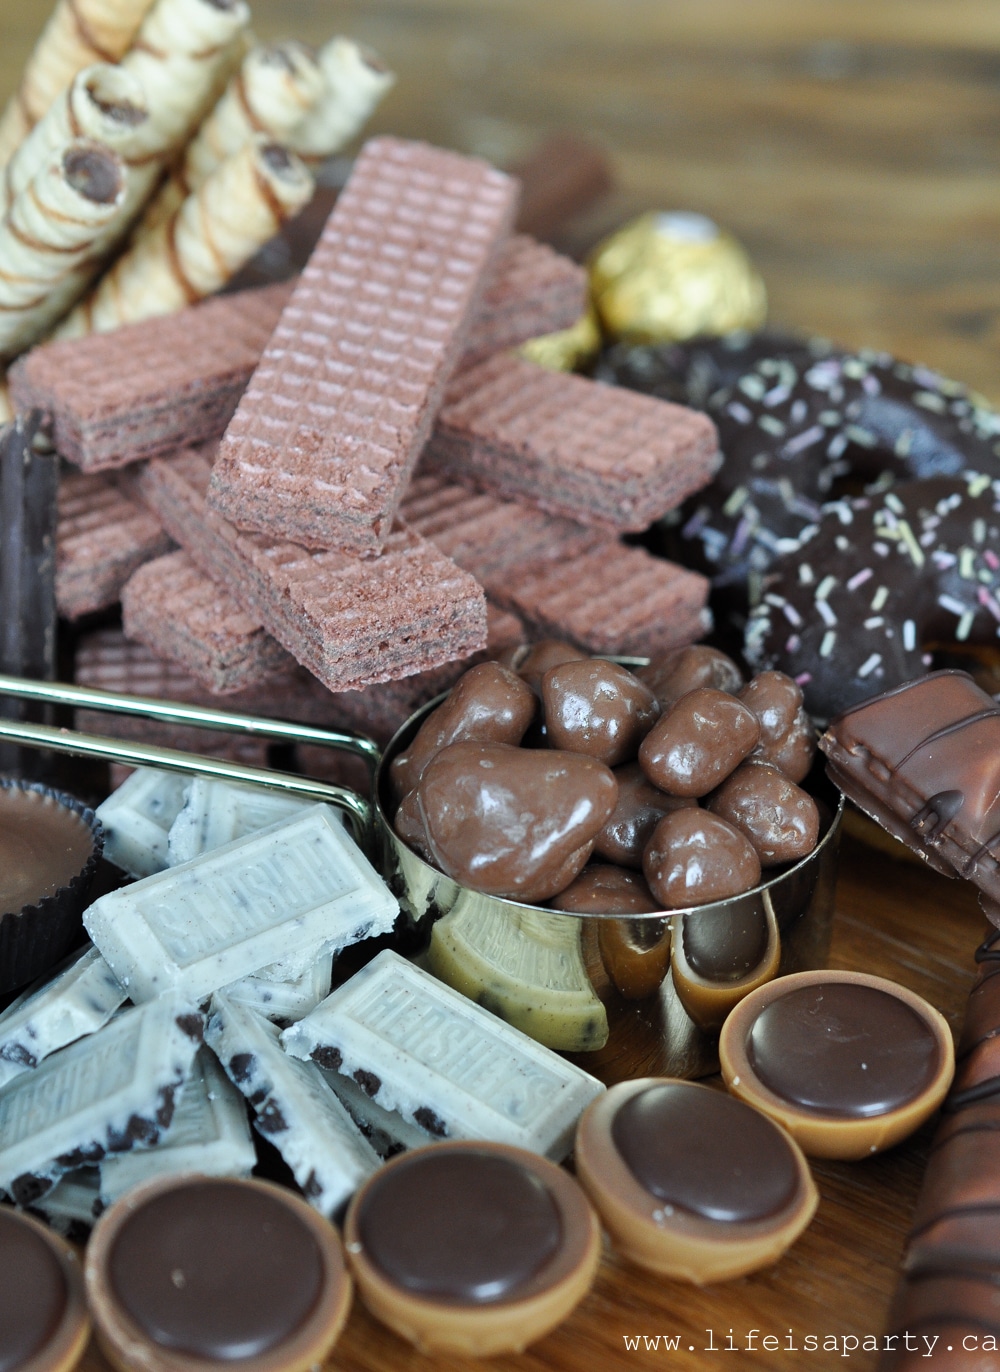
Try varying the colours, sizes, and textures that are right next to each other. Break up all the milk chocolate with some different flavors like white, and some dark chocolate. Adding in some baked goods as some variation of texture and size and adds interest to the board.
Those are my top tips for putting something like this together. They're great tips for any charcuterie or different cheeses on cheese board also. The Chocolate Charcuterie Snack Board was really a huge hit at the party, and a really great board if you know any chocolate lovers. It added lots of drama, and a bit of excitement to the party, the girls couldn't wait to dig in to all things chocolate! It was so much fun and definitely their favorite treat of the night.
With a Chocolate Charcuterie Snack Board, life really is a party.
More Inspiration
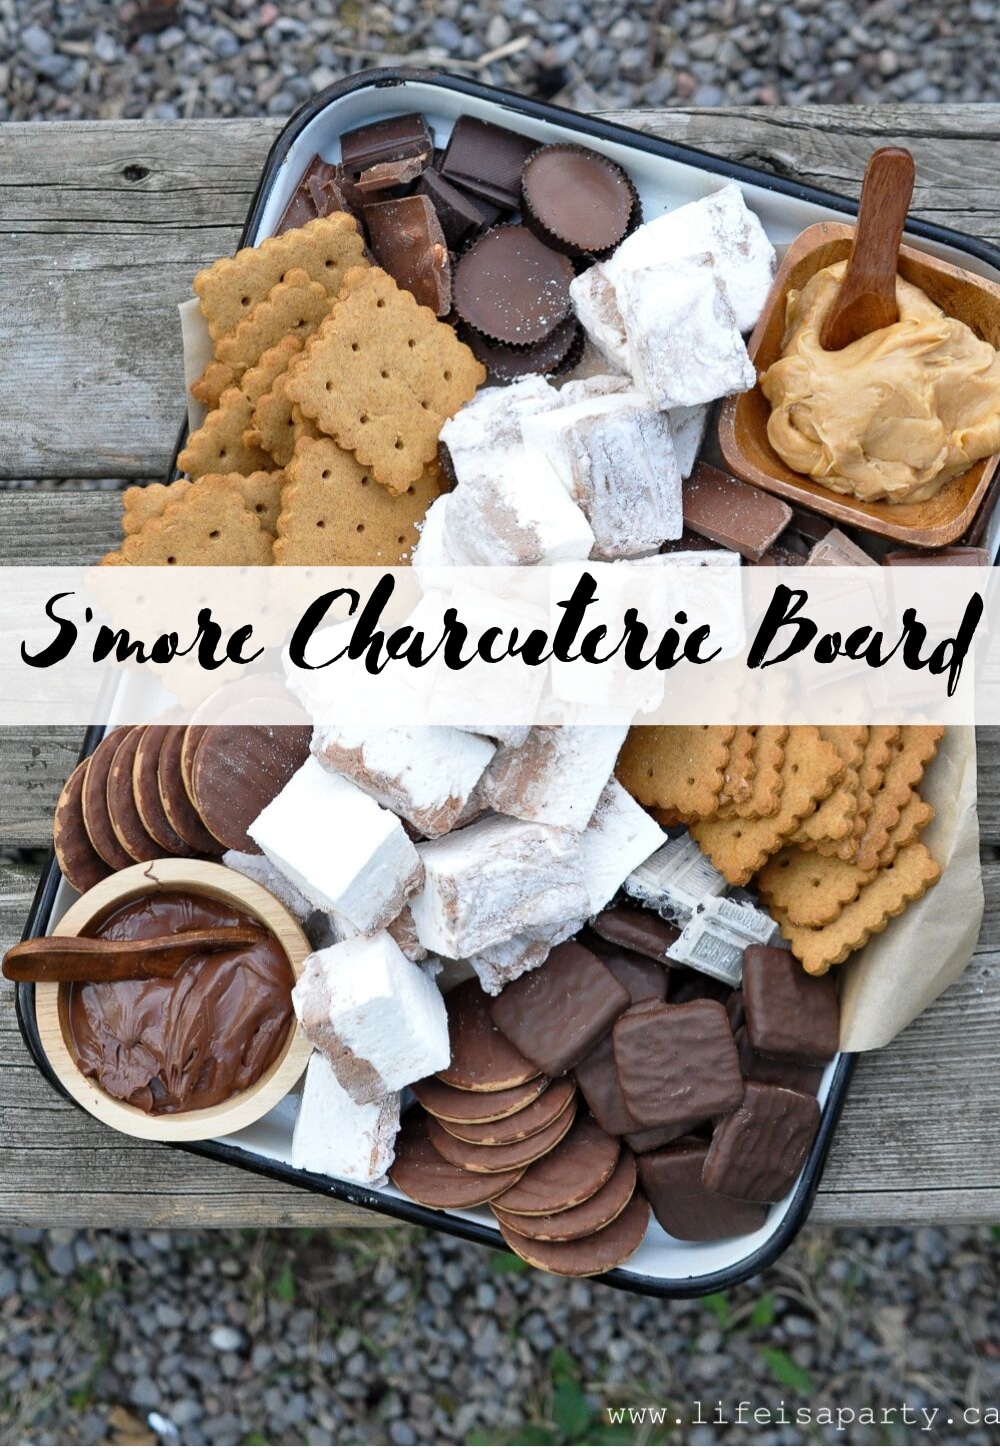
You might also like our S'mores Charcuterie Board here.
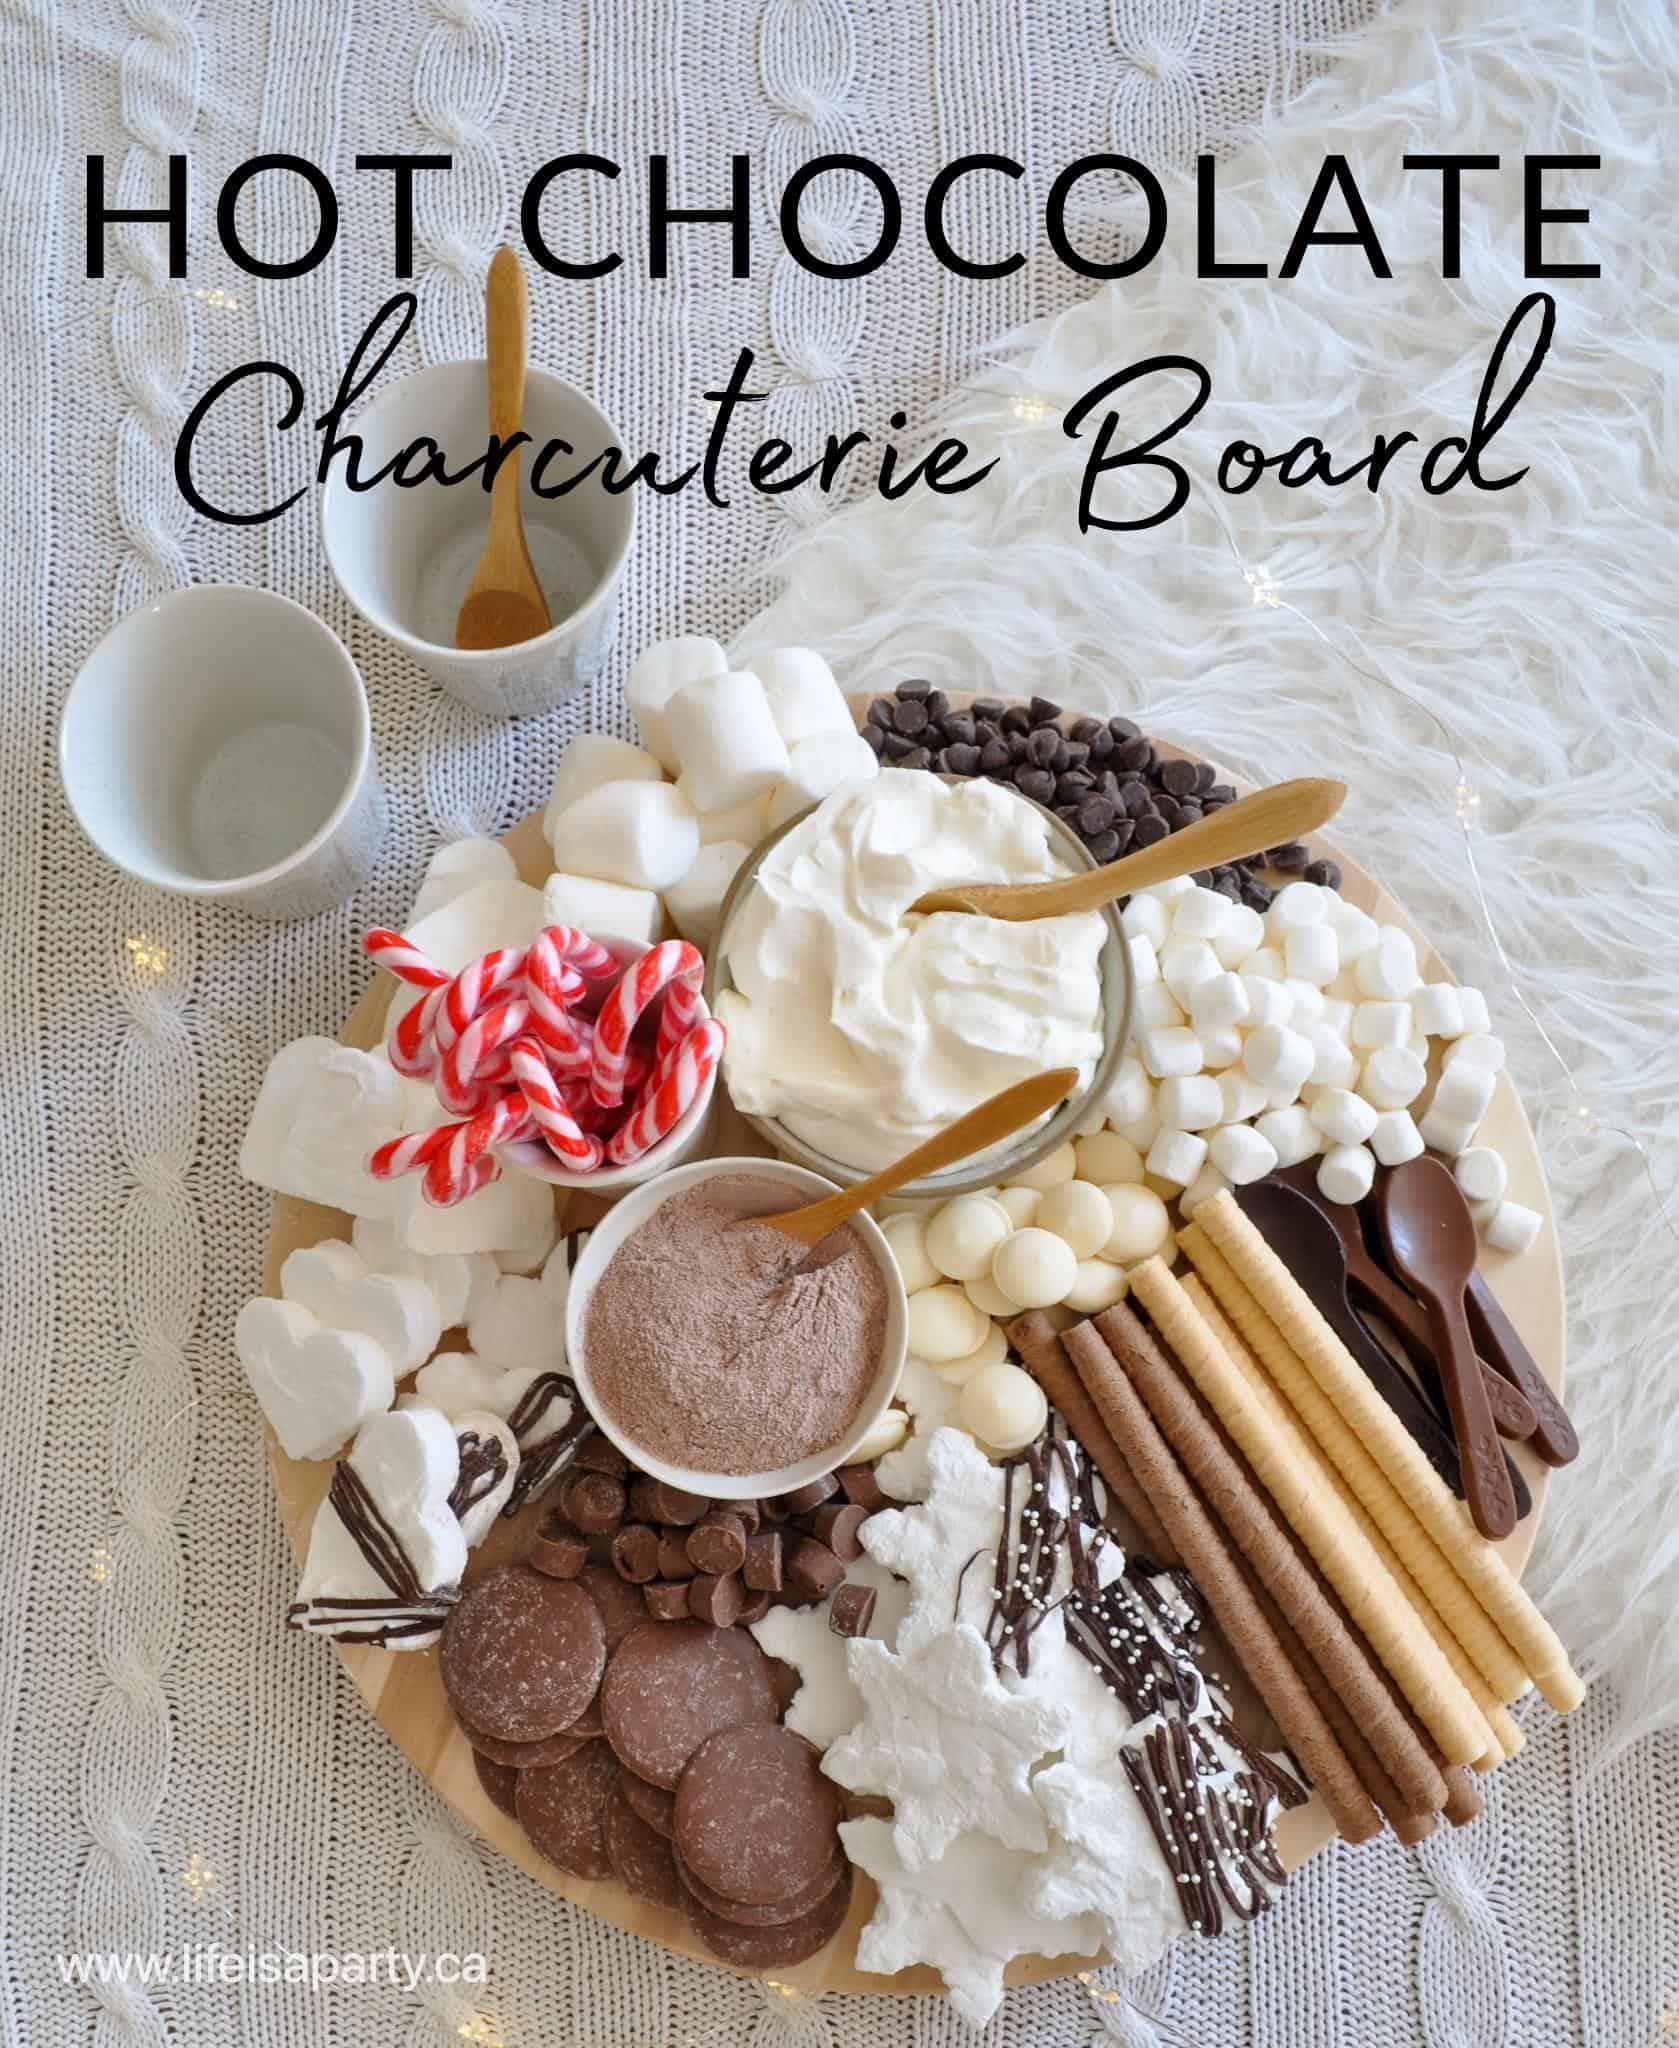
Also check out our Hot Chocolate Charcuterie Board here.
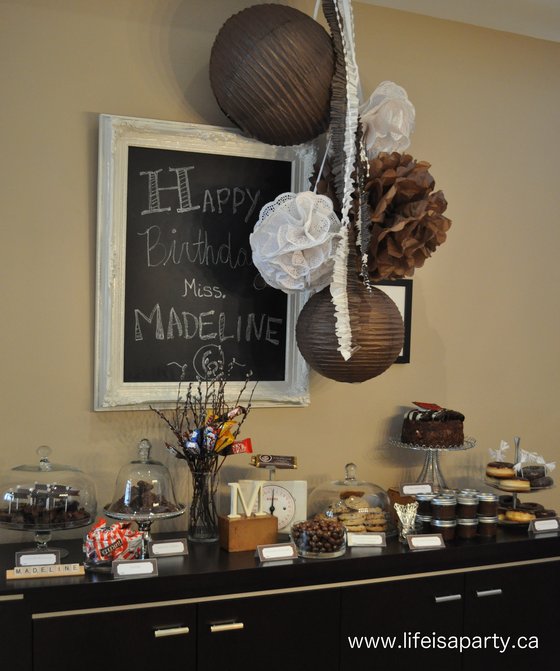
You might also like our Chocolate Party Chocolate Dessert Table here.


Leave a Reply