Green Feature Wall: the perfect shade of green paint, and the hand drawn chevron stencil create the an amazing feature wall.

This green feature wall is my new favourite thing. It's amazing how one wall, one new paint colour, one stencil, and one weekend can make such an amazing change.
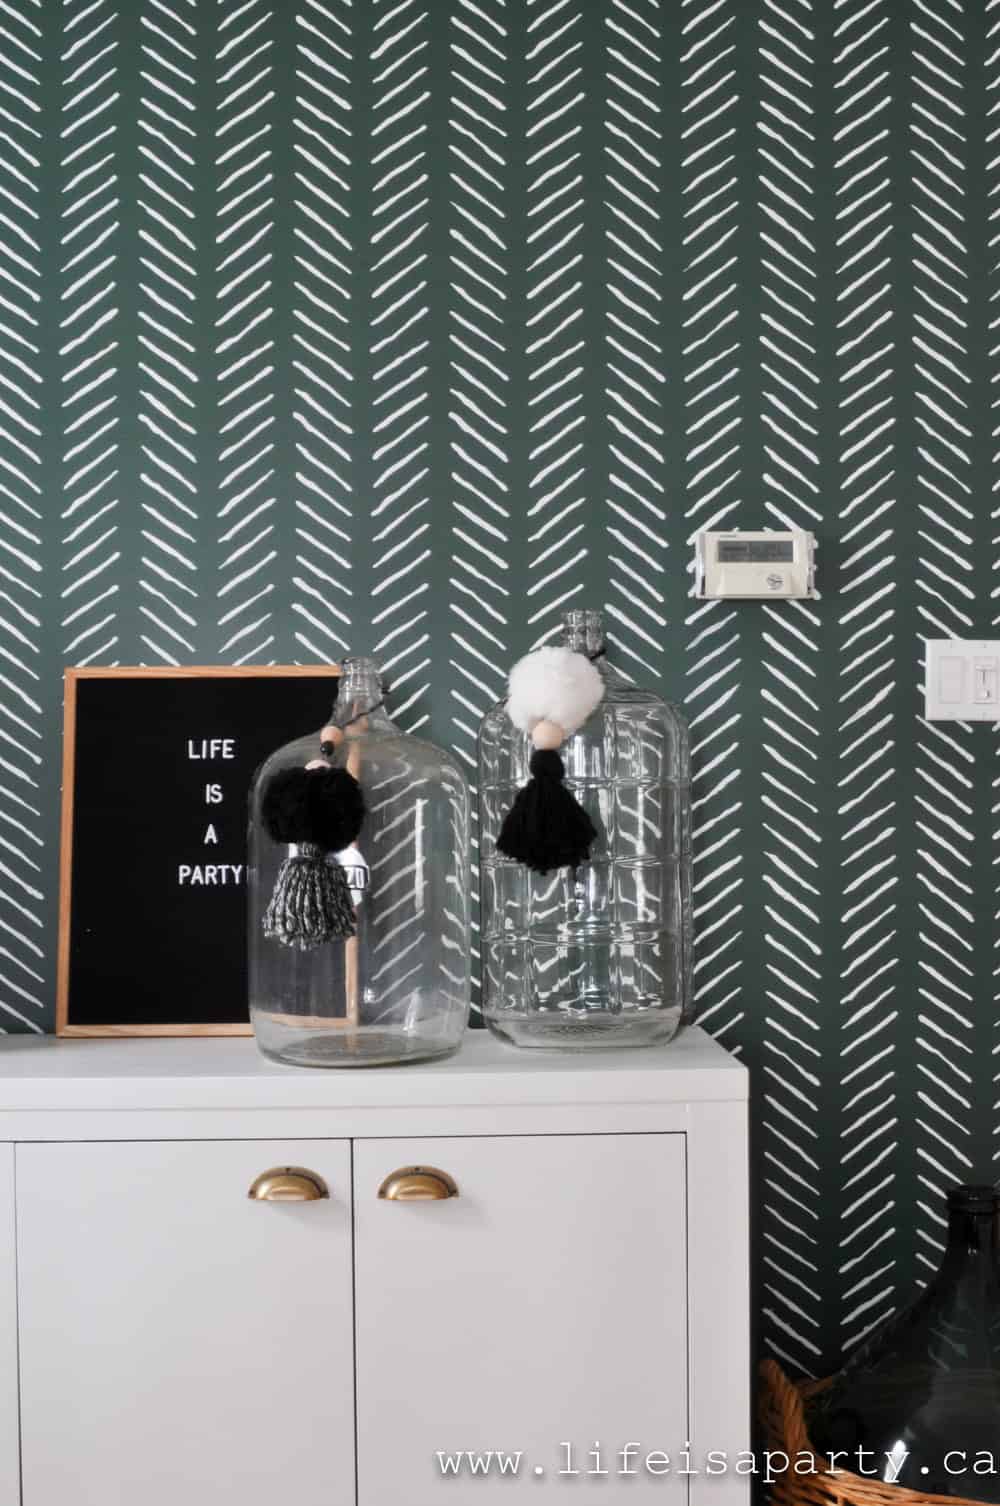
Feature Wall
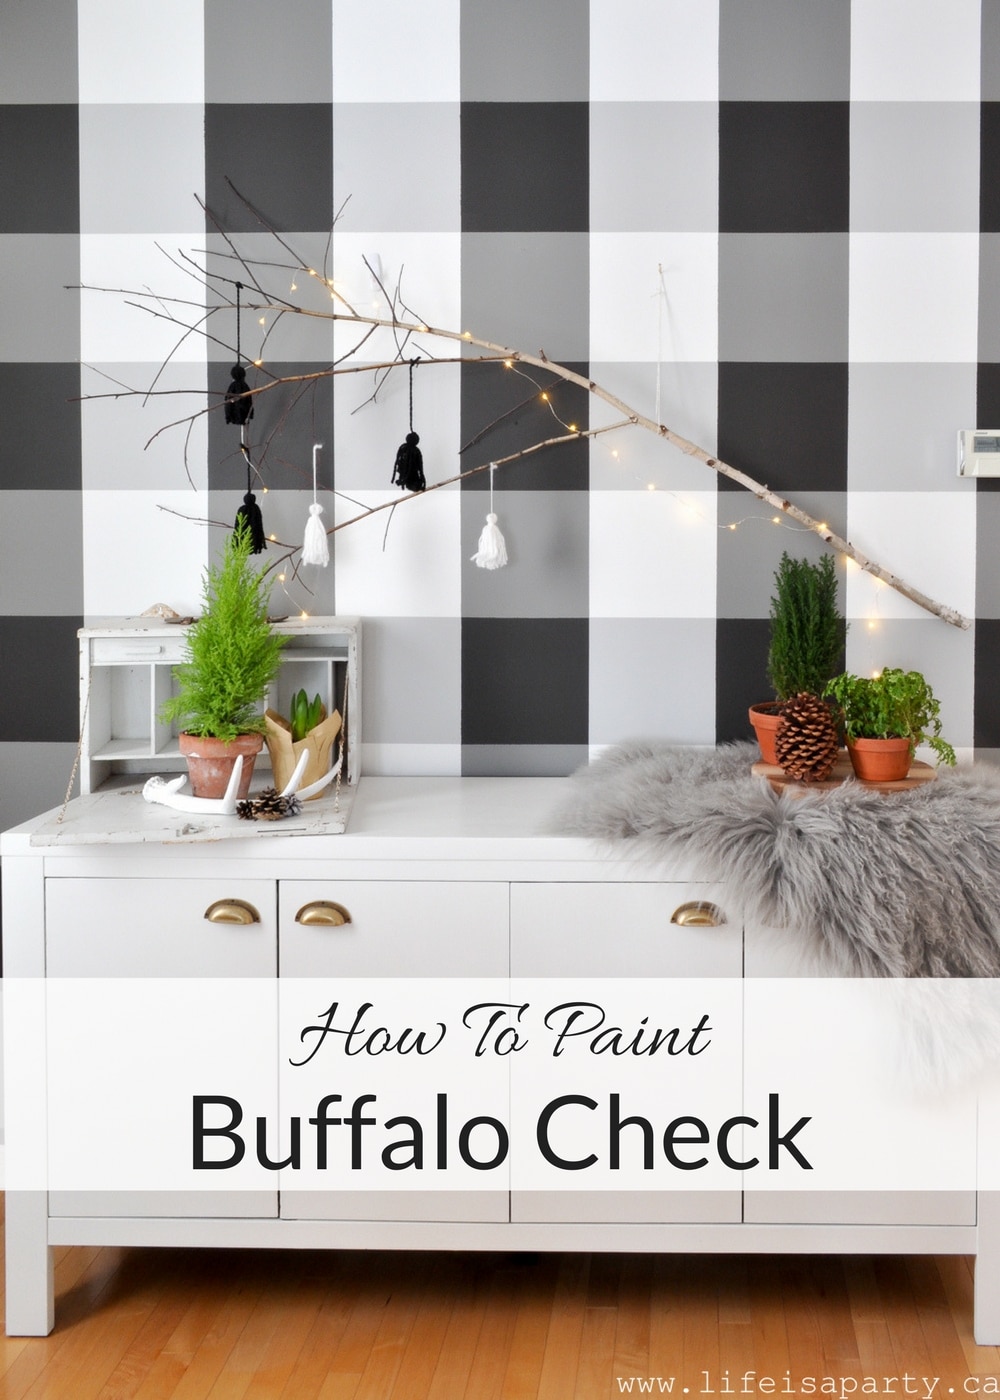
I decided a few years ago -has it really been that long? to make this wall in to a feature wall. I remember feature walls in the 90's and jumped onto their return. This black and white buffalo wall feature wall was a triumph -see the whole tutorial on how to create it here. It too was a weekend project and I actually still loved it. But, it was time for a bit of a change.
I was inspired by some simple and inexpensive changes I made in the dinning room for fall. I swapped out my curtains for these velvet green ones. And I removed my homemade drop cloth slip covers -see how I made them here. I wanted to make the room a little more rich and moody with some darker colours added in. There was still plenty of white to keep it bright, but the new darker elements added some depth to the space.
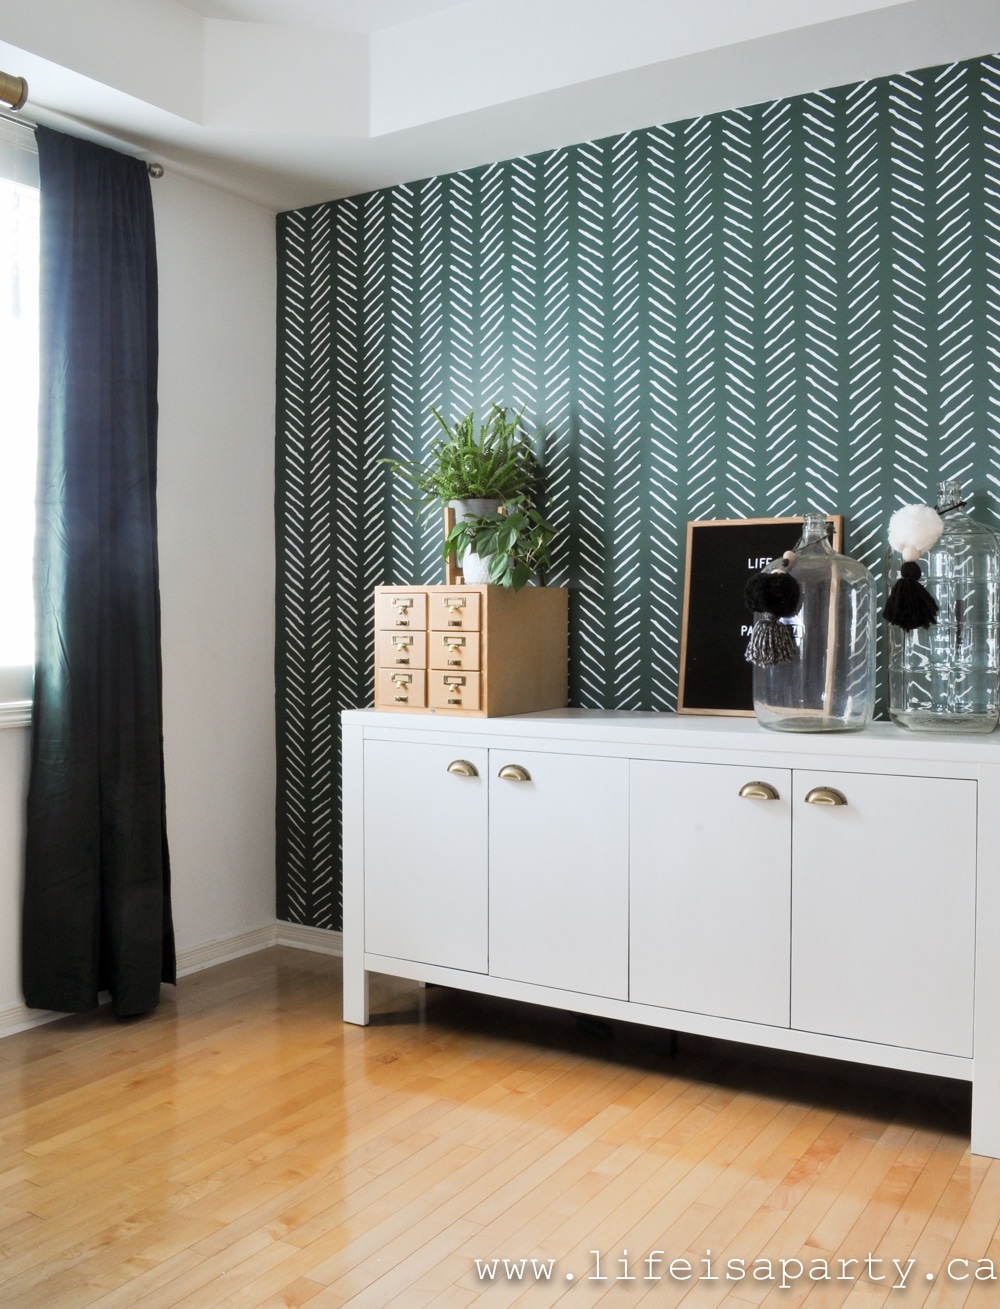
The green curtains inspired the idea of a green feature wall.
The Perfect Green
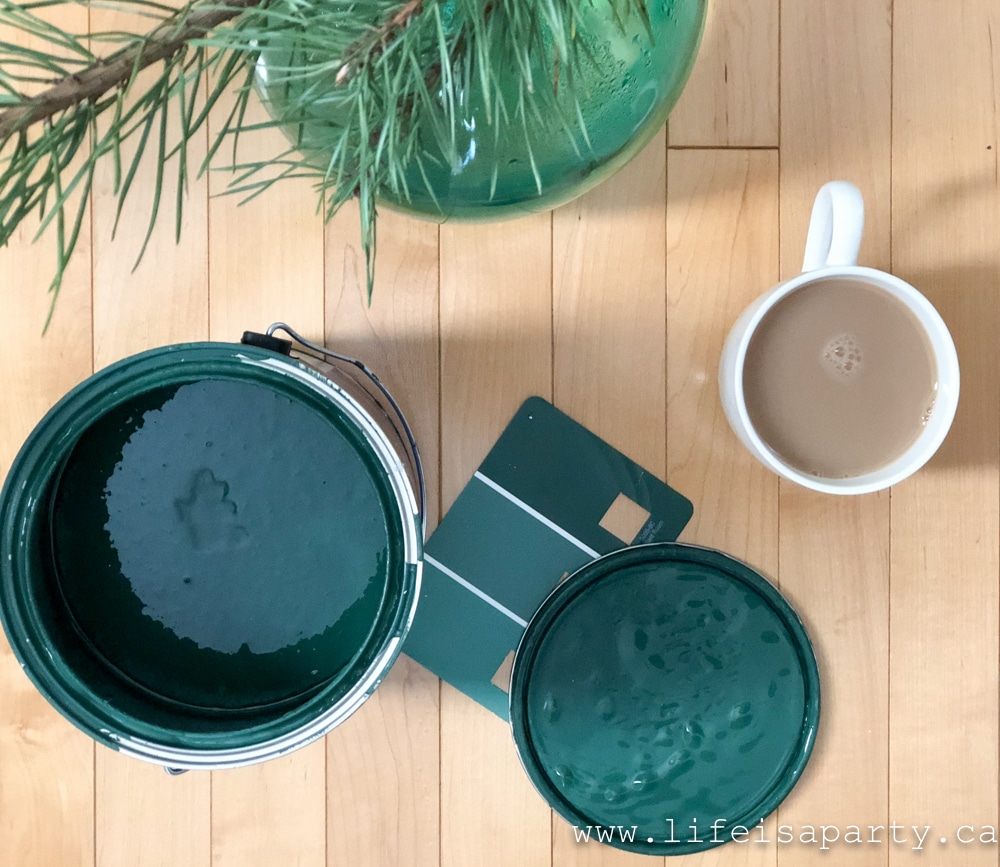
The colour is amazing. It's Valspar's Billiard Room 5005-6C It's the perfect dark green. It's not to blue-ish or teal, it's not too olive. I just love it.
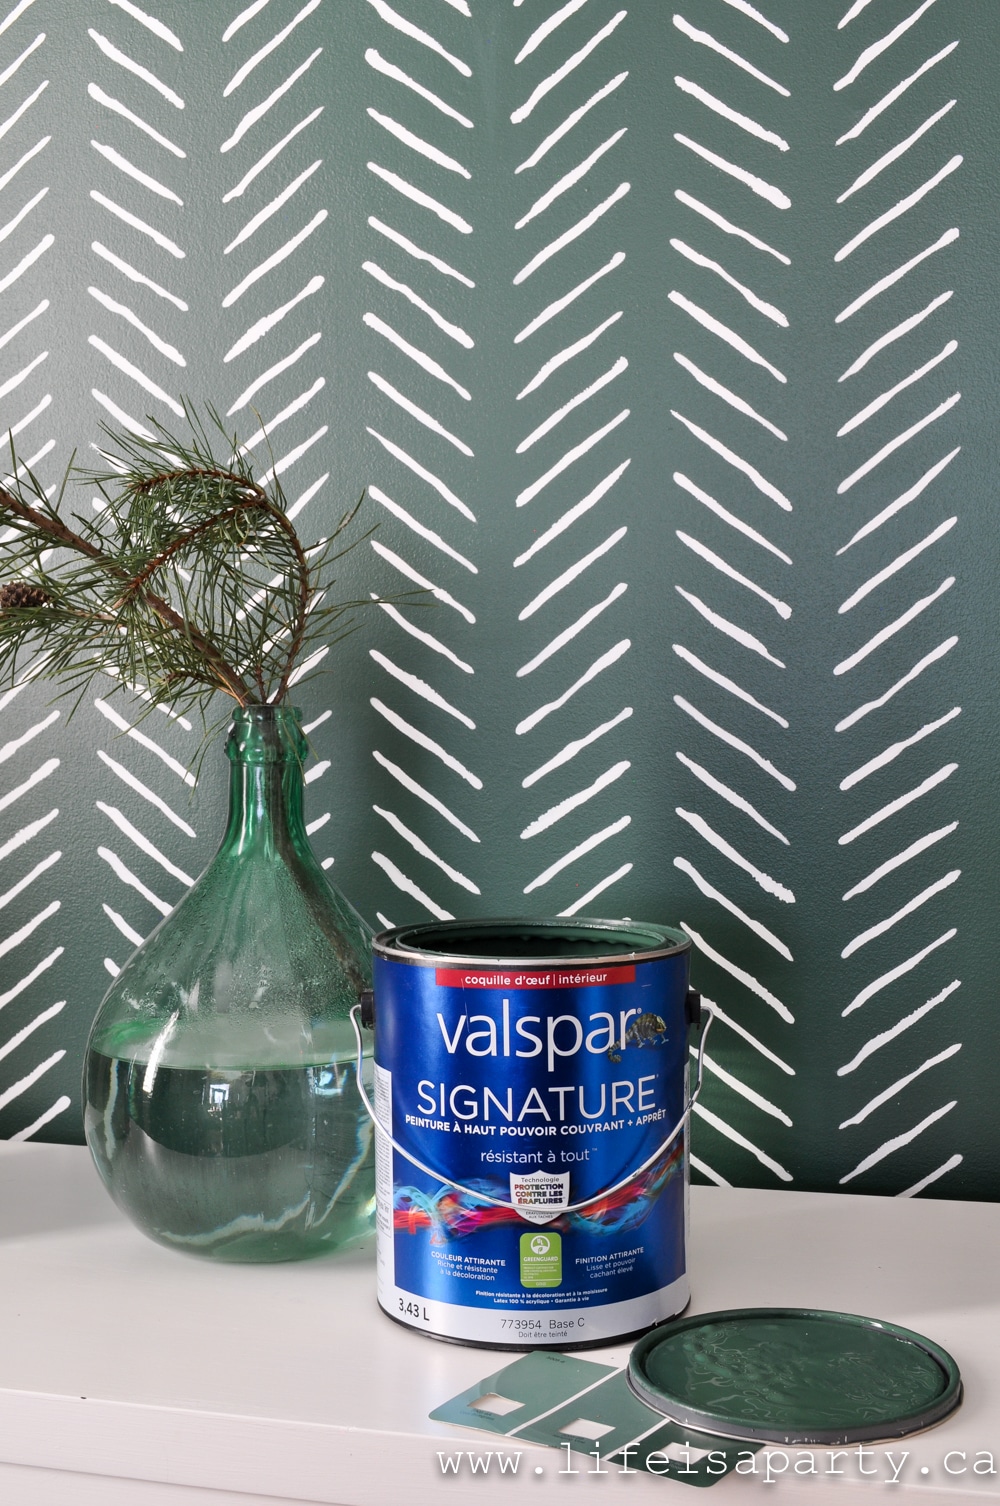
Because we were covering over our buffalo check wall, I did a bit of light sanding first. The check had different layers of paint so I sanded off the edges of the strips. I also had a few holes to fill. After that I applied Valspar's primer. It did a great job of covering and prepping the wall.
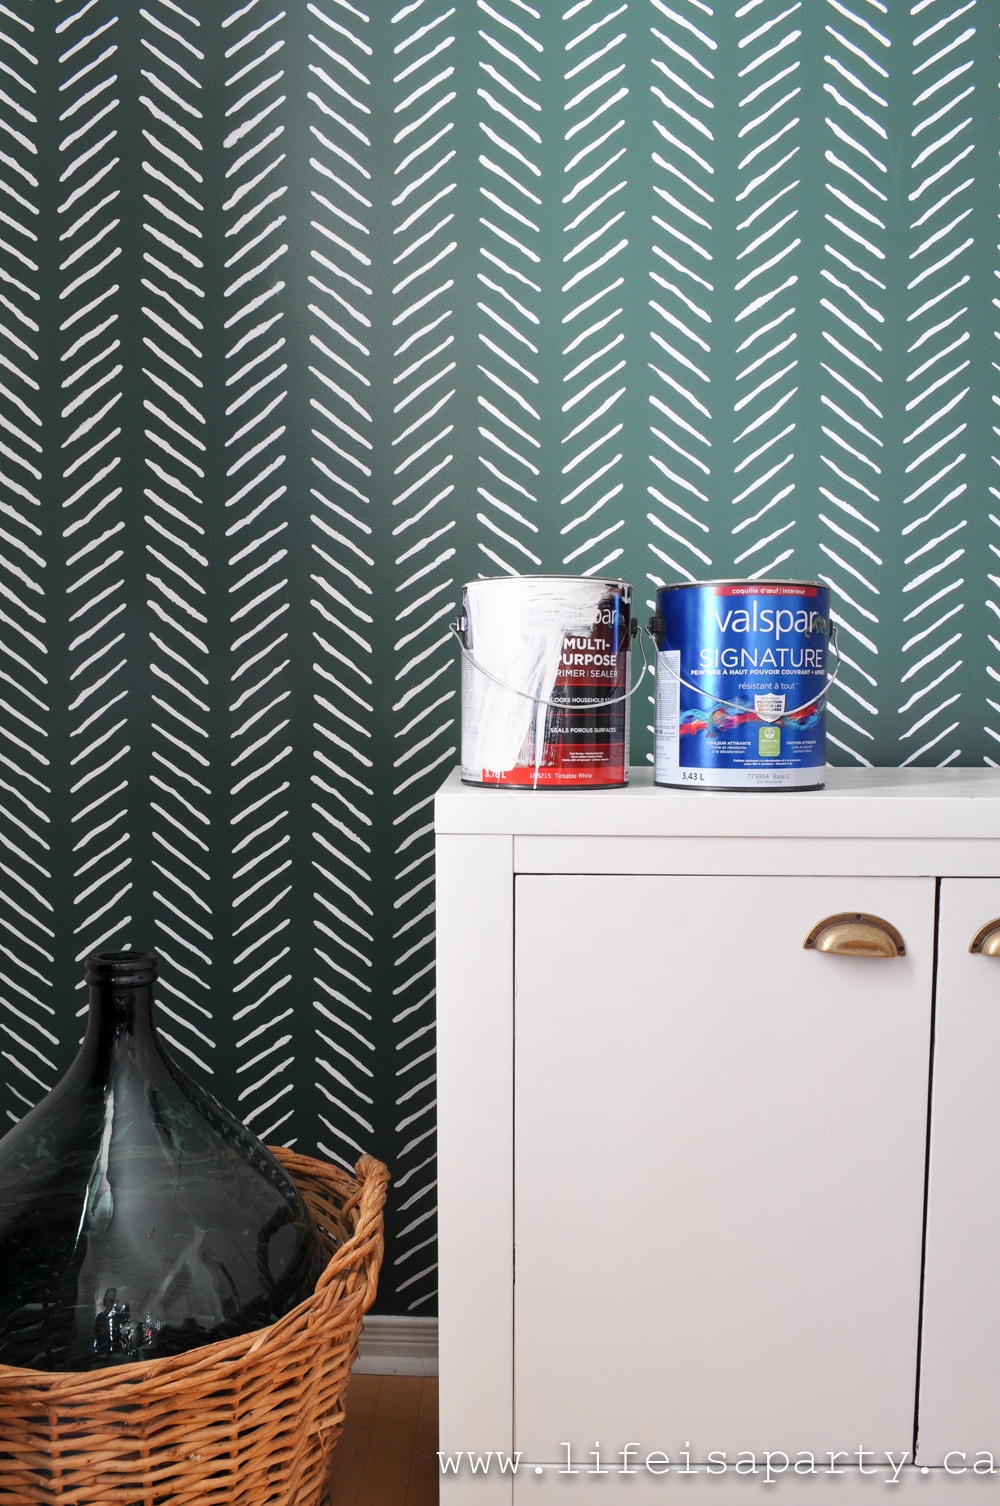
I painted two coats of the Billiard Room. The coverage was great, especially for such a dark colour.
The Stencil
After we had our amazing green base, it was time for step two. I was inspired by Sweet Domicile's kitchen -check out her amazing instagram account here. Nicole used the Cutting Edge Stencils Chevron stencil in her apartment as an alternative to wallpaper and it turned out so great.
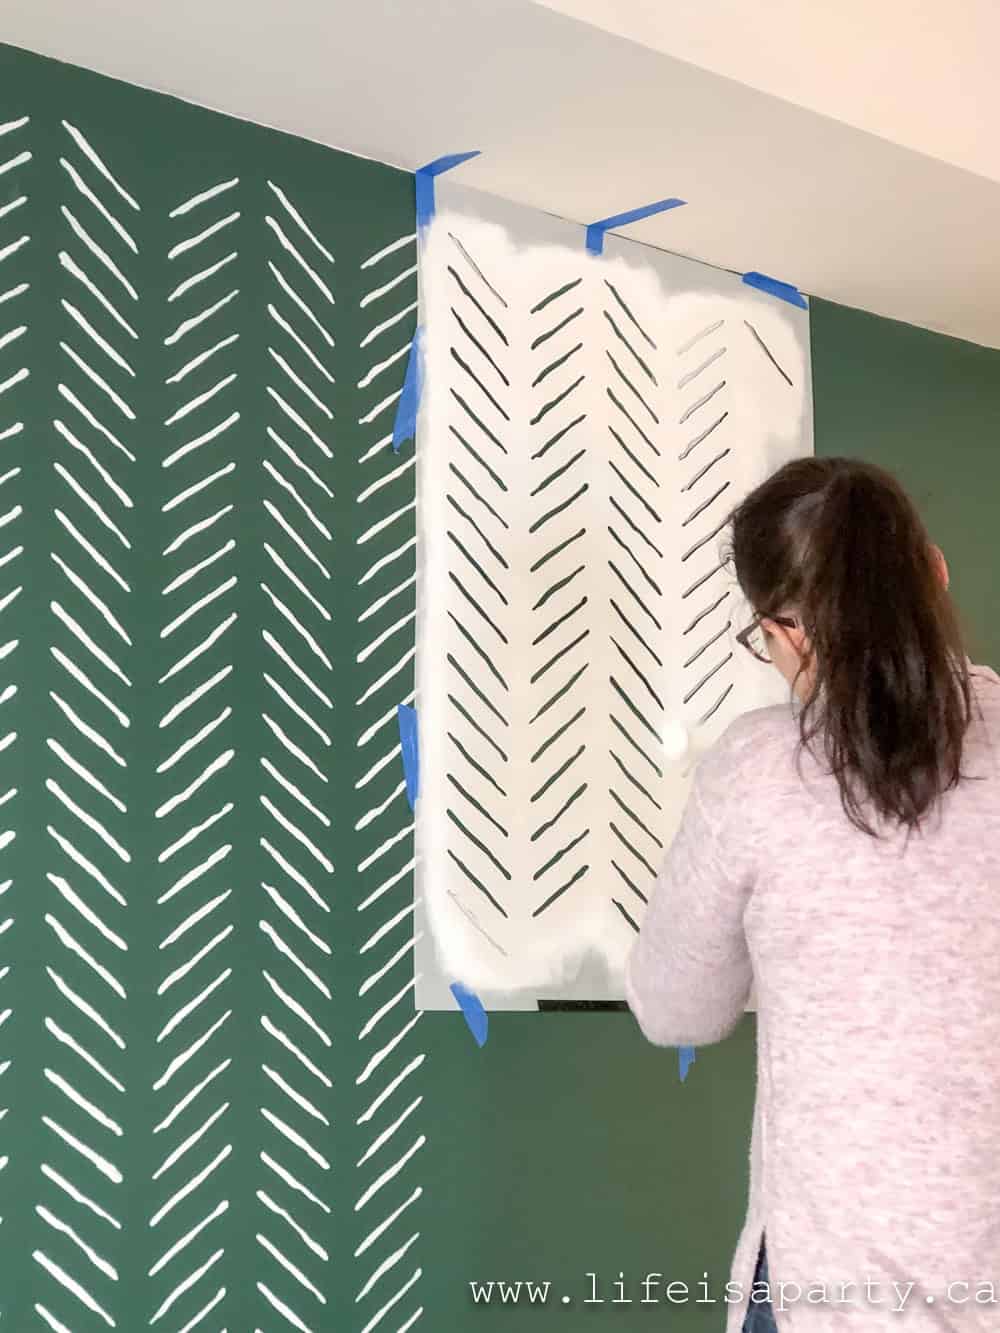
My friend came over on a Saturday morning and we worked away with the stencil. It's the Hand Drawn Chevron Wall Stencil. We used the foam roller that came in the kit and craft paint per their recommendation because it dries quickly and has good coverage, and it worked great.
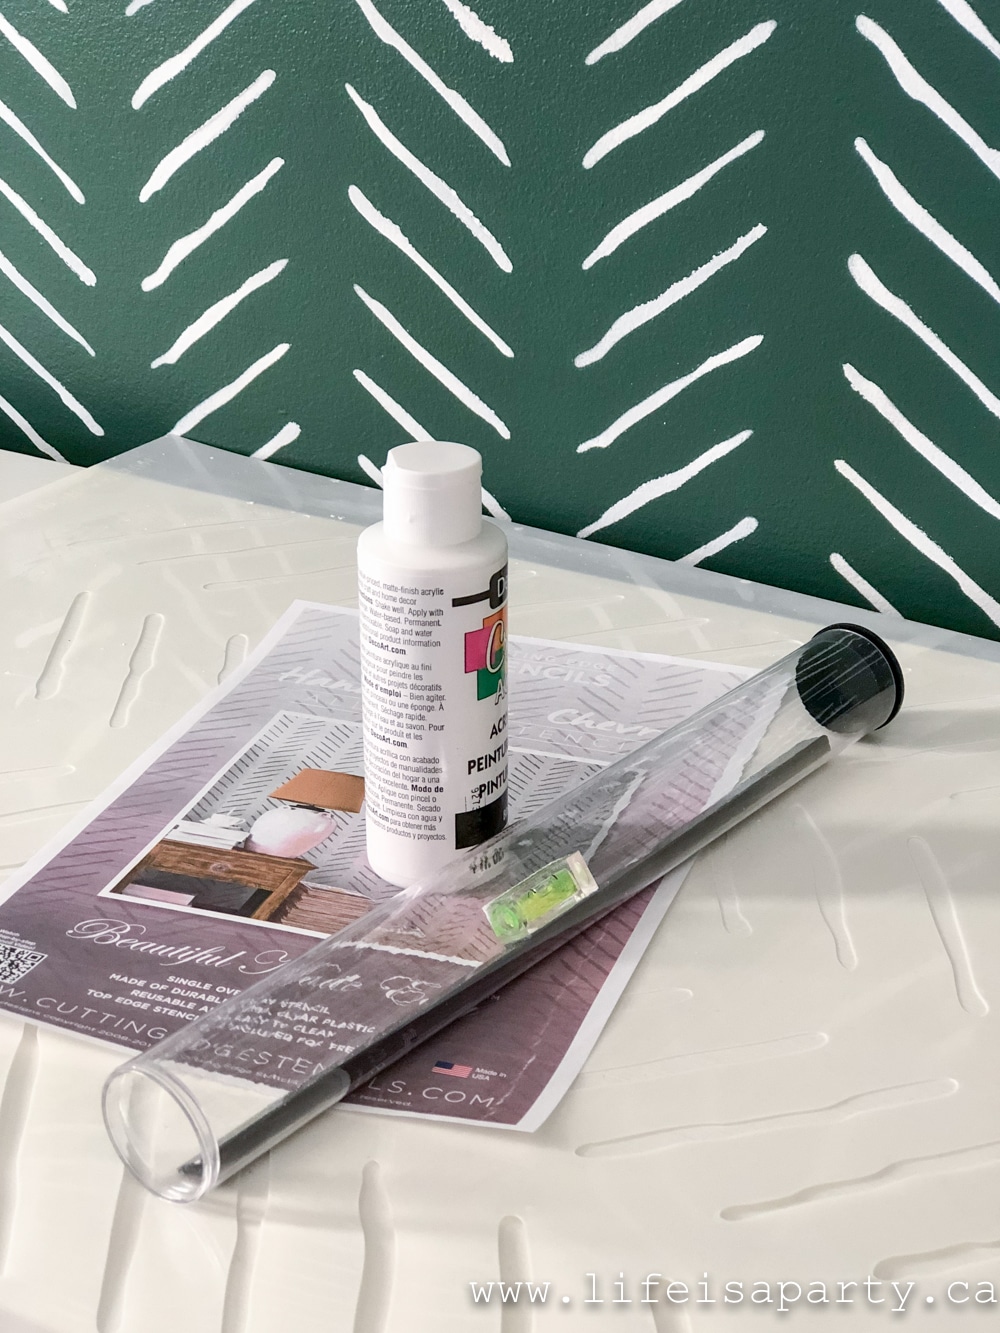
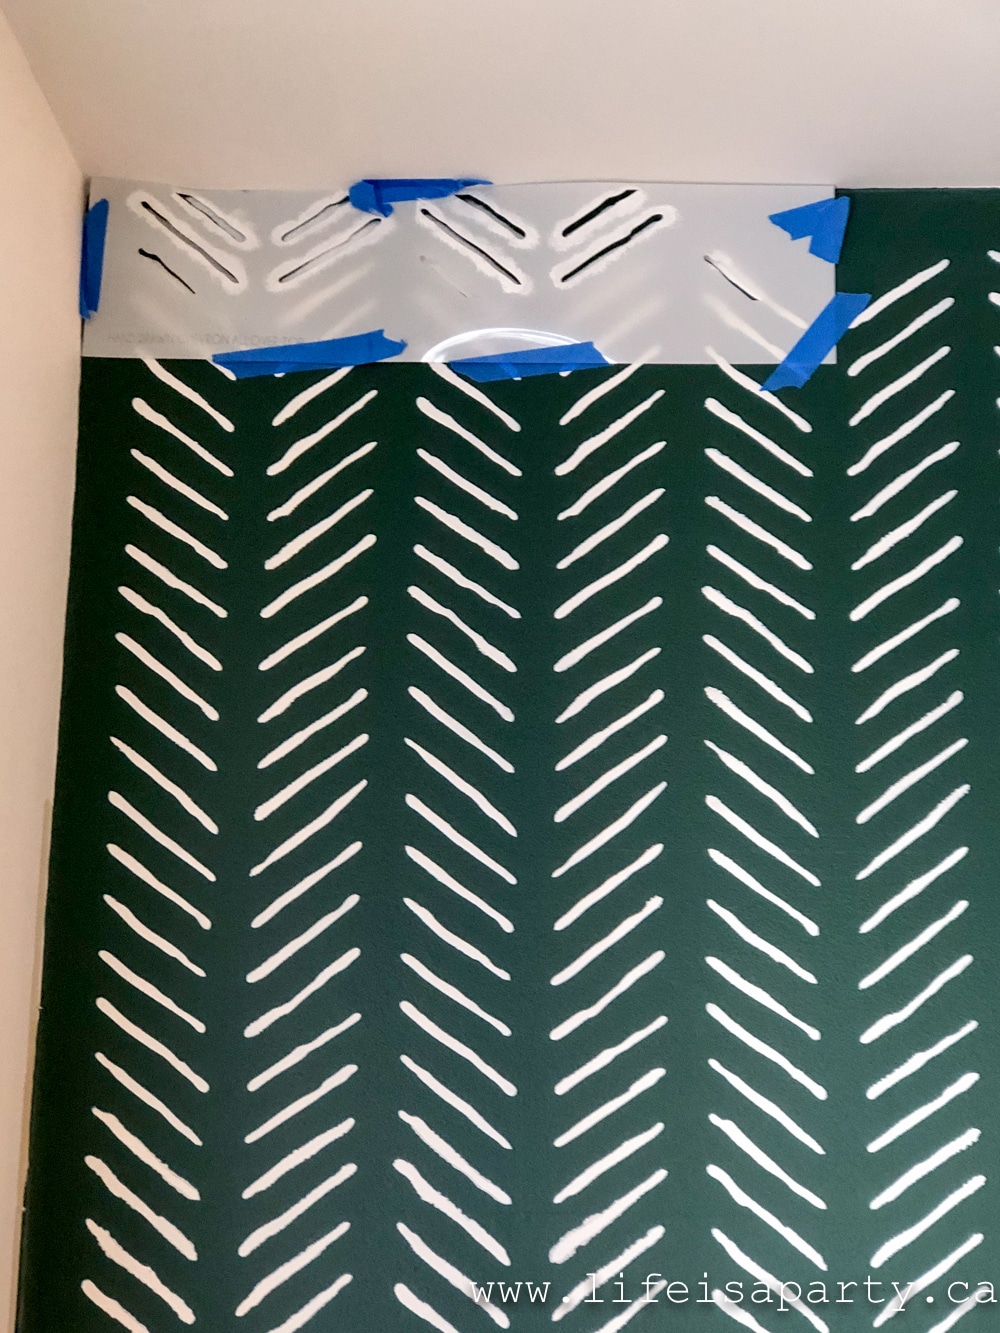
The edge pieces that come with the stencil worked great too to finish off the design at the ceiling. We had very little bleeding with the stencil overall. Because the design we used is so free hand looking we left the little bit of bleeding we had and found it just blended in and added to the handmade quality of the over all look. There were a few tricky spots around the thermostat -oh dreaded thermostat. But we were able to bend the flexible stencil around it and also do a few spots free hand.
The stencil was time consuming but very easy to do. Not complicated at all. I highly recommend roping your best friend into it so you can just chat the afternoon away as you work. 😉
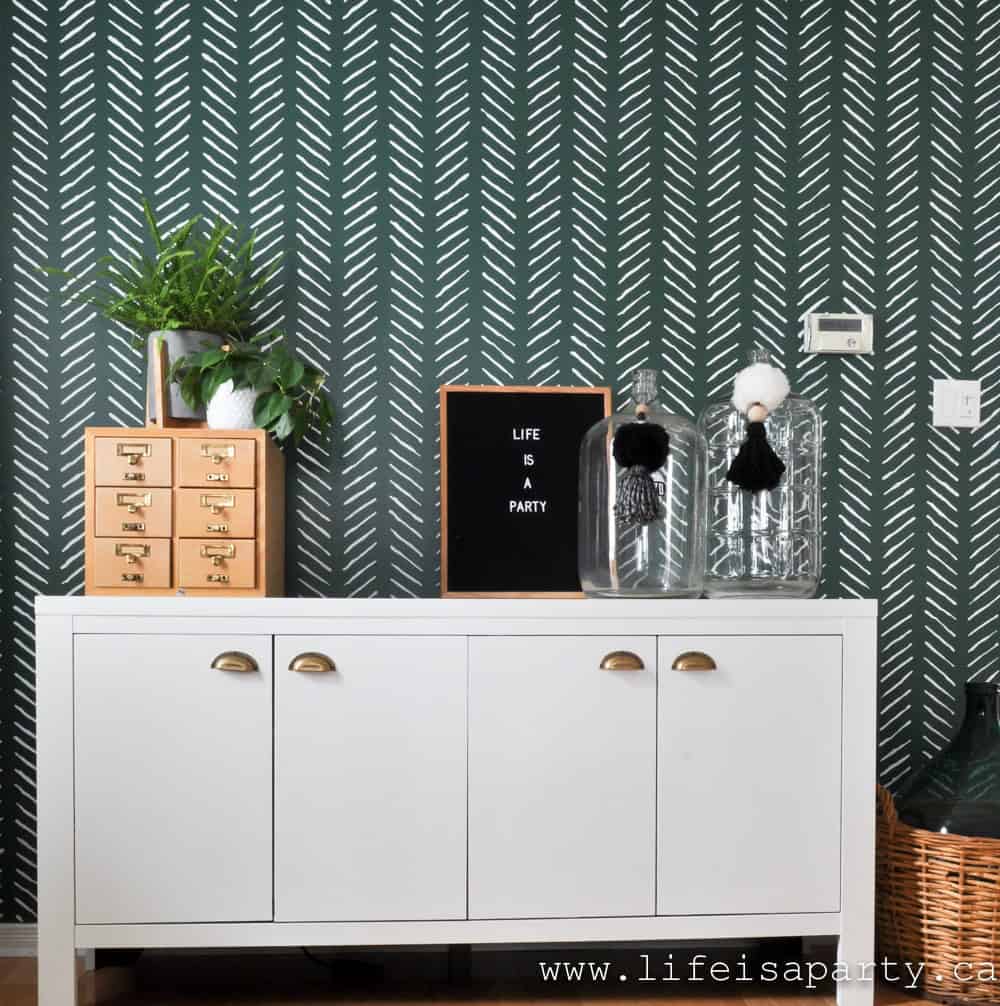
I love how the wall turned out. It adds so much to the space. I love the green and the stencil creates so much interest. I also love that this was a fairly quick weekend project, and changes the room so much.
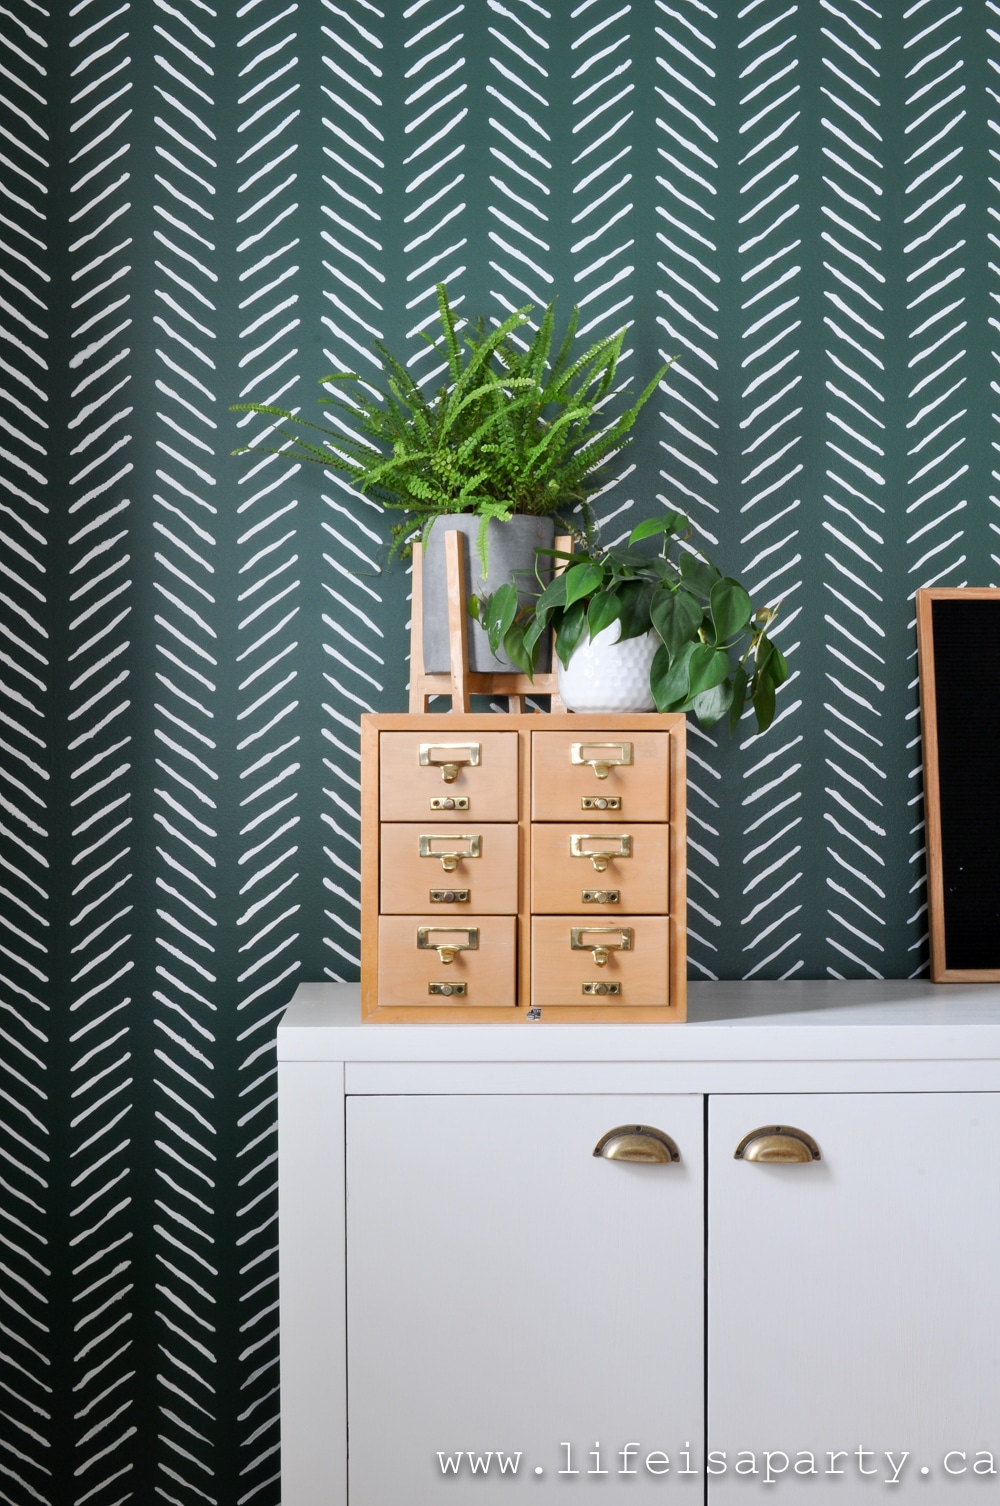
It's perfect for Christmas, but I think it will have a lot of staying power after that too.
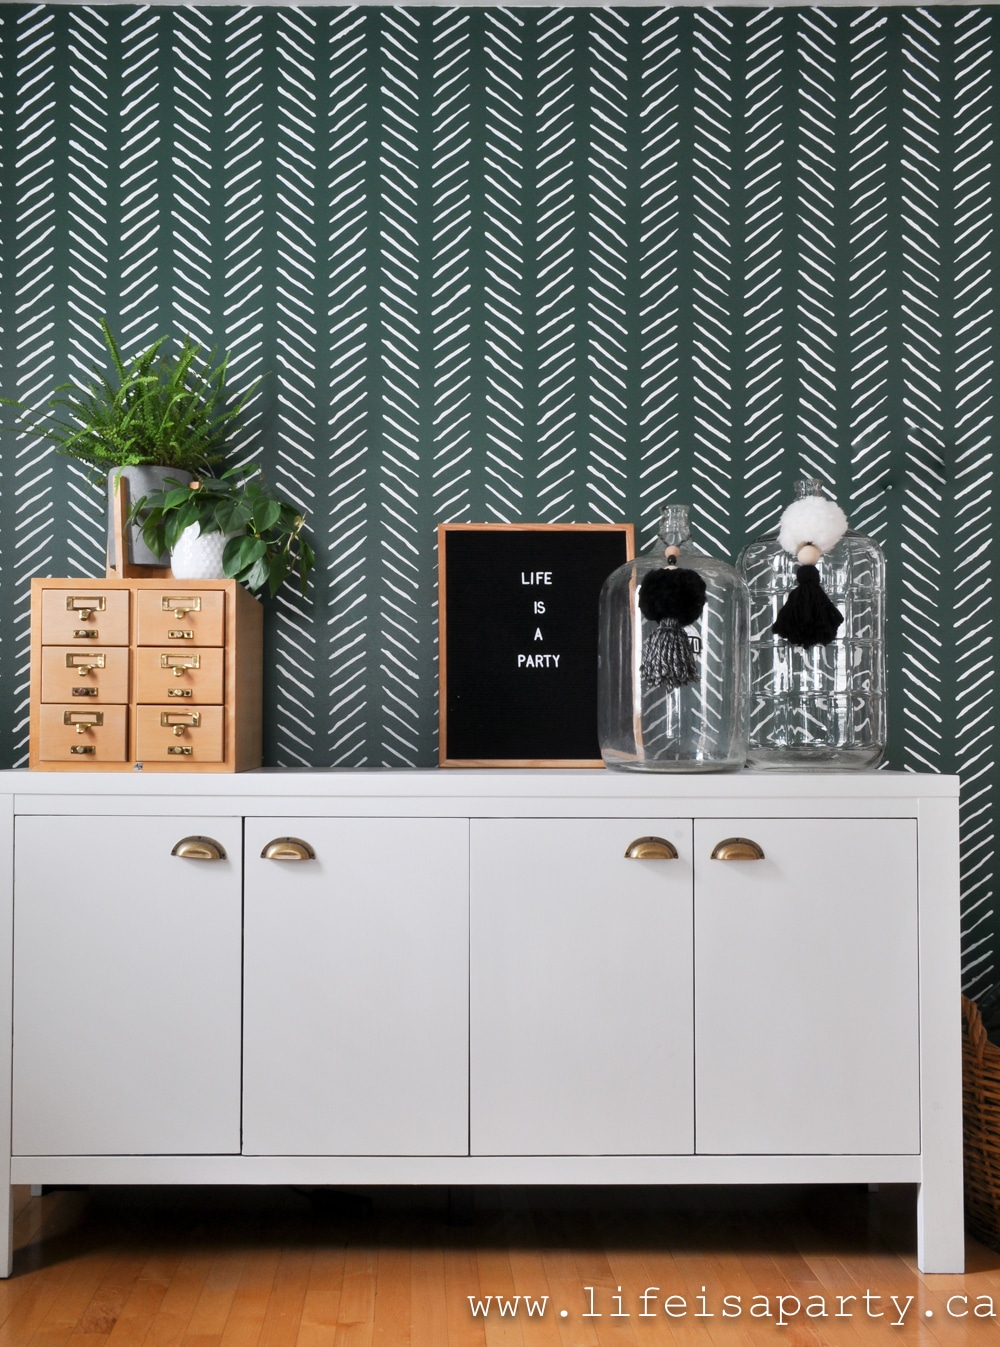
This post is sponsored by Valspar Paint and Cutting Edge Stencils. As always all opinions are my own. Thank you for supporting the brands that make Life is a Party possible.
You might also enjoy our post on How To Paint A Buffalo Check Feature Wall.
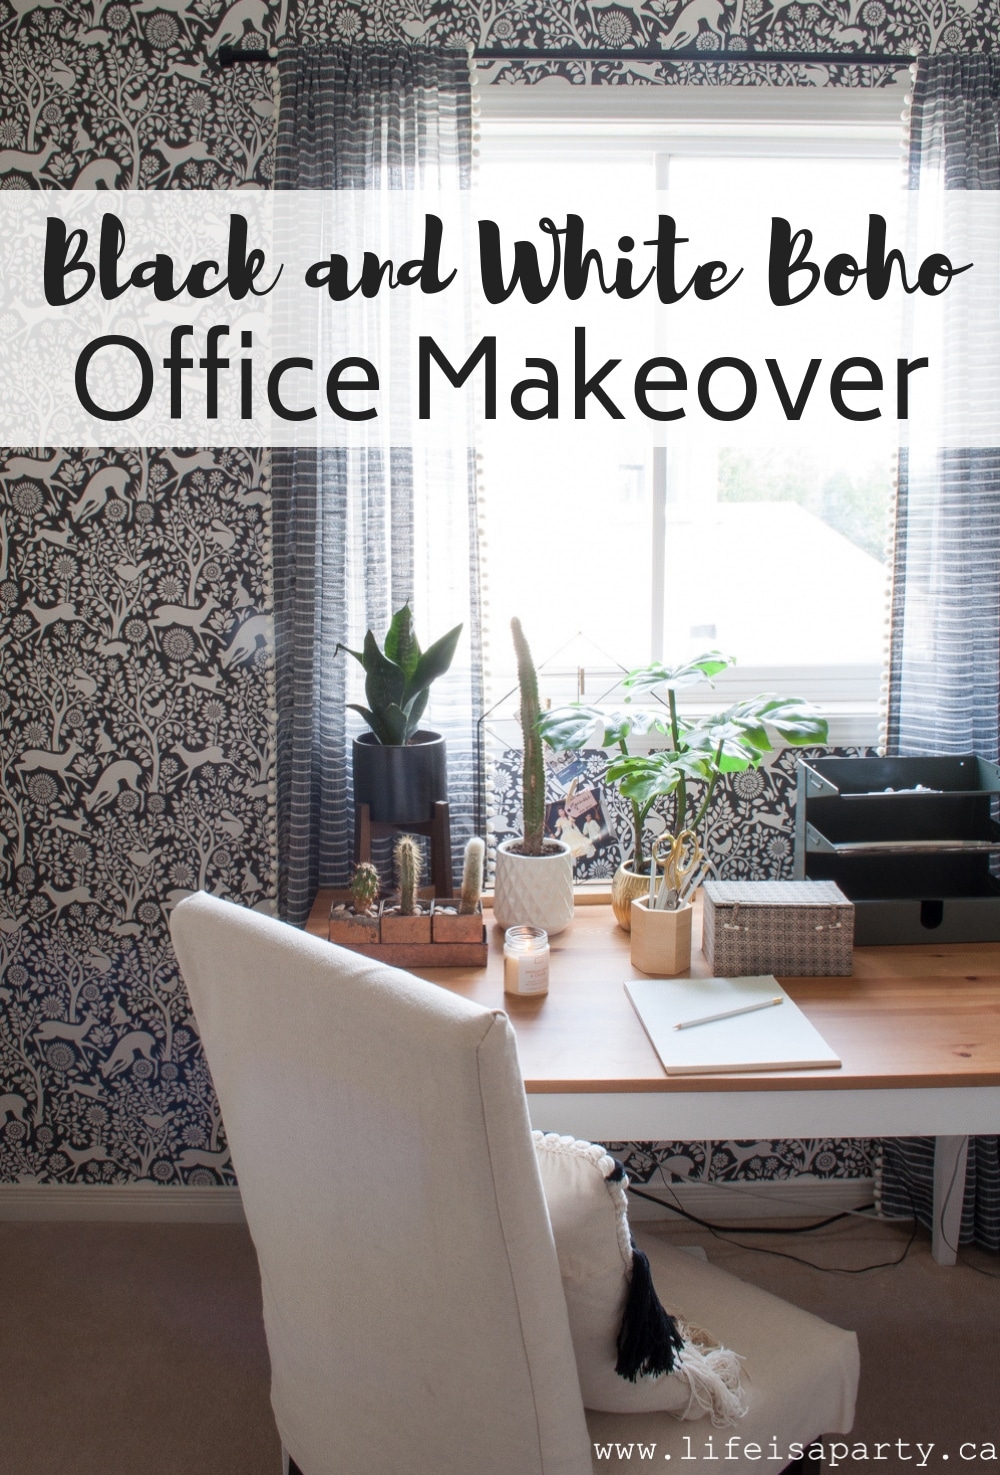
Also check out our Black and White Office Makeover here.
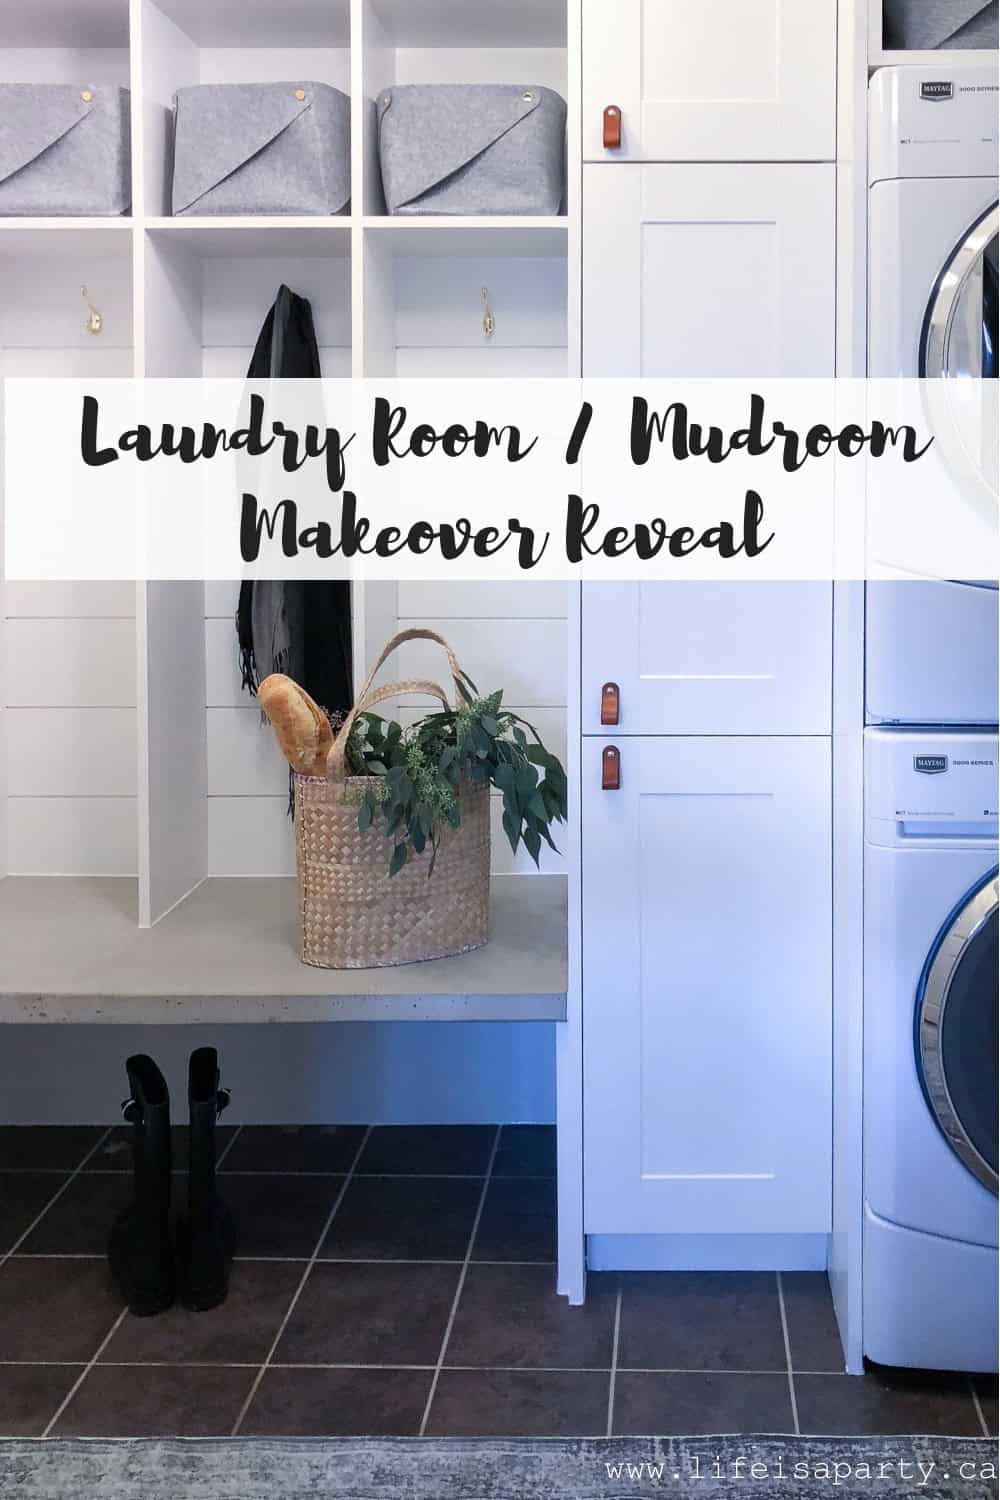
You might also enjoy our Laundry Room/ Mudroom Makeover here.


Leave a Reply