Wooden Ball Christmas Ornaments: simple DIY to turn craft store wooden balls into Christmas tree ornaments.

Jump to:
This year I was going for a simple, Scandinavian inspired Christmas look. I love how it turned out, it’s so simple and beautiful. These DIY wooden ball ornaments were the perfect addition. This easy craft uses simple craft supplies for a really pretty, rustic ornament for the holiday season.

Simple Scandinavian Design
In order to create the look, I pared back a lot of my decorations. Check out the whole Scandinavian Christmas Home Tour here for more inspiration.
For the tree, I used just a few different sets of ornaments. I went with white, and natural for the colour scheme. That meant white glass ornaments, simple pinecones, and pretty metallic geometrics to keep it modern and fresh. I also wanted to incorporate some basic wooden balls.
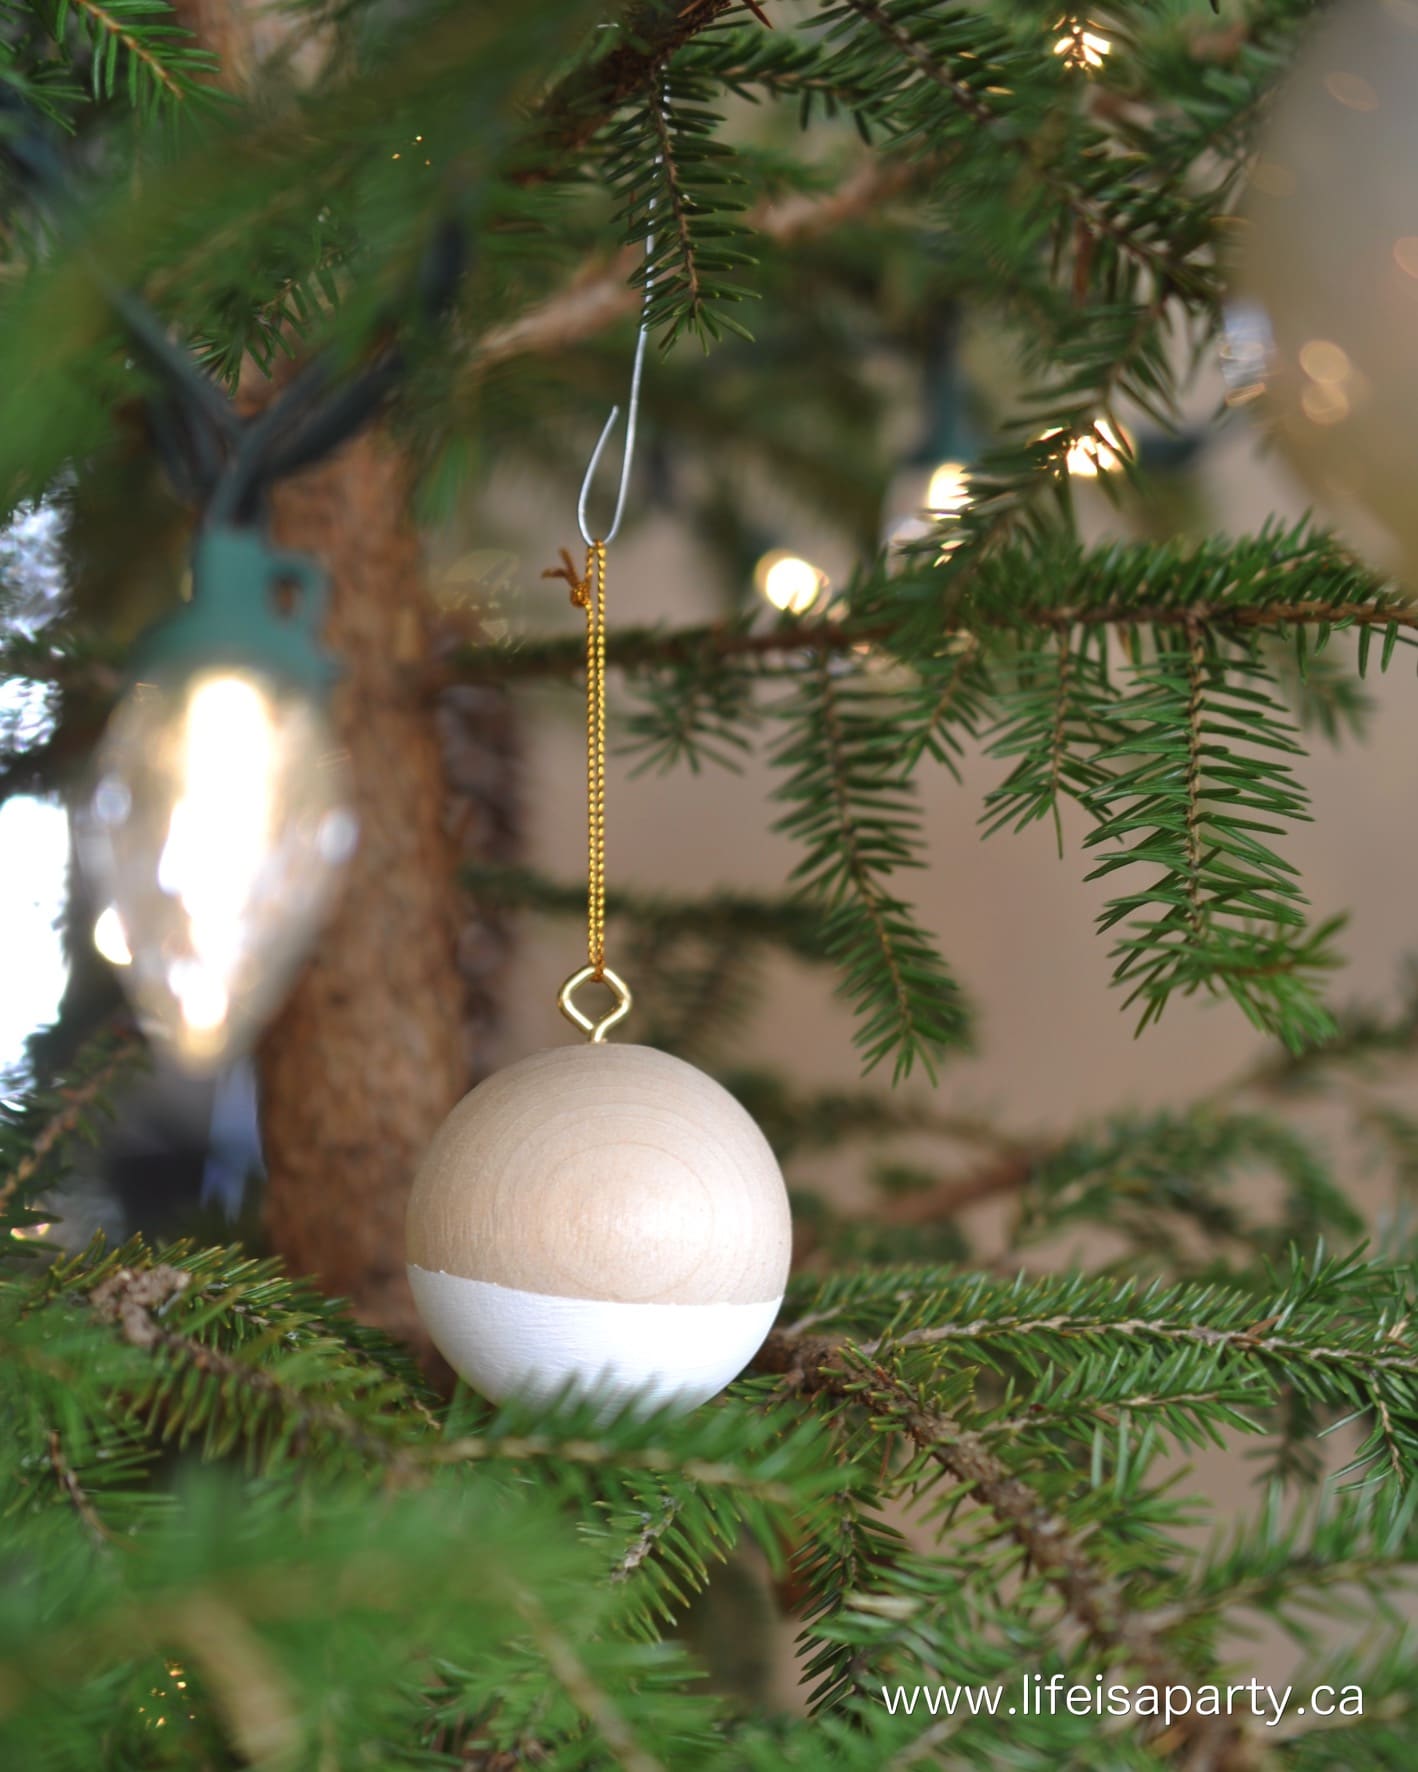
These plain ornaments were hard to find.
So what’s a blogger to do? Make some.
Here’s how I made them.
Wooden Ball Ornament Materials:
- Wooden Balls
- Eye Hooks
- Masking Tape
- Paint Brush
- White Paint
- Gold String

How To Make Wood Ball Ornaments:
Start by screwing the eye hooks into the top of the wooden balls. They’re pointy on the end so push them in as you turn to get them started. You will need some finger strength for this step. Once you get going you can make it a little easier on yourself by sticking a pencil or small paint brush handle through the hole and using it for a little leverage to turn it all the way into the ball. If you're really having trouble getting the eye hook started, you could use a very small drill bit in your drill to create a very small pilot hole. Drills are powerful tools, and the round ball is hard to hold still, so a vice might be helpful to clamp it in place before drilling.
For the plain wood ball ornaments, that’s it, attach a string, ribbon, oor gold twine like I did and your ready to hang them.
For the painted wood ball ornaments, use masking tape to tape off the section you want painted. I taped off a ⅓ to a ½ of the balls, with a straight line across.
Apply the paint, you might need to do two coats to really cover it. I used white to fit my color scheme, by you could get create and use any color you like or that fits with your holiday decor.
Remove the tape once the paint is dry and add the string for hanging your beautiful ornament.


Materials
- Wooden Balls
- Eye Hooks
- Masking Tape
- Paint Brush
- White Paint
- Gold String Ribbon, or Yarn
Instructions
- Start by screwing the eye hooks into the top of the wooden balls.
- For the plain ones, just attach a string and your ready to hang them.
- For the painted ones, use masking tape to tape off the section you want painted.
- Apply the paint, you might need to do two coats to really cover it.
- Remove the tape once the paint is dry and add the string for hanging.
These are super simple to make, but the perfect touch for that Scandi, natural Christmas look, and right into the new year. And as an added bonus, they’ll never shatter, but are so much prettier than plastic. These are so great to use with kids during the festivities of the season. Since they will never get broken like glass ornaments or vintage treasures, and require no extraordinary care or concern. I love wooden ornaments, and I think they're a really timeless decoration. They're one of those quick and easy DIY projects that the whole family could make together. You could set up your own little family workshop to make these. It's always nice to include some handmade pieces and creative goods in your Christmas decor, and these ones made of natural materials are the perfect addition.
Wood Balls
I found some wood balls at the craft store. I prefer to use wood balls for this project rather than wood beads, because they give a more streamline effect, and you don't have to worry about the hole. Good news, if you can't find solid wood balls, you can make the wooden beads work. Rather than adding an eye hook, you could string ribbon or yarn through the hole to create the hanging piece at the top of the ornament. On the other end you could add a homemade white tassle, more wood beads, a wooden button, or felt balls. This would create a different look, but is a good option if you can't find plain solid wood balls to work with.
Variations
I love these simple Christmas decorations with the unstained wood and white paint, but a whole host of variations you could make. You could use various sizes of wood balls for your ornaments to add some variation. You could also stain your wood. Choose a dark stain or a lighter one. This alone would make a beautiful plain ornament. You could add paint to the stained balls as well. Choose any colors of craft paint you like to go with your Christmas decor. Traditional red or green would work well. You could also try something like pink or blue to fit your decor. I painted around ⅓ to ½ of my wood balls, and kept my paint lines straight across. You could paint more or less of your wooden balls, or combine more than one color. You could also angle your tape for a different effect if you wish. This is something I tried on my latest version and I love how they turned out. There's so many variations by adding stain, different colors of paint, and different angles.
Gifts
These would make great gifts for anyone who loves a rustic Scandinavian look and special goods. Say merry Christmas with a handmade set of these ornament balls. Who doesn't love receiving one of a kind items like these during the holidays?! A handmade product like this is sure to be treasured as a little work of art. Your friends will be giving these 5-star reviews and wondering if you got these made-to-order items from some etsy sellers!
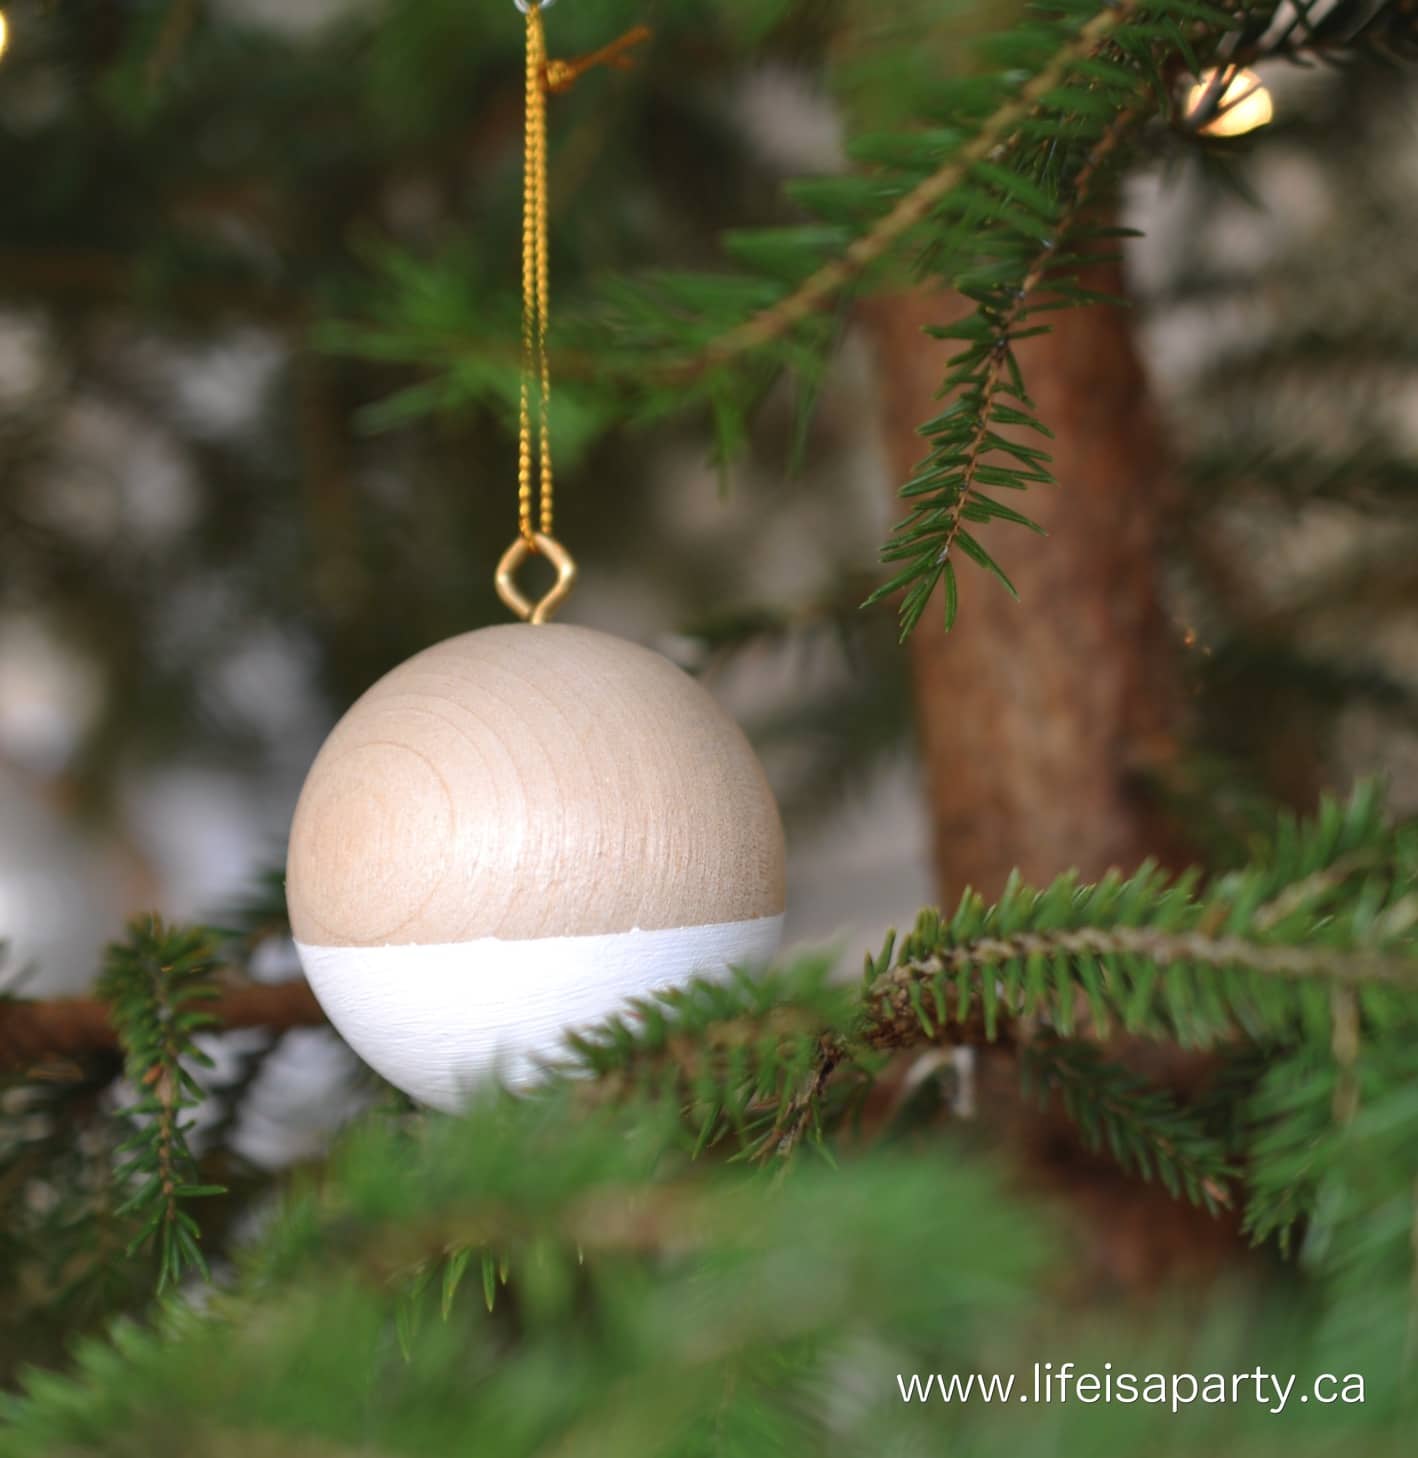
With easy Wooden Ball Christmas Ornaments, life really is a party!
More DIY Christmas Ornament Ideas
Want another Christmas ornament tutorial?
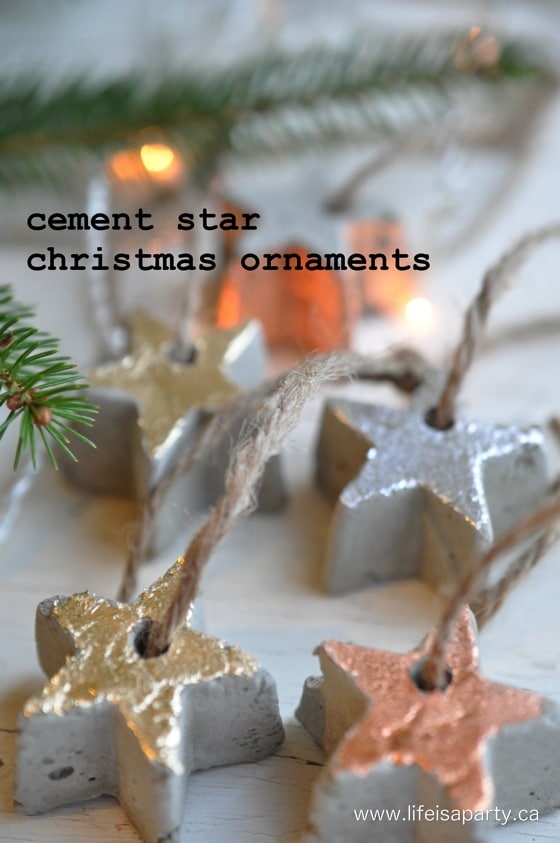
Check out our DIY cement star Christmas ornaments here.
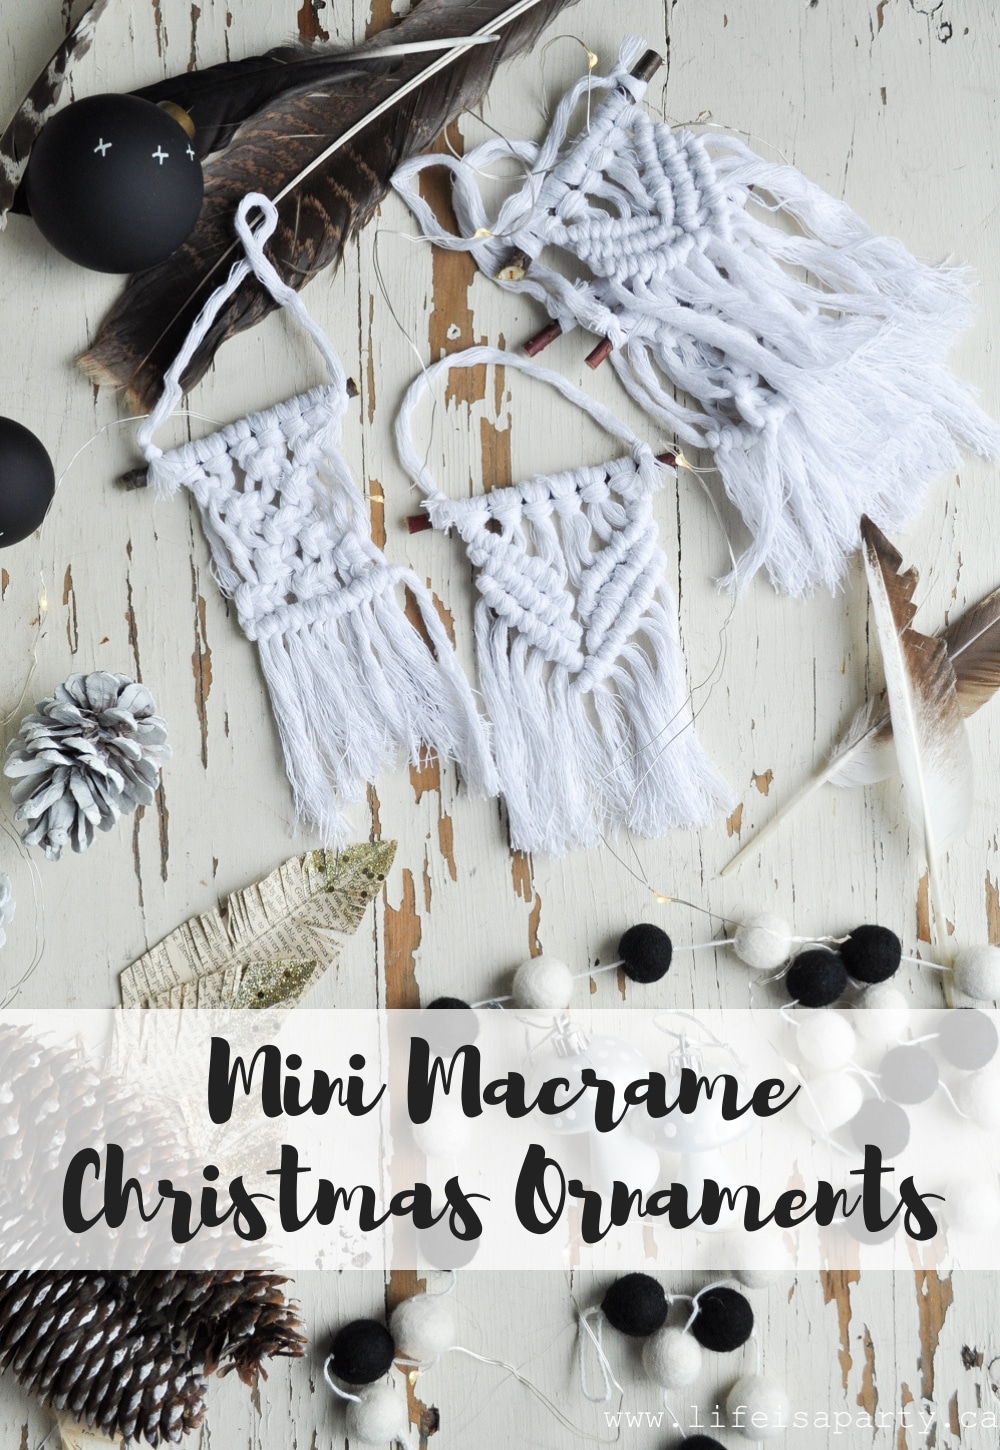
Check out our Mini Macrame Christmas Ornaments here.
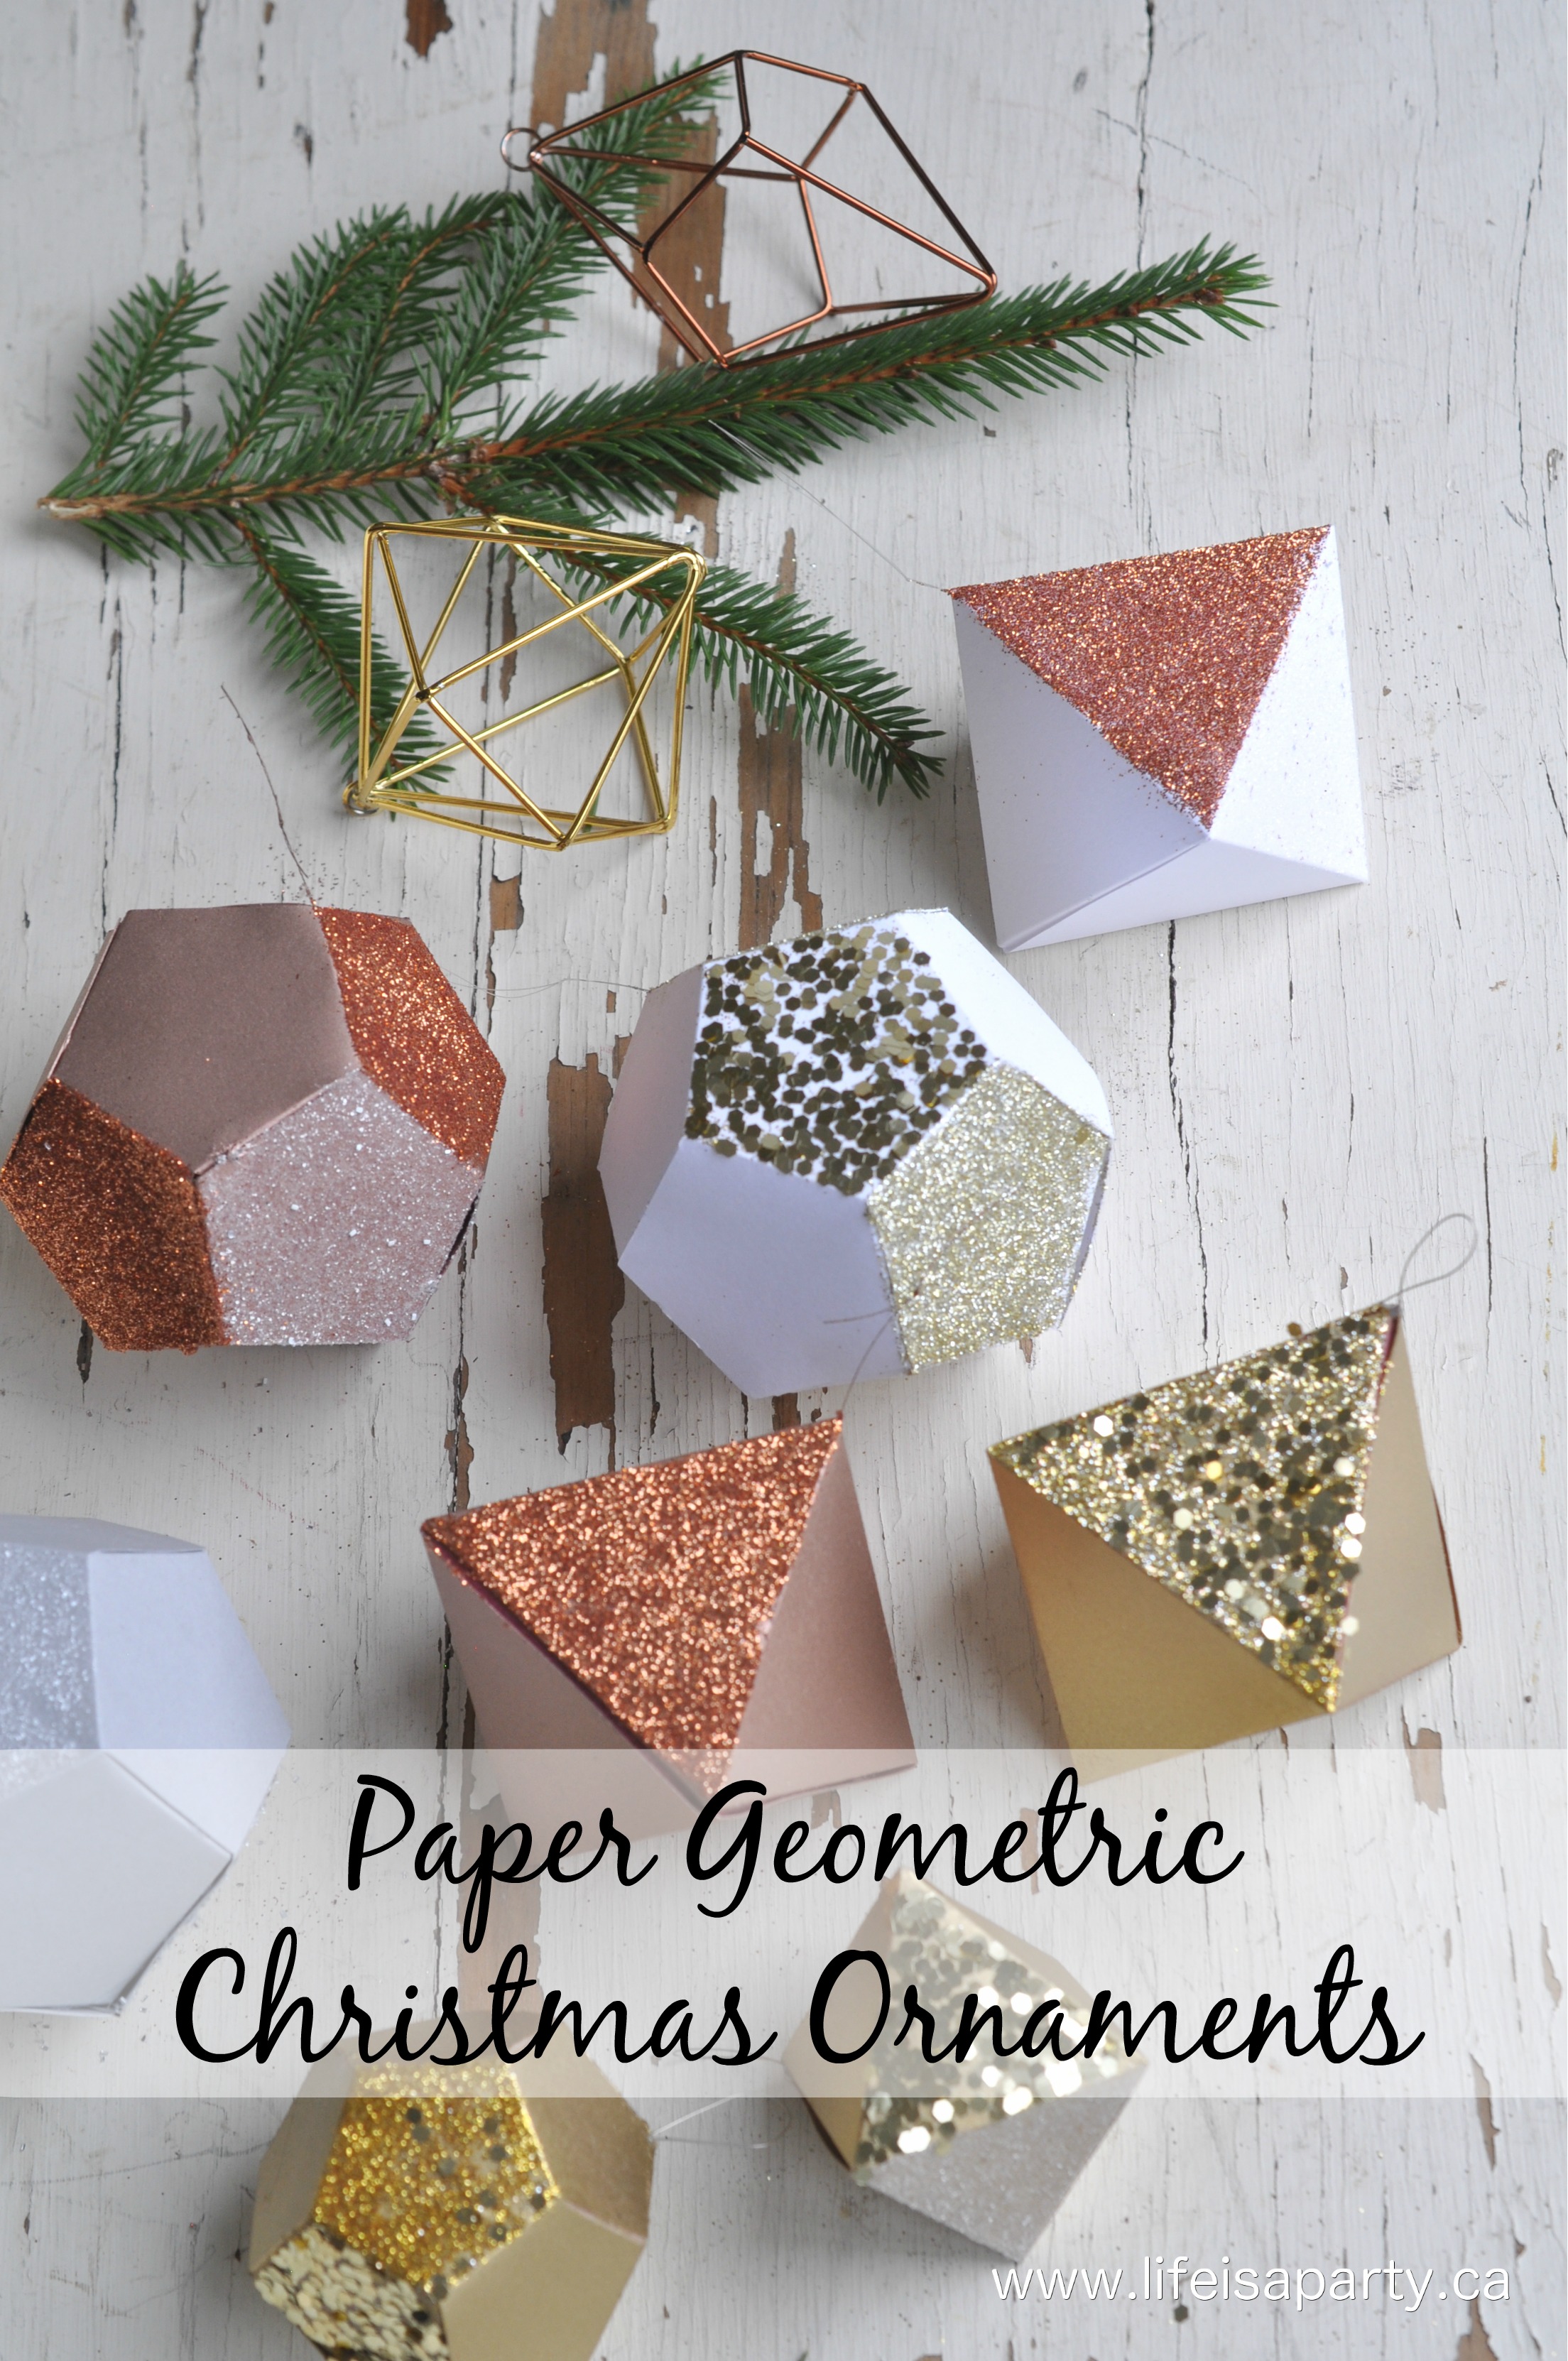
See our Paper Geometric Christmas Ornaments here.


dnr says
Hi Danielle, I think they were about 2 inches, and I picked them up at the craft store -Hobby Lobby if I remember correctly. Hope this helps, and happy crafting.
Dannyelle
Danielle says
Hi! Can I ask what size are those and where did you get them?