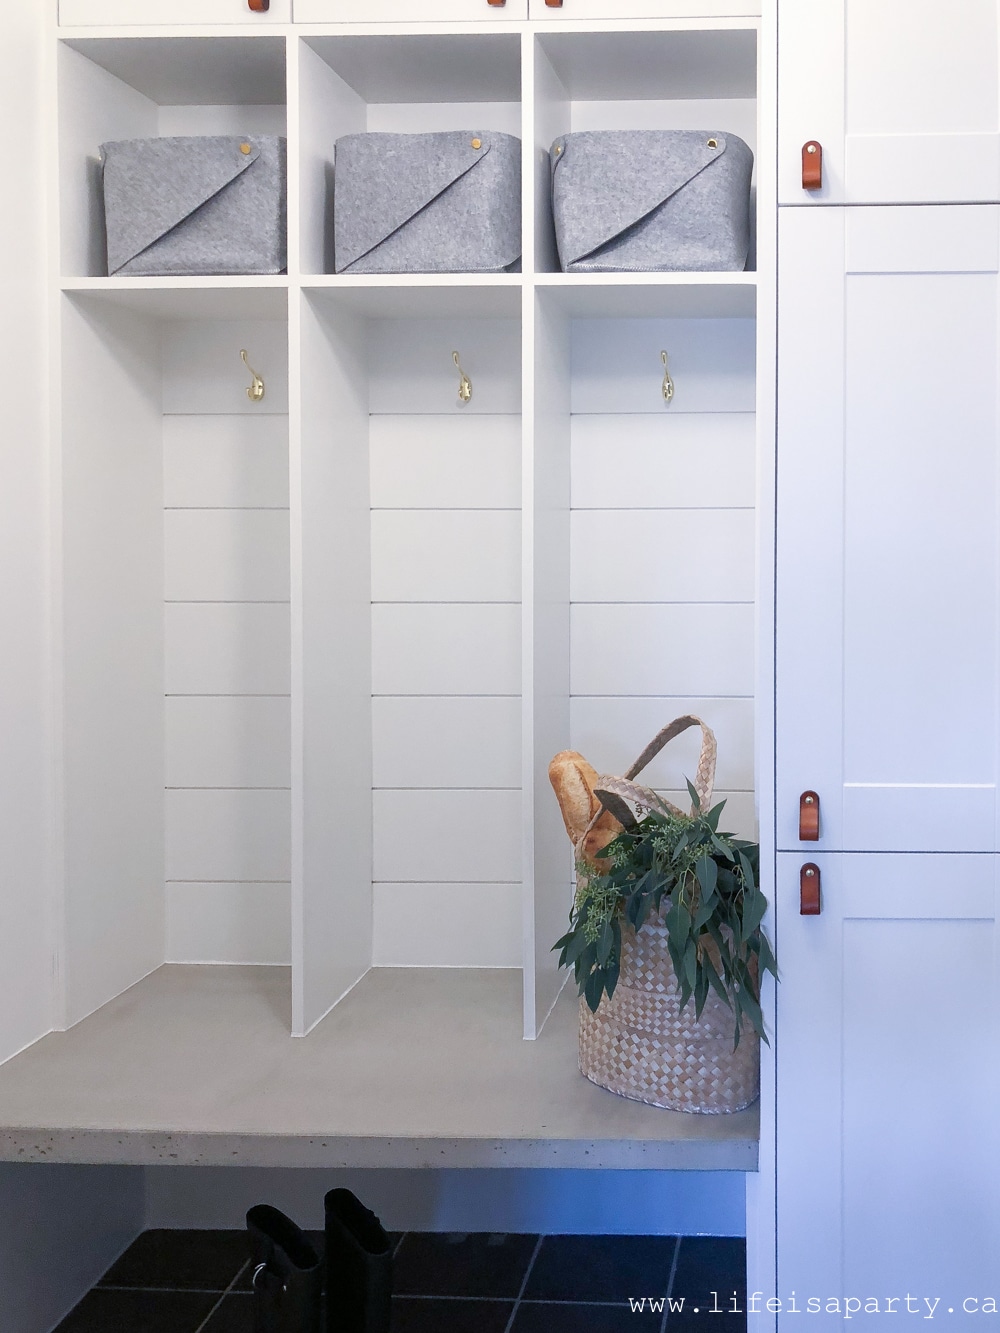
DIY Mudroom Lockers: use standard off the shelf hardware store cabinets and MDF to create custom mudroom lockers and storage solutions.
Prepping The Space
Before we built our DIY Mudroom Lockers, our small mudroom/laundry room was a mess. The DIY lockers have helped us to get organized and find a place for everything. They are so much more functional, and I wish we'd built our own mudroom lockers sooner. Sometimes it's the little things like a functioning and organized space, that make all the difference.
We started out with a room dominated with a shoe rack in the corner and a few overflowing coat hooks on the back wall because we had no coat closet, and turned it into something so much better, with plenty of room for every family member to keep their things organized in their own lockers. This small space also has the garage door, and a door into the dining room hall. We don't have a closet beside our front door, so this area is our main entrance area from the garage and the main way we always enter the house. This was a great way to make such better use of the space we had. It's the perfect place for us to store coats, shoes, backpacks and more now, and one of the best parts is that it looks so much more clean and tidy now.
Our first thing we needed to do was make a space for the DIY mudroom lockers in the room. The room is small, so we had to get creative with our mudroom design and building plans. It's our back door entrance from the garage, and also has to function as a laundry room space. We also used it to store our pantry overflow. It had really turned into a disorganized drop zone. We started by removing the laundry sink that we never used. Some people might not want to remove something like this sink, and be worried about re-sale value. At the end of the day though, it's seems more important to me to create a space that functions for you and your family. It wasn't really a sacrifice for us to remove it, since we never used it for laundry.

Using Off The Shelf Cabinets
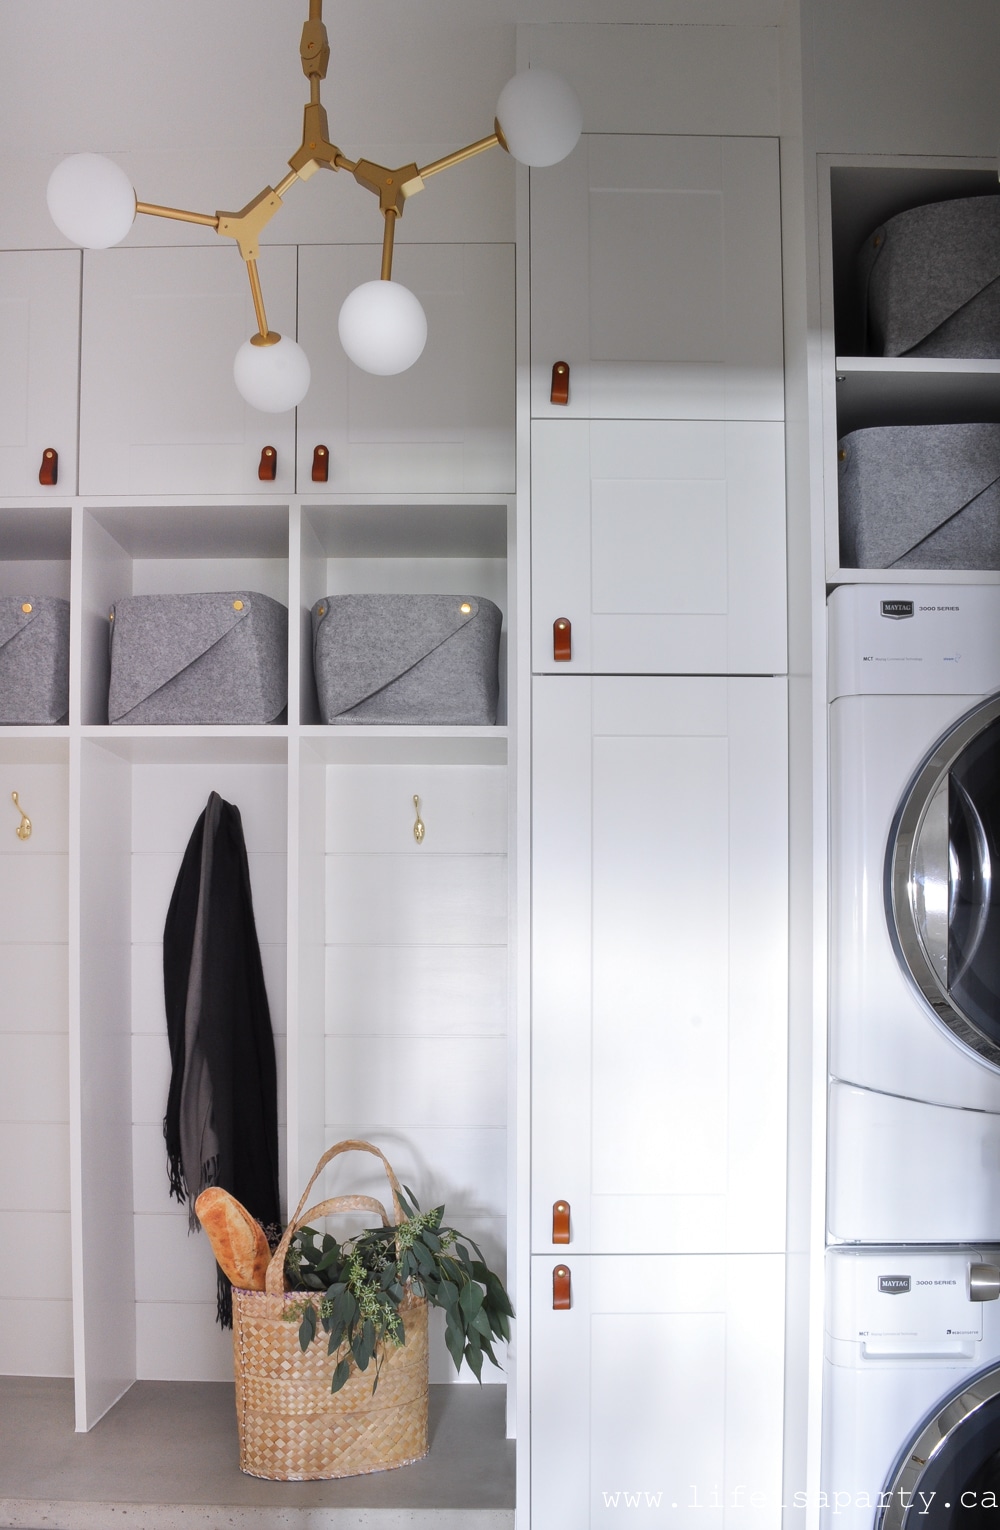
To create the mudroom locker cabinets at the top we used some standard off the shelf cabinets for our set-up, and added valences and gables to make them all look built in. Using off the shelf cabinets were a great option. They were easy to get, with no long time waiting for something custom ordered, and also the very cheapest option. It was nice to include some closed storage for the lockers, so that everything isn't always on display. These are great for some extra storage for things that we don't use all the time.
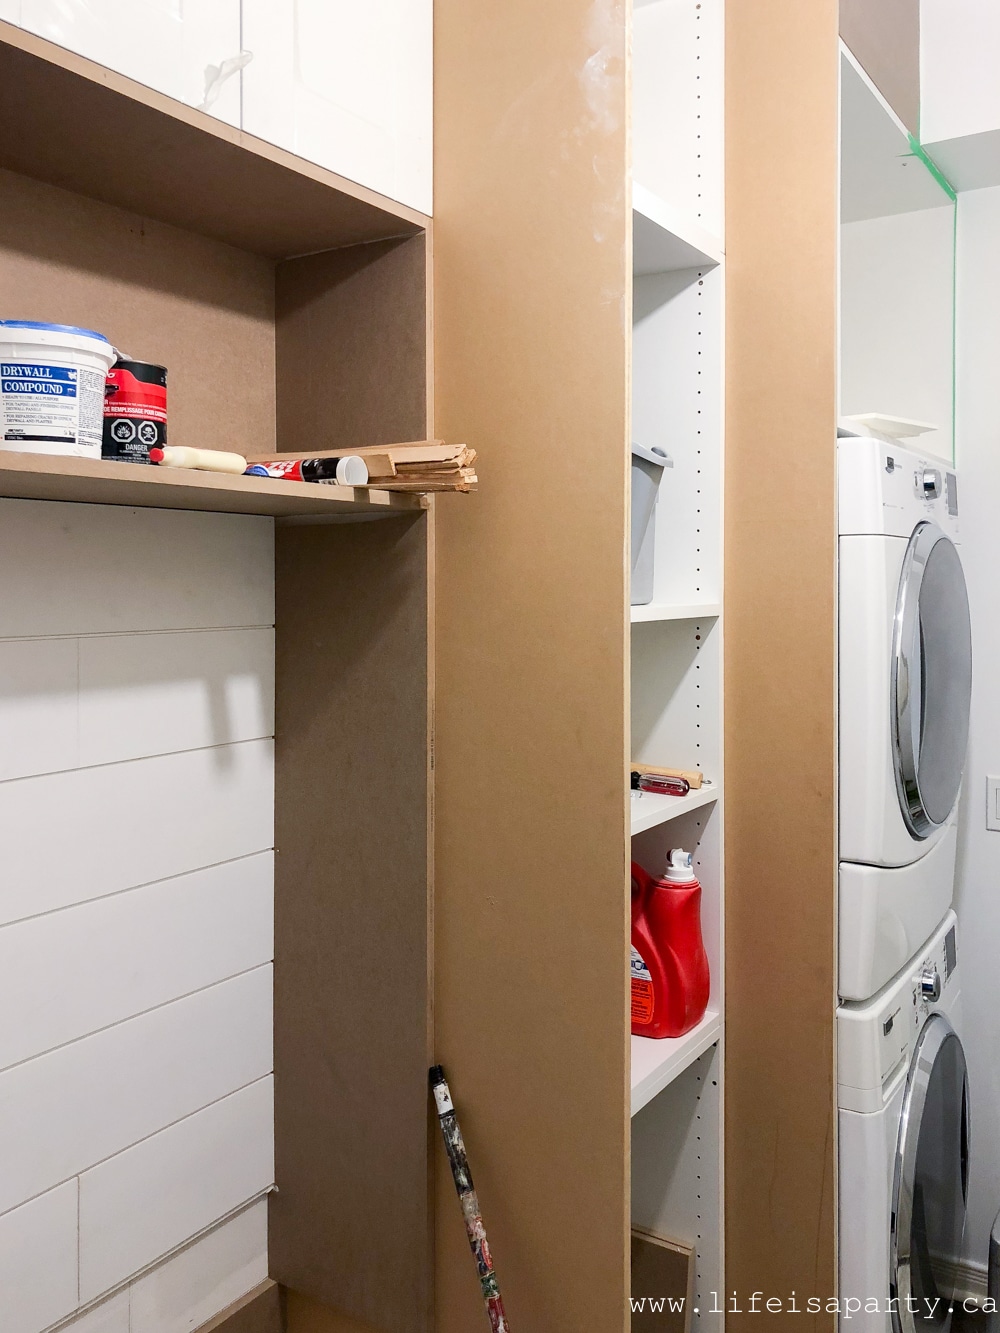
For the top of the lockers, we used three small cabinets, and built an MDF valence to finish them off to the ceiling and create the built-in look. The off the shelf stand cabinets from the hardware store were the cheapest and easiest option. We had to work around the measurements that were available, so we used graph paper to create a plan on paper were we slotted in the available cabinets, and then worked around them. On the other end of our lockers are a washer and dryer, and we also added a tall bank of ready made cabinets for additional storage space there too.
The cabinets come from the hardwares store as flat packs. Once we had the upper cabinets put together and fixed to the wall, we filled in the spaces with MDF valances and gables to create a custom look. You could use hardwood plywood or pieces of wood for this, but MDF is cheaper, and since we were planning to paint everything, the MDF was a great choice.
Cubbies
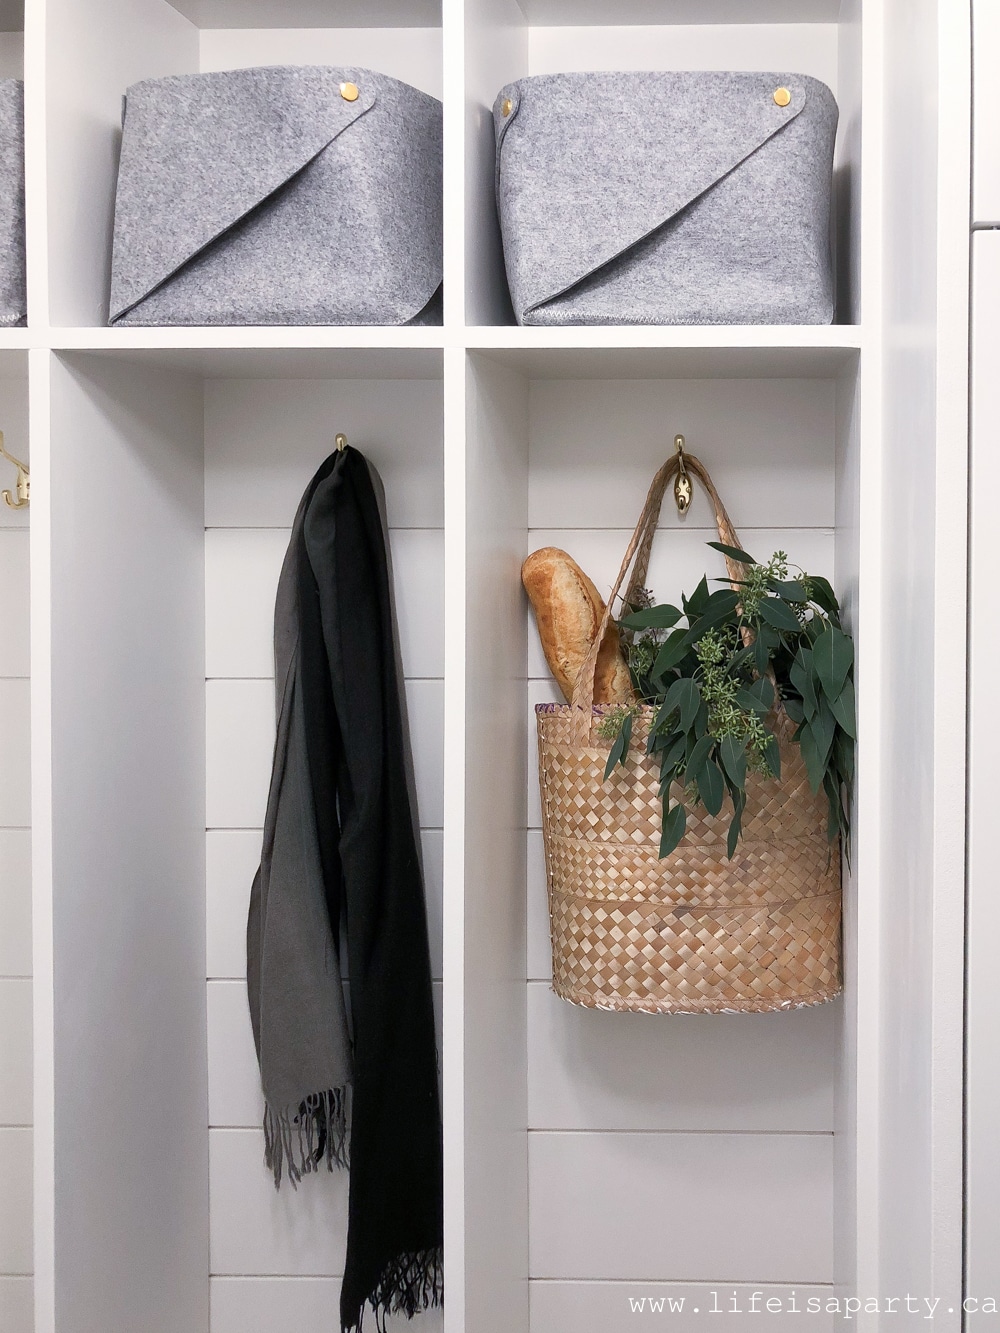
Below the locker cabinets we built MDF cubbies, which hold a felt basket in each. We were guided by the cabinet dimensions to divide the open space and create three lockers and cubbies with cubby dividers. This spot is a great place for every member of the family to store their hats and gloves -since we live in Canada and dealing with cold snowy weather clothes is necessary for at least half of the year. I choose felt baskets from Ikea and they work so well. We can slide them in and out, and they don't scrap the paint at all because they're felt.

Below the cubbies is the main locker for each person. We built three with some locker dividers, because that's what fit well in our small space.
Shiplap
After the top cabinets and cubbies were in place we added shiplap to the back of the locker wall of the locker section. This added some interest and texture to the space. It also acts as a reinforcement for the coat hooks and makes them a little stronger for things like backpacks.
The Bench Top
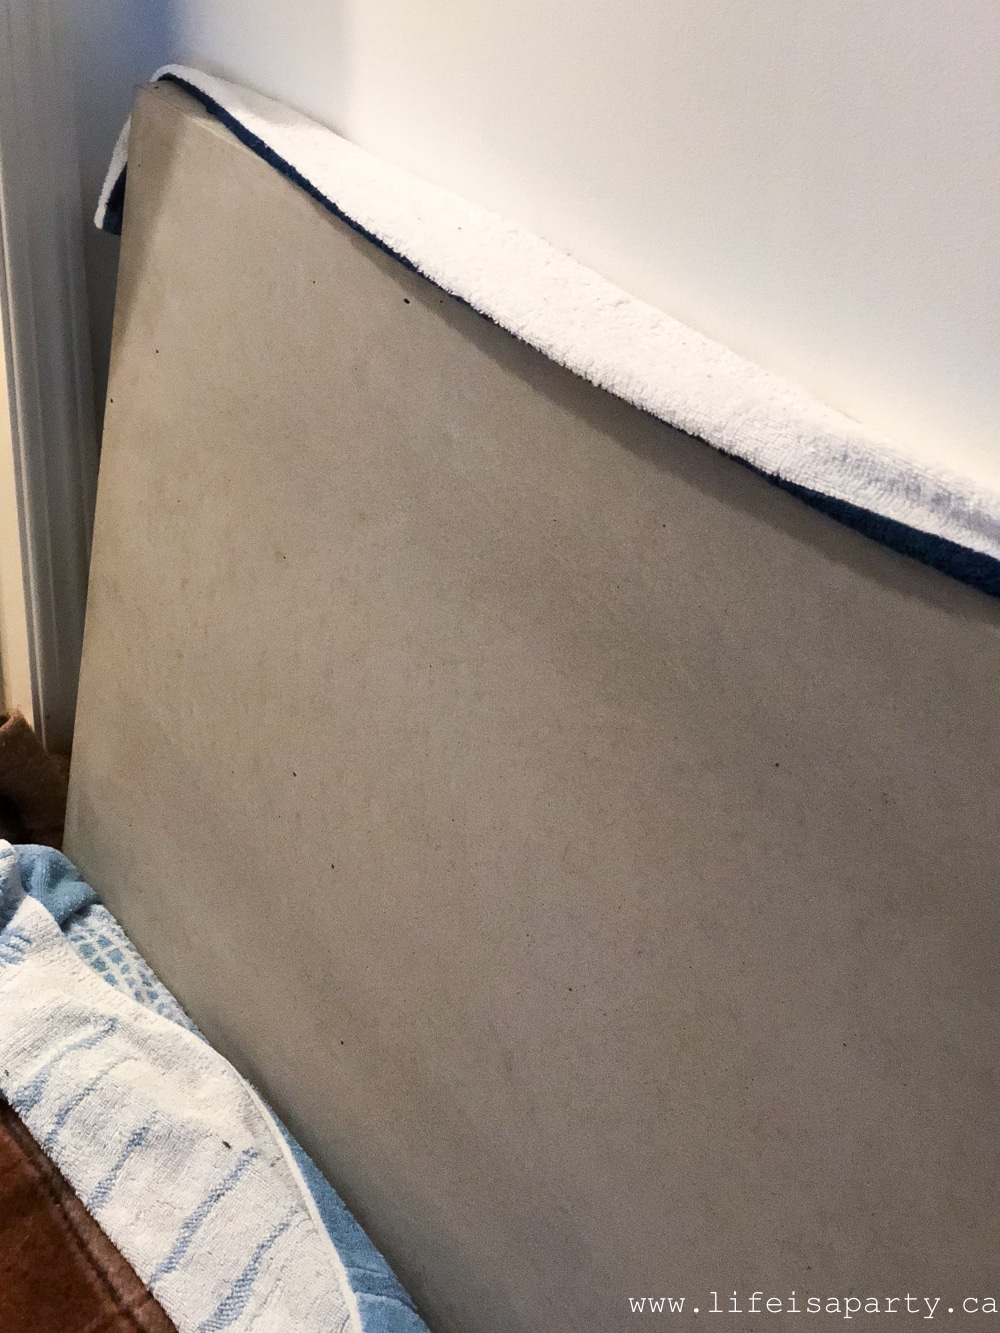
The shiplap goes down to the top of the bench seat. We did a custom concrete seat for our bench seat, but a piece of wood would work great too for the DIY mudroom bench. The seat is supported from underneath so it looks like it's floating in the space. This is the perfect spot to sit and put your shoes on. It's also strong enough that we can stand on it to access the top shelf and cupboards above also.
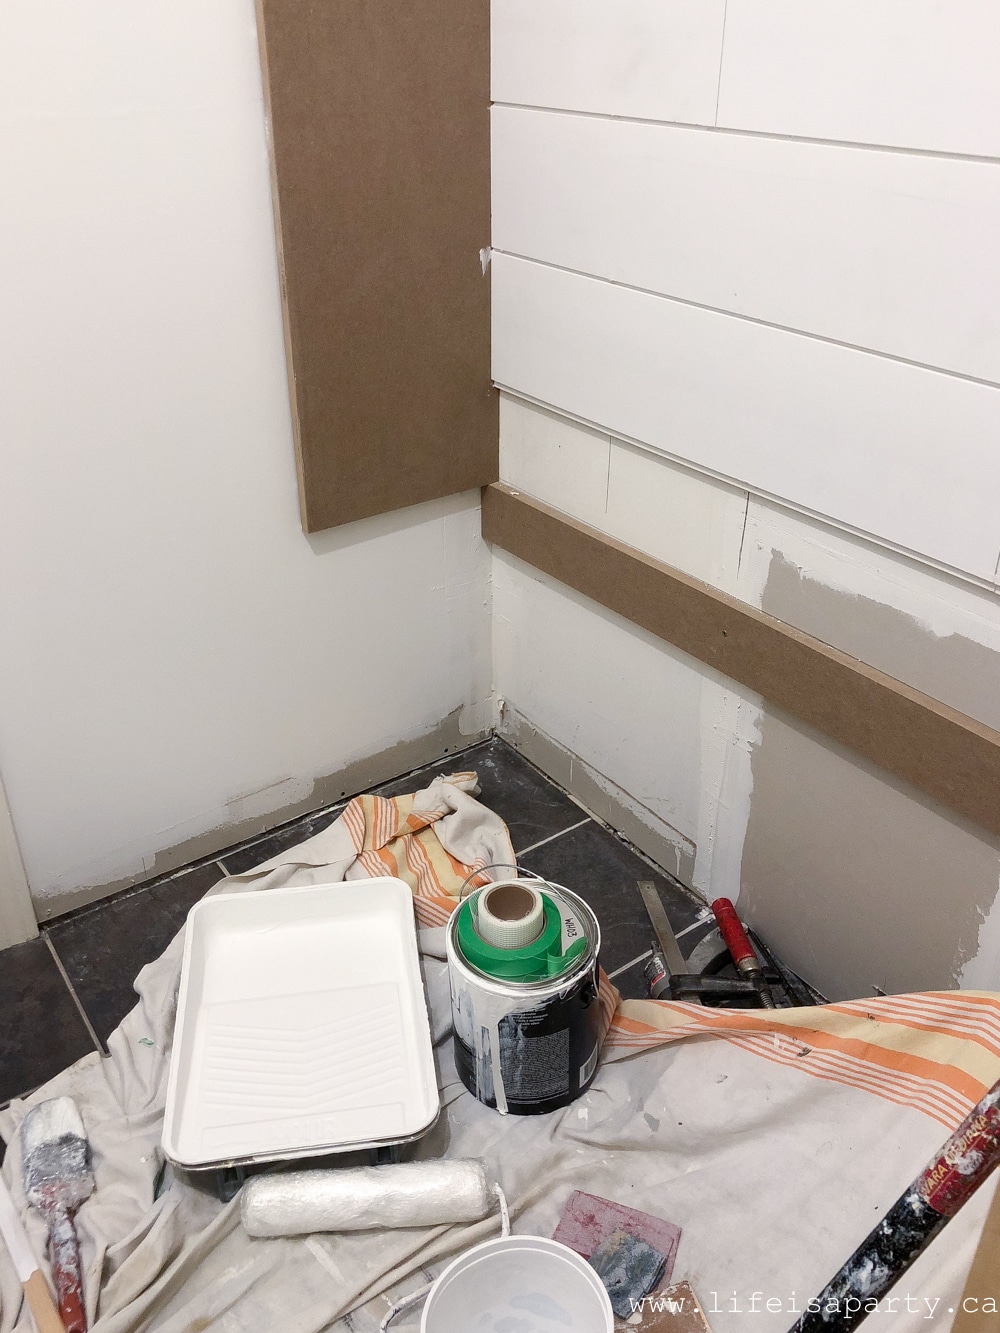
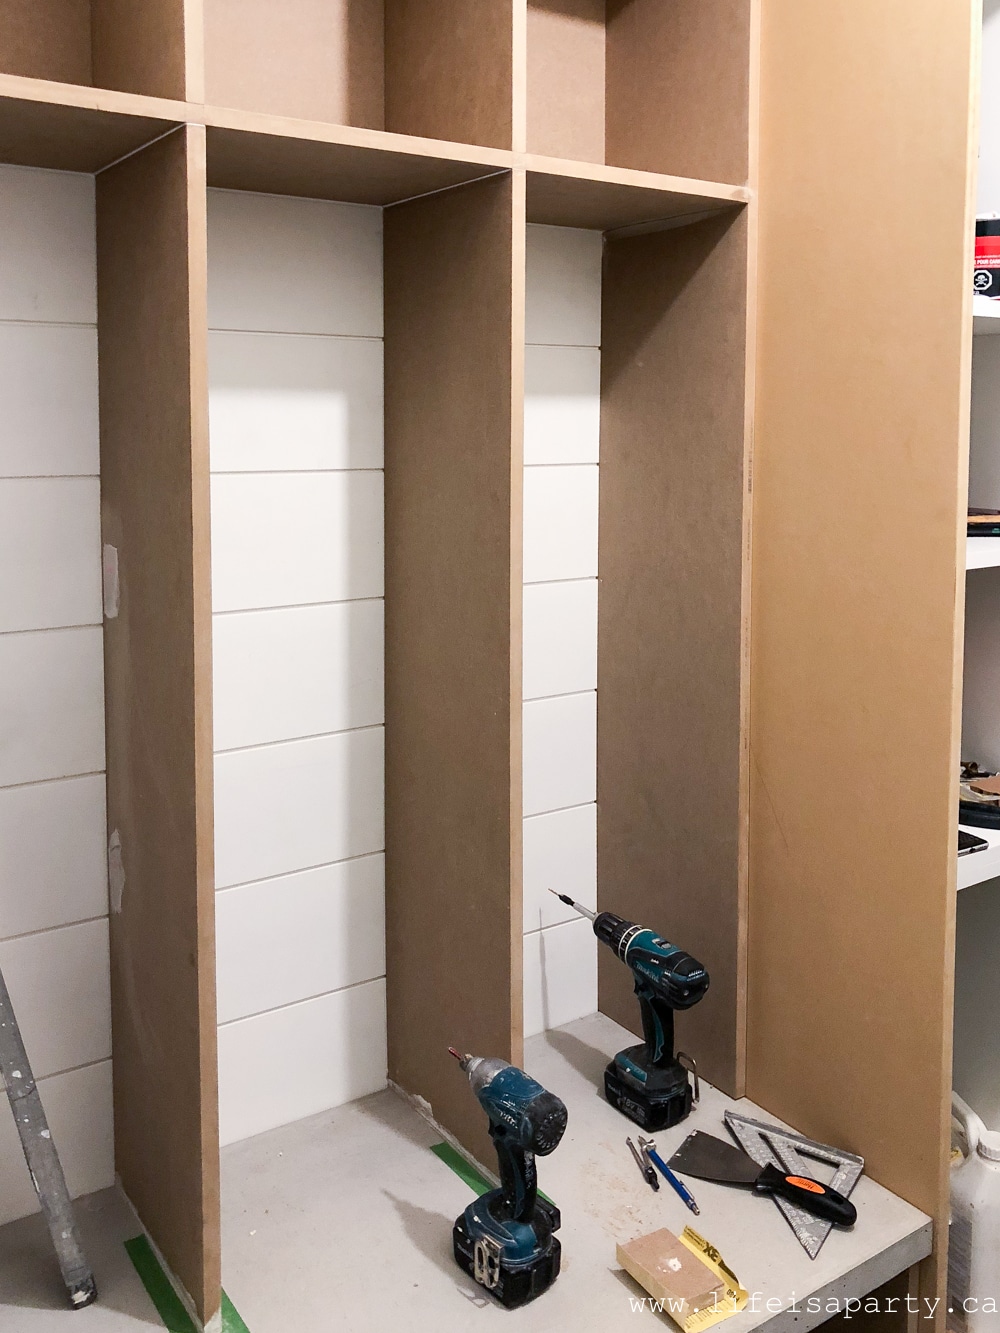
Once the bench seat was in place we added the divider board pieces to create the three lockers.
Painting and Finishing
After a little wood filler, sanding and chalking, it was time to paint all the MDF and shiplap. I used Para Ultra Cabinet and Furniture Paint, Melamine Finish, WH04 Metropolitan. I matched the paint color to the cabinets, and it whole thing looks great.
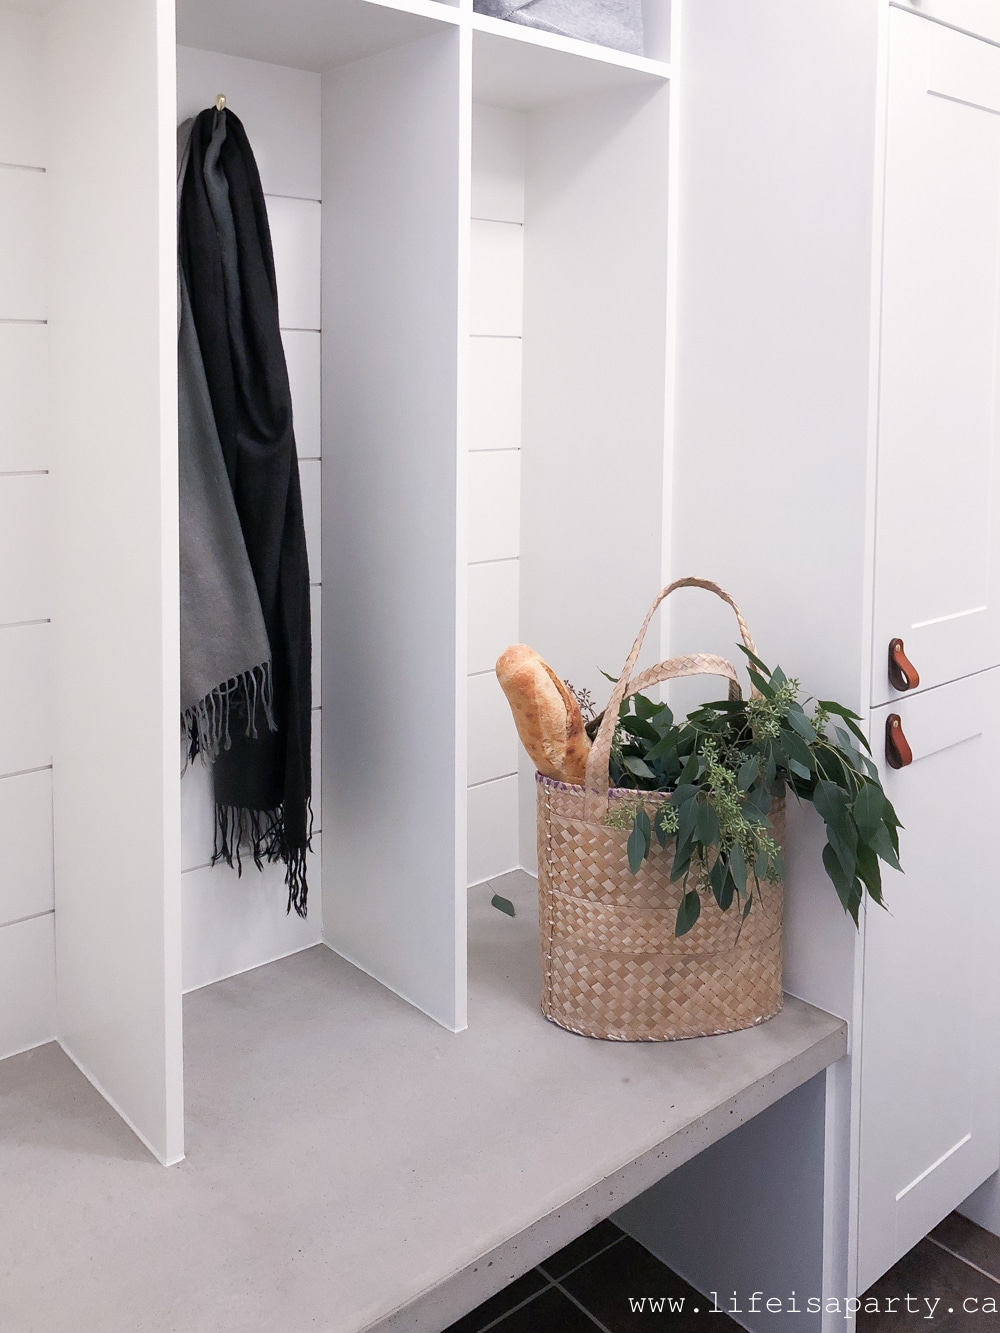
We also had to seal the concrete bench. Lastly we had to install the finishing touches which are my favorite things in the whole room. We added hooks in each locker and add the leather cabinet pulls to the cabinets. These leather cabinet pulls from Walnut are so beautiful. These are The Hawthorne Leather Drawer Pulls in Small. The colour is honey, and the finish is brass. The leather and brass helps adds some warm to the room, especially with the white and concrete.
The cubbies baskets are made of felt so they won't scratch the paint, and they also help add some warmth to the space. And the gold on the baskets matches the rest of the gold in the room perfectly. Love is in the details.

Why Didn't We Do This Sooner?
This project was a big one. My brother-in-law Shaun did an amazing job throughout the whole building process. We love it. Removing the never used utility sink was such a good idea, to give us the room we needed to add in our own DIY mudroom lockers. Our only wish is that we'd done it sooner. It totally transformed the space and it's so much more functional. For the first time since we moved in almost 15 years ago when this was a new house, we can leave the door open, because it looks so good and is always looking clean and tidy now. The room dimensions are small, but we used the space so well with this makeover. It was so worth the investment. If you're thinking about something like this to transform your space I highly recommend it. Not only is it more functional, it's also beautiful now.
With DIY mudroom lockers, life really is a party.
More Inspiration
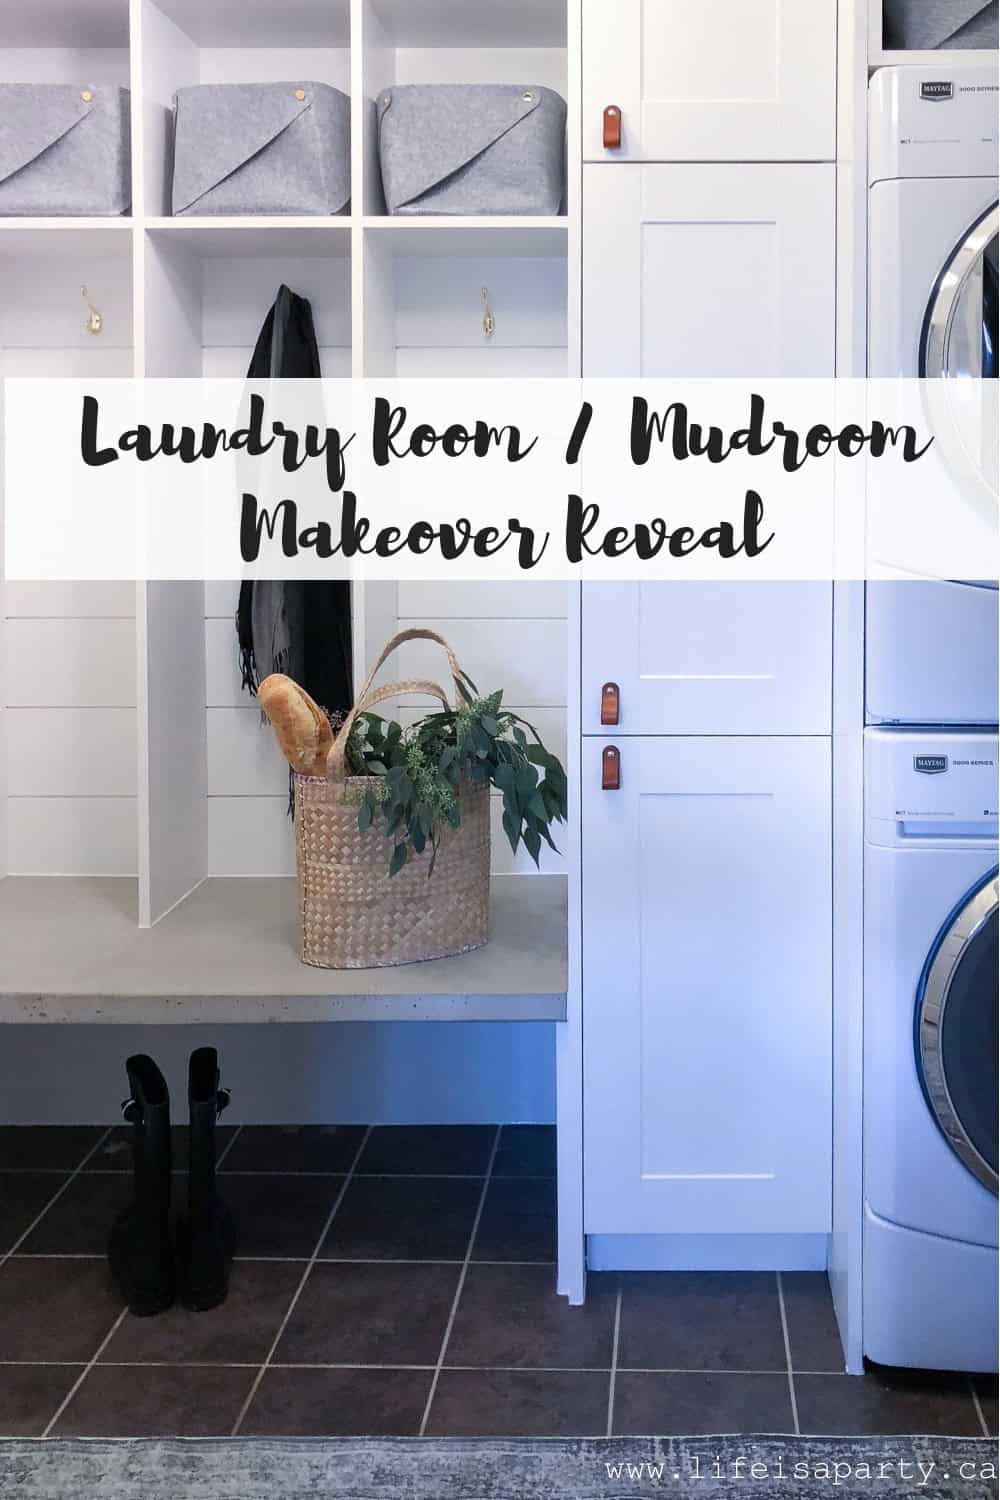
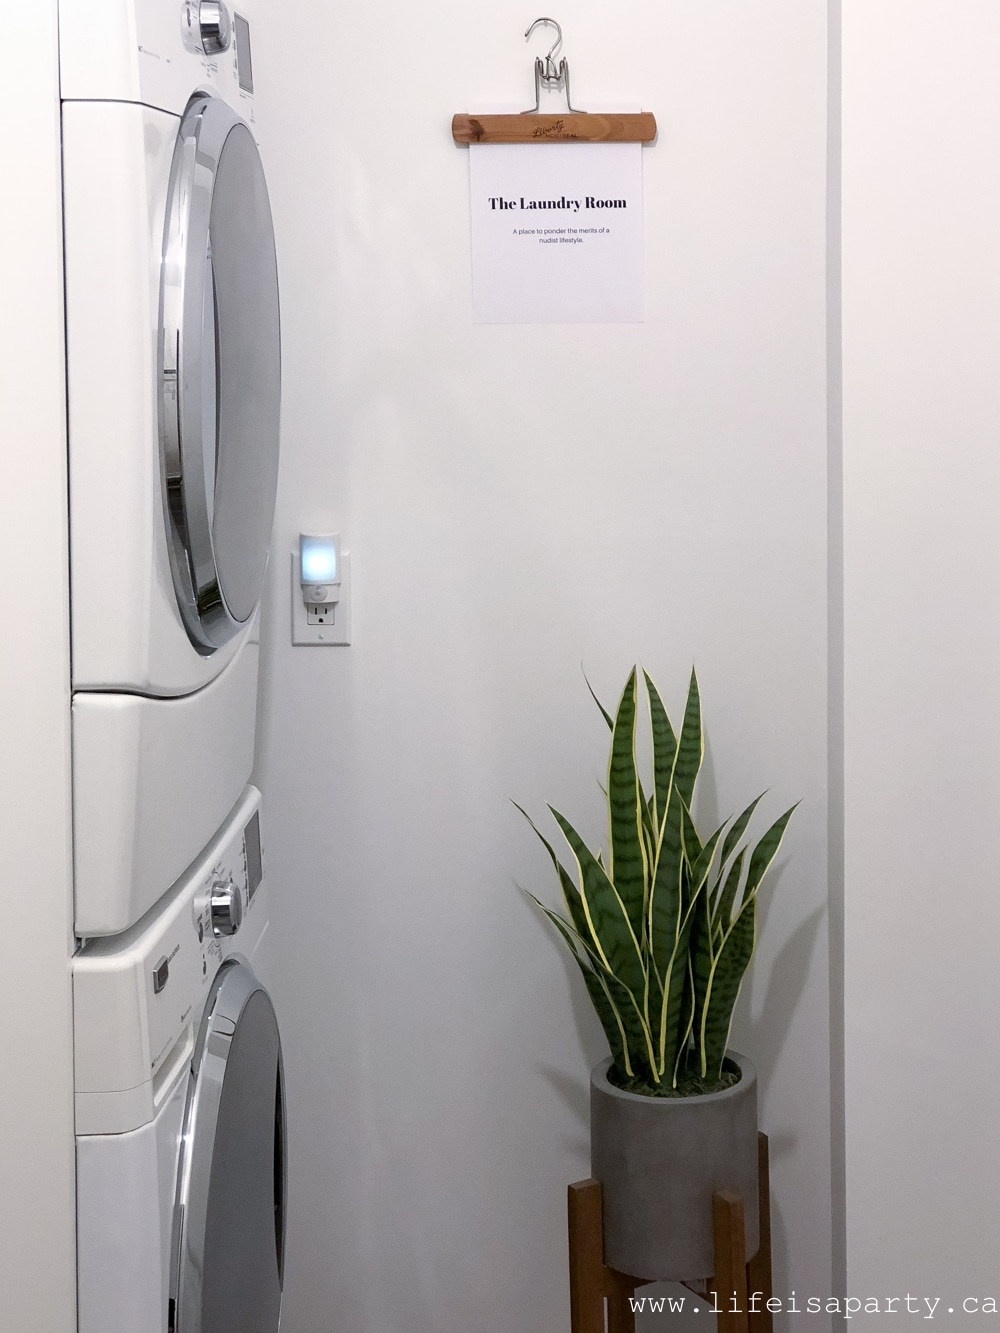
See the transformation of the whole mudroom / laundry room in the makeover reveal here. Including the laundry area, where the washer and dryer are built in, plus extra cabinets and baskets for more overflow pantry storage. Also see our DIY laundry room artwork, gorgeous lighting, and finishing touches.
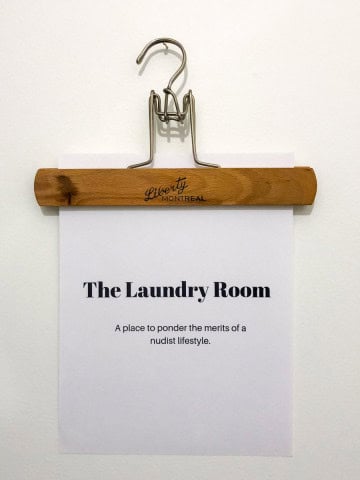
Also get the Laundry Room Art Printables here.
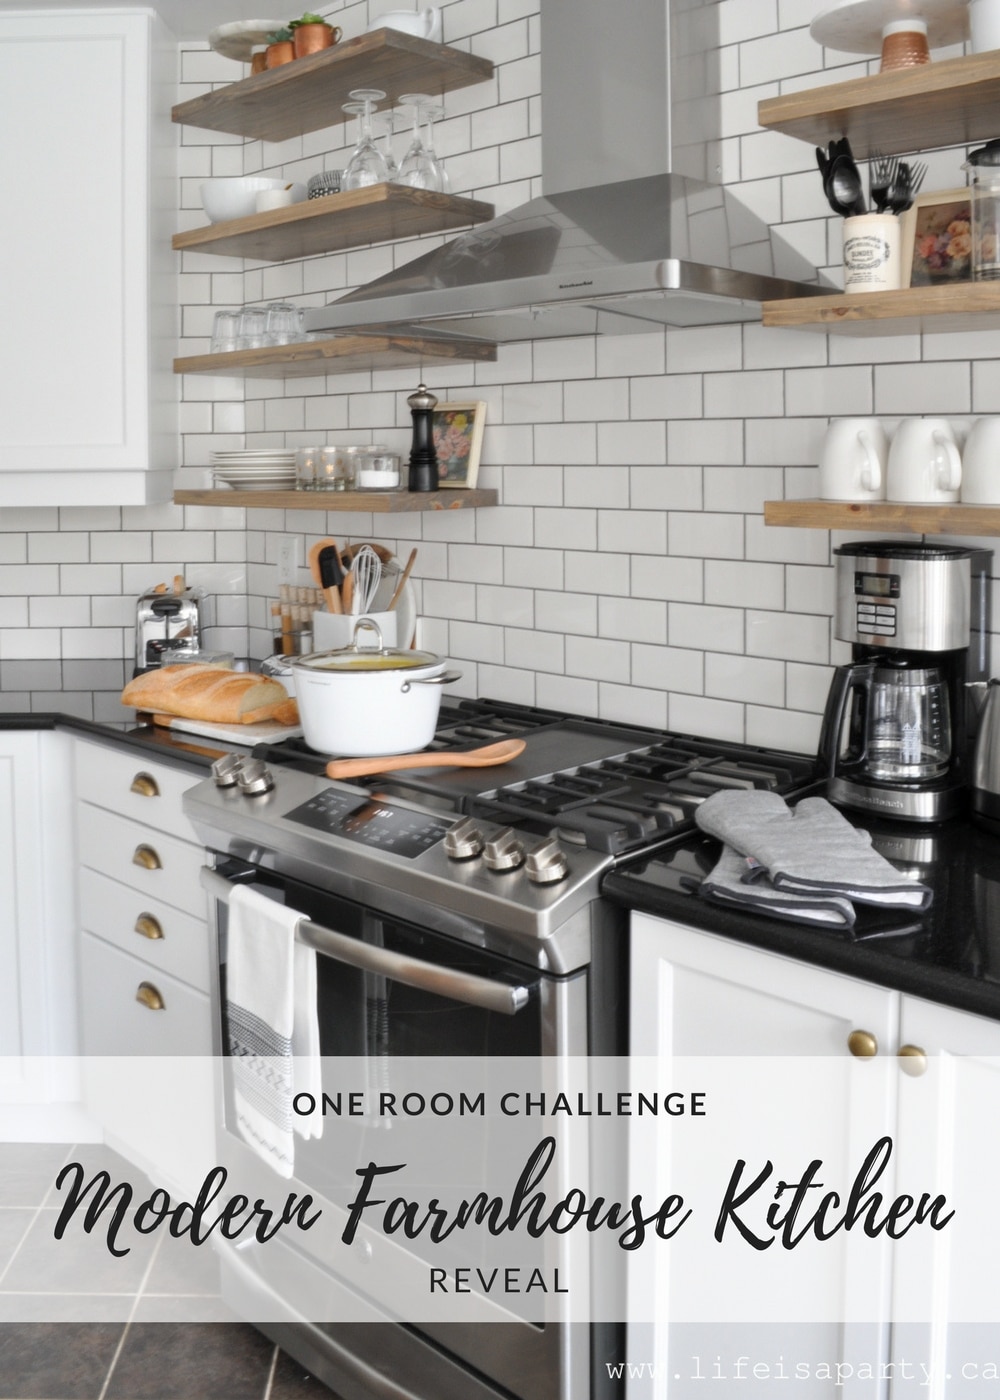
You might also like our Kitchen Makeover here.



dnr says
Lindi, thanks so much. It is for sure easier this time, when I'm not doing it all myself. 😉
Dannyelle
dnr says
Denise, thanks so much.
Dannyelle
dnr says
Libbie, thanks so much. We're getting close. 😉
Dannyelle
dnr says
Emy, thanks so much. We're getting there. 😉
Dannyelle
dnr says
Jewel, thanks so much. You'll get there, you can do it!
Dannyelle
dnr says
Rebecca, you are so right -totally a gift!
Dannyelle
Lindi says
Wow! I can’t believe how ahead you are! So close to the finish line! It’s all looking great so far 🙂
Denise says
It's looking so good! Can't wait to see it finished!
Libbie@alifeunfolding.com says
Dannyelle,
Congrats on the progress. I'm excited to see the final result!
Emy says
I love how clean new paint makes things look too. Your laundry room is looking great!
Jewel says
Ohhhh....It's starting to get real in here. I can't believe how much progress you've already made! Come help me with my room. I need it! LOL
Rebecca Plumb says
You're so close! What a gift to have handy family! 🙂