How To Unweld In Cricut Design Space: when to weld, how to use it and how to unweld in Cricut Design Space.
Jump to:
One of the questions we've heard a lot from Cricut Design Space users is how to unweld in Cricut? Let's start by going over how to weld, and then answer that question.
What Is Weld and When Do You Use It?
When you're creating a design for your Cricut machine in Cricut Design Space you can take two different objects and weld them together to form one new object.
Combining Letters
The weld feature is useful when you're working with cursive letters. When combining script font so that a word cuts out as one without cut lines between the individual letters. The items must be touching to weld them together, so you may have to first adjust the letter spacing for the individual letters of a word to get them into the correct position. Once the letters are welded together using the cricut weld tool, you won't be able to edit the text. If you click on the word a text box won't open. Once welded the single word is treated like an image rather than text that can be edited.
Combining Shapes
Weld is also a great way to combine shapes to make new image. Again welding different shapes together removes the overlapping cut lines and creates new shapes. For example without weld these circles would cut out as three different circles, but when they are welded together it forms Micky ears and cuts it out as one shape and one individual layer.
How Is Weld Different From Attach?
Welding items together is the best way to make one single image out of two or more separate images, or to combine multiple basic shapes into one single shape for new designs. Weld takes different layers and combines them into one.
A lot of people wonder what the difference is between the attach tool and weld. The attach function is like holding things in place with a paperclip. They remain distinctly separate, and removable. They are attached on a canvas so that their placement won't change on the cutting mat .
Think of the weld function like permanent glue. Be sure you want it to stay like that before using weld. It's a great tool to combine two or more separate shapes into one single customized image.
How To Weld?
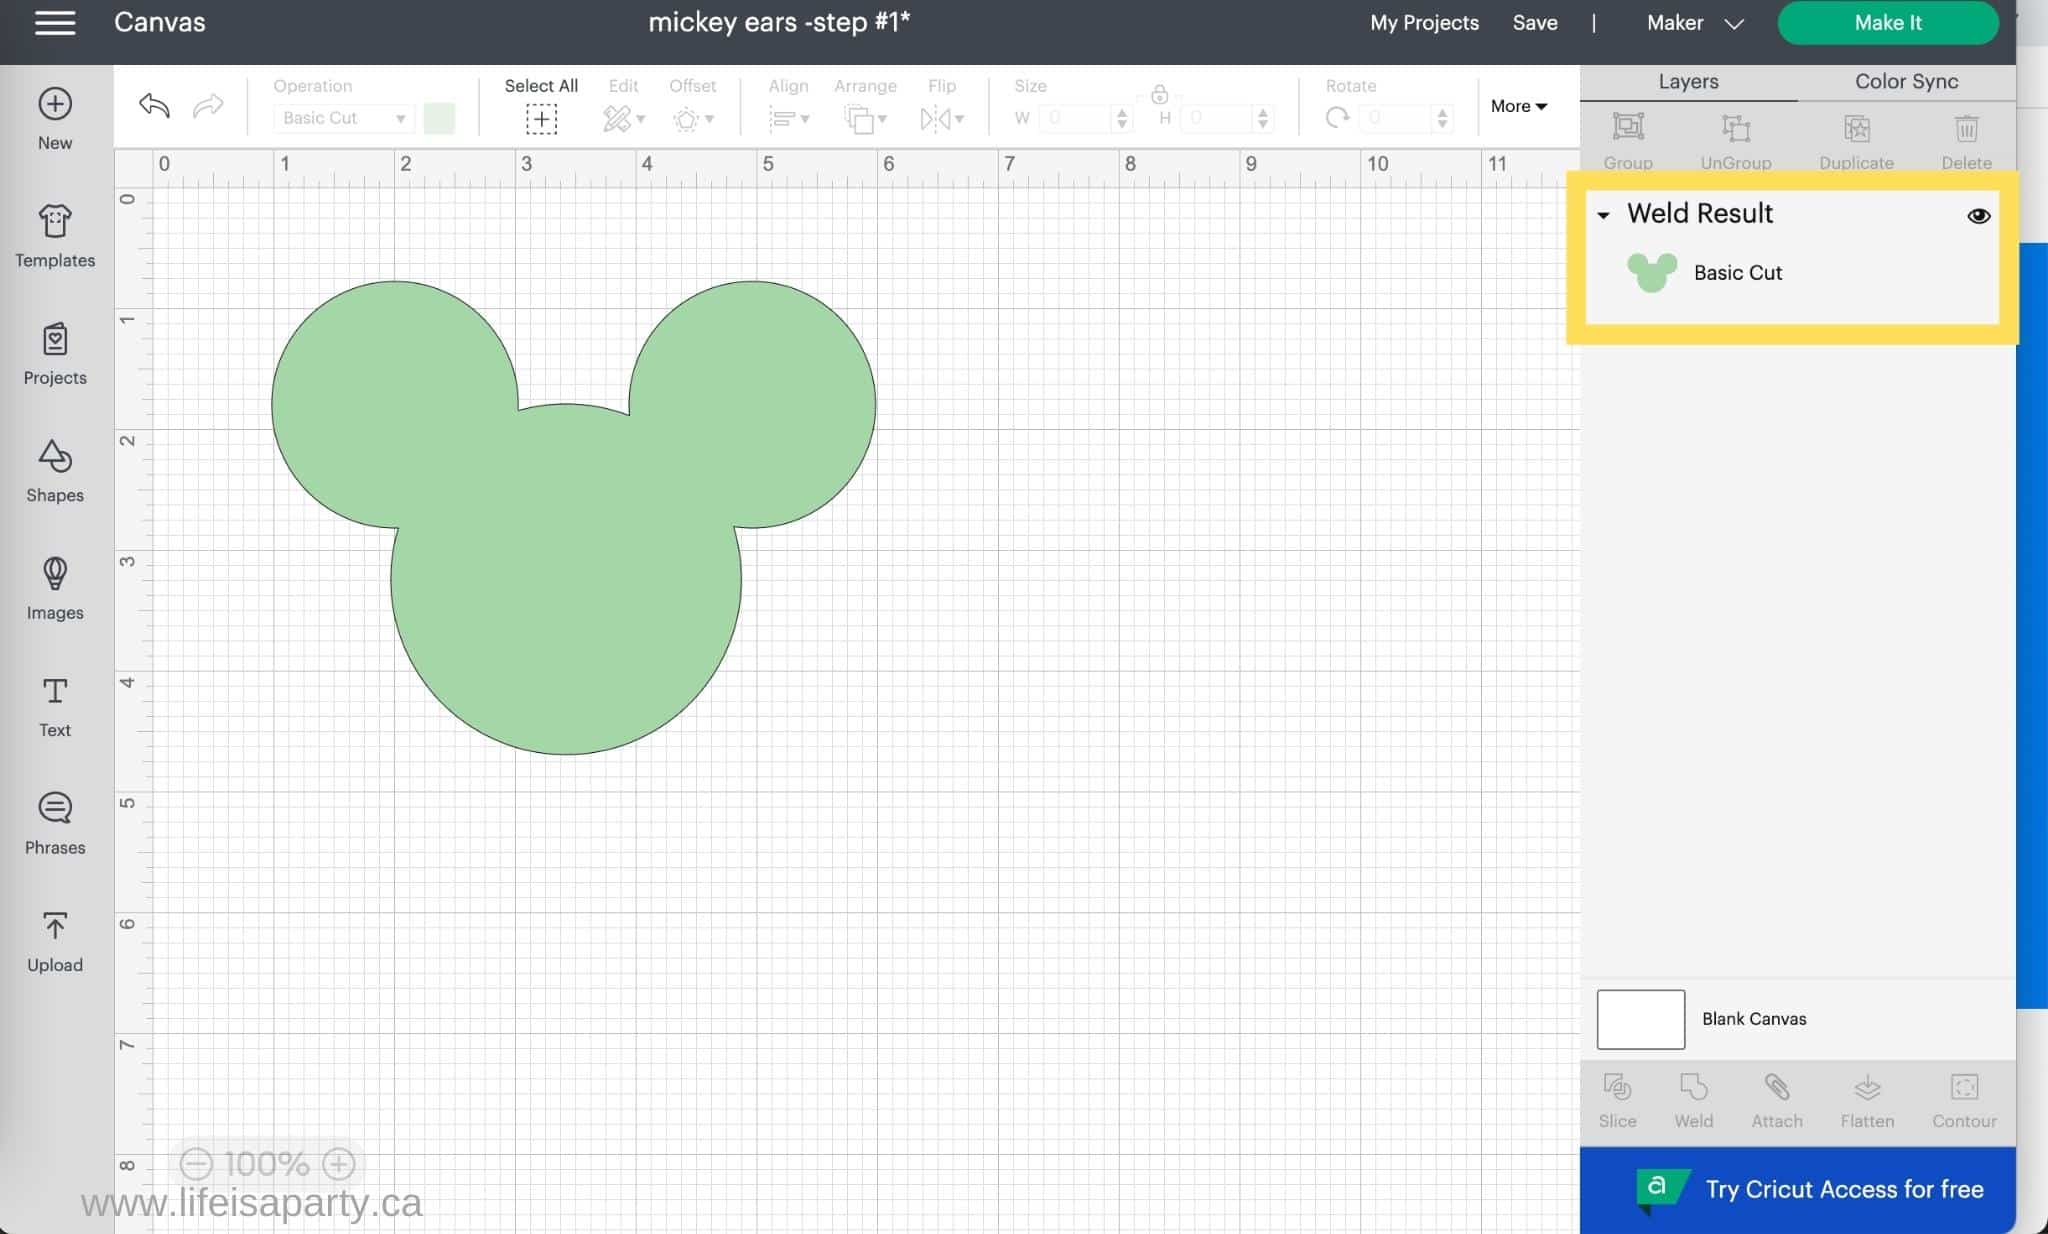
To weld two or more objects together, make sure each single layer is selected, and then click on weld at the bottom of the layers panel in Cricut Design Space. If the individual objects were a different color before welding, they will will now appear as one color.
You can tell these are welded together now because they are referred to as "Weld Result" on the layers panel.
How To Unweld in Cricut?
How to unweld is one of the most common questions for Cricut users, but the answer is bad news.
There is, unfortunately, no unweld button in Cricut Design Space.
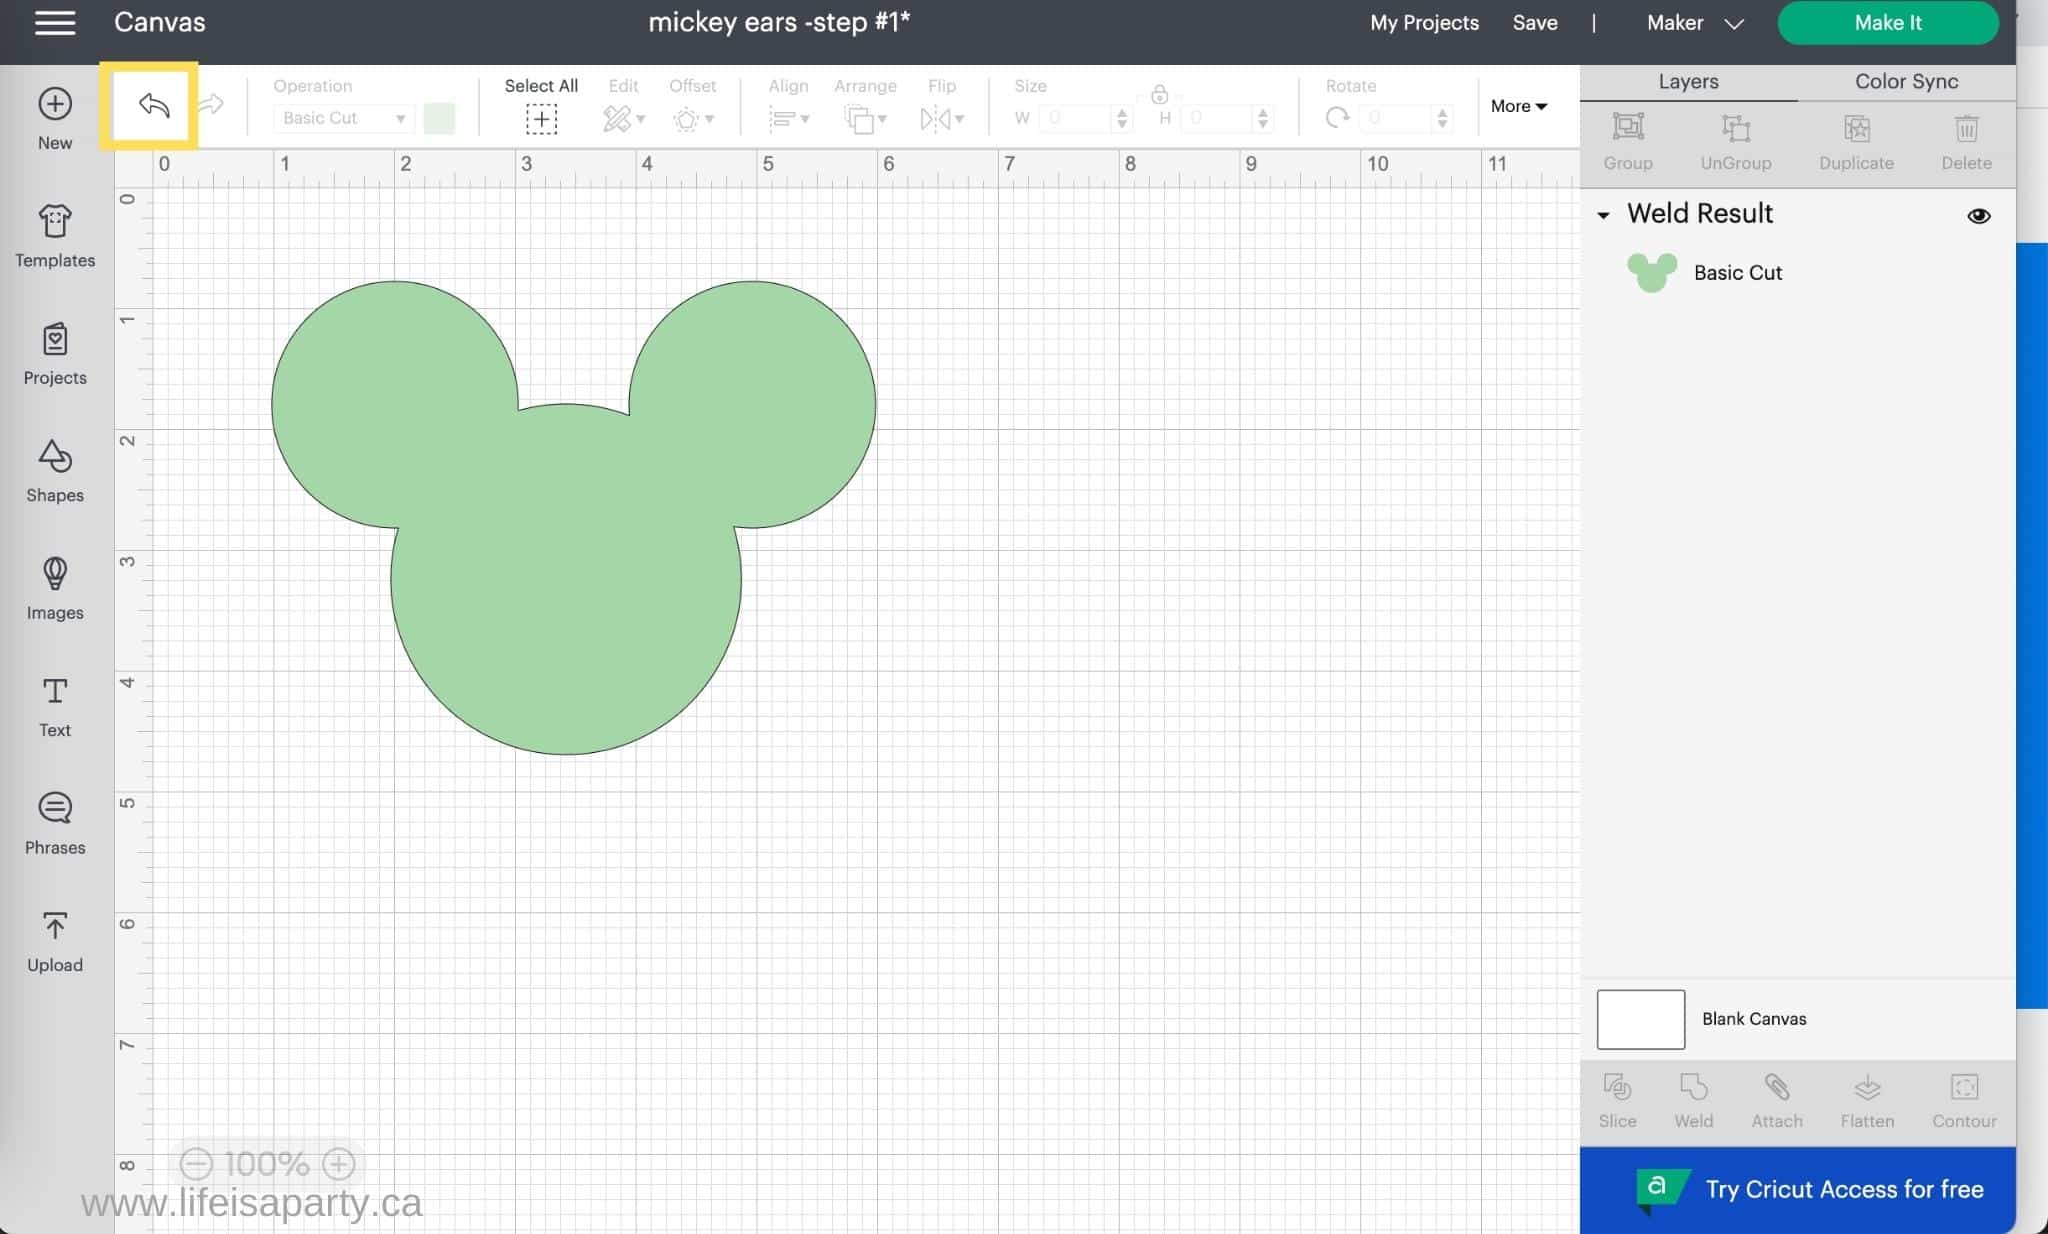
The only way to unweld is to use the Undo button. To use the undo, click on the back arrow at the top left of Cricut Design Space.
Undo Keyboard Shortcuts
You can also use keyboard shortcuts Ctrl + Z on PC or Command + Z on a Mac.
Undo will get rid of your last function in Cricut Design Space. If you just used weld, then the undo button will undo your weld. If however, you used weld sometime ago, you will have to undo everything you've done since then to get back to the weld to undo it. This can be very frustrating and time consuming.
More Unweld Options
There are two other ways to work around there being no unweld function, the first is to save a project before welding with a different name, that way if you're unhappy with the weld, you can open the unwelded project and work from there.
Make A Duplicate
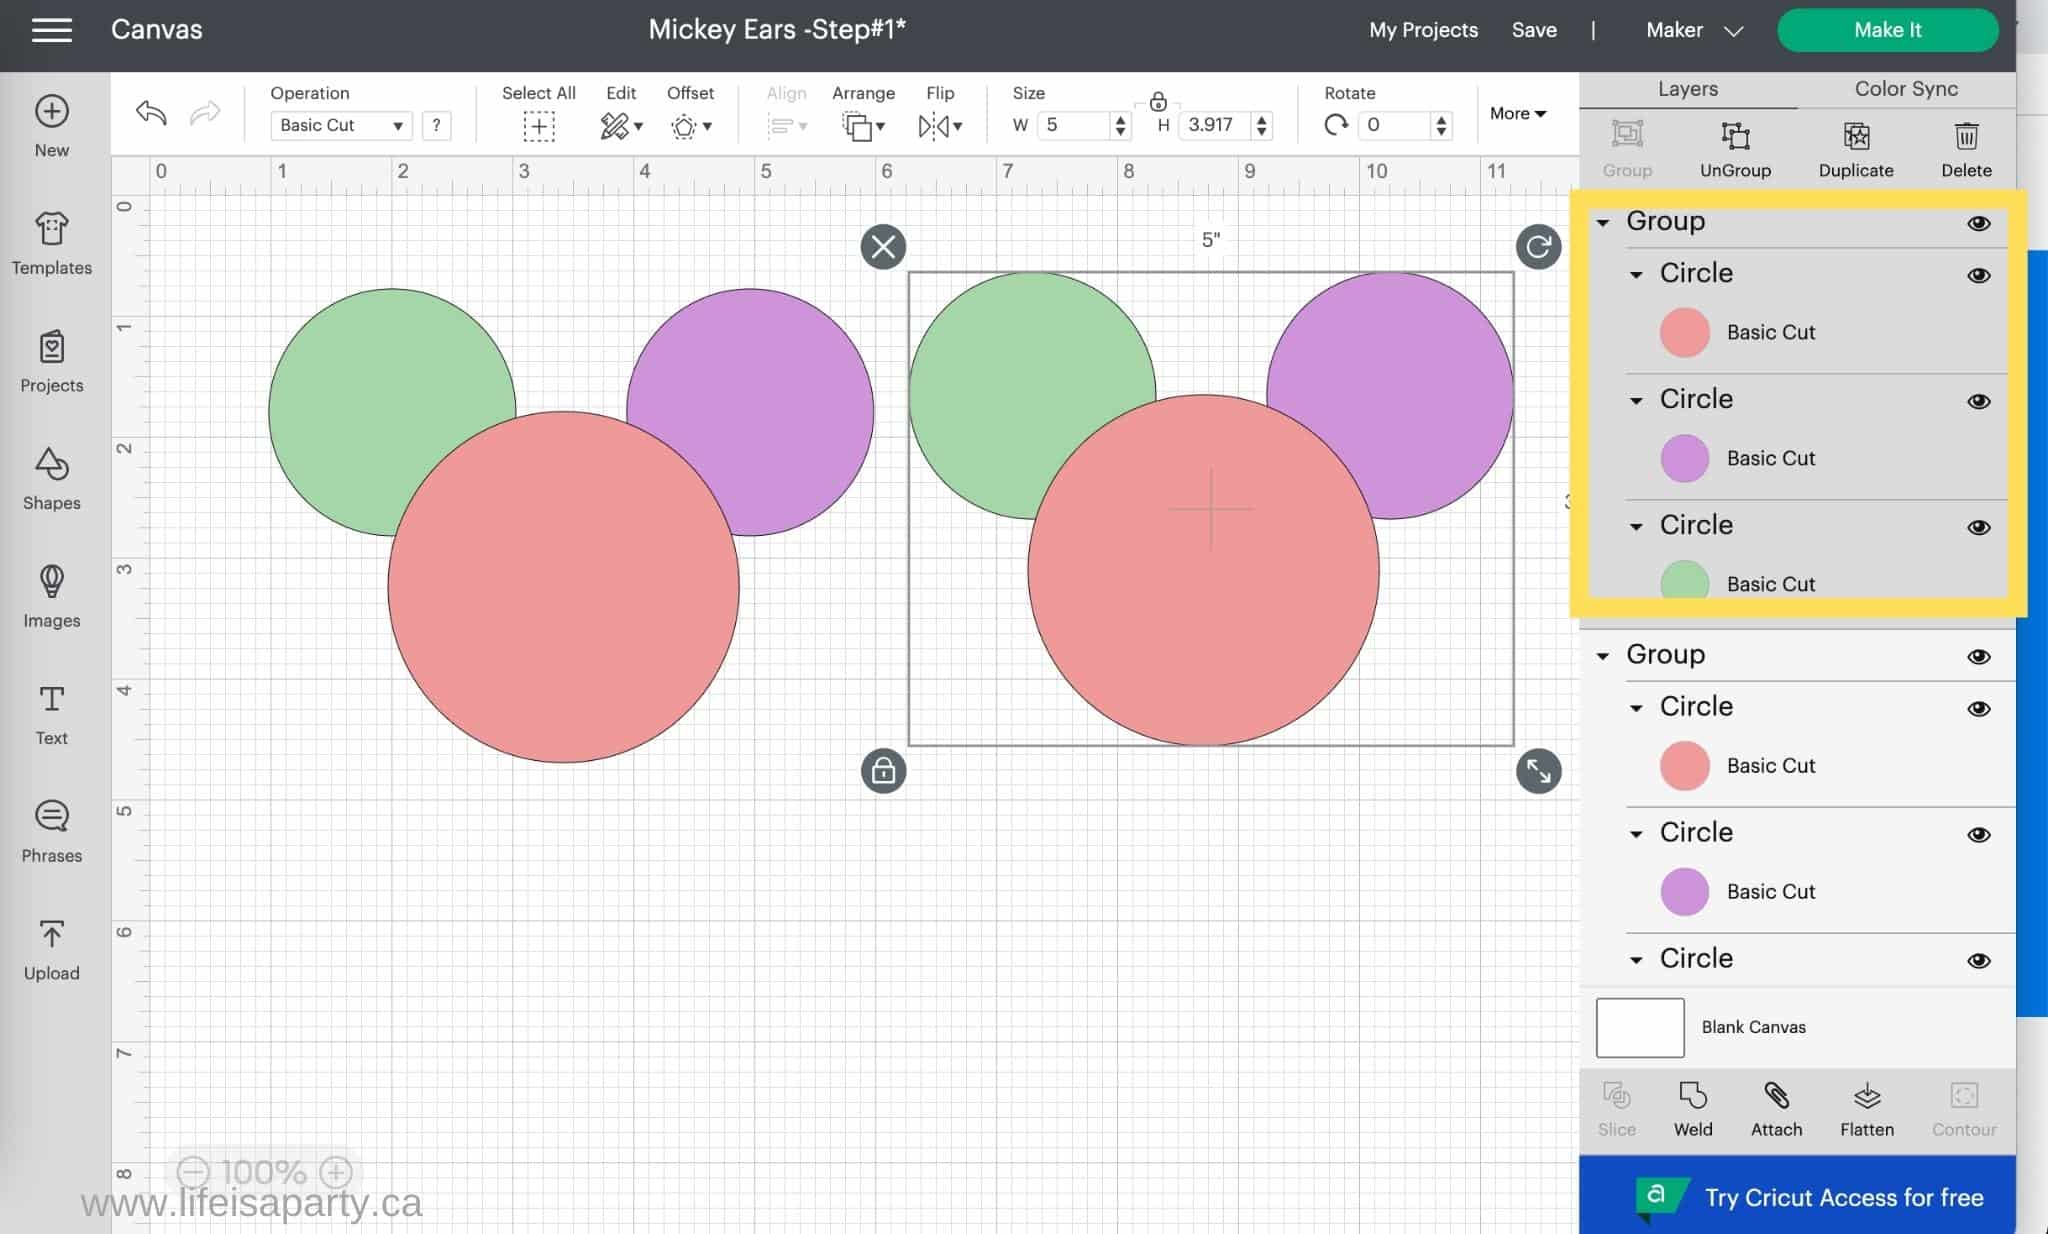
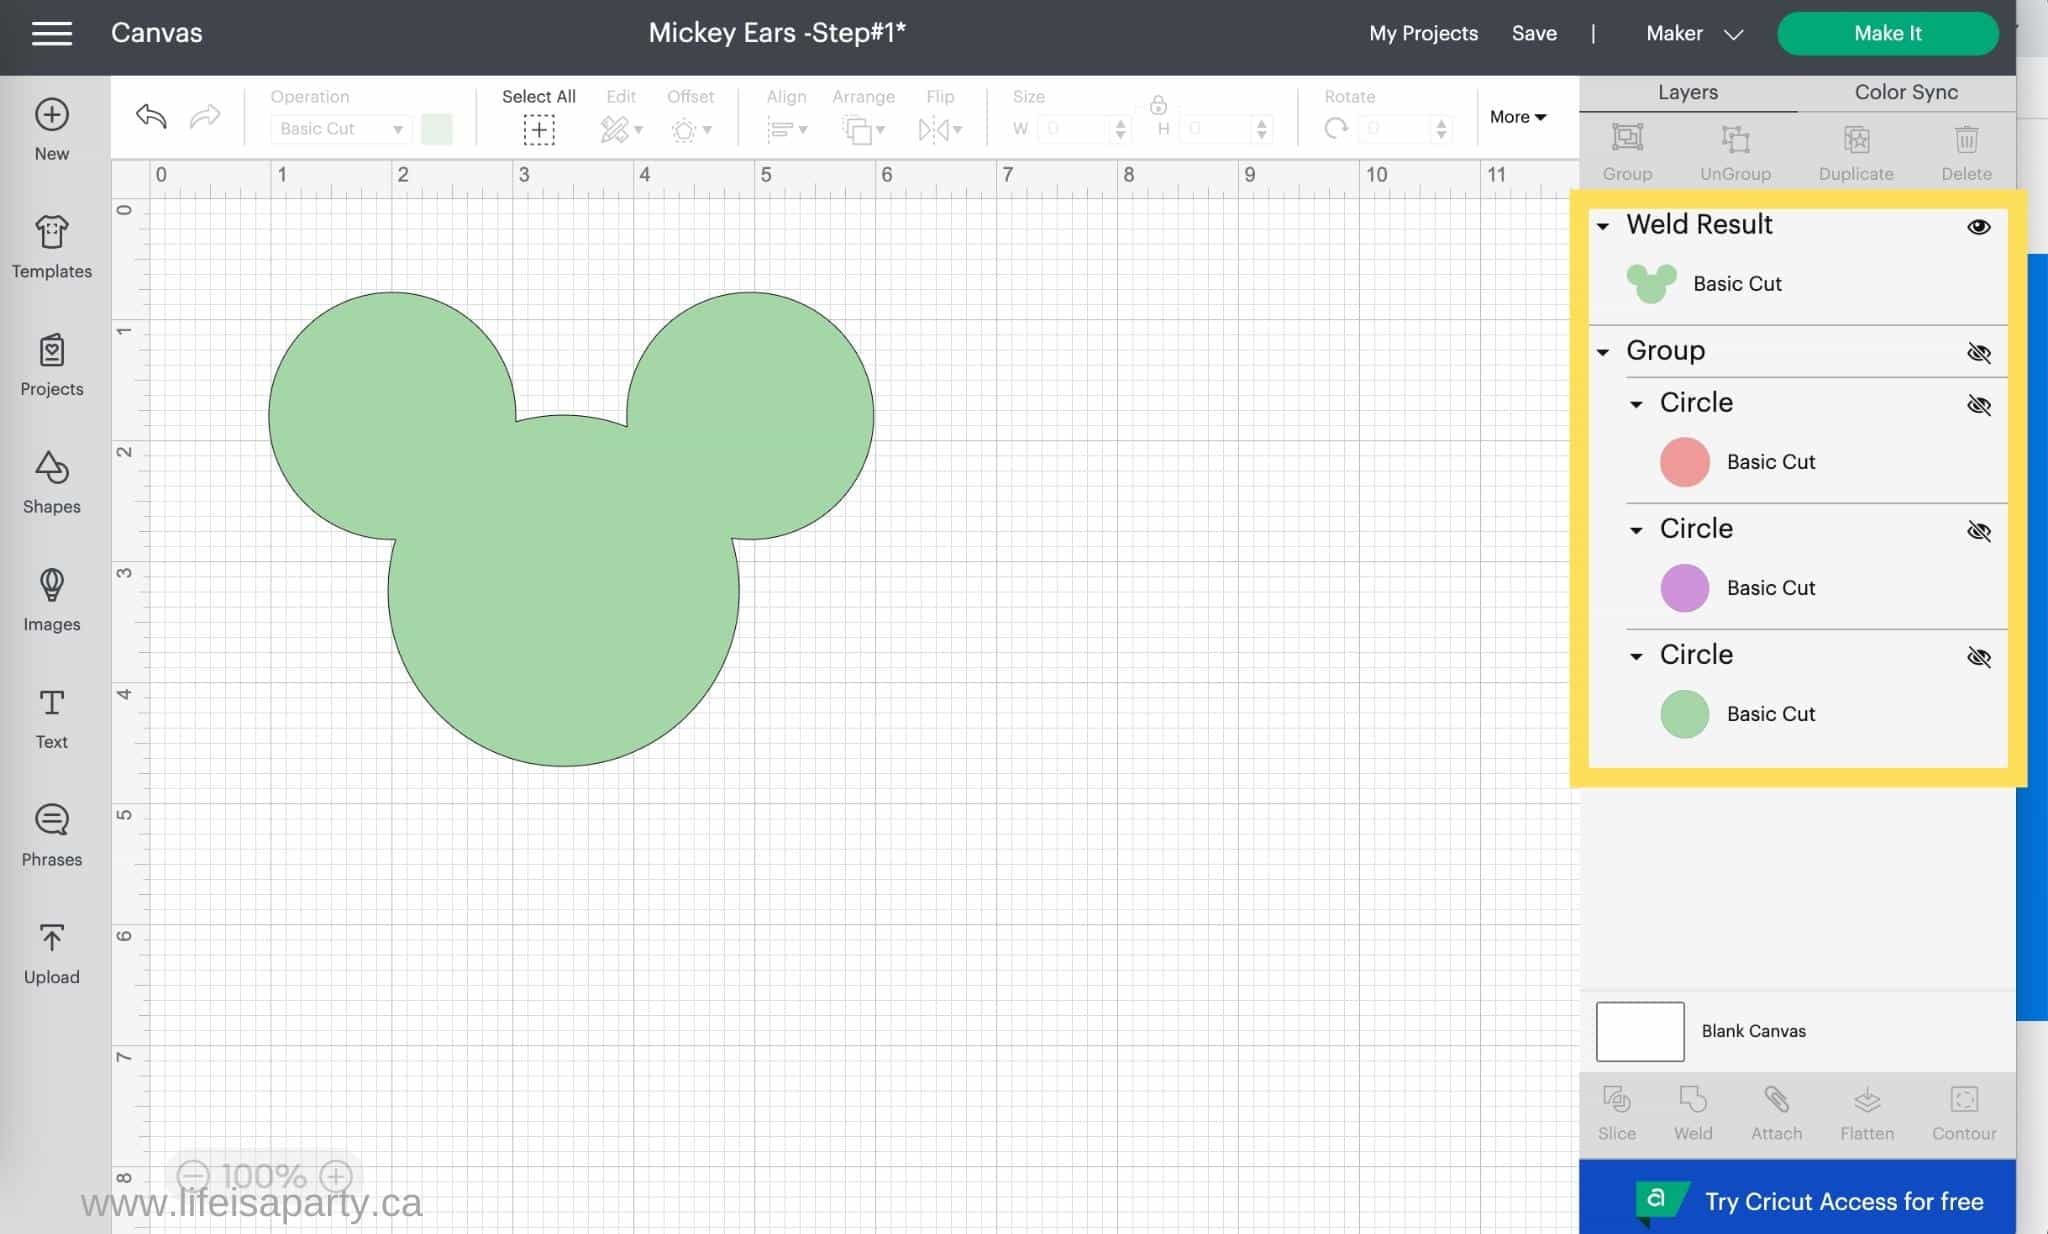
Another option when designing in Cricut Design Space is to make a duplicate of the objects before welding so that if you're unhappy latter you can use the unwelded pieces. Select your objects before welding and use the duplicate button at the top of the layers panel to make a copy. Group the duplicate together and then use the hide button -which looks like an eye icon beside the item in the layers panel. This will keep a copy of the items, cut not show up on the canvas, or cut preview screen. If you need it, you can go back and un-hide it, and work with it.
Save A Copy Of The Unwelded Items
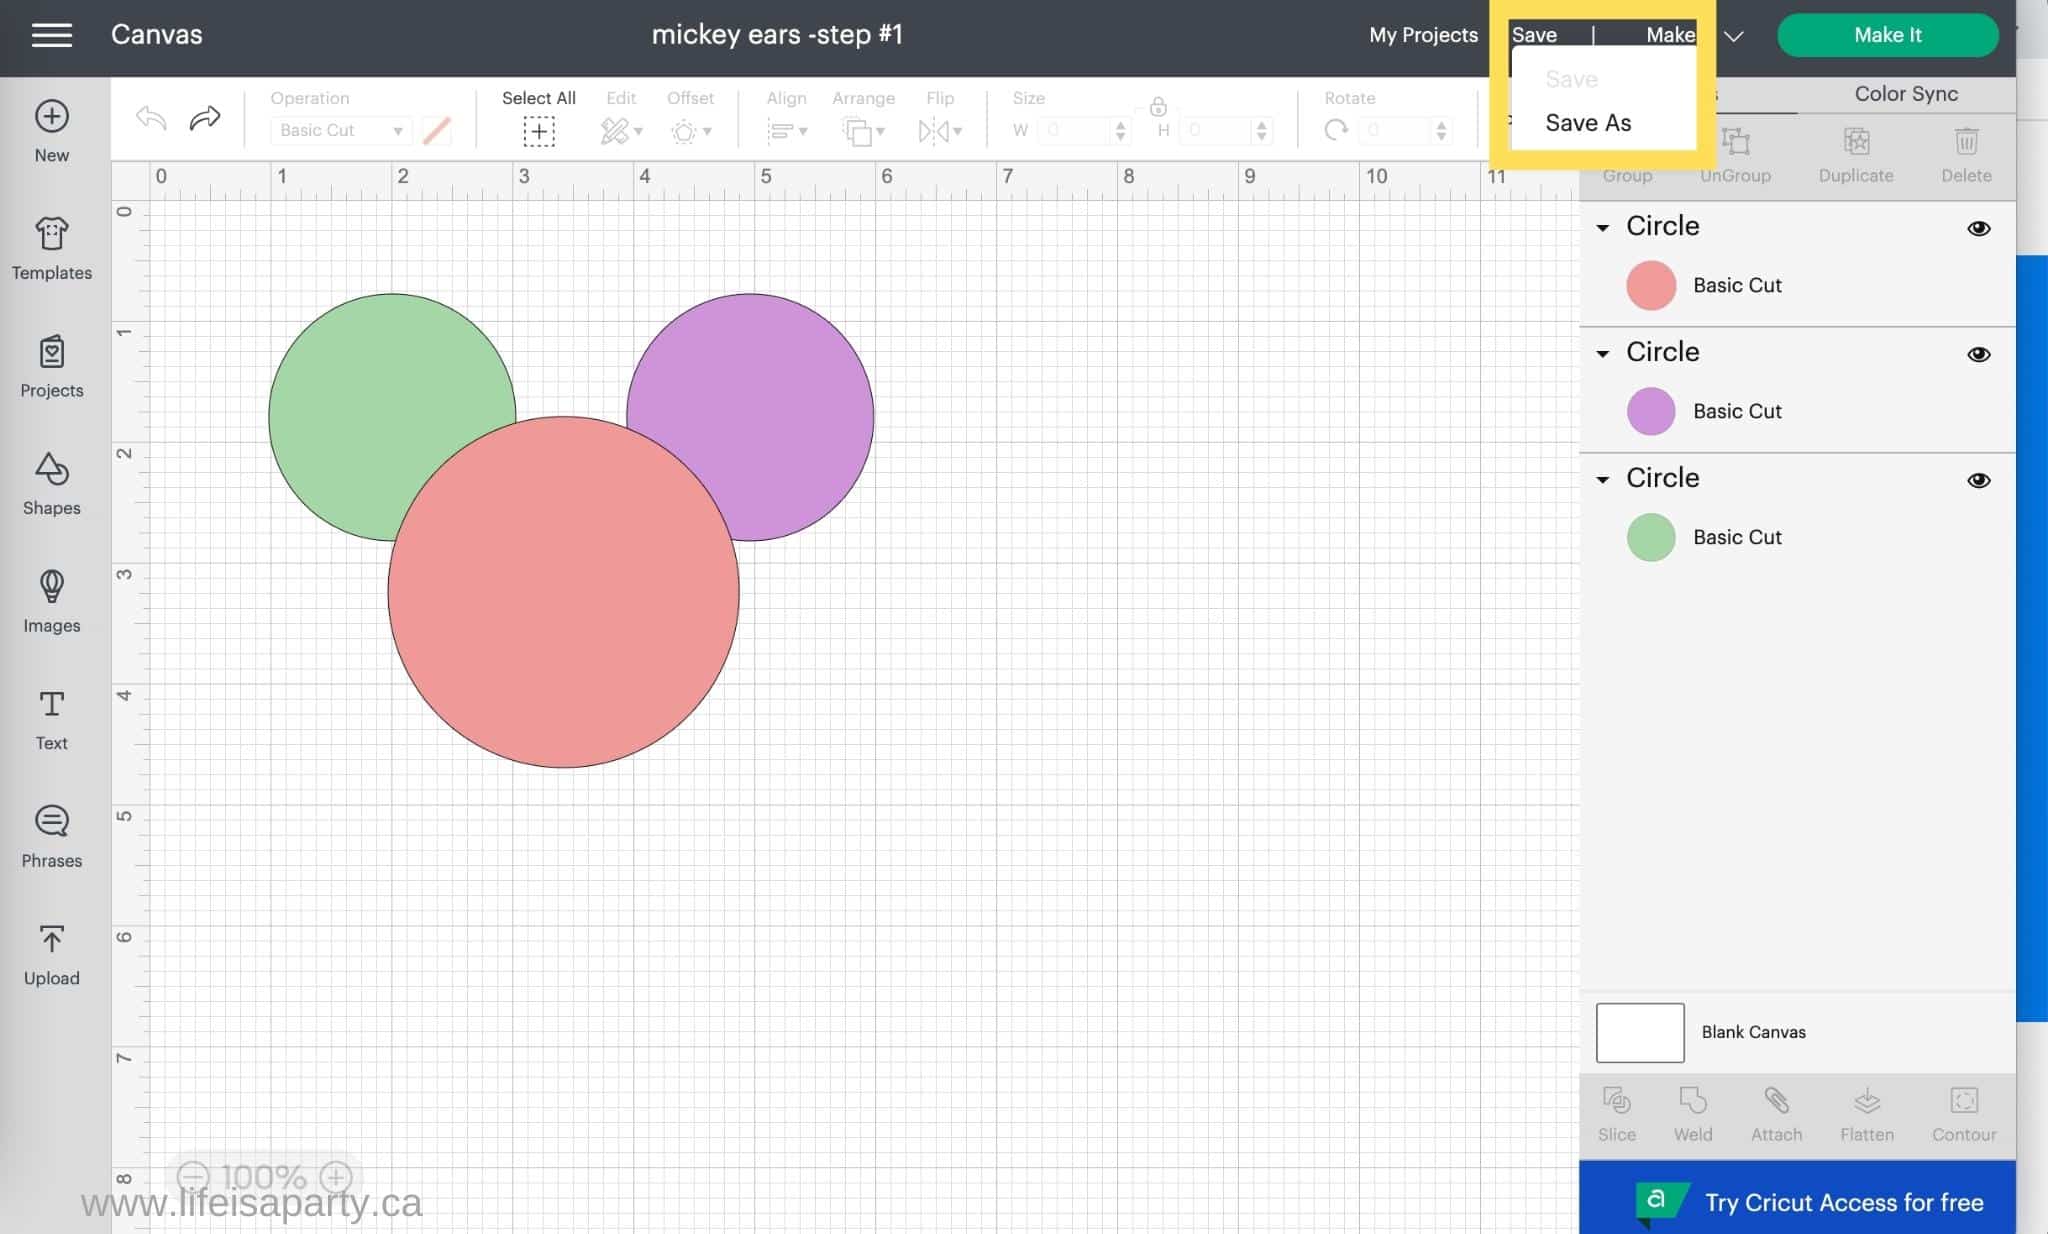
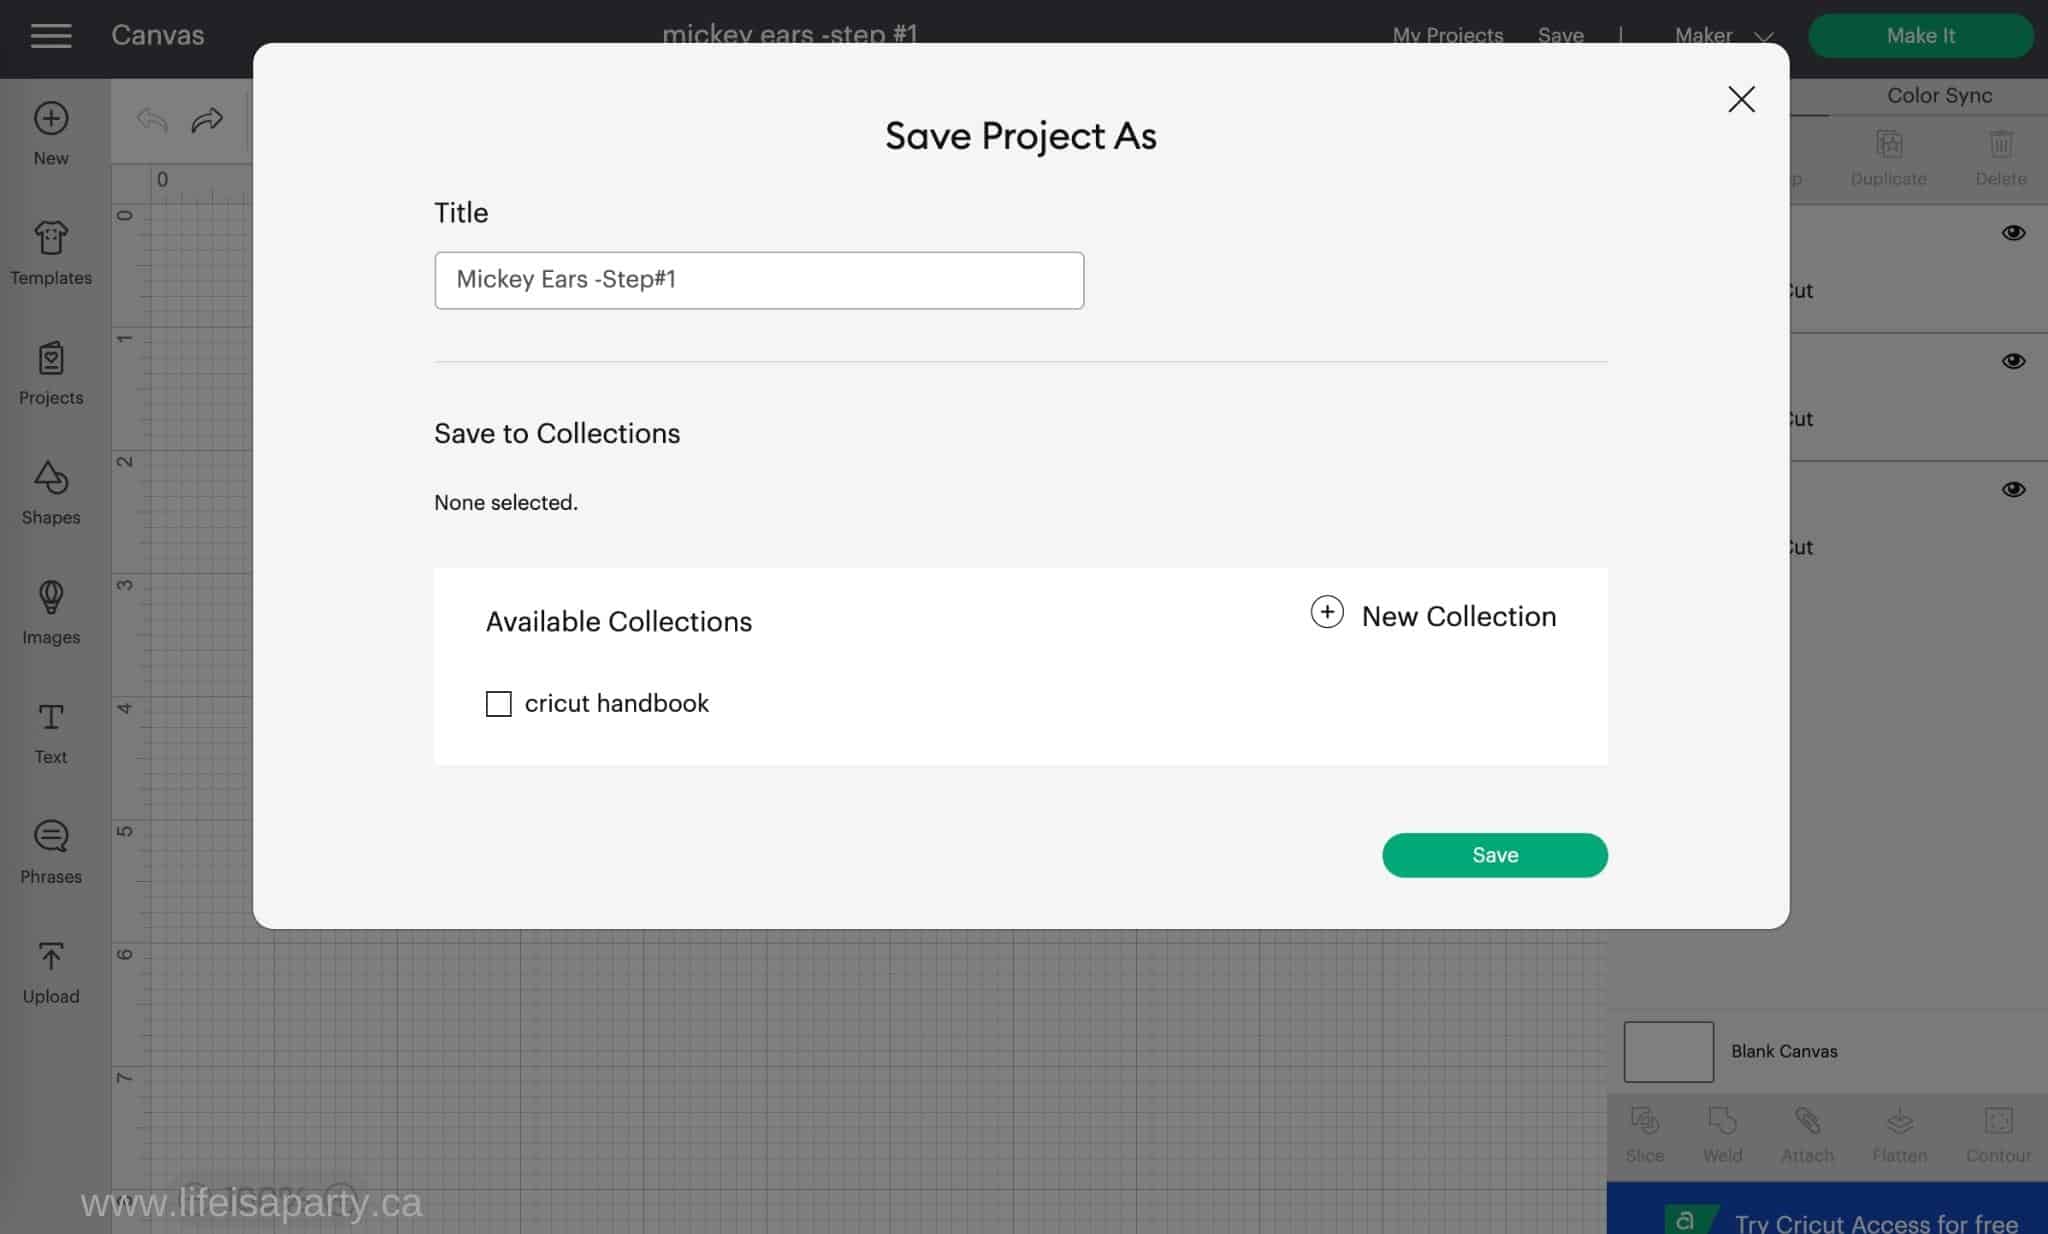
Another option that some people like to use is to save a copy of the project before welding. Go to the Save button at the top right side of the canvas, and then choose Save As. Give it a name and add Step #1, when you resave the project be sure to give it another name, then you'll have the project saved at this stage if you need to go back to it. Unfortunately, like using the undo button, you will lose all the other work you've done beyond this save. For this reason, I think the duplicate copy using the hide feature is a better solution than this one.
Both of these suggestions require extra steps before hand, and you may not realize ahead of time that you're going to want to go back, so they aren't perfect solutions to this problem, unfortunately, but if you find yourself doing a lot of designing with weld, and then becoming frustrated when you want to make changes, these ideas might be good to try and incorporate into your regular workflow.
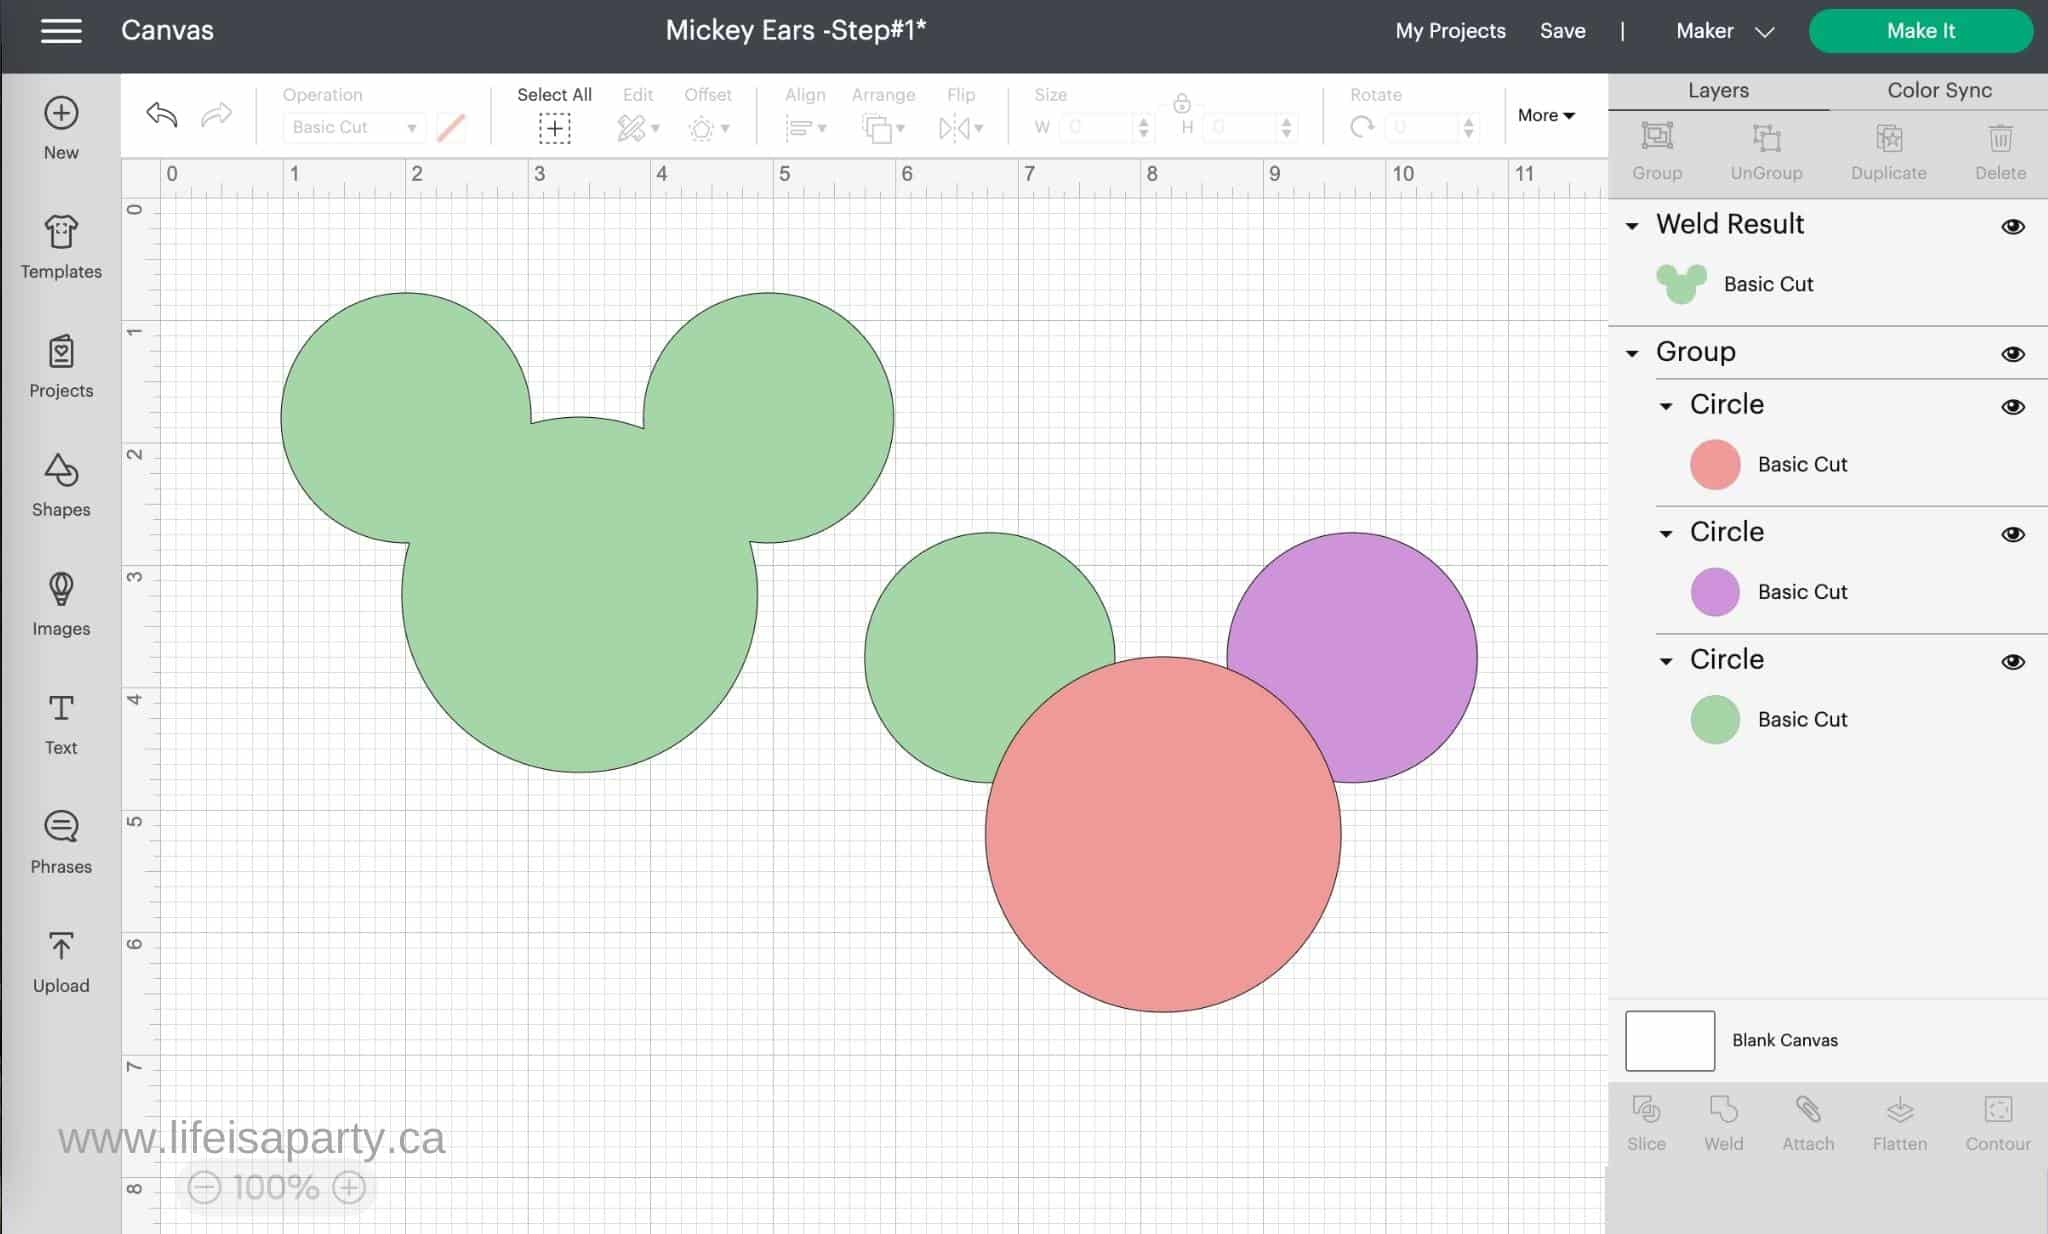
With some unweld options to try in Cricut Design Space, life really is a party.
More Cricut Posts
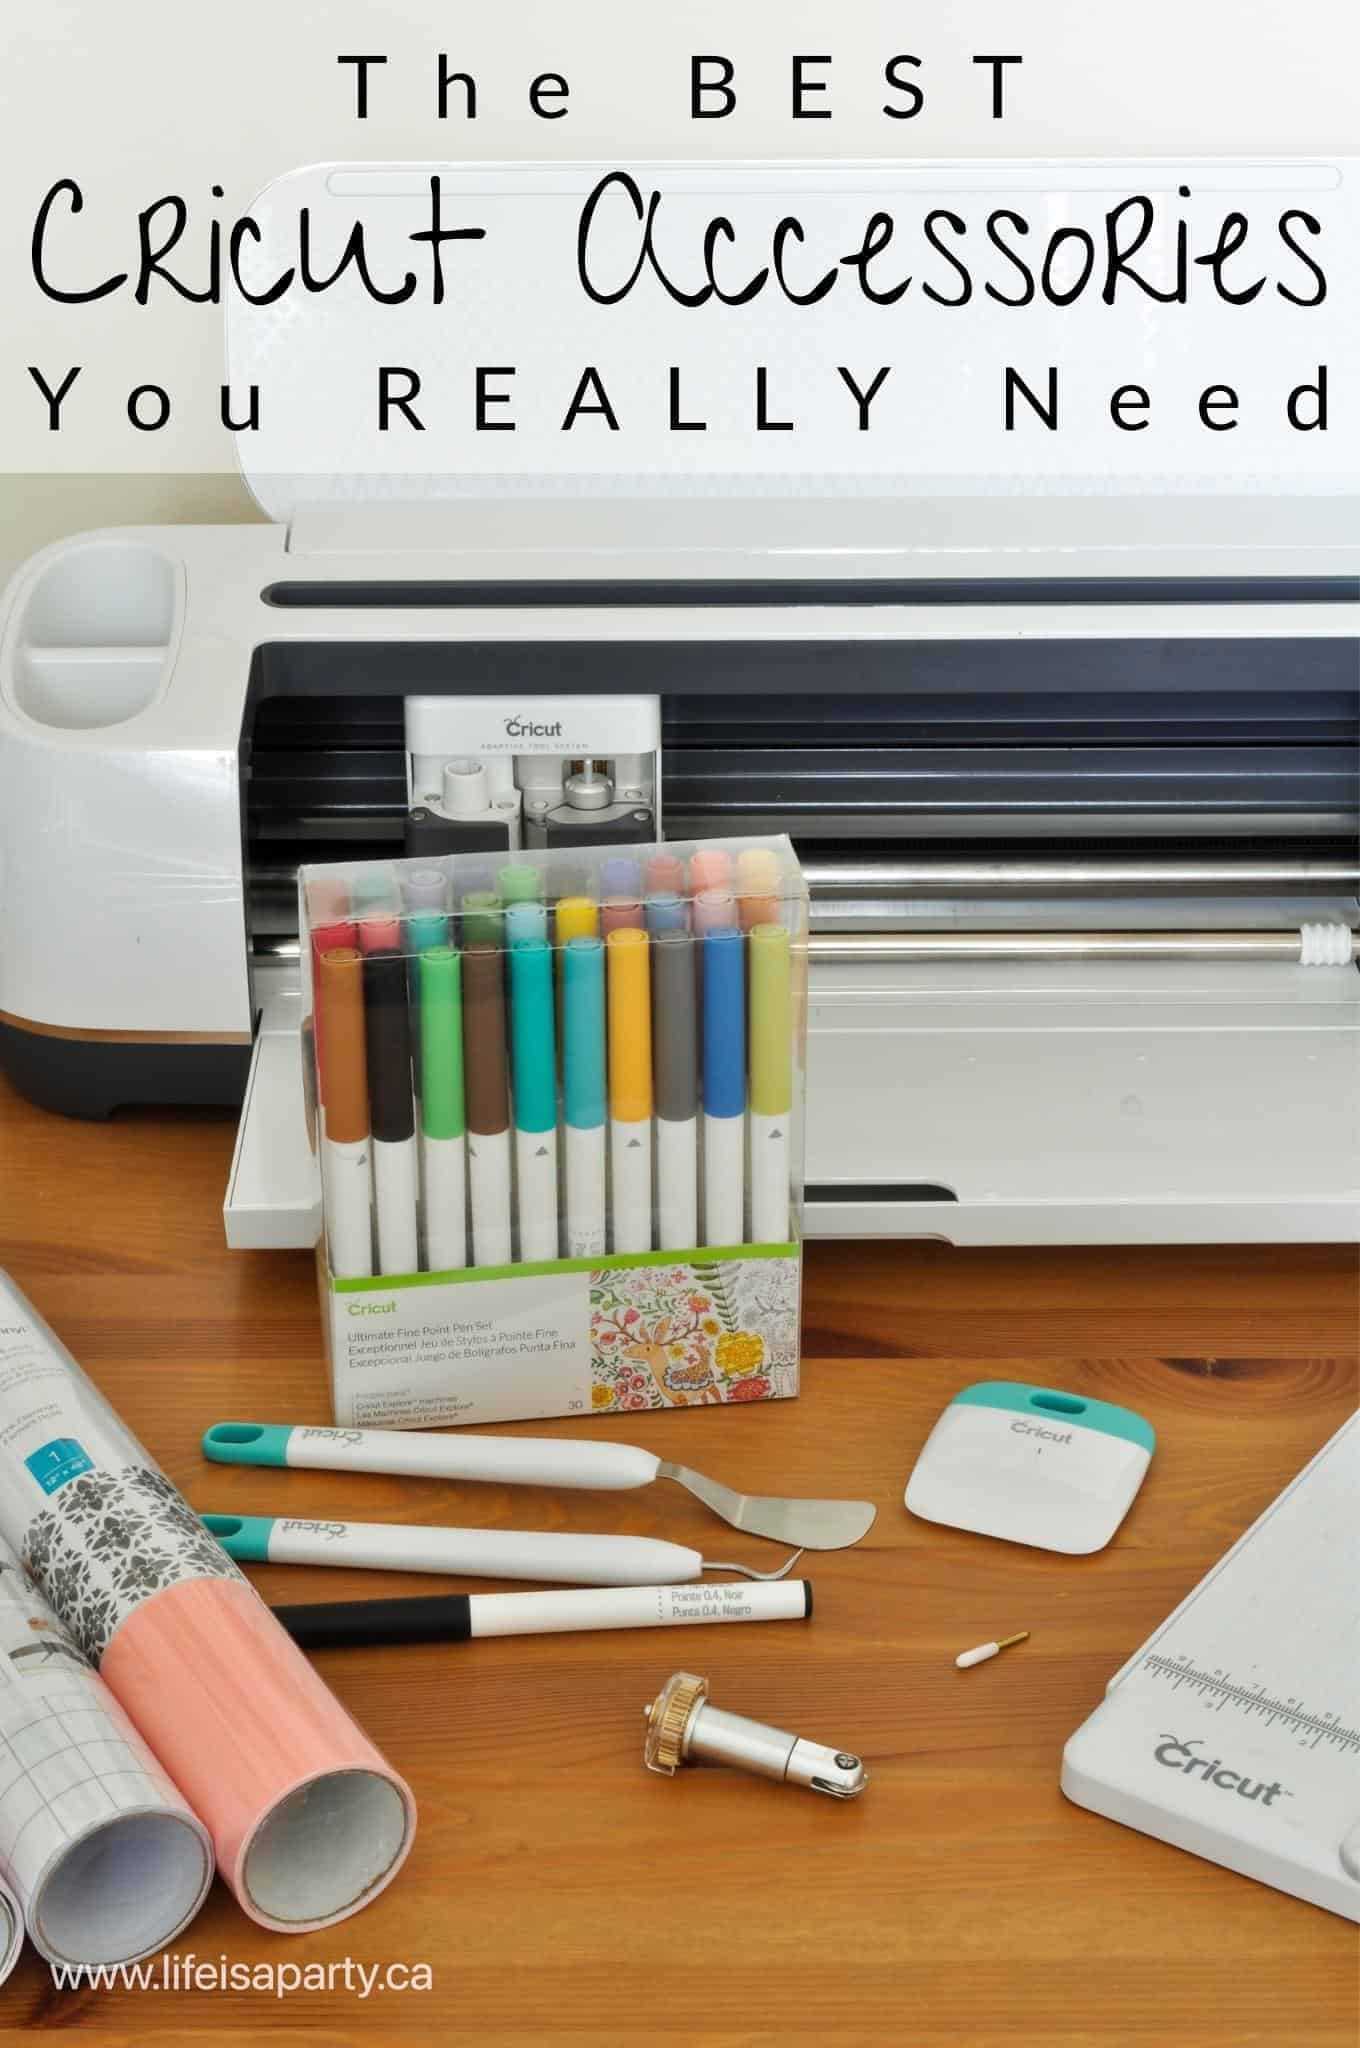
You might also like The Best Cricut Accessories You REALLY Need post here.


Leave a Reply