Acorn Craft Made From An Easter Egg -How to make an acorn out of a plastic Easter Egg, perfect for all your Fall decorating.

Jump to:
These DIY acorns are so cute and easy to make. They're an adorable acorn craft that you can use every fall in your decor. They're made from inexpensive supplies, and the perfect way to create your own fall decoration when cooler weather arrives. I used mainly natural materials to create them. There is one supply though, that you might not have guessed. The secret to making the acorn shape is that underneath we used an old plastic Easter egg. They turned out so cute, and would be the perfect beautiful things to add to your fall season decor.
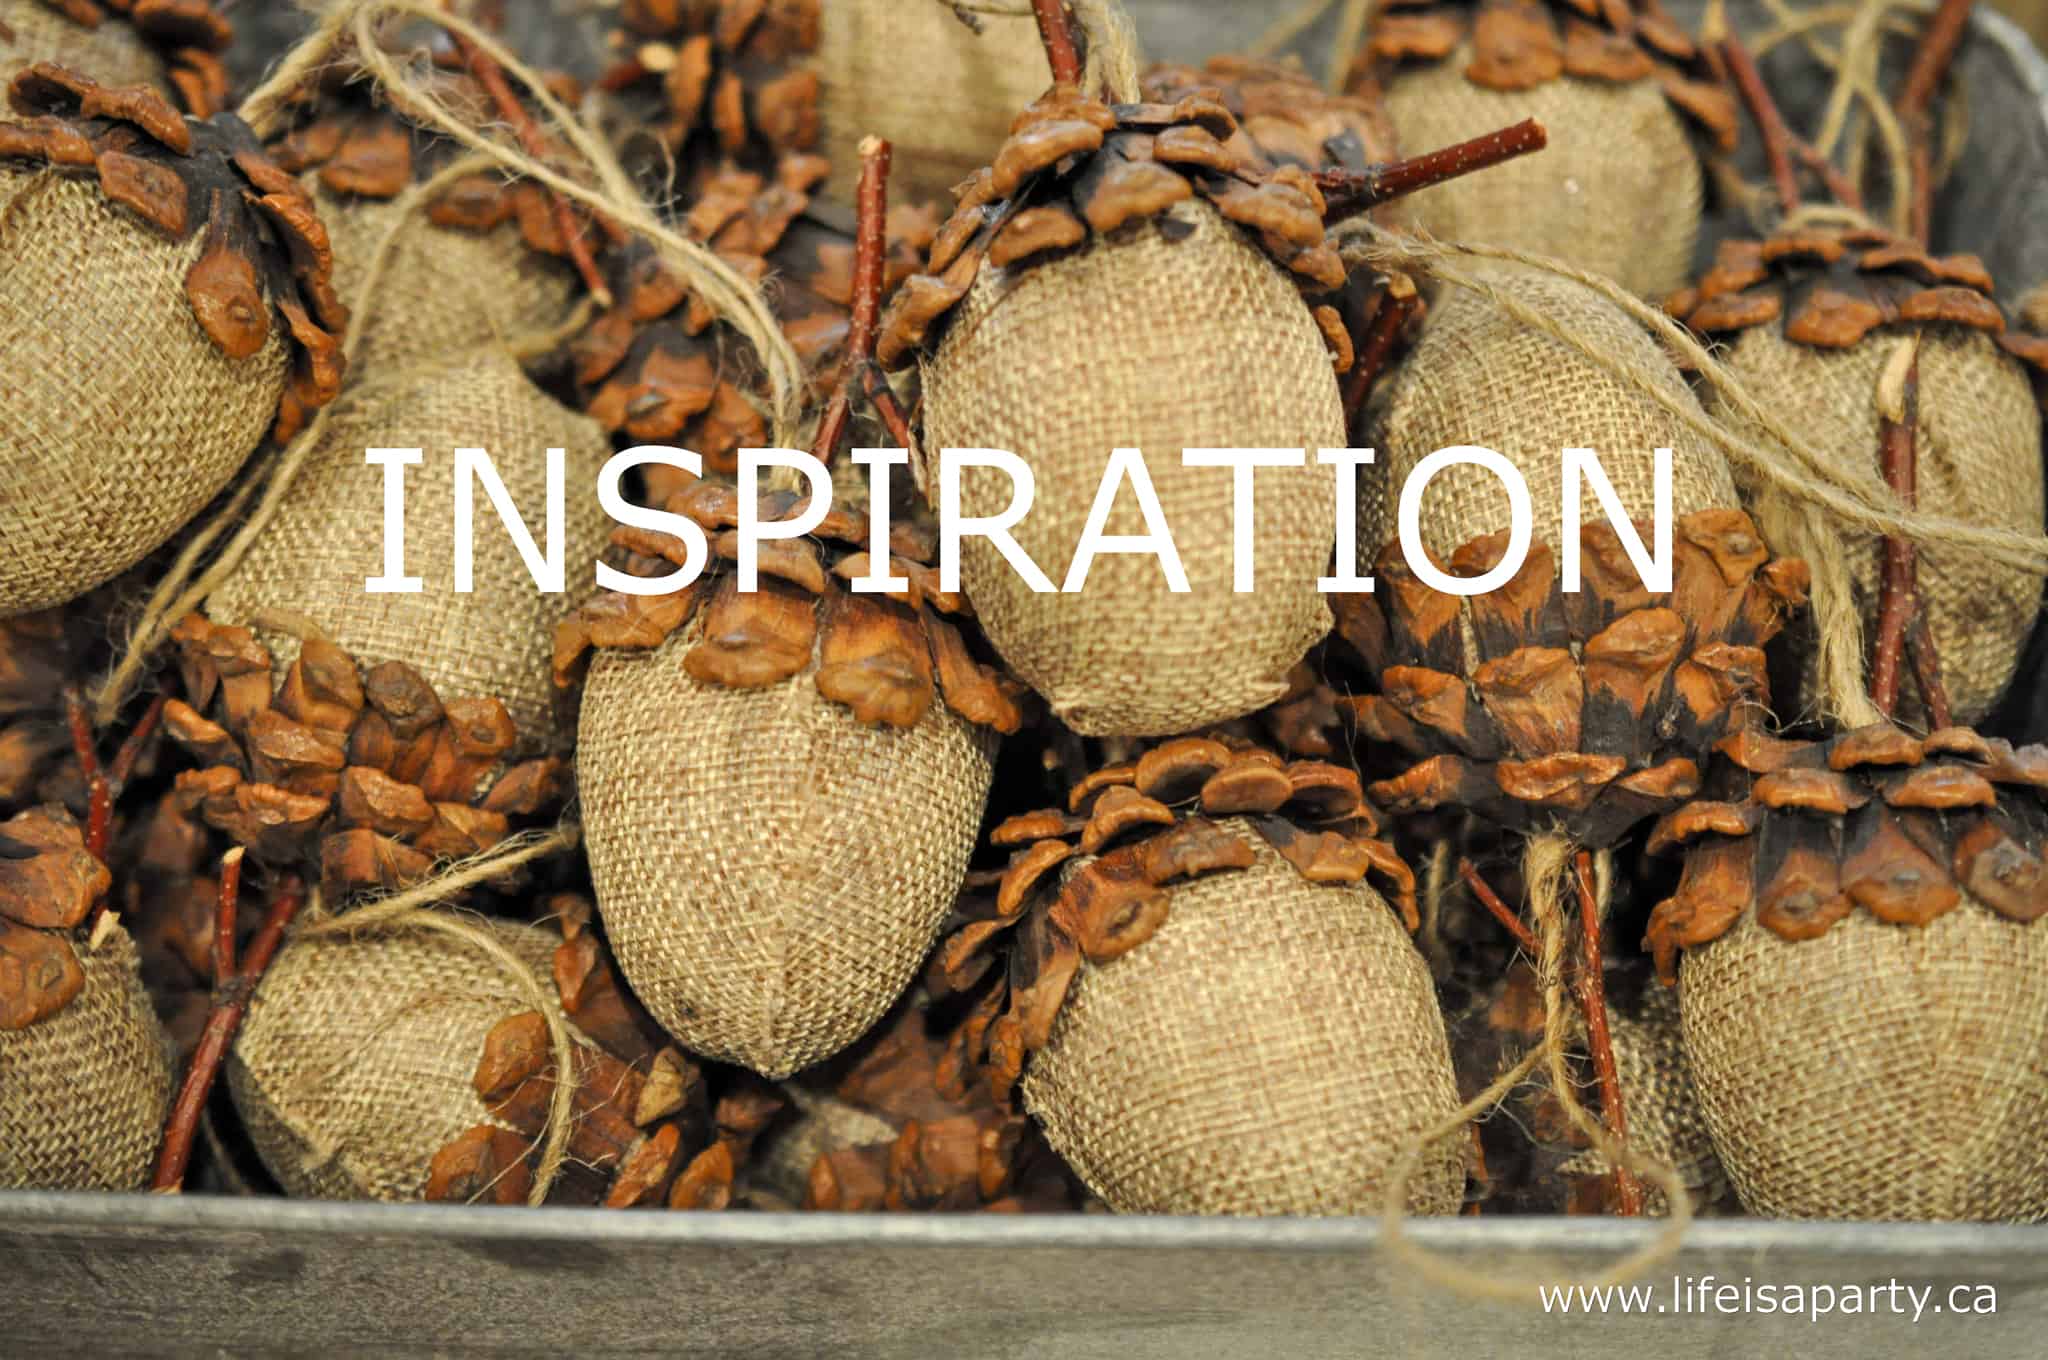
Inspiration
I saw these cute acorn crafts at one of my favourite gift shops a few weeks ago, and they inspired me to make my own. You know that moment when you pick them up in the store and really look at them and think, with a twinkle in your eye, I could make these. ;). I looked at the shape, and realized that I could use an Easter egg to create something similar. Then I couldn't wait to go home and spend a crafty morning experimenting. The best part of this simple fall craft, is that you probably have some Easter eggs somewhere in your house already, that you can use. These turned out so well, and I think they'd be a really fun craft to create with friends or the whole family this fall.
Materials:
- Plastic Easter Eggs
- Brown Acrylic Paint
- Burlap
- Pine Cones
- Hot Glue Gun
- Twig
- Garden Clippers or Heavy Duty Scissors
How To Make The Acorns:
Prepping The Easter Eggs
To create the shape of the acorn I decided to use Easter eggs. My kids thought it was pretty funny that I was yanking out the Easter egg box in the middle of fall decorating. Easter eggs are the fun secret to making these acorns.
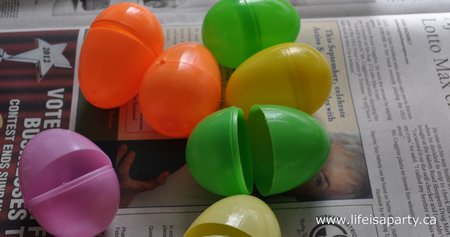
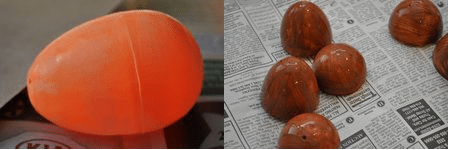
Since some of them were bright colours for my first step I used a little sandpaper to rough up their smooth surface, and painted with two coats of brown craft paint. You could also spray paint them if you wanted. Stay away from white paints, or anything that will show through the burlap. Or simply use Easter eggs that are already in fall colors that won't show through to badly, like orange, green, or yellow.
Gluing On The Fabric
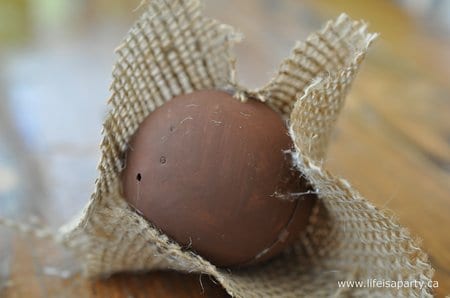
After the paint dried, I added the layer of fabric to create the bottom section of the acorn. You want to cover just about ⅔ of the egg with the fabric. We don't need to cover the whole thing and make fabric acorns, just the bottom ⅔, which makes it a bit easier.
I started out with a very open weave burlap, but it didn't work well for this craft. It was fraying, hard to work with, and showed to much of the base underneath. So then I picked up some craft burlap at the craft store which is a tighter weave and tried again.
At the beginning, I started out trying to glue two panels of fabric to the base, like the inspiration acorn, with white craft glue. I found it dried really hard, and the frayed ends stuck up. I ended up hot gluing a circle of burlap around the egg. This worked the best for me.
Adding The Pine Cone Pieces
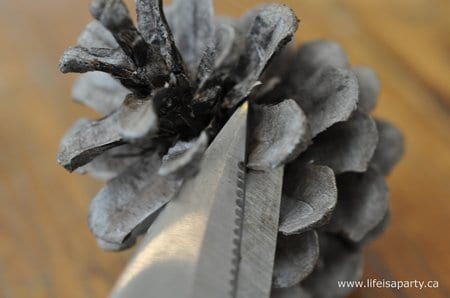
Next was gluing on the pine cone pieces to create the top ⅓ of the acorn. I snipped them off with of the pine cones using some heavy scissors. Then, I hot glued them around the top.
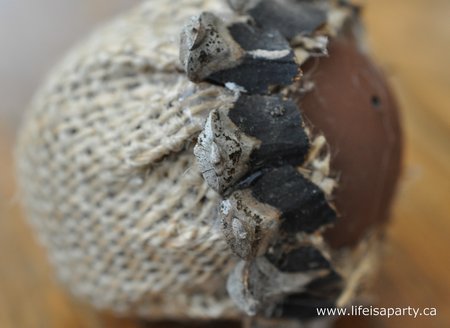
I did about three layers. You want to start your bottom layer overlapping the burlap, to create a nice neat edge. Then glue them on like shingles, overlapping the top of the previous row as you go. I finished them off at the top with a little twig stem.
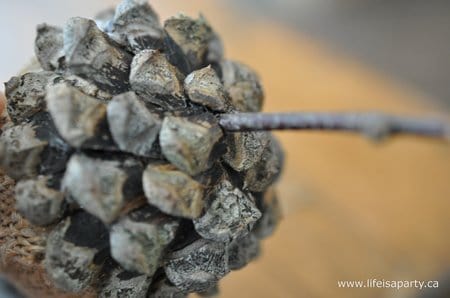
They were a bit fiddly, and I may or may not have thought a couple times "why didn't I just buy these". You need some good fine motor skills, because everything is quite small that you're working with.
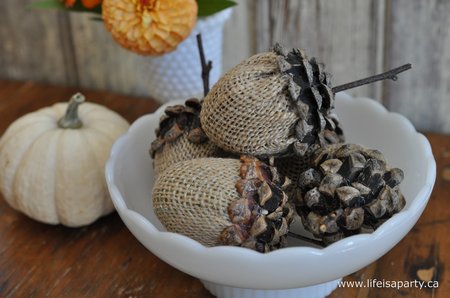
But once I got the hang of it, they weren't too bad, and would be a good while you watch t.v. craft. And, they are so cute and a great thing to add to your fall activities this year.

Easter Egg Acorn Craft
Equipment
- hot glue gun
- Garden Clippers or Heavy Duty Scissors
Materials
- Plastic Easter Eggs
- Brown Acrylic Paint
- Burlap
- Pine Cones
- Twig
Instructions
- Since some of the Easter eggs were bright colours, paint with two coats of brown craft paint. Or start with colour like orange, or yellow.
- Add a layer of fabric over the egg to create the bottom section of the acorn. Cover just about ⅔ of the egg with the fabric. Use hot glue to hold the burlap in place.
- Next snip the tips of a pine cone off, using some heavy scissors. Then hot glue them around the top of the egg, taking care to overlap the fabric and create a neat edge. Layer the pine cone pieces like shingles. I did three layers.
- Finish off the very top by hot glueing a twig in place.
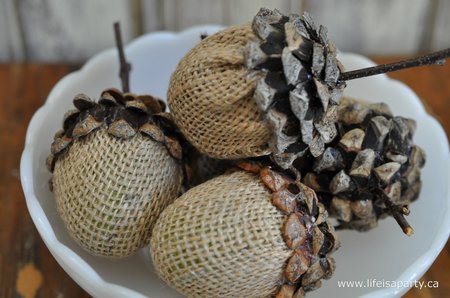
I made five, and grouped mine in a little bowl, but you could probably never have enough acorns when they're this cute. I think this is a great way to display them. You could mix them with some other natural items, use acorns, real pinecones, or dried leaves in pretty colors of fall. These are so lovely as acorn vase filler. Another fun way to display them would be to scatter them with a candle holder for a pretty fall arrangement.
You could even use on an acorn wreath. They're a fun easy craft to create this fall and use in your fall decor. Another idea is to use these as part of your Thanksgiving table decor. They would make beautiful acorn napkin rings glued on to napkin rings.
Variations
I used standard sized Easter eggs for the base of my own acorns, but you could use a larger eggs shape as the base and make large acorns. These would be a little easier to work with too and fun fall craft for older children to make.
I love the tops made from pine cone pieces, but another option is to use a piece of yarn, twine, or rope for the top portion. Use glue to secure it, and spiral it up to the top of the acorn for a fun look, that's a little easier than the pine cone pieces. I made a really large one, with a very large egg form, you could even use real acorns in this craft. Use the acorn caps in place of the pine cone pieces, for another great acorn look.
Christmas Decorations
These are great as fall crafts, but also a great addition to your Christmas decor our favorite season. Last year I tied some fishing line to the finished product and hung them on our Christmas tree. Make them even more Christmas-y by adding some faux snow or glitter to your faux acorns for the holiday season. Just add some white glue to the acorn tops, and sprinkle some glitter or faux snow on top, to make these beautiful acorn crafts look a little snowy. These add a great woodland fairy folk vibe to your Christmas decor.
More great ideas for the holidays would be to tie them onto Christmas presents as gift toppers. Use pipe cleaners to easily attach them the easy way, like little acorn bells on top of a package.
You'll have to create an abundance of acorns to use them in your decor all fall and holiday season.
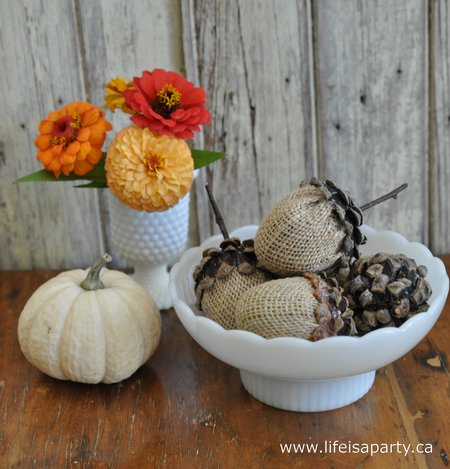
I love DIY projects, and discovering I could create these with Easter eggs was so much fun.
With an Acorn Craft Made From An Easter Eggs, life really is a party!
More Fall Project Inspiration
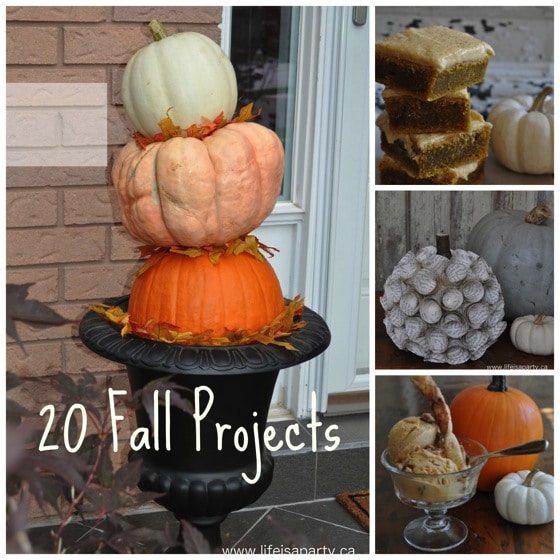
Want more great fall project inspiration, check out 20 Fall Projects!
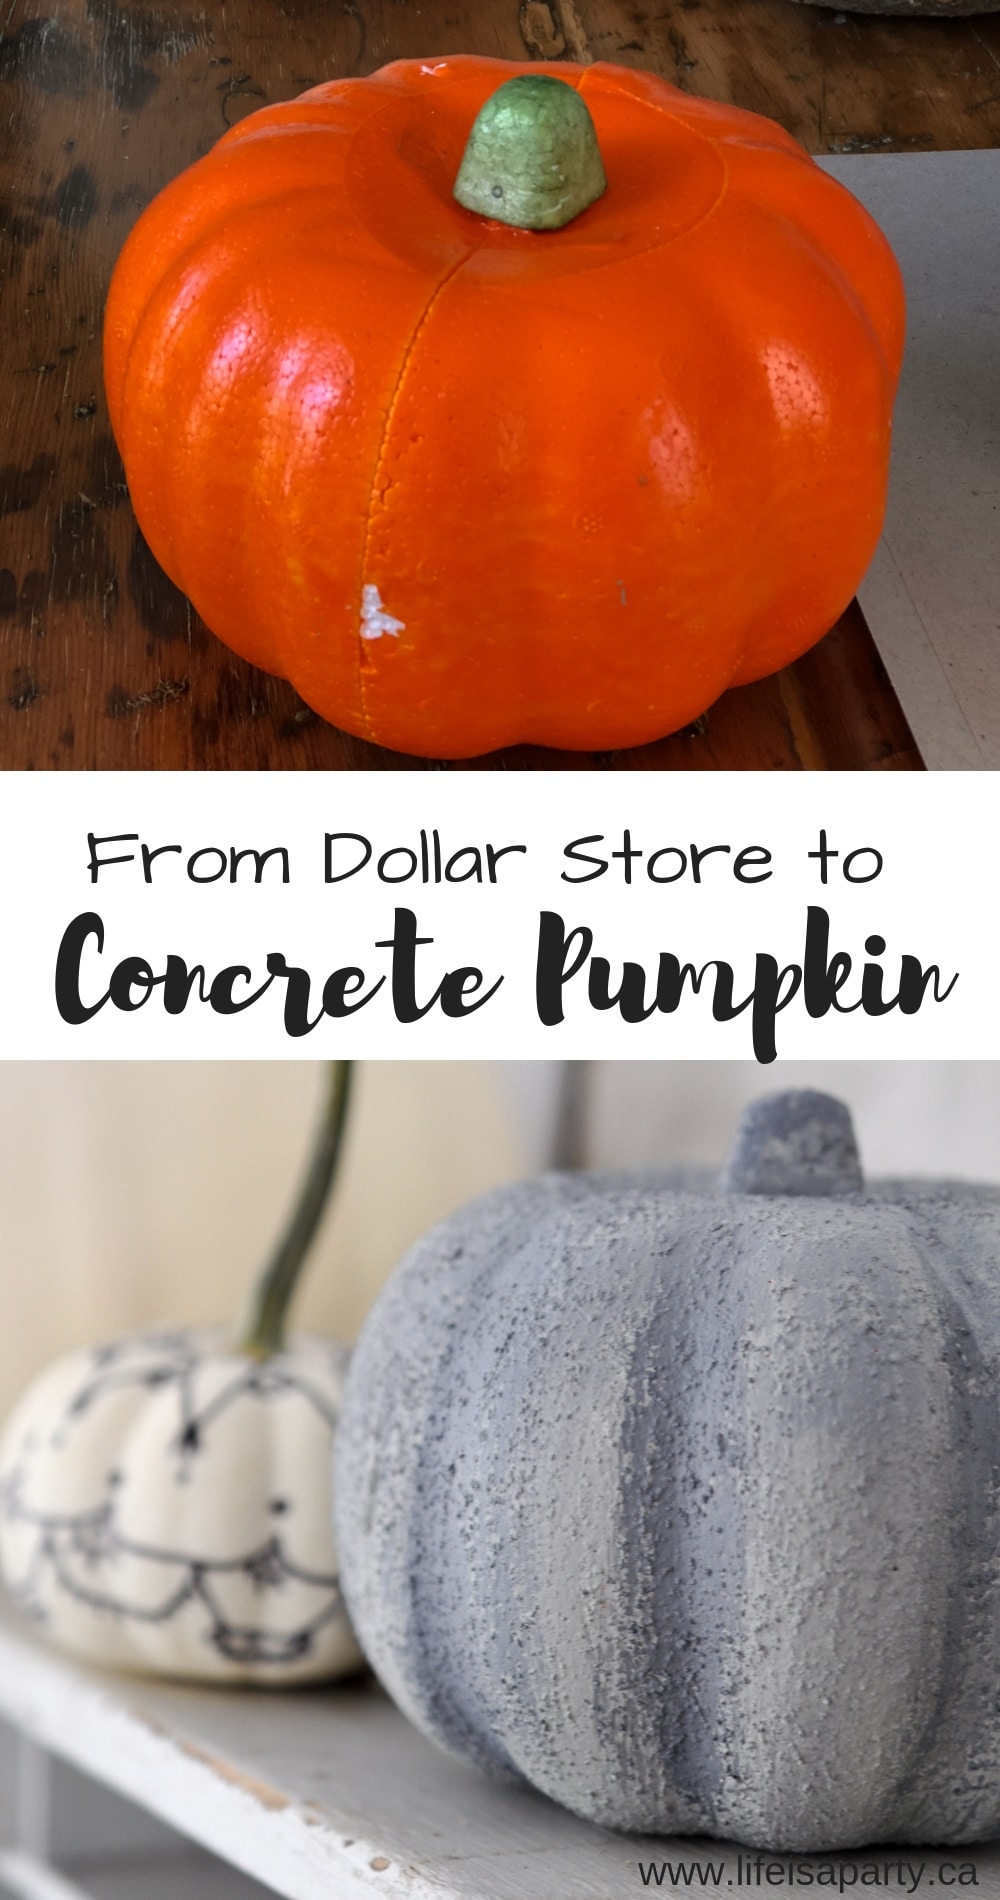
You might also like our DIY Faux Concrete Pumpkins post here.
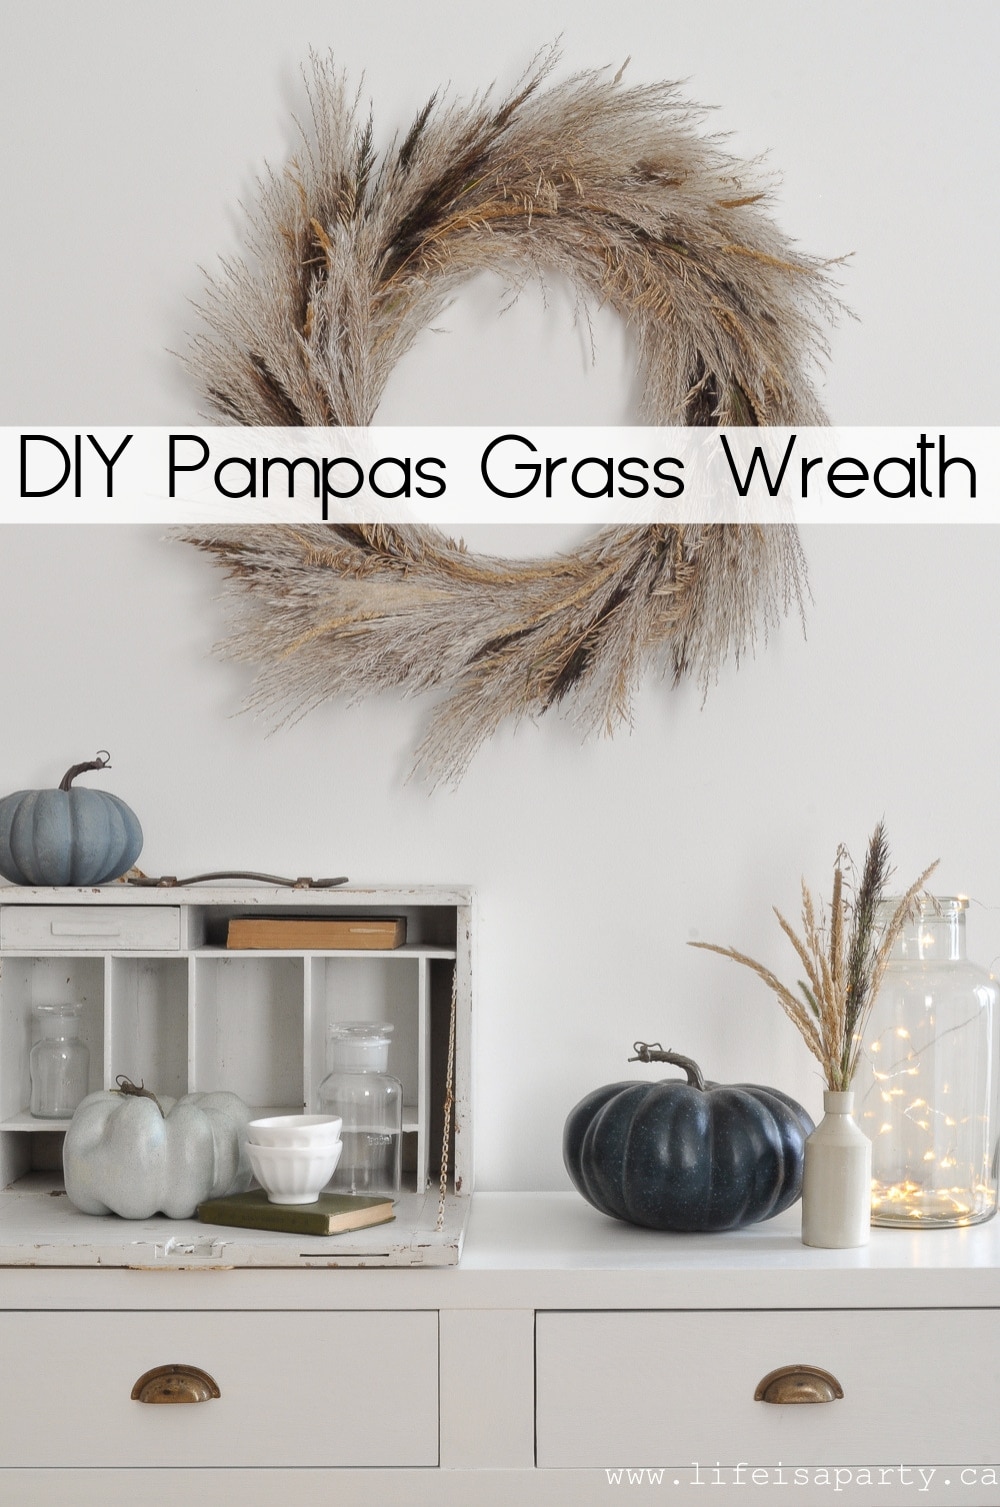
Also check out our Pampas Grass Wreath tutorial here.



dnr says
Becky, that's great I hope you'll stick around and find lots more inspiration.
Thanks so much,
Dannyelle
becky says
super cute. I visited this site to see your pine-cone acorn and came away with your banana cake recipe! I needed something to do with the big bag of ripe bananas that my husband bought on sale!
Cathryne says
Wish I would've seen this post before I bought some at Michael's! Definitely sharing, thanks!
dnr says
Hi Sherie,
You make your circle large enough to cover about 3/4 of your egg. Pull it tightly and glue, and then trim off any excess fabric. It will be a little lumpy, but you should be able to cover it up with your pine cone pieces.
Hope this helps,
Dannyelle