DIY Christmas Urn and Wreath: easy and inexpensive Christmas urn and wreath. Use our tips so save money and make it yourself.
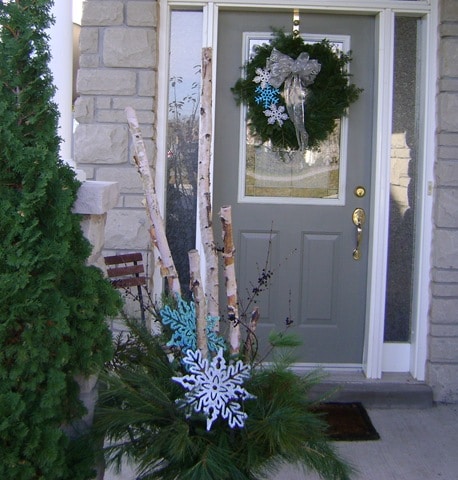
Making your own DIY Christmas urn and wreath is a great way to save money and add personality to your front door.
The weather's really nice today, and it seemed like a great time to do some outdoor decorating. Here are my money saving tips to help you do your outdoor Christmas decorations on a budget.
Find A Basic Wreath On Sale
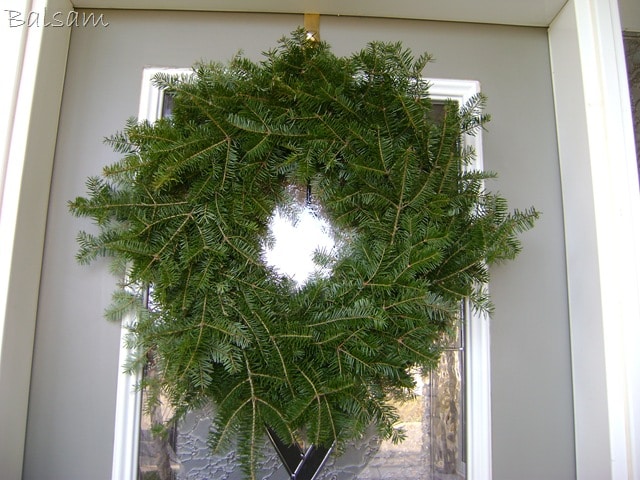
I spotted in a flyer last night fresh wreaths for $9.99 and after making one in the past, I think the 10 bucks is worth it. So I picked up a plain Jane Balsam wreath, and decided to spruce it up a little by adding some other greens.
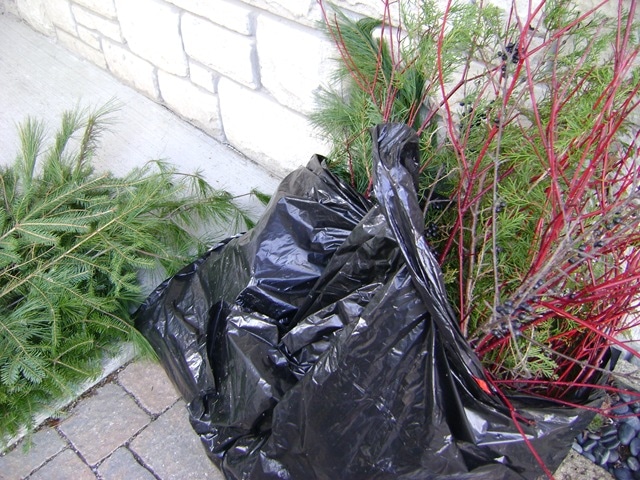
Collect Greens For Free Around Your House
I have lots of free greens available to me around my house. To save money I always choose a warm day and go out and clip my own. If you don't have a source for greens, then they too are readily available at grocery and flower stores.
Christmas Urn Birch Poles in Cement
Birch poles are a great way to add some height to your urn. The birch poles are heavy and you don't want them tipping your whole urn over in a breeze, so you need to anchor them in cement.
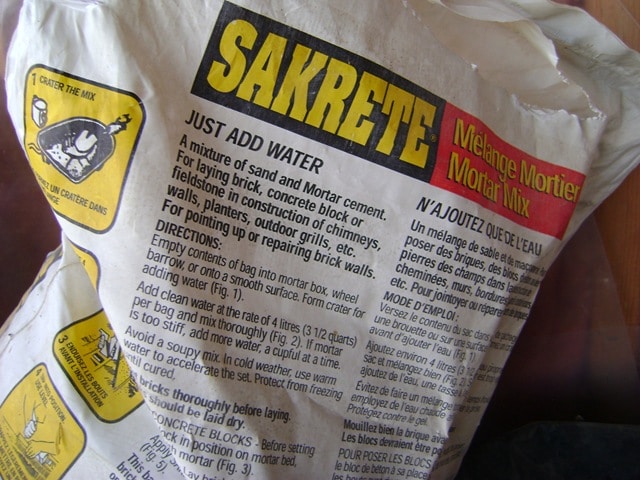
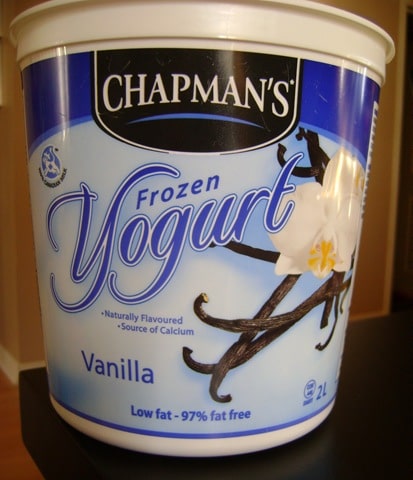
Just use a little cement mix and water and mix it up in a large ice-cream container (make sure the container fits in your urn first 😉 ). Then stick in the birch and let it set overnight, this way you can remove the birch in the summer or next Christmas for a different look.
Another tip, I used my step ladder set up over the urn and little string to hold the birch in place overnight while the cement set. I love how it turned out.
After it's all set, you can add a little soil on top to push the greens into.
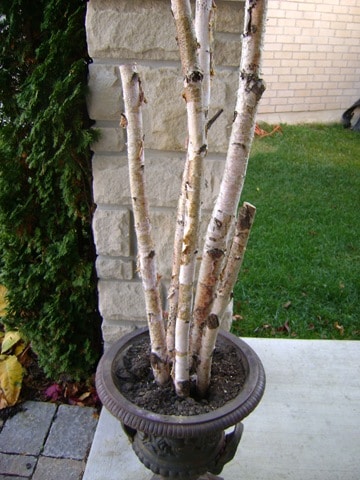
Adding Greens To The Christmas Urn
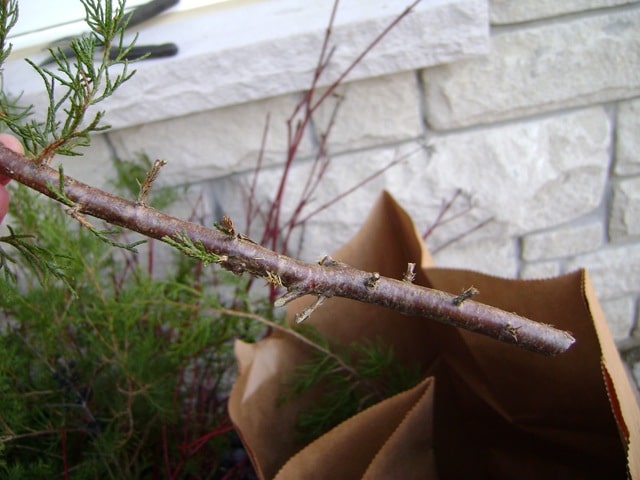
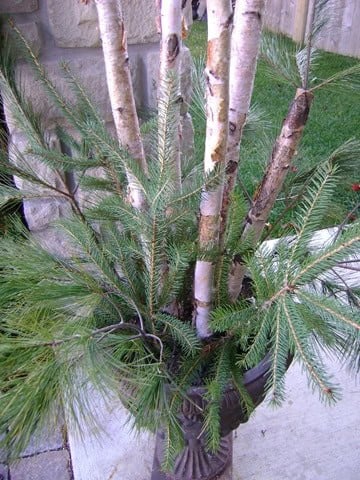
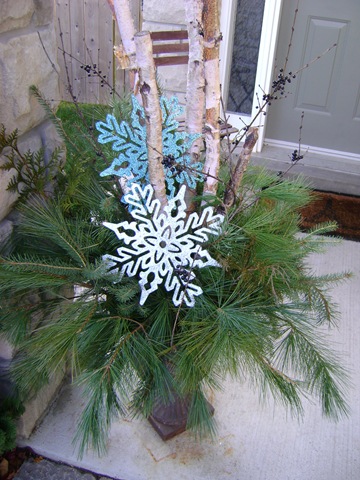
I had a variety of greens that I collected, including a little cedar, juniper, pine, and balsam. I like a mix of greens, but all one kind is also really beautiful. Use what ever you have.
Some of the branches needed a little trim to make them shorter, or create a place at the bottom to push into the soil. I just started working, and continued stuffing in more until I liked the look. Here is the beginning.
Adding Some Accessories To The Christmas Urn
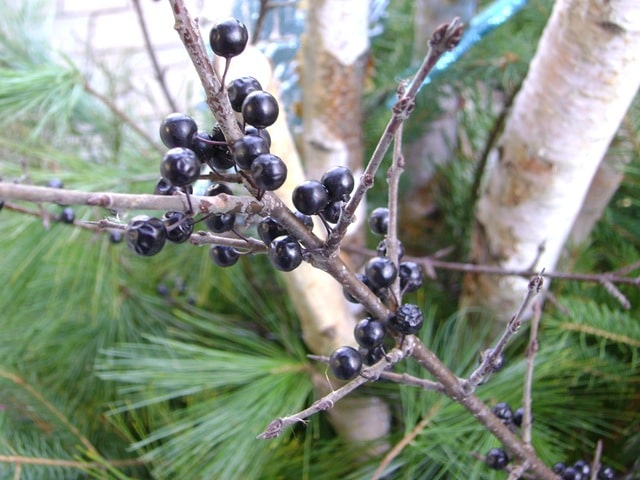
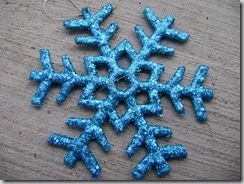
After I had it to a fullness I liked, it was time to add some accessories. First I added in some branches I found with some purplish-black berries. Just a few of these near the centre was the perfect touch. Lastly I added in some glittering snowflakes that I picked up at the dollar store.
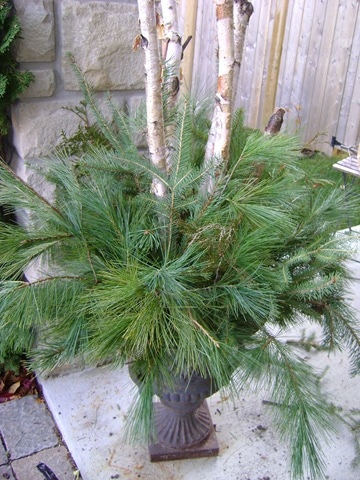
I have a snowflake theme this year, but at this point you could take it in any direction; red bow and berries, silver Christmas balls, and glittered pics, or a more natural look with birch bark star ornaments and rustic twig balls. The sky is the limit.
Save money on the finishing touches my using foraged branches, adding dollar store finds, or using saved decorations from previous years.
The Wreath
I also added a little sparkle to the wreath.
Add Extra Greens To Your Wreath
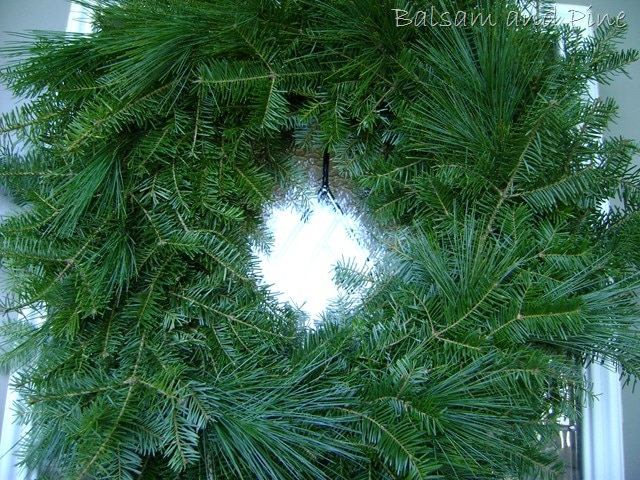
I started with inserting a little pine into the existing wreath. I liked the mixed ones at the store but they were over double the price, so since I had other greens on hand, I just stuck a few small pieces in. I like how it turned out.
Add Accessories To Your Christmas Wreath
I found some smaller sparkly snow flakes to add to the wreath that matched the larger ones in the urn. I added a little fine wire to attach them to the wreath.

I also added a snowflake bow, that I made from some ribbon I had.
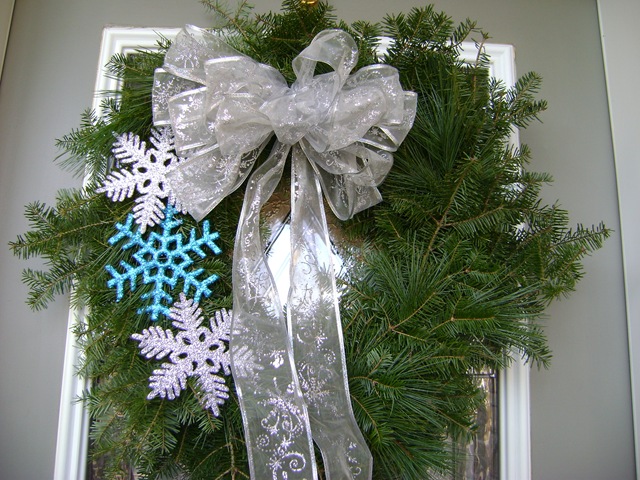
I'm really pleased with how it all turned up, and hopefully after this weekend, we'll have some Christmas lights up to. The snowflakes are really pretty and festive, but I won't mind that it hasn't snowed yet in real life.
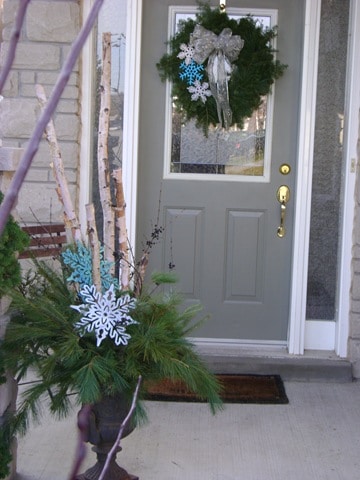
With a DIY Christmas Urn and Wreath, life really is a party!
You might also like our DIY Birch Christmas Wreath here.
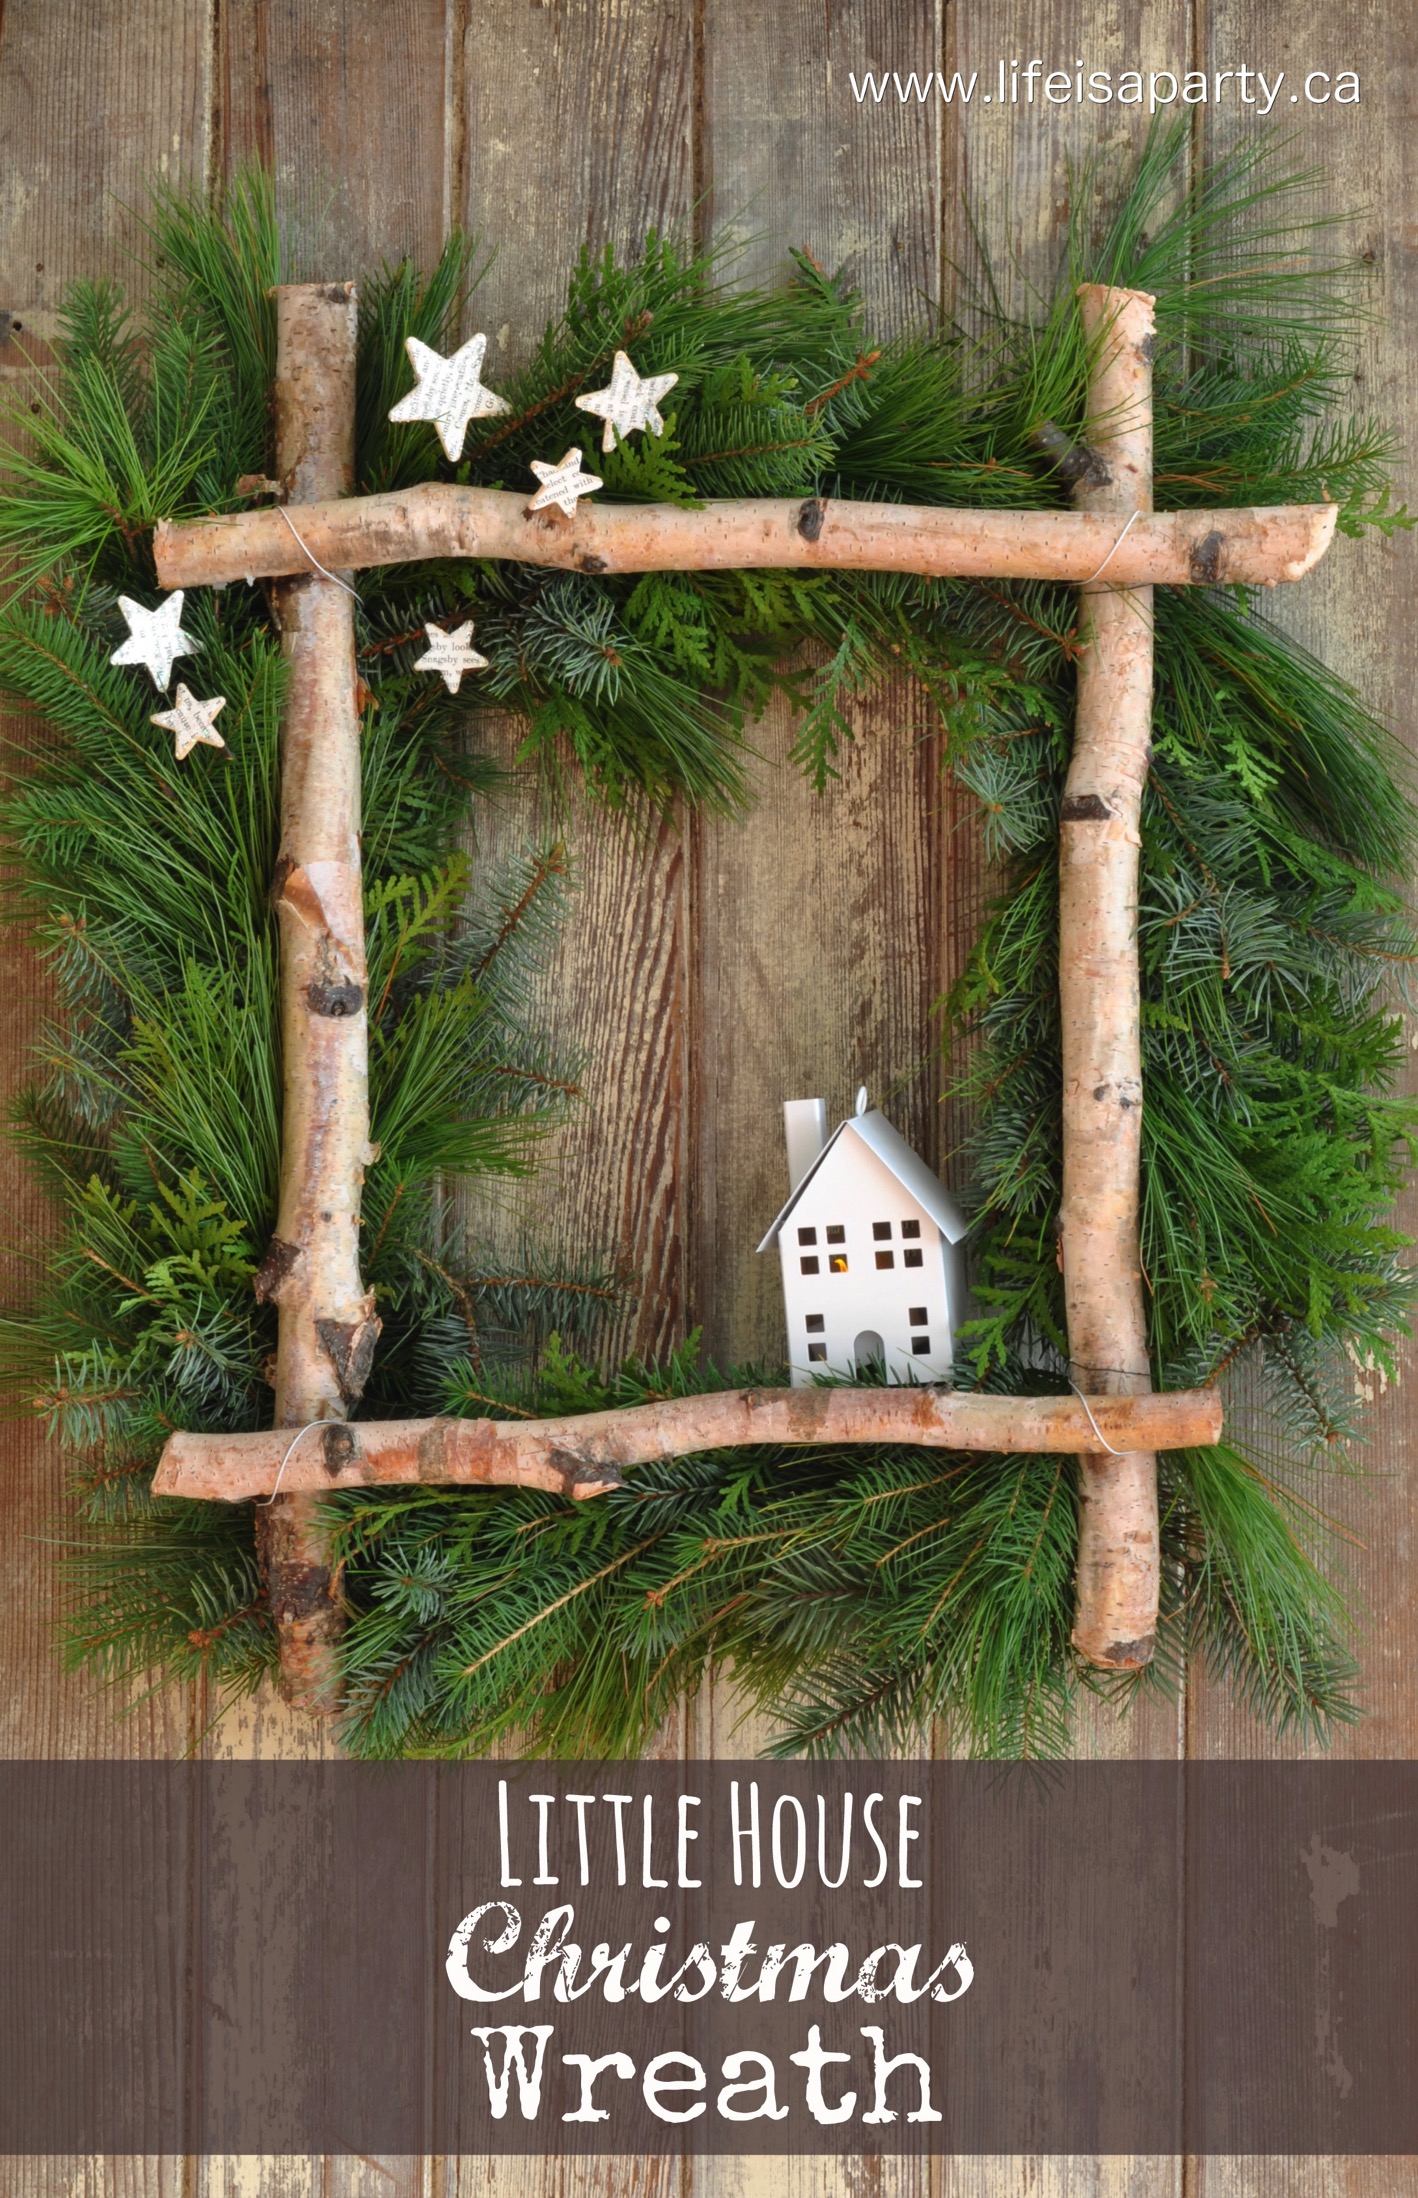
Also check out our Modern Boho Christmas Wreath here.
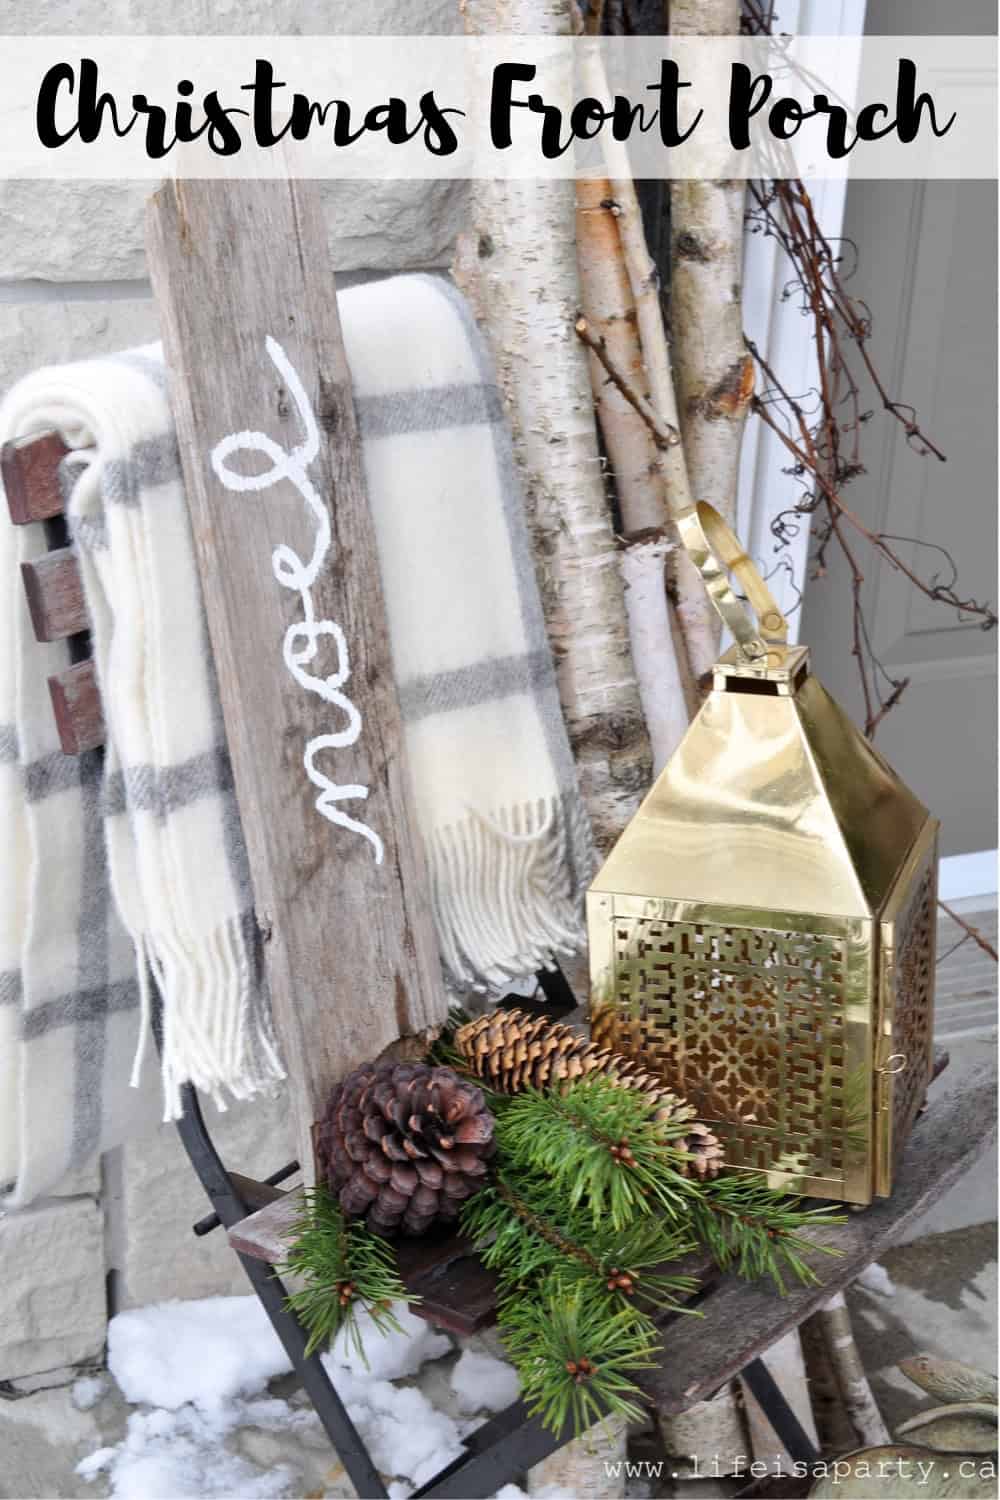
You might also enjoy our Christmas Front Porch here.




Kirsten says
I added this project to our site and linked to you. We are looking for more Christmas Crafts as well, so if you have any similar projects please feel free to let me know. Thanks!
Kirsten
kkwon@primecp.com
Editor, http://www.allfreechristmascrafts.com
Chris says
This looks lovely. What a deal on the wreath. At our local store they wanted twice that much. I love how inviting all the greenery makes your porch.
Ann says
Just lovely! I love your bare bones approach and then the blinging it up, so much fun. The look of the greenery and the birch branches with the beautiful blue snowflakes is really nice, so refreshing from the reds and lime greens everywhere these days. Nice job!
Angie says
I love it! It looks wonderful!You are so lucky...-20 here today in Edmonton with lots of snow! Enjoy your warm weather! Angie xo
Heather says
That is very pretty and decorative 🙂
Josalyn says
I have a new best friend that owns a bush that I plan to bush wack...YES, I am so pumped!!! Well OK, he doesn't know he is my best friend yet but...come on, how could he not let me cut some birch and dogwood for the sake of my front porch......and even better the look on Ger's face was priceless when I told him how it is alomost time for him to get in some warm clothes on and get out his saw!!!!!! OH JOY!!!!! serious JOY
Sabrina says
Birch is such a great idea! It adds a different look, other than your typical evergreen branches- which I usually use. Love the snowflakes! Simple, yet elegant! Merry Christmas!