Cricut Easter Banner: Free SVG cut files or printable pdf to create a bunny Easter banner perfect for Easter and spring celebrations.

Jump to:
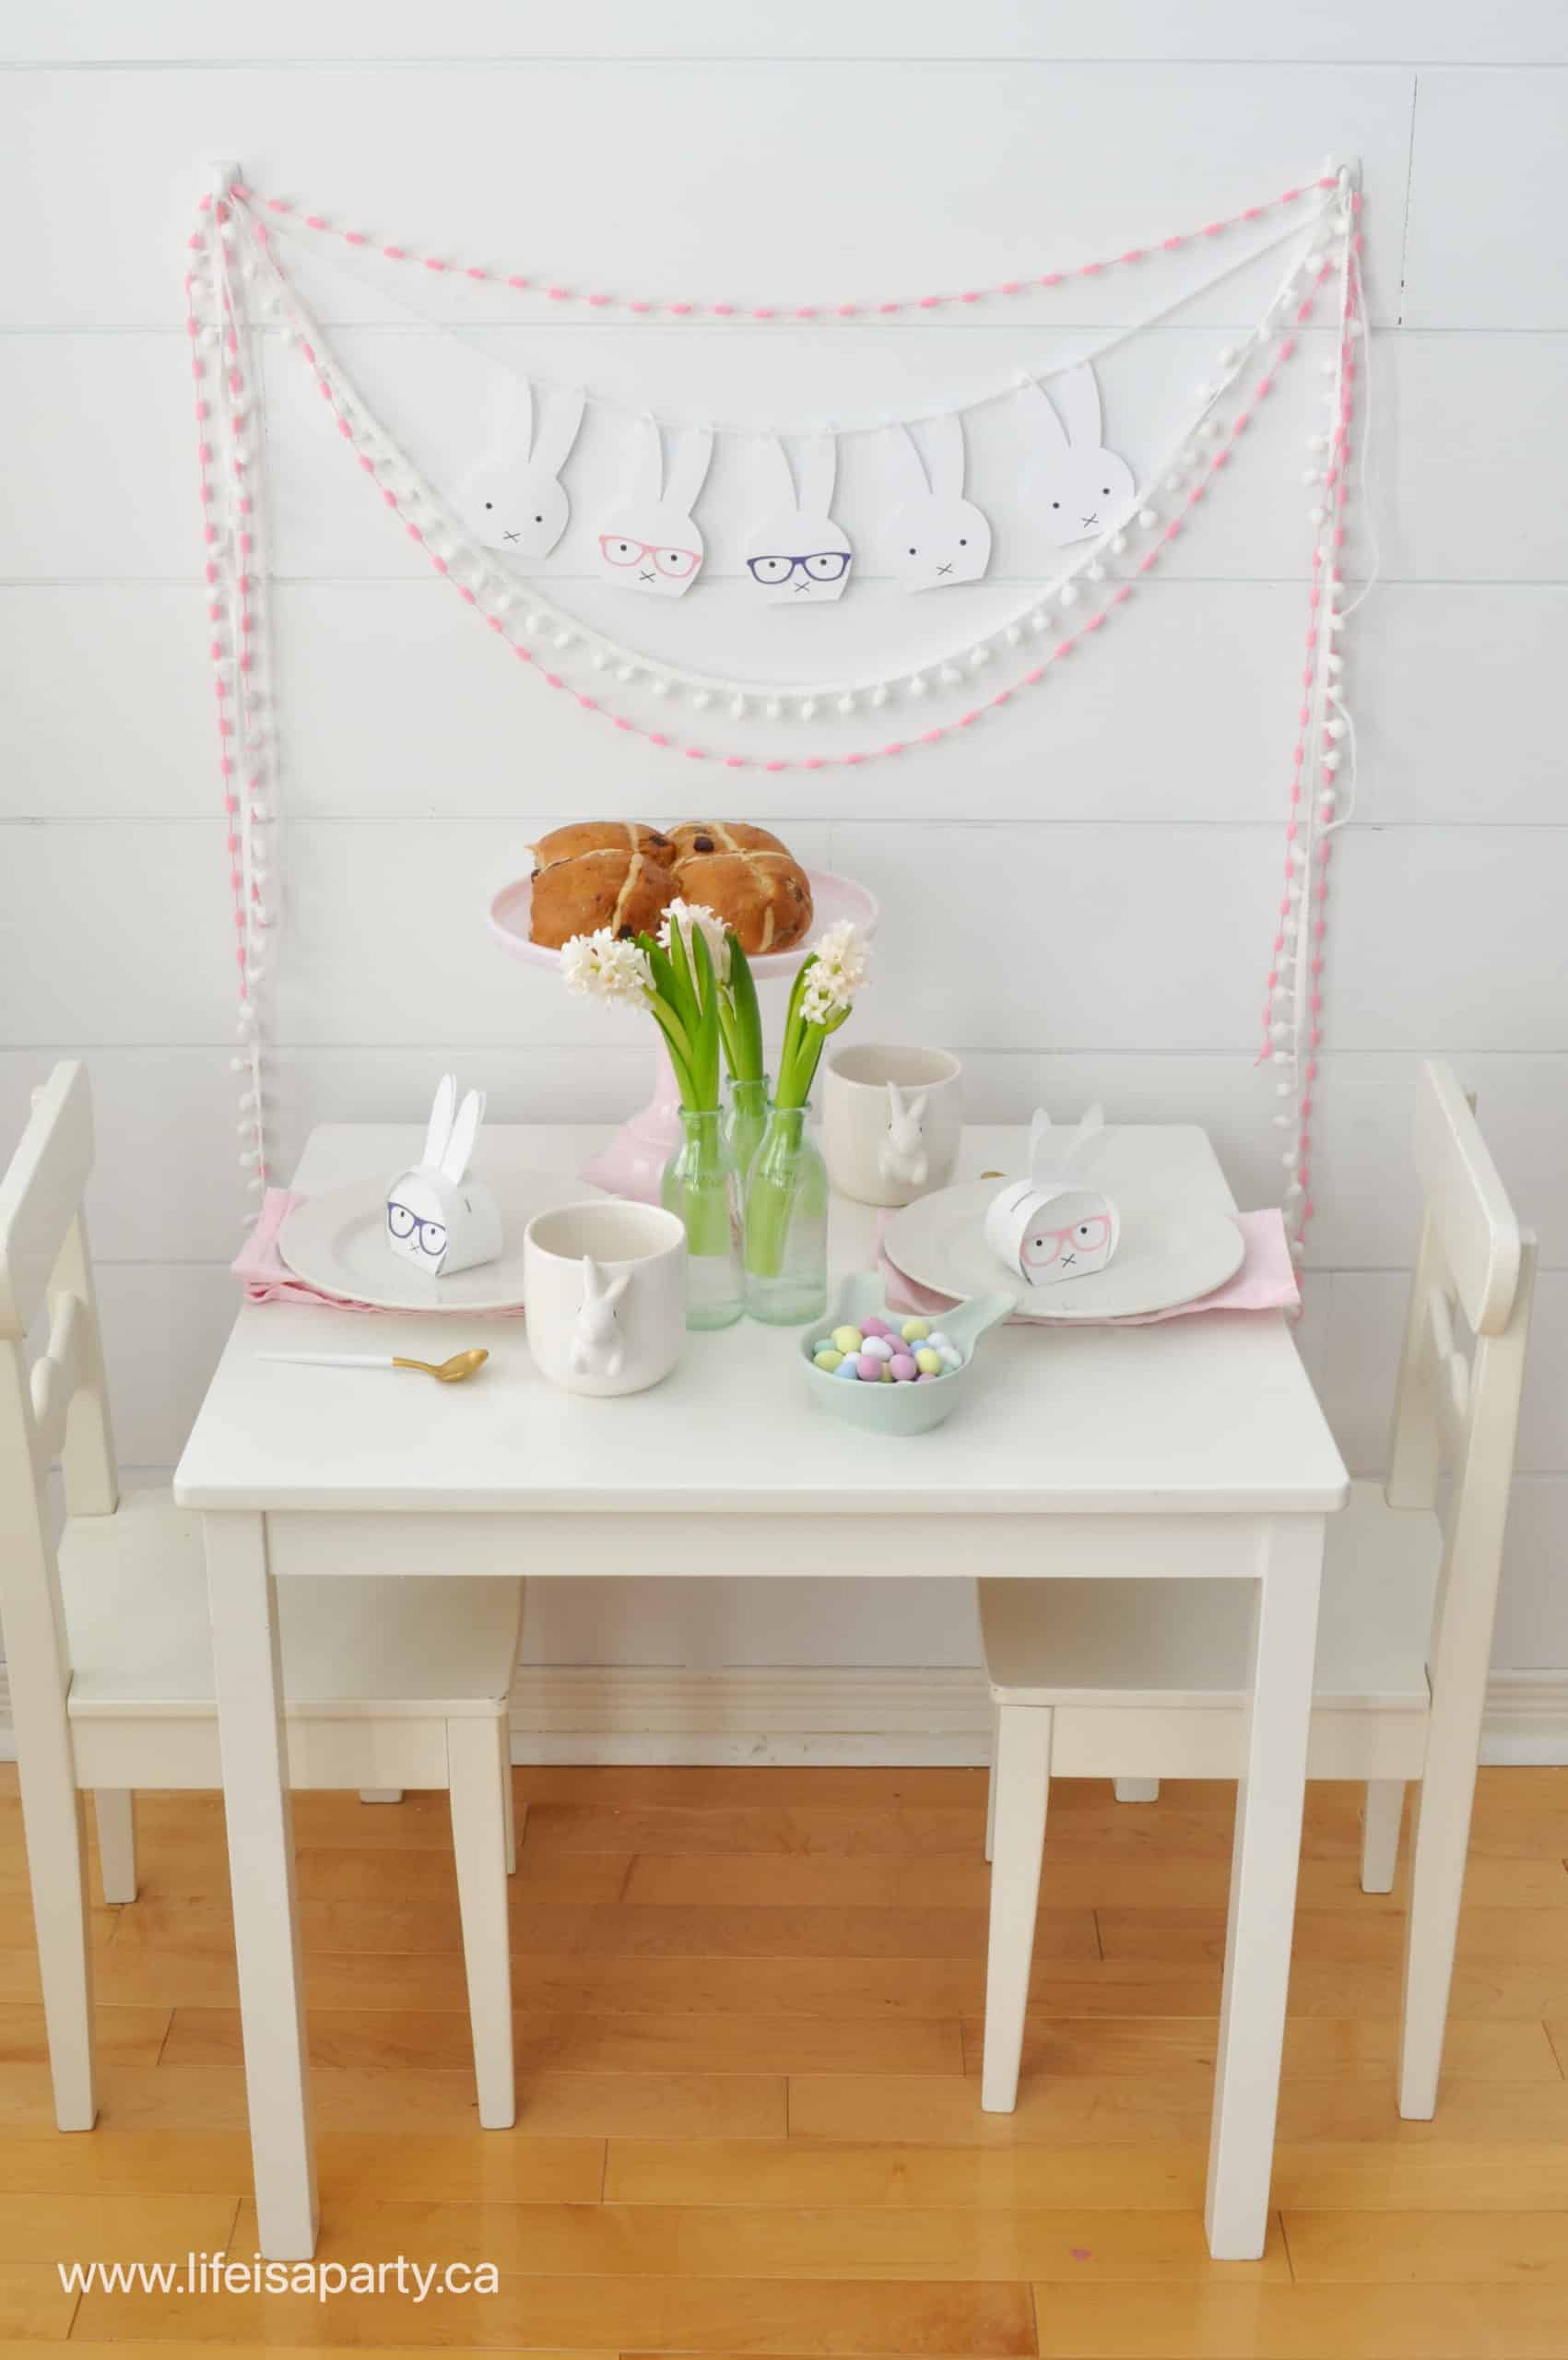
Free Bunny Banner Cut Files and PDF
I have a free cut file for you to use with your Cricut machine, or print the free PDF and cut it out by hand.
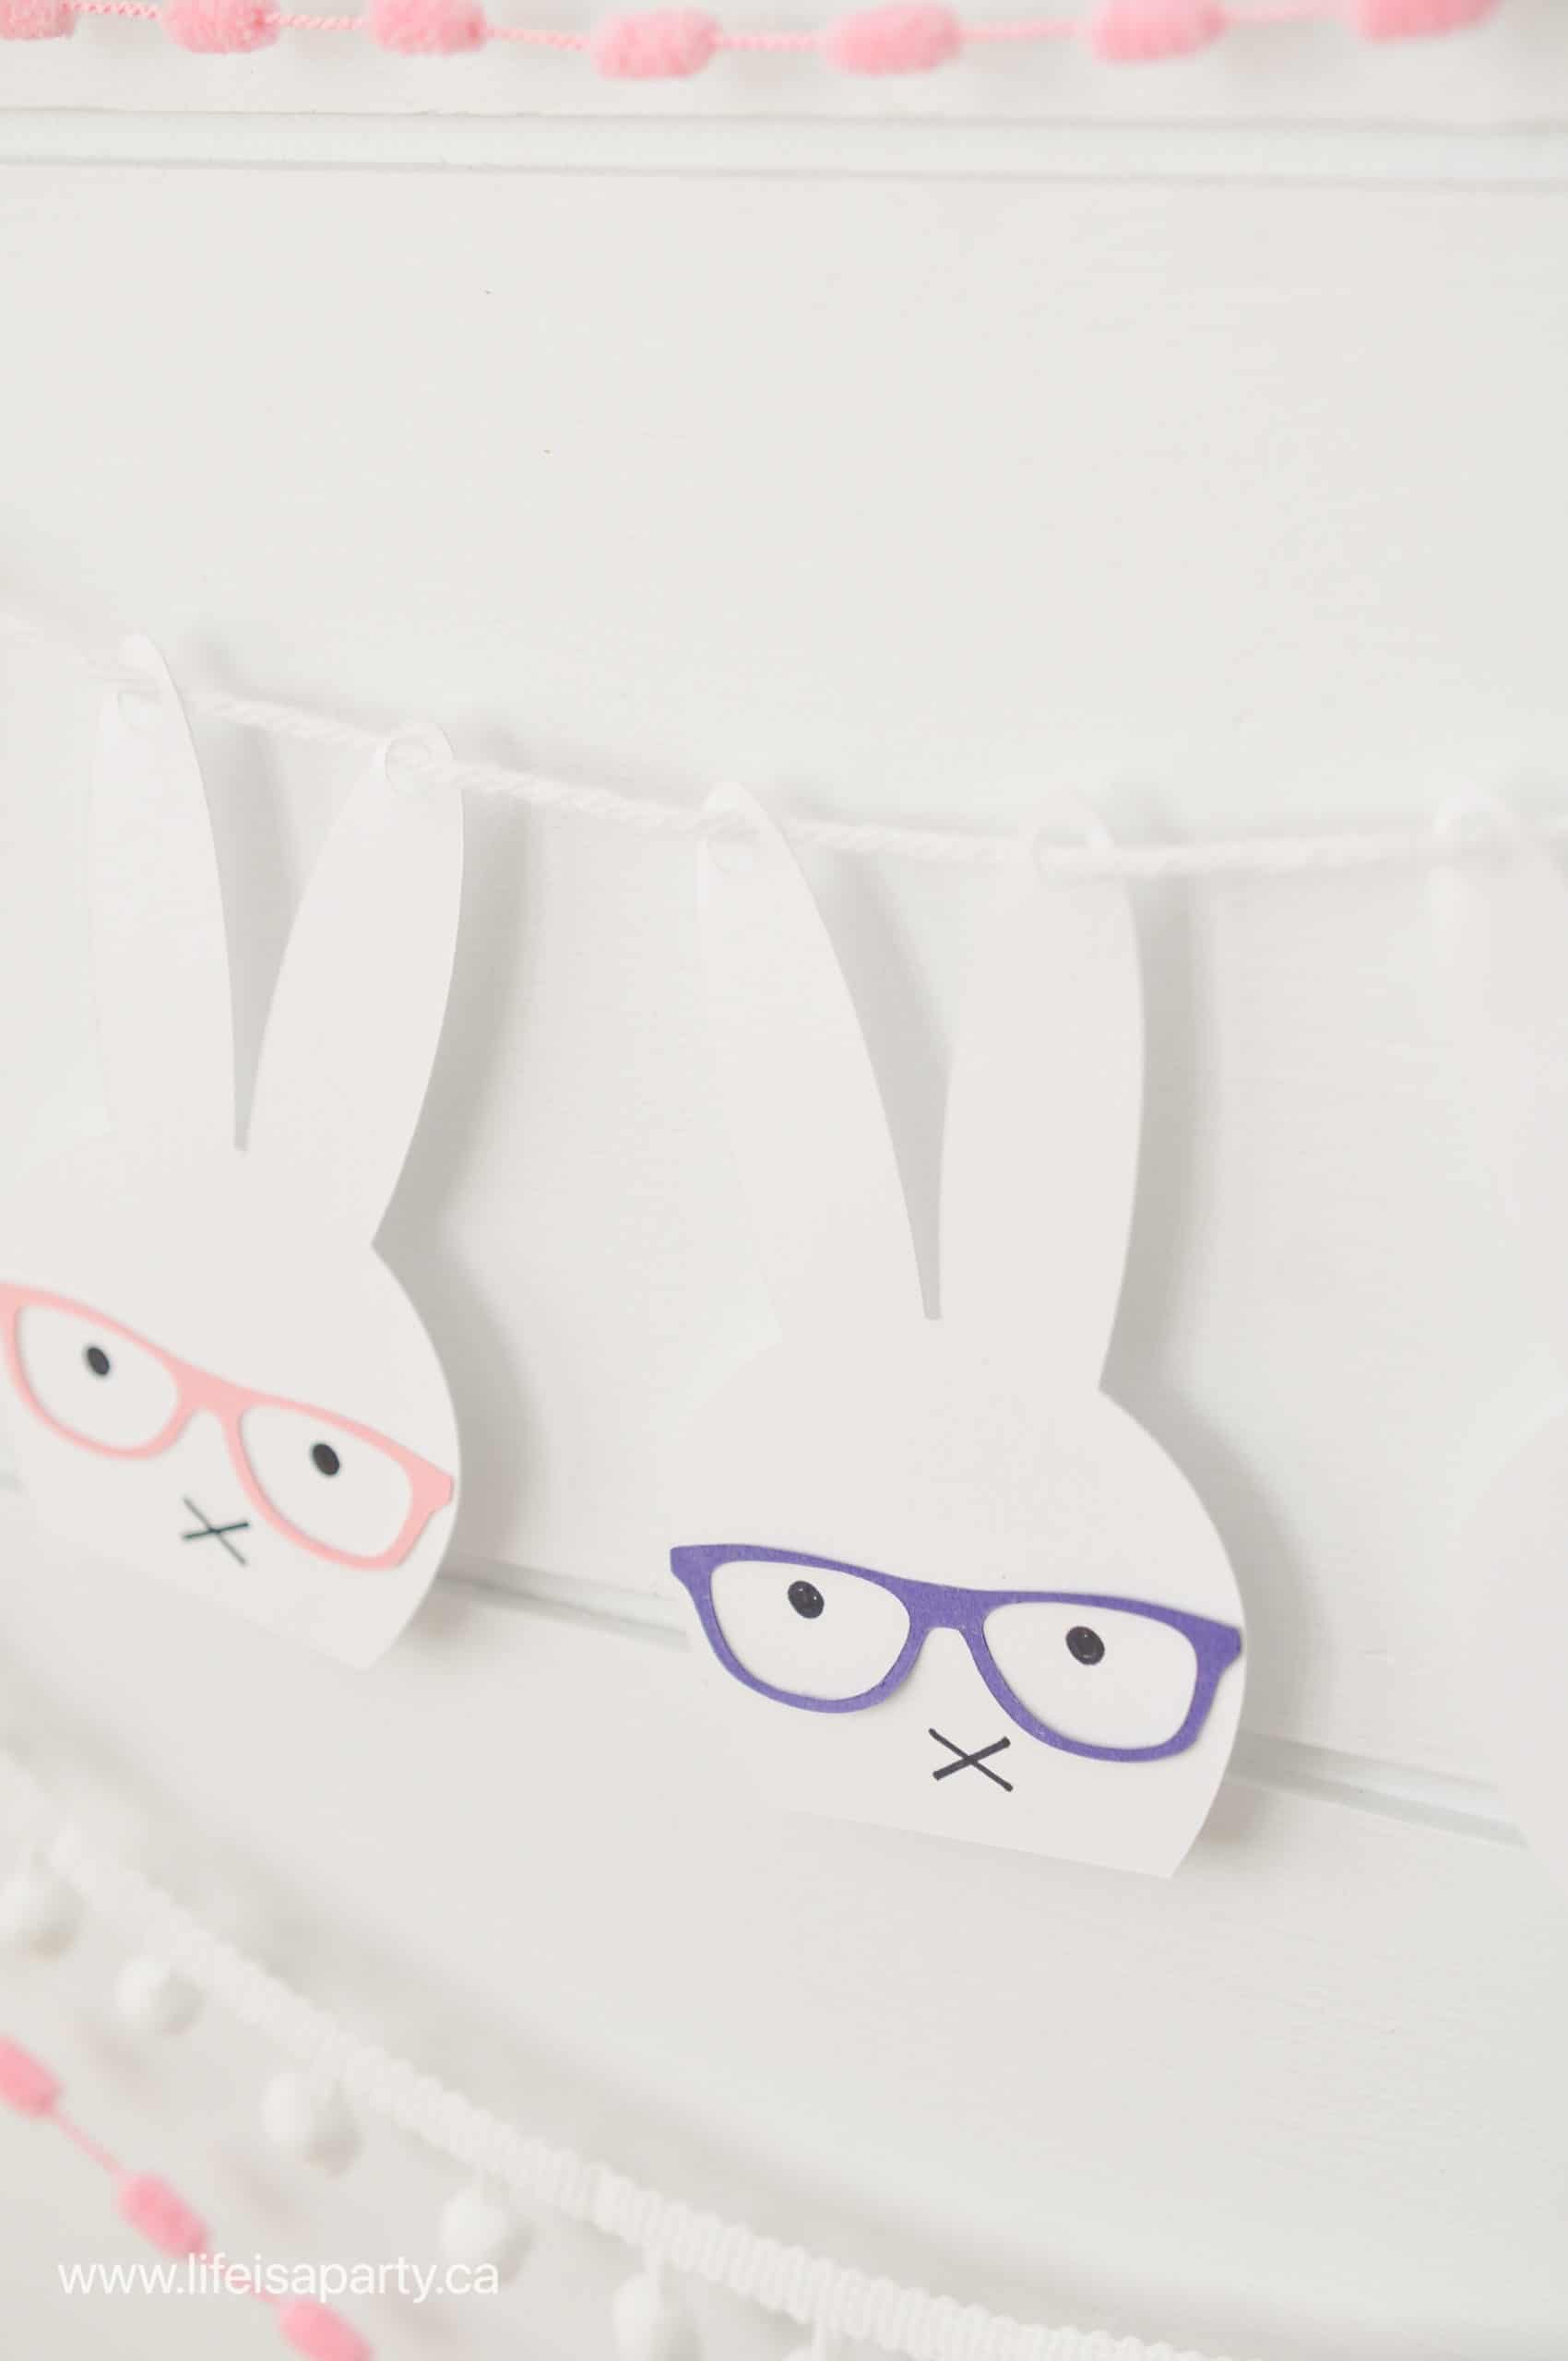
I love Easter crafts that are simple, and this one is really quick and easy to put together. To access the free cut files that you can use with a cutting machine to make this, or for the PDF version just subscribe to Life is a Party. You'll be given immediate access to our Free Resource Library where you can download the free file to make this. The PDF version can be printed and cut out by hand, as part of our free printables collection.
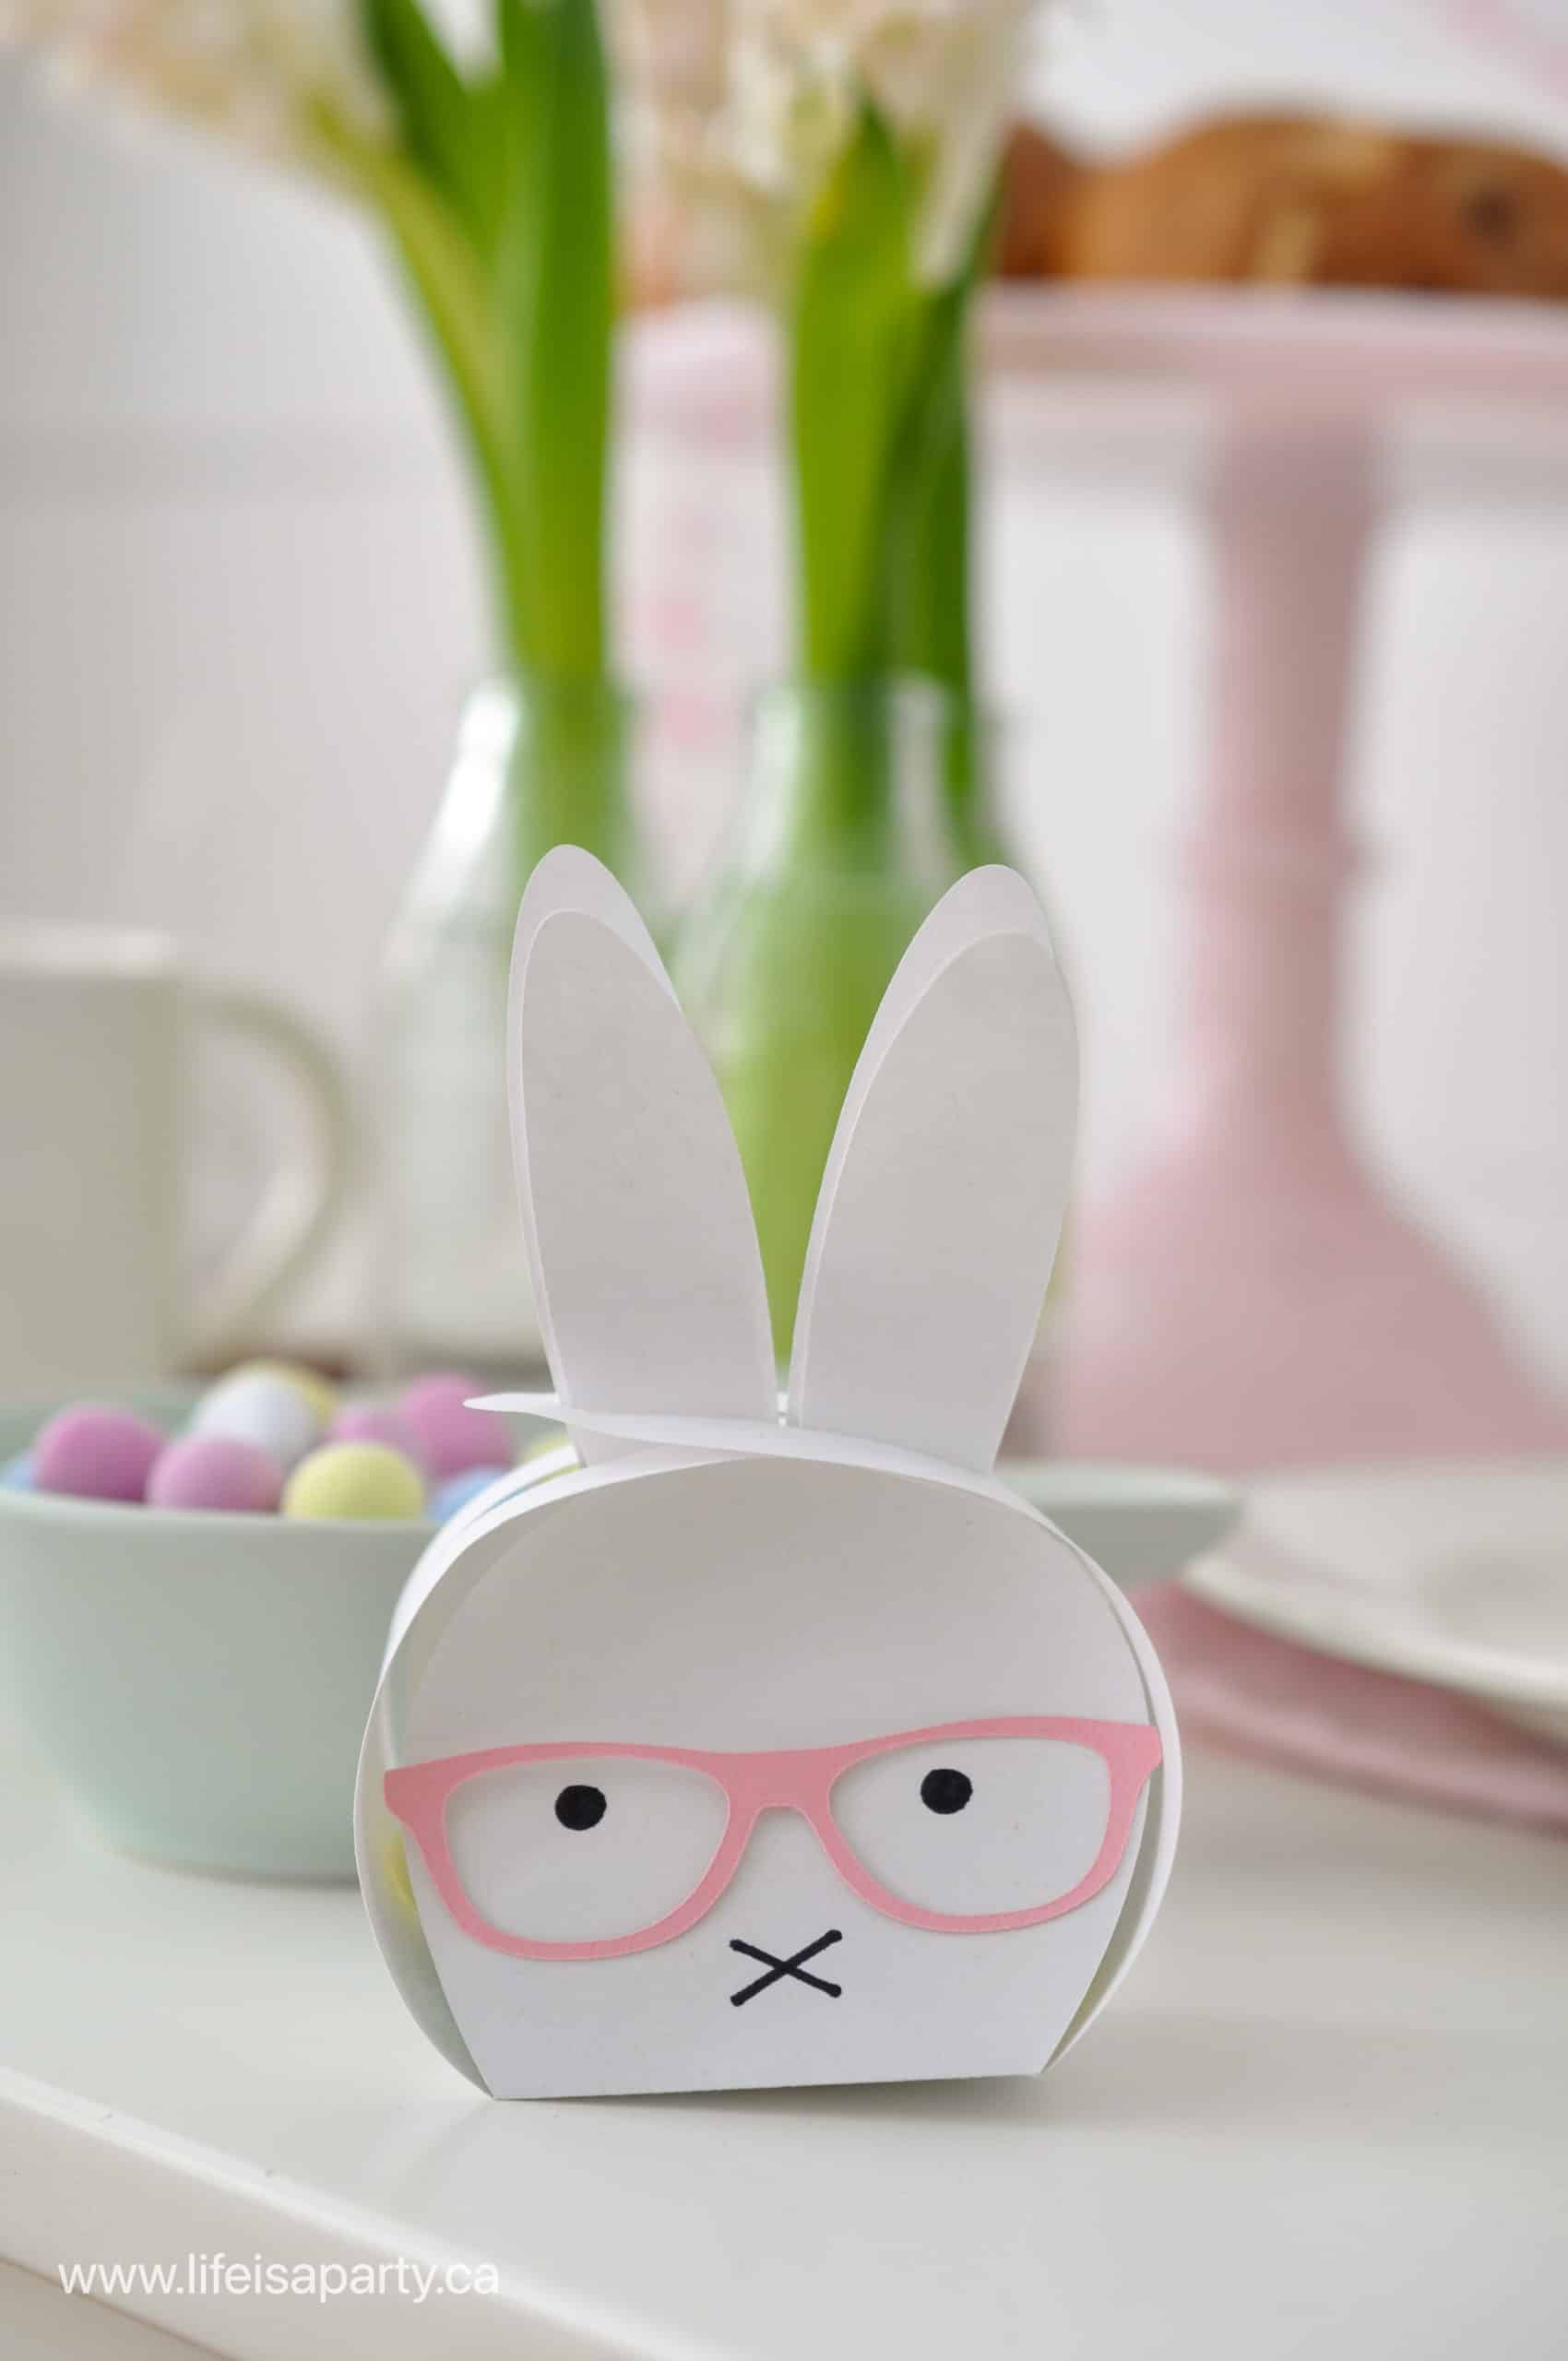
Bunny Treat Box
I used this adorable bunny banner as part of a children's Easter table. Pair it with our Bunny Treat Box full of easter eggs. The free cut and Easter SVG files and PDF for the bunny treat box are included with the bunny banner files. You can access the full tutorial with instructions on how to make it here. These bunny svg files are such a fun Easter projects to do with kids, or as a family.
Cricut Easter Banner Materials
- free cut files
- white cardstock
- Cricut marker
- pink, blue, or a other colour of cardstock for the glasses
- glue stick
- yarn, twine. or ribbon
- hole punch or tape
You can cut this out on your Cricut Maker, or any of the Cricut Explore machines including the Cricut Explore Air. It is not compatible with the Cricut Joy, because it's too big to cut out with this machine.
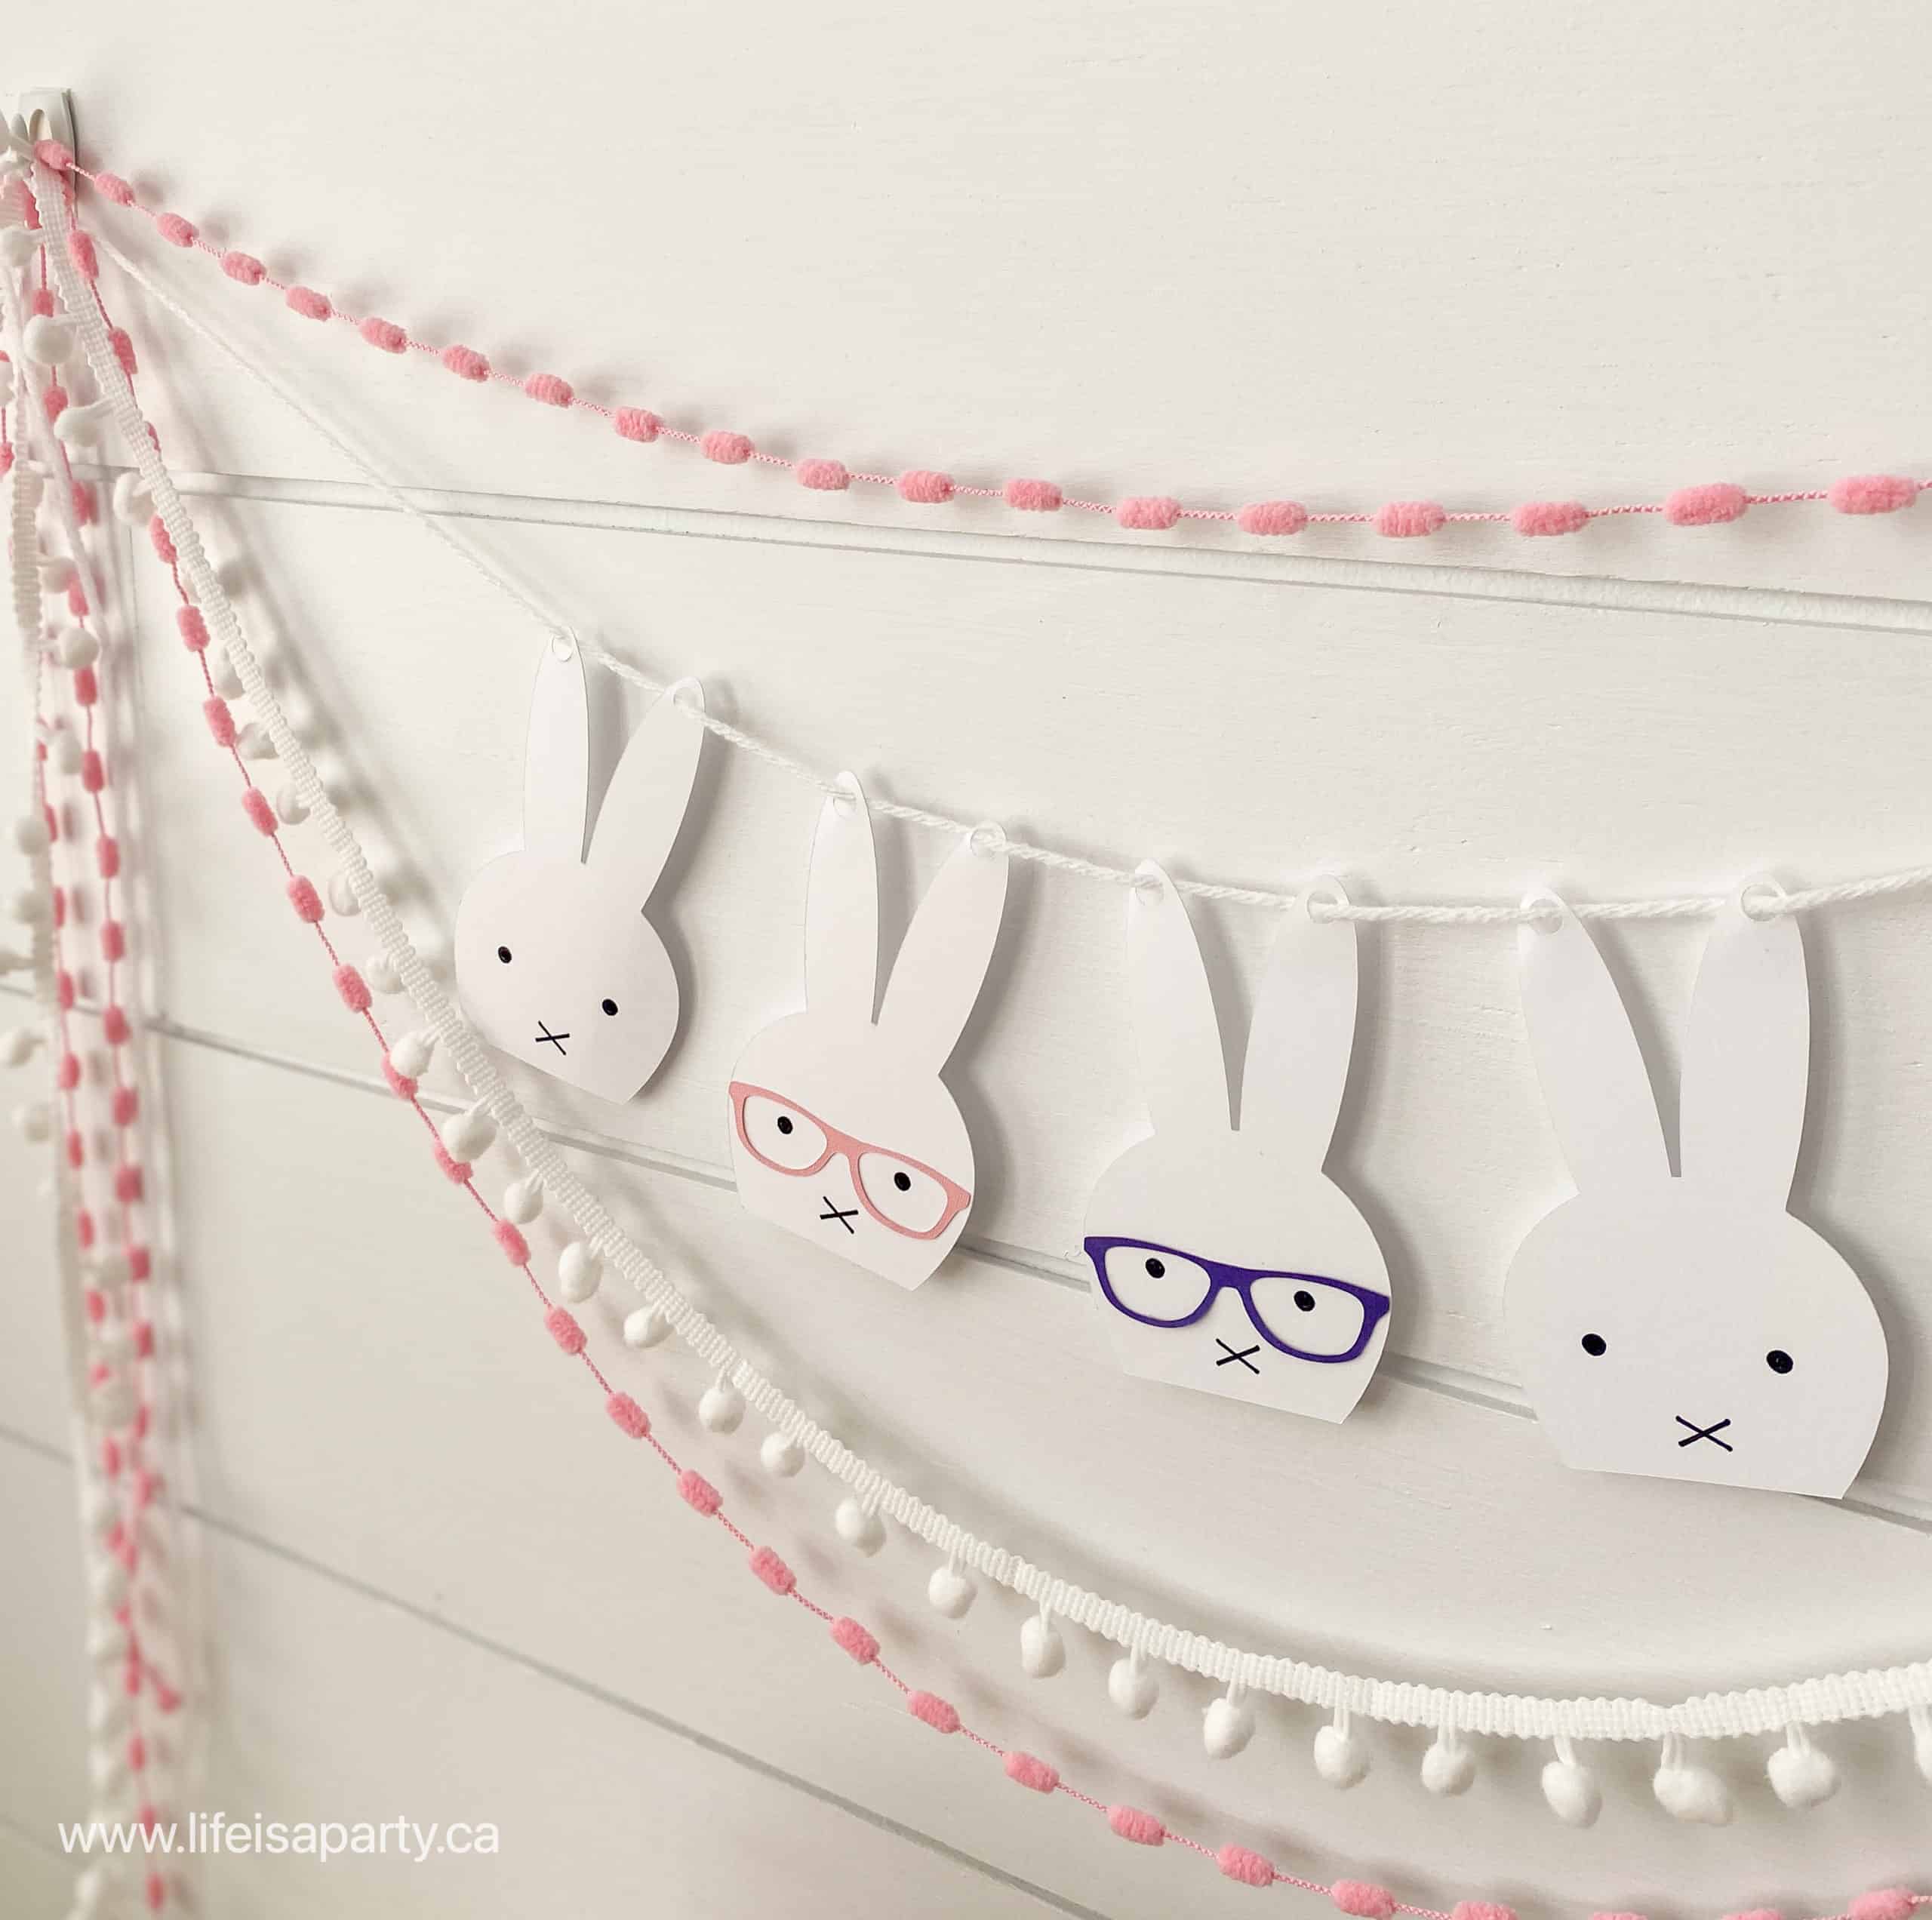
How to Make The Bunny Banner
To make the cute banner with the free PDF, download it from our Free Resource Library, print it, and cut it out with scissors.
In Cricut Design Space
To make the bunny banner with your Cricut machine, download the free svg file, and upload it to Cricut Design Space on a new canvas.
Next, ungroup the project.
Select the bunny face, and change the operation from basic cut to pen.
Then, select the bunny outline and the face -but not the glasses, and use the attach button to attach them together.
Now, use the duplicate button to create as many copies of the bunny and the glasses as you would like. I did five for my banner, with two sets of the glasses.
Then cut out the bunnies and the glasses from cardstock, adding the marker when prompted in Cricut Design Space.
Assembly
To create the banner, start by adding the glasses to the bunnies. You won't want to use a hot glue gun to add a dab of glue for this project, since the glasses are so delicate. A glue stick works really well to add the glasses to the bunnies.
Use a hole punch to add holes to the top of the bunnies ears and string them together with a piece of twine, yarn or ribbon or use tape to attach the yarn to the back of each bunny image. Hang up your Easter garland and enjoy all spring long.
How To Use Your Bunny Banner
There are so many different ways to use this fun project to decorate for your Easter holiday. These Easter Cricut projects would be a great decoration for your Easter egg hunt, or on your front door. Or create some extras and use a cute bunny as name tags on your Easter buckets.
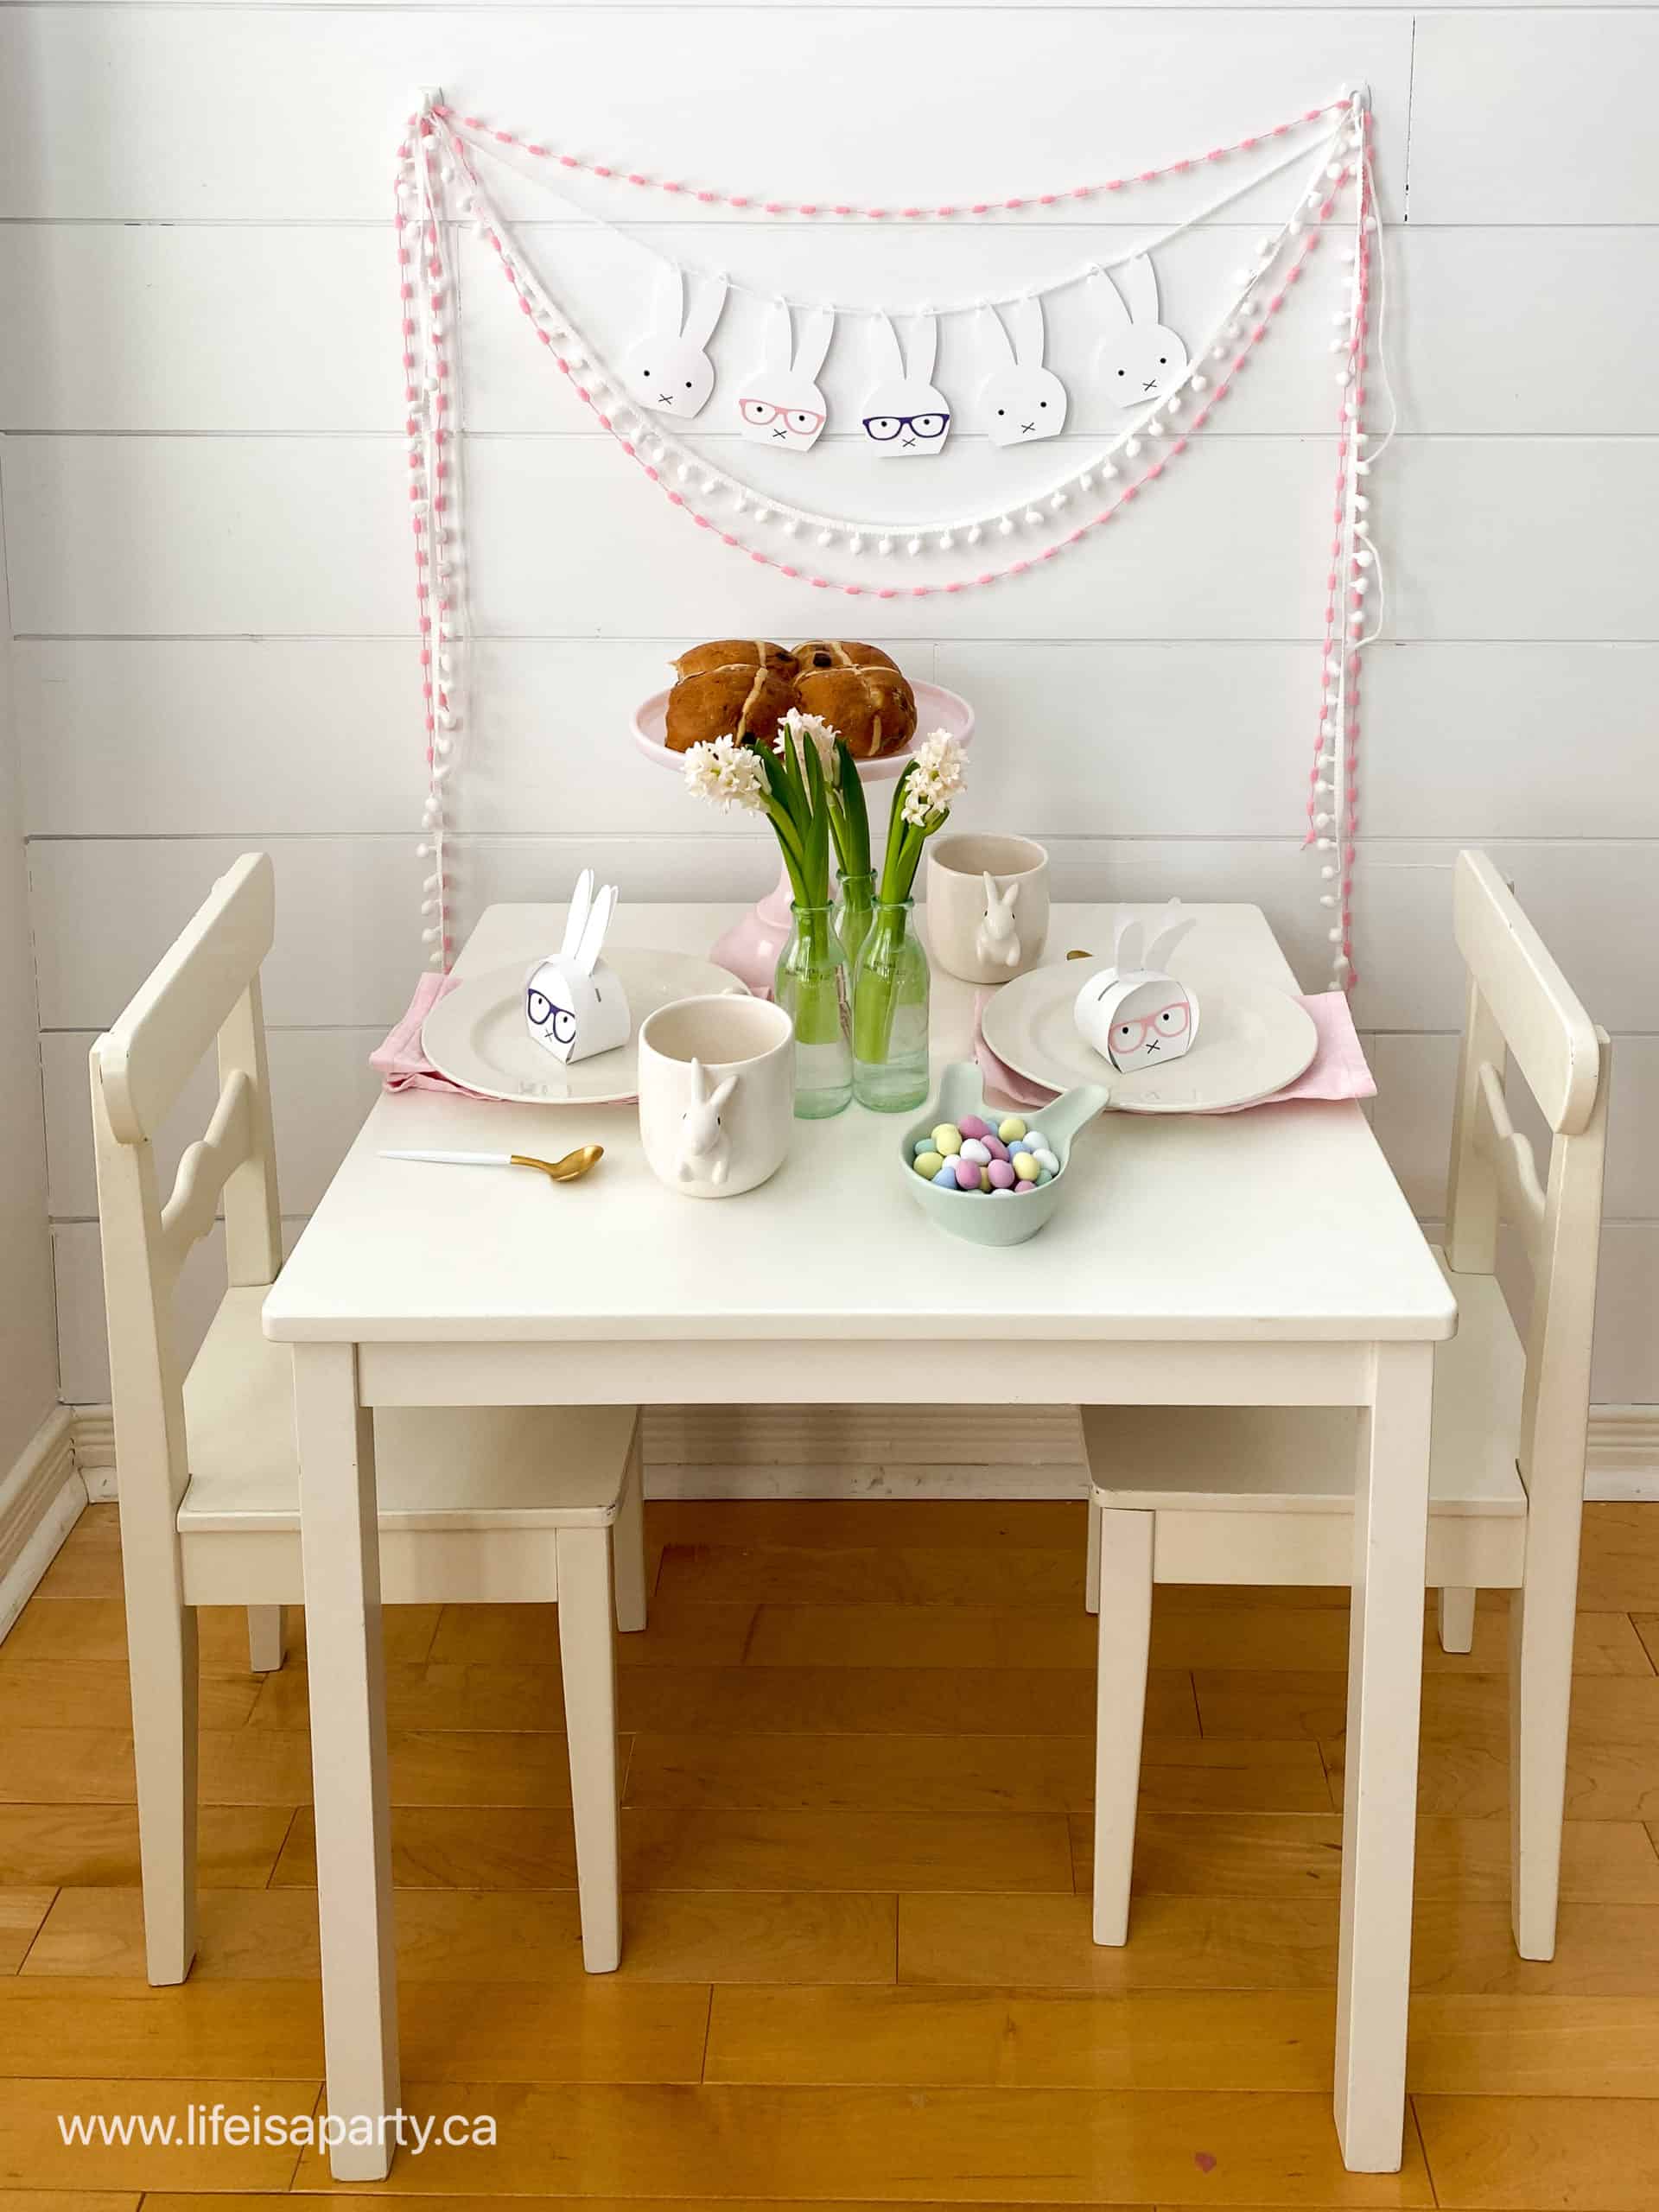
The beautiful banners make lovely home decor, or great gifts. I thing my favourite way to use the simple Easter banner is over a dining table, like we did for our Easter table. Combining the banner with our bunny treat boxes has to be one of my favorite Cricut Easter ideas. Happy crafting!
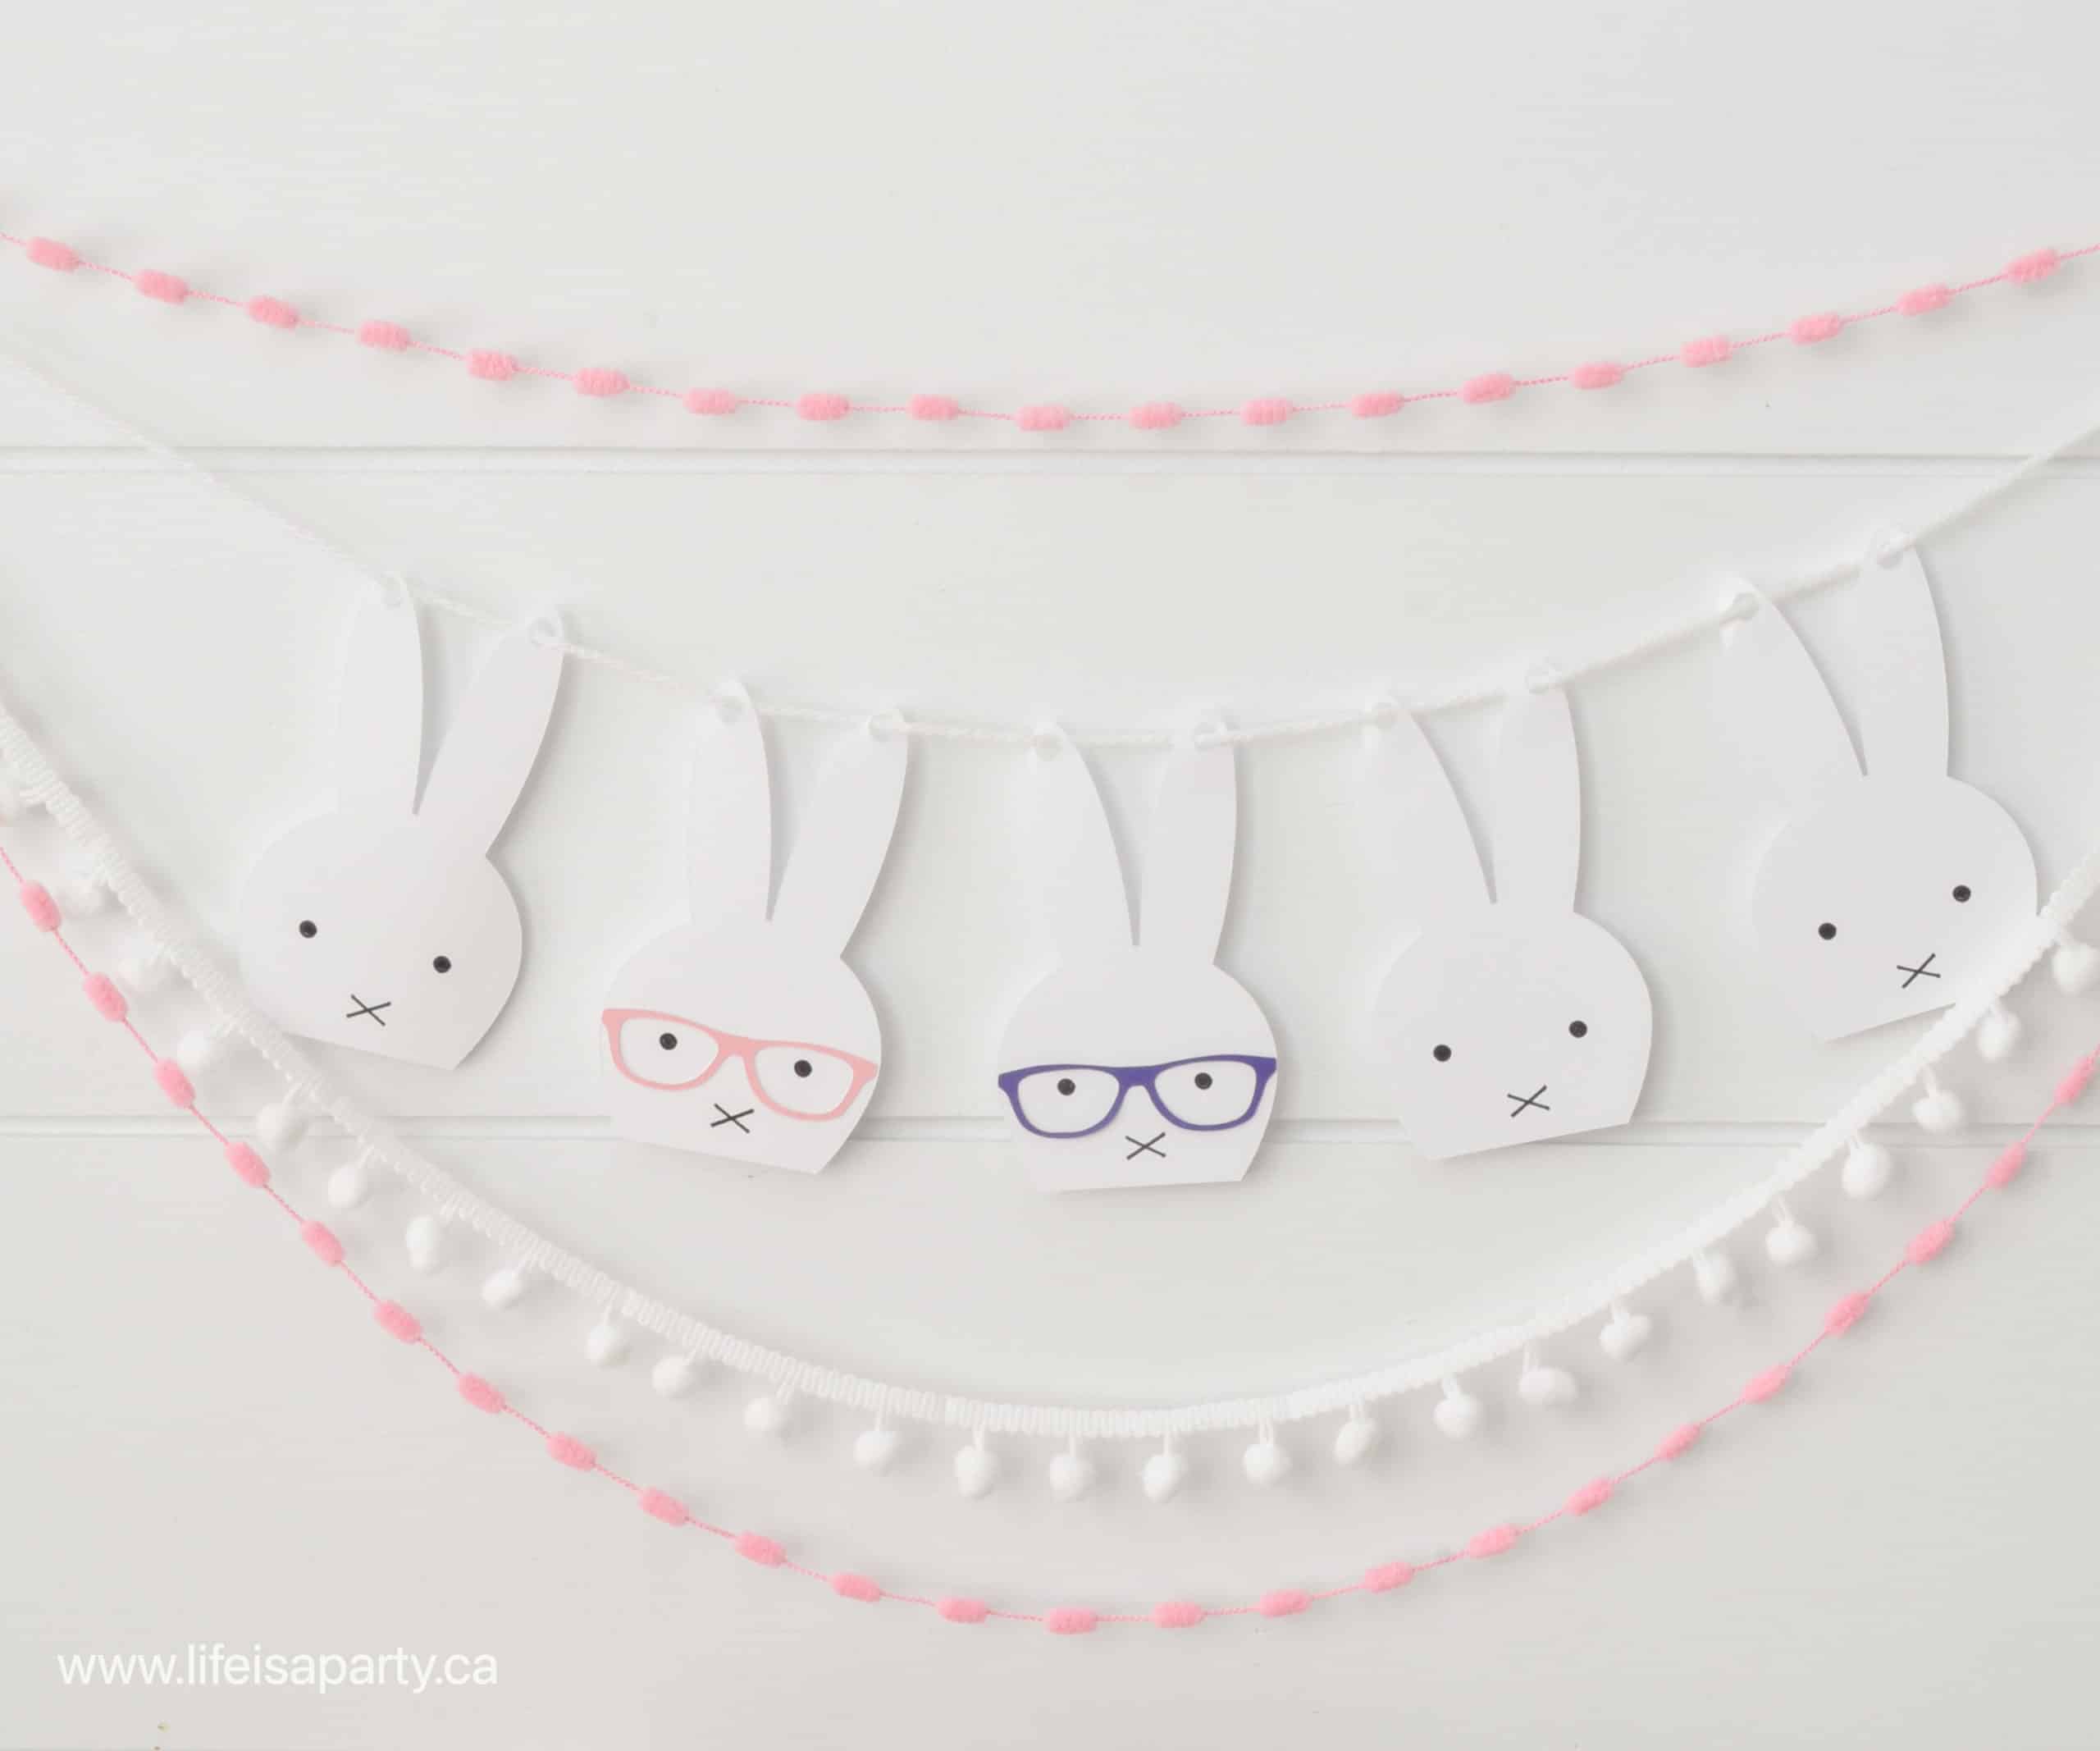
Don't forget to subscribe below for access to the Free Resource Library.
More Easter Ideas
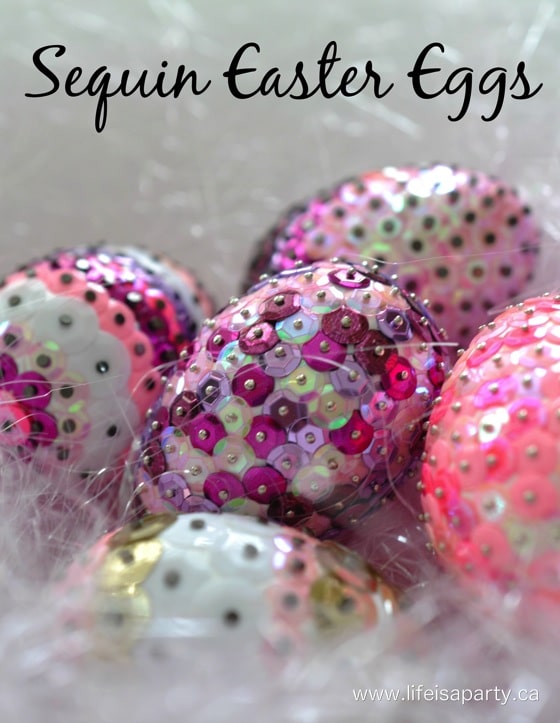
You might also like our DIY Sequin Easter eggs here.
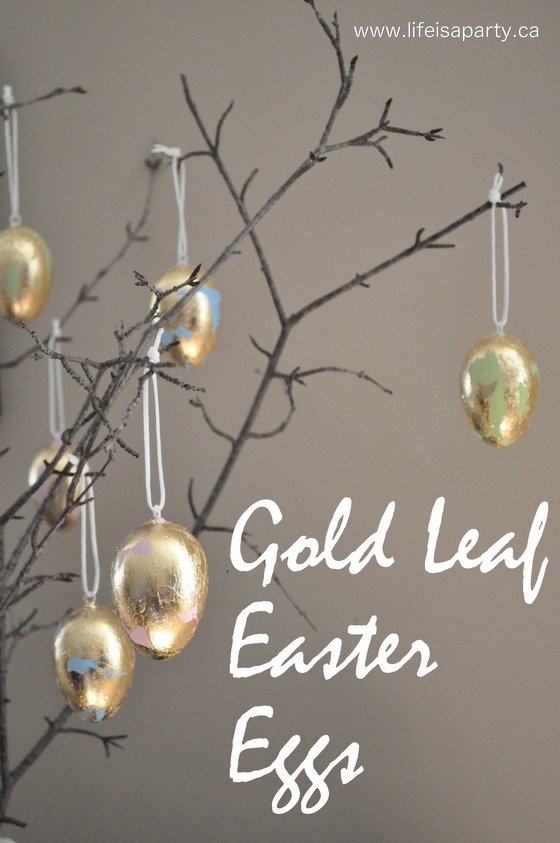
Also check out our Gold Leaf Easter eggs here.
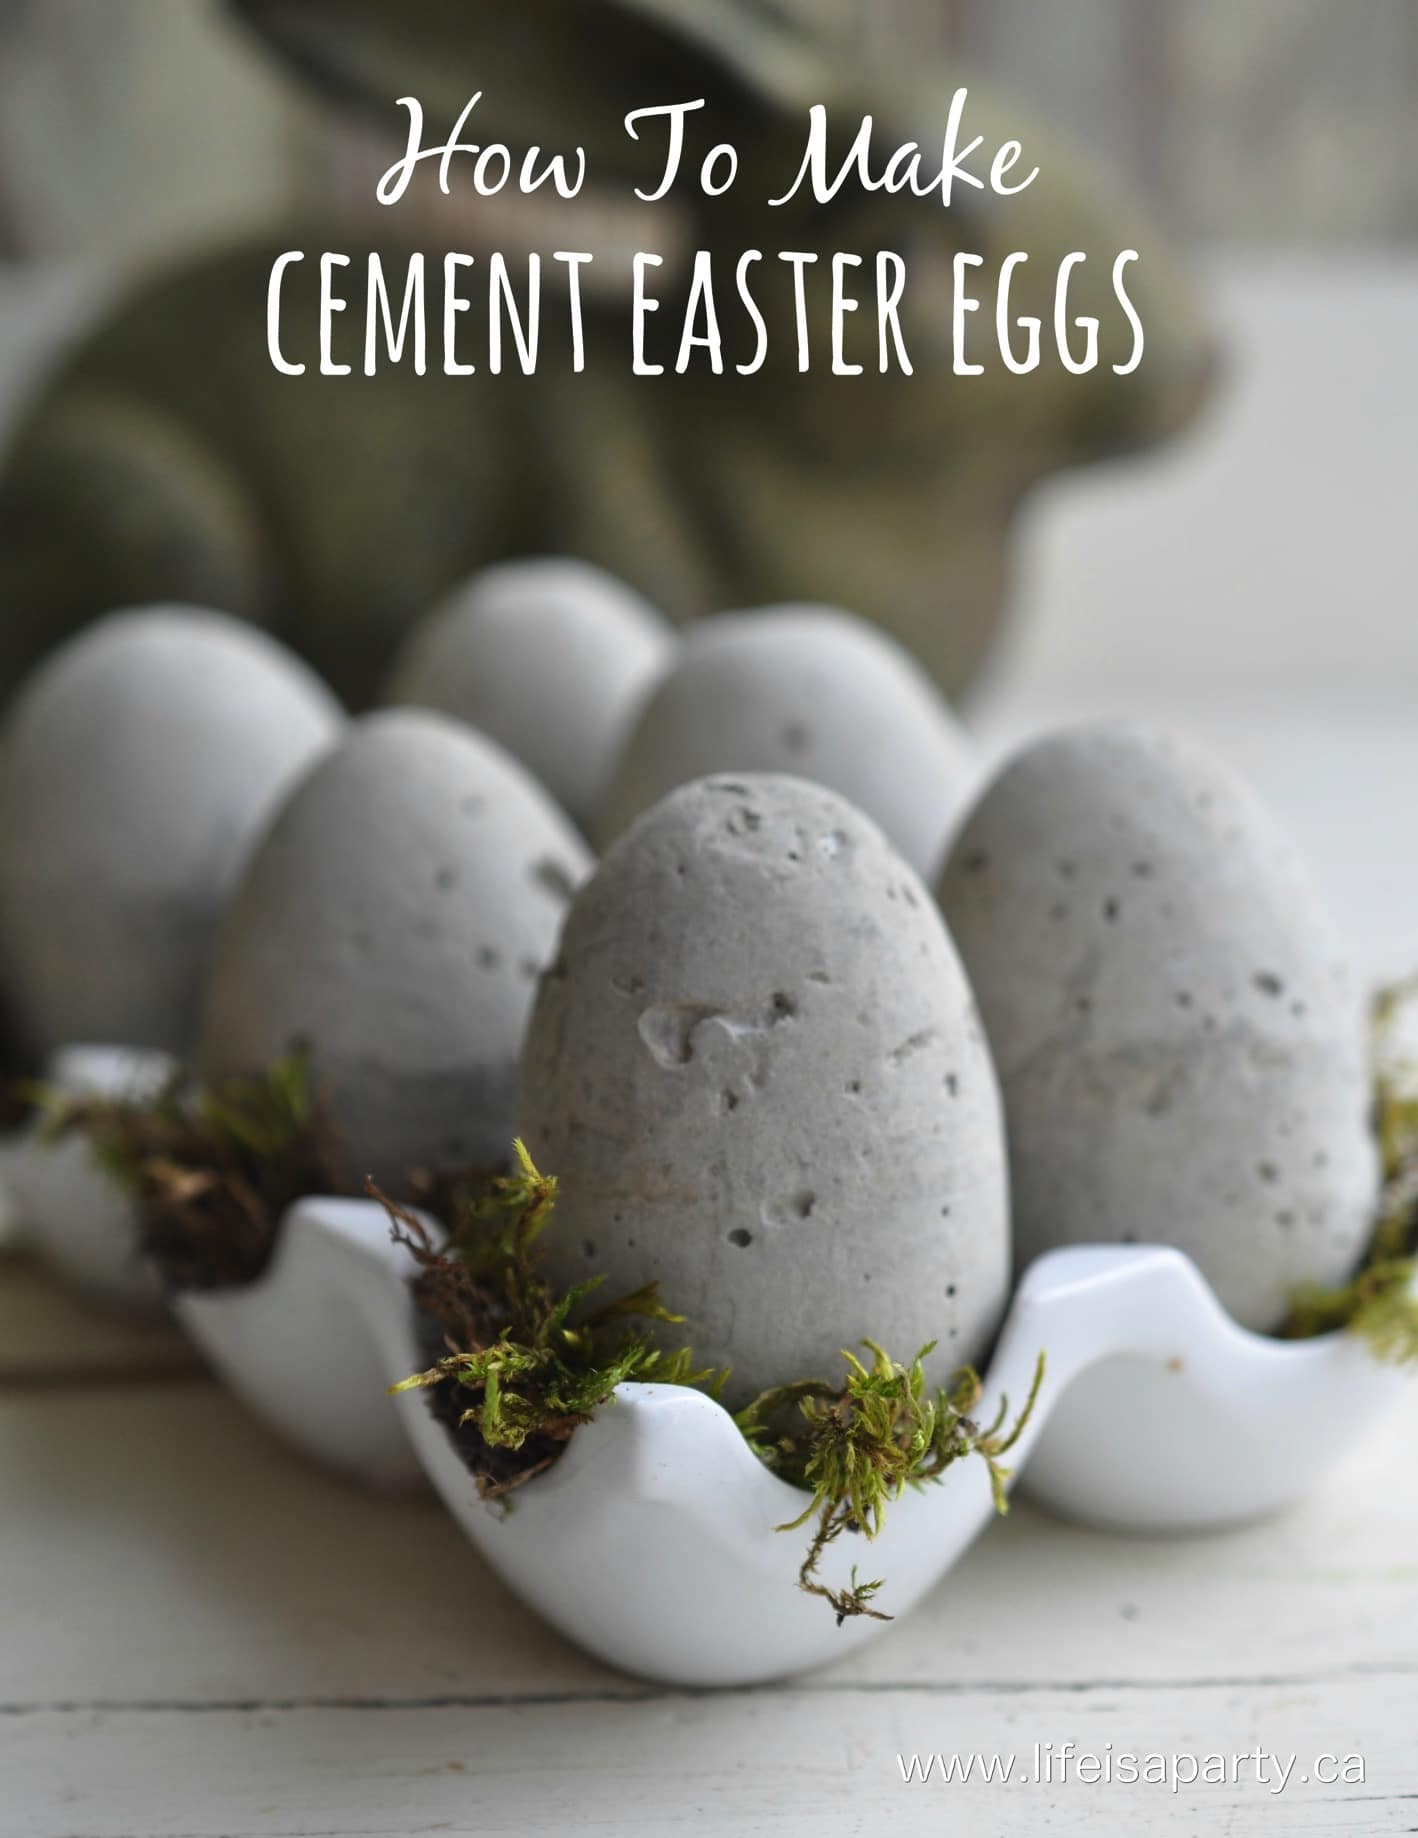
You might also like our DIY Cement Easter eggs here.


Leave a Reply