Cricut Halloween DIY Trick or Treat Bag: Less Tricks More Treats free Cricut pattern to create the cutest bag for trick or treating and all fall long.

Jump to:
This adorable DIY Trick or Treat Bag is easy to make and so much fun. When I was a kid I loved Halloween. There were always school parties with everyone in costumes, and old fashioned games like bobbing for apples. That was all fun, but the best part had to be trick or treating. Back then we usually used an old plastic grocery bag. Anyone else remember that?
Trick or Treating is still my favourite part of Halloween. These days I'm just walking my girls around the neighbourhood, but there's still something about seeing the neighbours, and all the kids costumes, and of course the candy! My kids are very generous, and very willing to share their treats so it's still very fun.
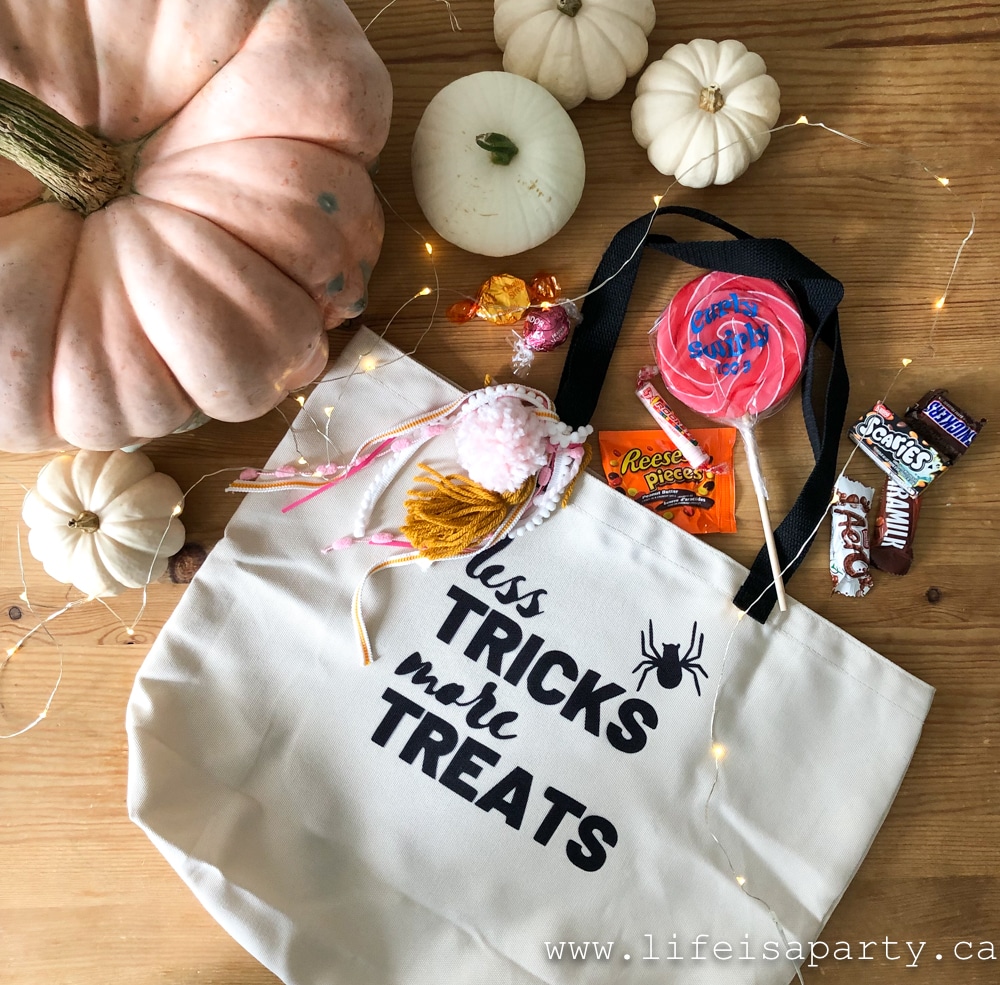
Custom Trick or Treat Bag
When I was a little girl I loved getting home from trick or treating and dumping out my bag of candy. We all used to claim a section on the living room rug and sort our candy into piles -chocolate, chips, gum, etc. Then it was time for sampling. My kids do the very same -oh and let's not forget trading with your siblings for more of your favourites. My girls love to finish the night with a hot chocolate and a few treats from their bags.
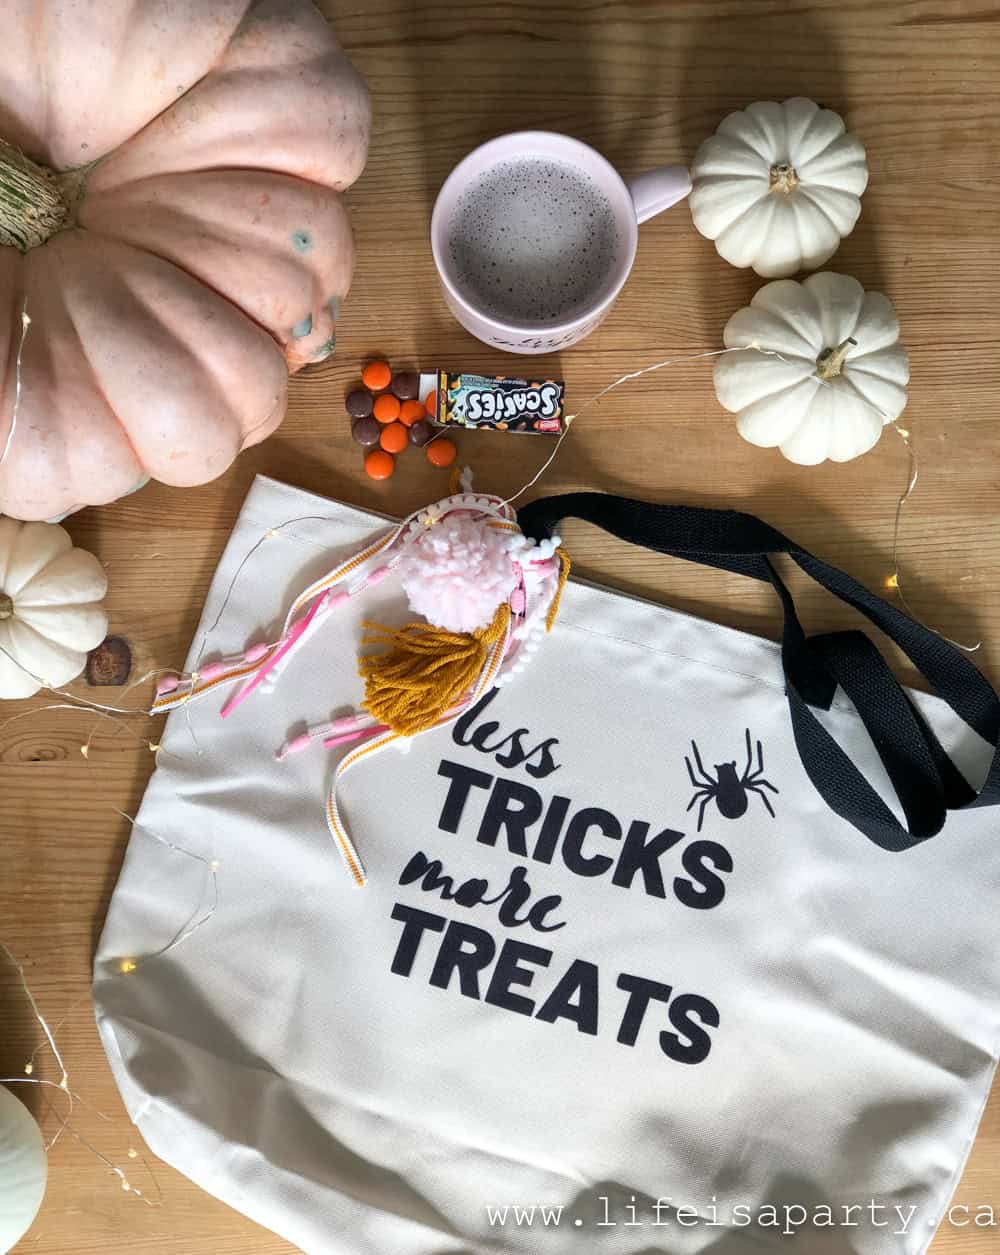
This custom Trick or Treat bag was so fun to make. I used my amazing Cricut Maker. It's one of my very favourite craft tools. There's pretty much no end of what you can cut out and what you can make with this amazing cutting machine. And ever since I made this tote bag and costers with Cricut Infusible Ink, I I couldn't wait to use it again.
Materials:
- Cricut Maker
- Infusible Ink Transfer Sheet -Black
- Cricut Infusible Ink Tote Bag
- Butcher Paper
- Cricut Standard Grip Mat
- Cardstock
- EasyPress 2
- Lintroller
- EasyPress Mat
- Less Tricks More Treats Free PNG File -from our subscribers free resource library
How To Make the Trick or Treat Bag:
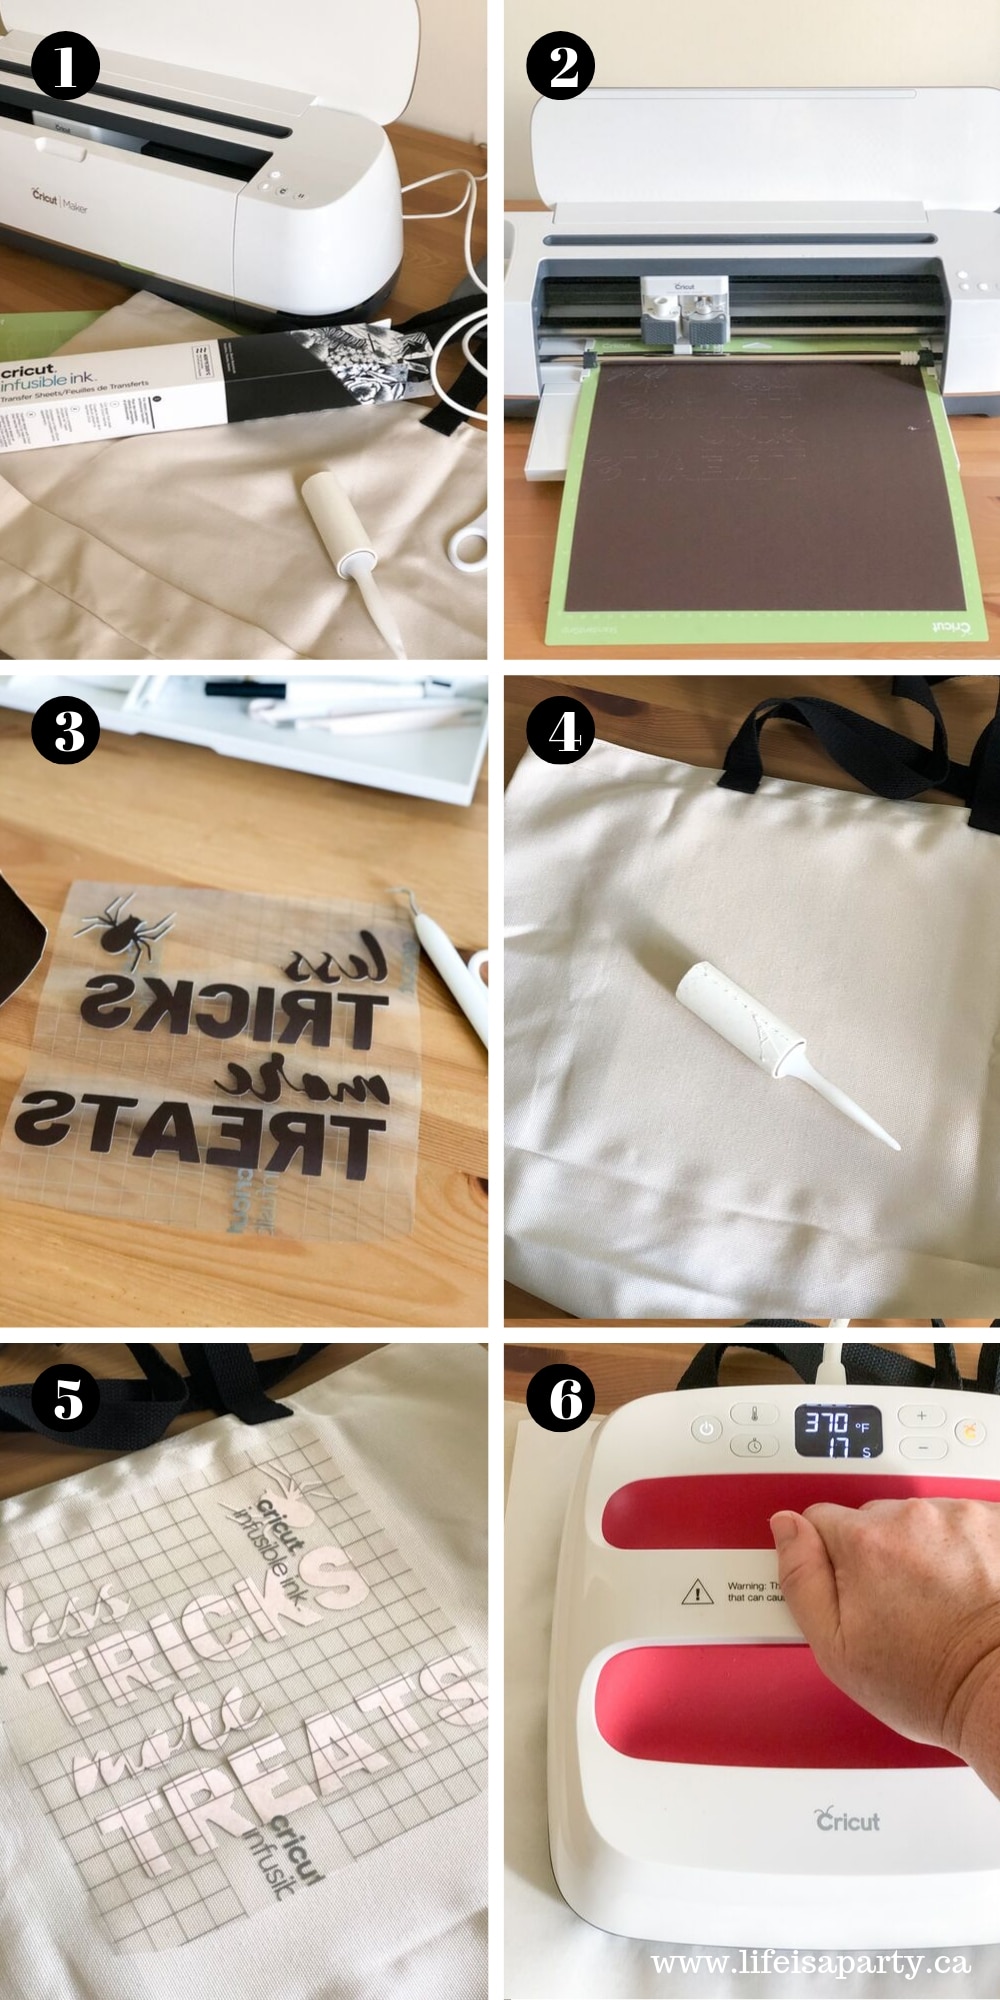
Begin by creating the cut pattern. The PNG is available for free for Life is a Party subscribers in our Free Resource Library. Subscribe below for access. Download the Less Tricks More Treats file.
To create in Cricut Design Space, start a new project, and click the upload button. Upload the free file. Make sure the background is removed, then add to your canvas. Adjust the size to fit your bag. When you're ready to cut it out, click Make It. Be sure to "mirror image" is on. 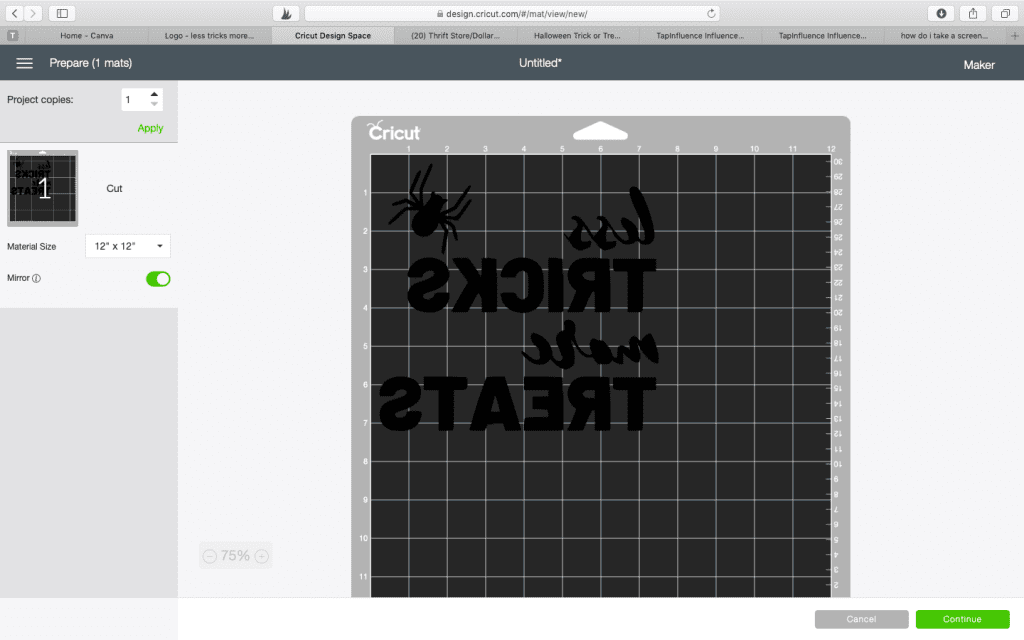
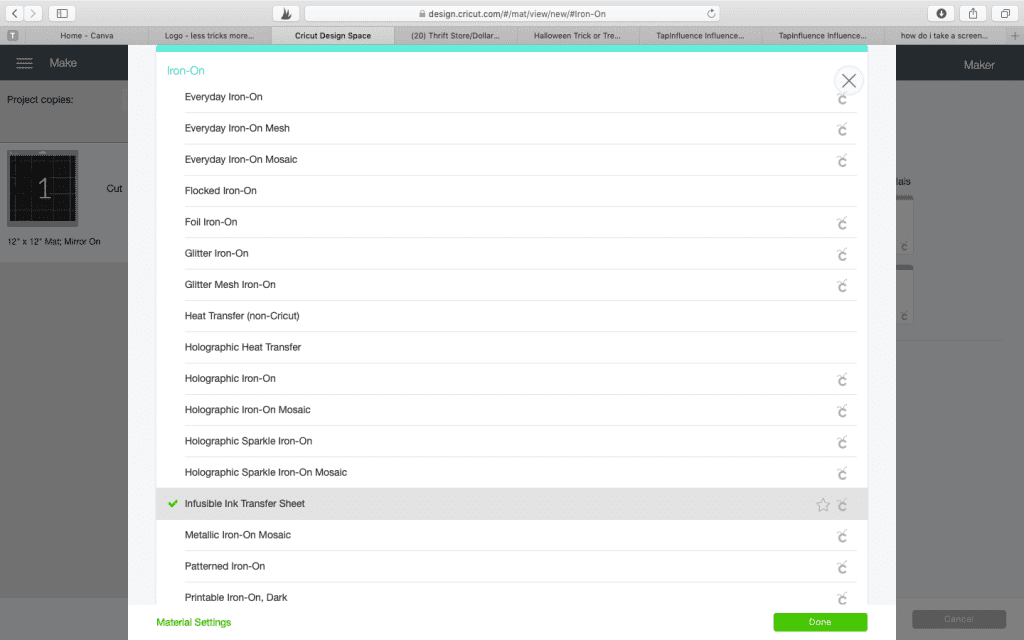
- Next, apply your Cricut infusible ink transfer sheet to a regular cutting mat, and cut out your infusible ink transfer sheet.
- Once the infusible ink transfer sheet is cut out, remove it from the cutting mat and weed the it. To apply the infusible ink to the tote bag, preheat your Easy Press 2 to 375 F and set the timer for 40 seconds. To prepare the tote bag to receive the infusible ink transfer sheet, layer your Easy Press mat, the tote bag, with cardboard inside. Next, use a lint roller to make sure the tote bag surface is completely clean and lint free.
- Use the Easy Press 2 to preheat the tote bag for 15 seconds. Now apply the infusible ink transfer sheet to the tote bag, taking care to line it up in the middle.
- Place a piece of butcher paper on top of the infusible ink transfer sheet. Place the Easy Press 2 on top with light pressure, and without moving it at all for the 40 seconds. Allow the transfer to cool slightly, and then remove it to reveal your beautiful tote bag.
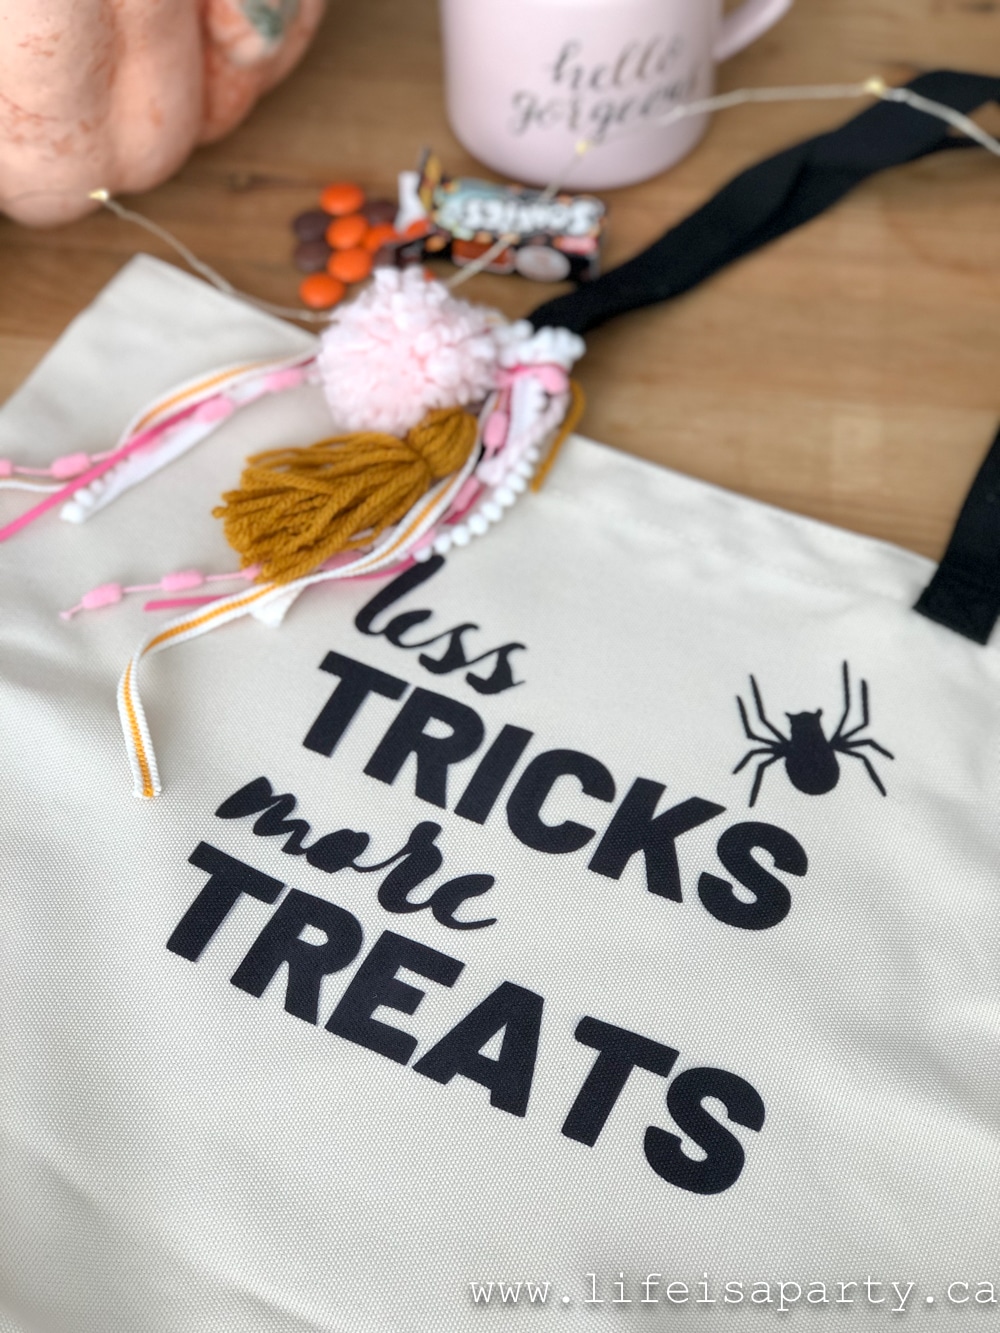
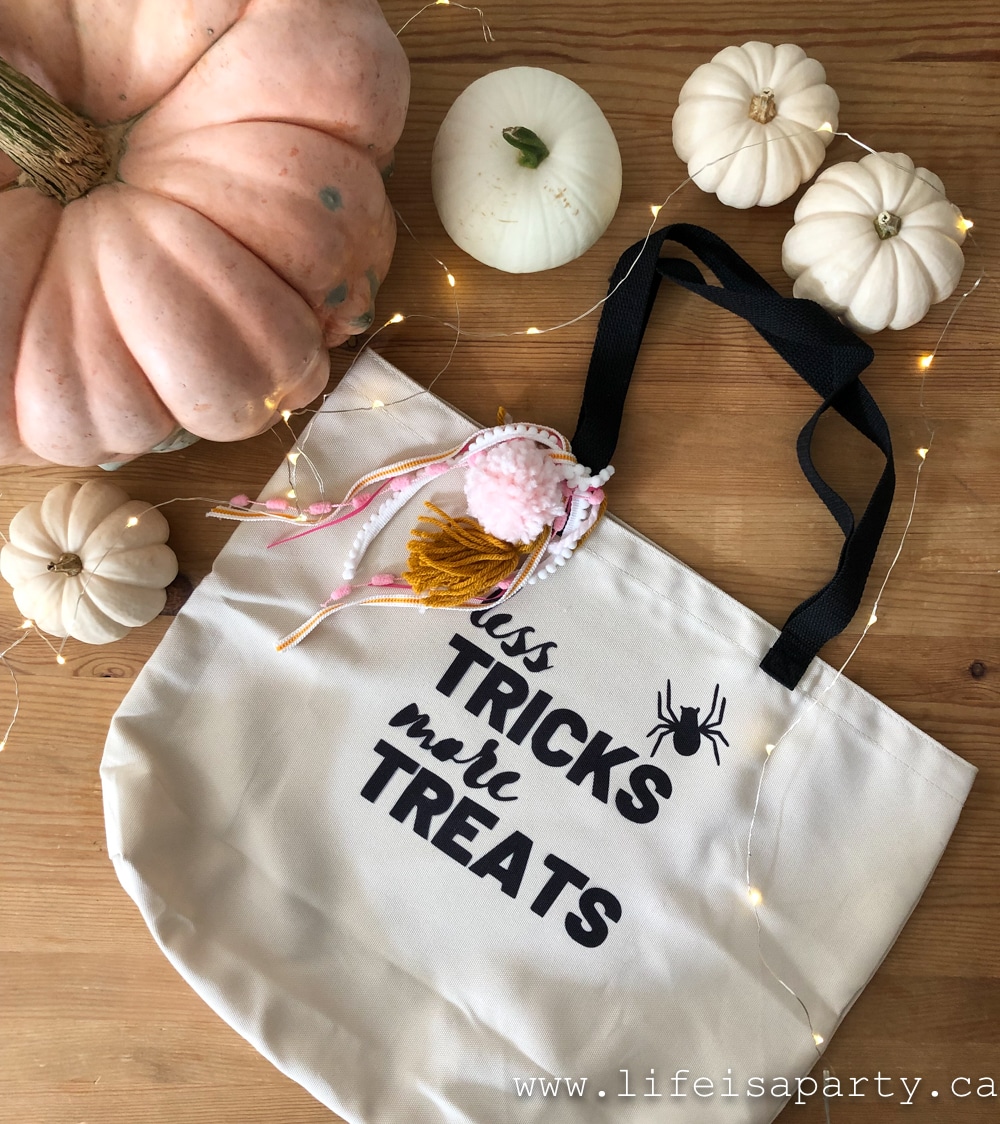
Perfect To Use All Fall
I love how this bag turned out. The infusible ink is an amazing product that creates the most professional finish.
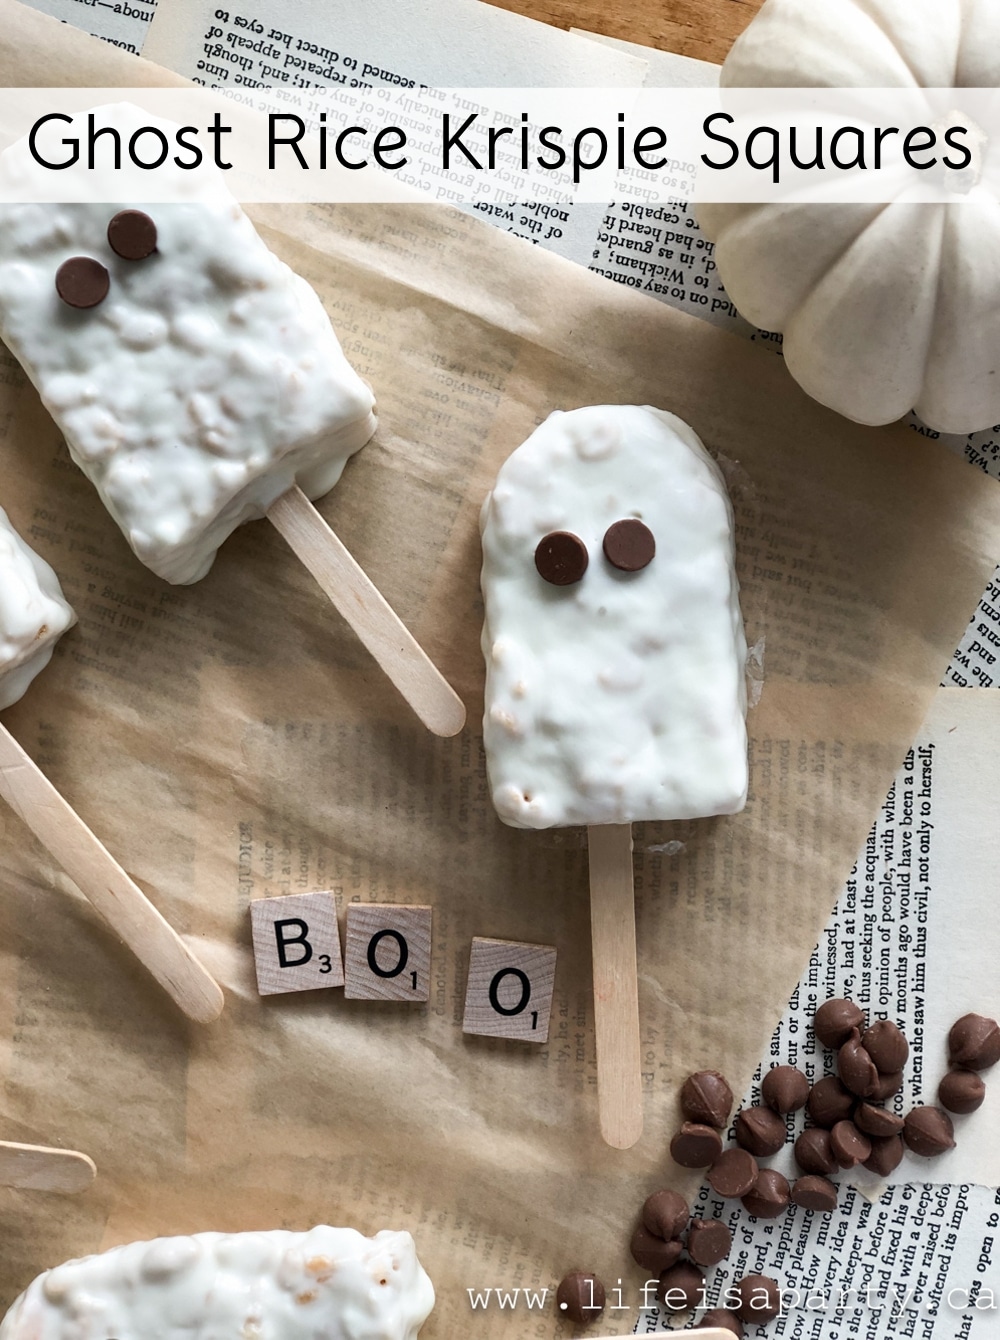
You might also like our Ghost Rice Krispie Squares here.
Also check out our DIY Faux Concrete Pumpkins here.

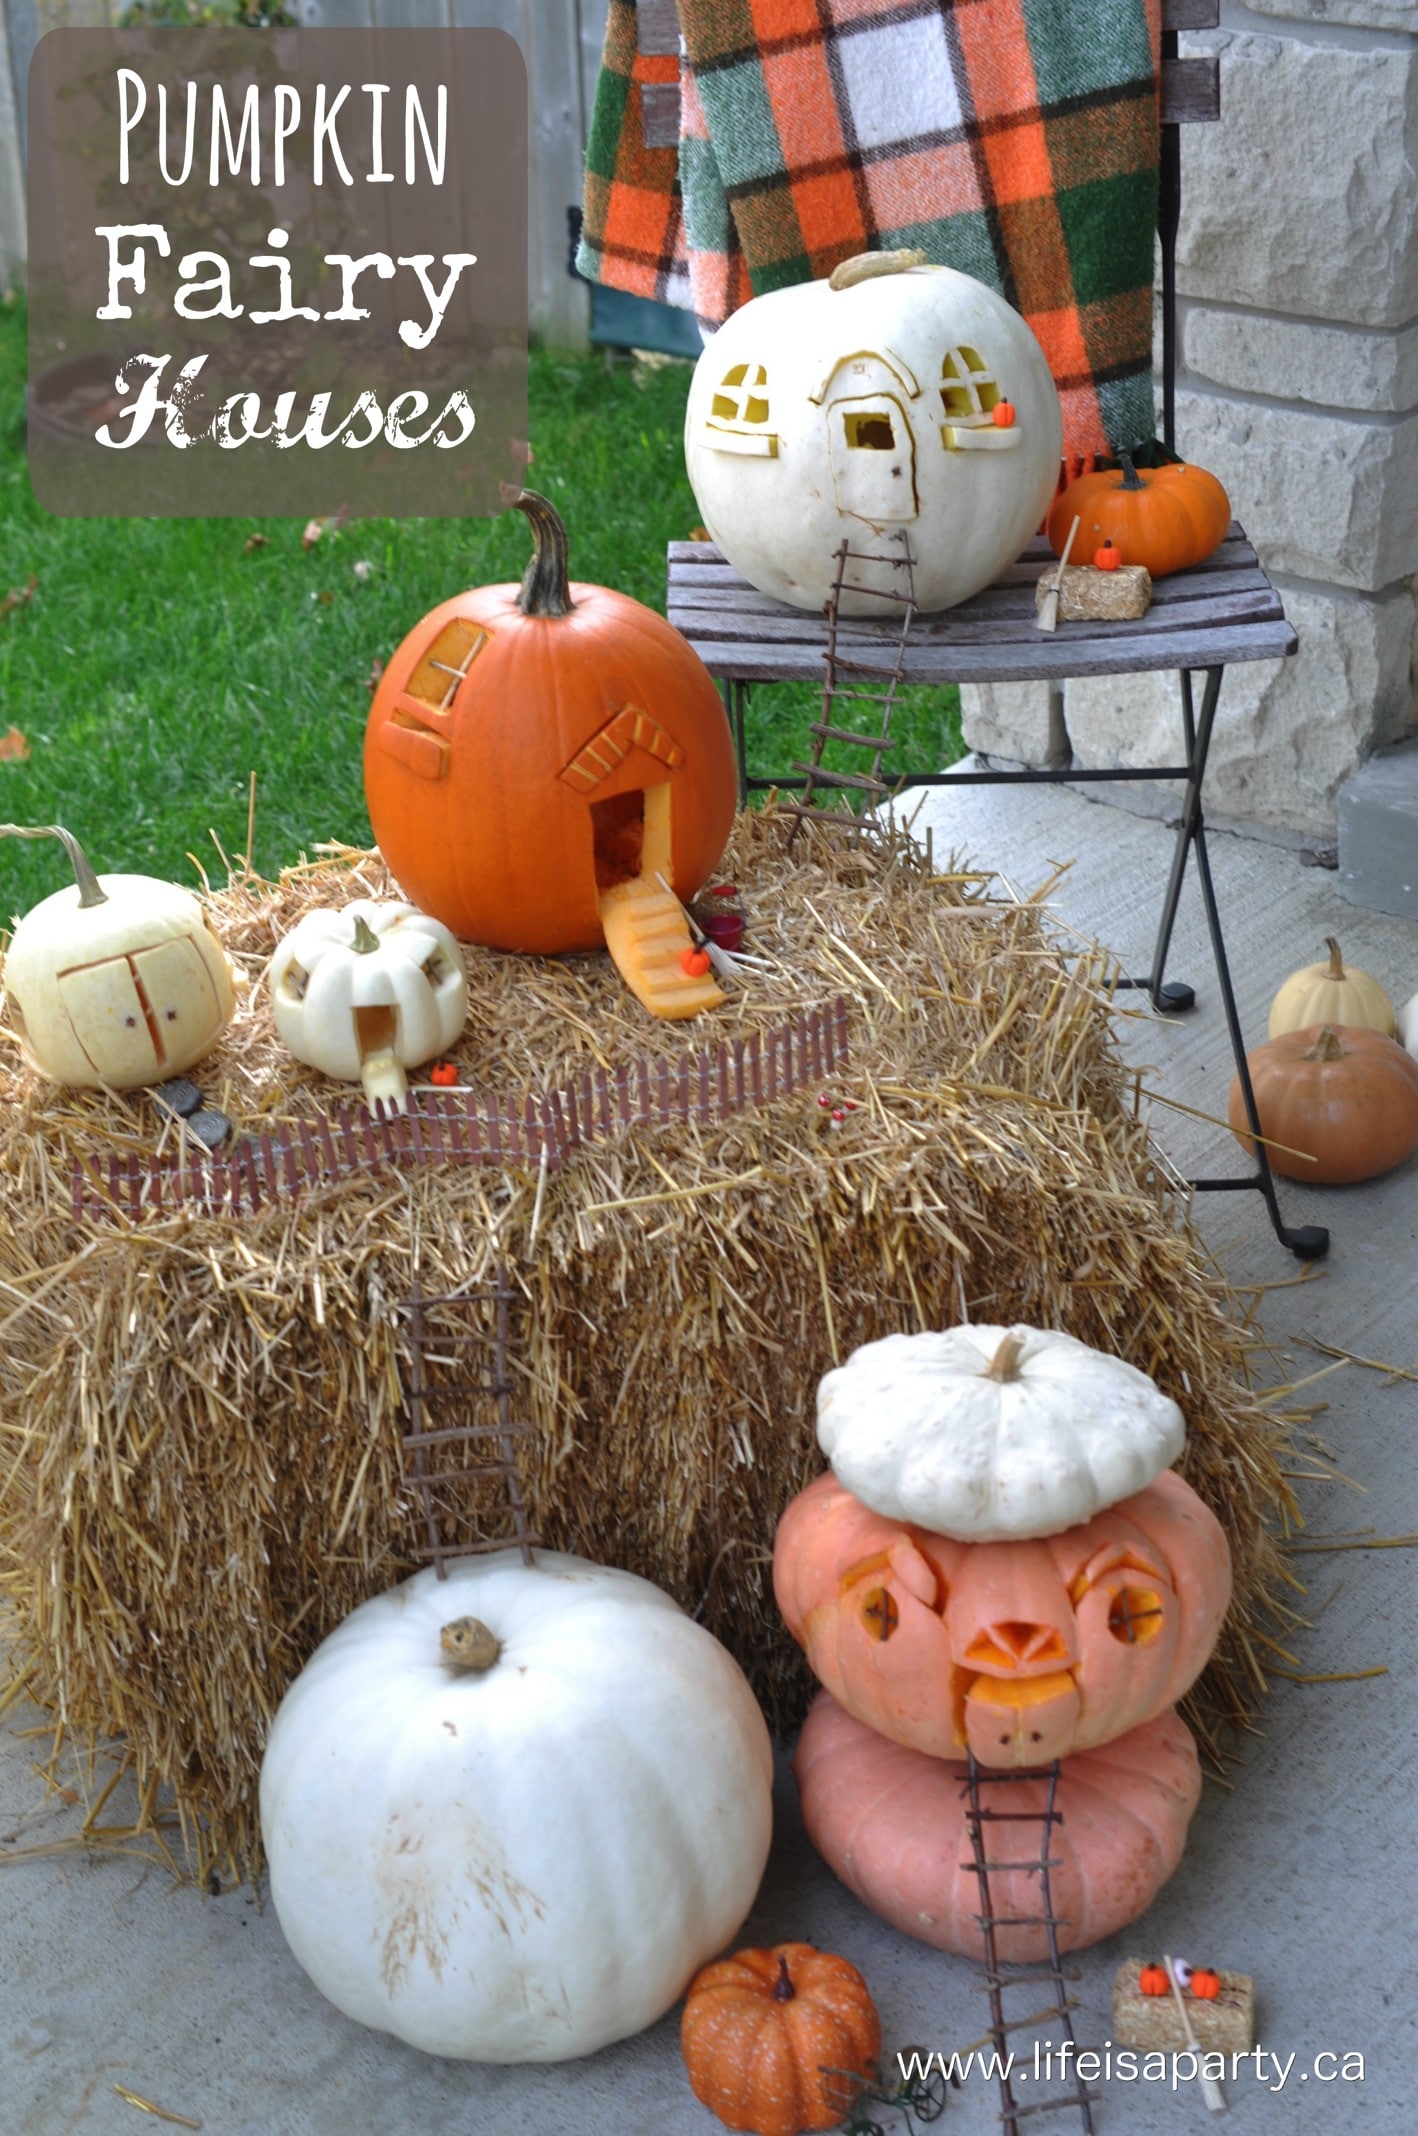
You also might like our Pumpkin Fairy House Jack-O-Lanterns here.


Leave a Reply