Potted Plant Drip Irrigation System: how to install a deck or patio irrigation system and have beautiful pots even if you're a forgetful waterer.

Jump to:
This potted plant drip irrigation system was simple to install and one of the best investments I ever made in my garden. I love it and you will love it too. No more dried up and dead pots of plants with this system in place, and it's easy to install yourself.
Adding Pots To A Deck
Truth be told I'm not really a deck person. I prefer a patio, where you're really sitting "in" the garden. My house came with a deck. We did a bit of a redesign on it, opened it up and tried to make it feel a bit more like it was part of the garden, and not just a big dock like structure, but with no beautiful lake. Part of connecting it to the garden more has been by adding lots of pretty pots of flowers and green up the stairs, and onto the deck space.
I start out strong. In late May, and June I have lovely pots and fairy gardens full of potential. But then, I get busy, and it gets hot, and bad things sometimes happen. You know what I'm talking about? Do they really need to be watered every single day, what if I go away for a few days, what if I forget? The plants shrivel up and die. So sad, but so true.


Potted Plant Drip Irrigation
I've been eyeing a deck irrigation system for a couple of years in the Lee Valley catalogue. You know how dangerous this catalogue is, you discover lots of stuff that you never even knew existed and that now you NEED. Their stuff is really good quality, and they really stand behind their products. I once returned something I'd used for a year that broke and they gladly refunded my money. That being said, their stuff isn't cheap. The irrigation system basic kit is around $60 and the timer is another $60. I finally decided this year to go for it. $120 bucks later I was ready to install this bad boy.
DIY Installation
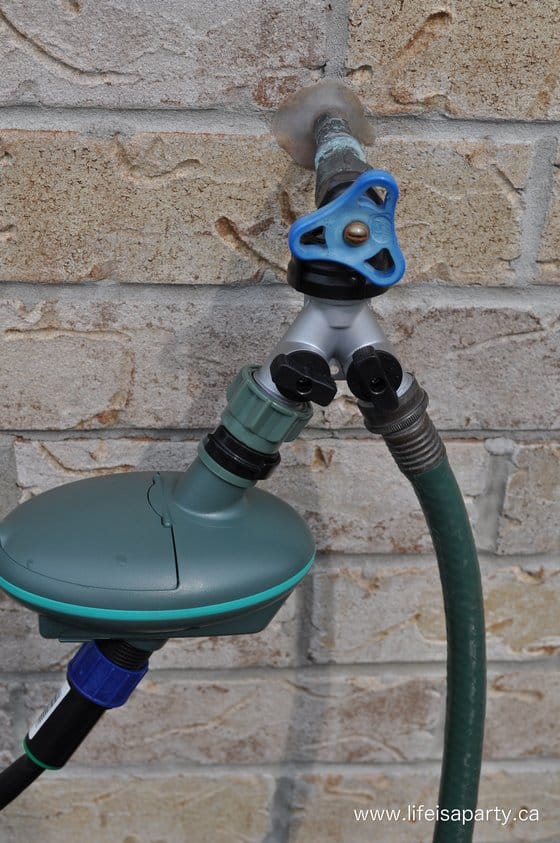
It is really simple to instal yourself (especially if your husband does it for you). You start out connecting the main tubing to your outlet, and by using a "Y" you can still use your regular garden hose too, with a little on/off switch.
You install your timer here too. We set ours to 8 min., everyday of the week, at 7 am. It's rained a lot here lately, so we may still need to tweak it later, but it seems really easy to switch, including a manual override, and the ability to override the timer and switch it off if it's raining. You can set it for up to 3 times a day, for a duration of 1 min and up, and for any day/days of the week. I liked how easy it was to set, and how customizable it is.

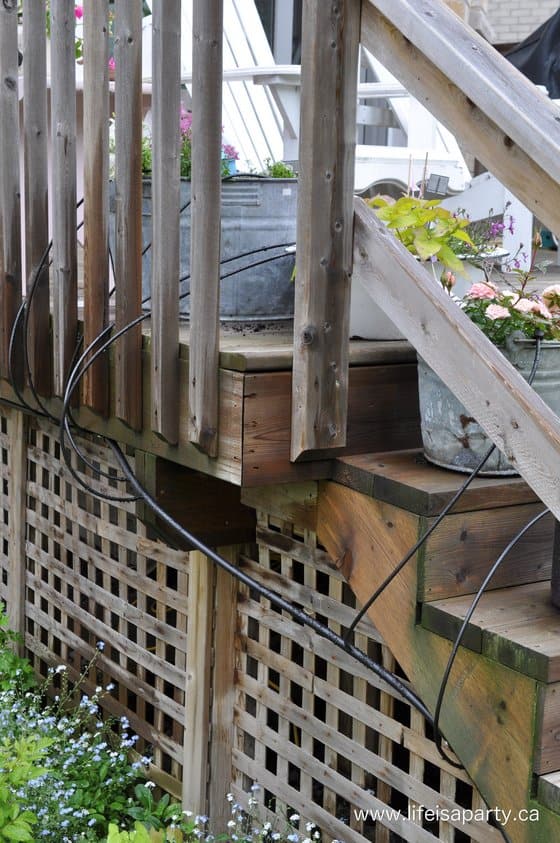
After the timer, the large hose runs around the perimeter of the deck. There are some little clips you can screw into the deck to secure it. They suggest attaching it underneath, and they're easy to install elbows for the corners. We ran ours around the sides, and under the stairs.
Adding Drip Lines

You then attach the smaller hoses that end with the drip heads in your pots. Based on your pot set-up, you determine where you want to make a connection, poke a hole in the large tubing with the special tool that comes with the kit, and use a connector to attach the smaller tubing. It takes a little hand strength to push in the connectors, but overall is pretty simple.

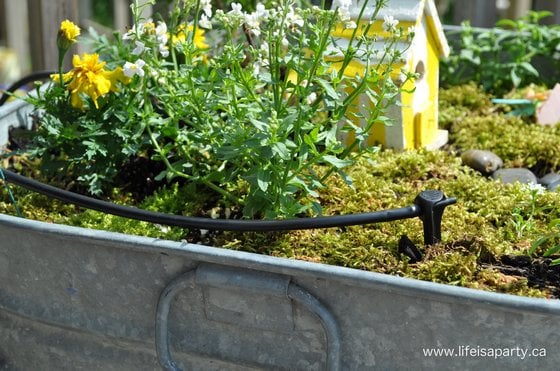
One the end of the small tubing you push in the drip irrigation head, and use the spike on the bottom to anchor it in the soil of your pot. That's it.
Multiple Heads For Larger Pots
In order for larger pots to get enough water, and smaller pots not too much, the larger pots will need several heads in them. Our biggest pots have three in them, and the smaller pots just have one. This allows you to mix lots of different sizes of pots and customize the water amount so it's just right for all of them.

The tubing and hoses are not completely hidden. This might bother some people. I don't mind, since I know it means my flowers won't die this year. Once the plants grow and fill in more, it won't be as noticeable. When I see the hoses, I just see the work I don't have to do anymore. 😉
I'll let you know how it all worked out at the end of the season in August, but so far, I think it was worth the investment.
Update: we've had this system in place for 8 years. I love it, and highly recommend it. I am adding it to my raised beds this year.
Winterizing The System
The system can stay outside over the winter. To prepare it for winter you just remove the drip ends and use an air compressor to blow out all the water and make sure the lines are completely empty so they don't freeze and burst. In the spring, you just hook it up to the hose again, and you're back in business.

With a potted plant drip irrigation system so you don't have to worry about watering pots and planters all summer, life really is a party!
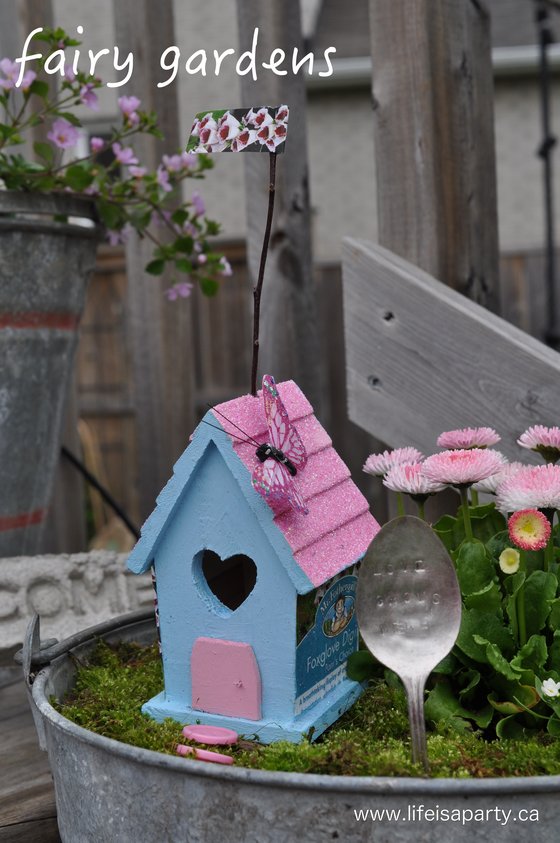
Also check out our How To Make A Fairy Garden post here.
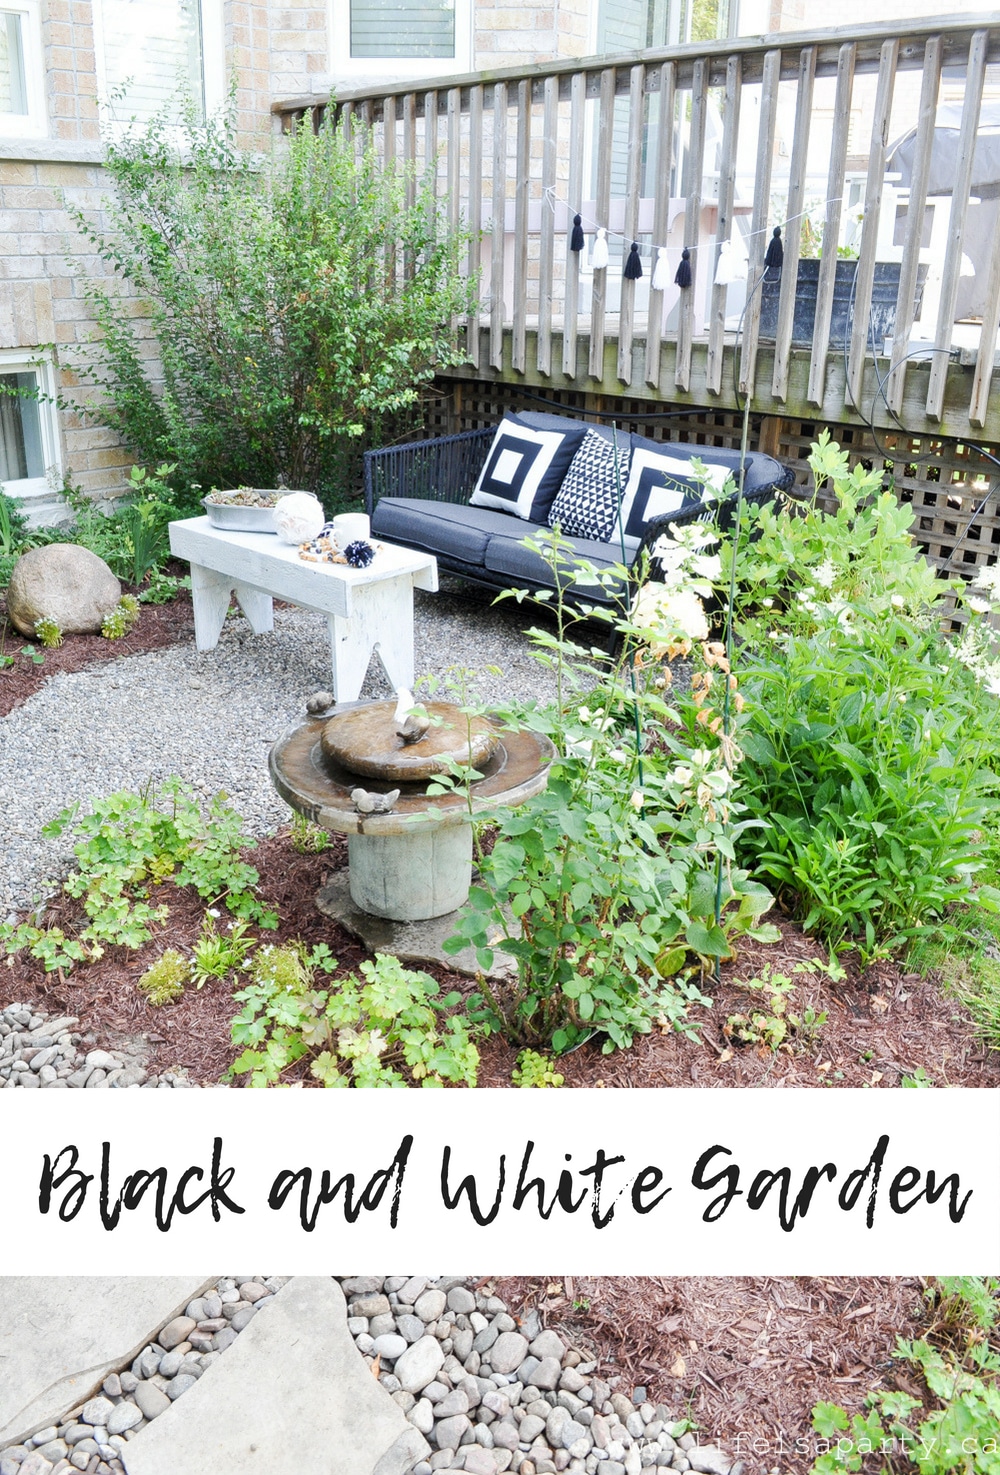
You might also enjoy our Black and White Garden here.


dnr says
Hi Kate, Thanks so much for your comments, and congrats to you on making the SavvyMom list as well!
Dannyelle.
thismomloves says
I'm a terrible waterer and should be on board with your irrigation system, but what has really inspired me is the first photo with the little fairy houses in the planters. Mom made a fairy garden for the girls at her place, but it didn't even occur to me to spice up our planters at home as well. Thanks, and congrats on making the SavvyMom list!