DIY Large Inexpensive Art -Colour Engineer Prints: Sources for free images, and instructions on printing and hanging colour engineer prints.
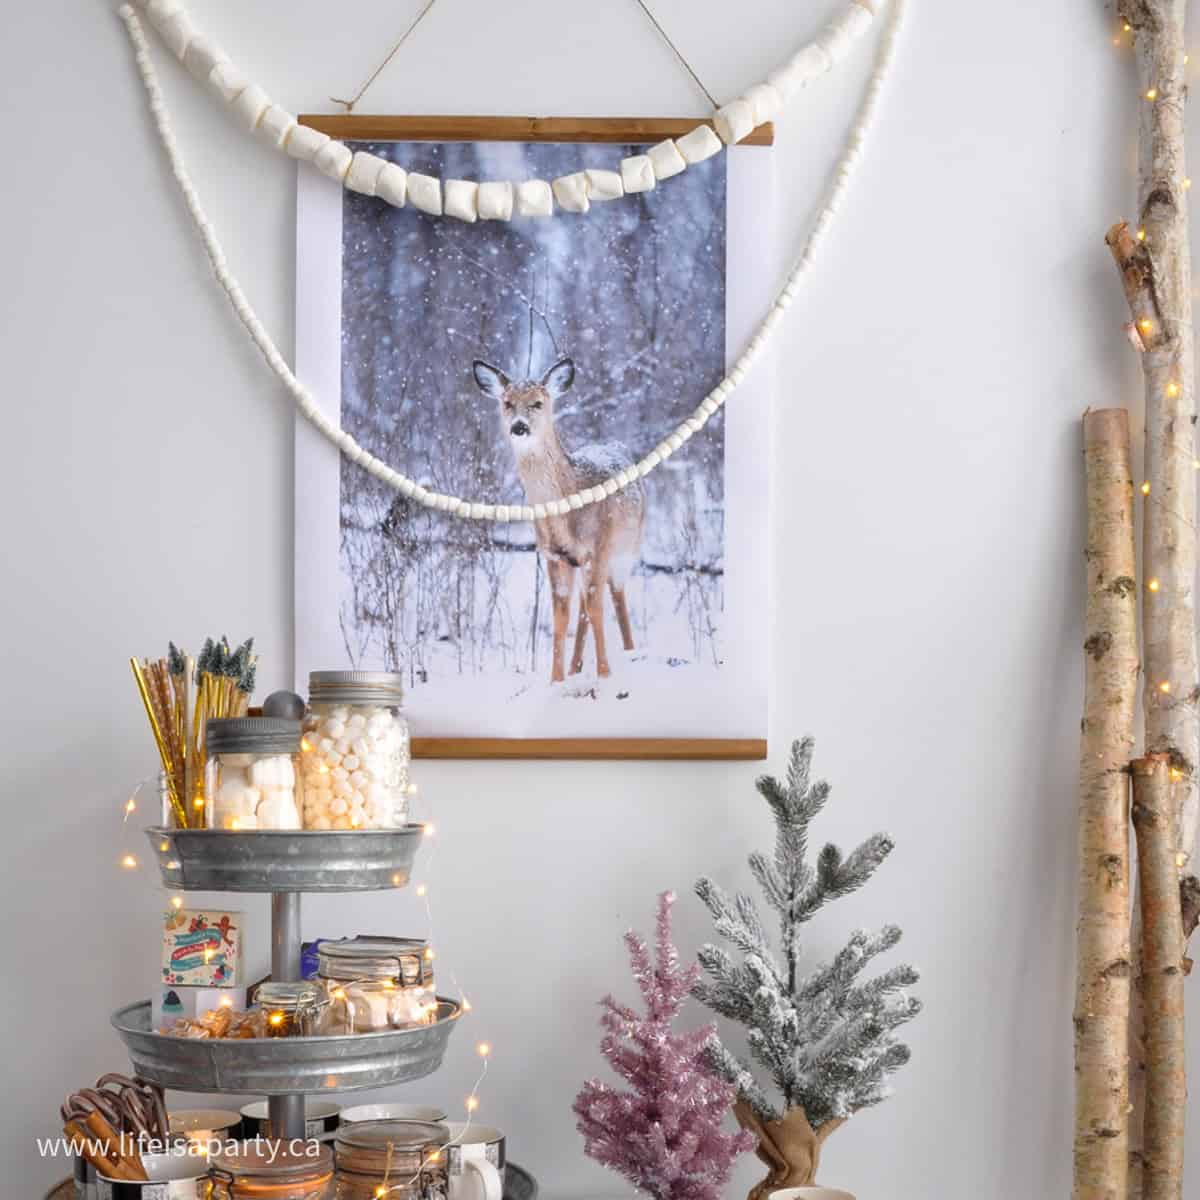
This art work is so inexpensive to make and has so much impact in a room. I love it so much, I find myself changing it out for a new one every season. For less than $10, you'll want to create some large, beautiful art for your home too.
Colour Engineer Prints
These prints are so inexpensive because they are large colour engineer prints. It feels like the secret your printer doesn't want you know. In Canada the 18 x 25 size is less than $5 to print, and even less in the US. You can easily order it on-line and pick it up in-store from you favourite print shop. It's quick, easy, and inexpensive -ticking all our boxes!
It is printed on very light weight paper, and it's not really crisp and high quality. For the first print I had done, I was a little nervous that it wouldn't look very good. But because these are so large, they actually look just fine printed at this quality. And you just can't beat the price. If you wanted something a little more permanent and higher quality you could of course pay more for it. For our purposes though, the colour engineer prints are the perfect low cost high impact solution.
The first thing you'll need to do is find a large image to print. I have used a few different sources that I really like.
Free Images
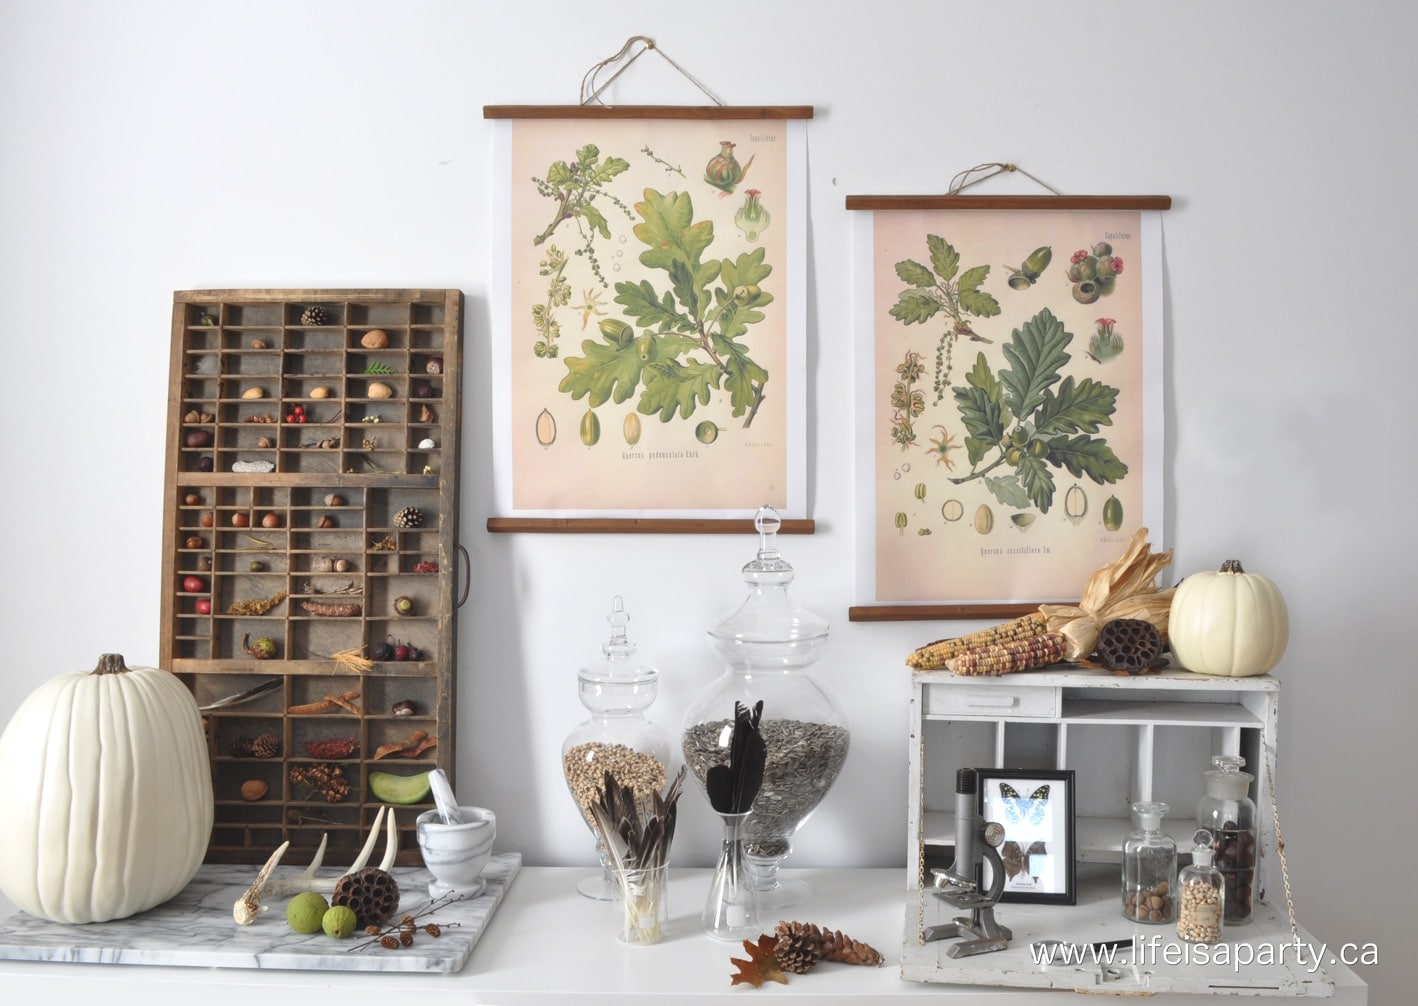
The first time I tried it I wanted to create the look of vintage botanicals for a fall home tour. I stumbled upon the Biodiversity Heritage Library. It's like a treasure trove of vintage botanicals, including all kinds of plants, animals, and insects. All the images are free to use.
I recently created another vintage one, also found for free at Biodiversity Heritage Library. This one is a poster of different insects from this year's fall home tour.
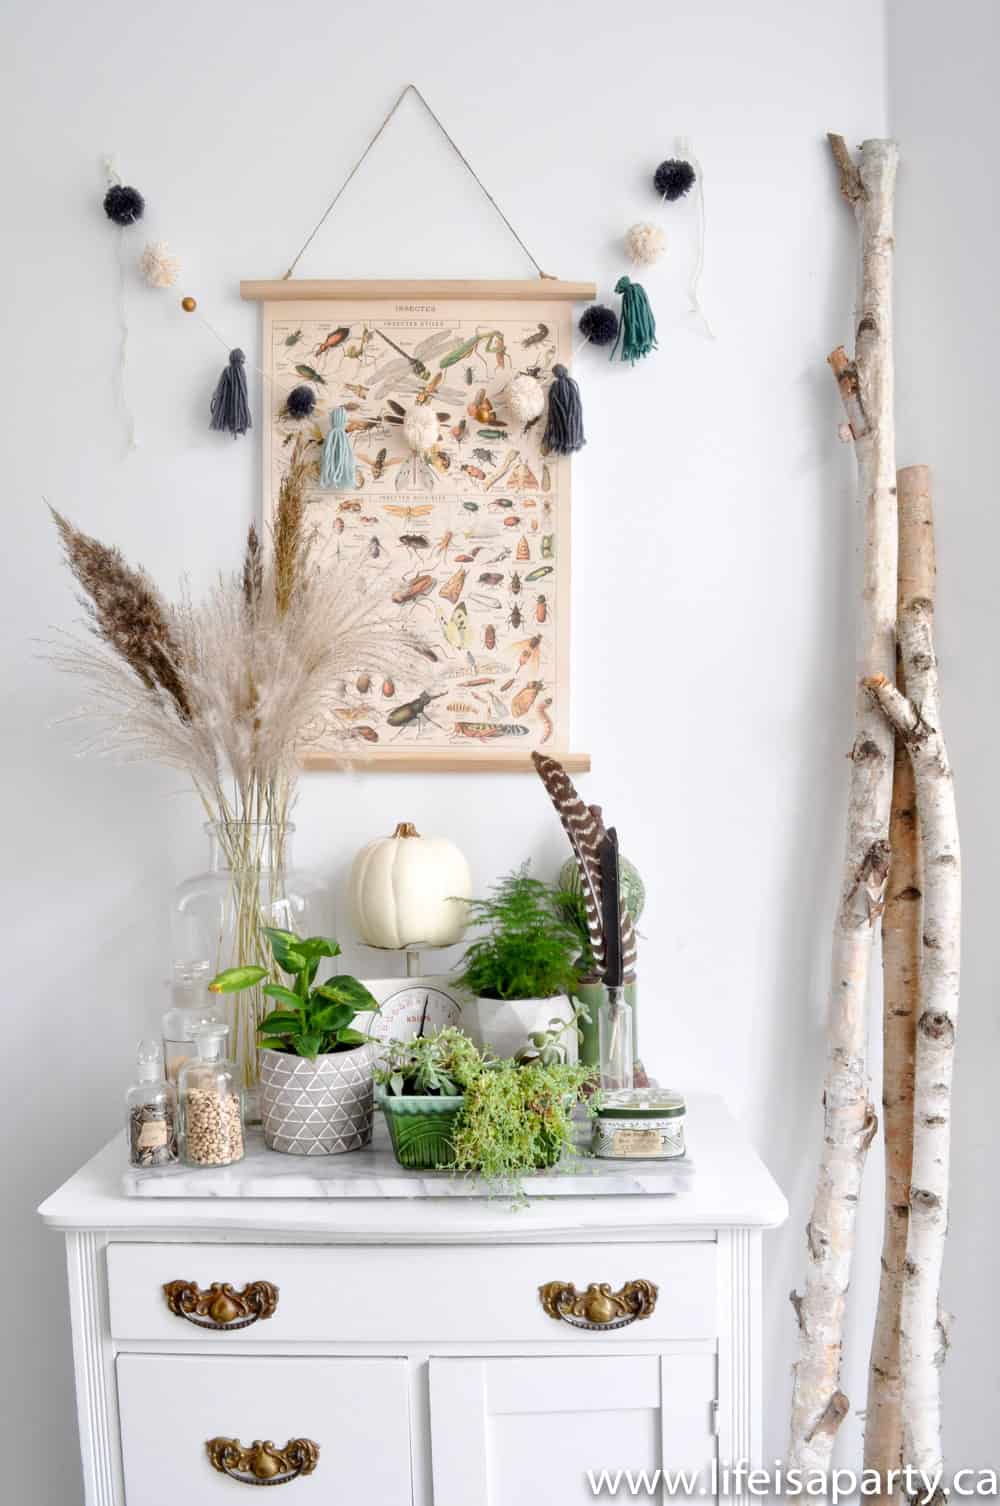
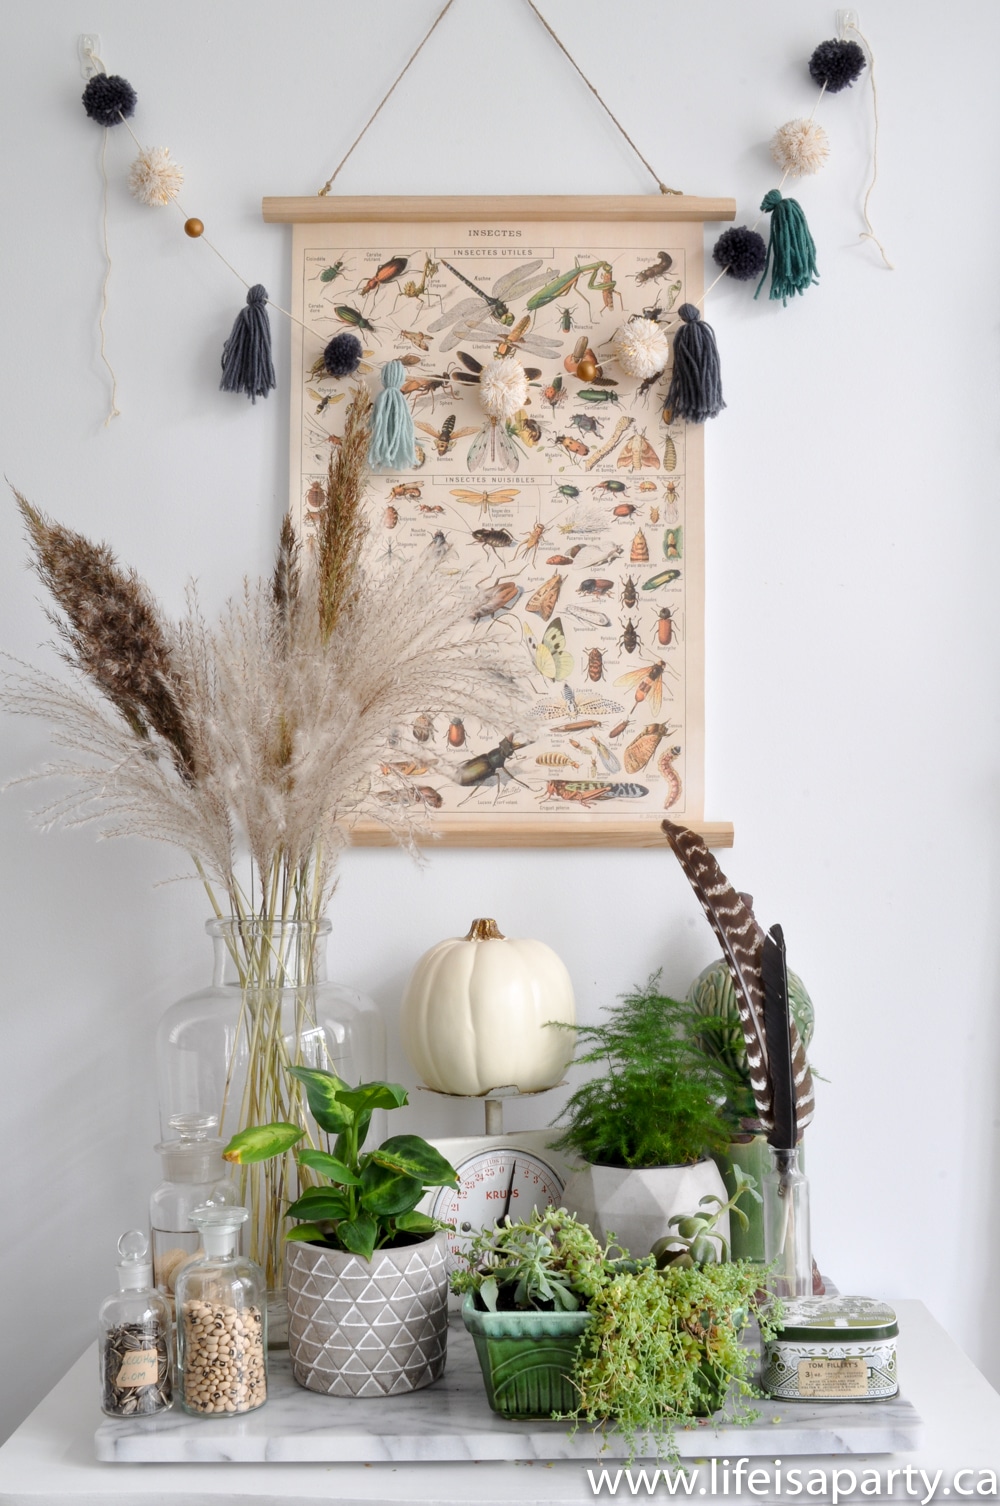
They have so many amazing images and they're all free to use. There's lots of pretty flowers, and leaves as well. The hardest part is choosing which one to use.
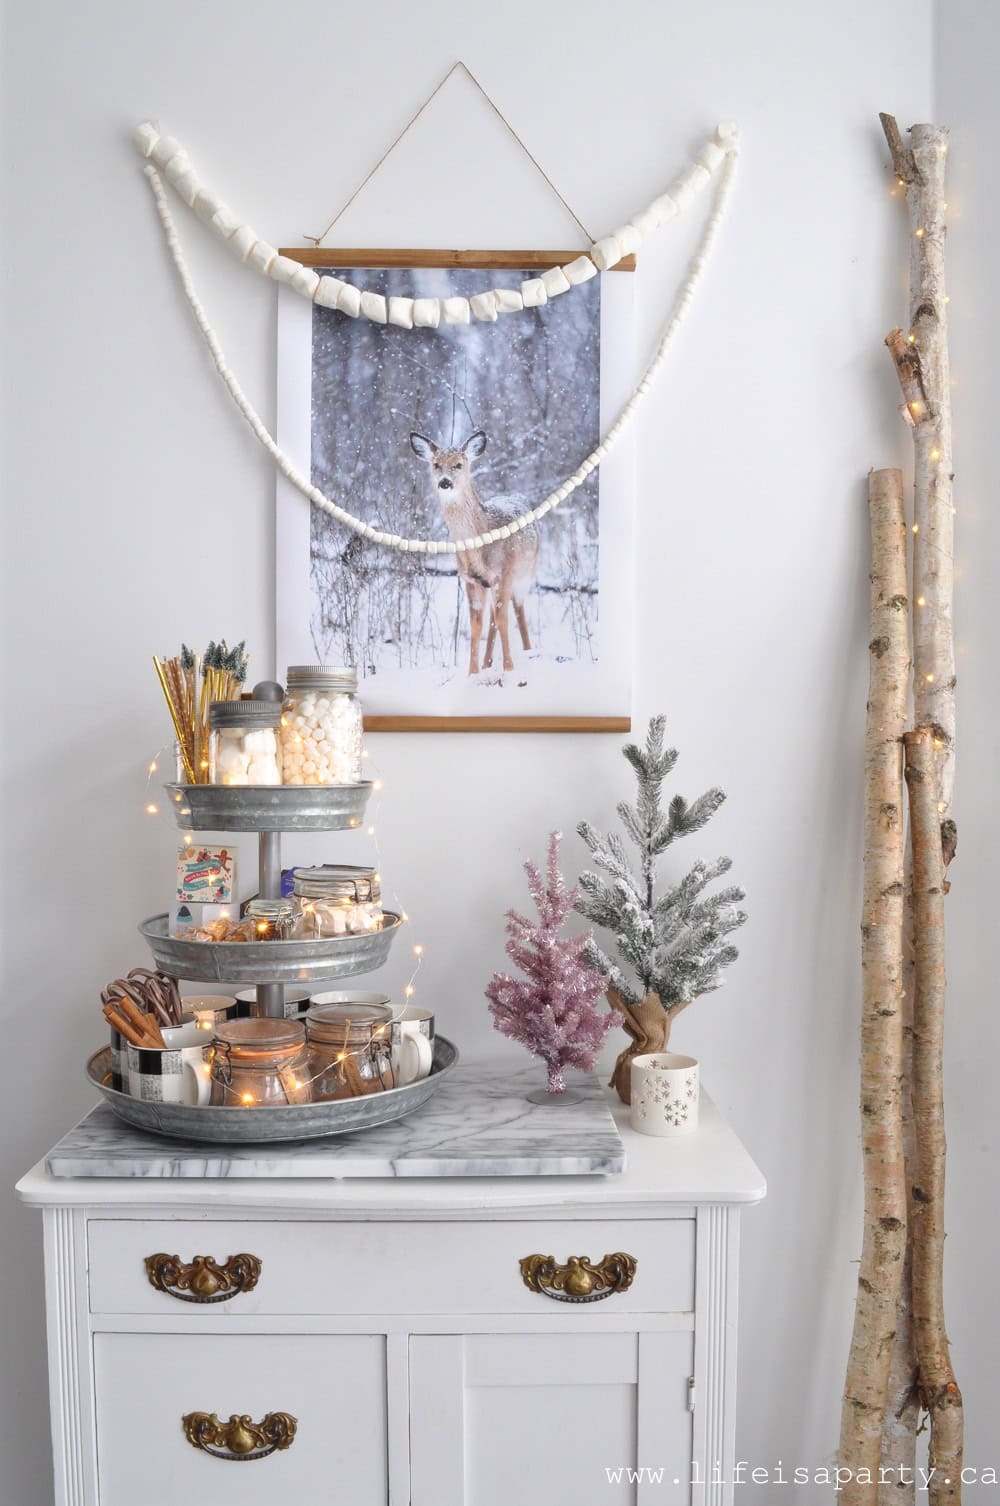
Another amazing source of free images is the website Unsplash. The beautiful photography is free for personal use. There are so many amazing images. I've found myself changing it out each season. Here is one of my very favourites, from last years Christmas home tour. This deer in the snow was the perfect piece to go with my decor.
Last Christmas I also printed this adorable Christmas tree and hung it in the study.
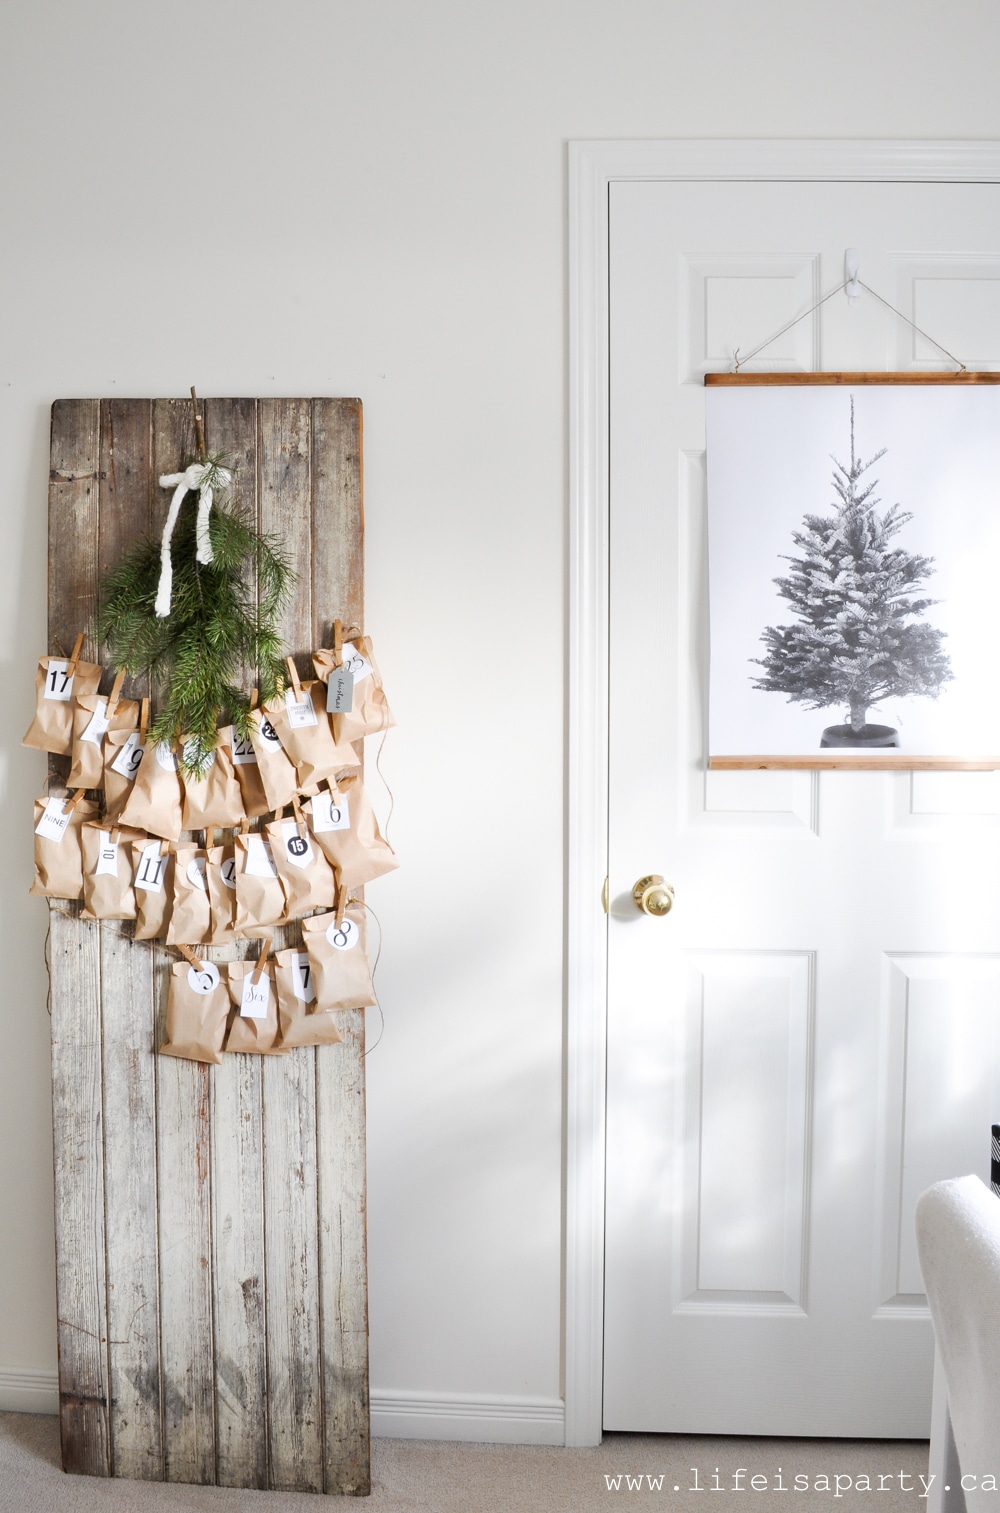
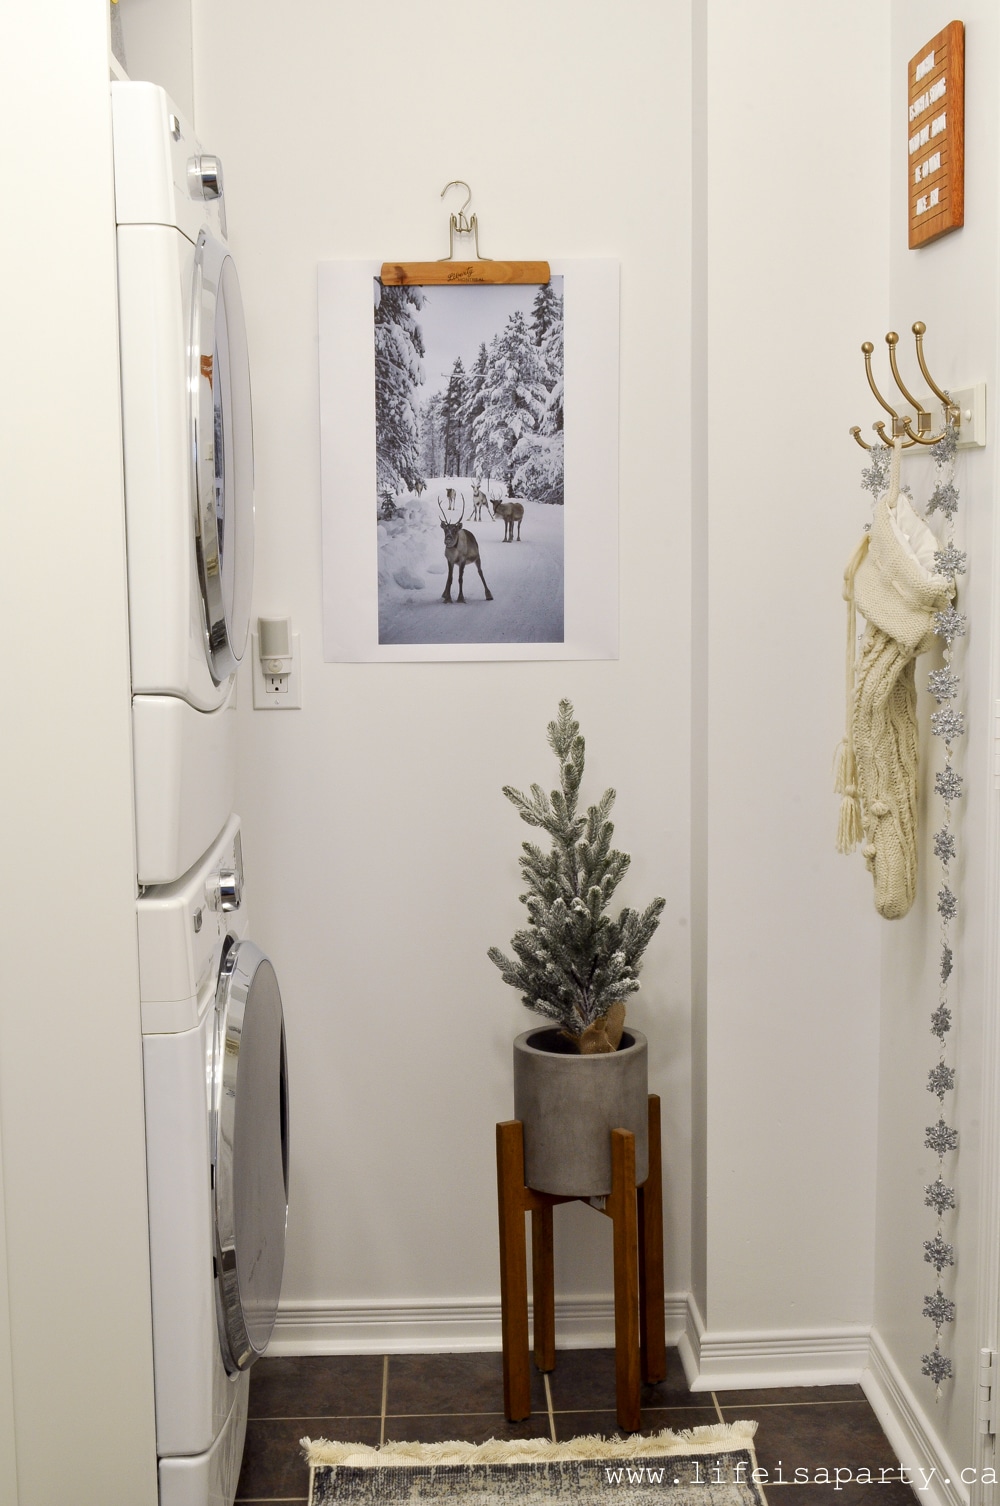
And one final piece from last year's Christmas tour is this one hung with a vintage clothes hanger in the mudroom.
For the spring I added this rabbit to the kitchen, and it was perfect.
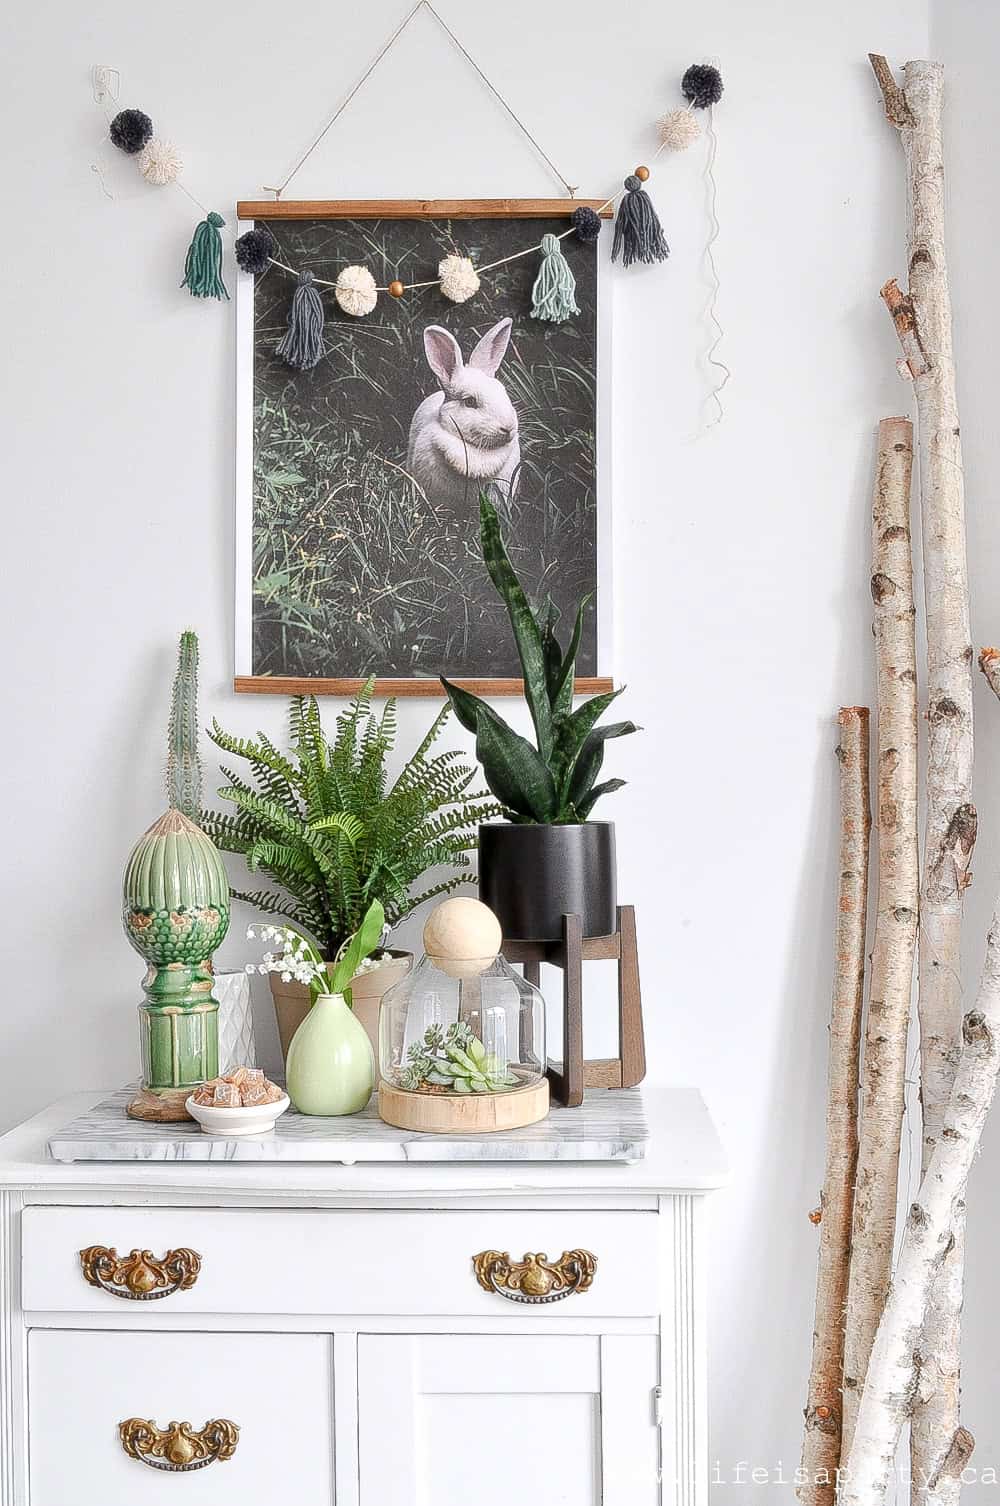
There are so many amazing images at unsplash it is hard to choose. One thing to consider though is if you want your images in portrait or landscape mode. I've done all of mine in portrait. One time I really liked a landscape mode one though, so I just edited it and cropped it to change the orientation.
To Hang The Print
To hang the printed images I usually use a really inexpensive method. I attached some small wood strips to the top and bottom of each image.
The wood is from Home Depot. It's called 1 x 1 x 4 Nailing Strip and is just .86 per piece. You can get it cut right there -usually free, but I think $1 per cut if they charge you. Get it cut to the width of your image. You can add a little stain to the wood, or leave it as is like I did. You might need to give your cut edge a little sanding.
To attach your image, just staple the wood to the back of the image.
And then to hang it, add two simple screw in eye hooks to the top and attach some twine. Easy peasy. Want to see exactly how I did? Check out my Instagram Story highlights in my profile for video.
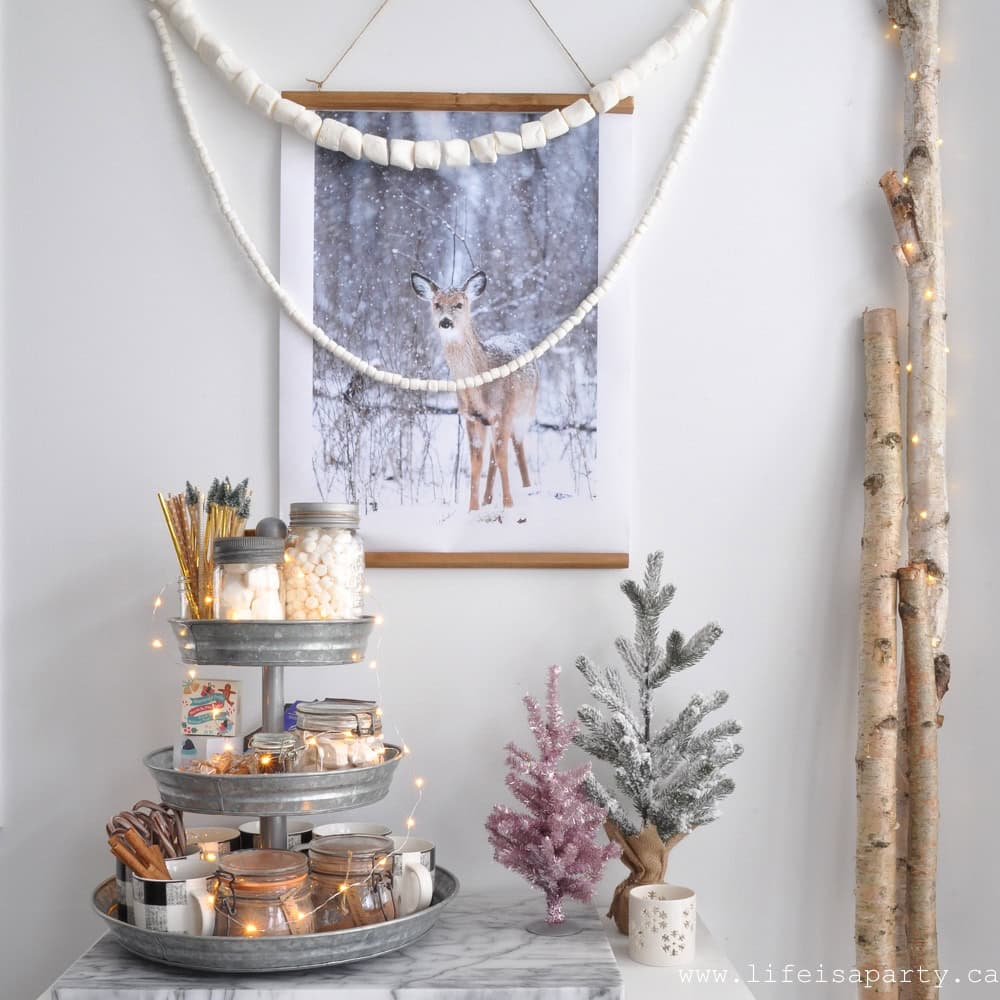
I'm about to order some new prints to use in my decor this Christmas.
With Inexpensive Large Art, life really is a party.



Melanee Evans says
Love your seasonal changes. I printed the deer image too last Christmas! So pretty, easy, and fun!