DIY Macrame and Fringe Pillows: DIY Macrame Bunting, DIY Macrame Hoop Wall Hanging and DIY Fringe Pillows with instructions to make your own.

Jump to:
One of the keys to decorating a neutral room is to add lots of texture to keep things from feeling cold, and to add interest so it isn’t boring. When I decided on an all white and neutral colour scheme for my One Room Challenge living room and eating area Rustic Scandinavian Makeover, I thought it would be fun to add texture with some DIY Macrame and Fringe Pillows.
One Room Challenge Progress
The One Room Challenge is a six week challenge, where guest bloggers decorate a room and share their progress each week. This is week five, and we're almost there and on to some of these finishing touches. If you missed it, you can catch up here:
- One Room Challenge Living Room and Eating Area Plans and Inspiration
- Expert Tips On DIY Shiplap -Week Three
- Fireplace Makeover -Week Four
- Rustic Scandinavian Living Room and Eating Area Reveal -Week Six

Attempting macrame brought back memories of my childhood. I remember my mom and her friends making owl wall hangings and plant hangers, even a hanging end table. In fact, when I mentioned to my mom that I was going to be trying some macrame, she told be all about the class she took when I was a baby, and the next time I saw her she gave me her old instructions booklets from the 70’s. I’m not so amazed that she still had them, I’m more amazed that she was able to find them, haha.
DIY Macrame Wall Hanging

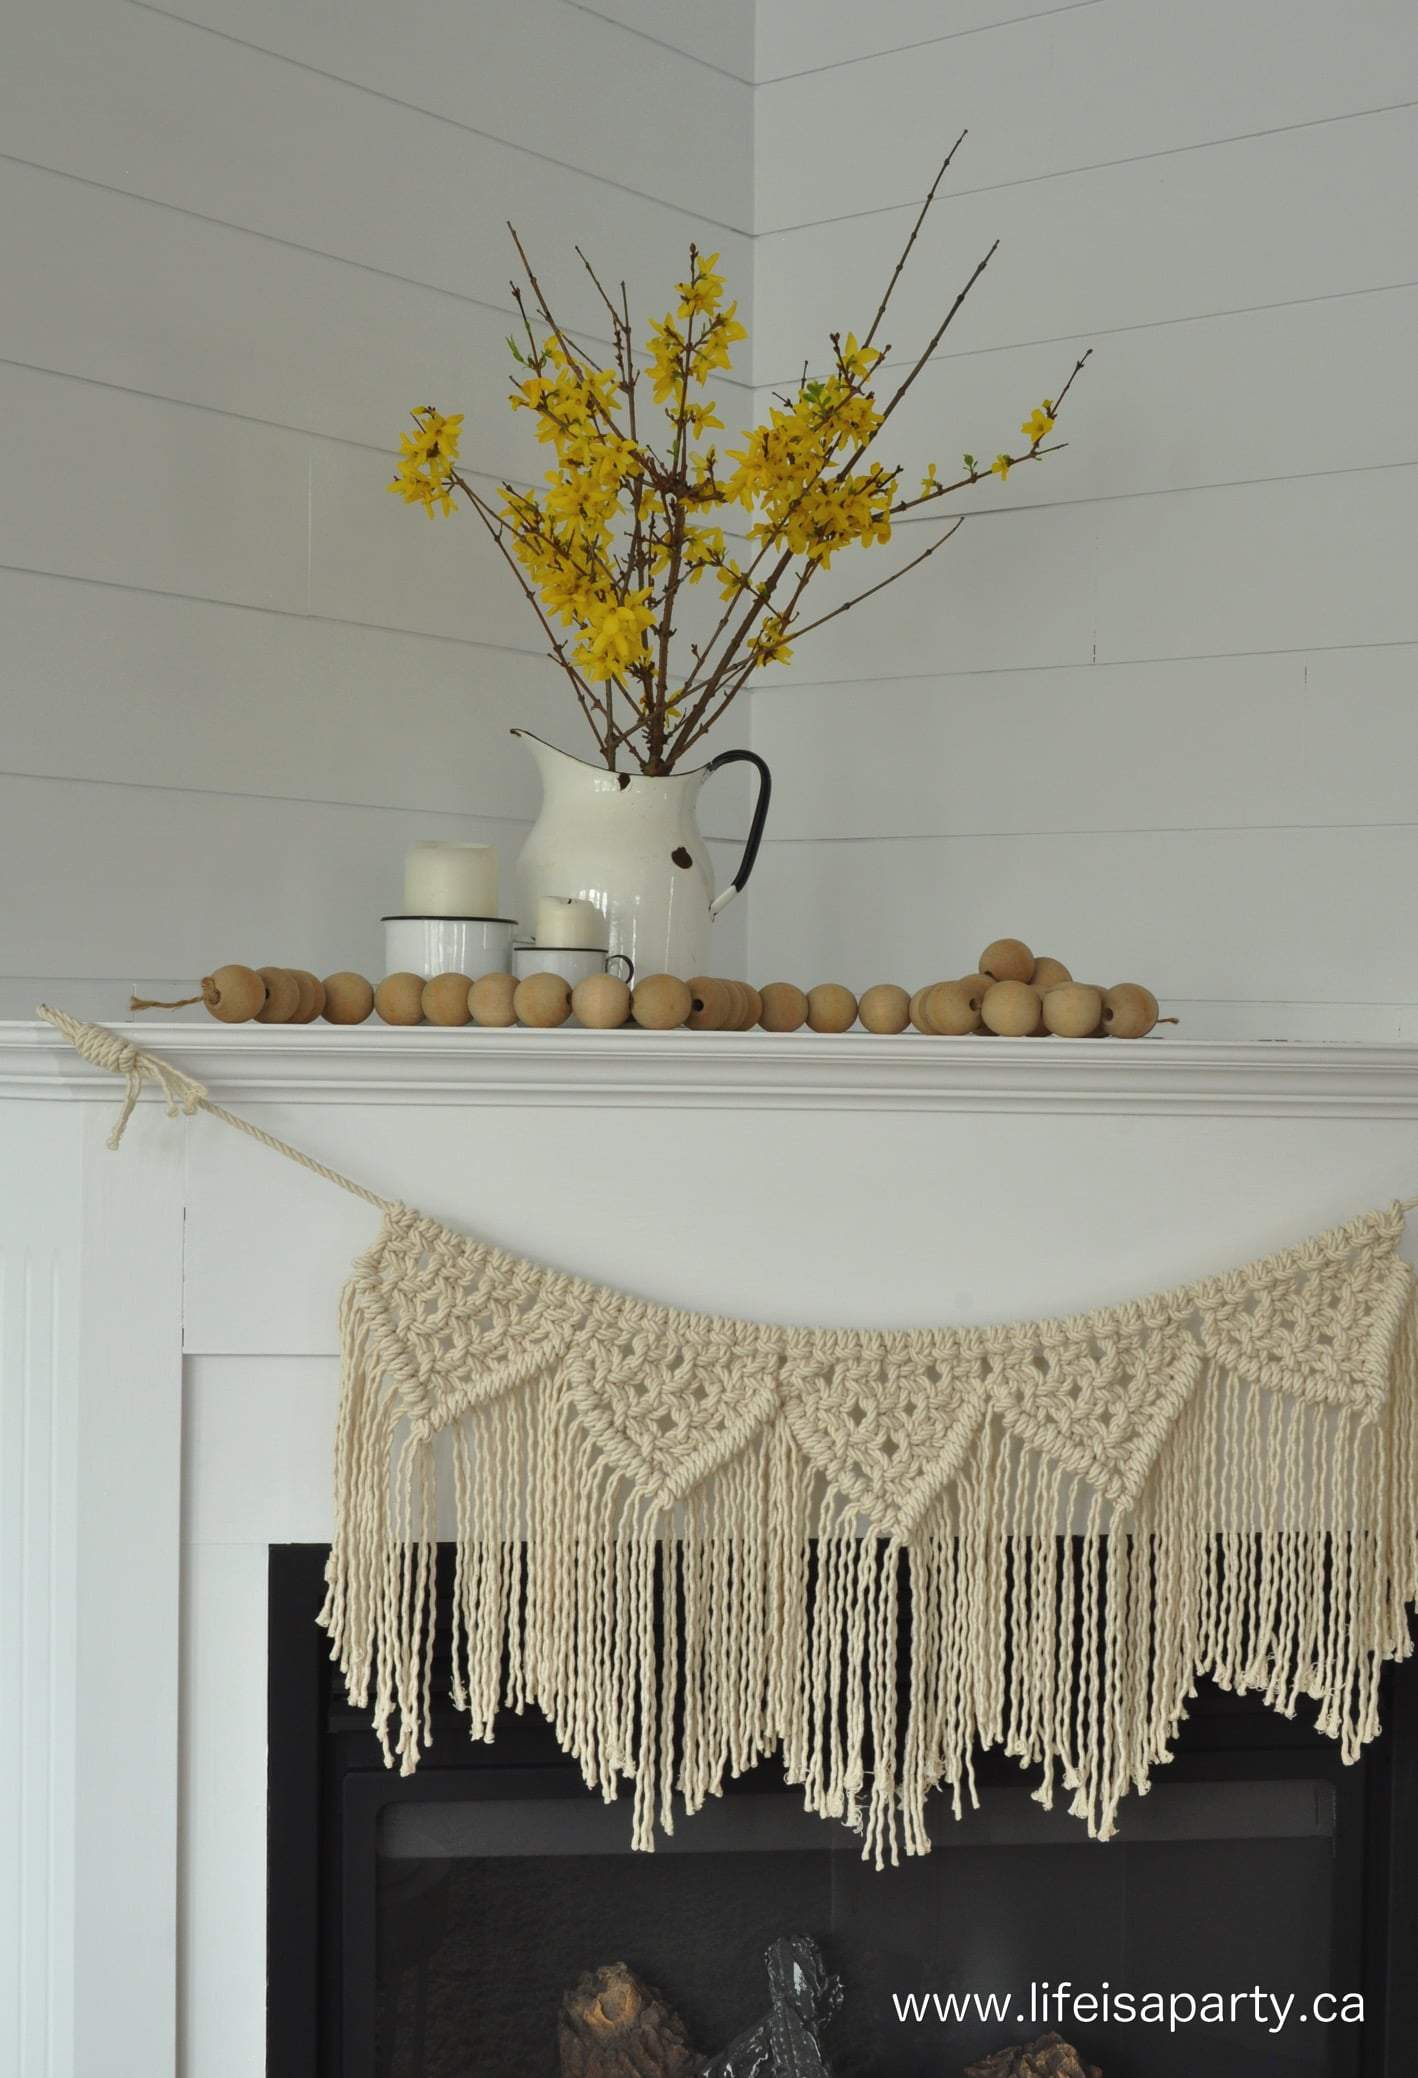
I worked from some YouTube videos, and found seeing how to make the macrame really helpful. For the DIY Macrame Bunting on the fireplace I used this video from The Crafty Ginger, and for the DIY Macrame Hoop Wall Hanging I used this one, also from The Crafty Ginger. She’s really clear in her instructions, and makes it all pretty easy, even for a beginner life me.
DIY Macrame Bunting

I was surprised how quickly these projects went. One evening even for a first timer like me, should be enough to complete them. I used Natural Cotton Small Cord from The Fringe Market. They have the most beautiful fringe and cording.

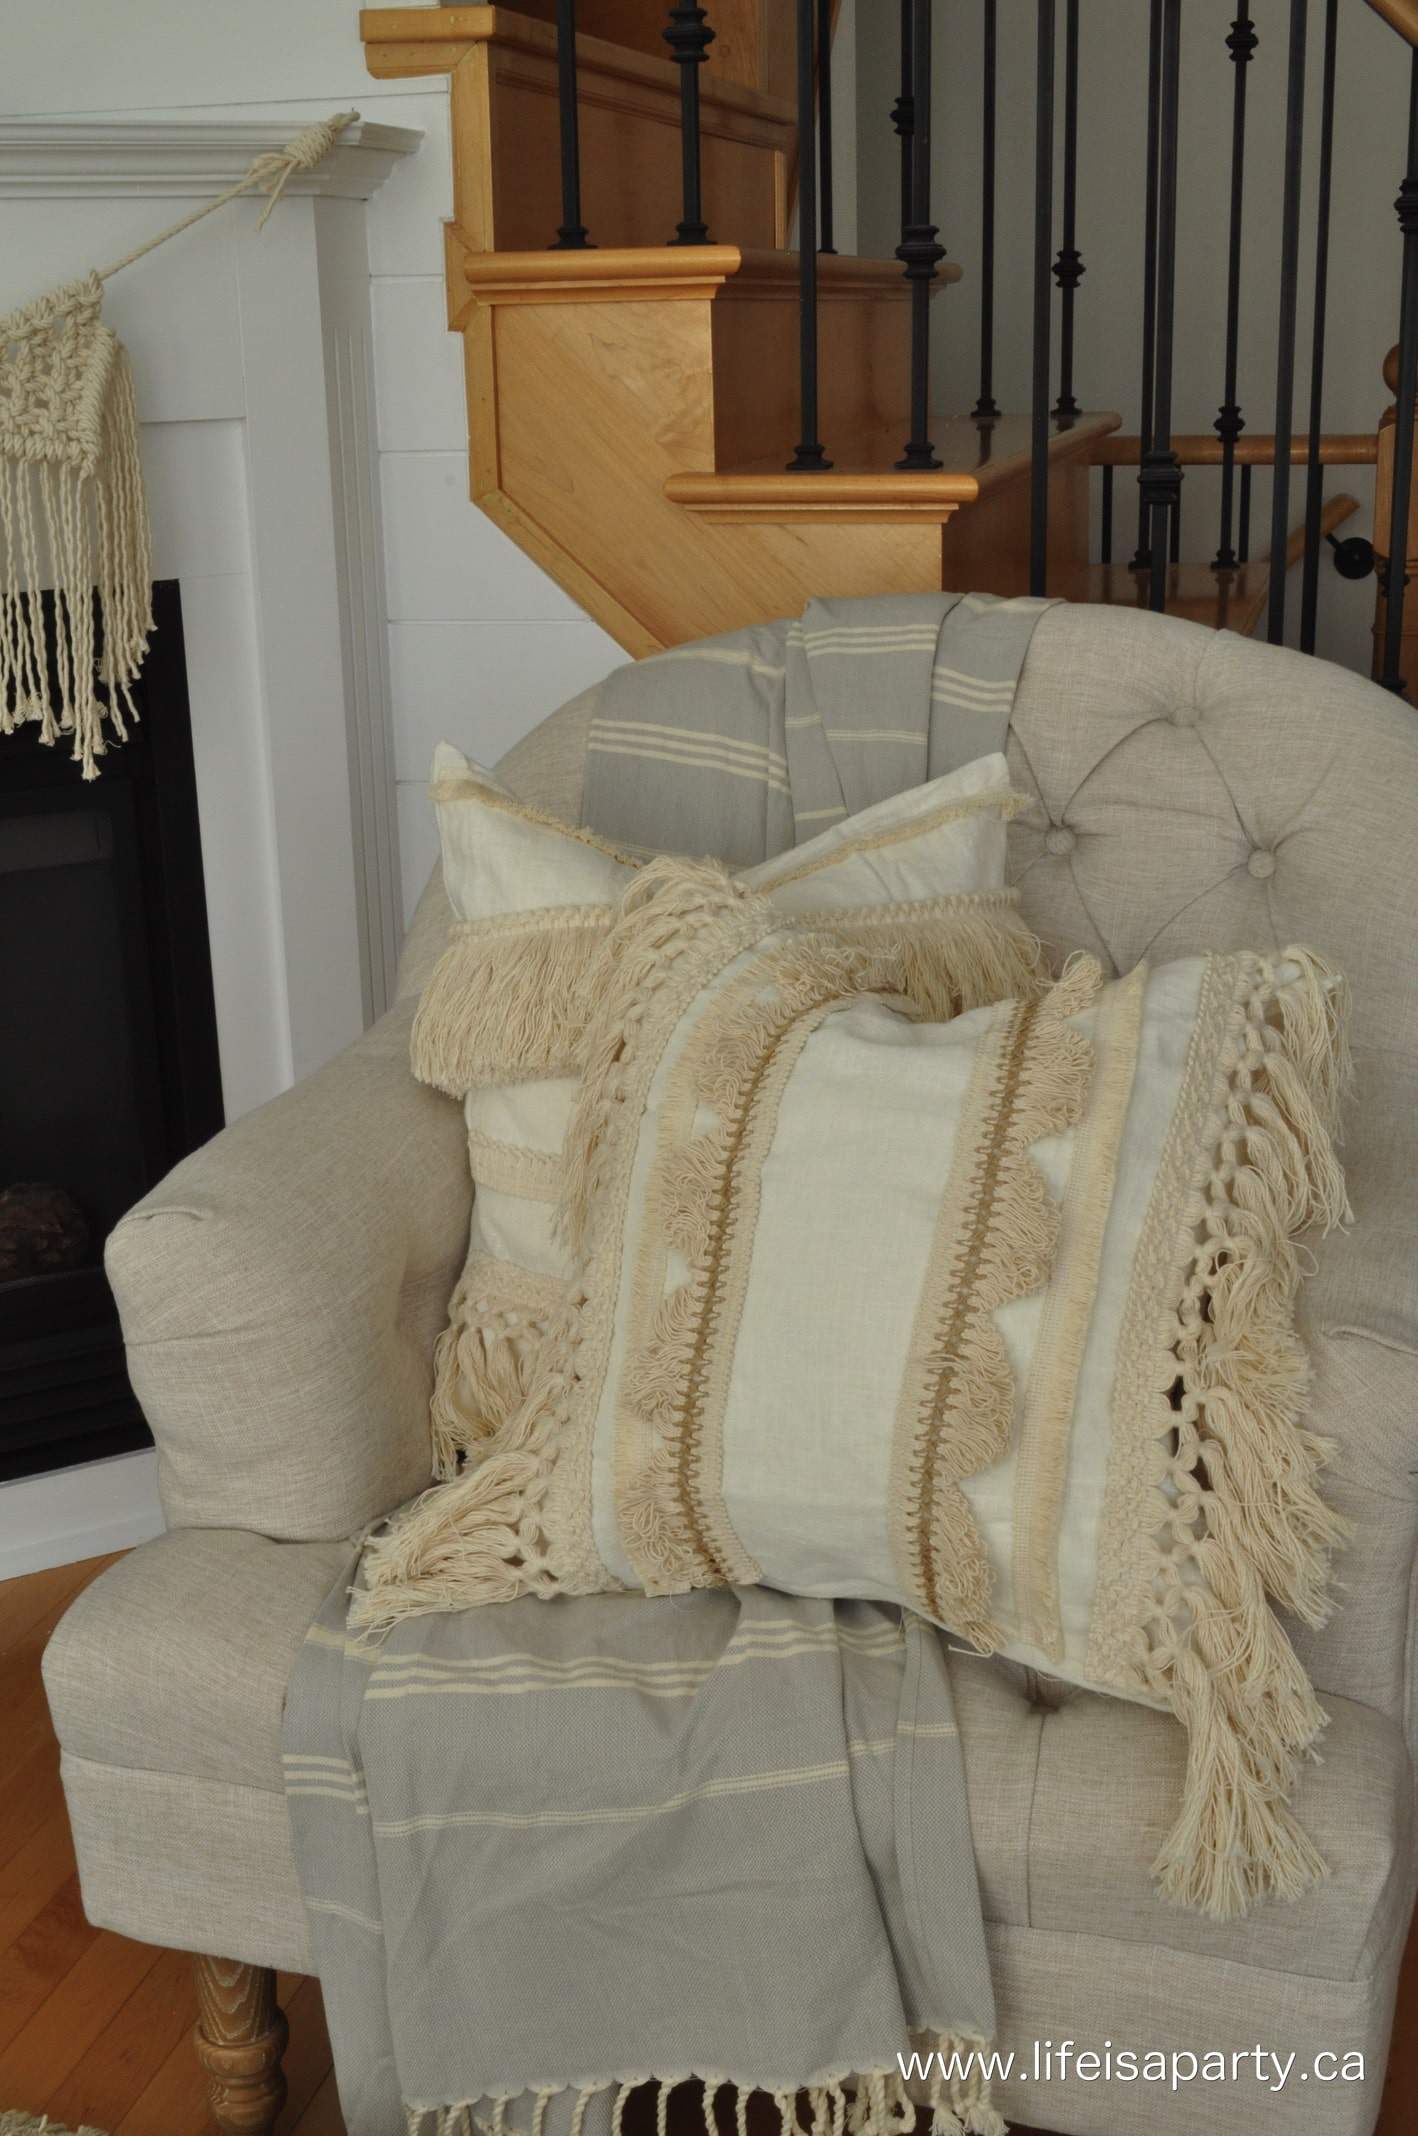
The fringe at The Fringe Market inspired another project -beautiful DIY Fringe pillows.
DIY Fringe Pillows
I ordered several different cotton fringes from the Fringe Market -it’s hard to choose because they have so many gorgeous ones!

Materials:
- Diamond Double Knot Fringe 6.5 in -Natural Cotton
- Scalloped Lace Fringe 3 inch -Natural Cotton
- 1 inch Natural Cotton Loop Fringe
- 4.5 inch Extra Thick Textured Brush Fringe -Natural Cotton
- Micro Skirt Fringe
- Cushion Cover
How To:
To make the pillows, I used some linen cushion covers in an off white colour to match the fringe. I just cut the fringe to the width of the pillow, with a little bit of extra so I could fold it under for a nice clean edge. The fringe is pinned in place before sewing to keep every thing lined up evenly. I stitched it to the pillow cover with my sewing machine, make sure to back stitch the ends carefully to ensure that the fringe doesn't unravel.

It’s a really quick and easy sewing project -and you could even use fabric glue for a no-sew option. So quick and they have so much impact.

I love how they turned out, and add so much texture and interest to the room.

I’m wrapping up a few final projects in the living room and kitchen eating area, but we’re definitely in the home stretch of the this One Room Challenge. I'm just about to start adding in the finishing touches like art, plants and flowers. I can’t believe how different it looks, and I can’t wait to share the big reveal with you next week. Be sure to check out everyone else’s progress this final week too.

With DIY Macrame and Fringe Pillows, life really is a party.
The Fringe Market provided the cording and fringe for this project. As always, all opinions are my own. Thanks so much for supporting the brands that make Life is a Party possible.


Nicki Parrish says
Love, love love this all! I made a DIY macrame light pendant this week for week, 5, you will have to check it out when you have time! I can't wait to see your reveal!
dnr says
Thanks Joann, you should totally make one! I found the macrame surprisingly easy once you learn the basic knots.
Dannyelle
Joann @ Woman In Real Life says
This is a stunning makeover. And I totally am making a bunting like that. It's soooo beautiful! I remember when my mom took a macrame course too. And she made an owl. I have been looking for it in her basement. She keeps everything yet I can't find it!
dnr says
Emy, thanks so much. It's so fun adding the final details at the end!
Dannyelle
dnr says
Thanks Leslie, nothing like a fringe and macrame to add little boho. You're going to love Fringe Market!
Dannyelle
dnr says
Thanks so much.
Dannyelle
dnr says
Thanks Cassie, I was surprised how quick and easy it was too. And forgiving, I did make some mistakes but it's so easy to take out and redo. I can see why macrame is back, lol.
Dannyelle
dnr says
Susie, thanks so much. It's always fun to add a few DIY's to a space.
Dannyelle
dnr says
Thanks Linda, I feel like only a fellow ORC participant understands how much time it all takes. Especially at the end you think the "little things" left on your list will be so quick and then they take forever, lol. Thanks for your sweet encouragement.
Dannyelle
Emy says
Those are the coolest pillows ever! And I love your macrame so much!
Leslie says
Oh, my bohemian-loving self is about to swoon over here! Love your macrame and your fringe pillows! Going to have to check ou the Fringe Market!!
Tee at Beauteeful Living says
The macrame hang and the pillows came out so pretty. They definitely add a lot of texture to the room. Look forward to see the final reveal!
Cassie Bustamante says
LOVE the pillows and the macrame! I made a planter last summer, and it was easier than i expected, but i haven't ventured into anything else yet. 😉
Susie says
Oh my goodness. Your pieces are so beautiful. What a personal touch and warm addition they will make to the space. Can't wait to see the full reveal next week! Susie from The Chelsea Project
Lindi says
SO impressive! Those DIYs are time consuming! I'm impressed with what you got done! Can't wait to see the final room next week!