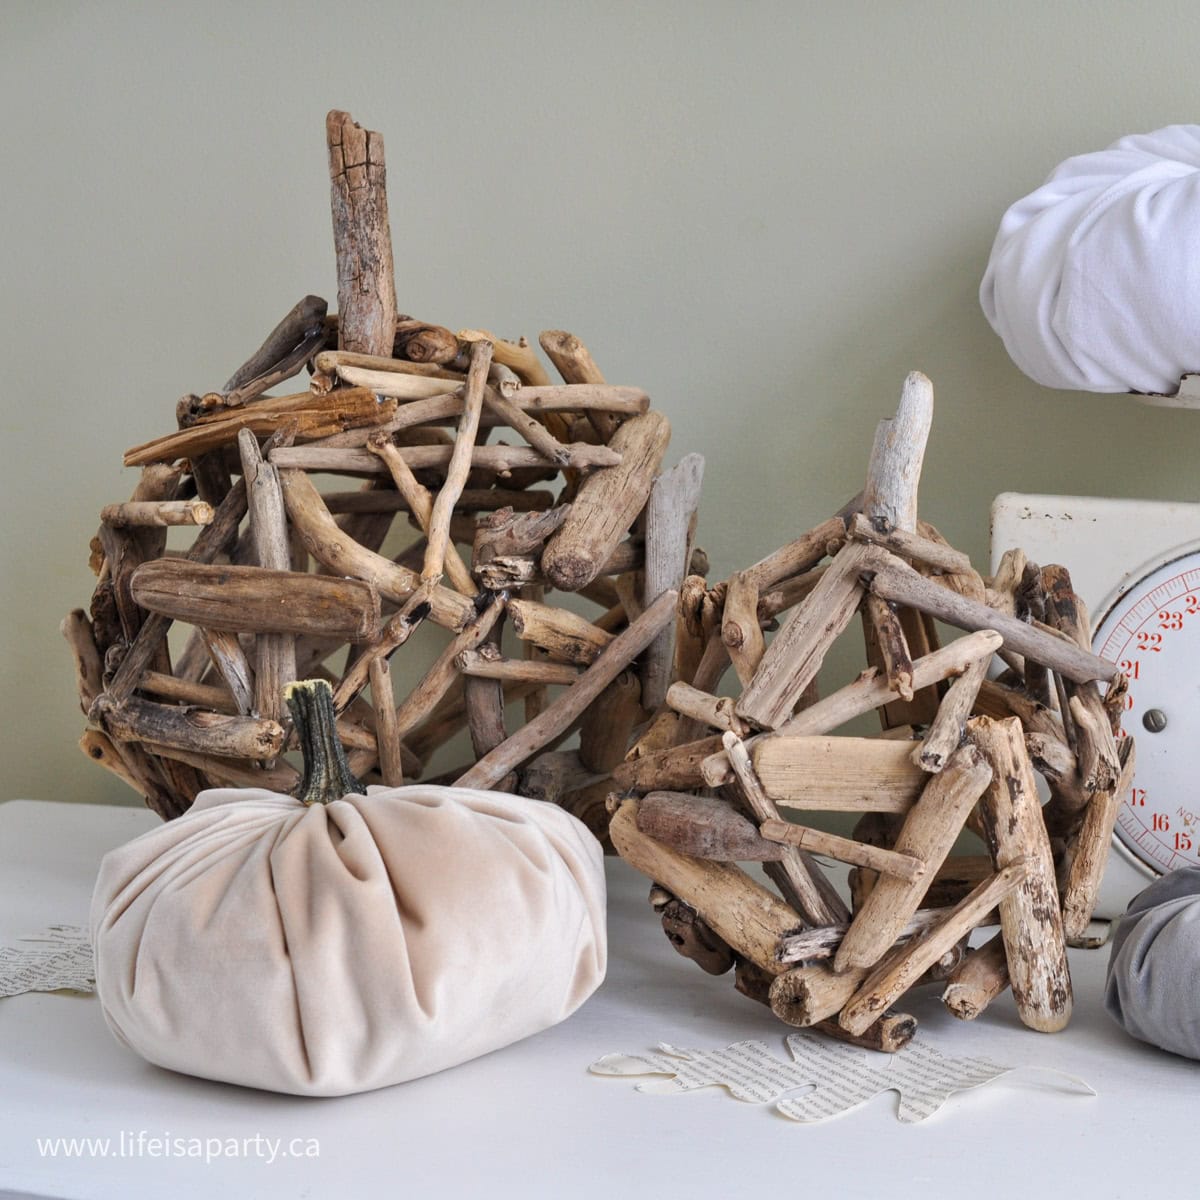
We made these DIY Wood Pumpkins using small driftwood pieces we collected from the lake.
These easy and beautiful rustic DIY driftwood pumpkins are the perfect addition to your fall decor. This would be a great craft for a fall craft night with friends.

I shared these pretty Driftwood Pumpkins in my Fall Home Tour, and promised a tutorial on how to make them. They’re simple to make, and a great addition to any fall decor. We love adding special touches to our fall decor like these DIY Concrete Pumpkins, or this DIY acorn craft idea.

DIY Driftwood Pumpkin Materials:
You only need a few materials to put these together. Lots of DIY wooden pumpkins are made from scrap wood. But we used something else for ours. We found our driftwood on a walk along the edge of Lake Ontario. You want to look for smooth, and short pieces for this project.
Expert Crafter Tip: No lake in your area? You can purchase bags of small driftwood pieces on-line.
- small driftwood pieces -about 2-3 inches long
- balloon
- hot glue
How To Make Wood Pumpkins:
1. Start by inflating a balloon, this will be the base for your pumpkin. You can change the size of your pumpkin by how much you inflate the balloon.

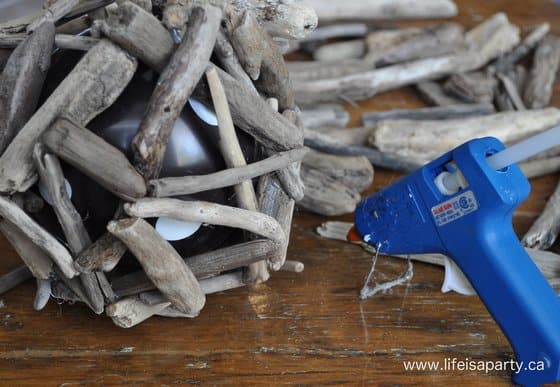
2. Hot glue the driftwood pieces to each other in overlapping triangles all the way around the balloon base. Take care not to pop the balloon with a pointy stick or the hot glue. Fill in the driftwood pieces enough to form a round sphere.

3. When the glue is cool and dry, pop or cutout the balloon. Lastly add a stem piece to the sphere to make it look like a pumpkin.

I set my driftwood pumpkins up on my little washstand along with some pretty velvet pumpkins. They make great home decor in the fall.

I love the subtle neutral colours of the driftwood, and they add a lot of texture too. But for more options, you could add some different shades of orange paint for another look. Or try adding some ribbon tied to the stem.
Store these away carefully and use them year after year.
Expert Crafter Tip: When making your fall wood pumpkin, make sure to glue the wood to itself and not the balloon. The heat from the hot glue will pop the balloon if you it gets on it. You could also use low temp hot glue for this project.

Yes. Just make sure that you don't get any with a sharp part that accidentally pops your balloon while you're working.
Yes. We love the look of them neutral, but you could paint them orange in a solid colour, or with a wash so the wood still shows through a little. And paint the stem green or brown if you wish.

Equipment
- Glue Gun
Materials
- 1 Balloon
- 40-50 2-4 inch pieces of driftwood
- 1-2 sticks hot glue
Instructions
- Begin by inflating your balloon. You can make pumpkins of varying sizes by adding more or less air to the balloons.
- Glue the driftwood pieces in triangle shapes and build them out around the entire balloon, taking care to glue the pieces to one another and not to the balloon so that the hot glue doesn't pop it. Fill in the driftwood pieces enough to form a solid sphere.
- When the glue is cool and dry, pop the balloon. Lastly add a stem piece to the sphere to make it look like a pumpkin.


Dannyelle Nicolle-Ramjist says
These rustic driftwood pumpkins were so much fun to make and look great as fall decor.