Embroidery Insects: make your DIY embroidery patterns and create realistic embroidery bugs in custom colours.

Jump to:
Embroidery insects are fun to make, and with our tutorial you can make your own embroidery pattern for any insect you like. Stitch them in realistic colours, or add some whimsy with your own colour choices.
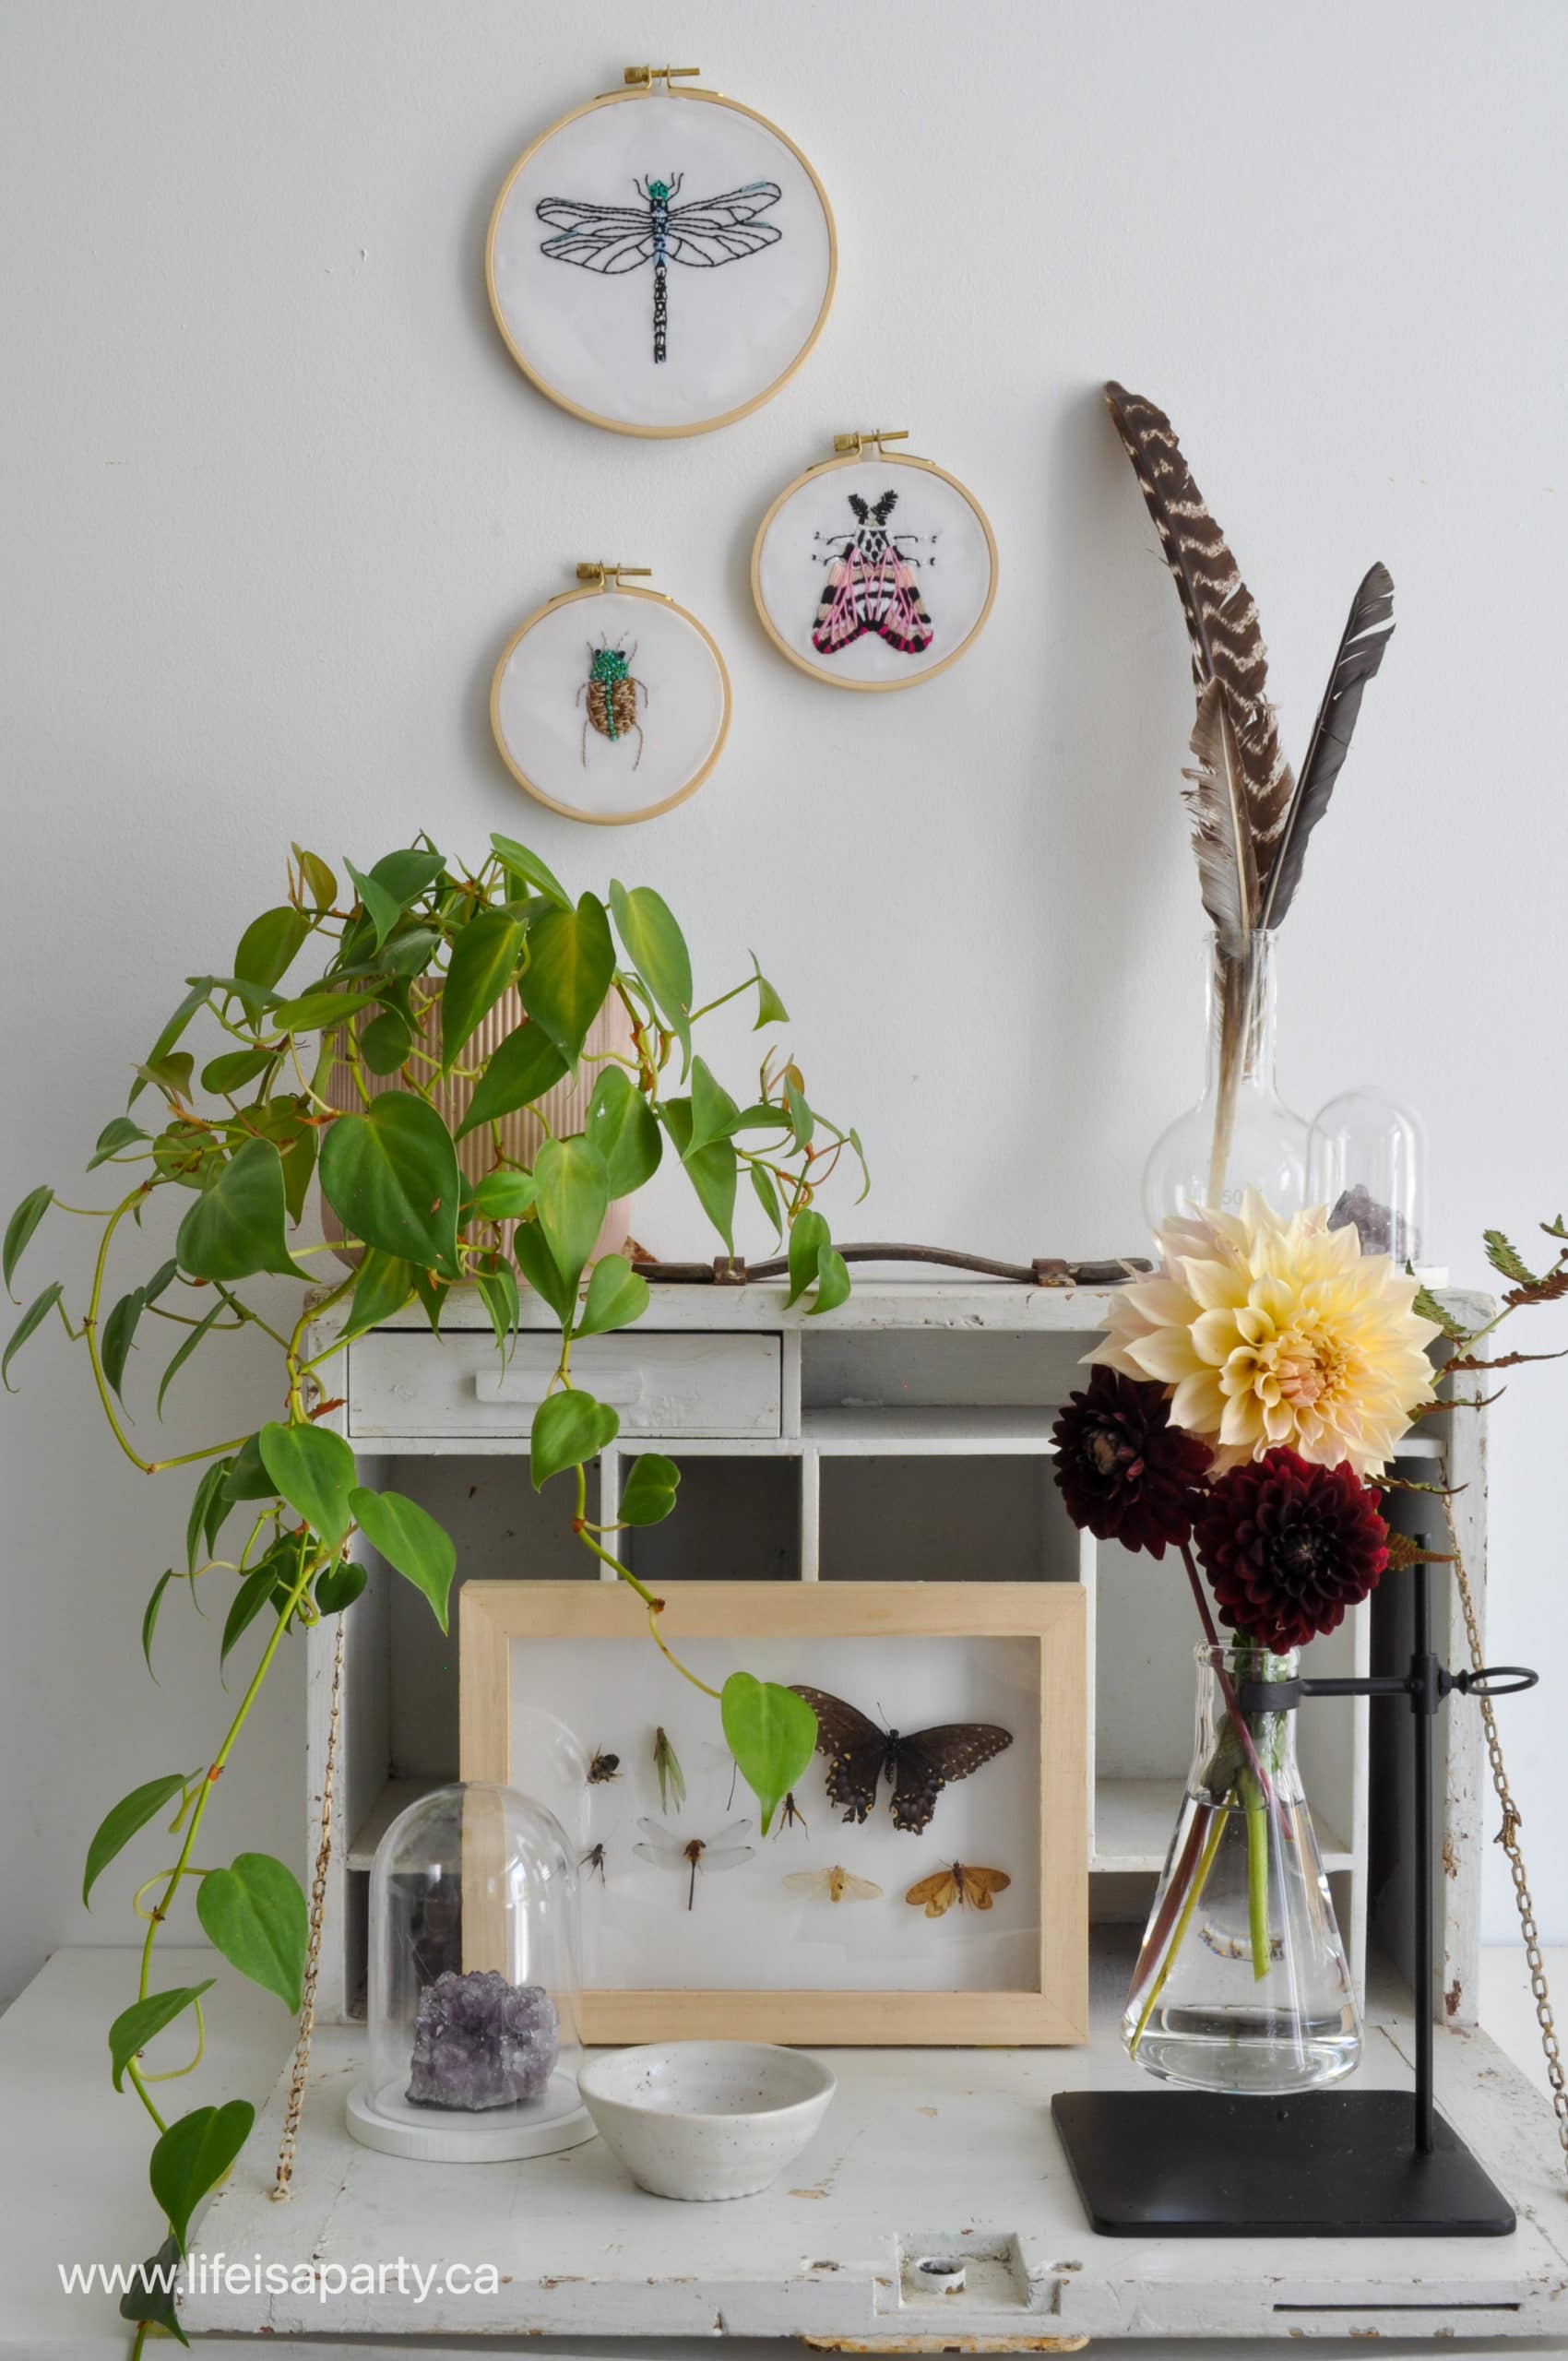
Science Themed Decor
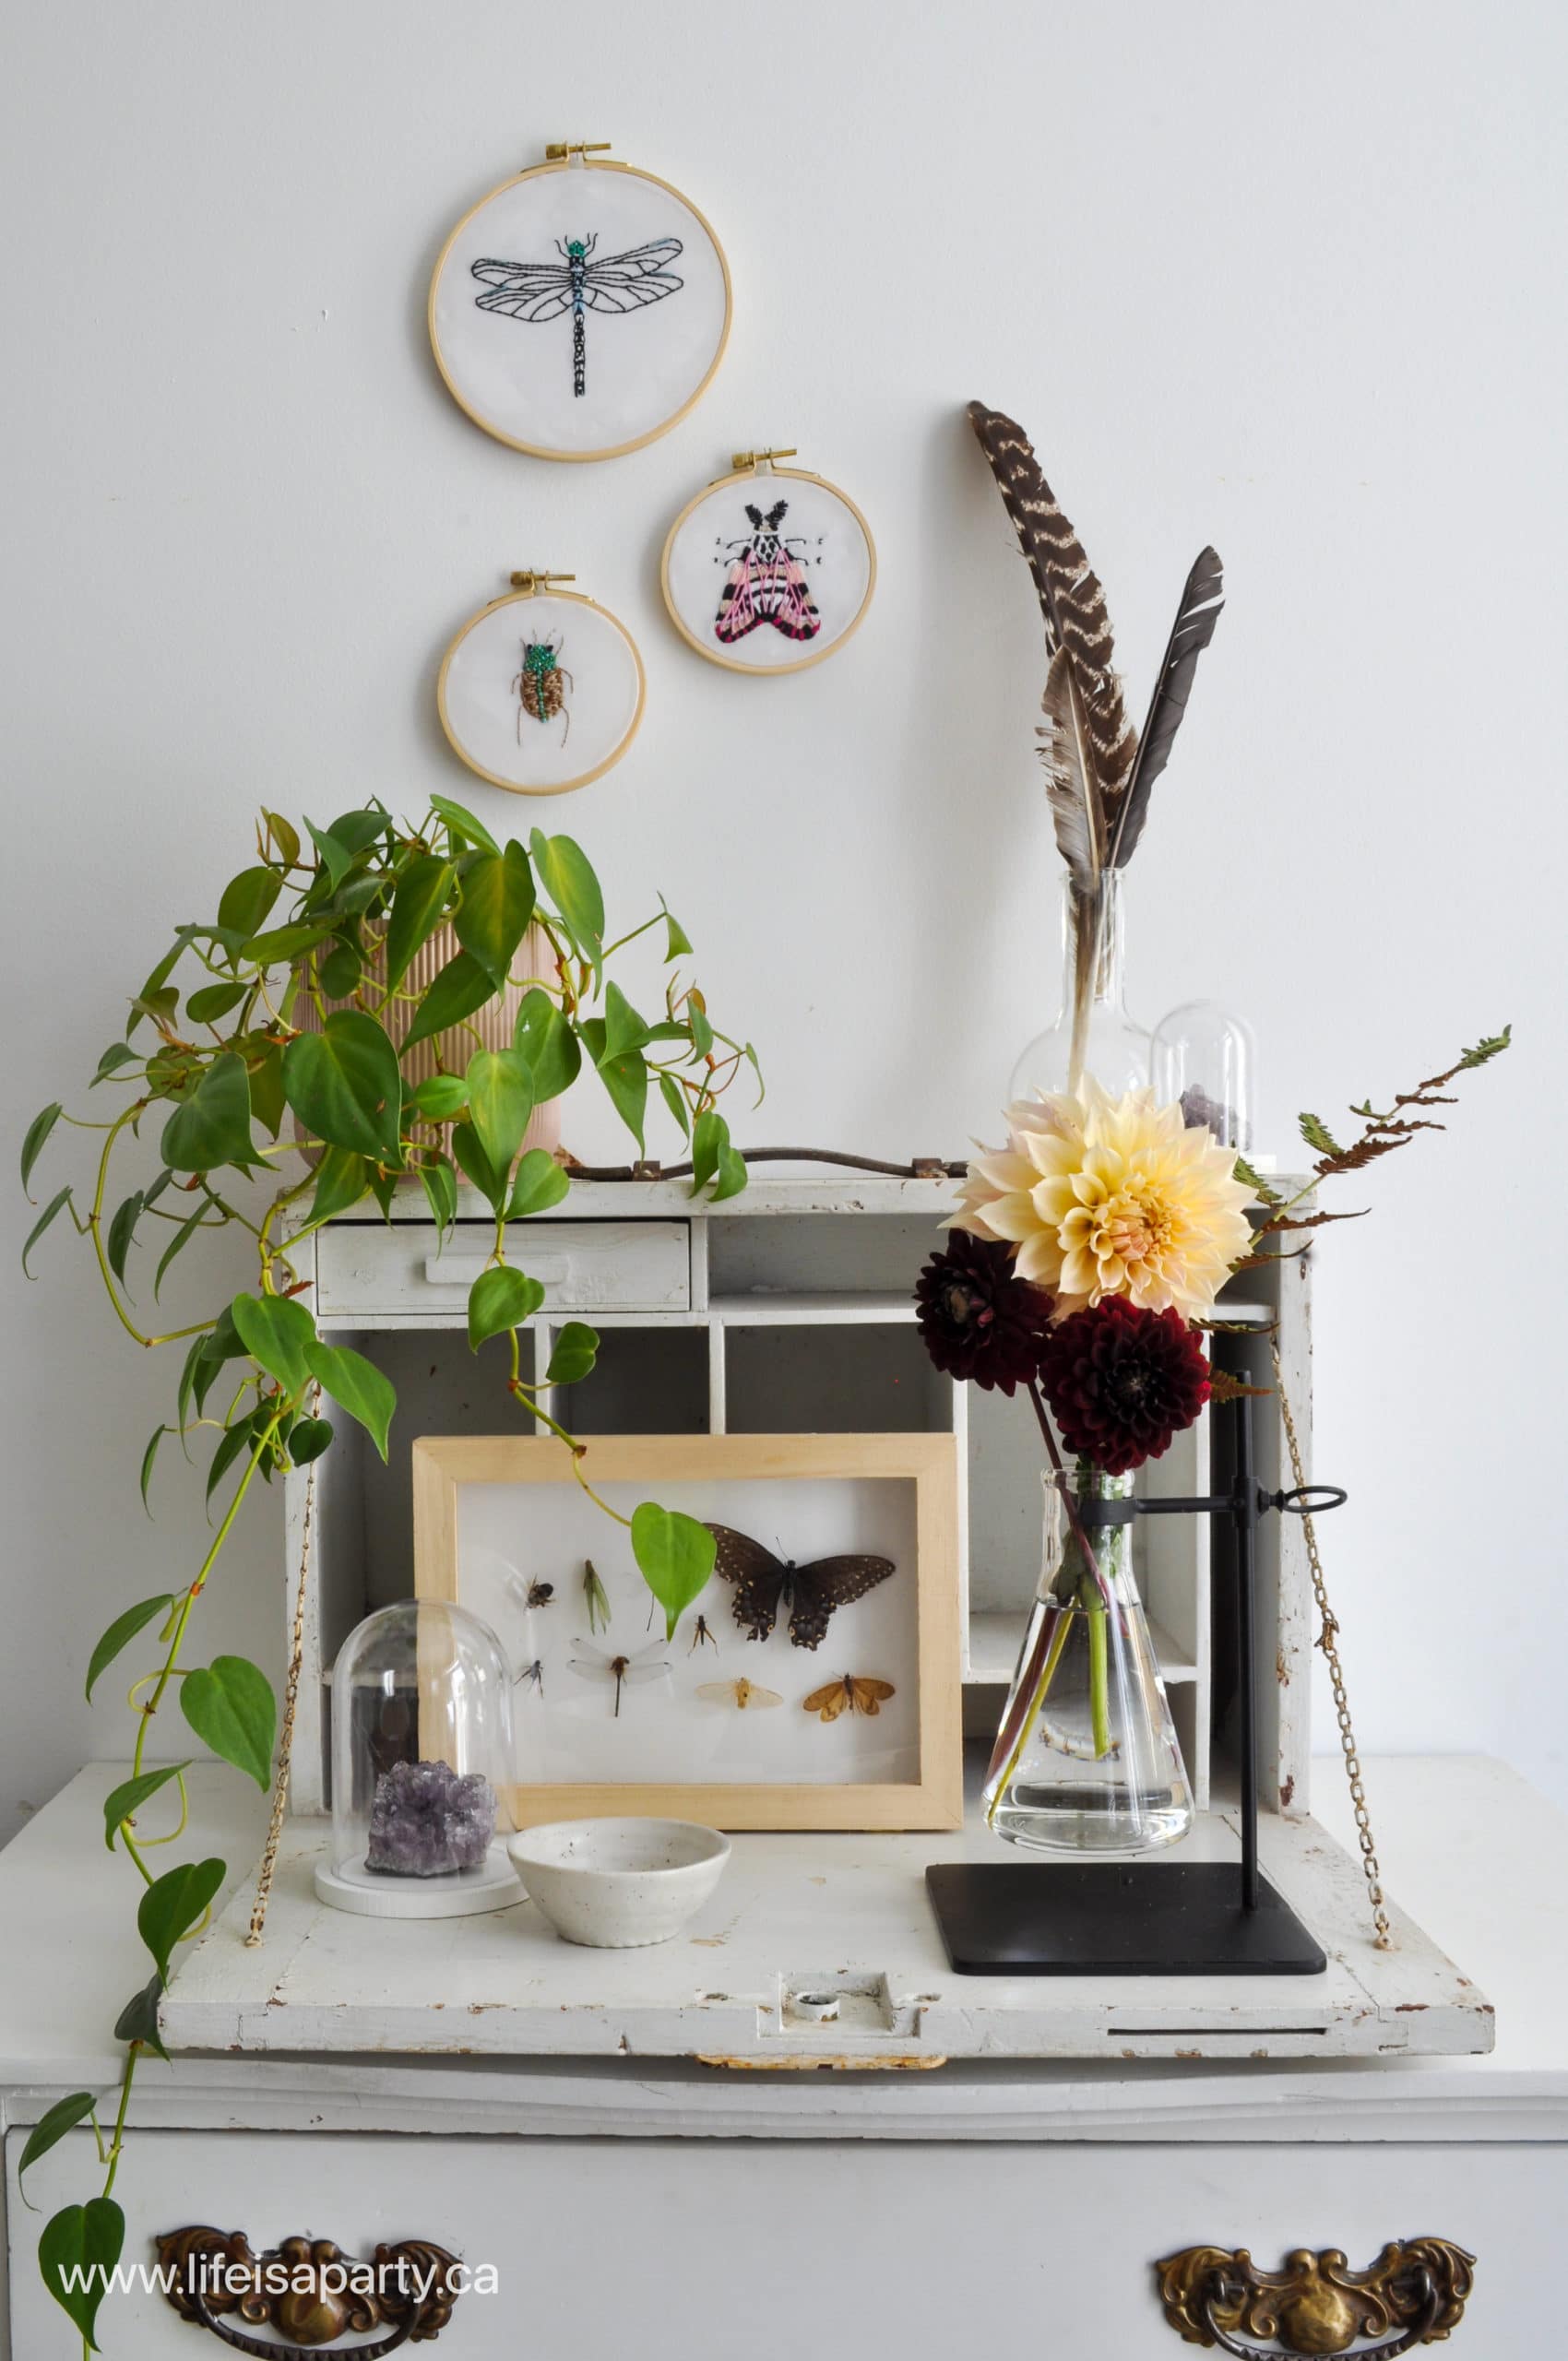
For several years in the fall I've decorated with a bit of a scientific botanical theme. You can check out my science themed fall home tours here, and here and here. These embroidery insects would be great any time of year, but I especially love this for fall mixed with lots of nature inspired decor, like pumpkins, grasses, leaves, acorns, pinecones. When I first used this theme for fall home decor, I imagined a historical nature loving botanist woman, who loved spending time outside and collecting specimens, and coming home to study and document them.
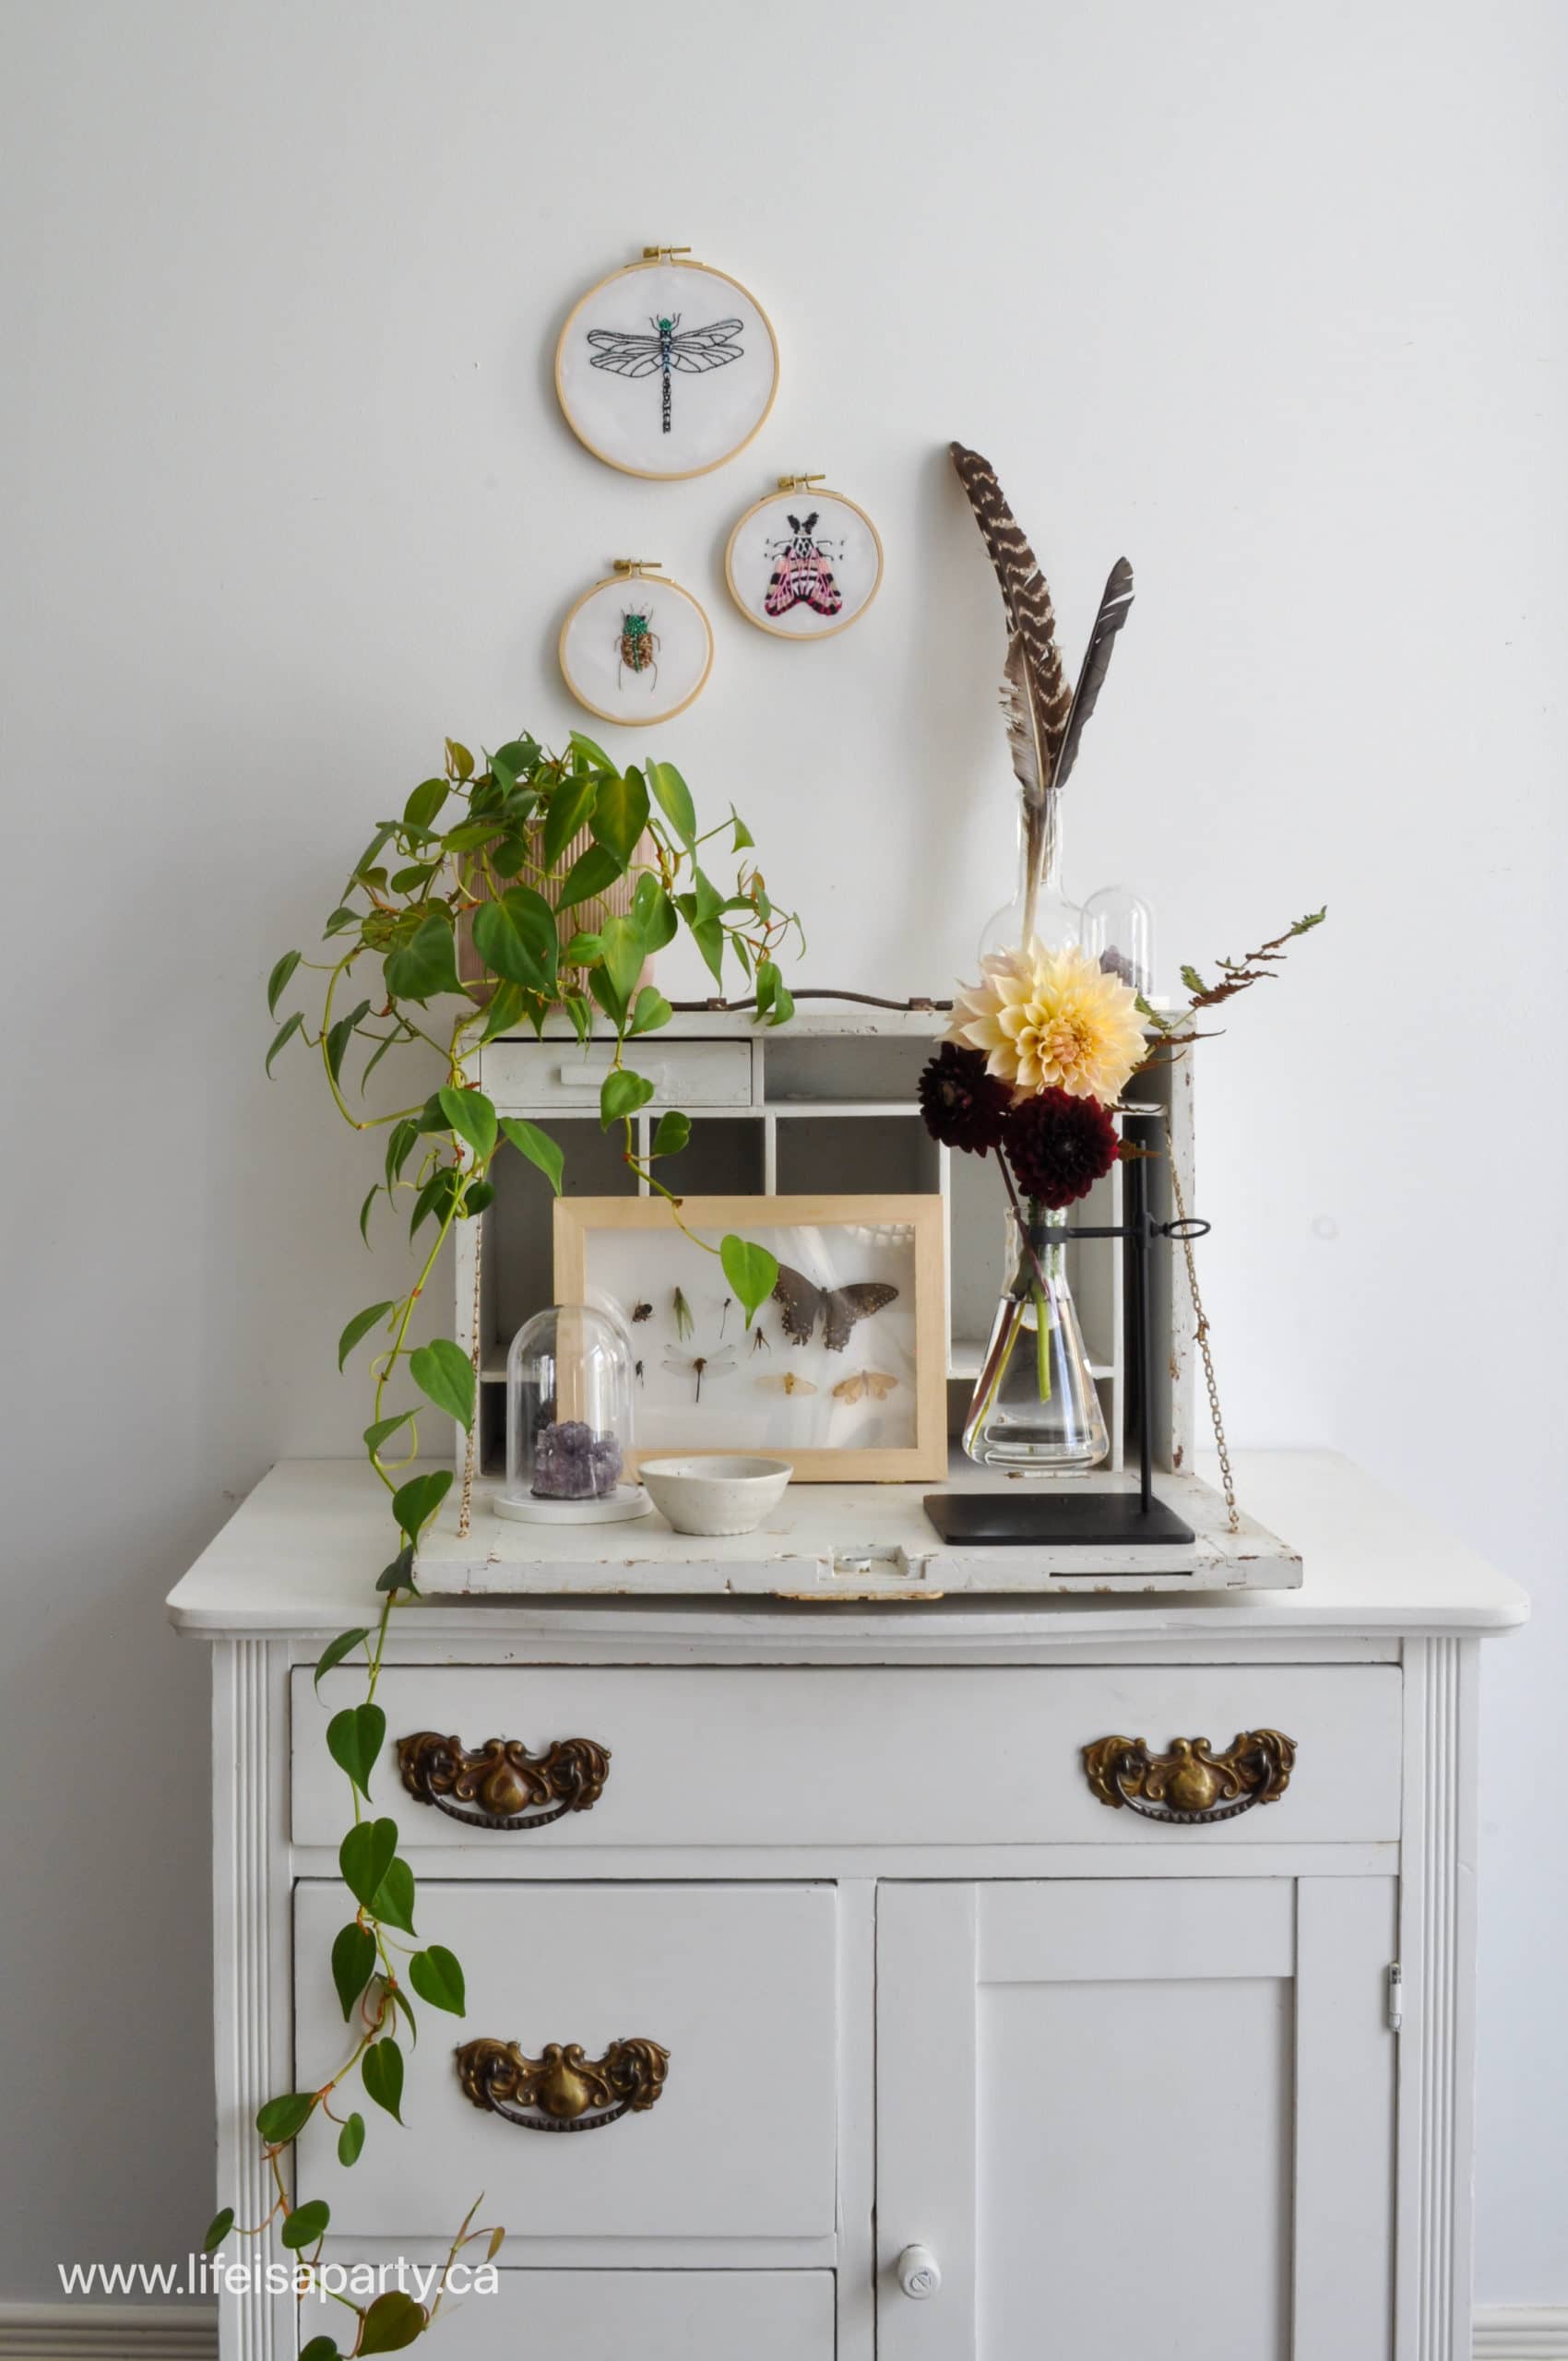
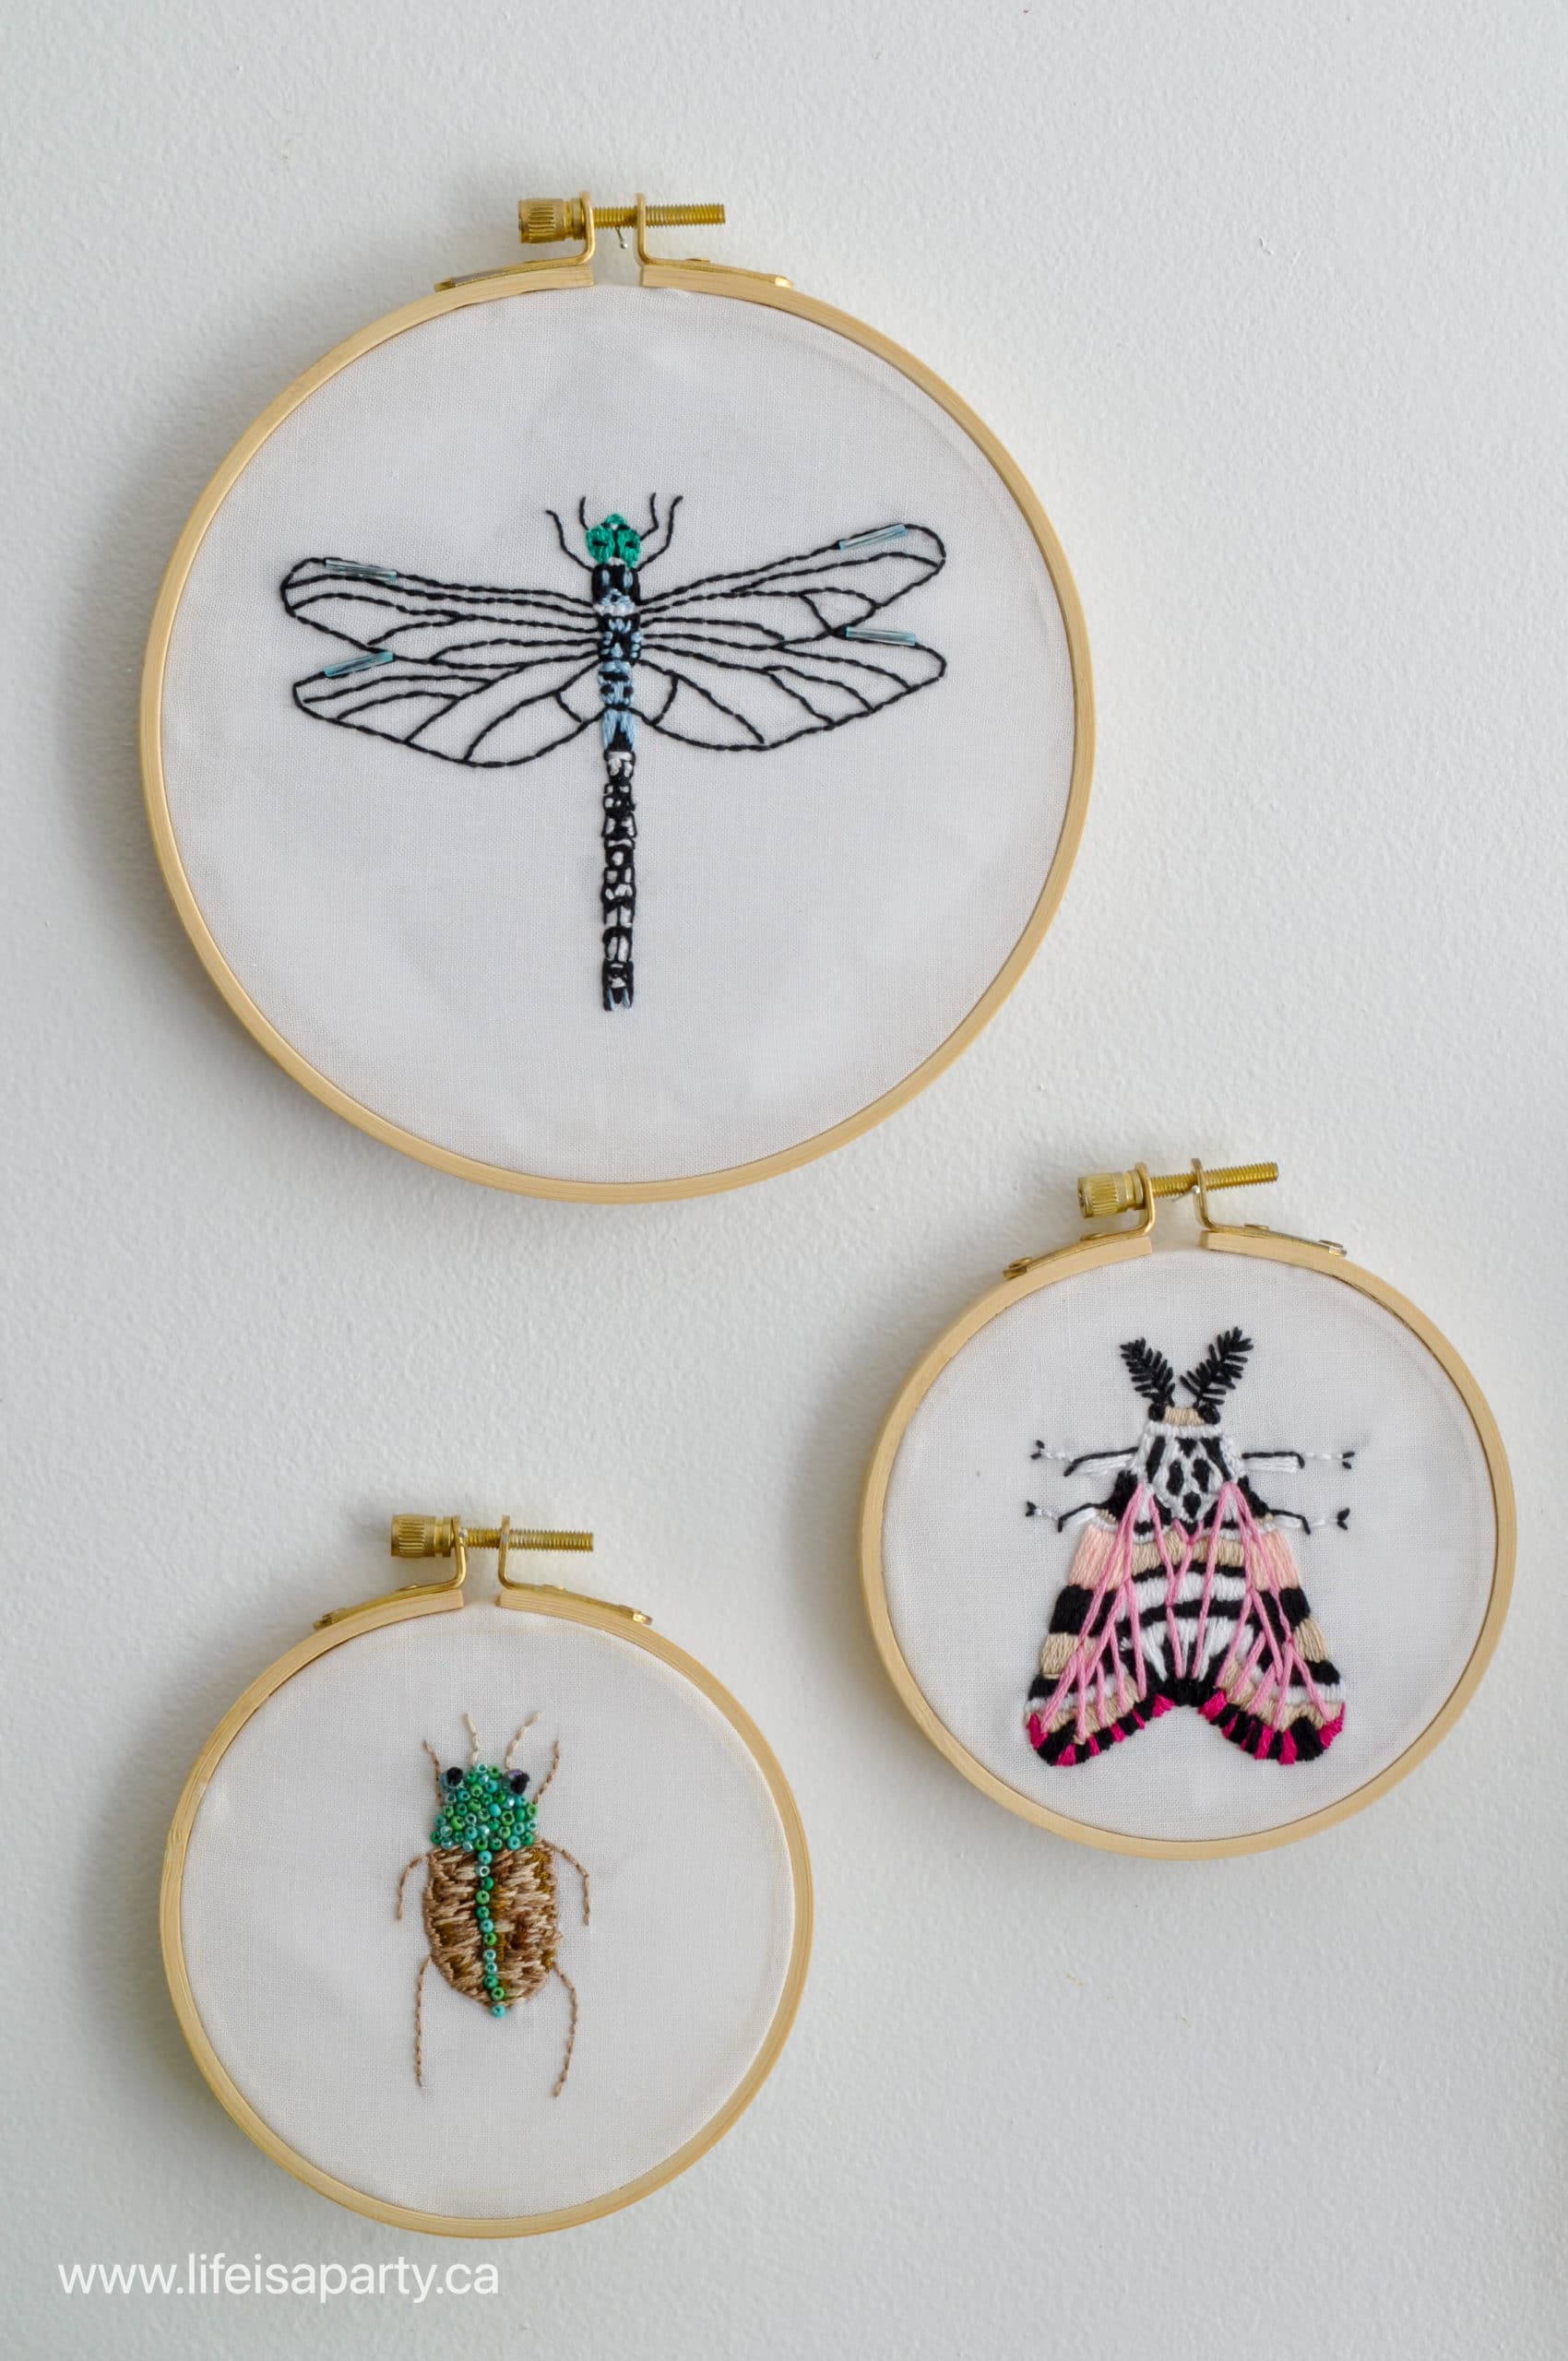
These embroidery insects are such a beautiful project. We used small embroidery hoops as the frames for the these pieces, and used lots of different colours, and some beads to create them. These were actually made by my 17 year old daughter Paige. She enjoys embroidery, and is great at it. I asked her to make these for me and she did an amazing job.
Use An Insect Image To Make Your Own Pattern
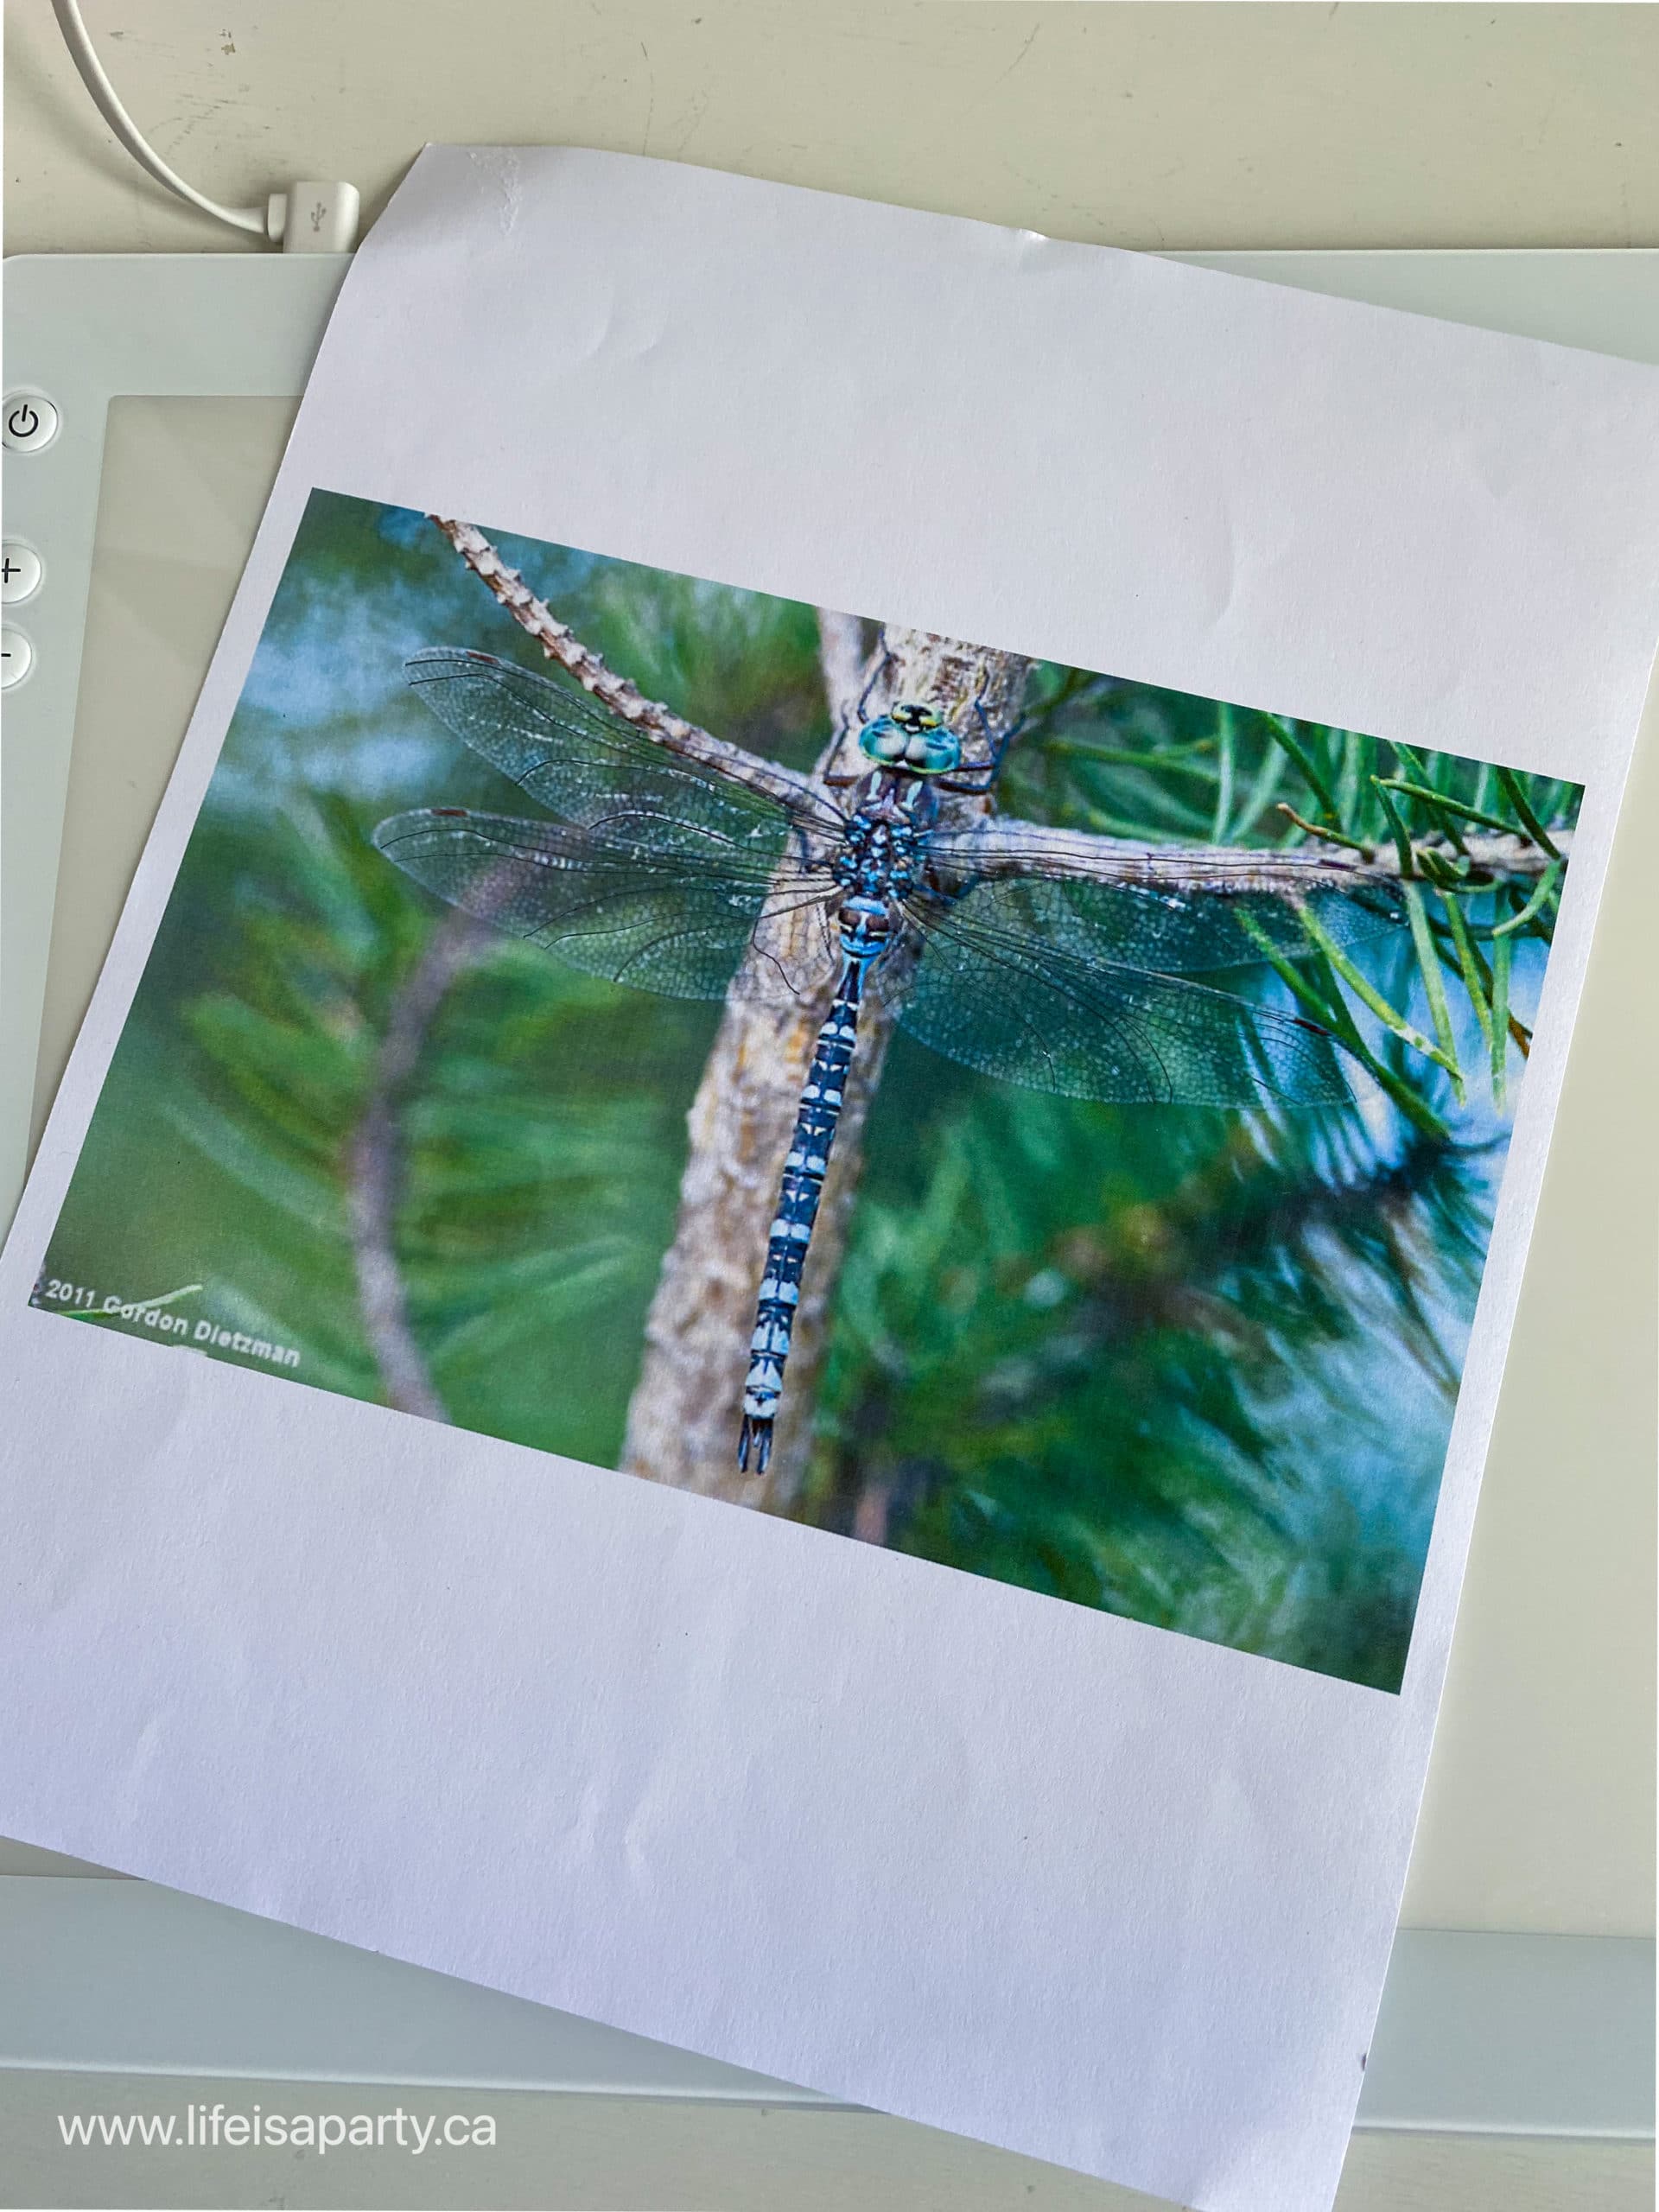
The pattern for the dragonfly embroidery was made with an image that we found on-line. You could use this method to make a pattern and embroider any insect you like. No need for an embroidery machine, these were all created by hand, which makes each one it's one little work of hoop art.
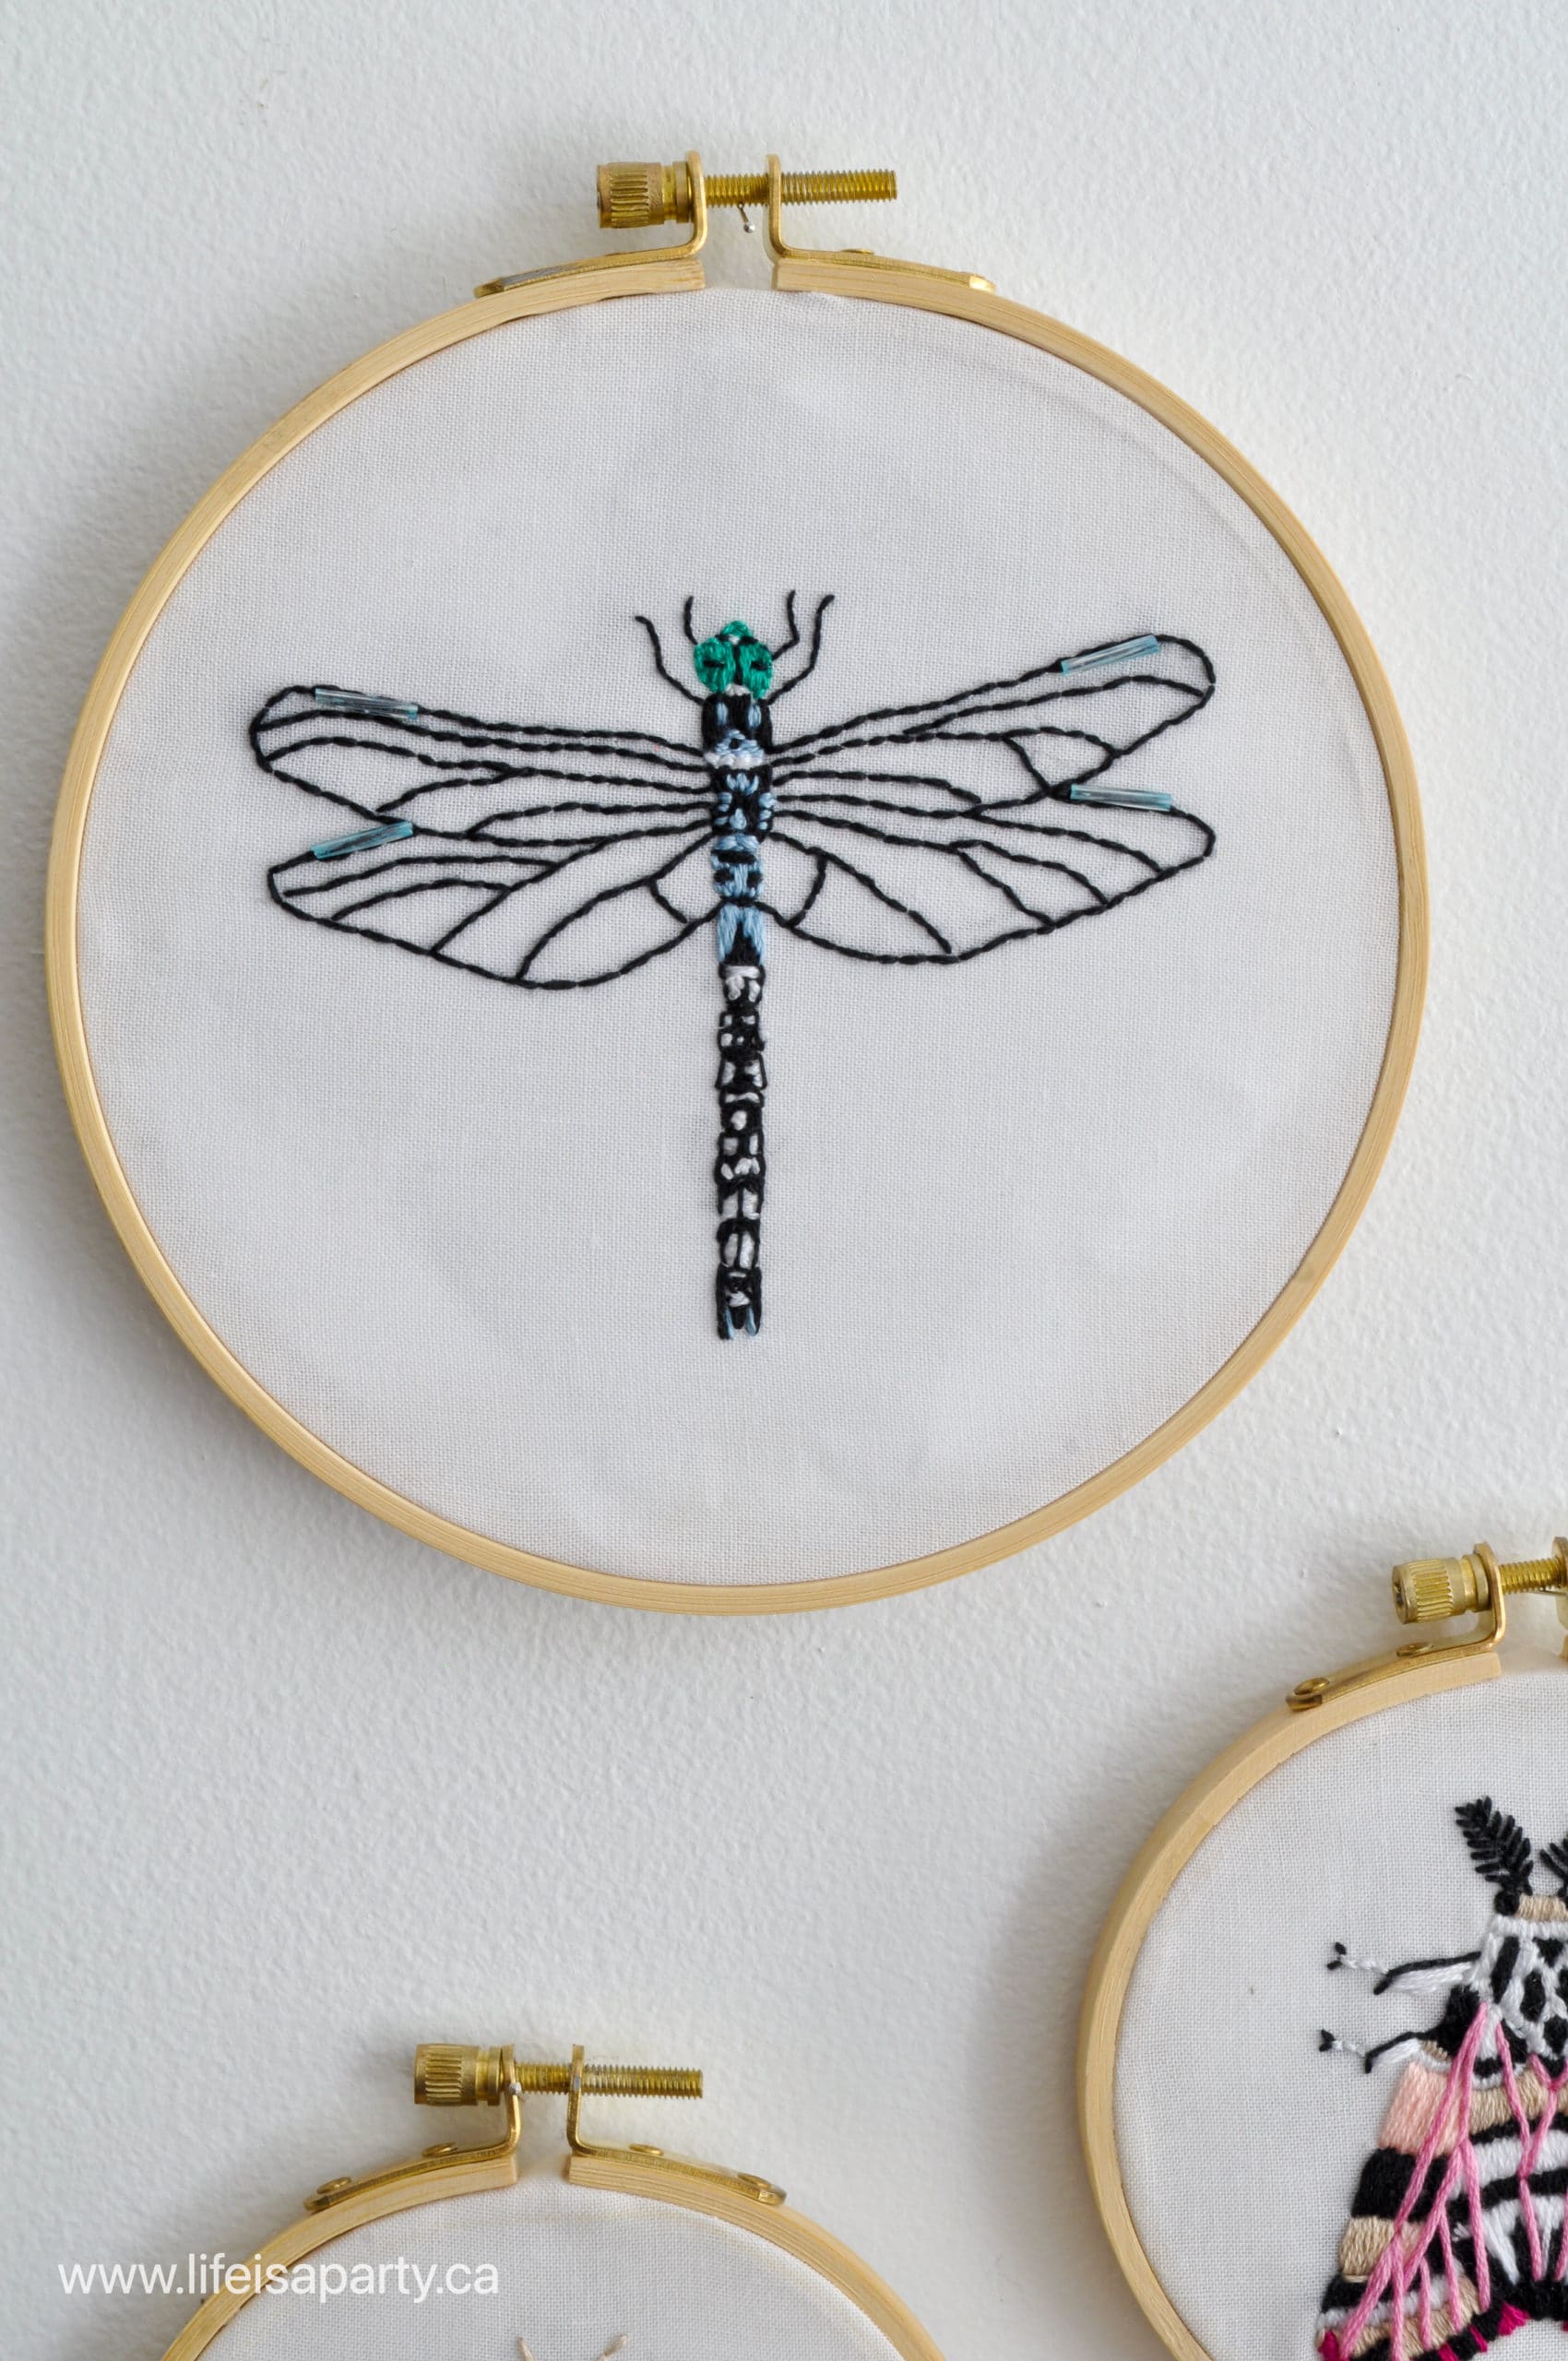
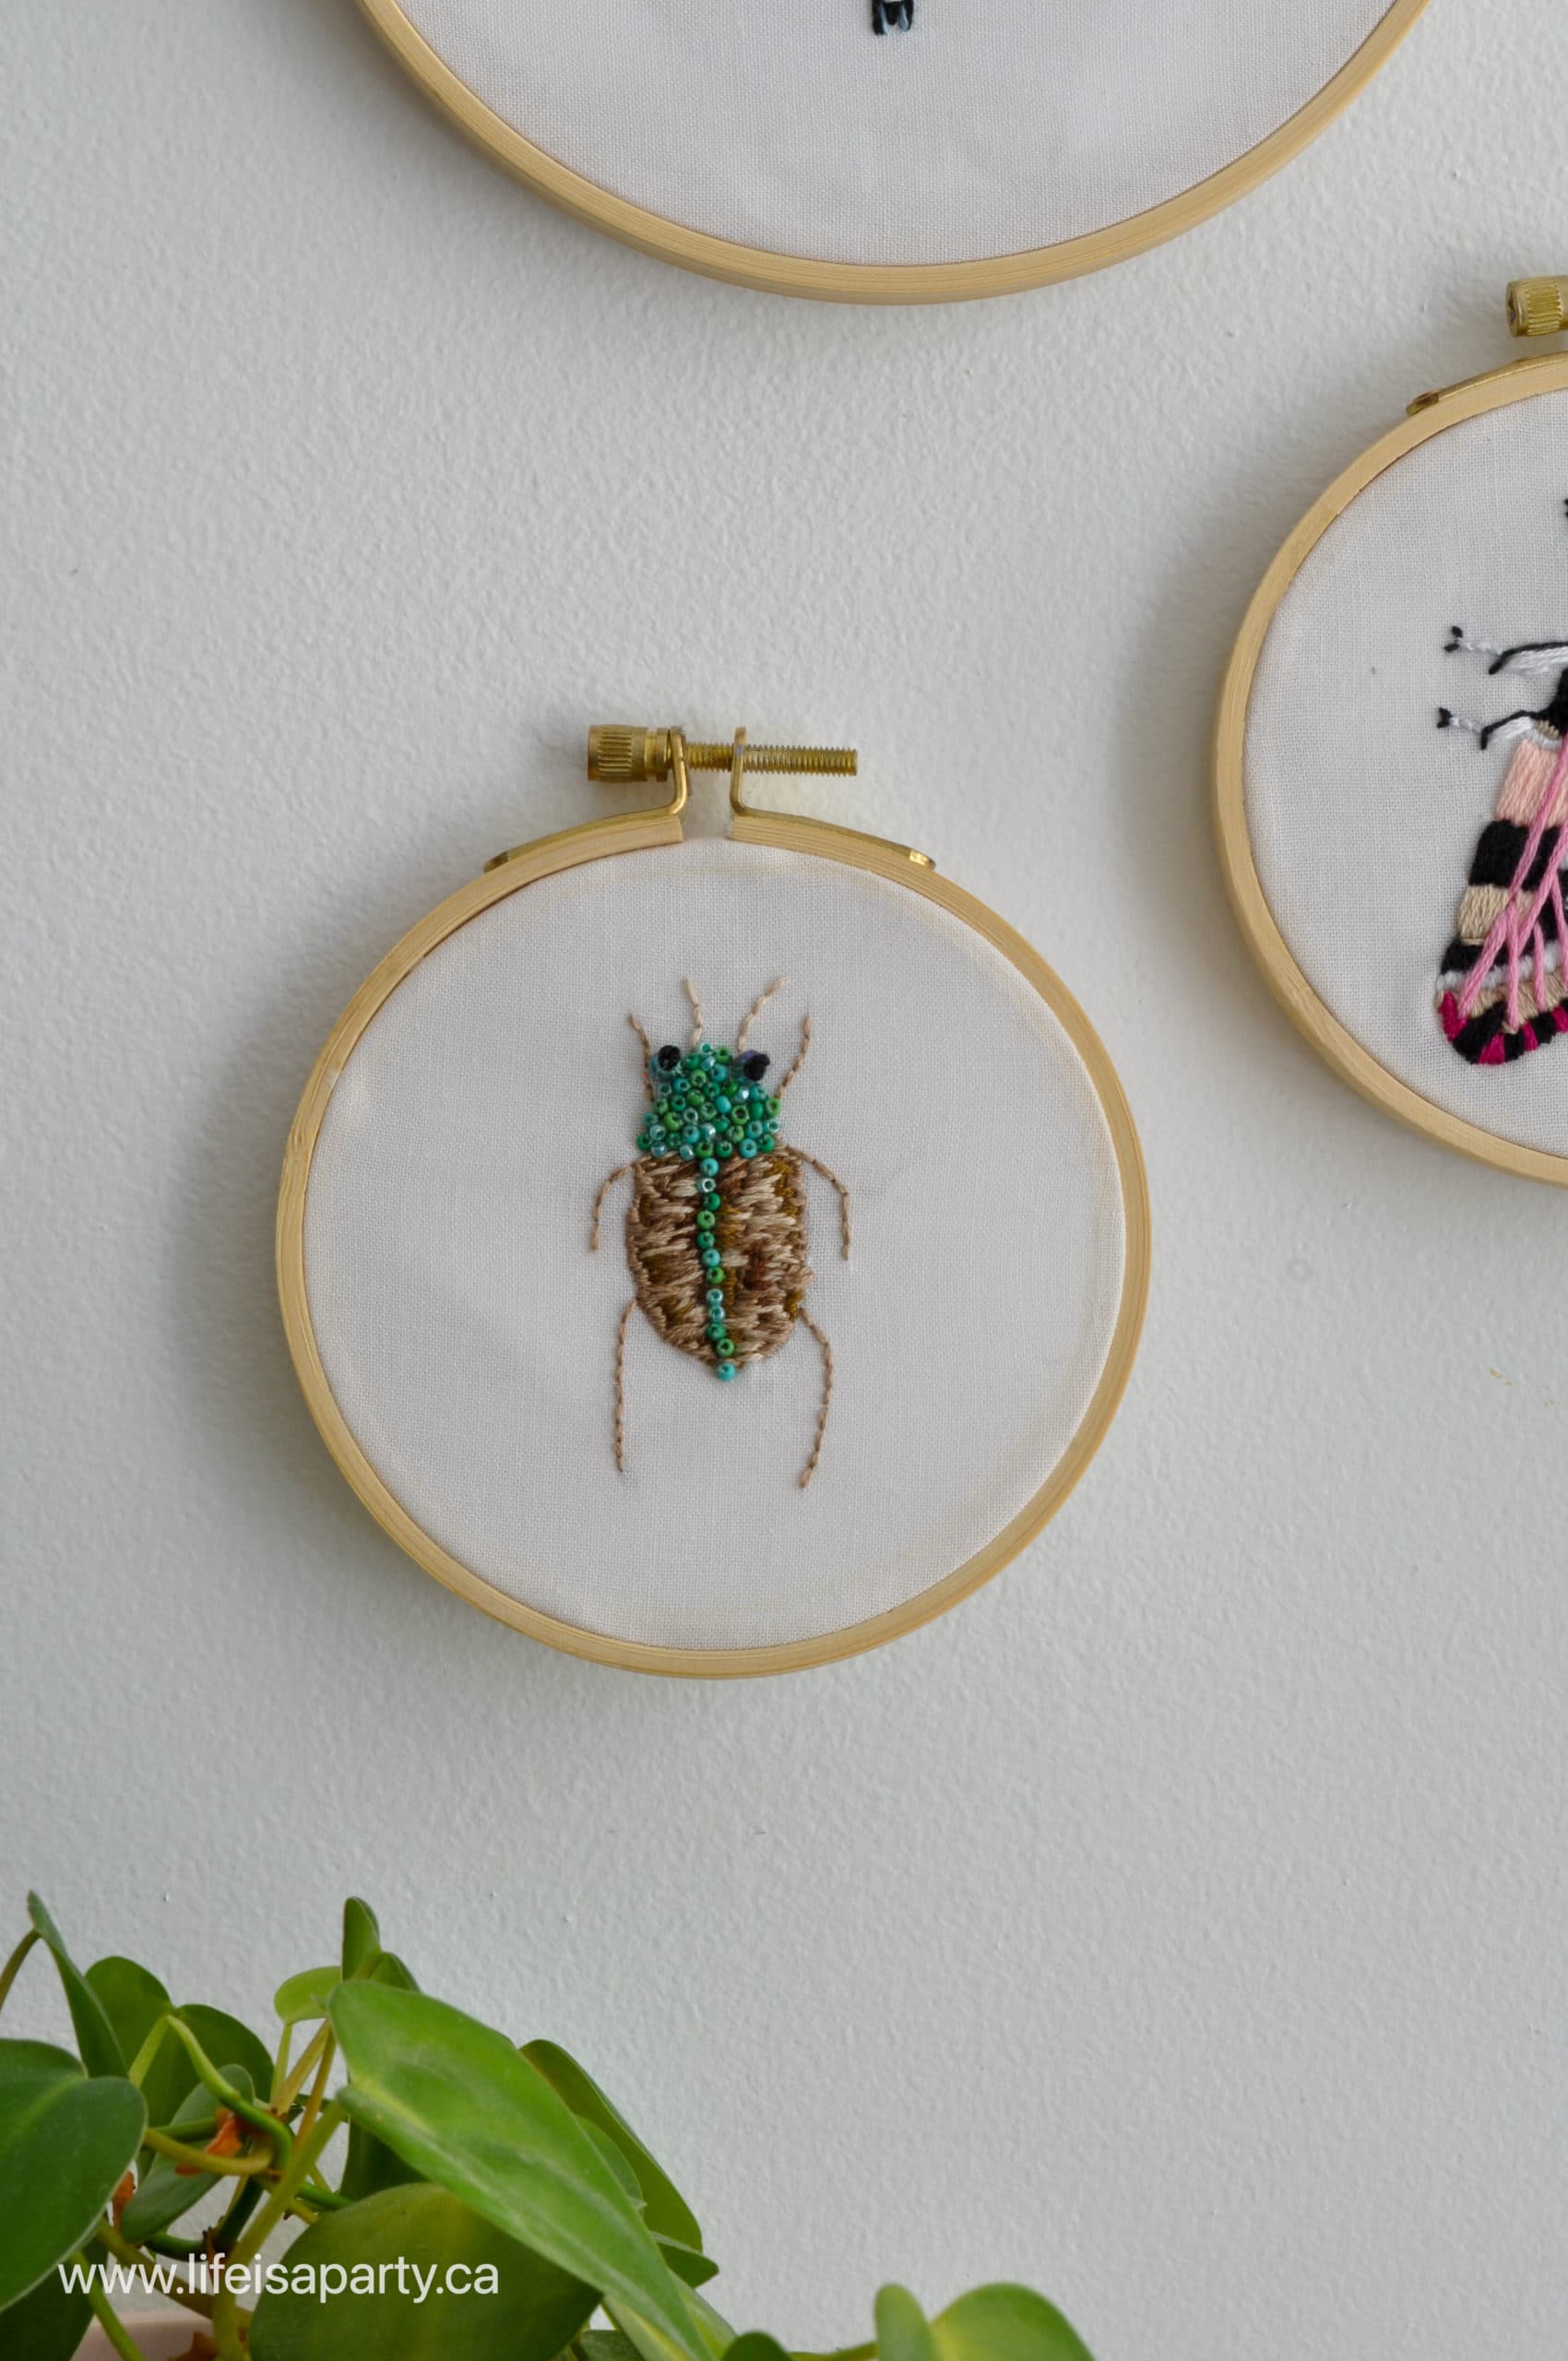
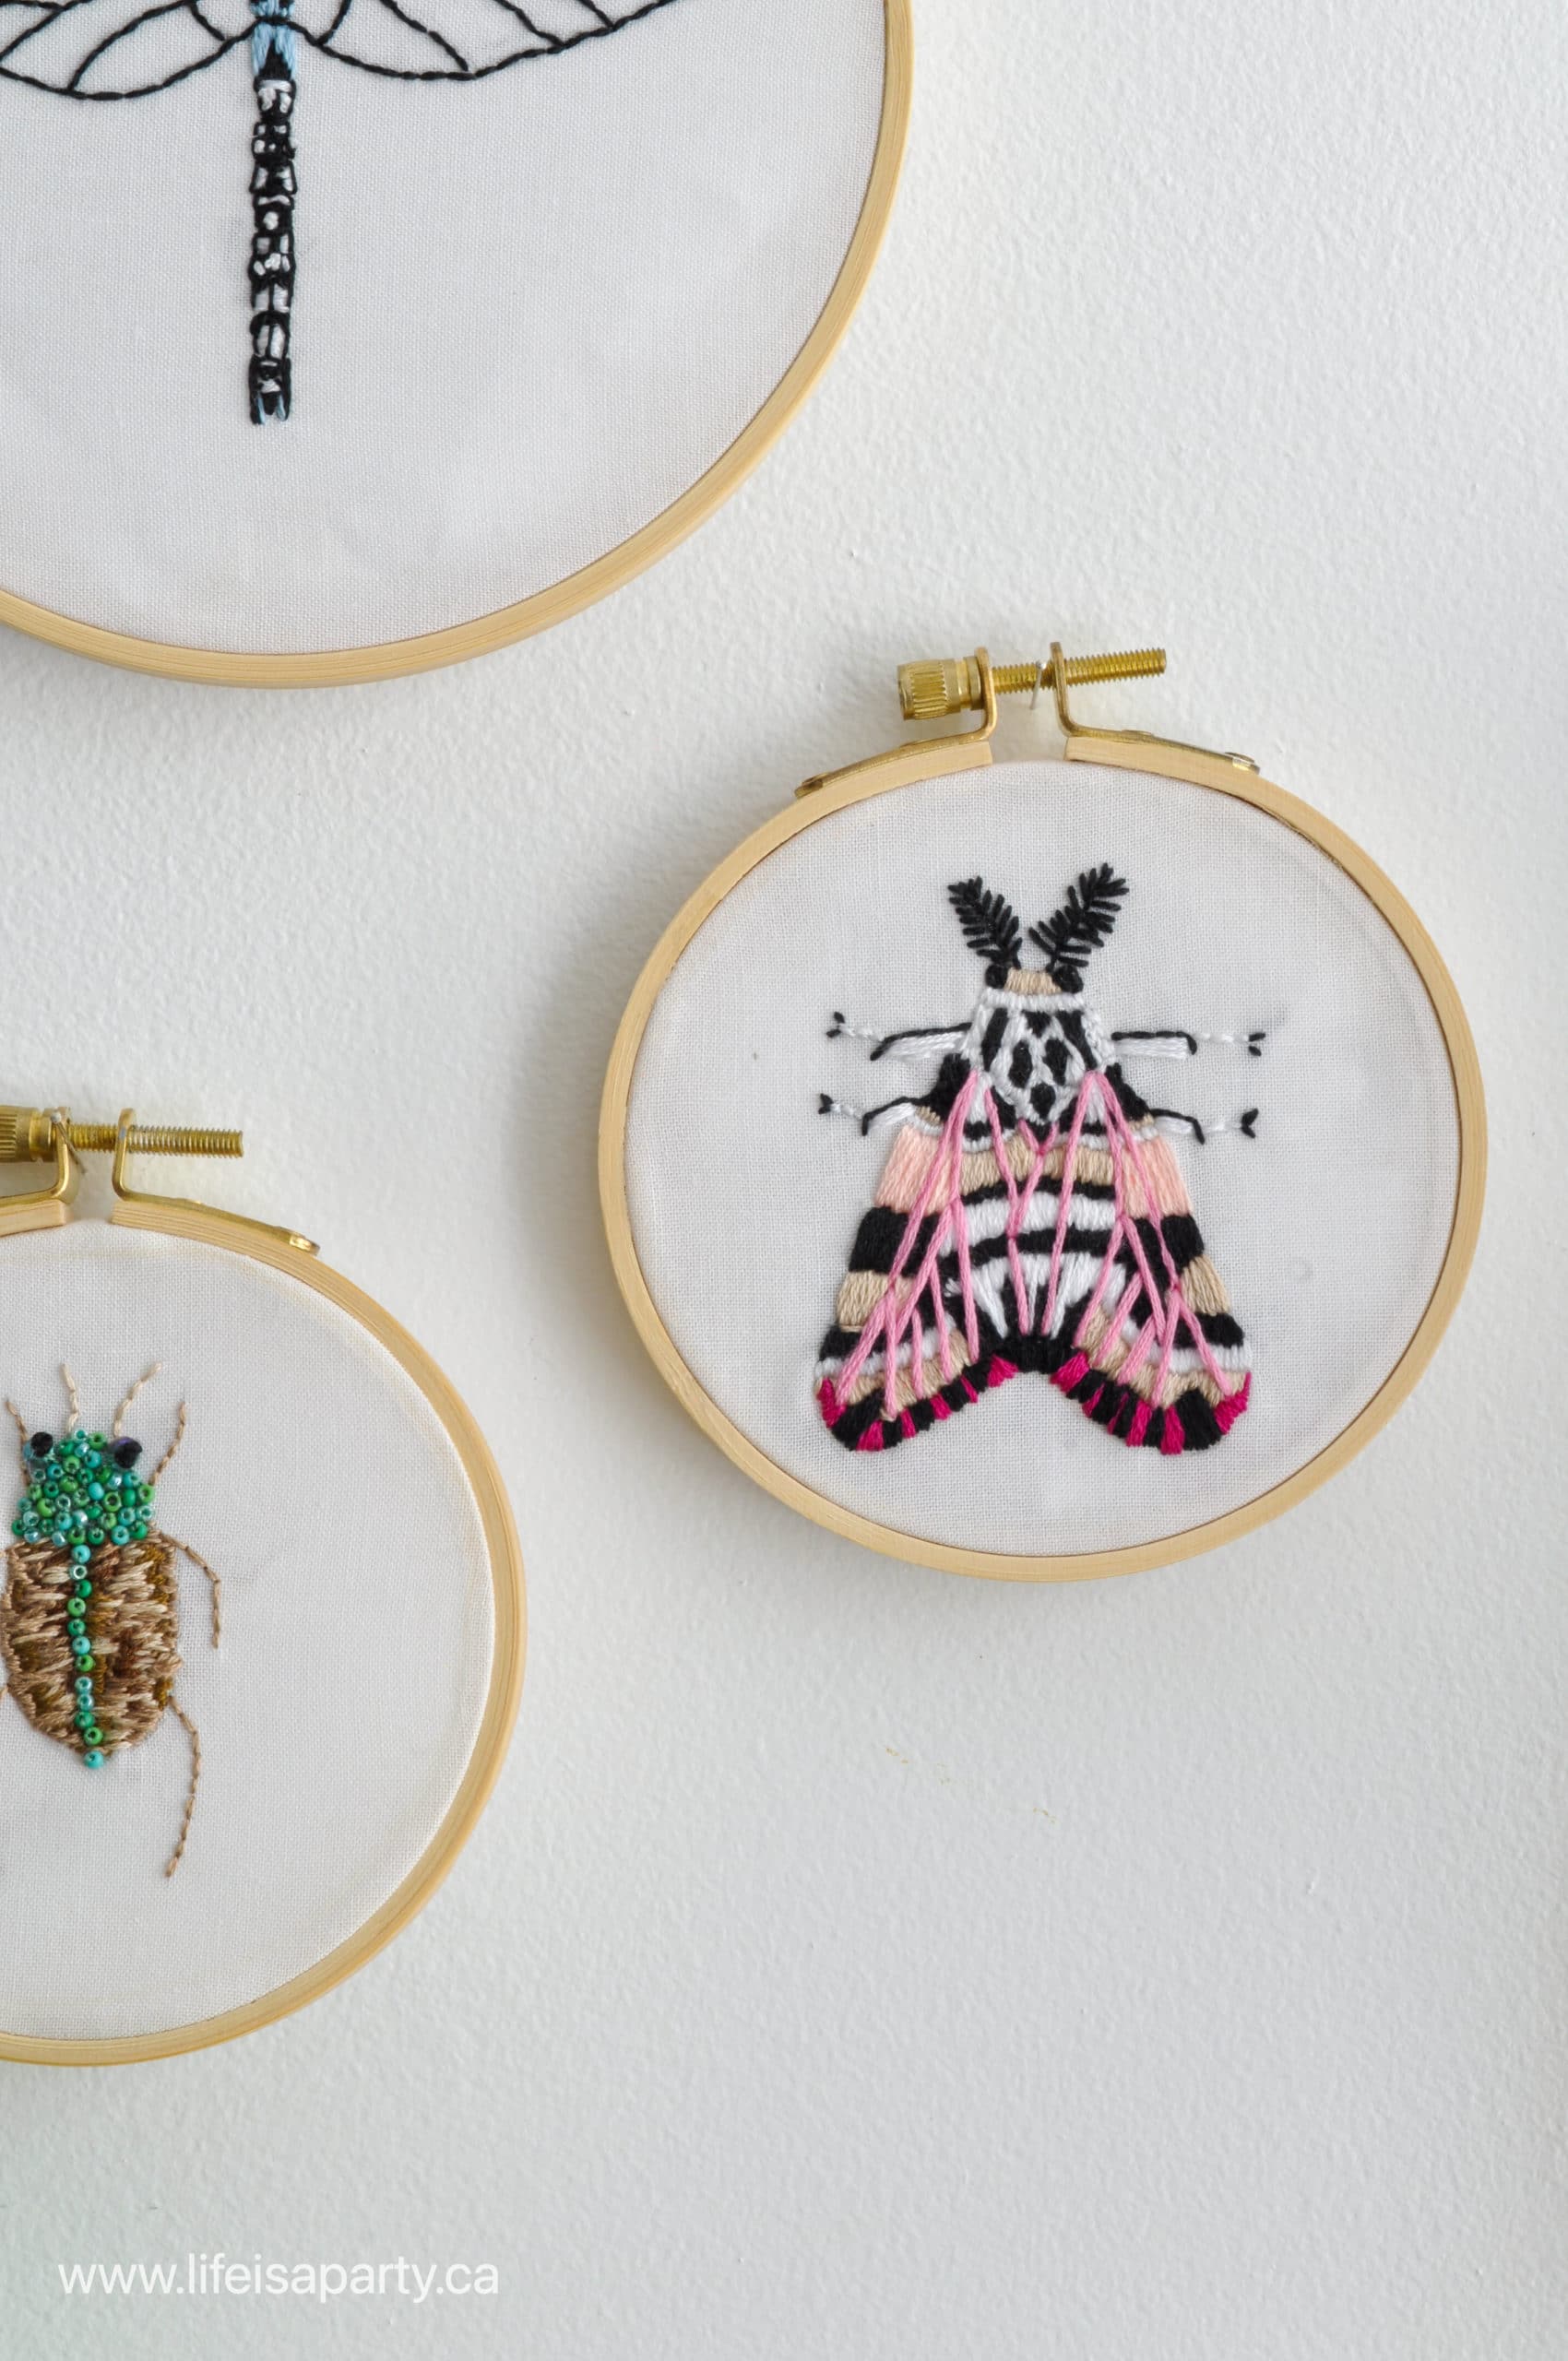
You can either base your colours for the embroidery insects based on real insects, or you can get a bit more whimsical.

Equipment
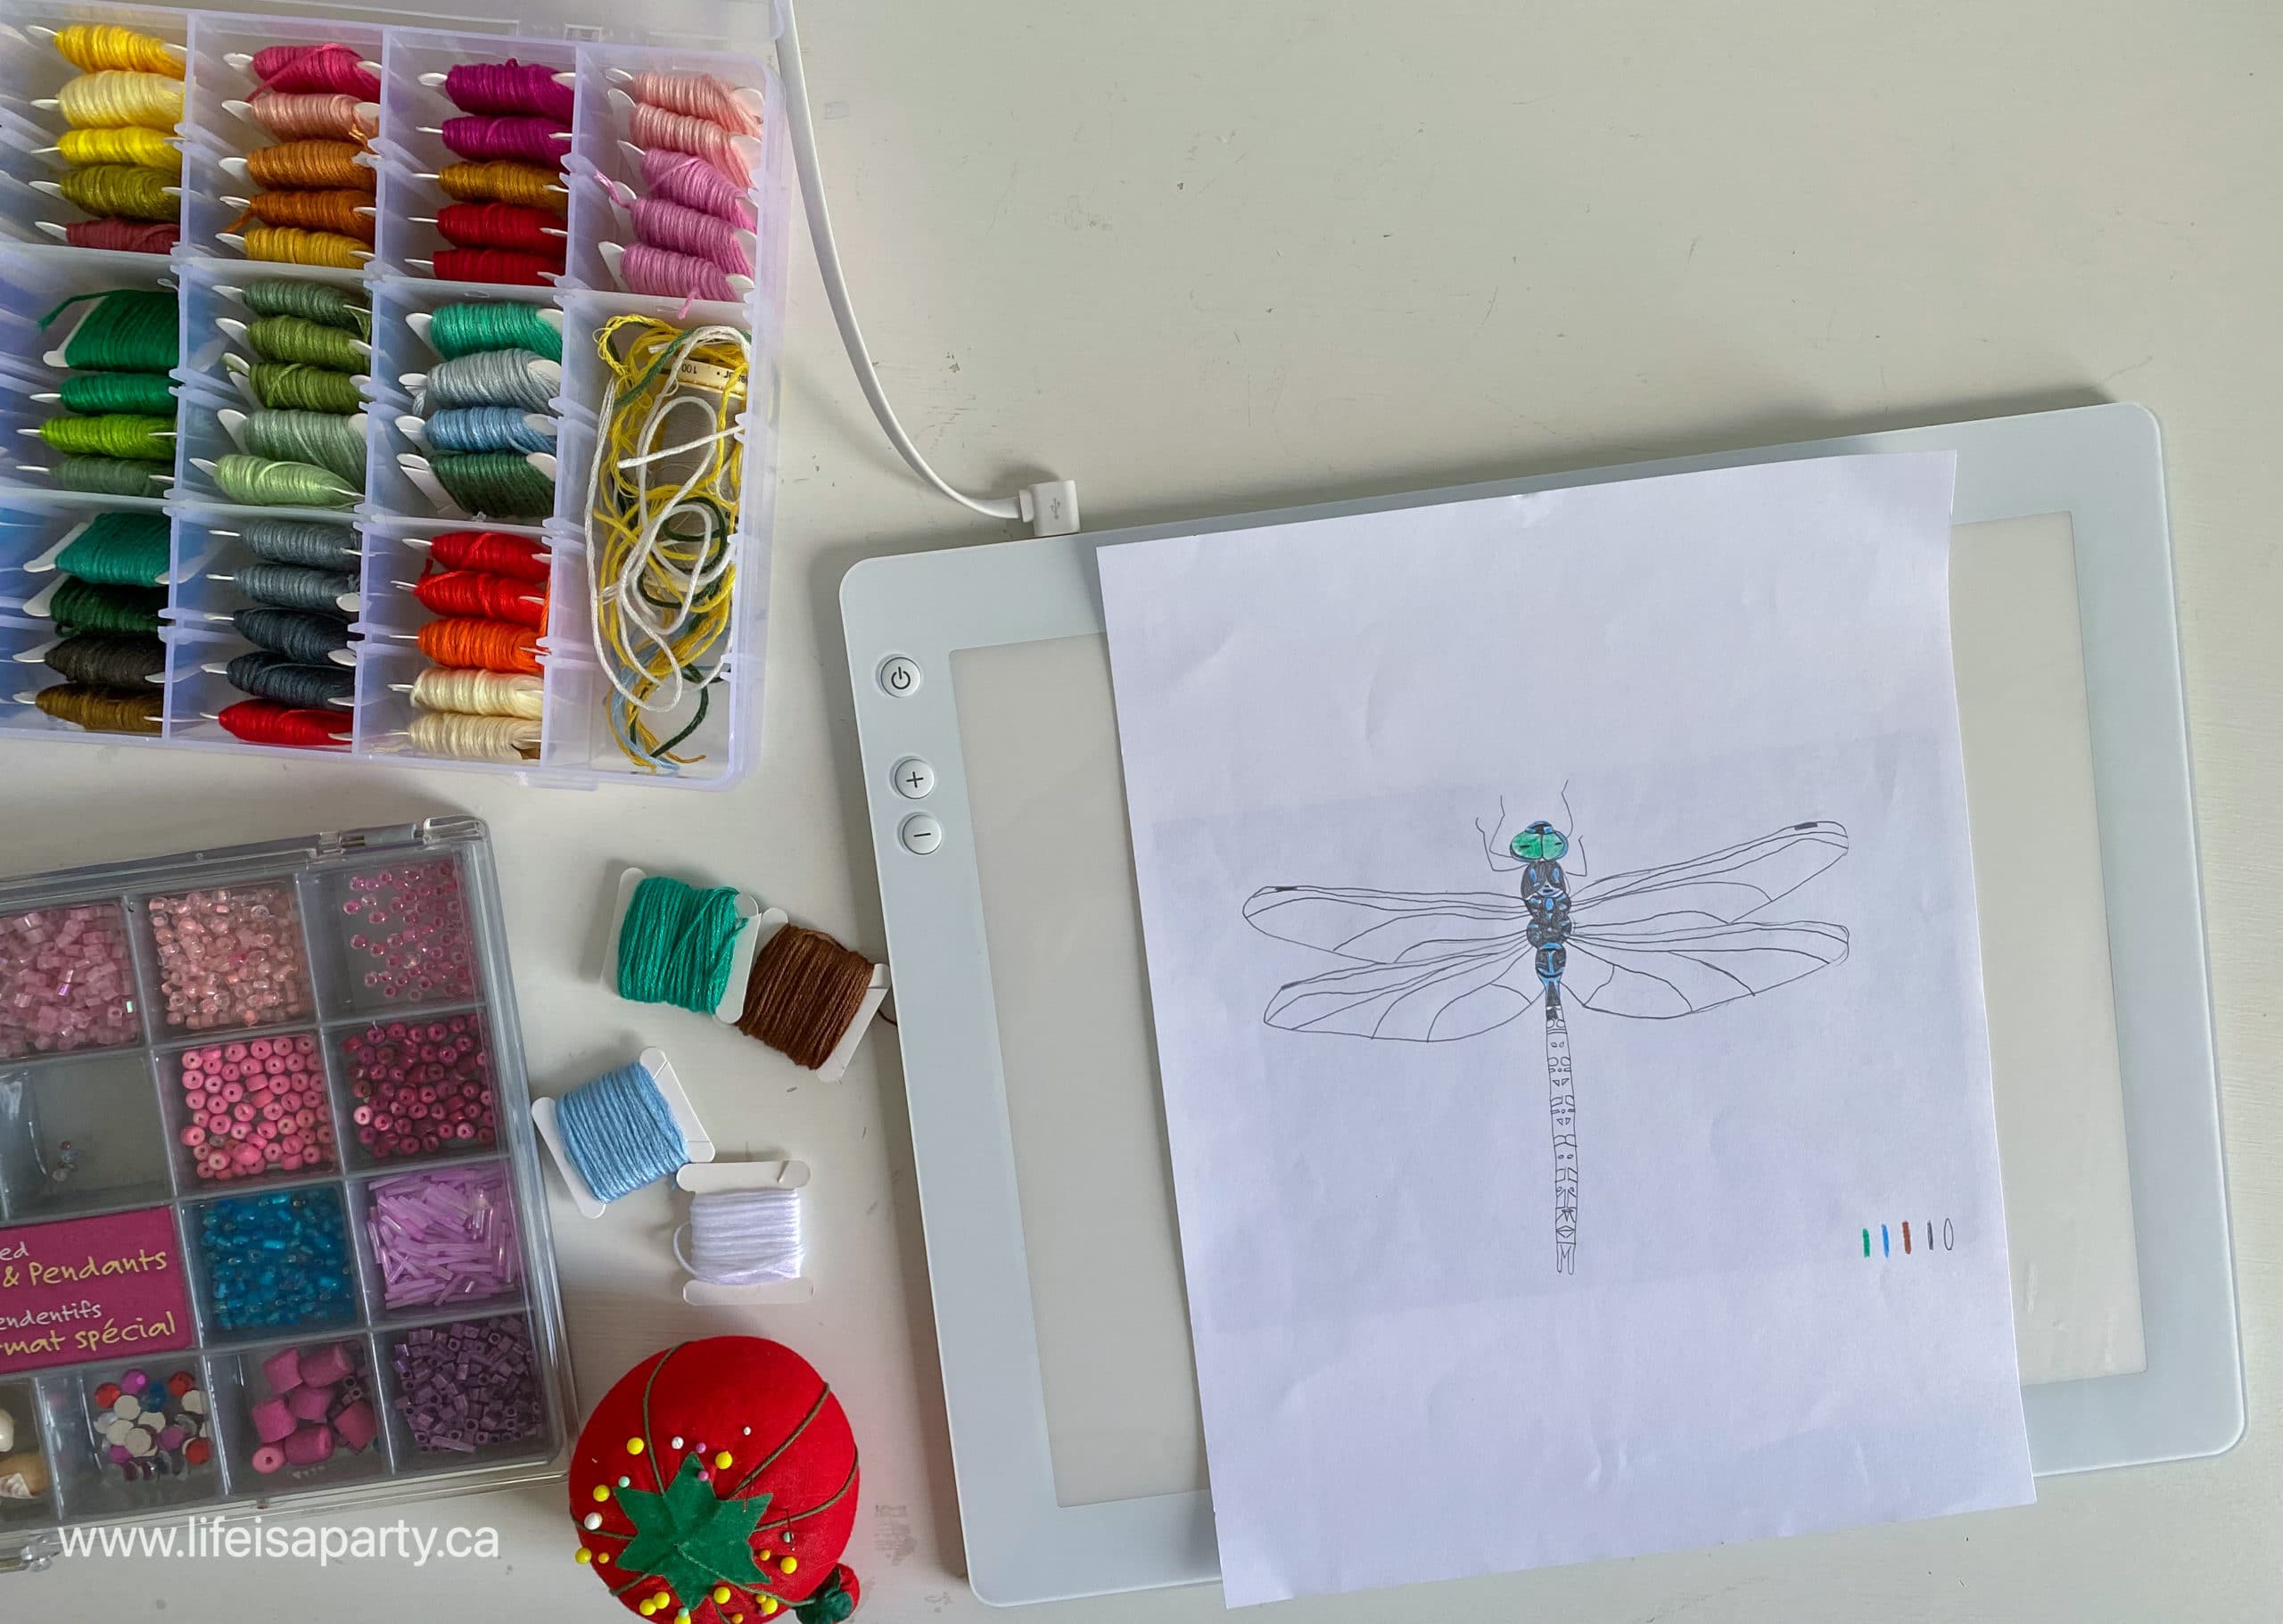
- Cricut light pad
Materials
- small embroidery hoop
- cotton fabric
- dragon fly image
- embroidery needle
- beads
- embroidery cotton thread in black white, light blue, and greenish-blue
Instructions
- To make the pattern for the dragonfly embroidery, start by choosing an image on-line and printing it. Make it large enough that you can see all the details. Don't worry about it fitting your embroidery hoop yet.
- Place the image on the light pad image side down, or on a window in the light, and use a pencil to trace the outline and details on the backside of the image, to create your pattern. Make it detailed enough to be interesting, but not too detailed to actually embroidery.
- Take a picture of your pencil sketch, and on a computer screen or ipad, size it to your fit nicely into your embroidery hoop. Place a white sheet of paper over the the computer or ipad screen and trace the pattern one more time, smoothly out any rough lines as you sketch. This will be your final pattern.
- To transfer your pattern to the cotton fabric, place it under the pattern and use a pencil to lightly trace the pattern on to the fabric.
- Place your fabric into the embroidery hoop, and begin to embroider the dragonfly. We used black, white, light blue, and greenish-blue colours, but the part of the beauty of creating your own is that you can use any colour combo you like. This one was inspired by the colours in the original photo. We used satin stitch for the solid areas, backstitch for the outlines, and a French knot for some of the details on the body, and eyes. You can also try adding the stem stitch and bullion knot for more details. The outlines are done with three strands of embroidery cotton thread, and the solid areas are done with two strands of embroidery cotton thread. You could also try adding some metallic threads for special effects.
- Once the whole dragonfly is stitched, trim the excess fabric and hang it on the wall. You can use this pattern making process to create a pattern for any insect.
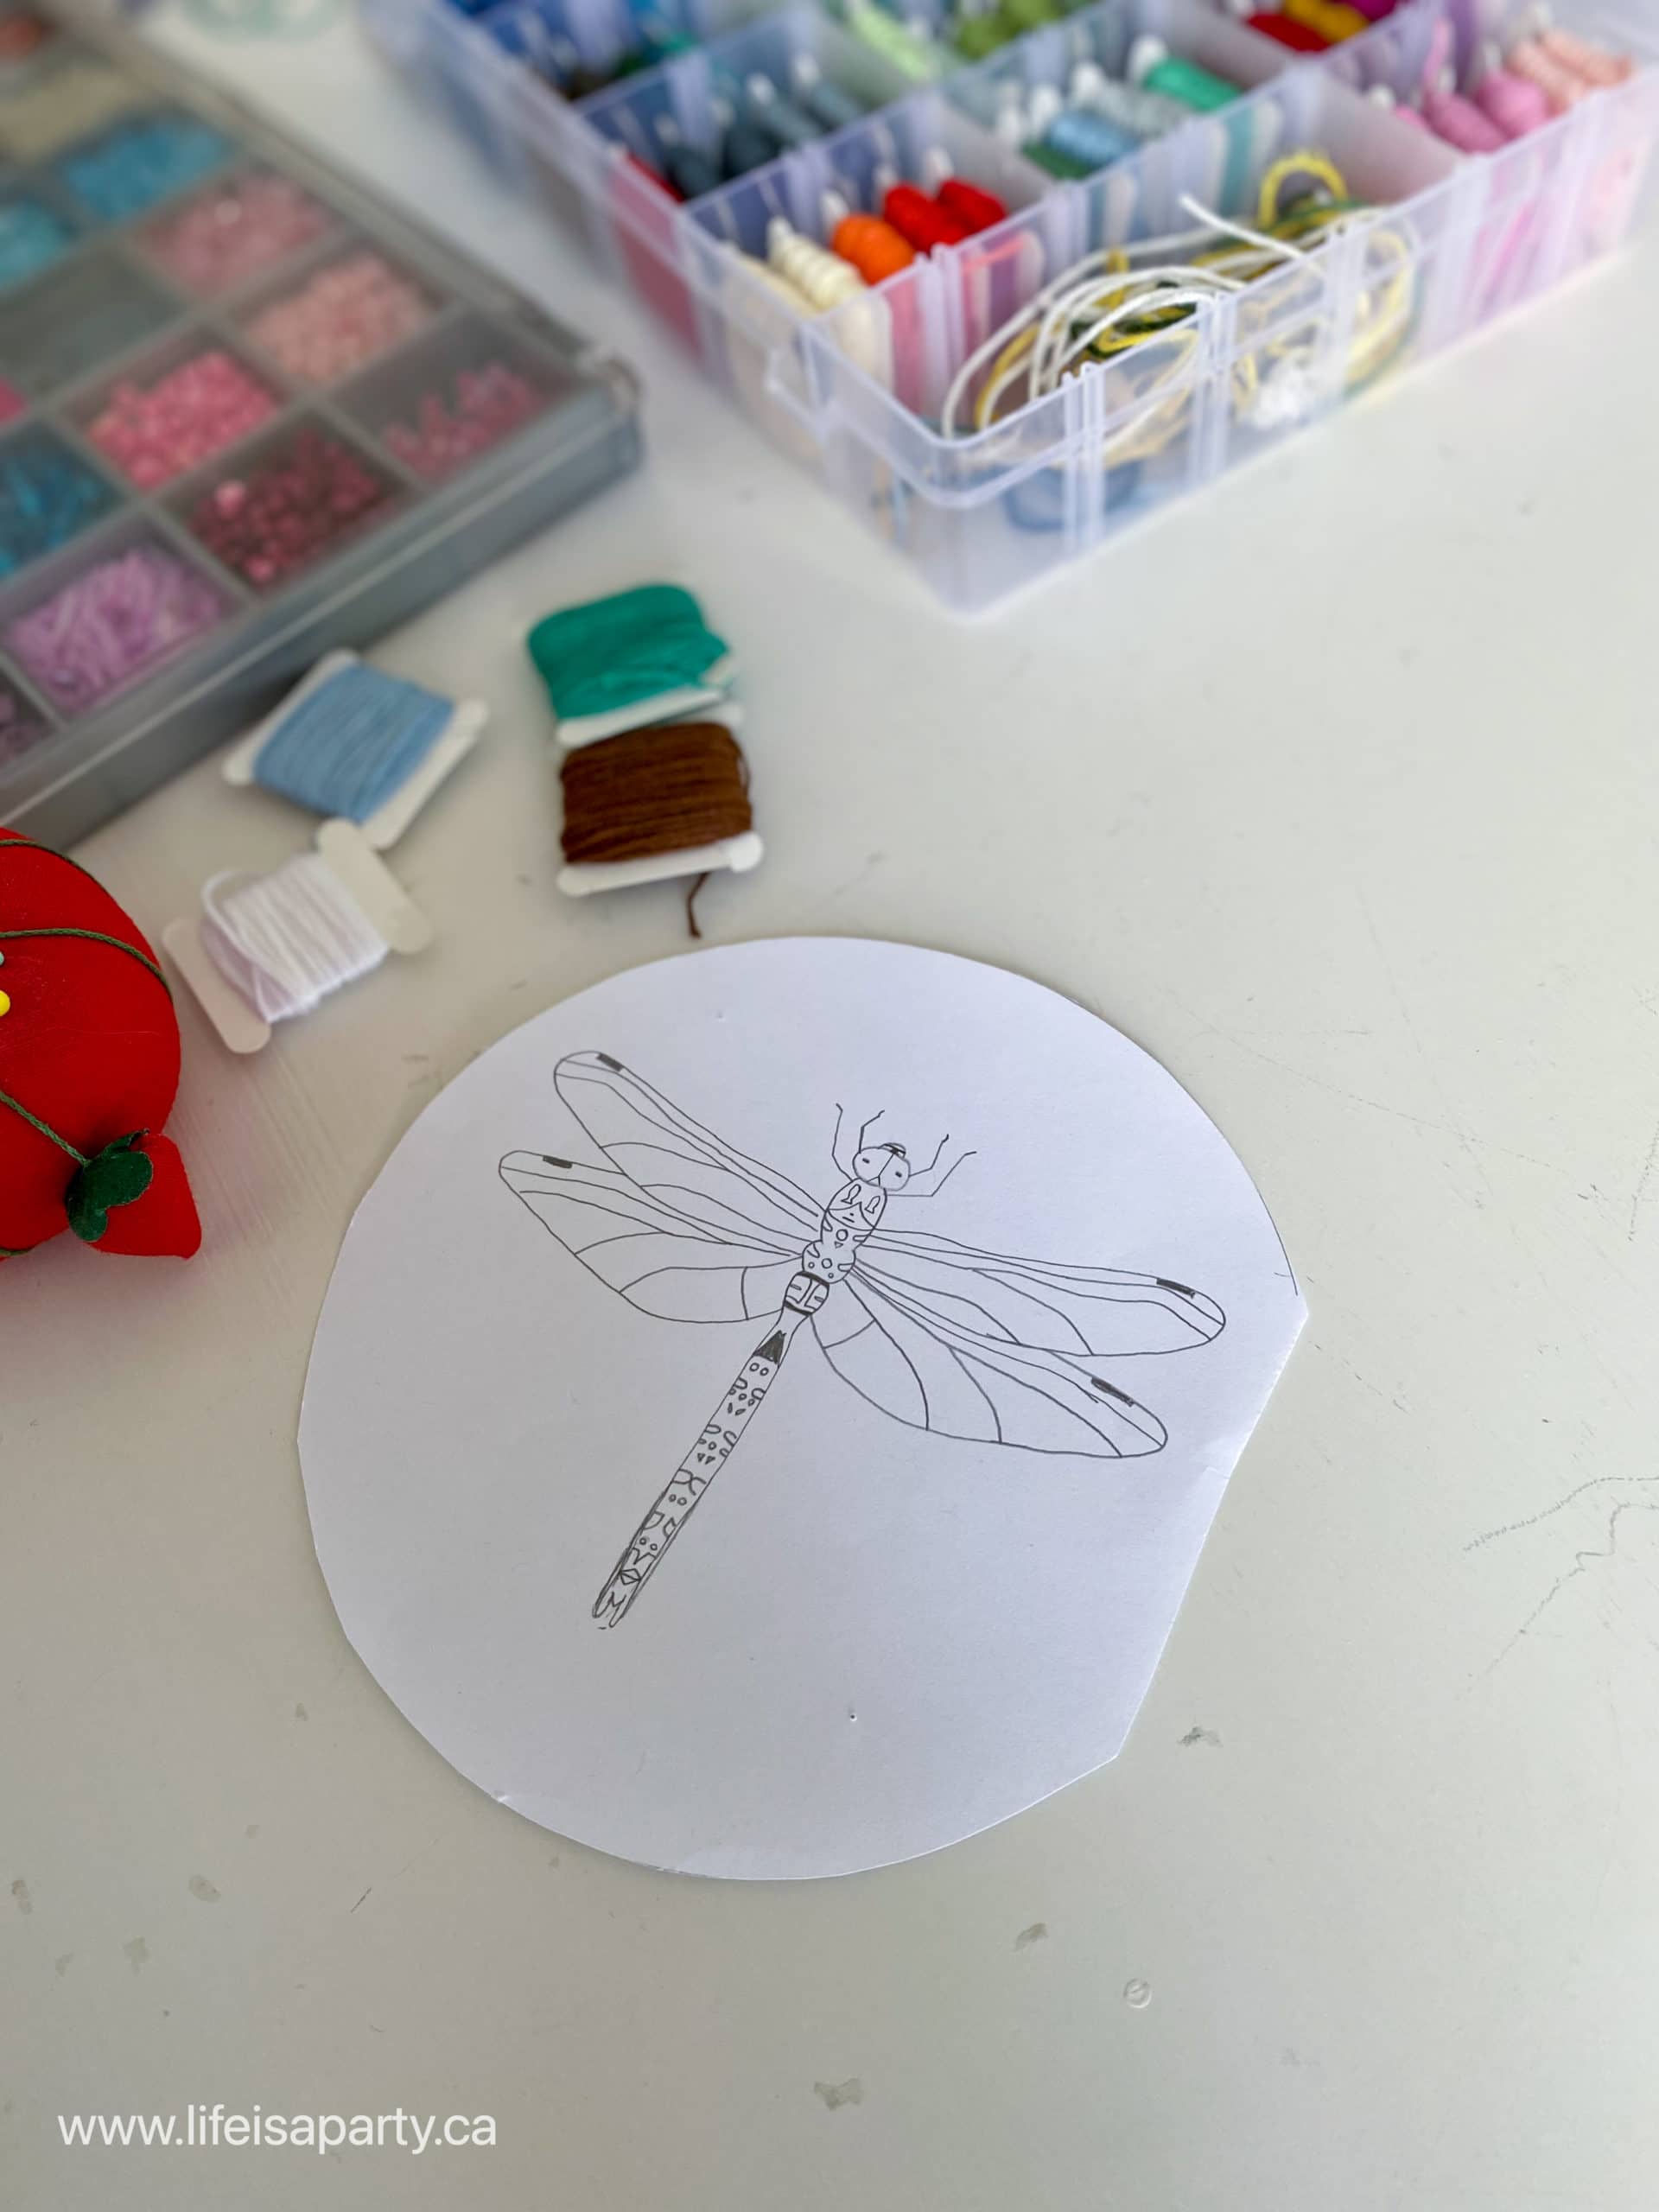
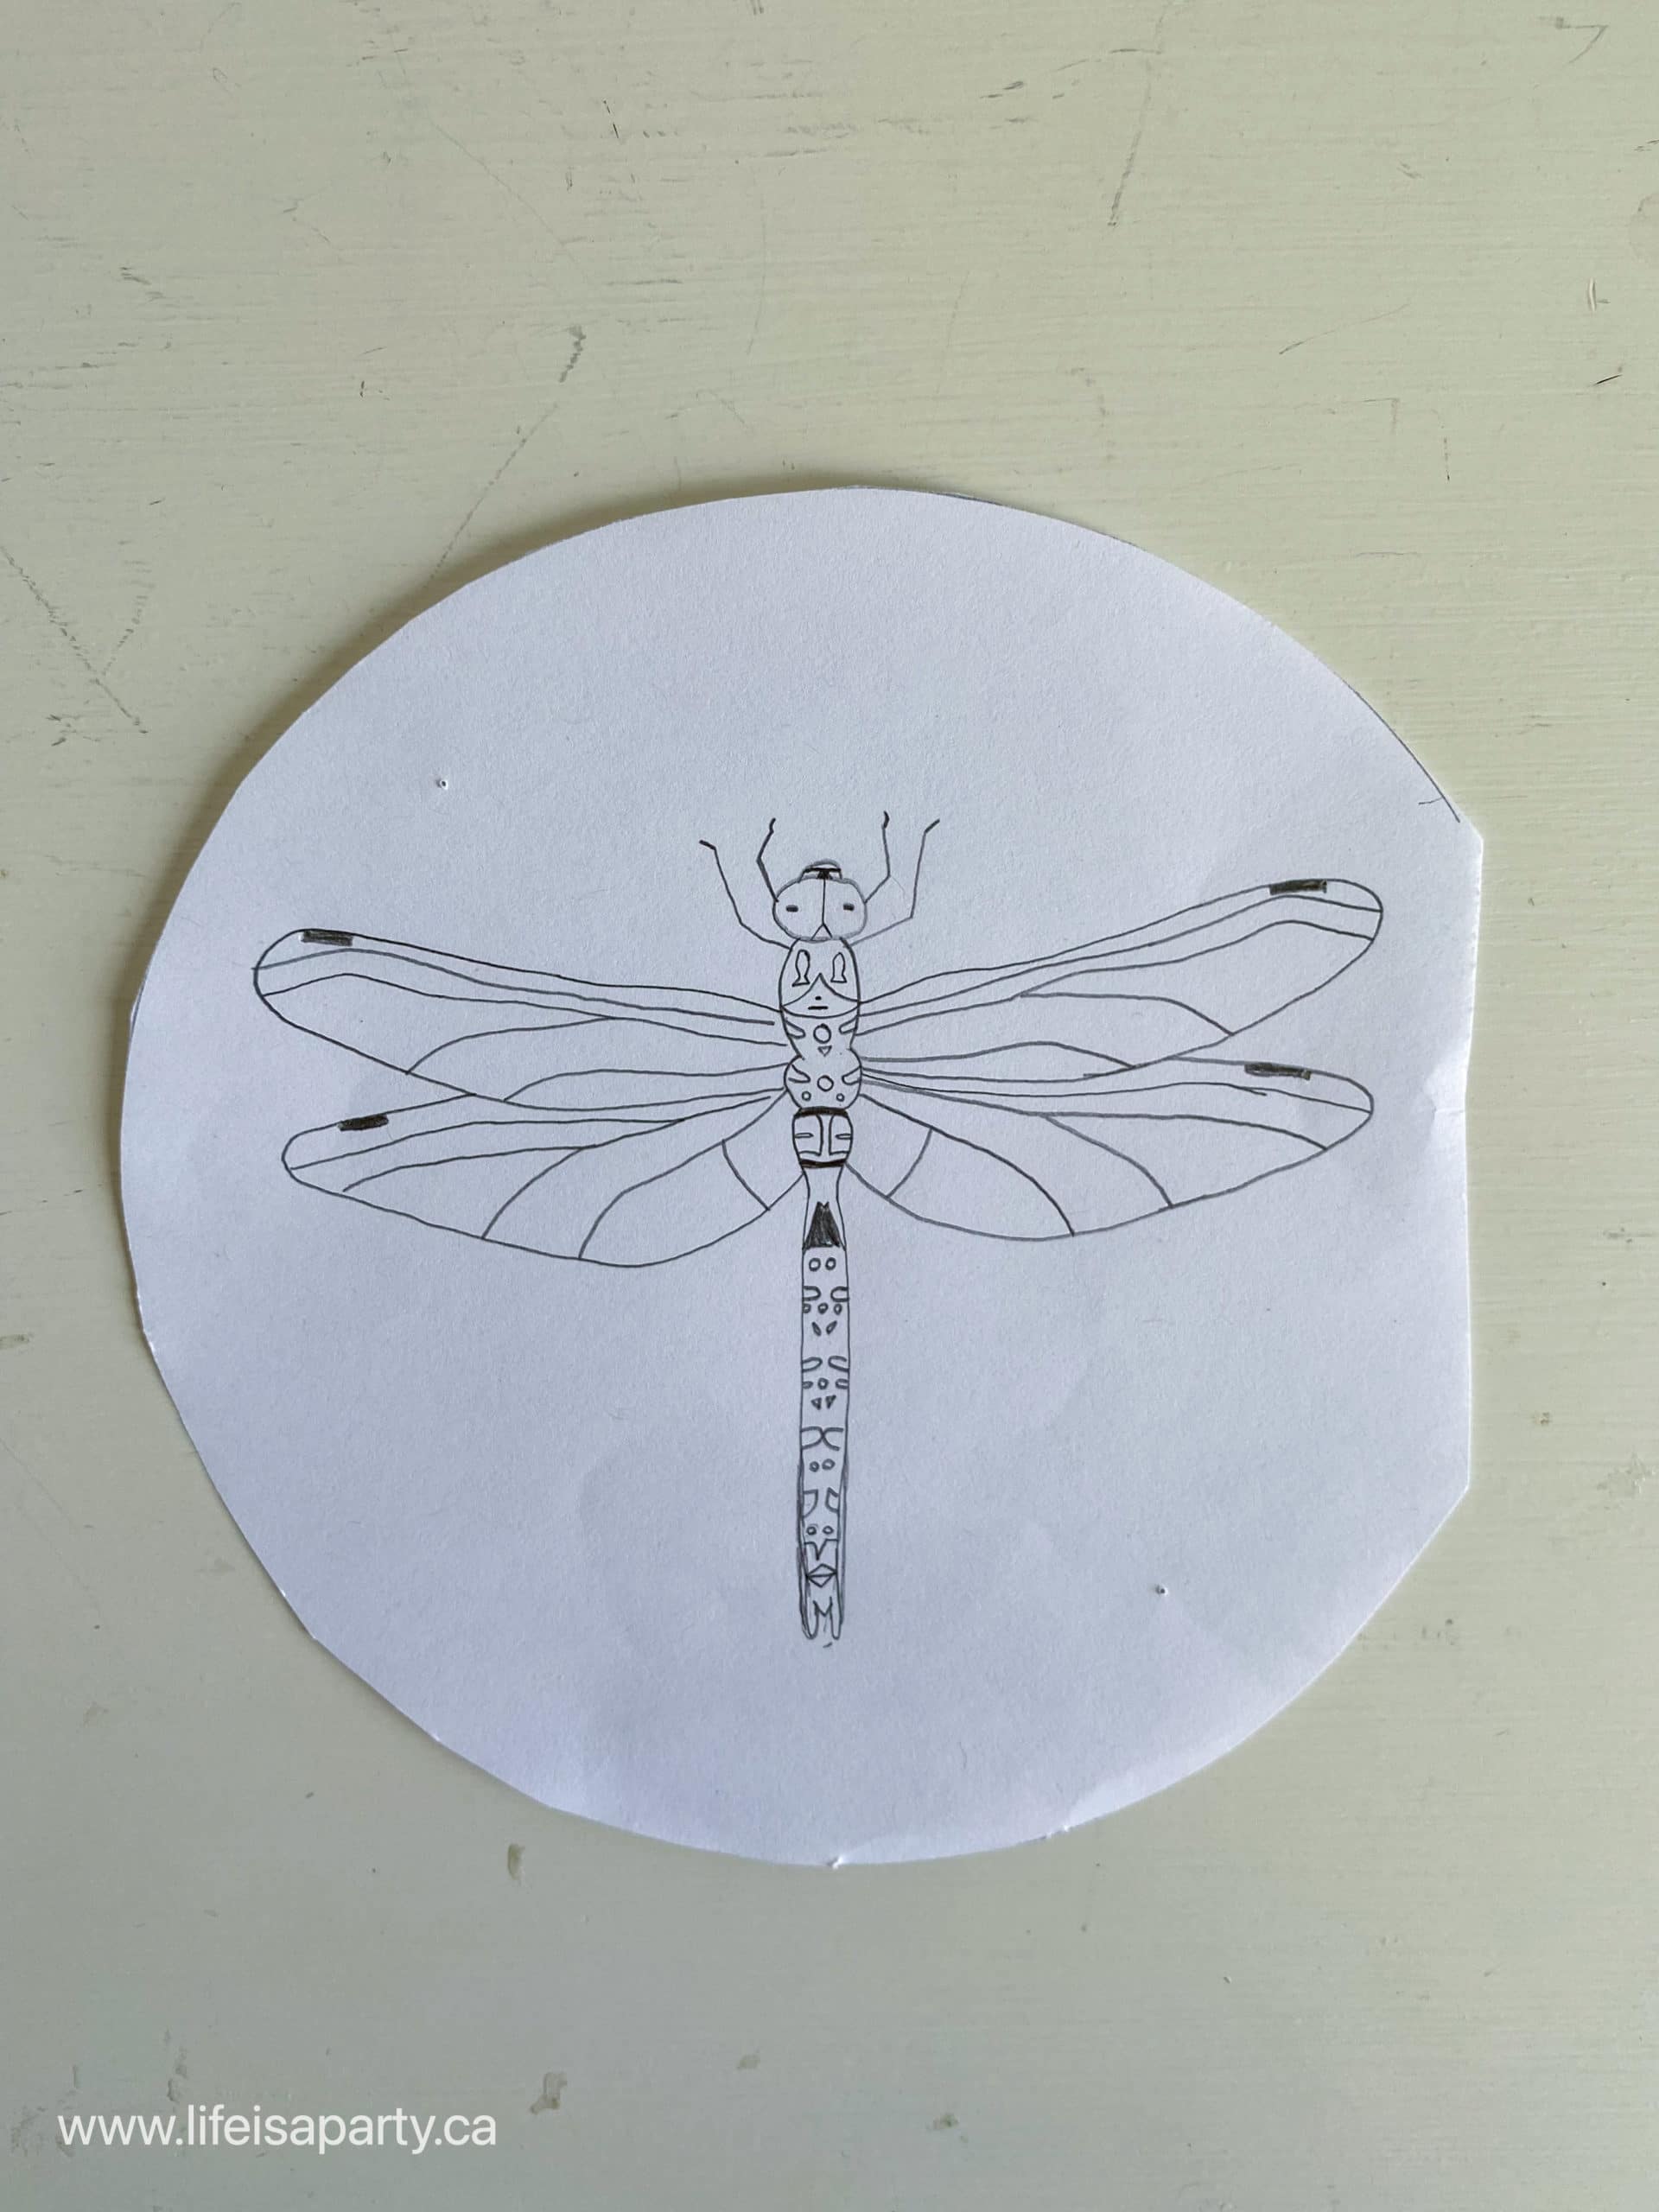
Free Dragonfly Embroidery Pattern
If you would like to use our dragonfly pattern, you can find it in our Free Resource Library for subscribers. Subscribe below for free, for instant access to our Free Resource Library.
To use this pattern, just print the image from the Free Resource Library scaled to fit the size of your embroidery hoop.
I love how the three embroidery insects look together as a little grouping. We are hoping to add a few more to our embroidery insect gallery. These are so fun, I love how they turned out.
With this amazing embroidery insects gallery wall, life really is a party!


Colleen Pastoor says
Your daughter did an amazing job. I love how detailed these little bugs are.
Sarah @ The DIY Mommy says
These are so beautifully detailed. What a great idea!
Christy James says
These are so unique and beautifully done! Your daughter really captured all those tiny details! XOXO
Rhonda Hallstrom says
I'll have to try this! What a great idea
Rebecca Payne says
OMG! These are so cute! I love them. Thank you for sharing.
Jo-Anna says
These are fantastic, you daughter did an amazing job!! They're so detailed and pretty!