DIY Flower Chandelier: Easy to make, perfect for special occasions, the fresh flowers dry beautifully too. Perfect for Valentine's Day, weddings, or showers.

Jump to:
A fresh flower chandelier is the perfect way to add some beautify and romance to any space. They bring an effortless ambiance to any space. And you can make them in any colours and with lots of different flowers for any special events. Our fresh flower chandelier was one of my favourite details from our Valentine’s Day Romantic Night In It’s quite simple to make, and makes a swoon-worthy display. It’s perfect for Valentine’s Day, but would also be lovely for a bridal shower in anticipation of the big day, Mother's Day, a special birthday, or baby shower too. We did just one, but you could make lots for a stunning display and group them for a wedding chandelier on your wedding day.
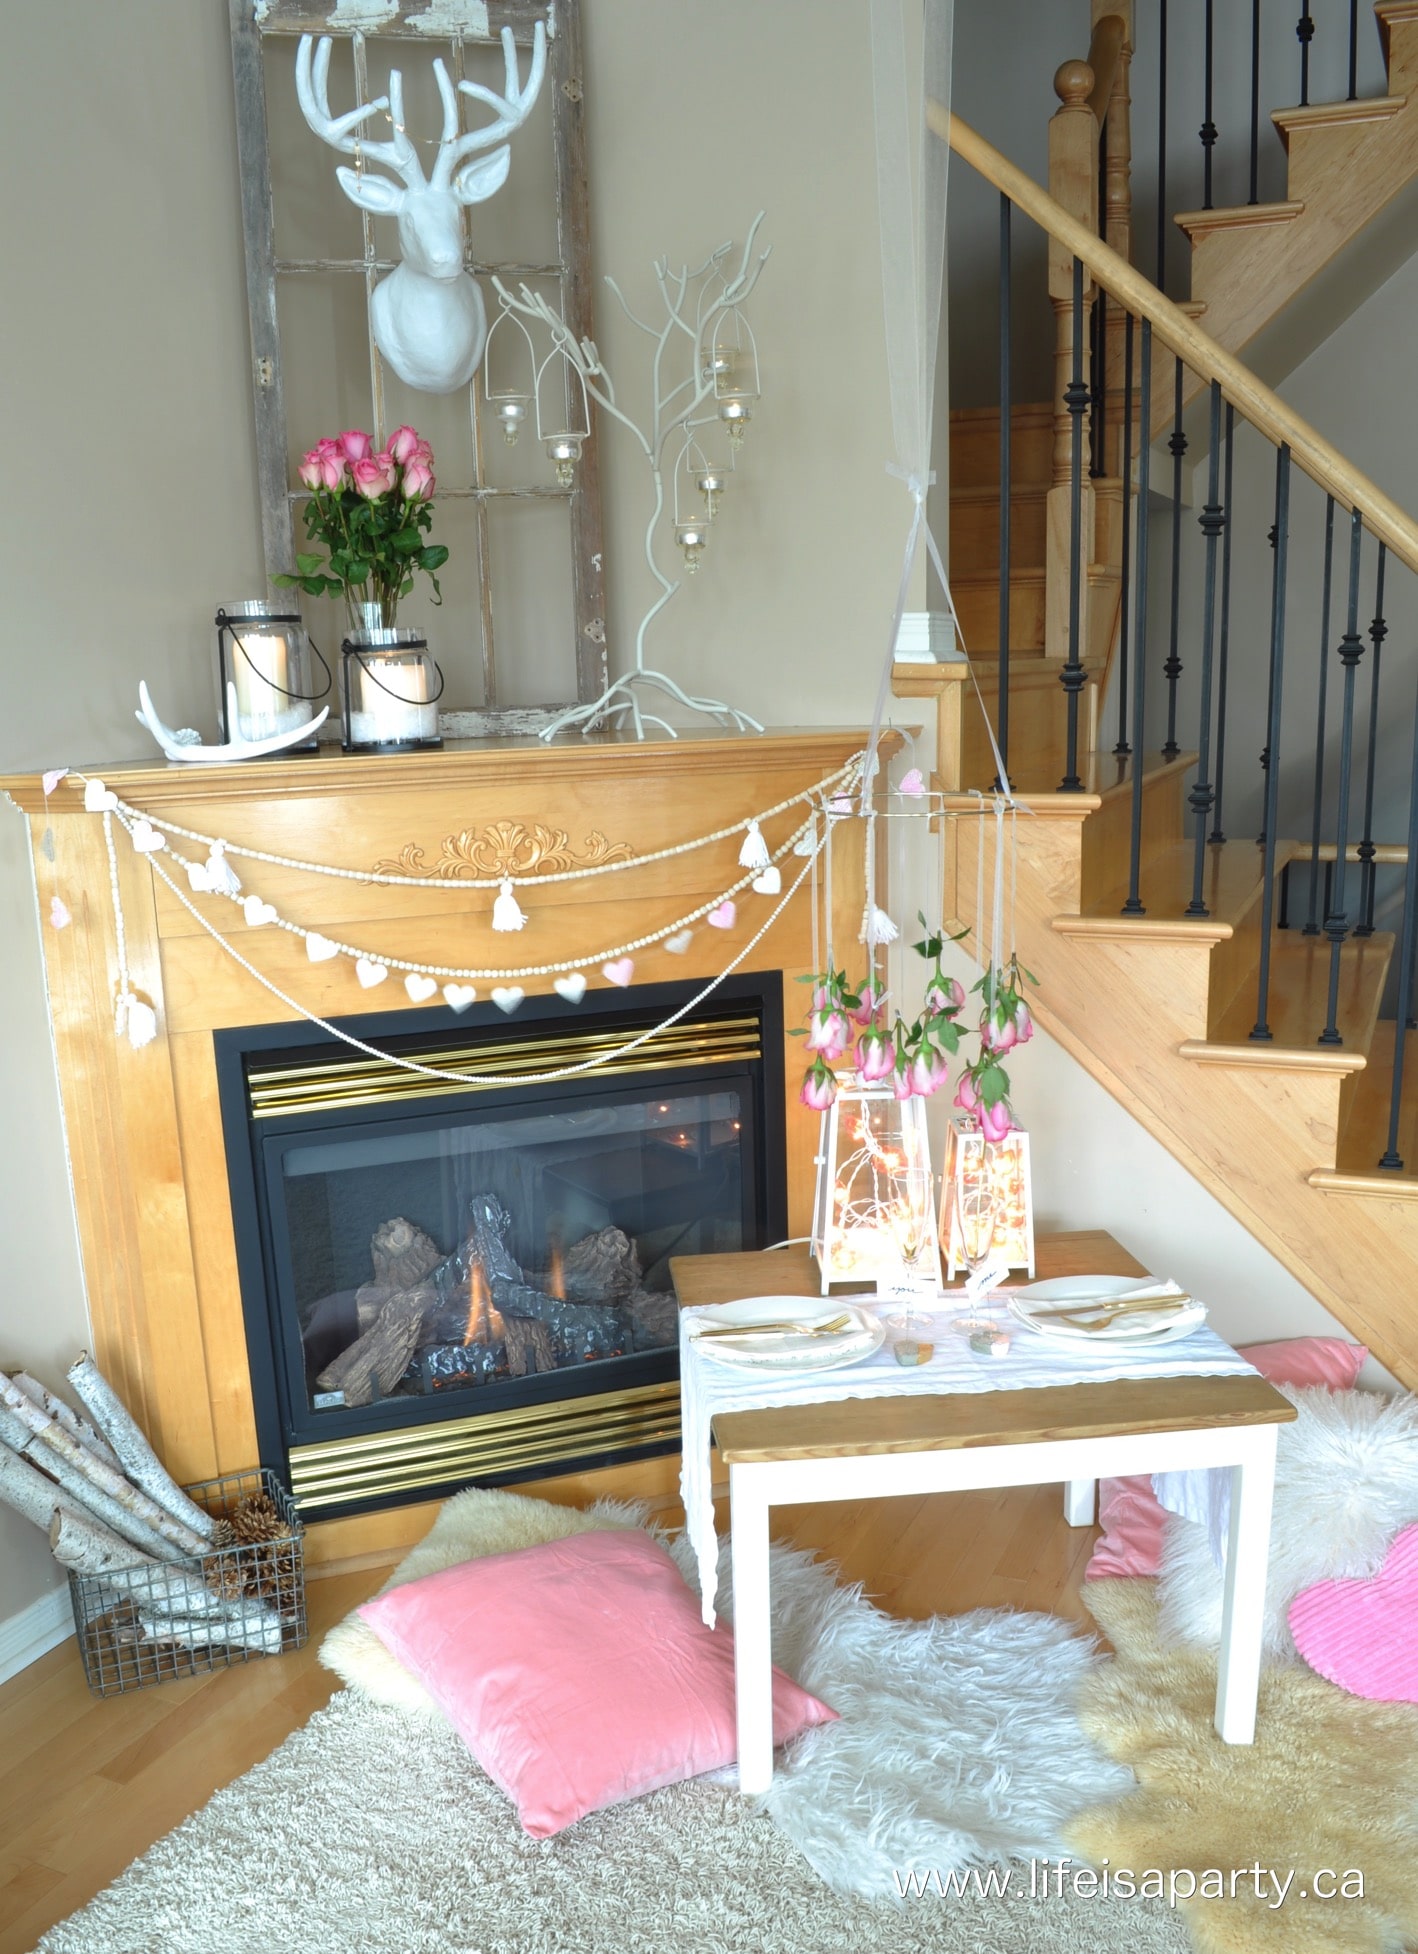
I hung the pretty fresh flower chandelier over our romantic fireside table for two. And it was so beautiful with the fairy lights, and candles in the background.
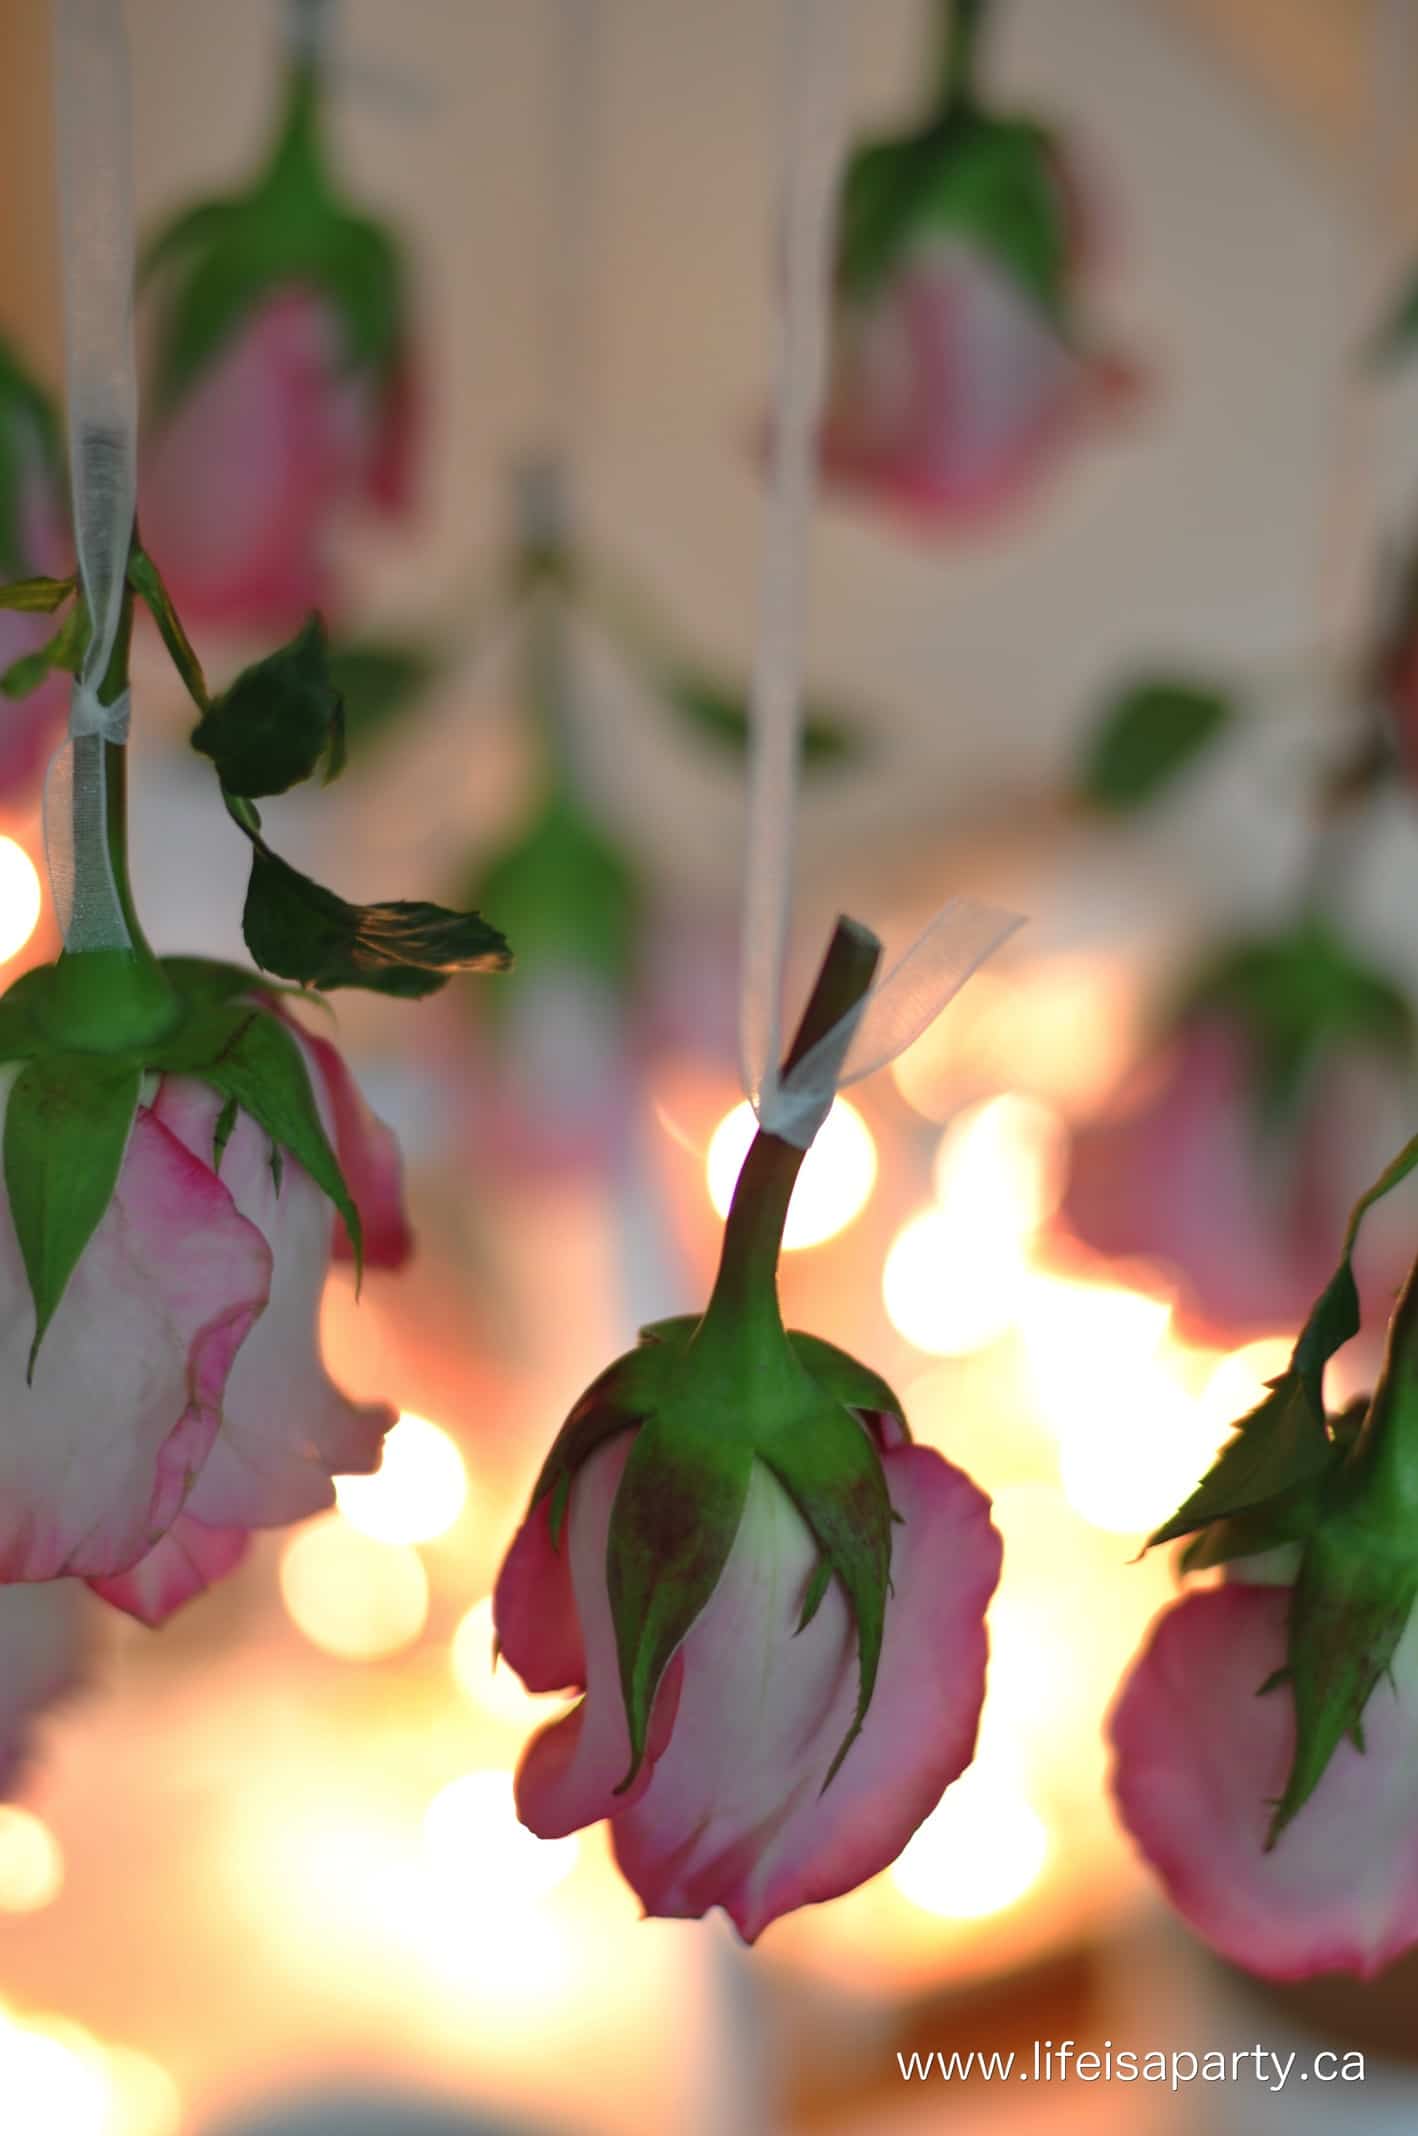
Choosing Your Flowers
What could be more romantic than a shower of rose buds? I love using roses for floral display. They're readily available and come in lots of beautiful colors. Roses were the right style for a romantic dinner. For a different occasion you might want to mix your flowers or colors. Smaller blooms like baby's breath would be gorgeous for a baby shower. Wild flowers could be beautiful for a more casual display over a pretty dessert table, or for a rustic wedding style. You could also incorporate some greens for a fuller more wild look.
Choose flowers that dry well. The best part of this project is that you can let your fresh blooms dry and have it as a dried flower piece afterward. Larger flowers will have more impact, but flower bunches of smaller flowers would be beautiful too.

Timing
Since these fresh flowers are hanging without a water source, this is one of those last minute DIY projects. If you didn't have time to prep this floral chandelier right before your party you could use some floral tubes on the end of the stems of each flower and carefully set the whole piece down on a table after it was made. Right before the party, you could pop the floral tubes off of the flowers and hang the chandelier.
Can I Use Faux Flowers?
We made our floral chandelier from fresh flowers and it looked so beautiful. You can also try it with silk flowers. The better the quality of your flowers the more realistic this will look. The benefit of using faux flowers is that it will last forever, and you won't have to worry about making the floral chandelier at the last minute. Dried flowers would be a good option as well.
Choosing Your Floral Chandelier Base
I used a gold wire ring for the base of my flower chandelier. I loved the color and the size of it and it worked really well. Look for these metal rings at the craft store with the wreath making supplies or with the macrame supplies. They also come in silver. You can also use an embroidery hoop. These come in more sizes from small to very large. If you're making a really large floral chandelier you can even use a hula hoop as the base of your chandelier. Just spray paint it or wrap in in ribbon or floral tape to hide the base.
Multi-Tier Floral Chandelier
I made a simple one tier flower chandelier, but you can also make them multi-tiered. Choose base rings that gradually get smaller. Start with your largest ring as the top tier of your chandelier, and then work your way down to the smallest, staggering the hanging space between them to create the tier effect. These work great to fill a larger space with a real statement piece.
Hanging Your Flowers
I choose to use sheer ribbon to hang my blooms, and cut my flower quite short, so not much of the stem was showing. You can also leave the flowers long so that more of the stem shows. Choose a pretty piece of ribbon in a coordinating color to hang your flower or clear pieces of fishing line that will disappear in the floral arrangements. Both of these looks are really beautiful, so it's just a matter of which you prefer. We also choose to stagger the lengths of the ribbon slightly so the flowers hung at slightly different heights. You can do this, or make them all the same length for a more uniformed finished look.


Equipment
- scissors
- garden clippers
Materials
- gold ring 10 inch diameter
- ¼ inch wide sheer white ribbon
- 12-14 fresh roses
Instructions
- Cut three longish equal length ribbons and space an equal distance from each other around the gold ring and tie on. Then draw the ribbons up and tie all three together in a knot, and hang at a height that will be easy to work with.
- Cut the roses with short stems, about 2 inches long.
- Tie the roses on varying lengths of ribbon and tie on to the ring, spacing them somewhat evenly, and ensuring the ring balances as it hangs.
- Hang in your desired location, and remember that since the flowers are hanging upside down, they will dry beautifully, so you can enjoy this as dried flowers afterward.
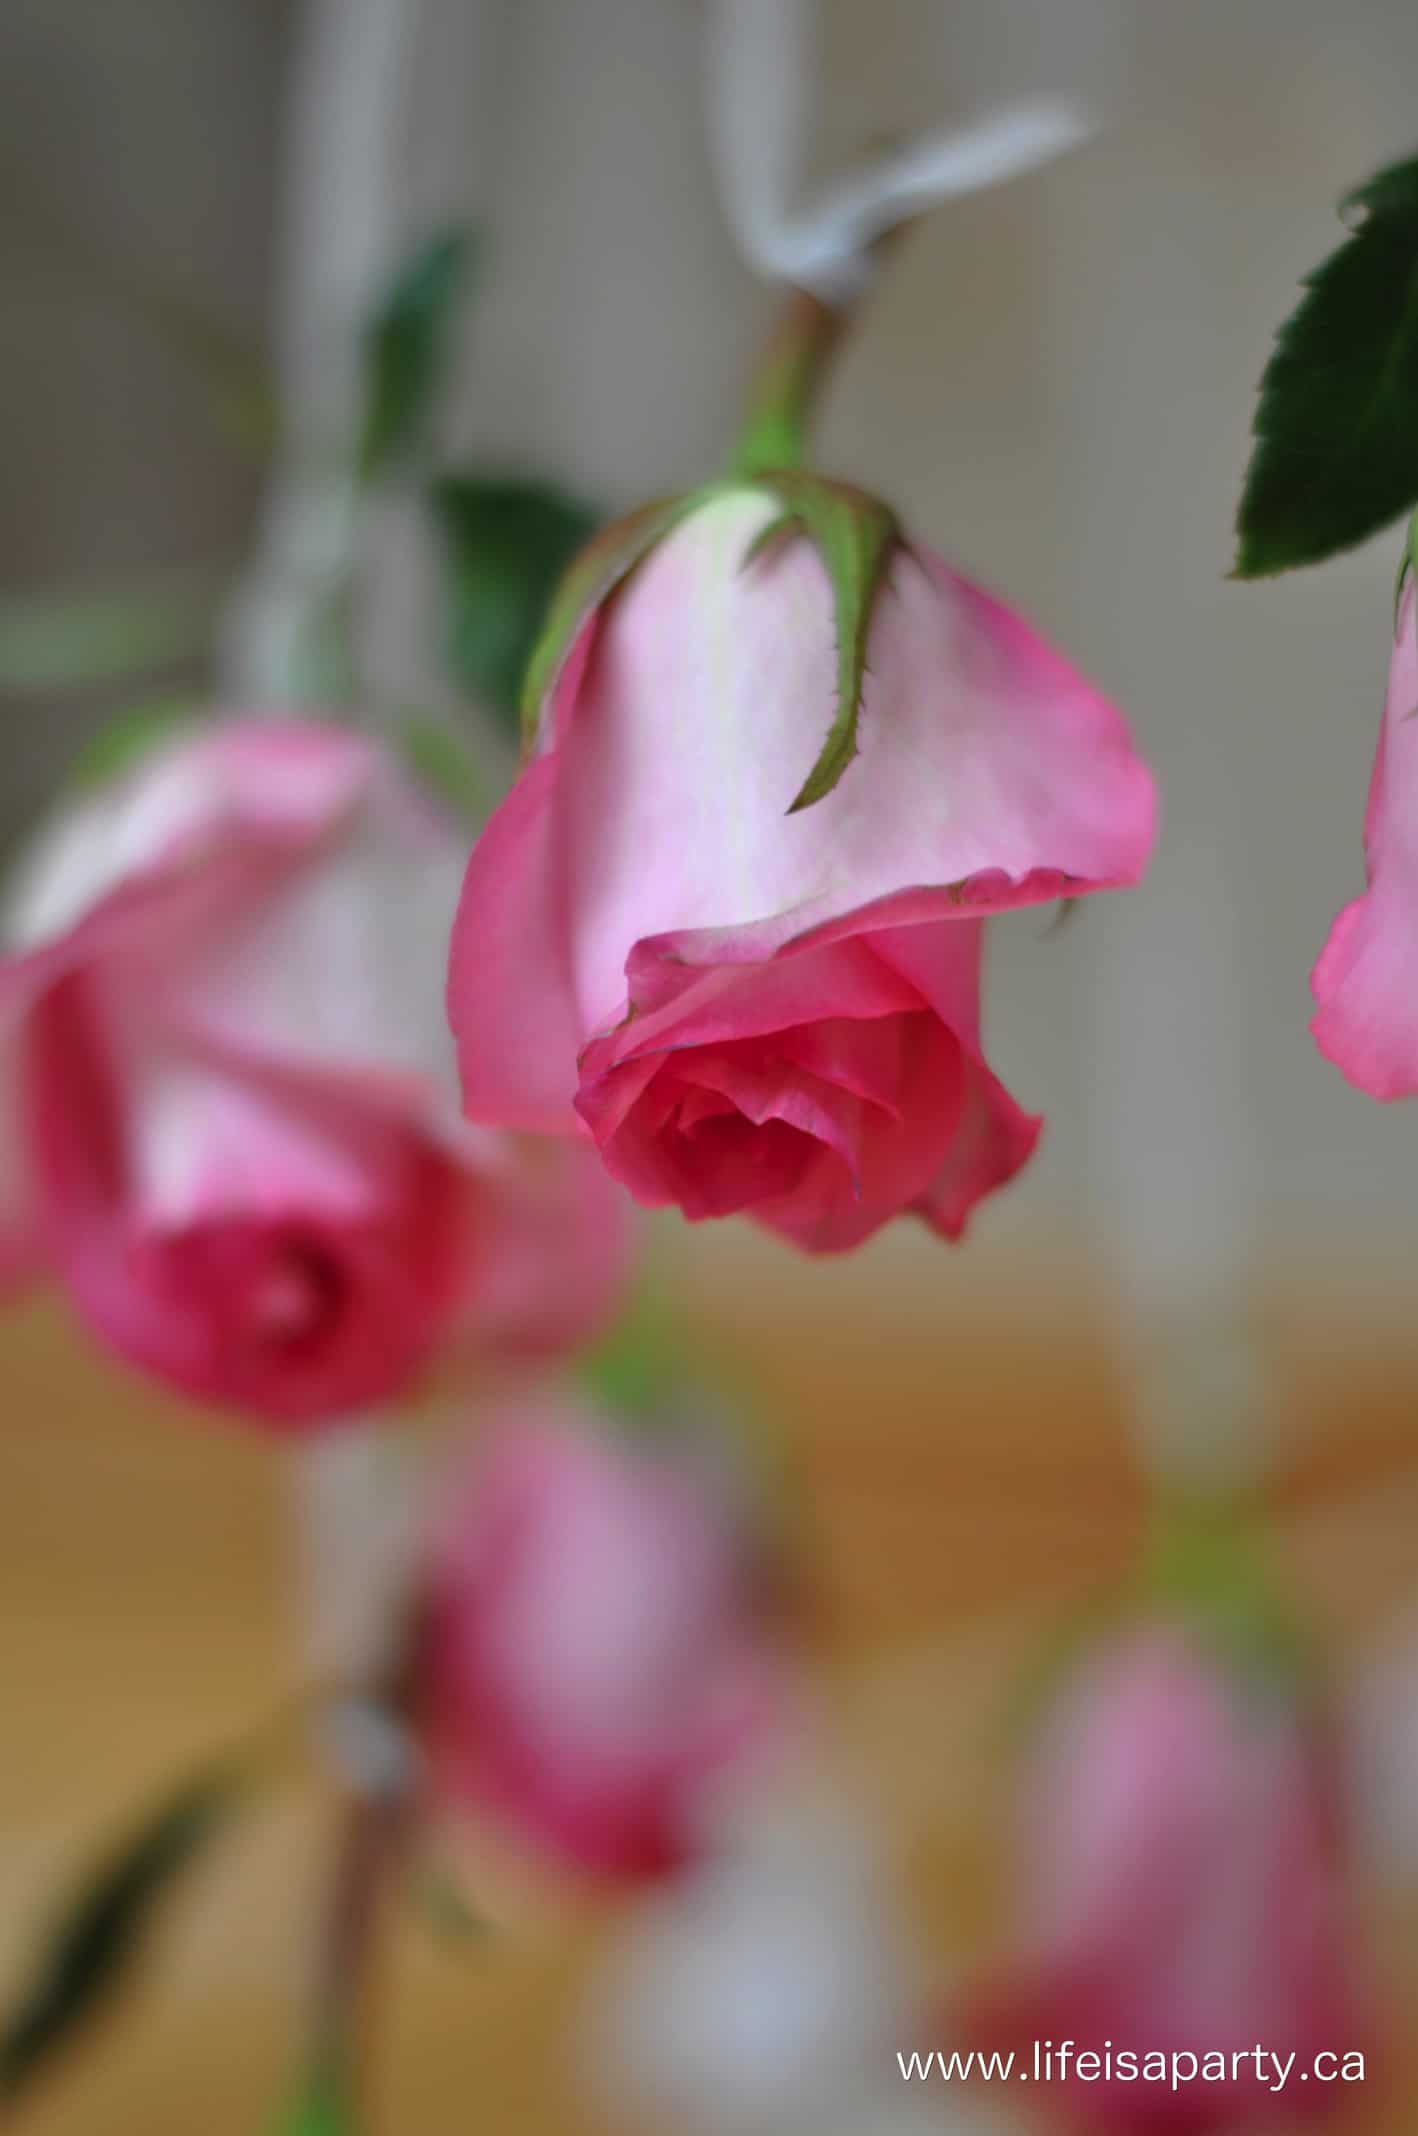
I picked up the gold ring at the craft store, and the roses from Costco, so it was a fairly inexpensive project and had a lot of impact. It looks so pretty from underneath too.
With a DIY flower chandelier, life really is a party!
More Inspiration
You might like How To Make Giant Paper Flowers here.
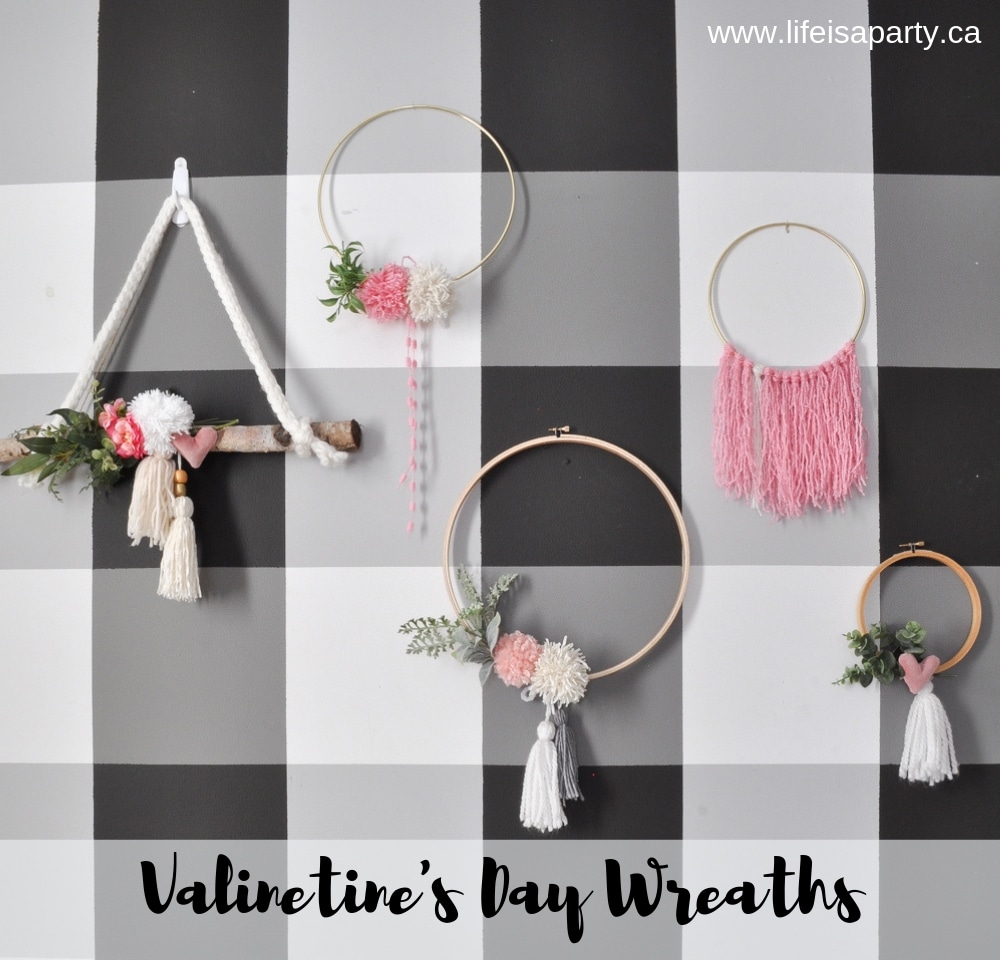
You might also enjoy our Valentine's Day Wreath Ideas here.


dnr says
Thanks B.
the cape on the corner says
so sweet!
b