Harry Potter DIY Decor & Free Printables: Potions Classroom, Professor's Office, Herbology Class, and Owl Post decorations + free printables.

Jump to:
- Potions Class
- Potion Ingredient Bottles
- Potion Ingredients
- Potion Ingredient Labels
- More Potion Class Details
- Scientific Glass
- More Magical Accessories
- Professor's Office
- Spooky Artwork
- Insects
- Flying Keys
- Potions Cabinet
- Herbology
- Mandrake Plants
- Owl Post
- Owls
- Packages and Letters
- Addresses
- Where Do I Get The Free Harry Potter Printables?
- More Harry Potter Inspiration
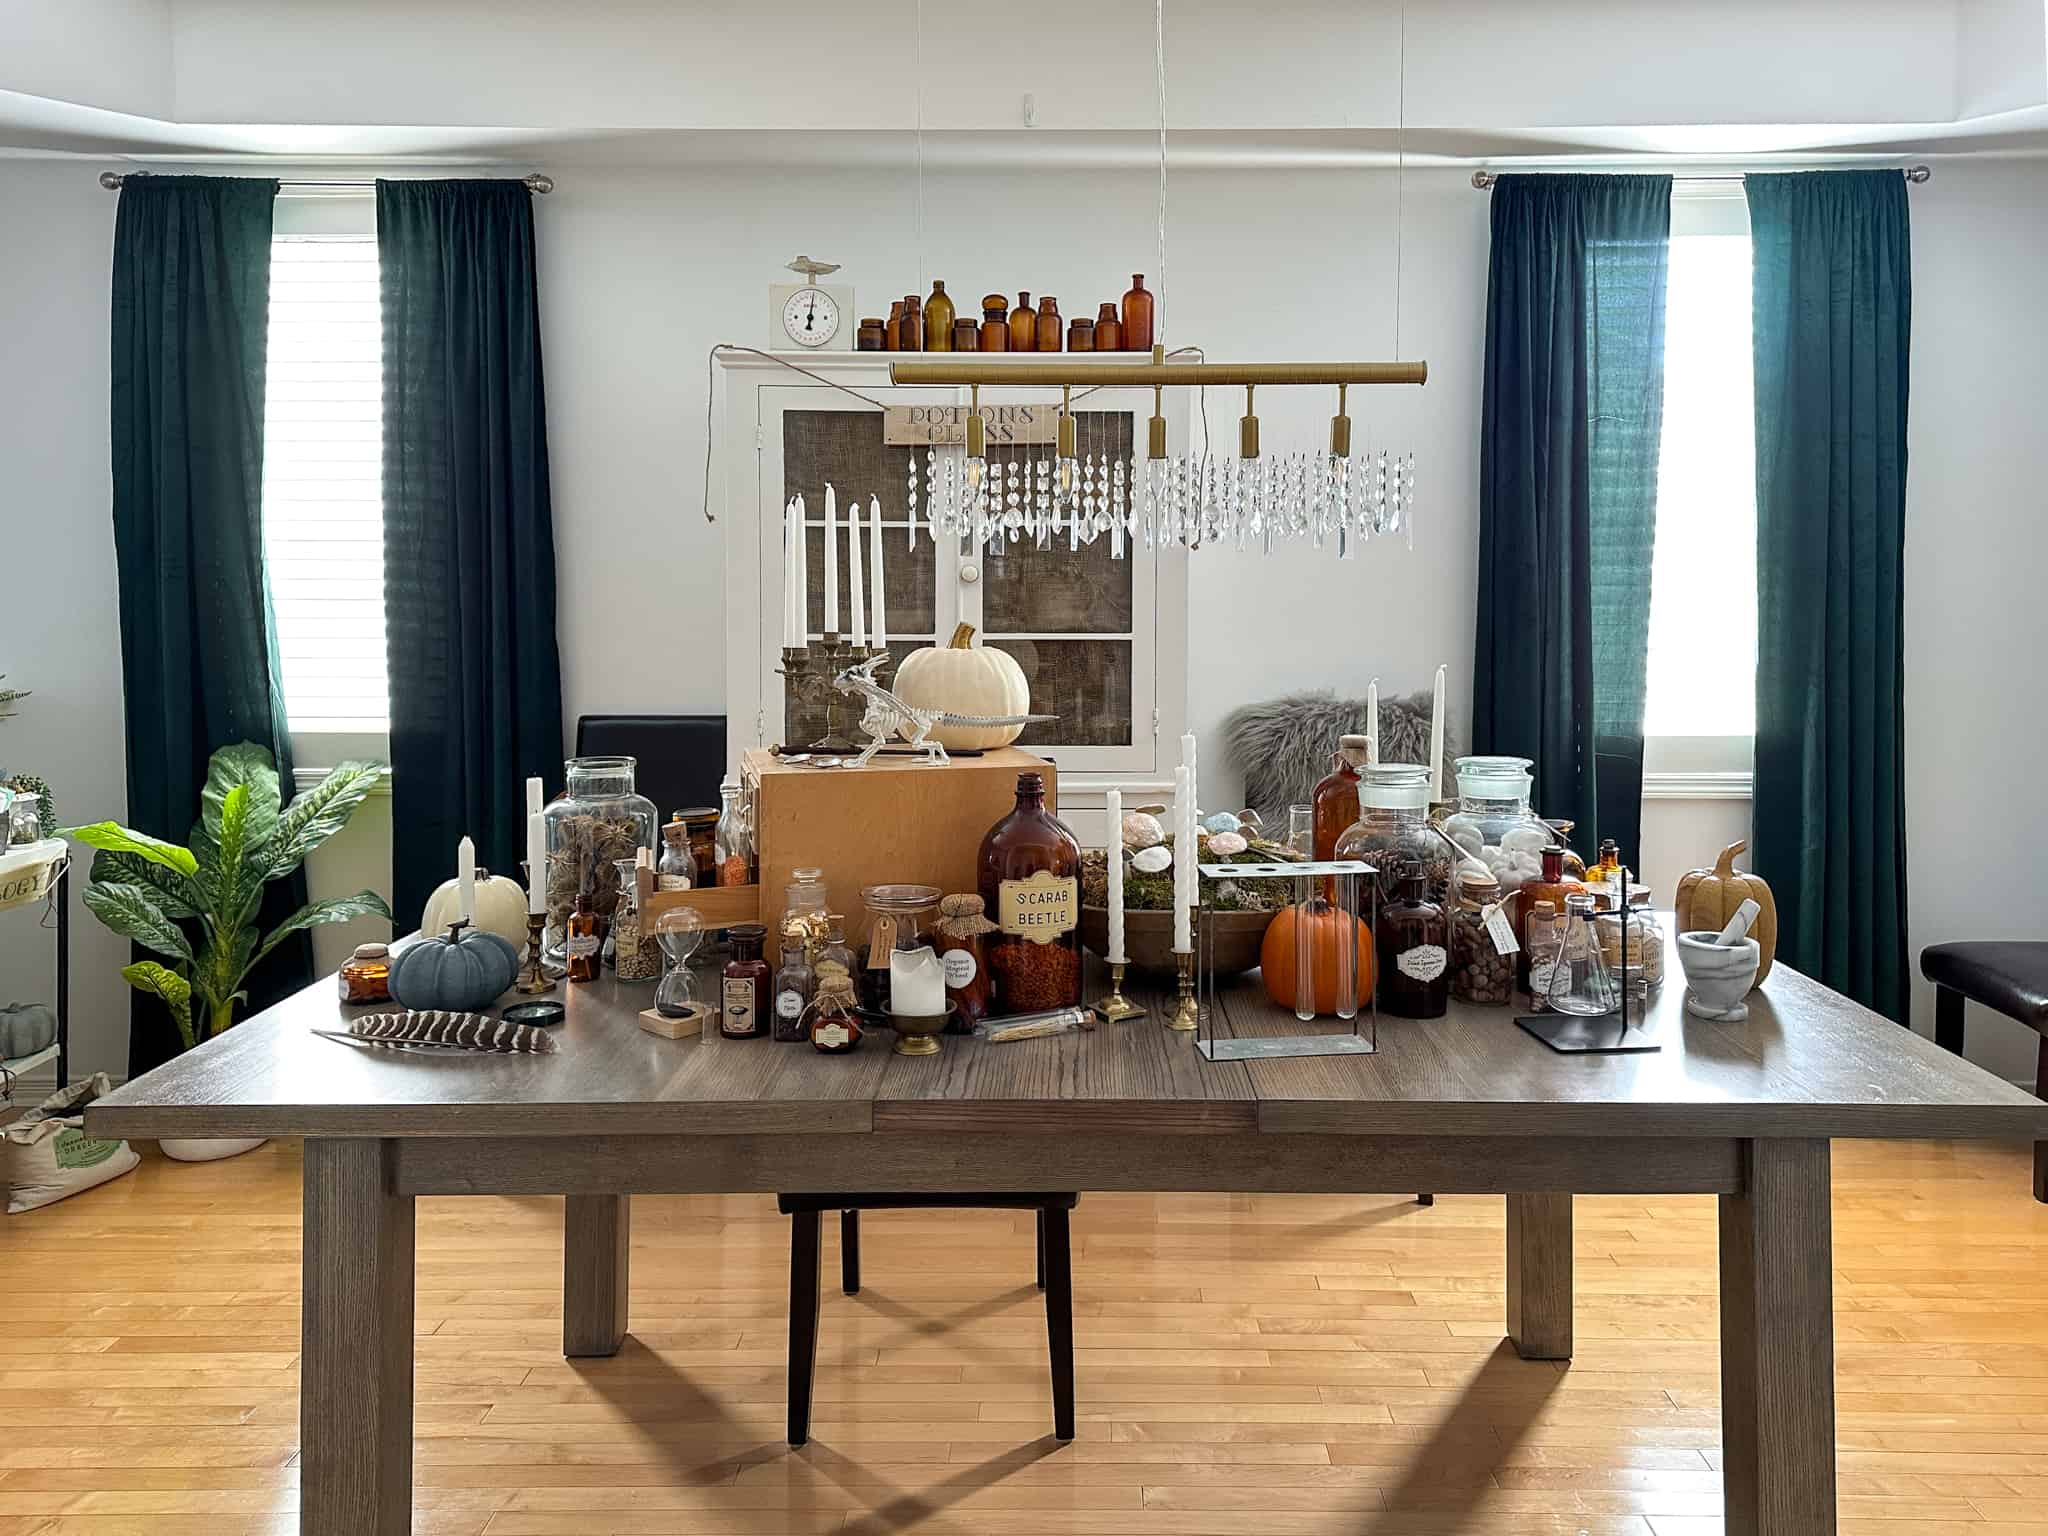
Calling all Harry Potter fans! This Halloween I've transformed my dining room into a little piece of Hogwarts. These Harry Potter DIY decorations would also be great for a Harry Potter birthday party, or a Halloween party. We used all sorts of items from the thrift store and DIY'd some as well.
Potions Class
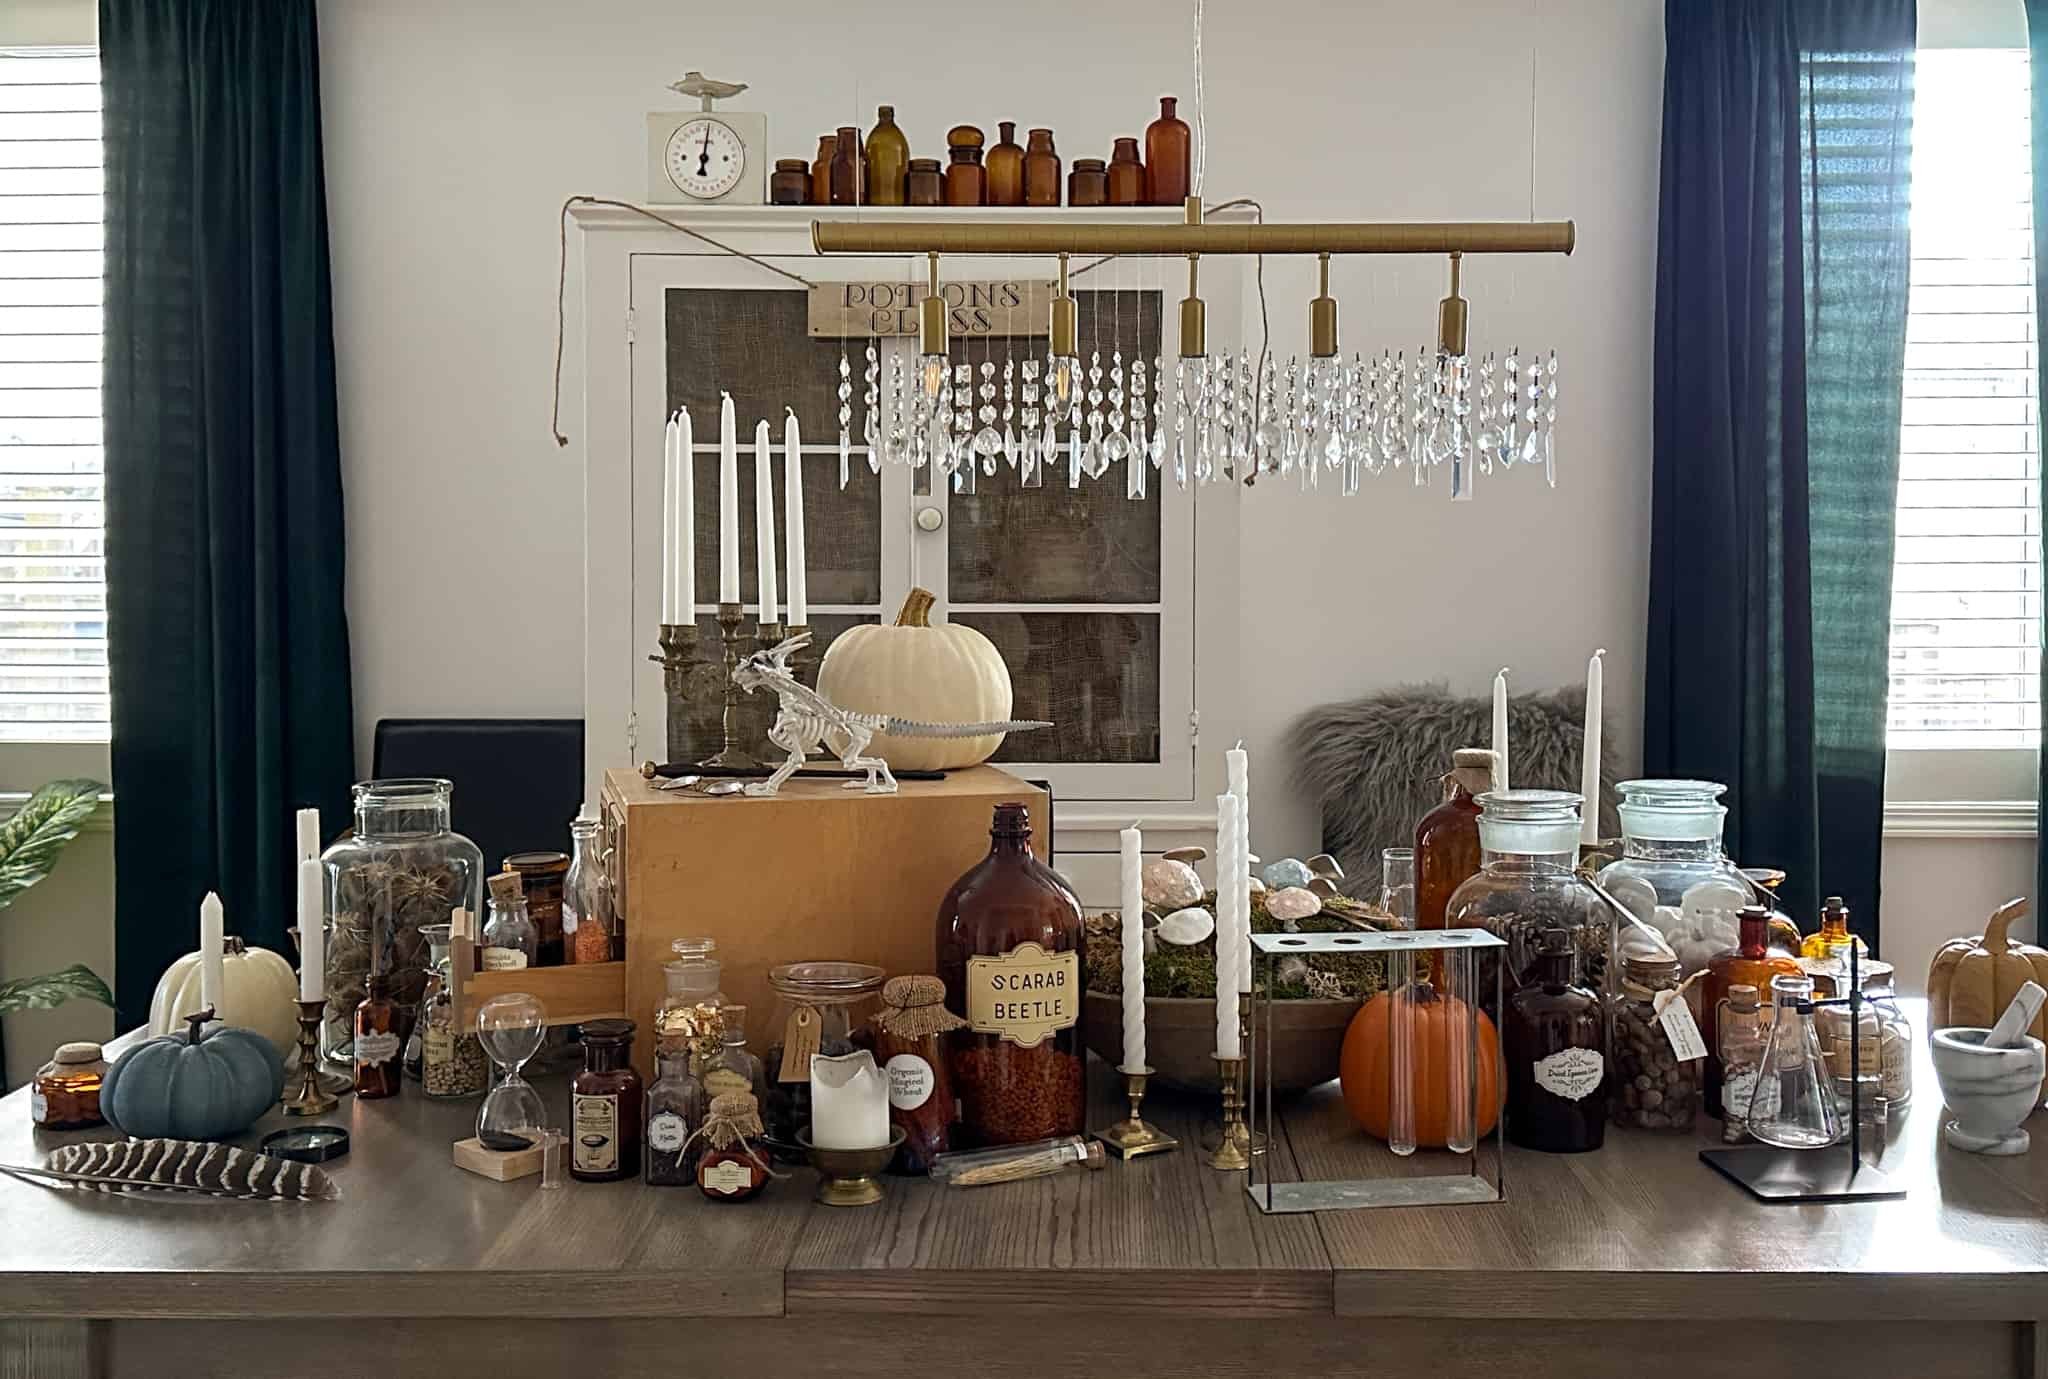
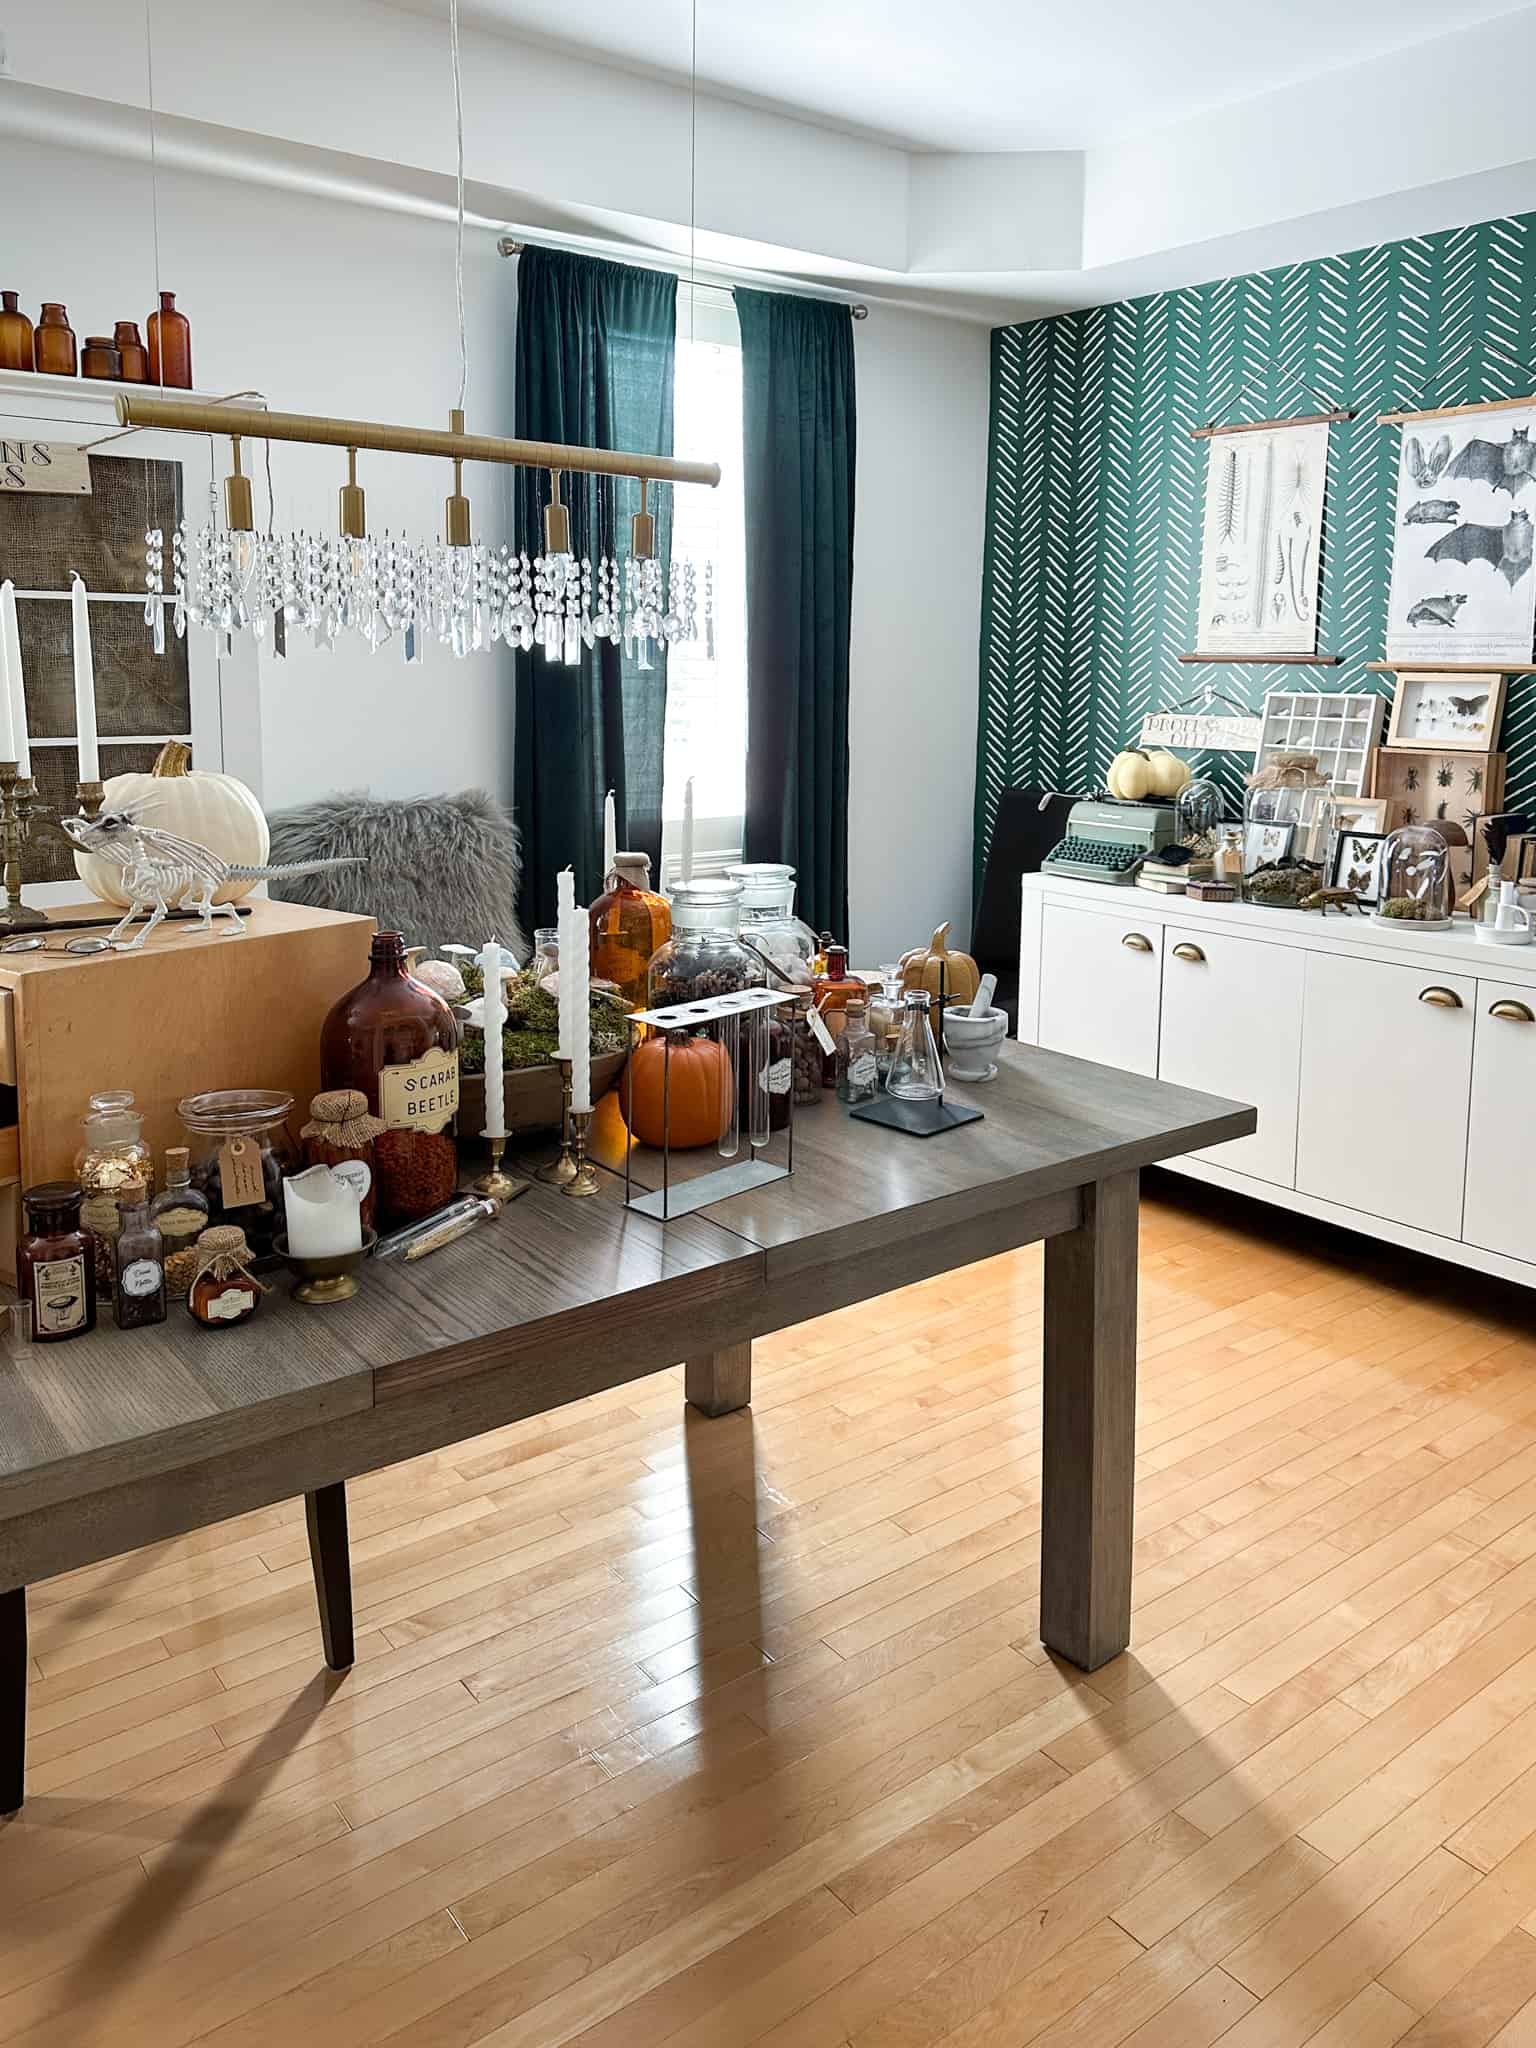
We were inspired by the Harry Potter books, and set up the main dining room table as a Potions class. A lot of the decor for the entire Harry Potter party was inspired by own collection of vintage and antique items. And some of the items I used were from the thrift store and the antique shop. On one end we added a library card catalogue box. It gives the whole display some height.
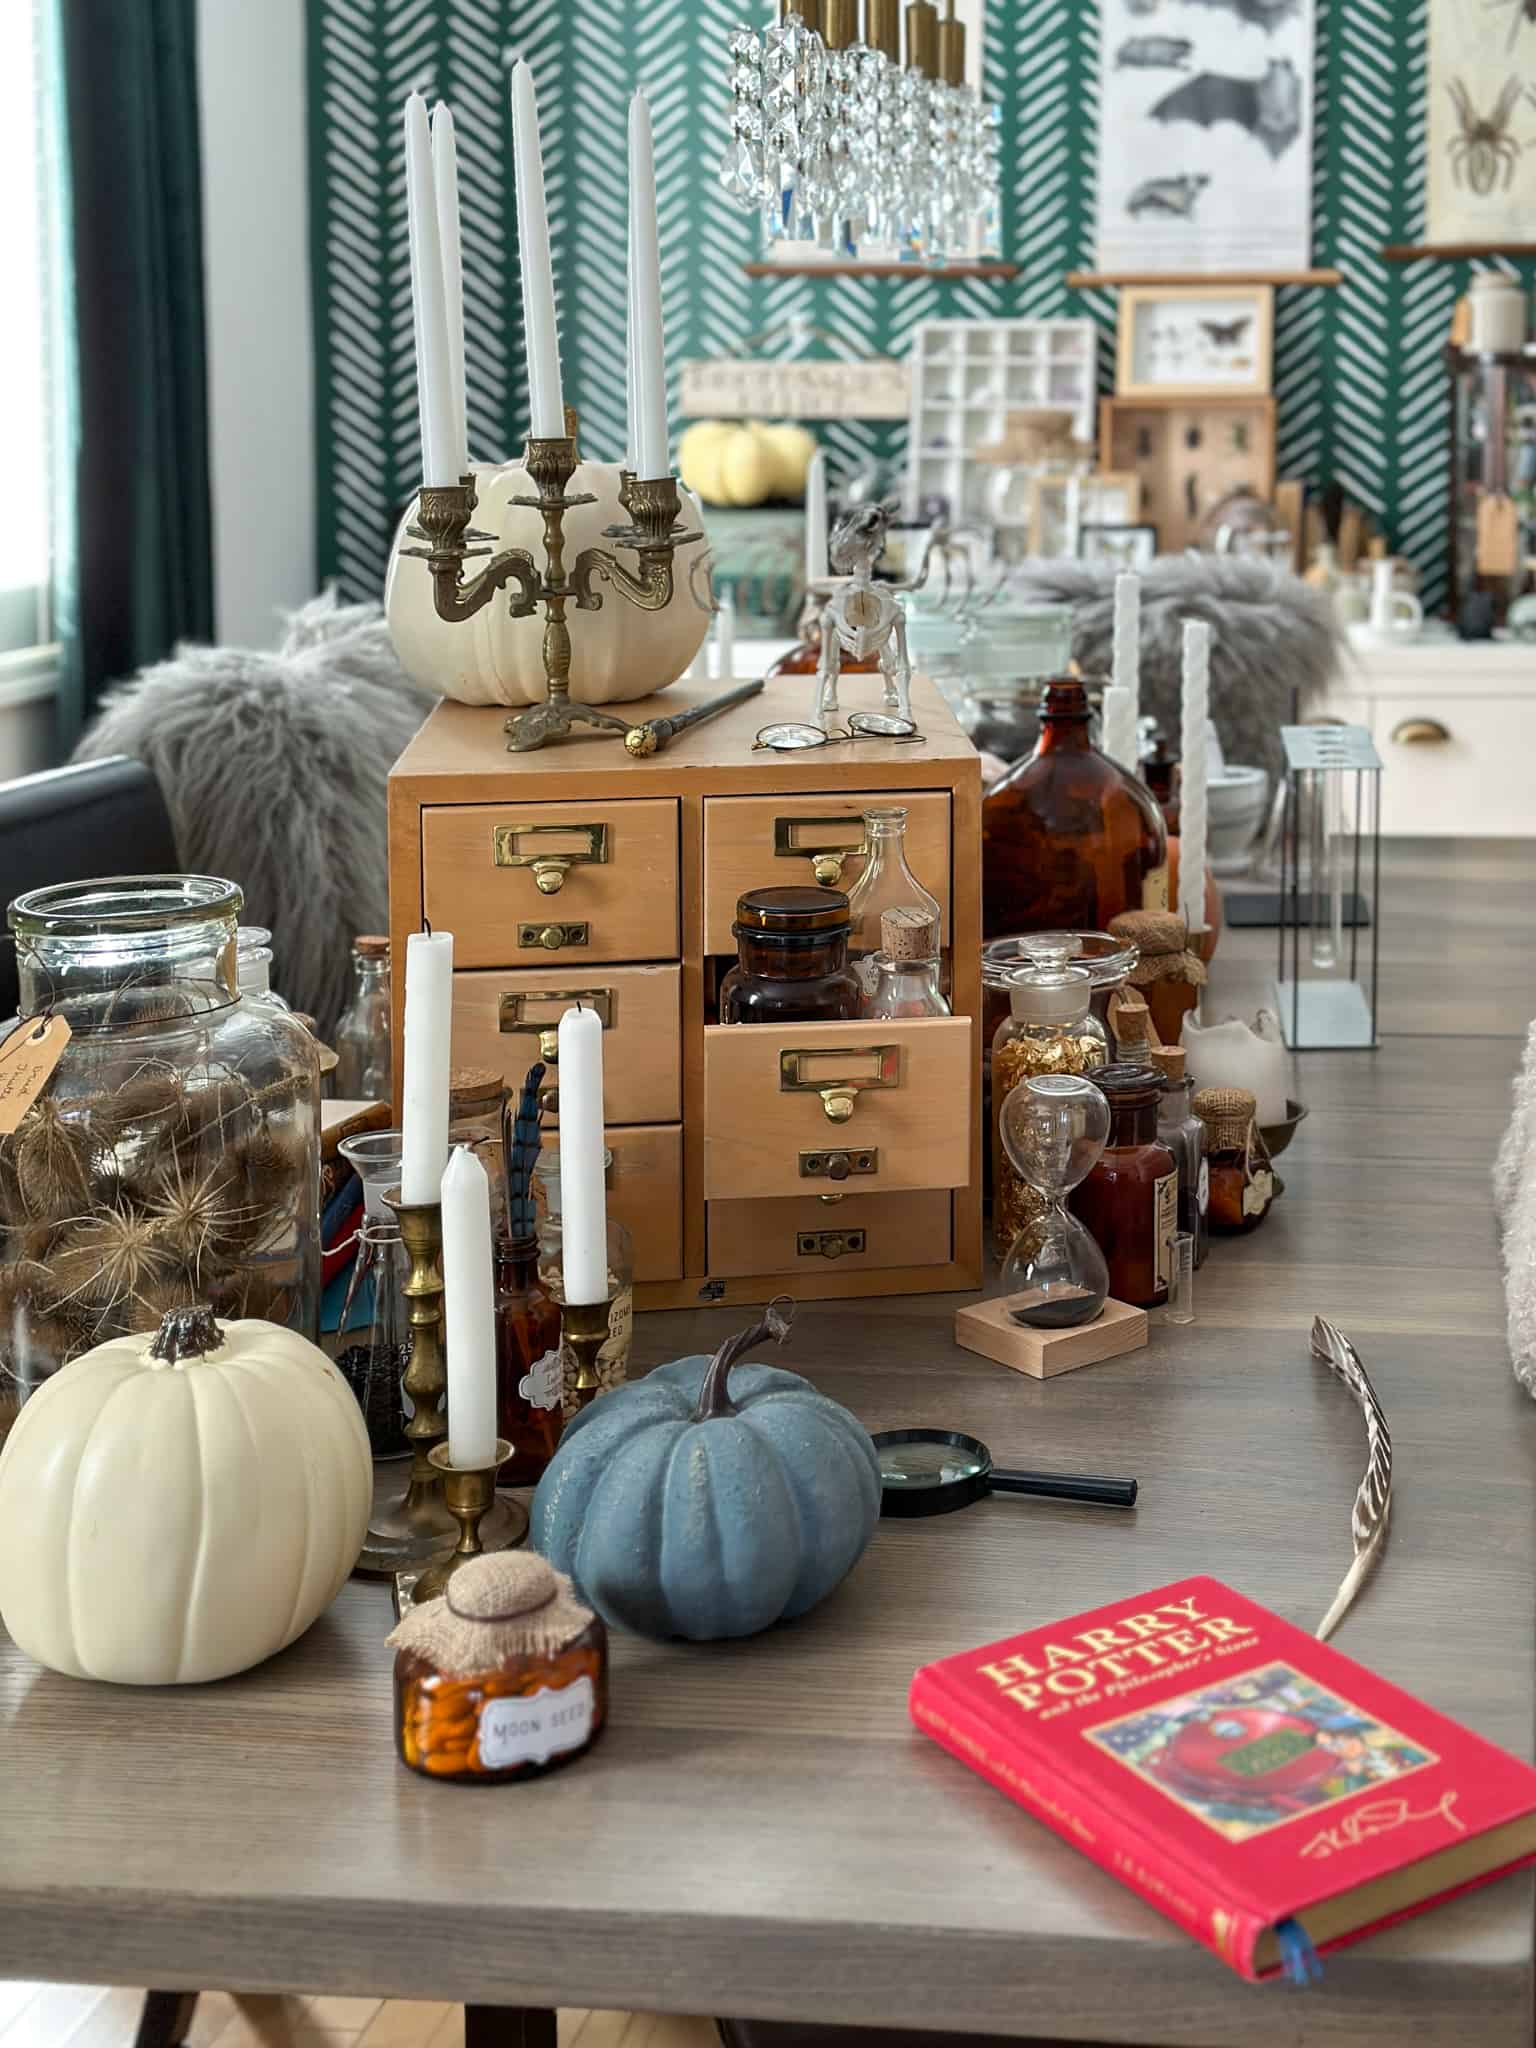
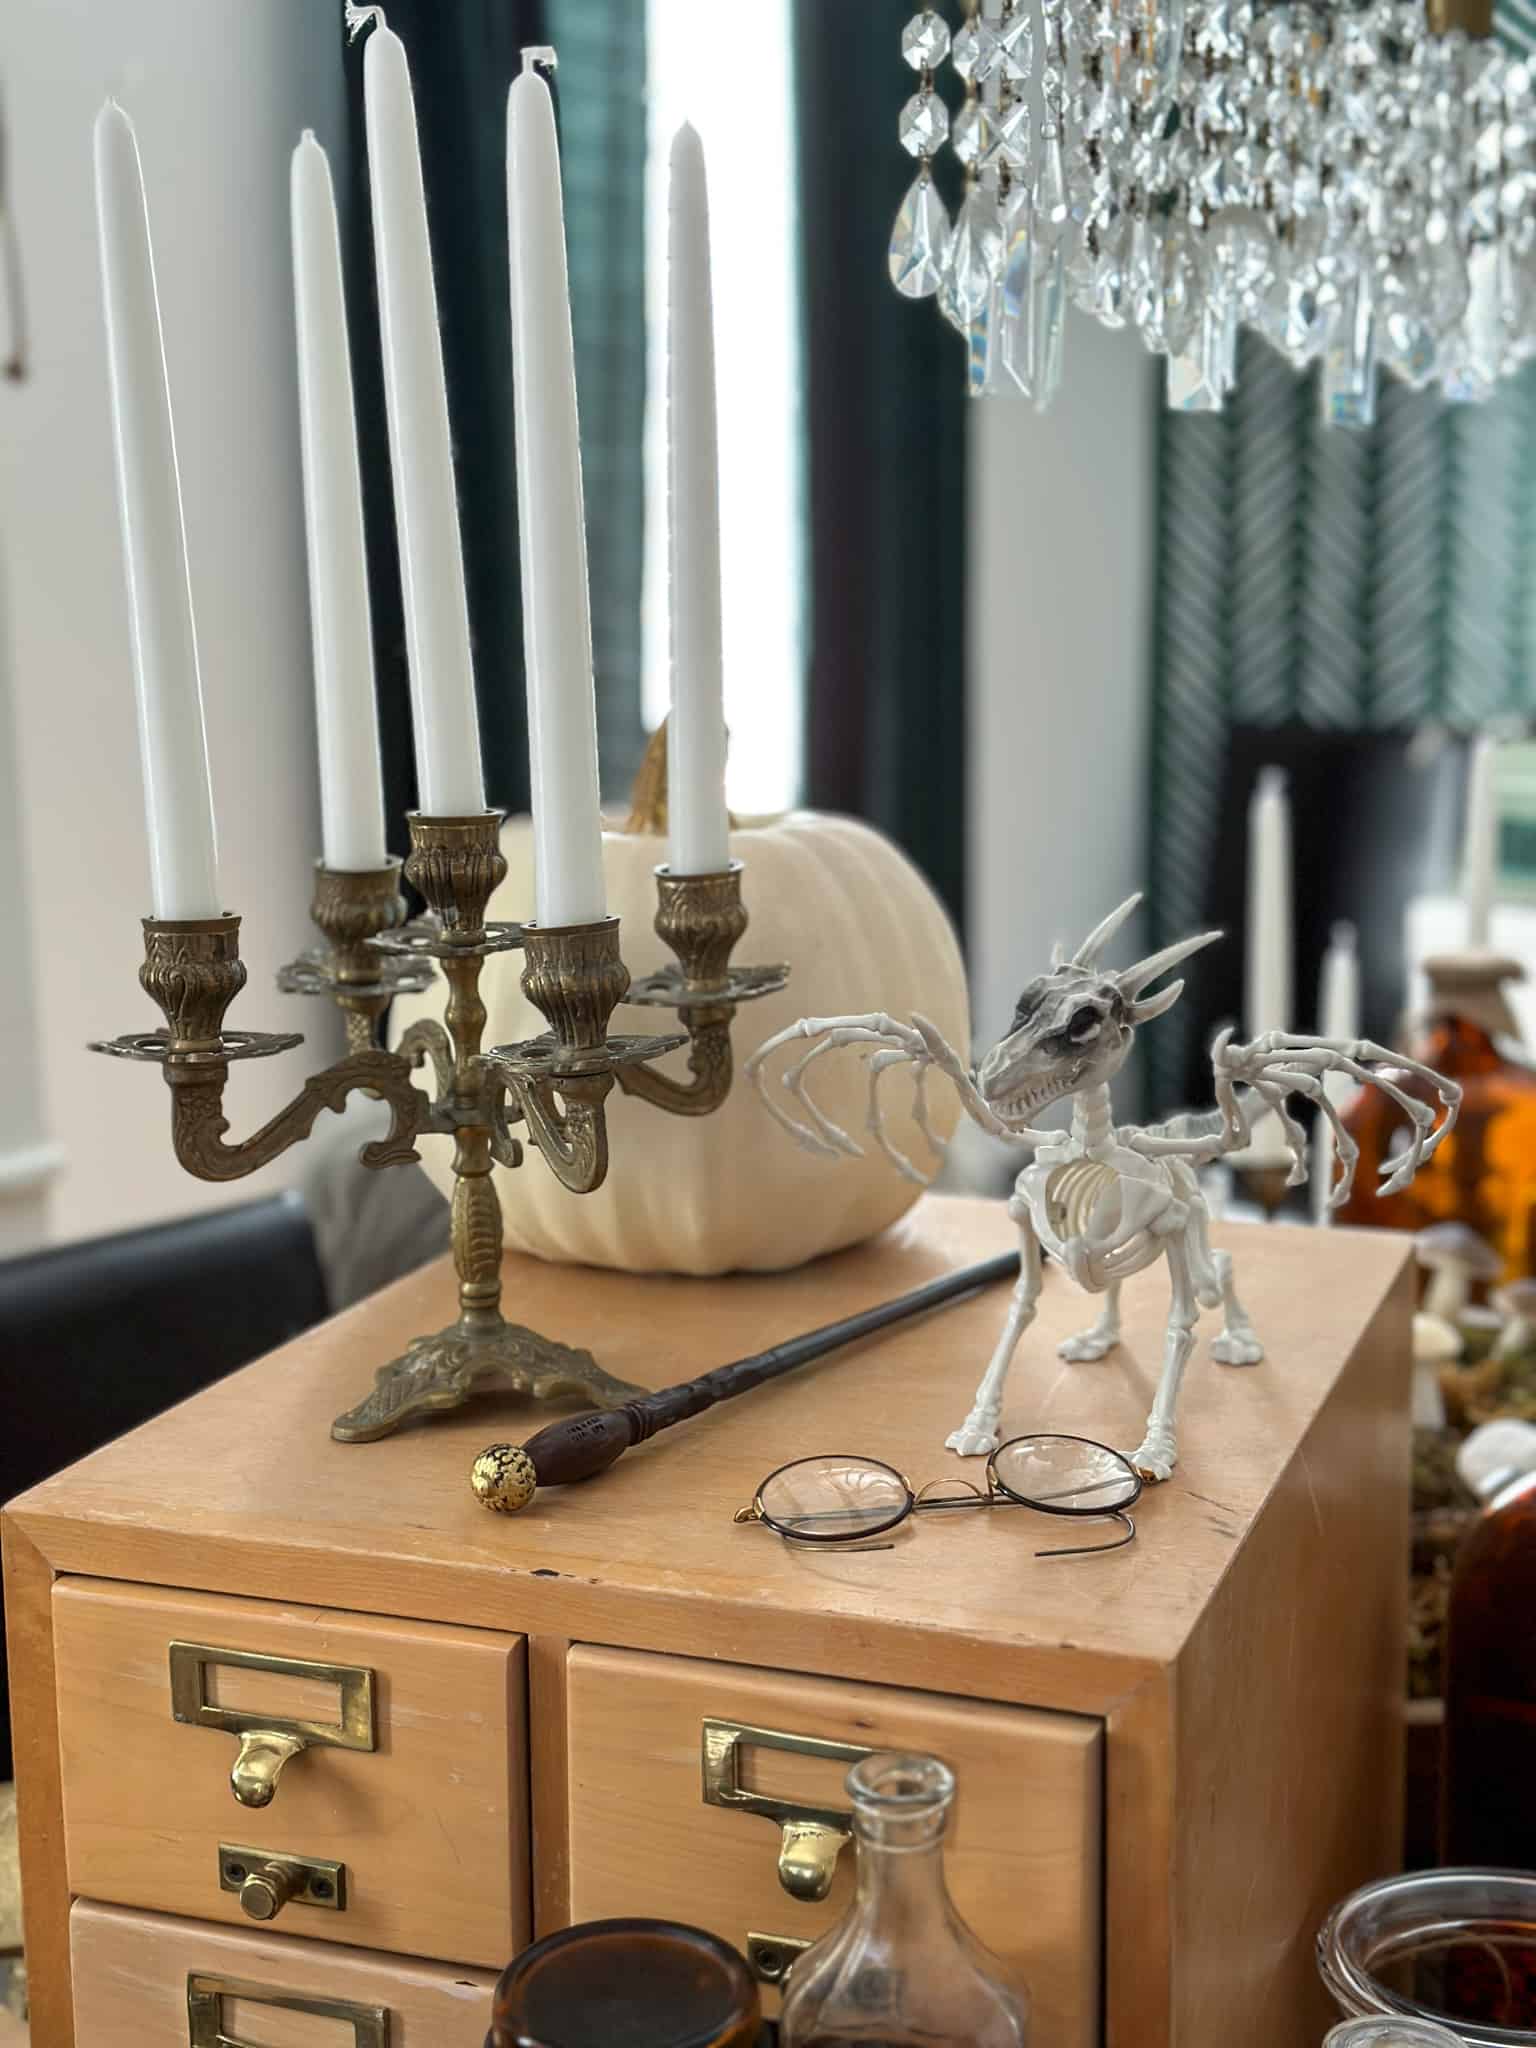
Since it's the first thing you see when you walk into the room, we topped it with some of my favourites. The candelabra is an inexpensive antique fair find. I was inspired by the large hanging dragon skeleton in the defense against the dark arts classroom in the films, and wanted to add our own little dragon skeleton. This one is from the dollar store and he was the perfect size for your class. I also included some round Harry Potter style glass, another antique fair find, and a wand.
Potion Ingredient Bottles
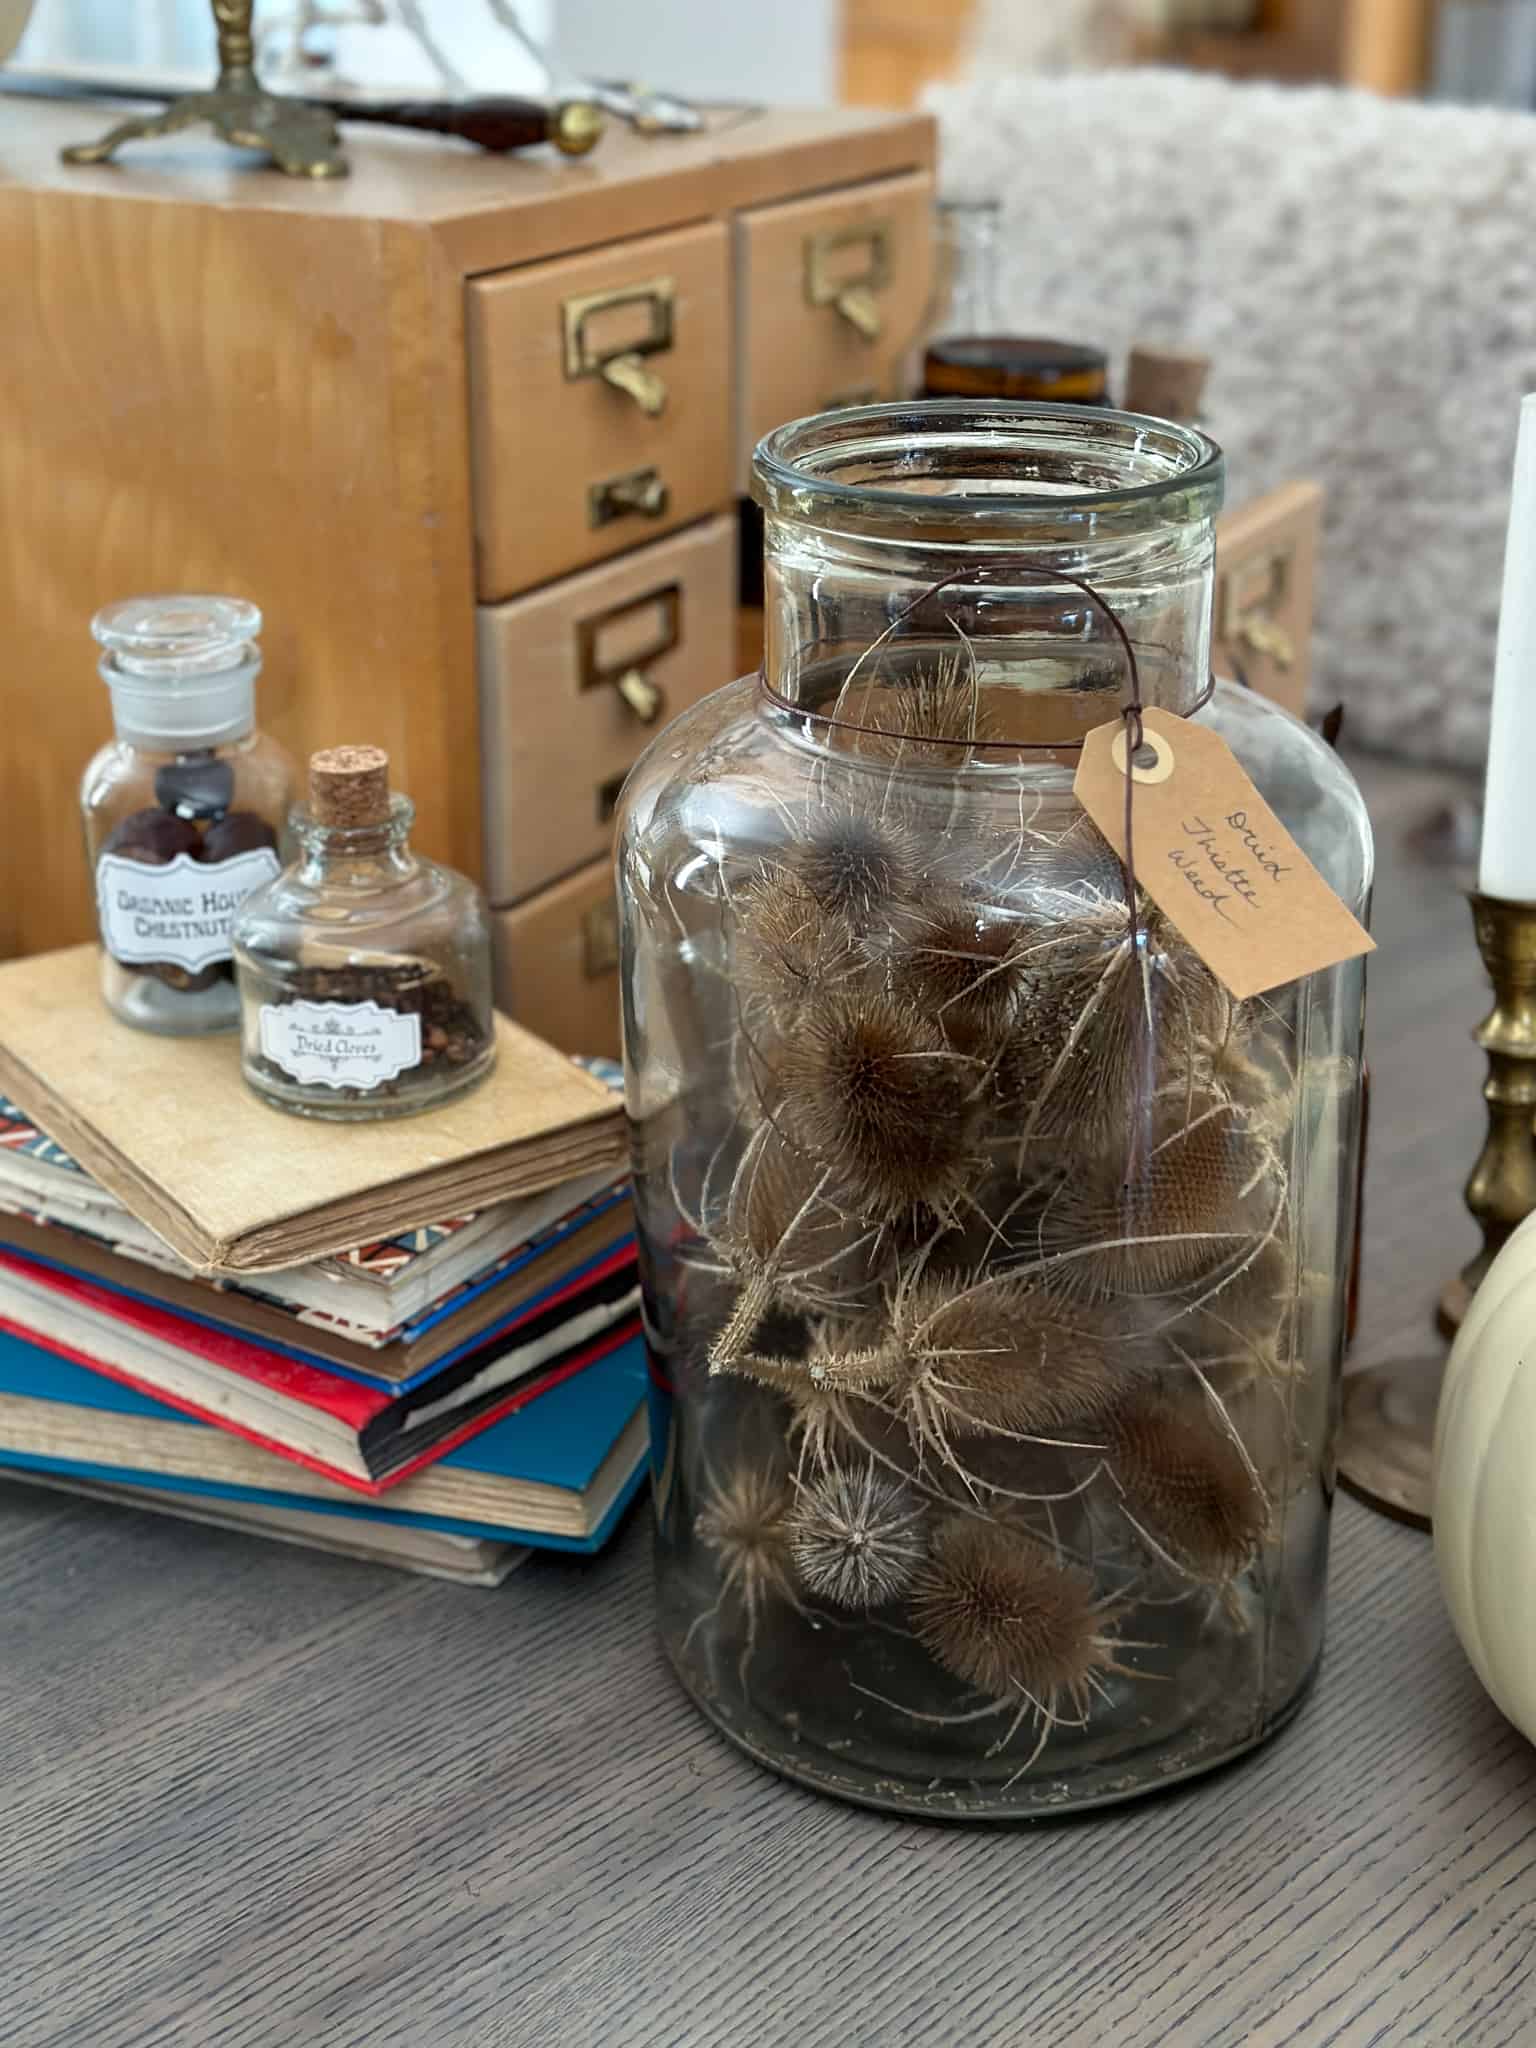
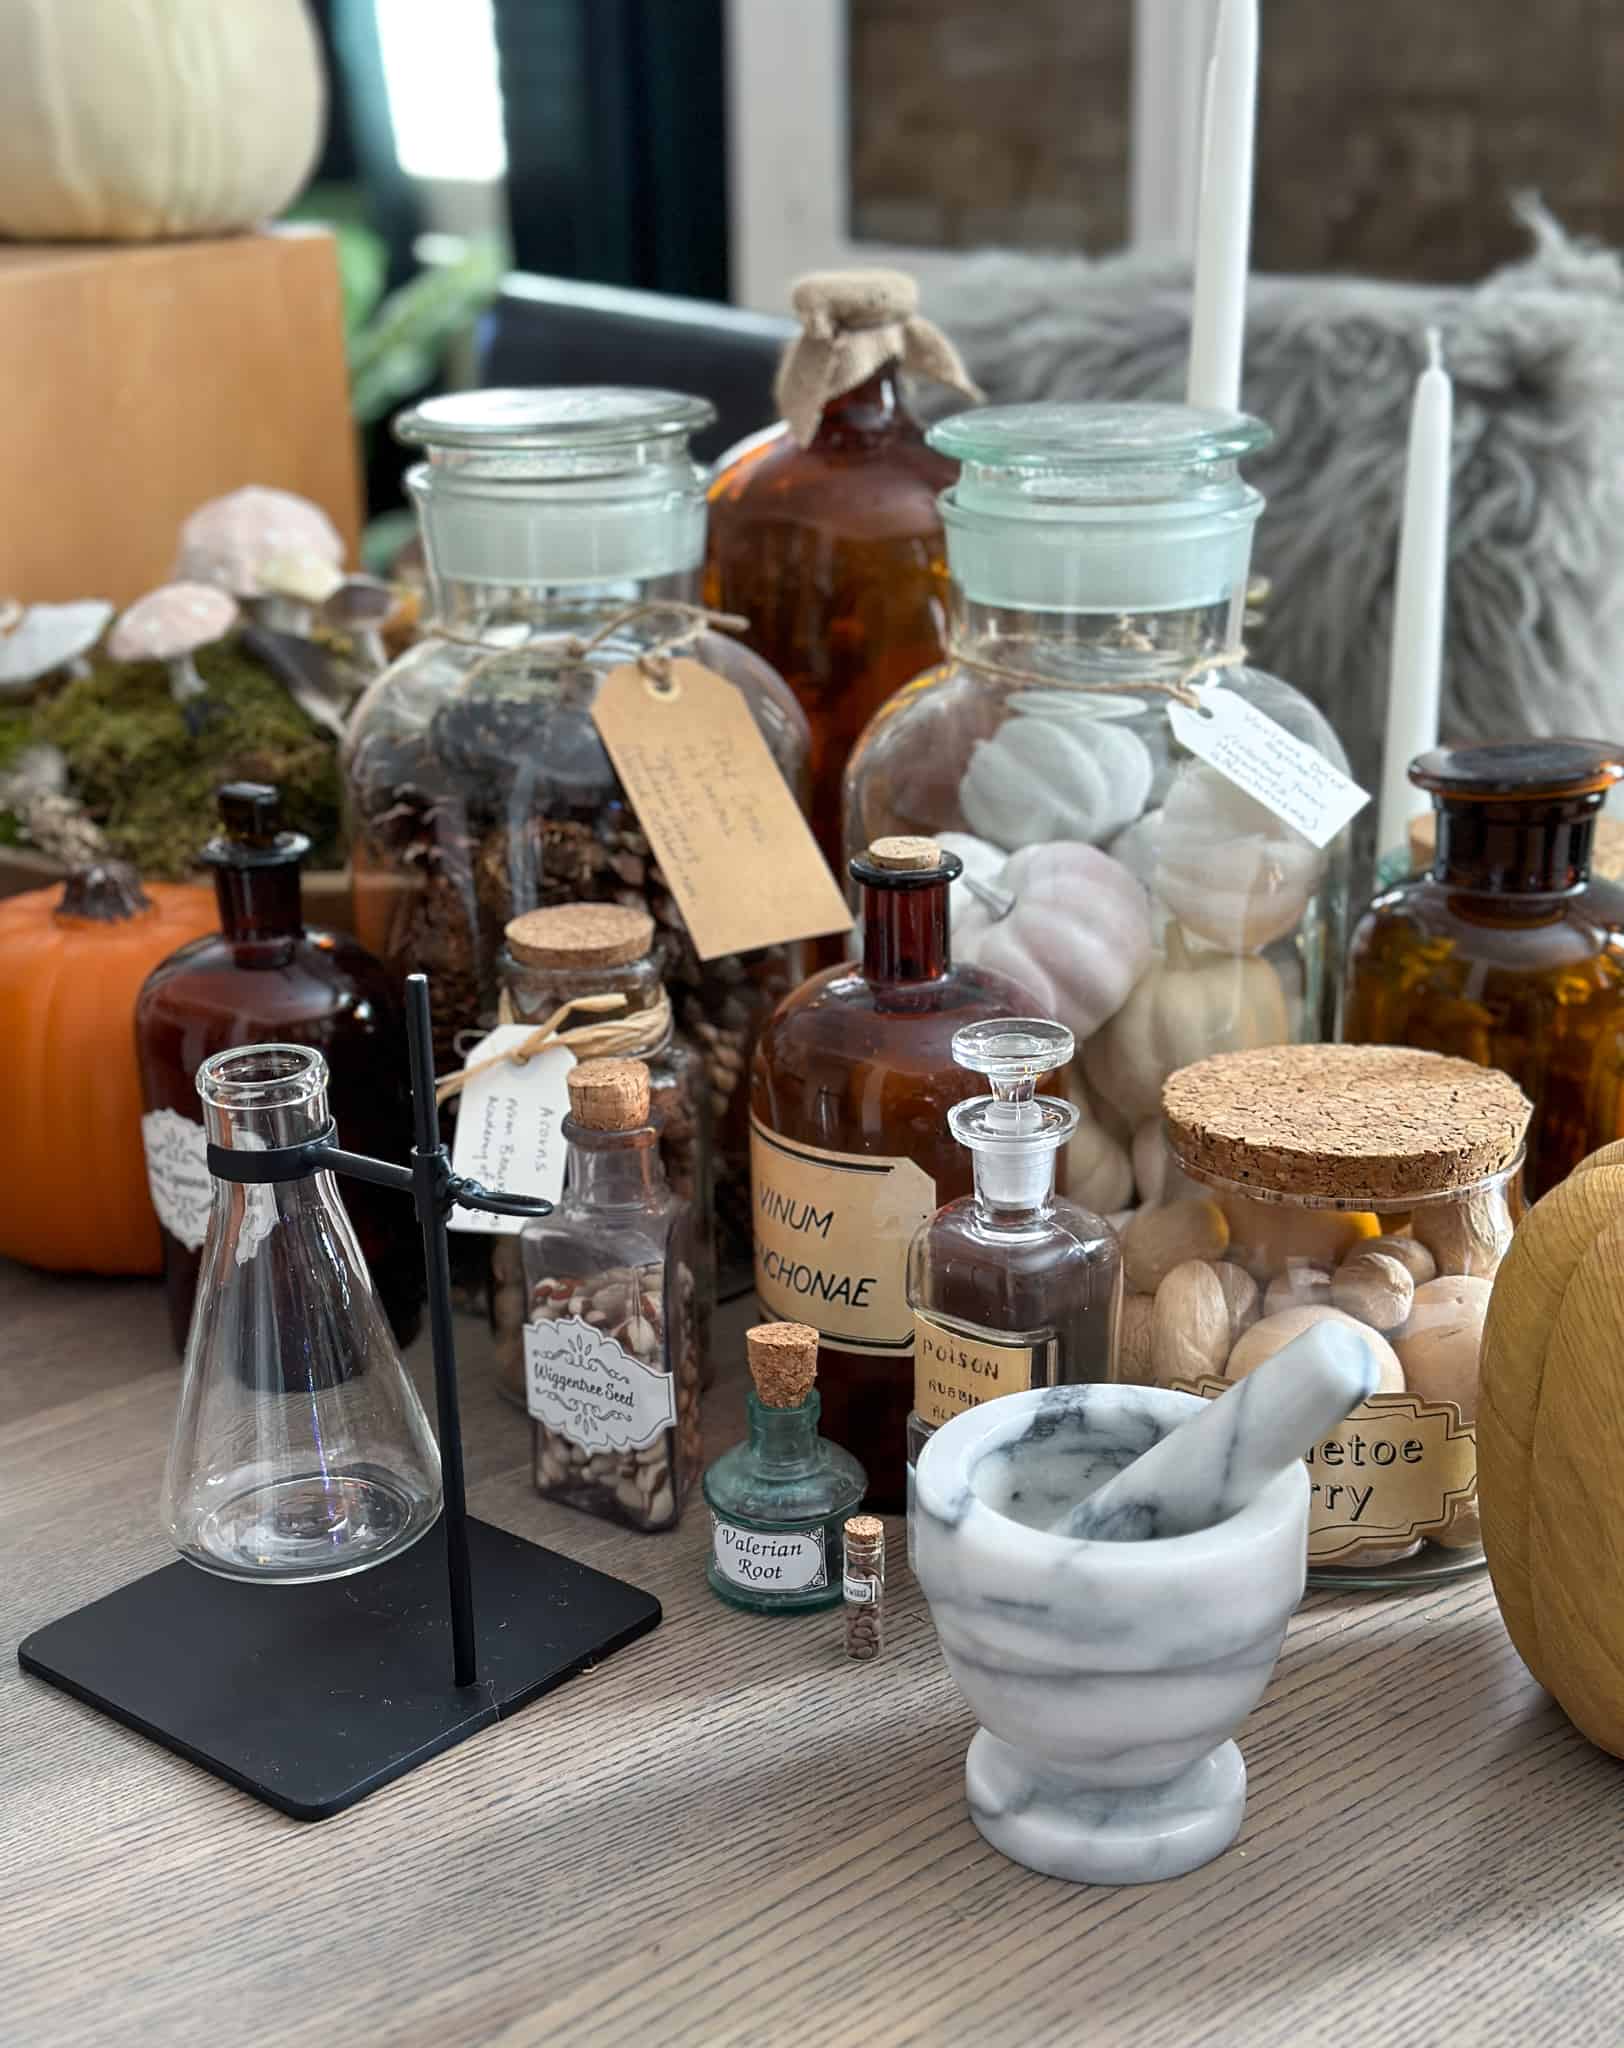
I wanted the table to be covered in potion ingredients. I used lots of vintage bottles. I've been collecting these for years, and they were perfect. You could also use glass jars from the dollar store. Some of them had glass stoppers. For those without lids, we added corks to the ones we could as an easy DIY. We found some corks at the craft store. For those without corks that would fit, I used some burlap and tied it around the top to make our own lids. It's a great idea to look for all different varieties and sizes. Different kinds of bottles also help it look more authentic and collected.
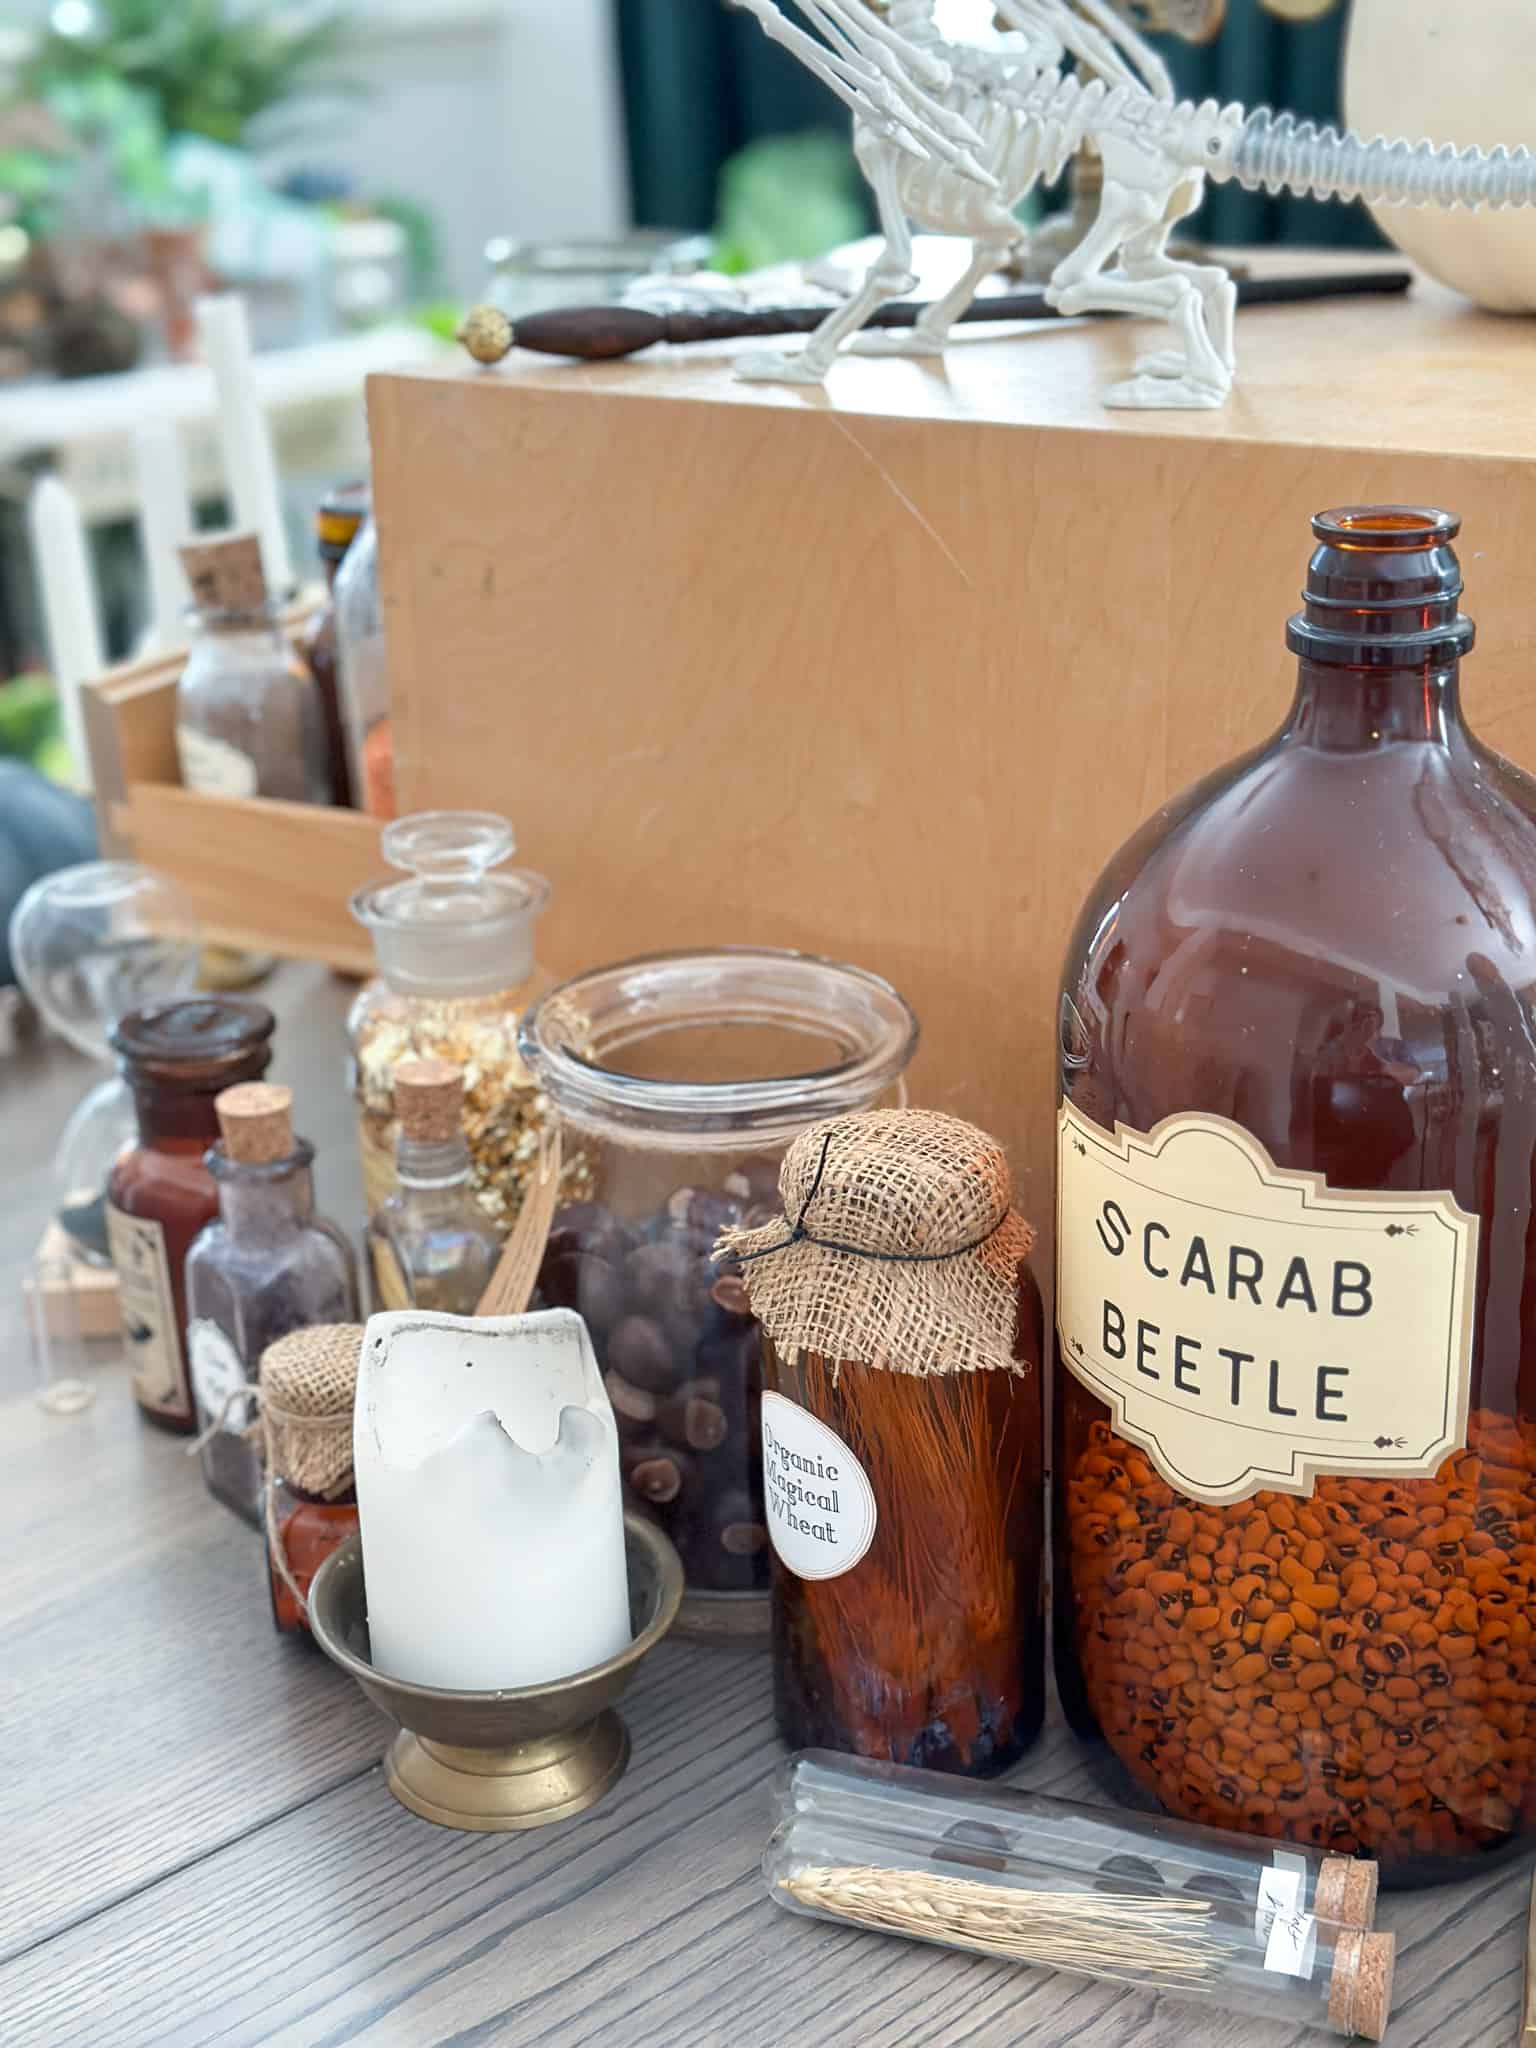
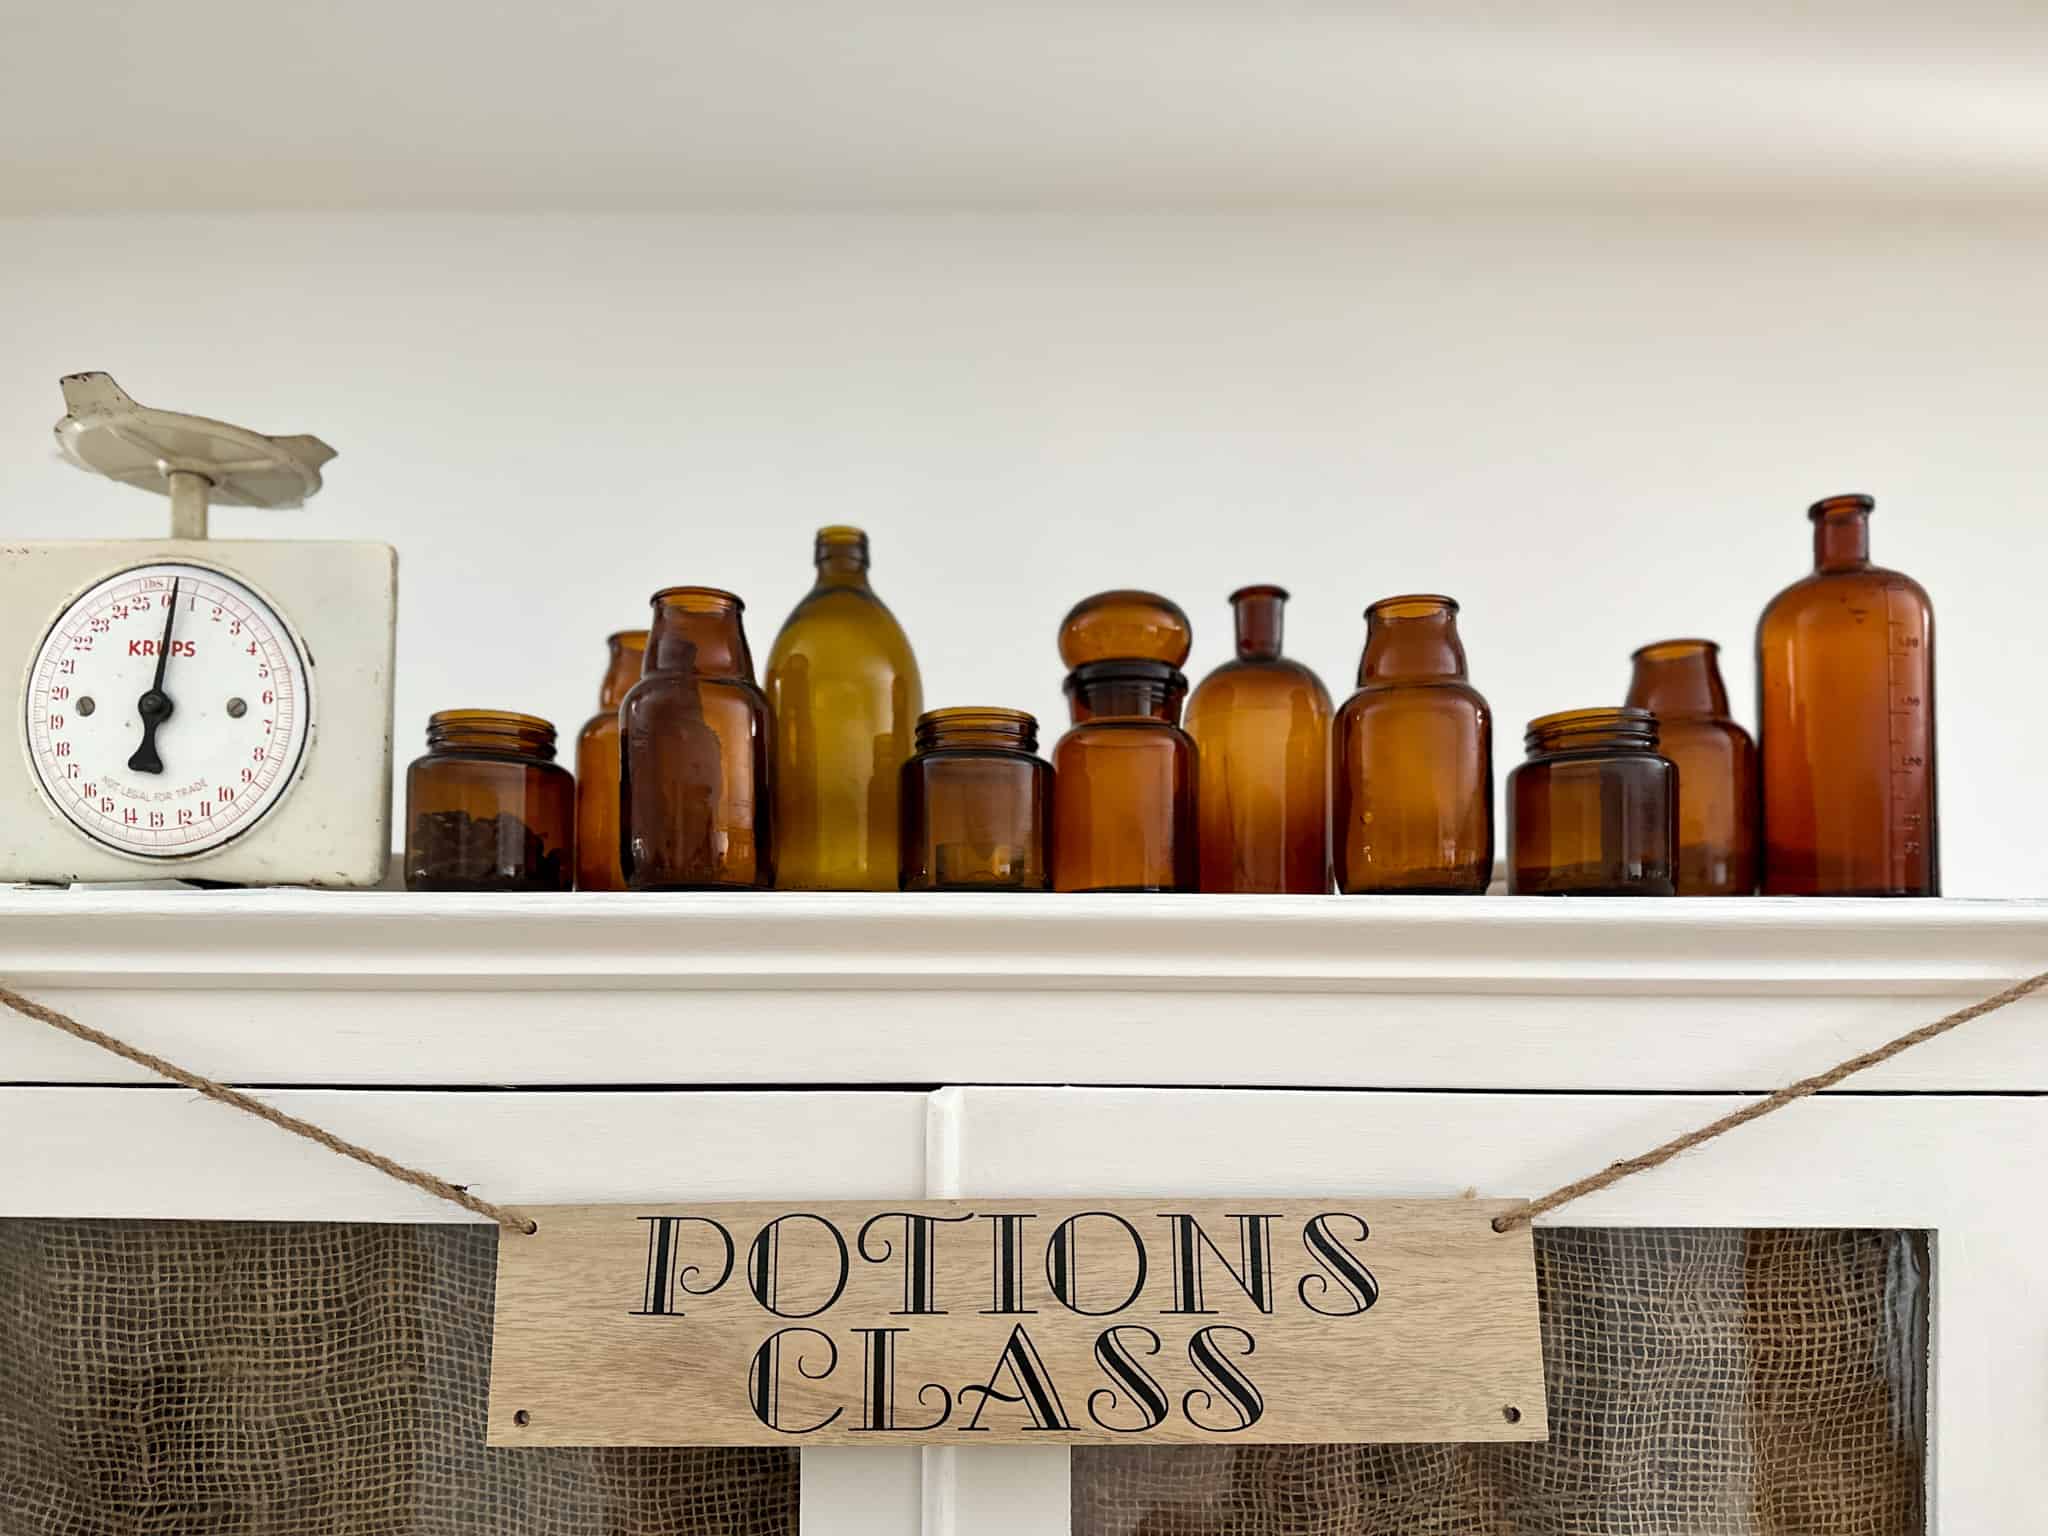
I already had a large collection of amber glass, that I often decorate with in the fall, and these were perfect to include. I left some empty, and lined the top of a cabinet with them, as though they were spare and waiting for more ingredients to be collected and added to them.
Potion Ingredients
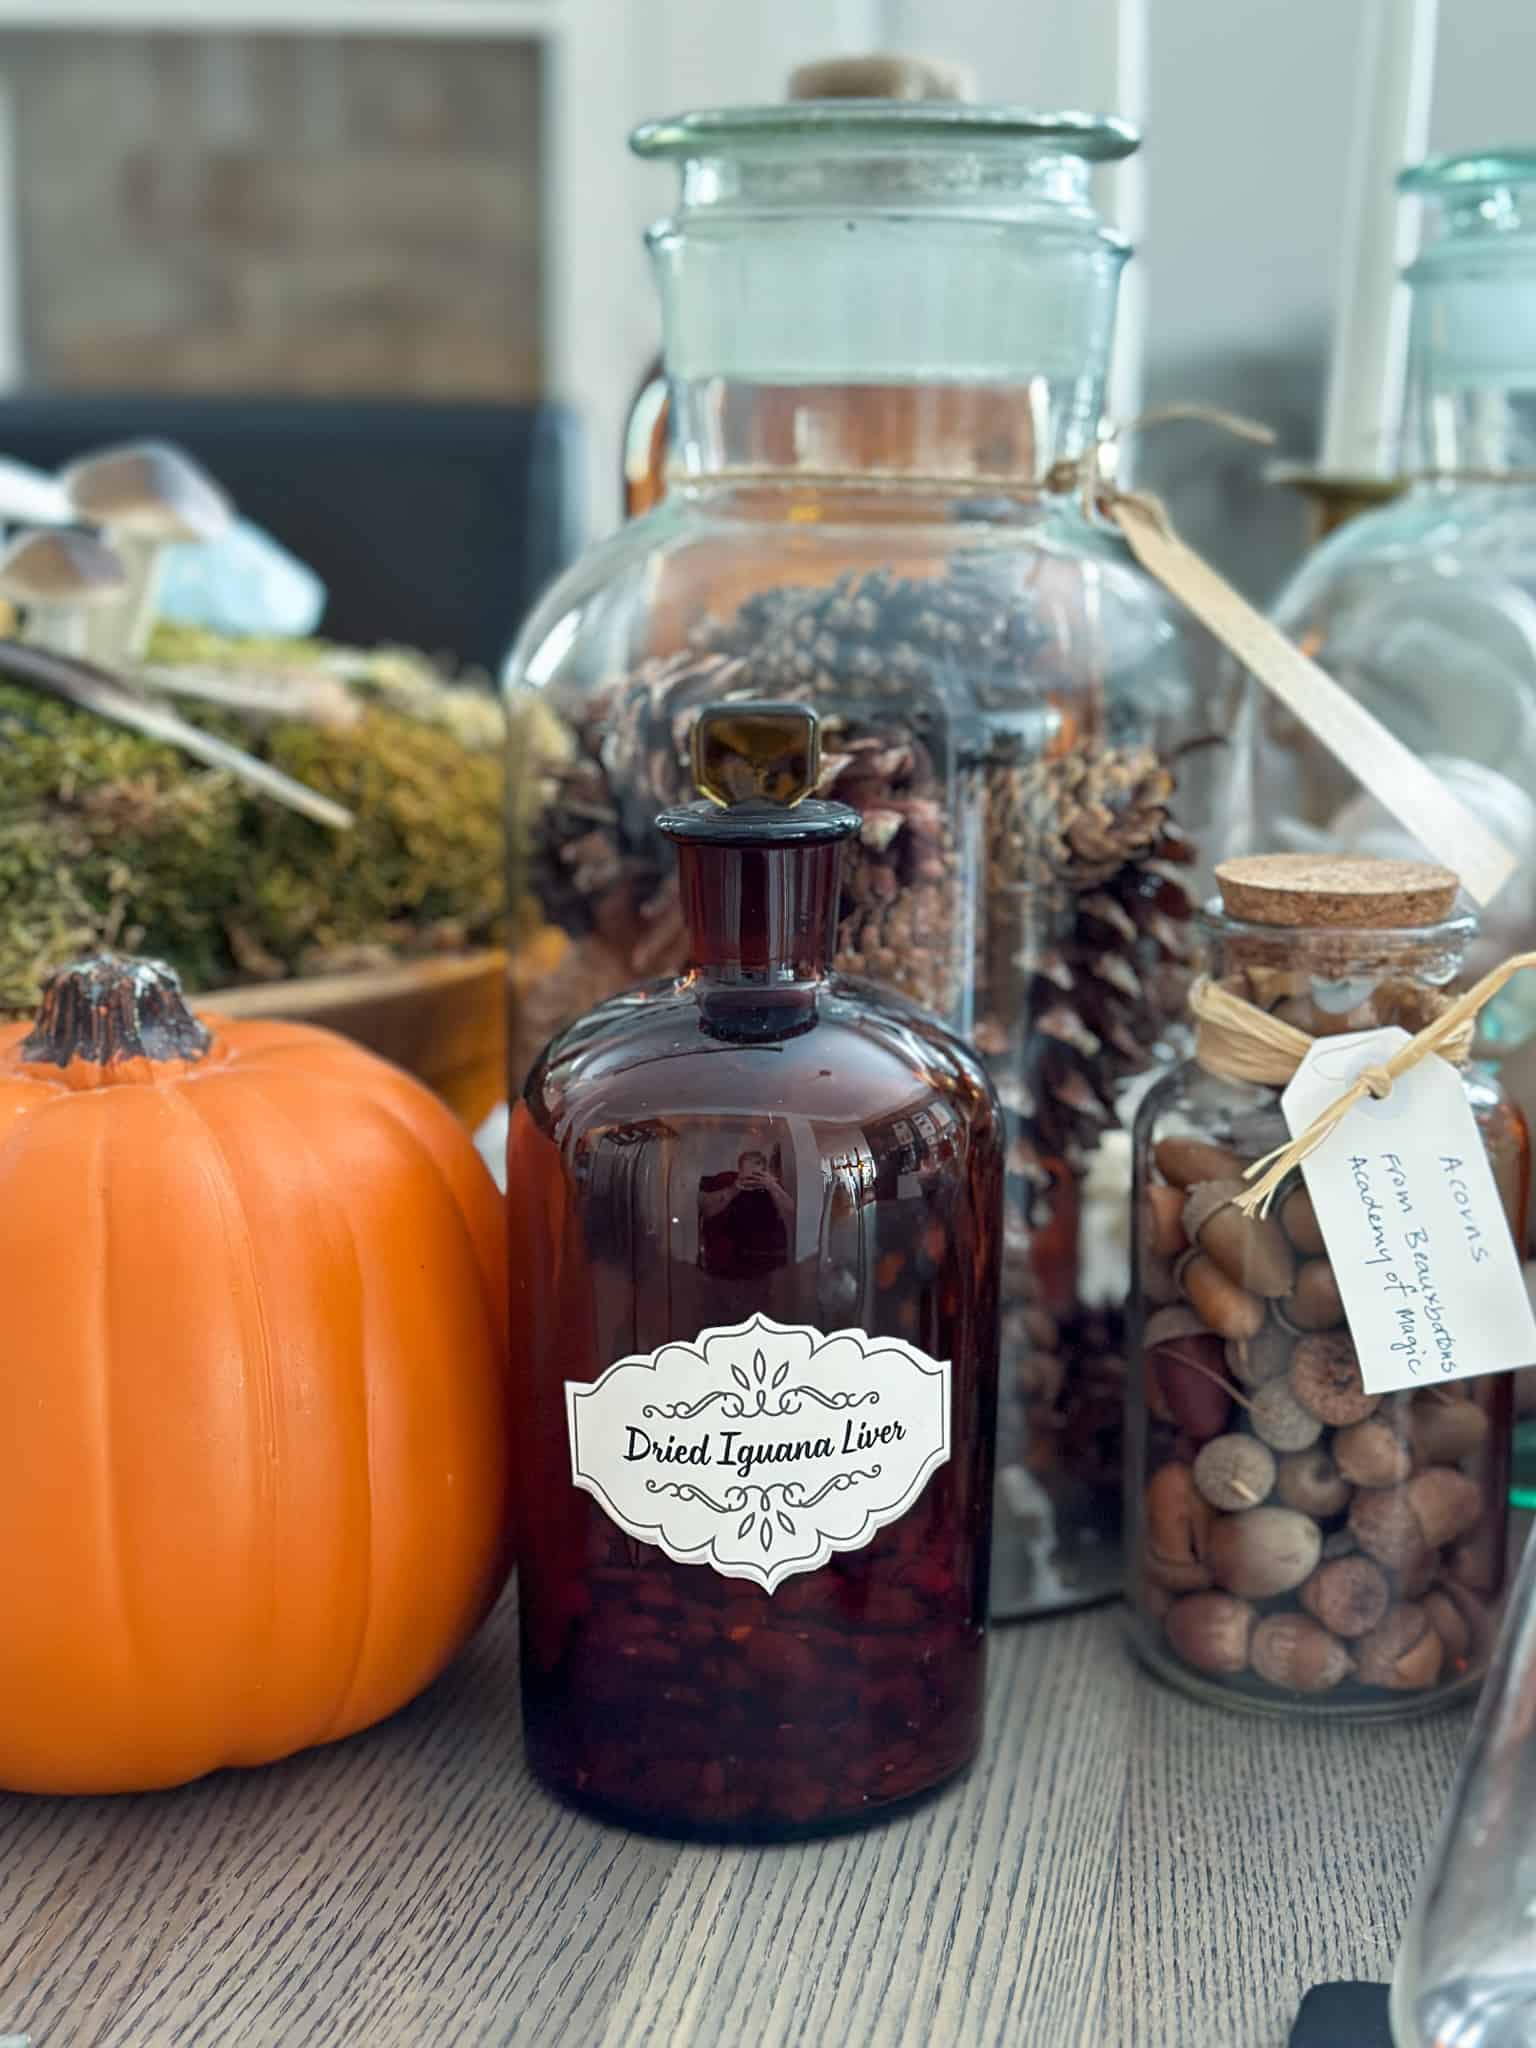
I wanted to fill the bottles with different ingredients. Not wanting to go down the really gross and strange route of things like toad eyeballs, etc. I instead was thinking about a witch or wizard being out in their garden and collecting ingredients in the fall. In our potion bottles I used things like pinecones, and acorns, and thistle weed tops, and feathers. I also went to the bulk food store and bought little amounts of things like black rice, and dried beans and lentils, and spices like cloves and cinnamon sticks. These were perfect for our bottles. I even had a couple that I left un-filled but added a lid to, and added a label for an invisible ingredient. 😉
Potion Ingredient Labels
Next, I wanted to add labels to my potion ingredients. For some of them I thought hand written labels were perfect. I wanted to make it look as though a witch had been out collecting ingredients. So for things like the pinecones and other common things you could find for gathering I used some blank labels and wrote the name and for some the place they were collected and a date.
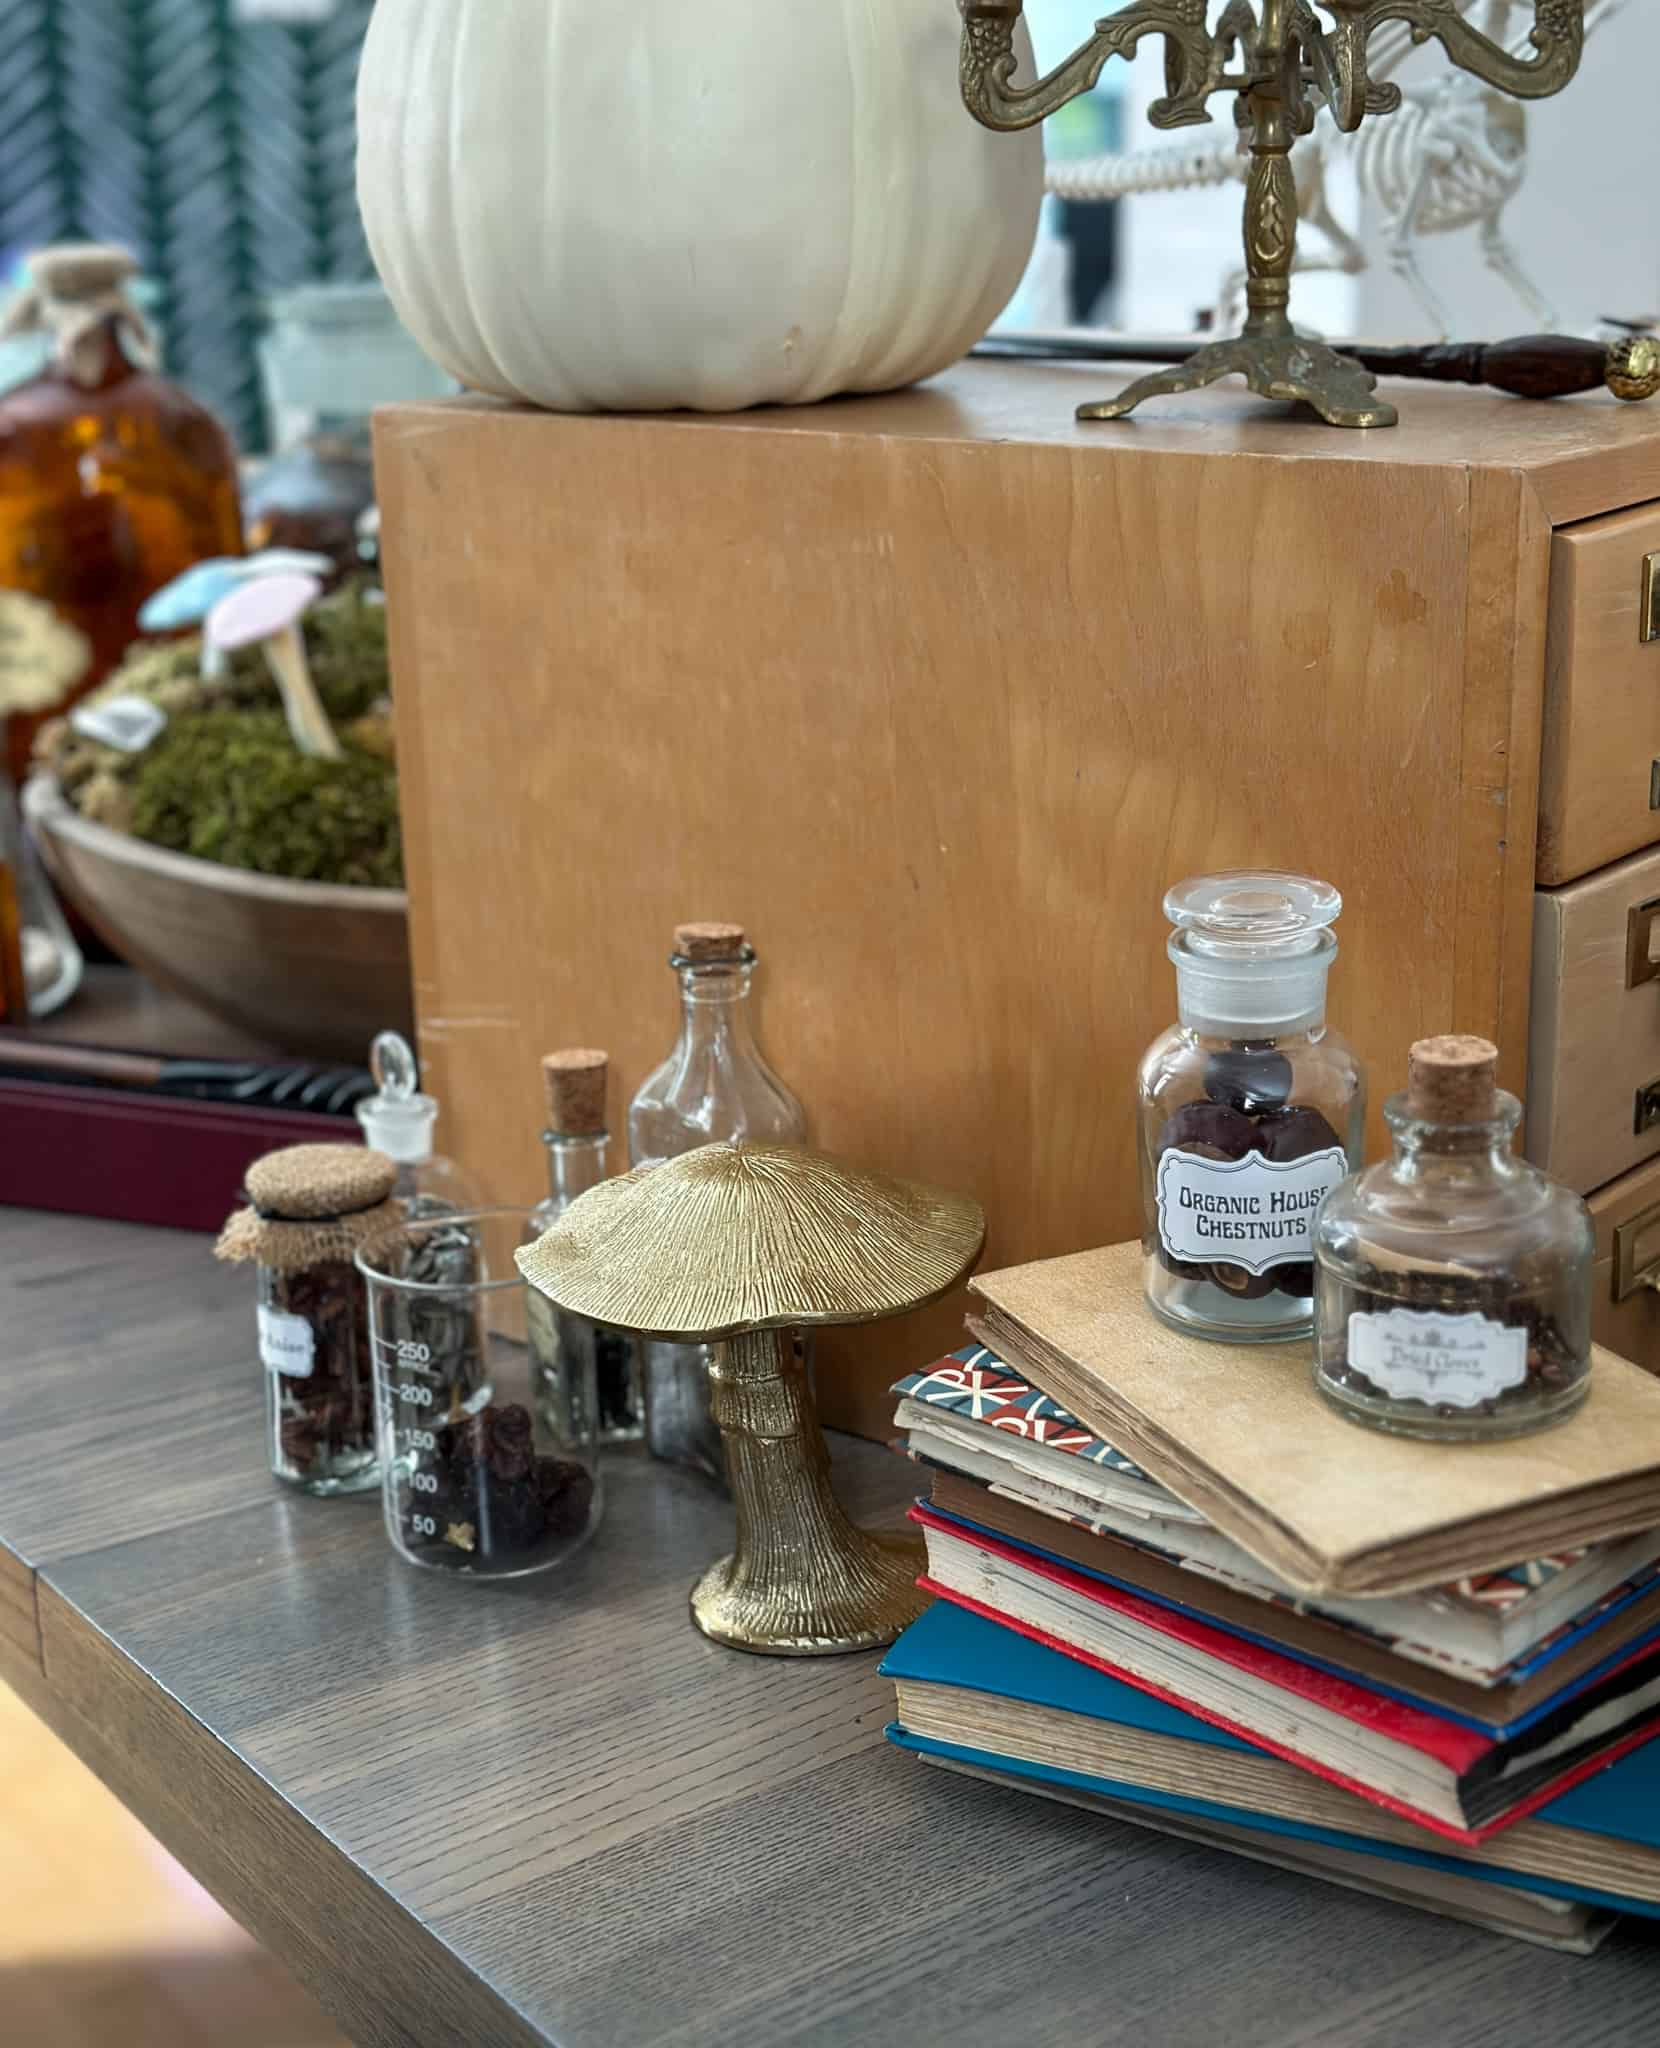
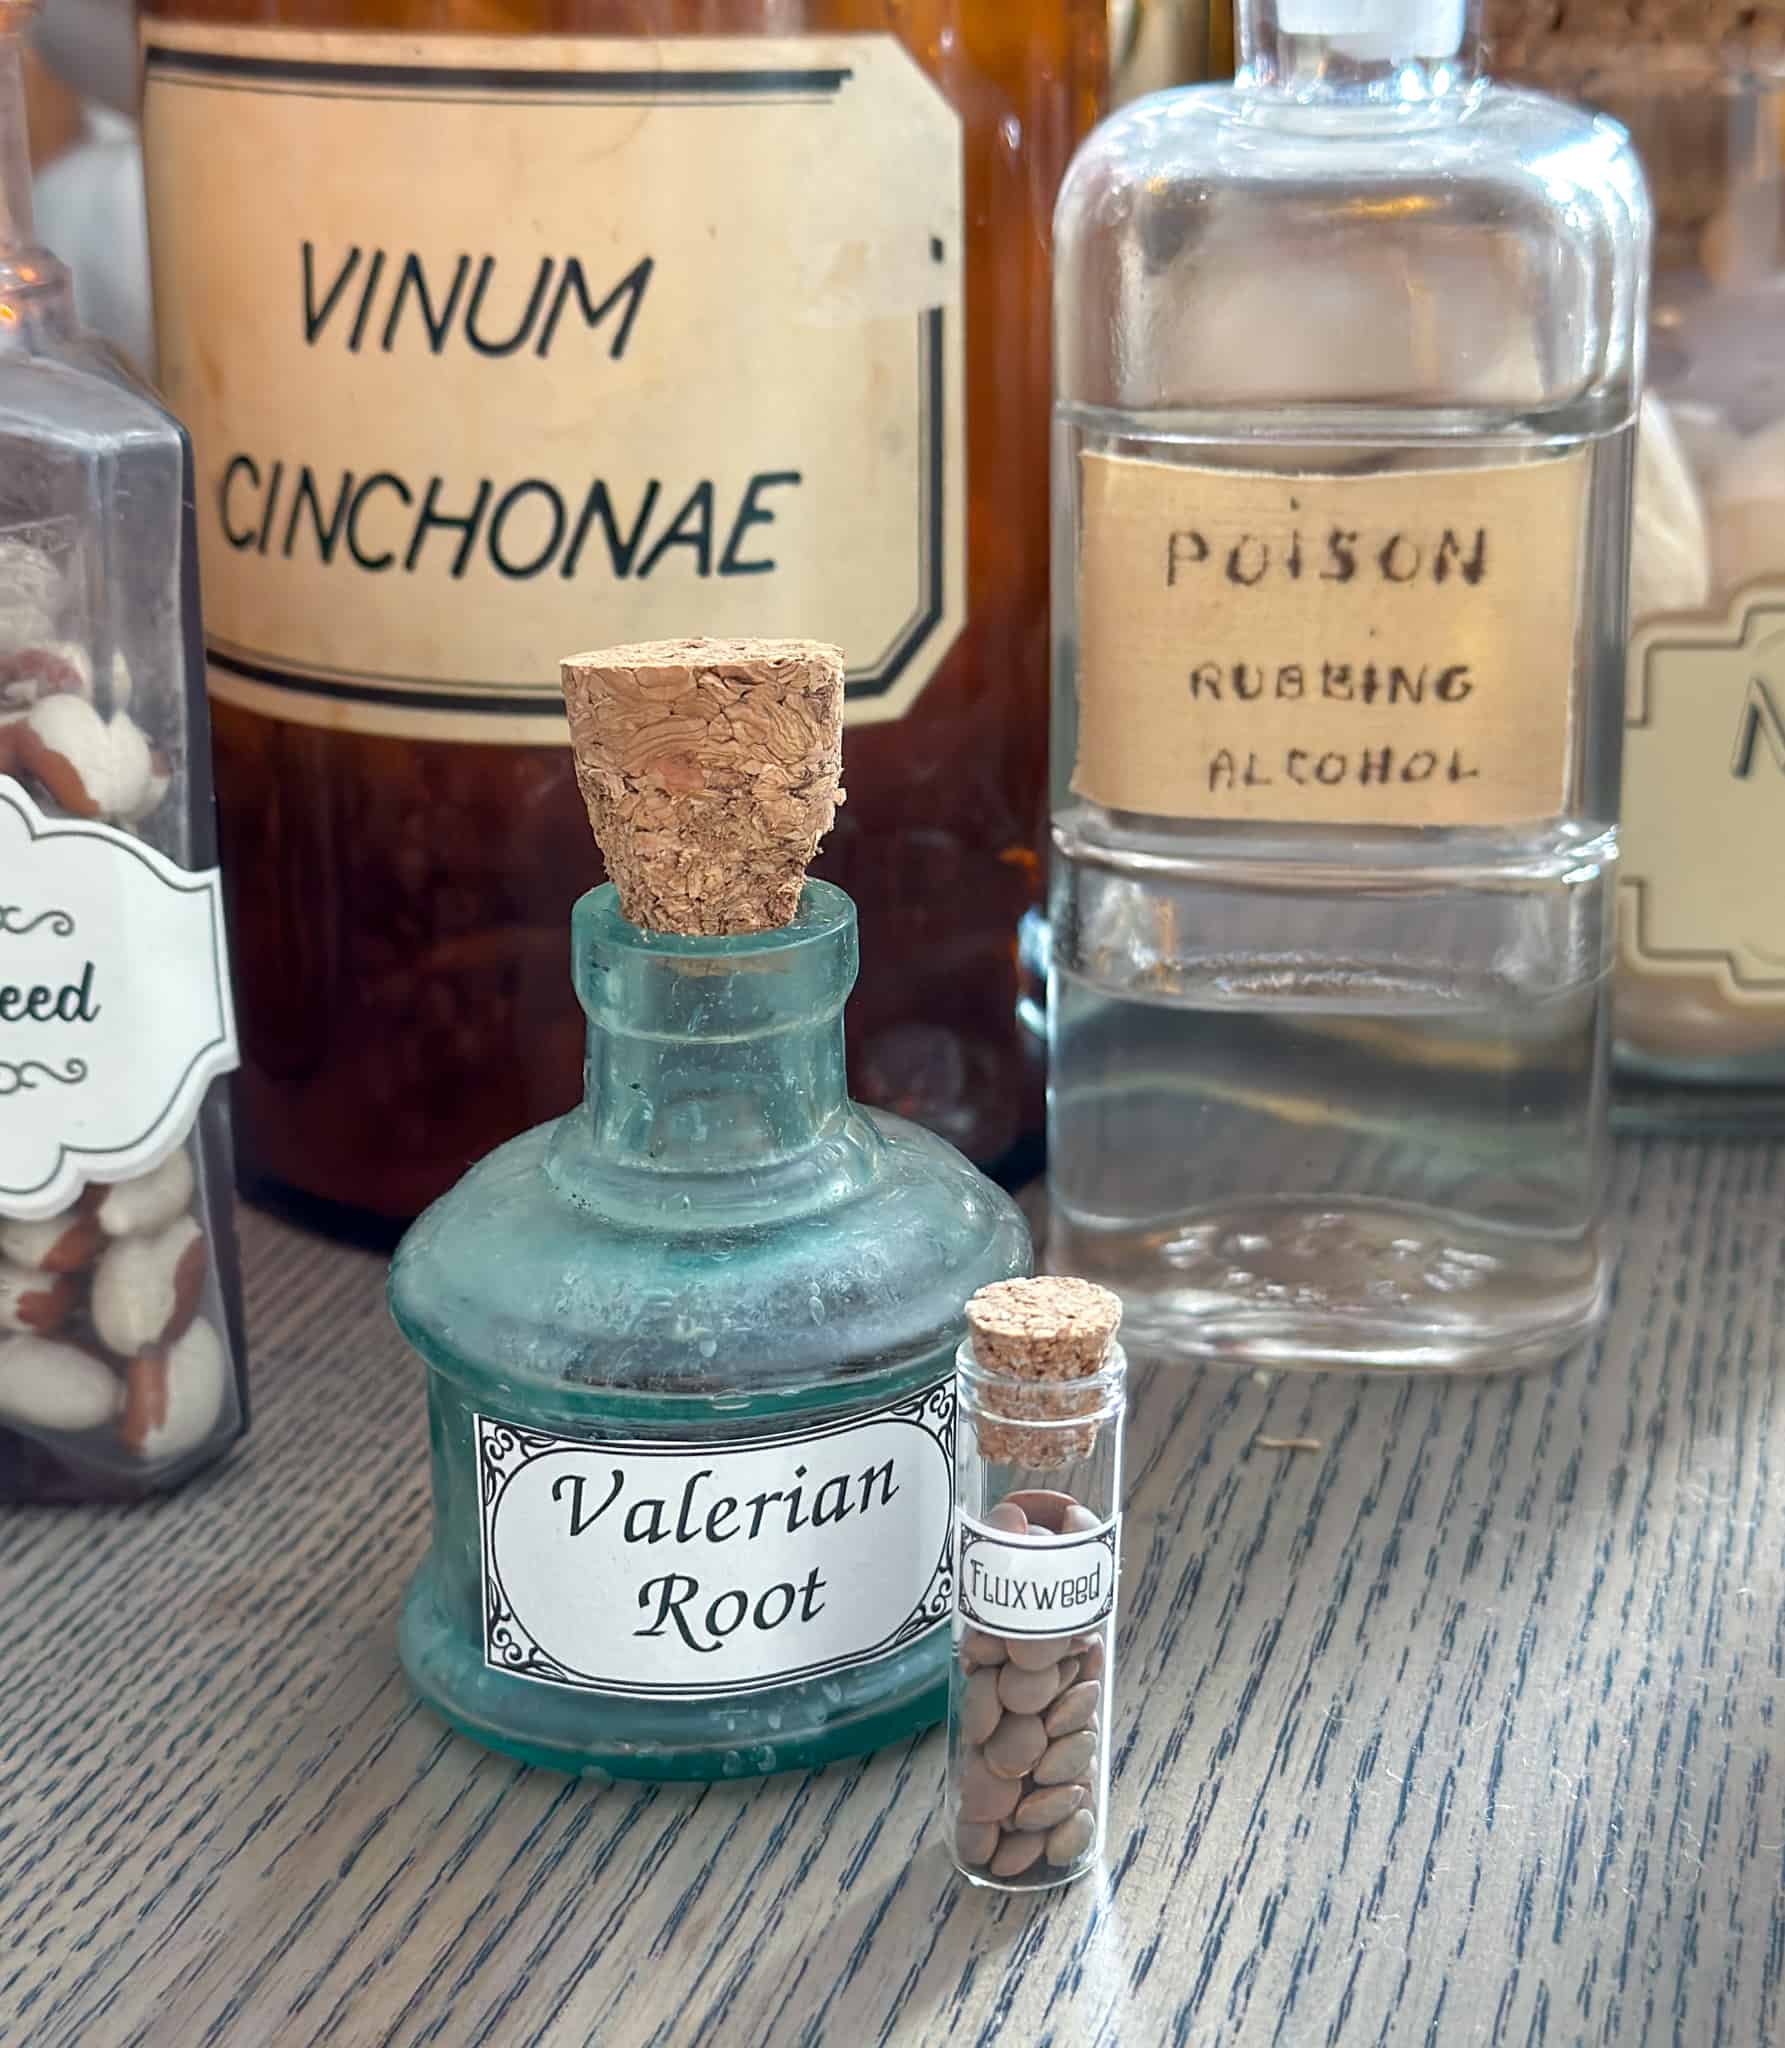
For the other potion bottles, I wanted to make it look like they'd been collected over time, and bought from different shops, so I wanted the labels to all be different. I created different labels, in different sizes to fit our bottles. If you want to create something similar you can use our free printable labels, available as a free download in our Free Resource Library for subscribers. There's also included some blank labels, so you could write your own names on them.
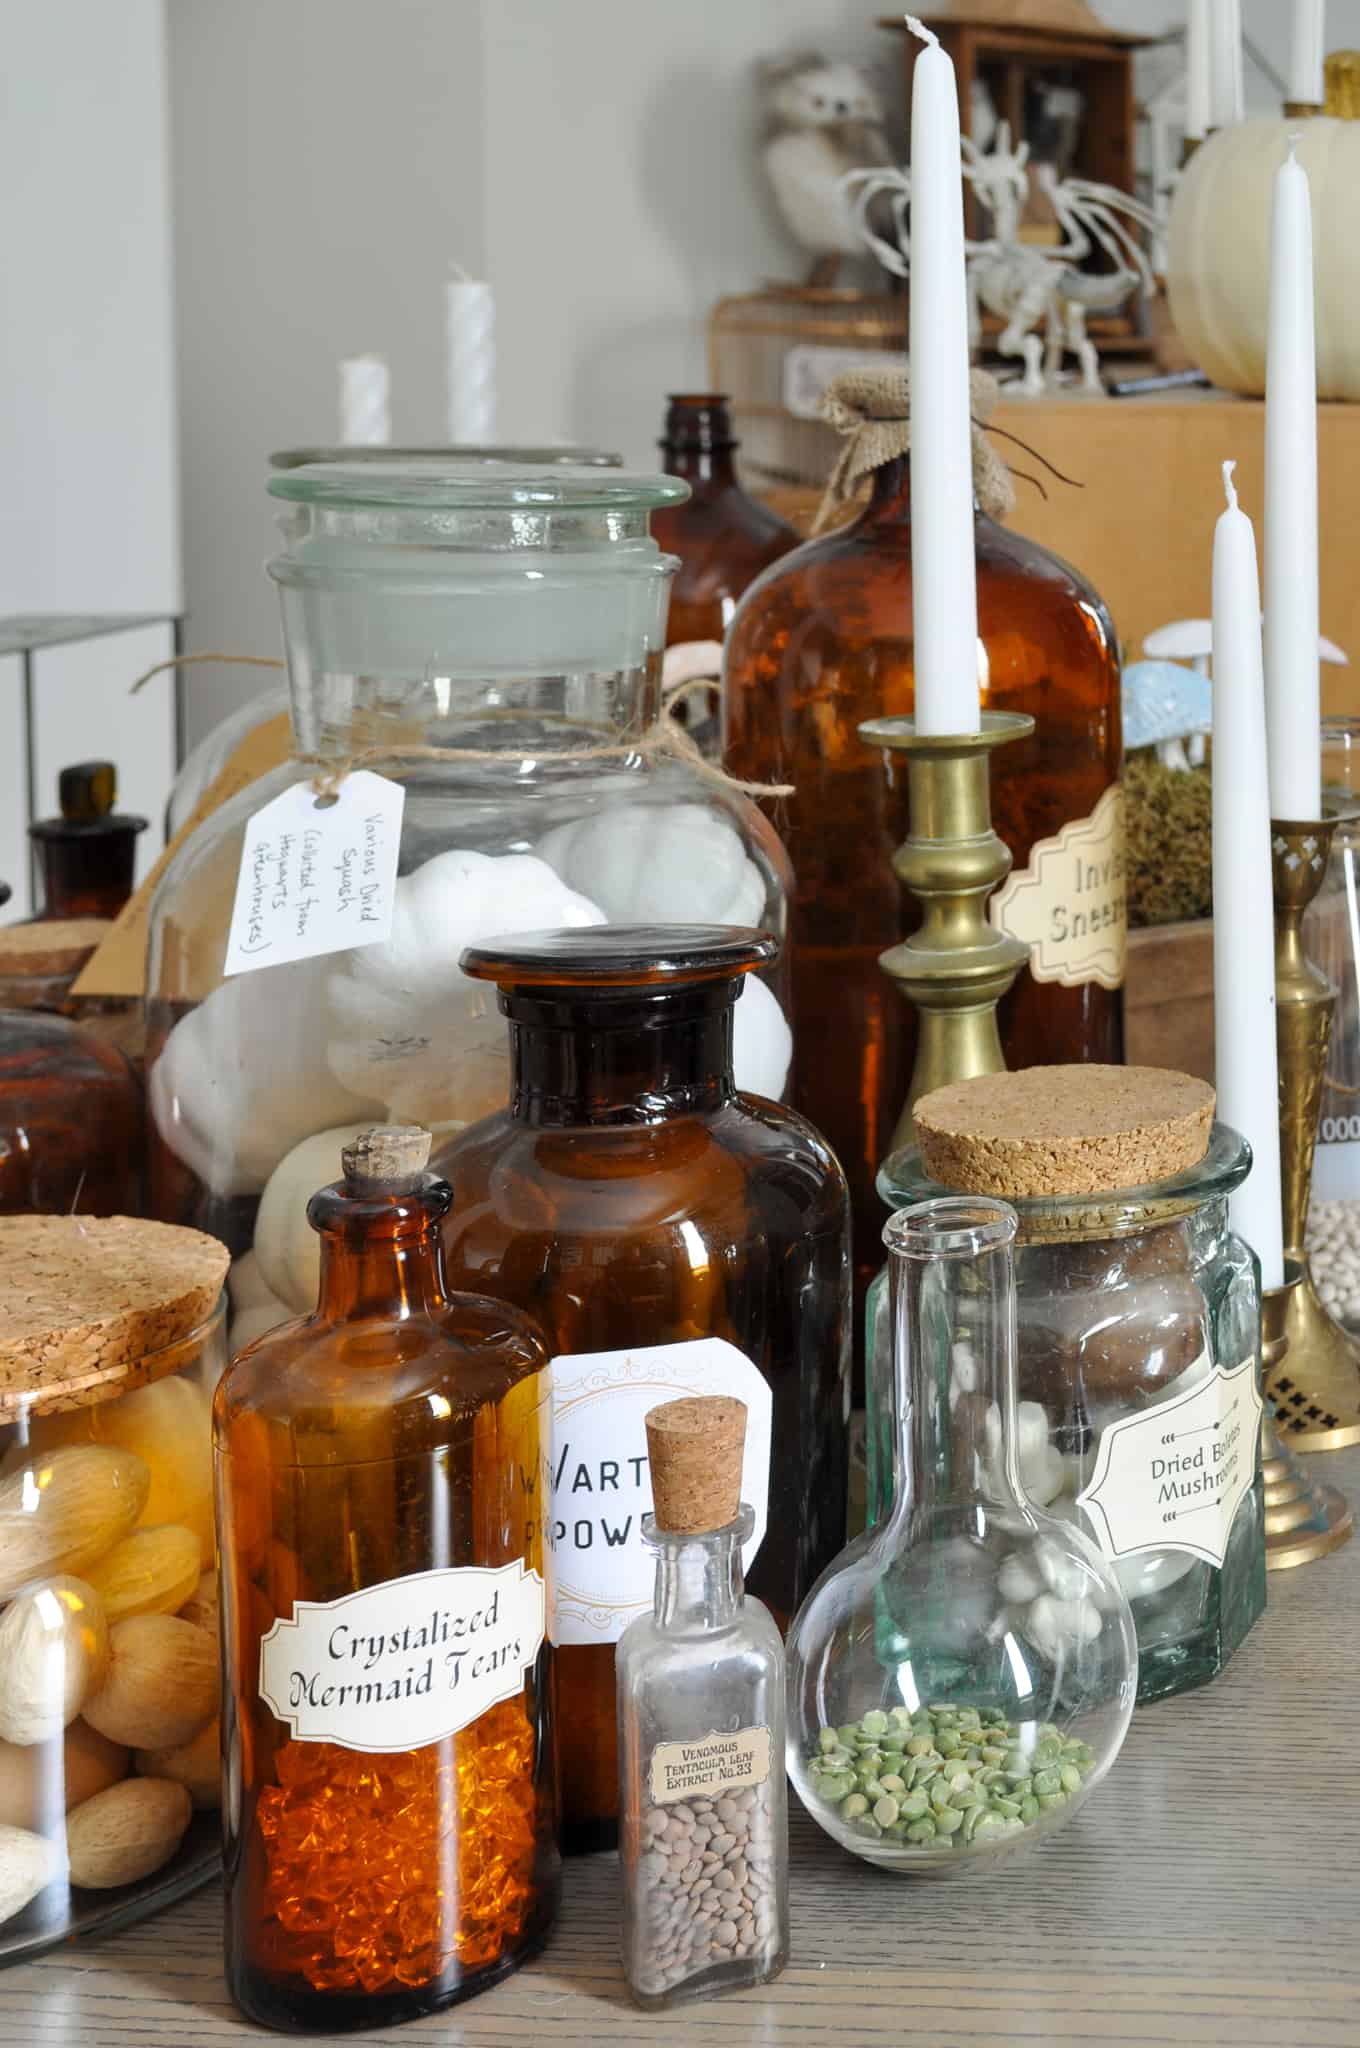
I was inspired to make the labels based on actual ingredients mentioned in the Harry Potter books. This website had an alphabetical list of every potion ingredient that is mentioned in the Harry Potter books. I love adding this element of authenticity. You don't have to go to this much detail, but I thought it was a fun extra detail.
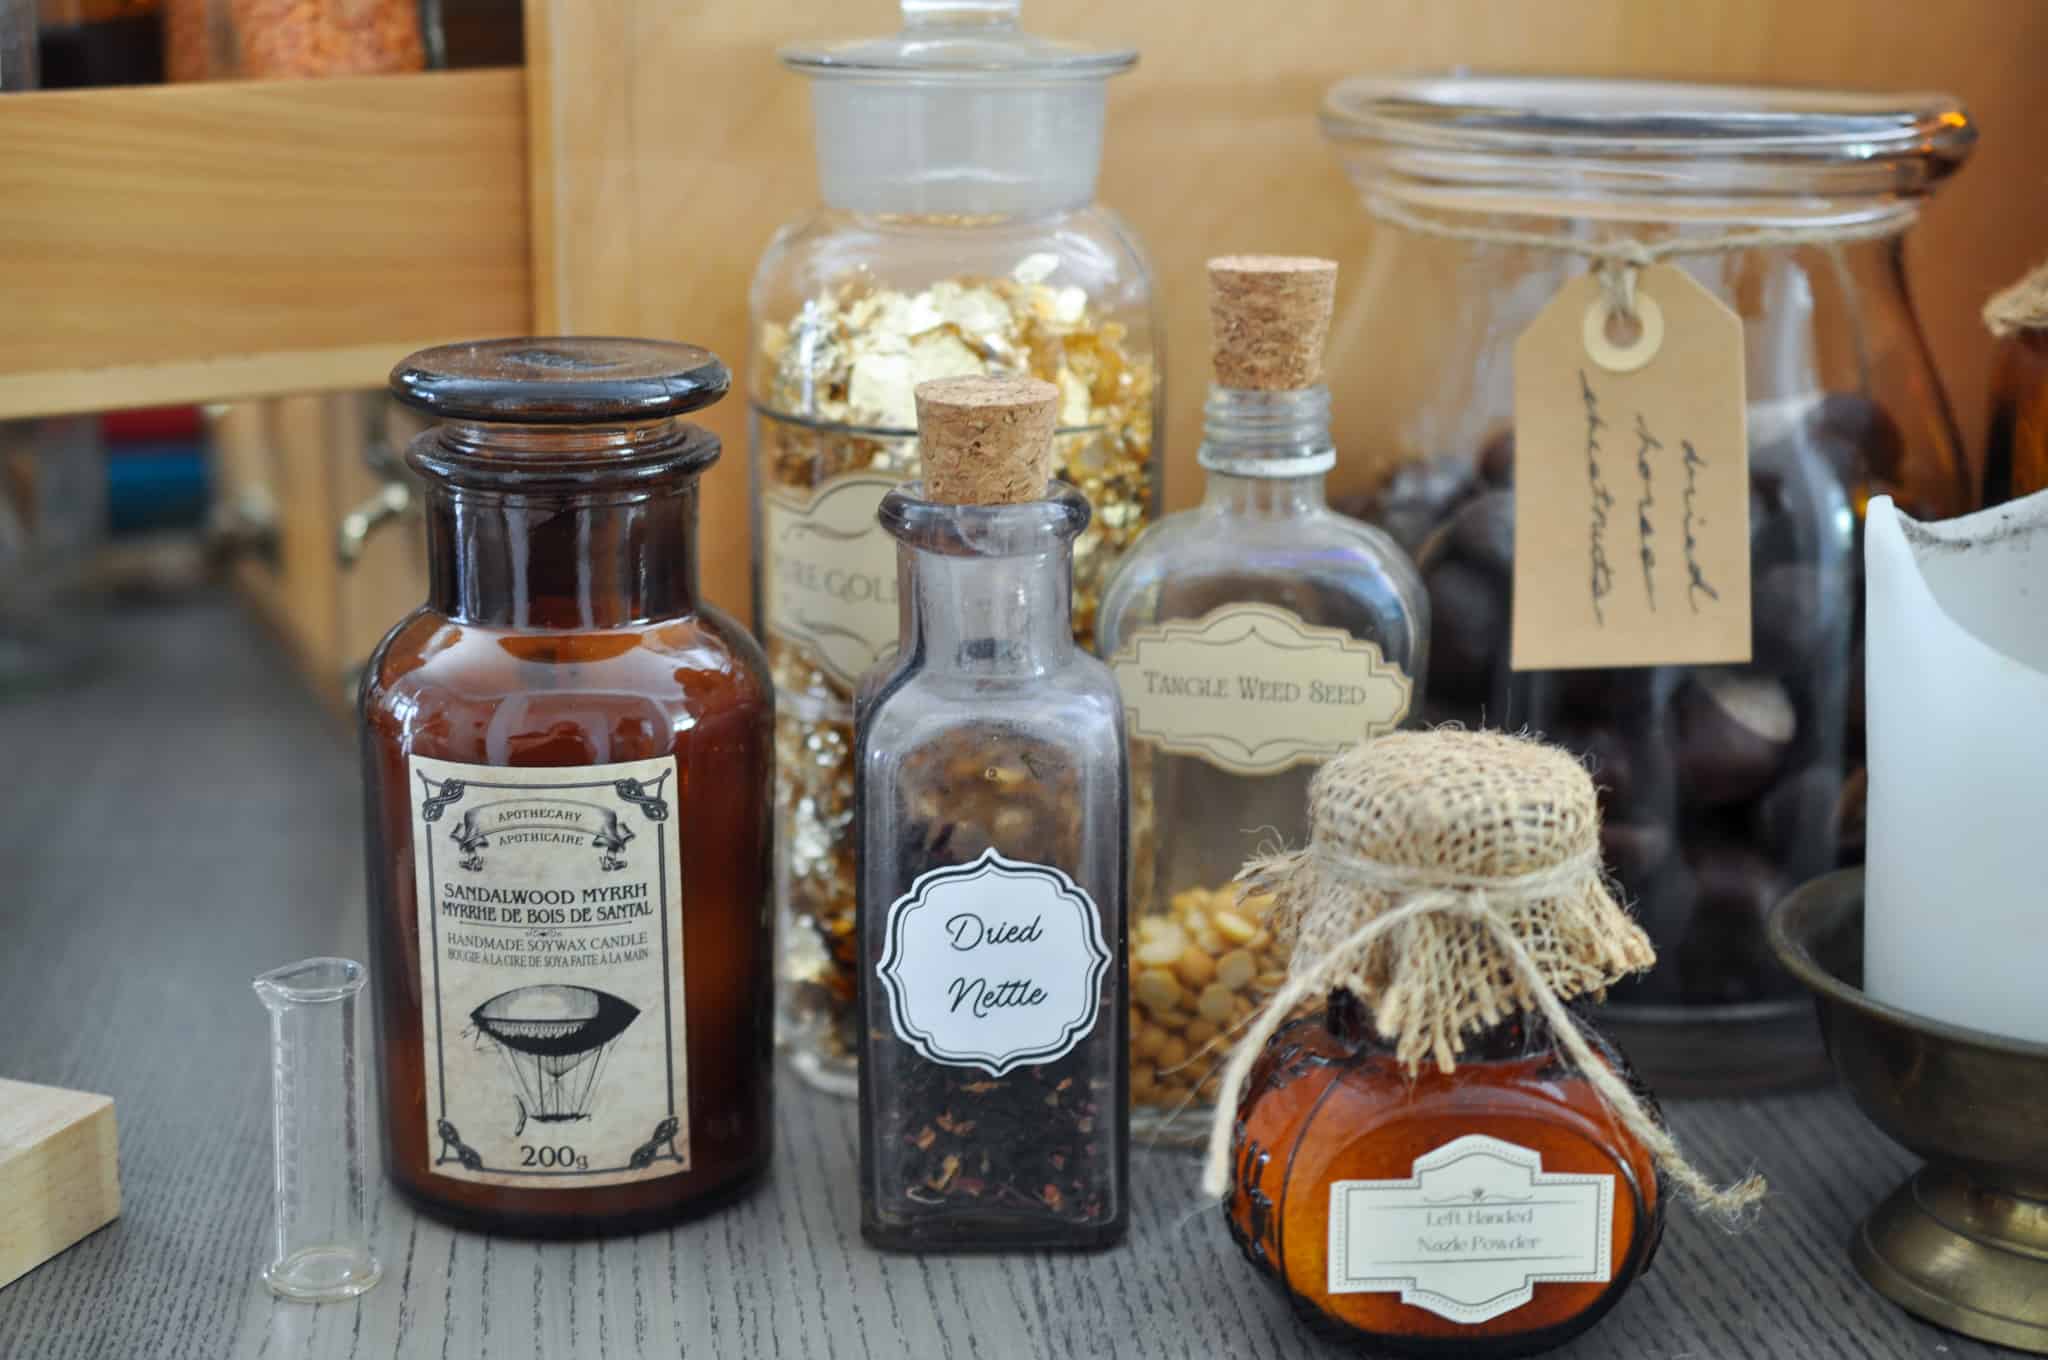
To add the labels to the bottles, I used a glue stick, to glue them to the bottles. This is the perfect way to firmly attach them to the bottles, but in a non-permanent way. It's easy to remove them and wash off any residue. You could also print the labels on sticker paper, which is even easier, but a little more difficult to remove if you want to later.
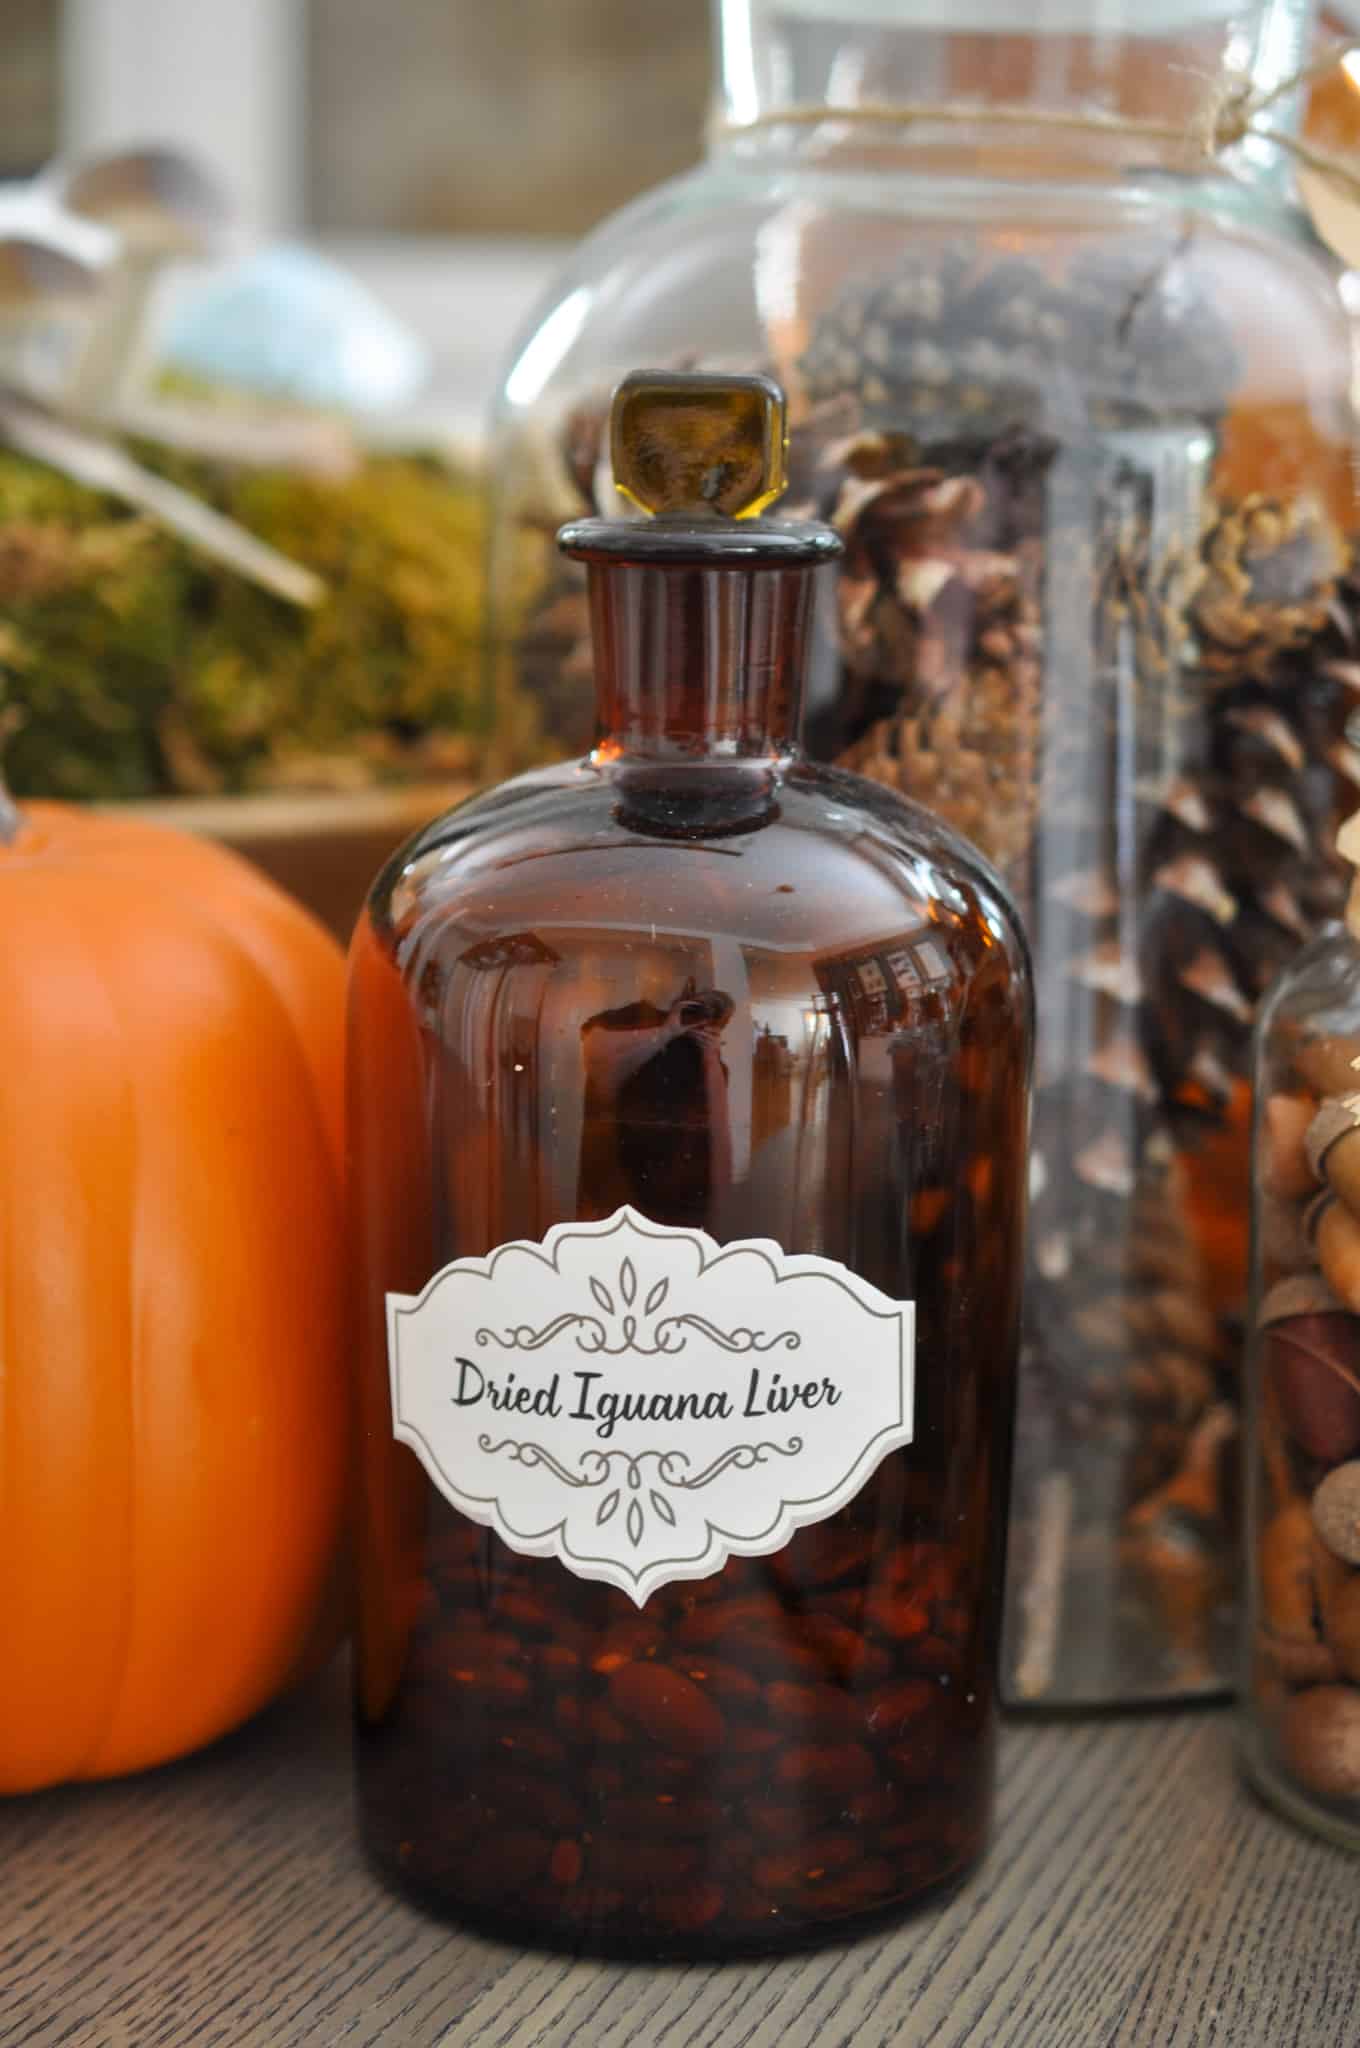
More Potion Class Details
I wanted to add some other details to the table of things I thought might be in a potions class. I used my imagination to think of some other items.
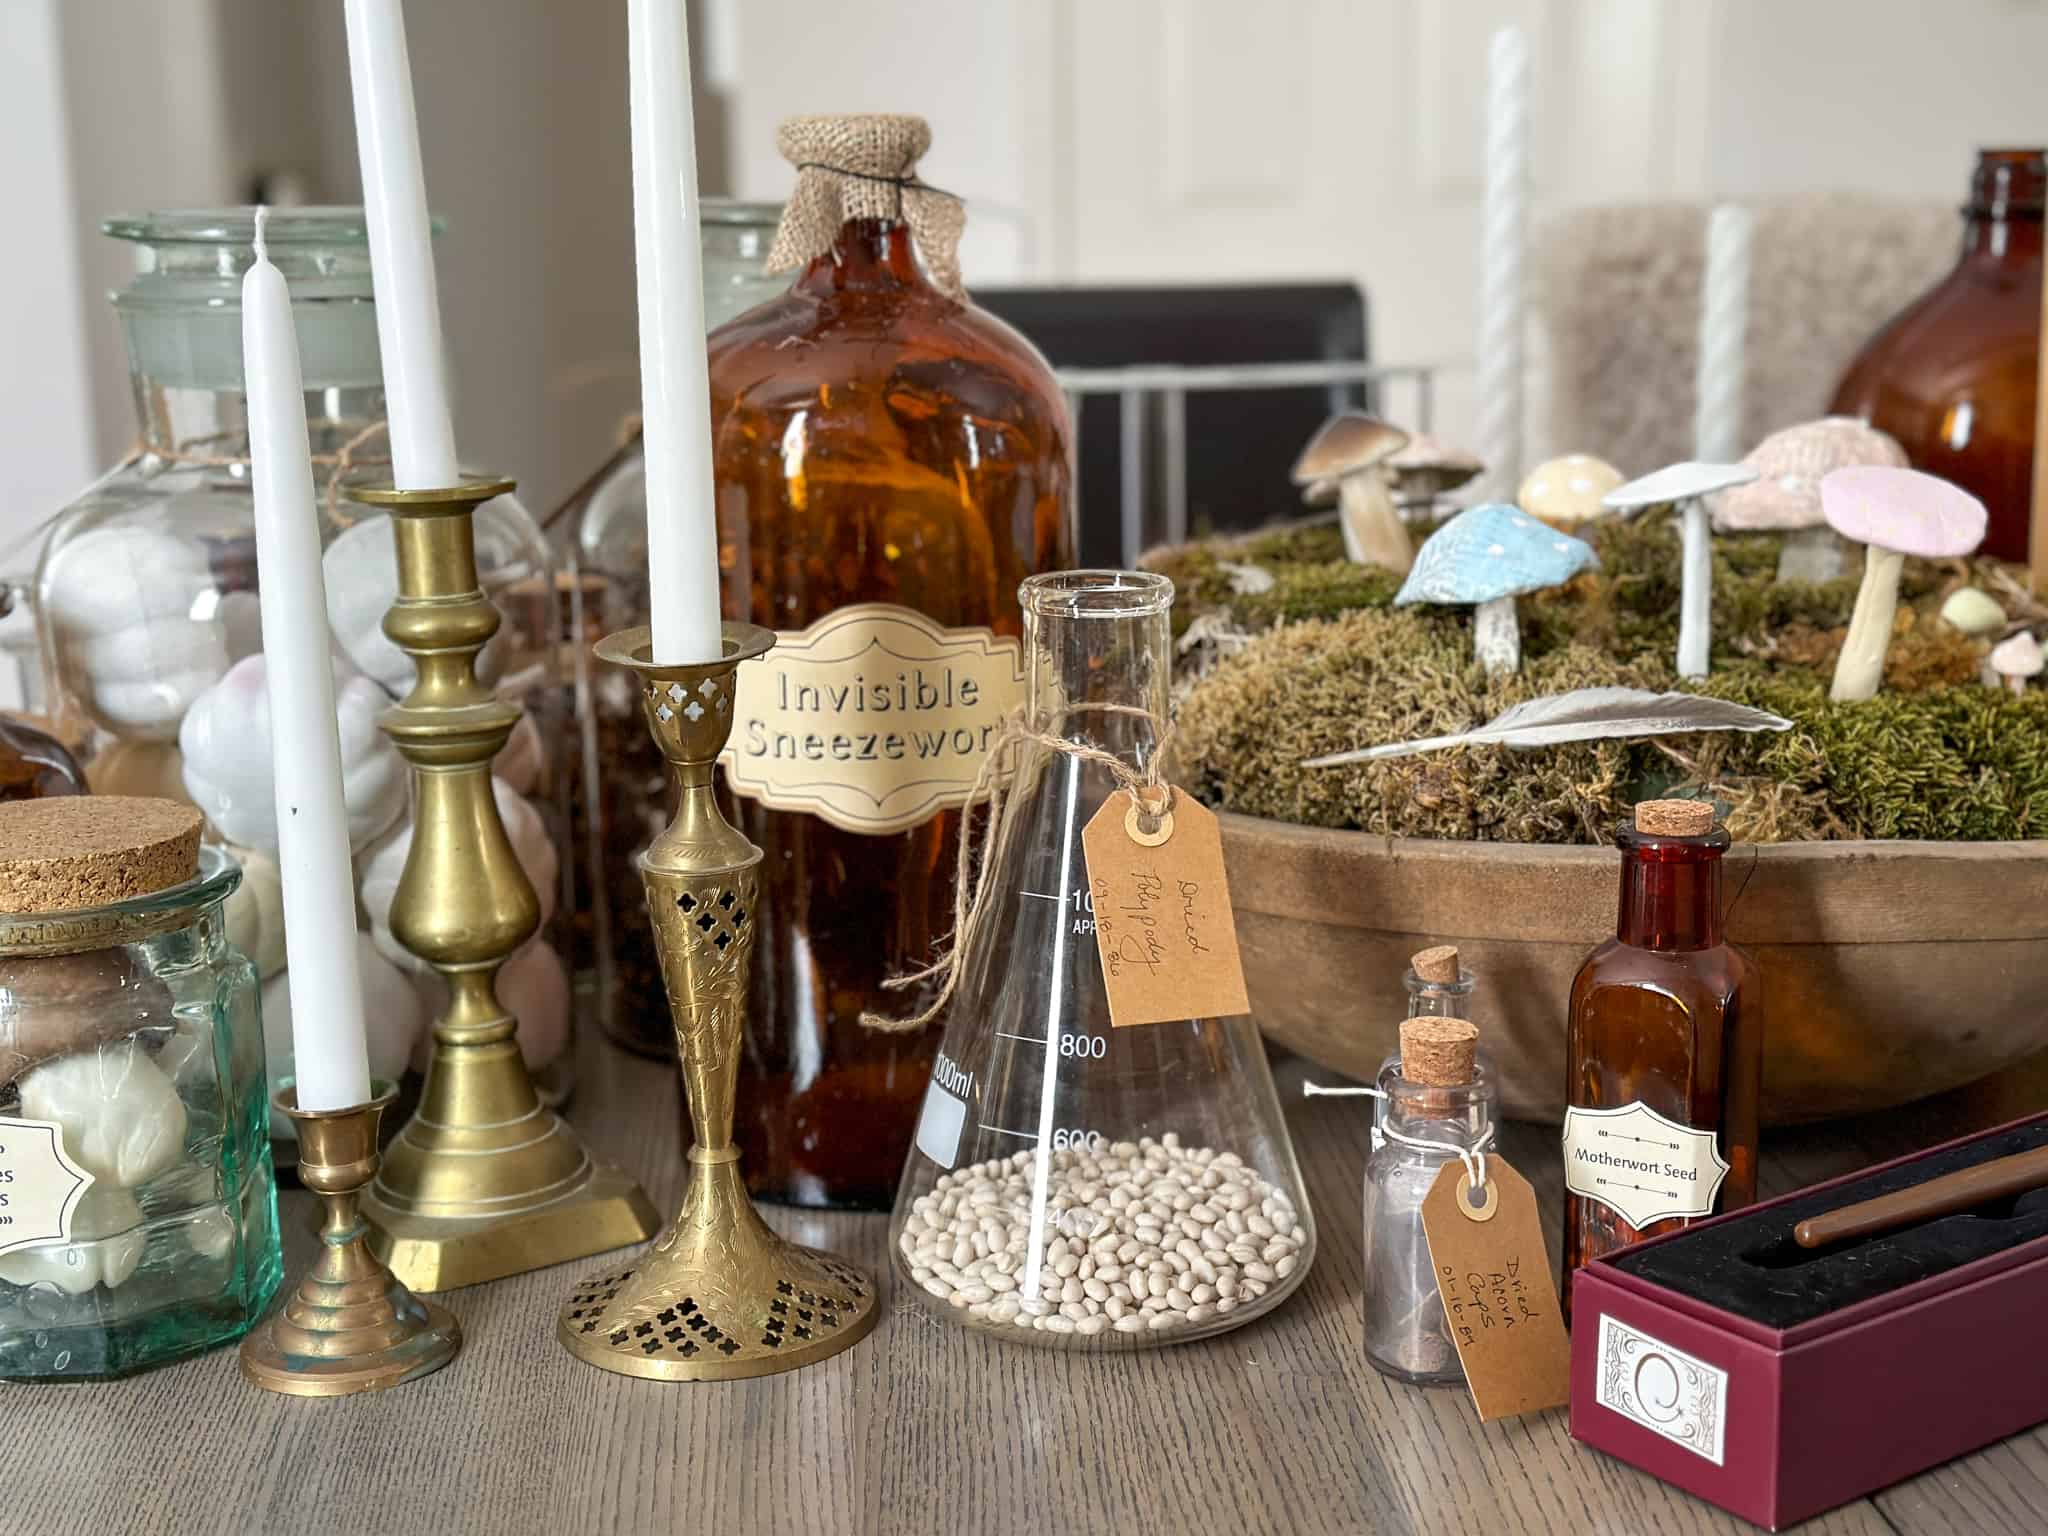
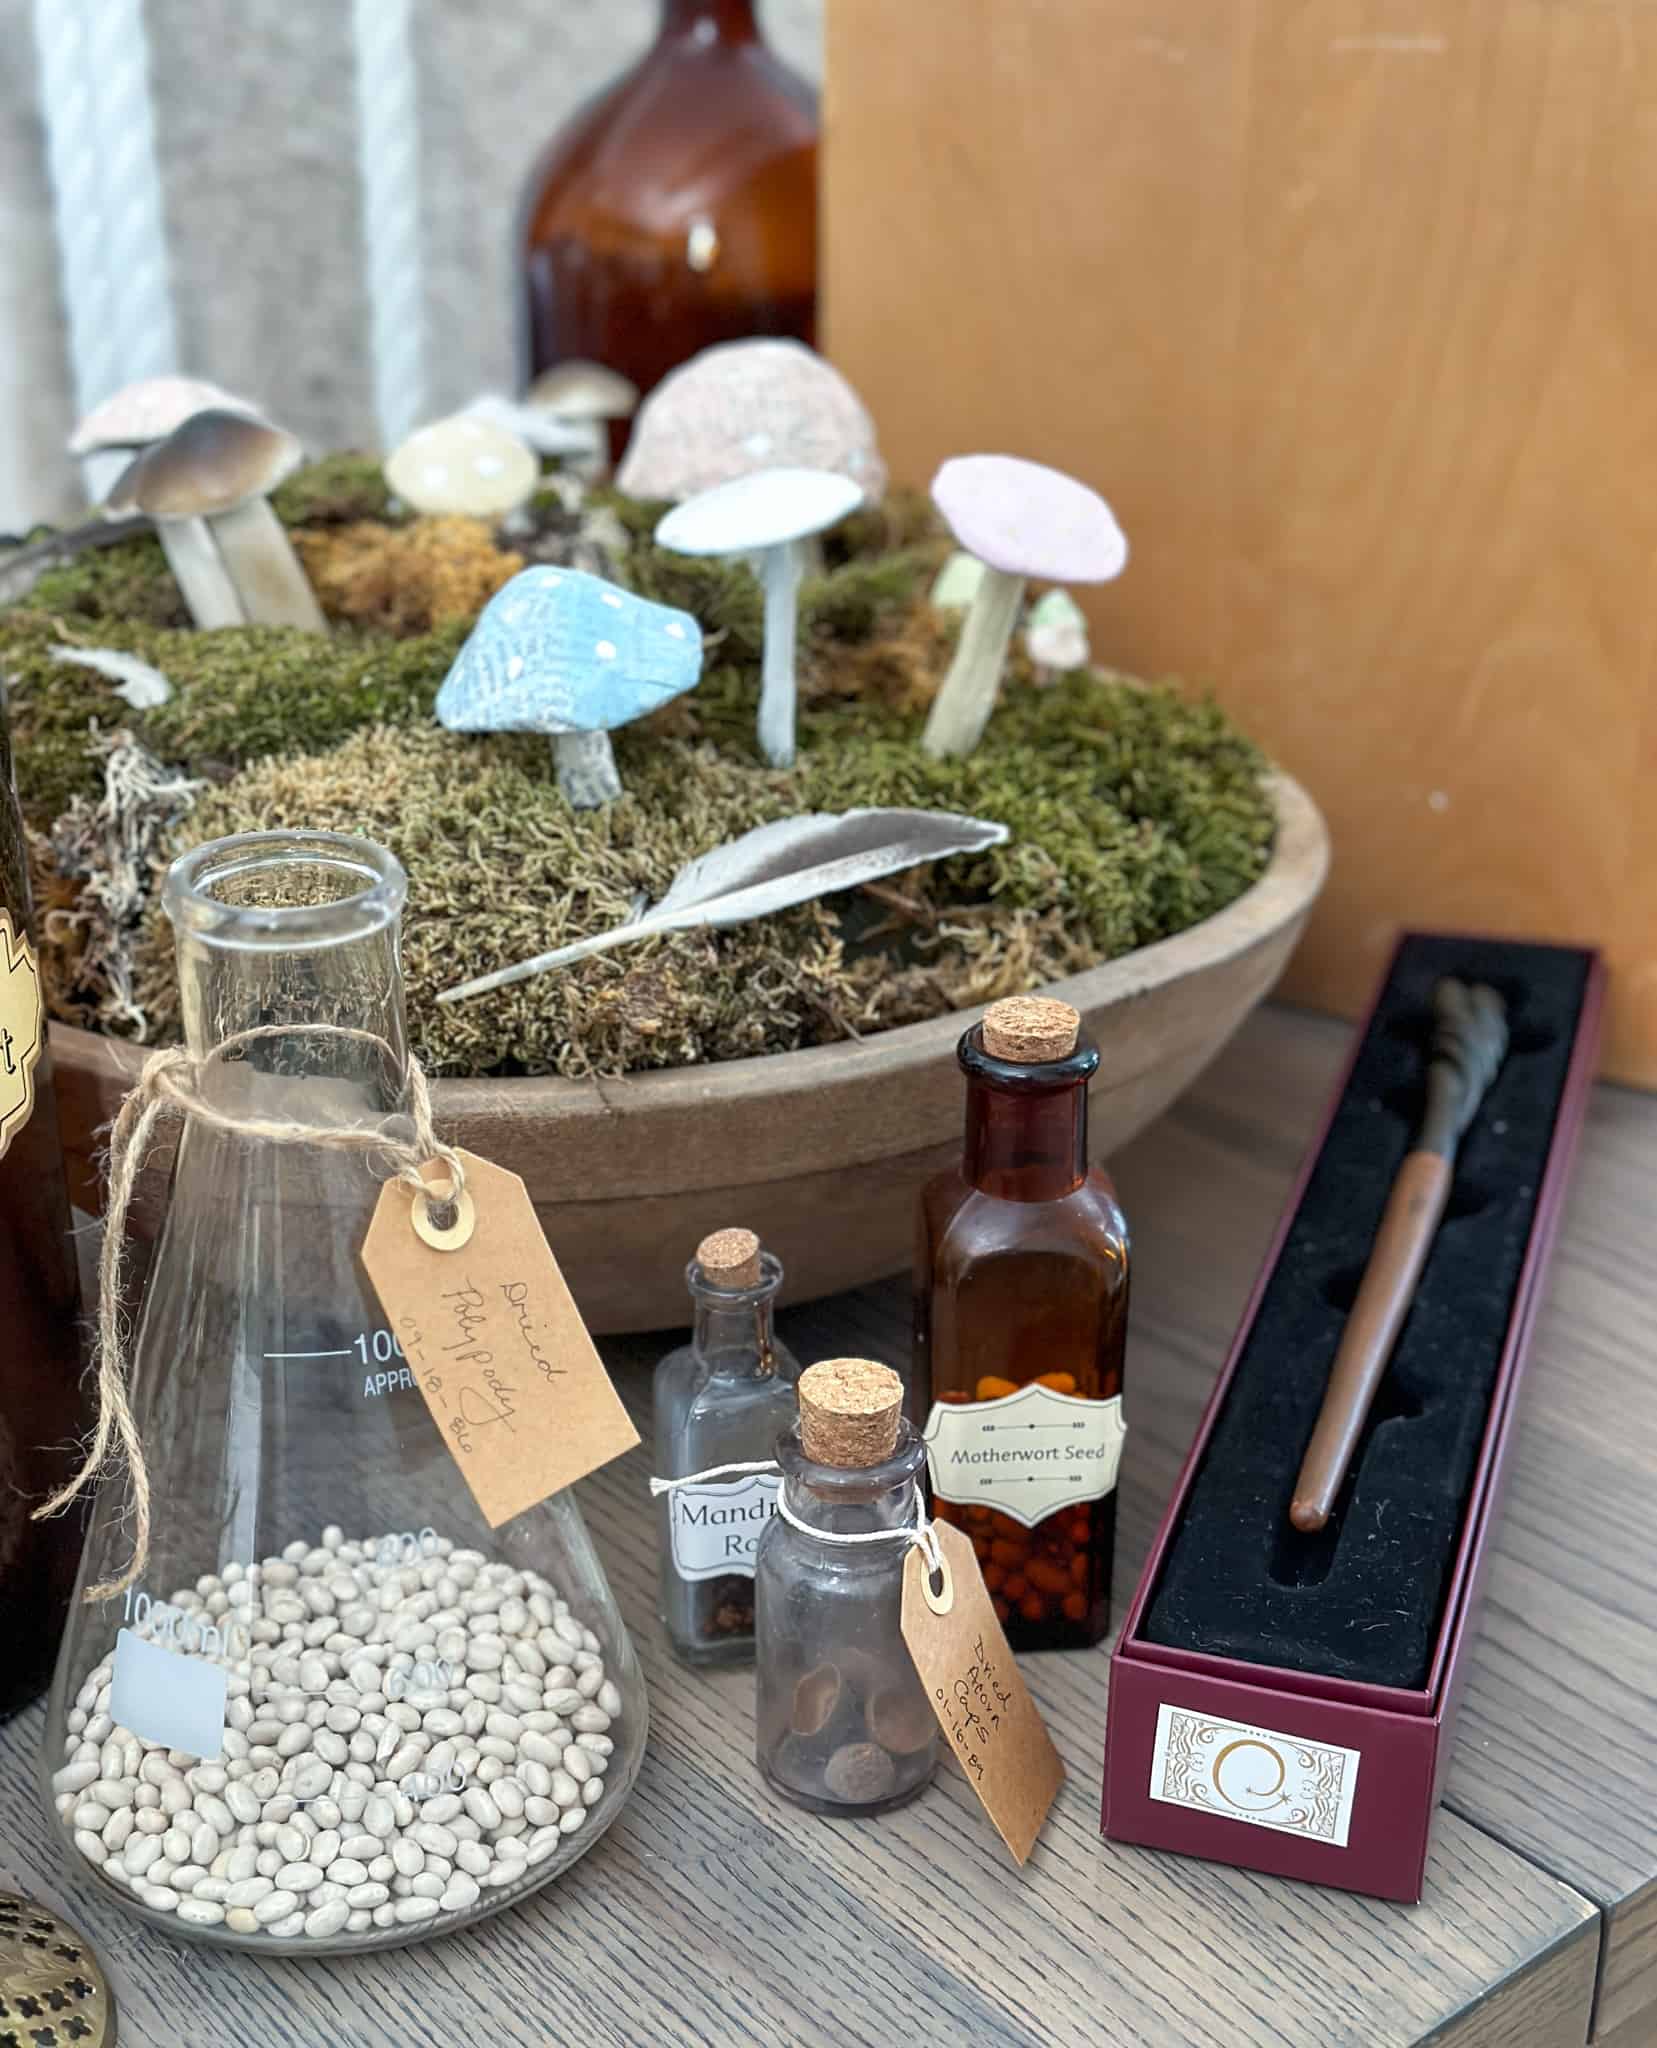
This large bowl of mushrooms, looks like they're ready to be picked and added to a potion. I used an antique wood bowl. There's some floral form inside, covered in dried moss, and then the mushrooms are added. Some of them I made from polymer clay and painted, you can see how I made the DIY clay mushrooms here.
Scientific Glass
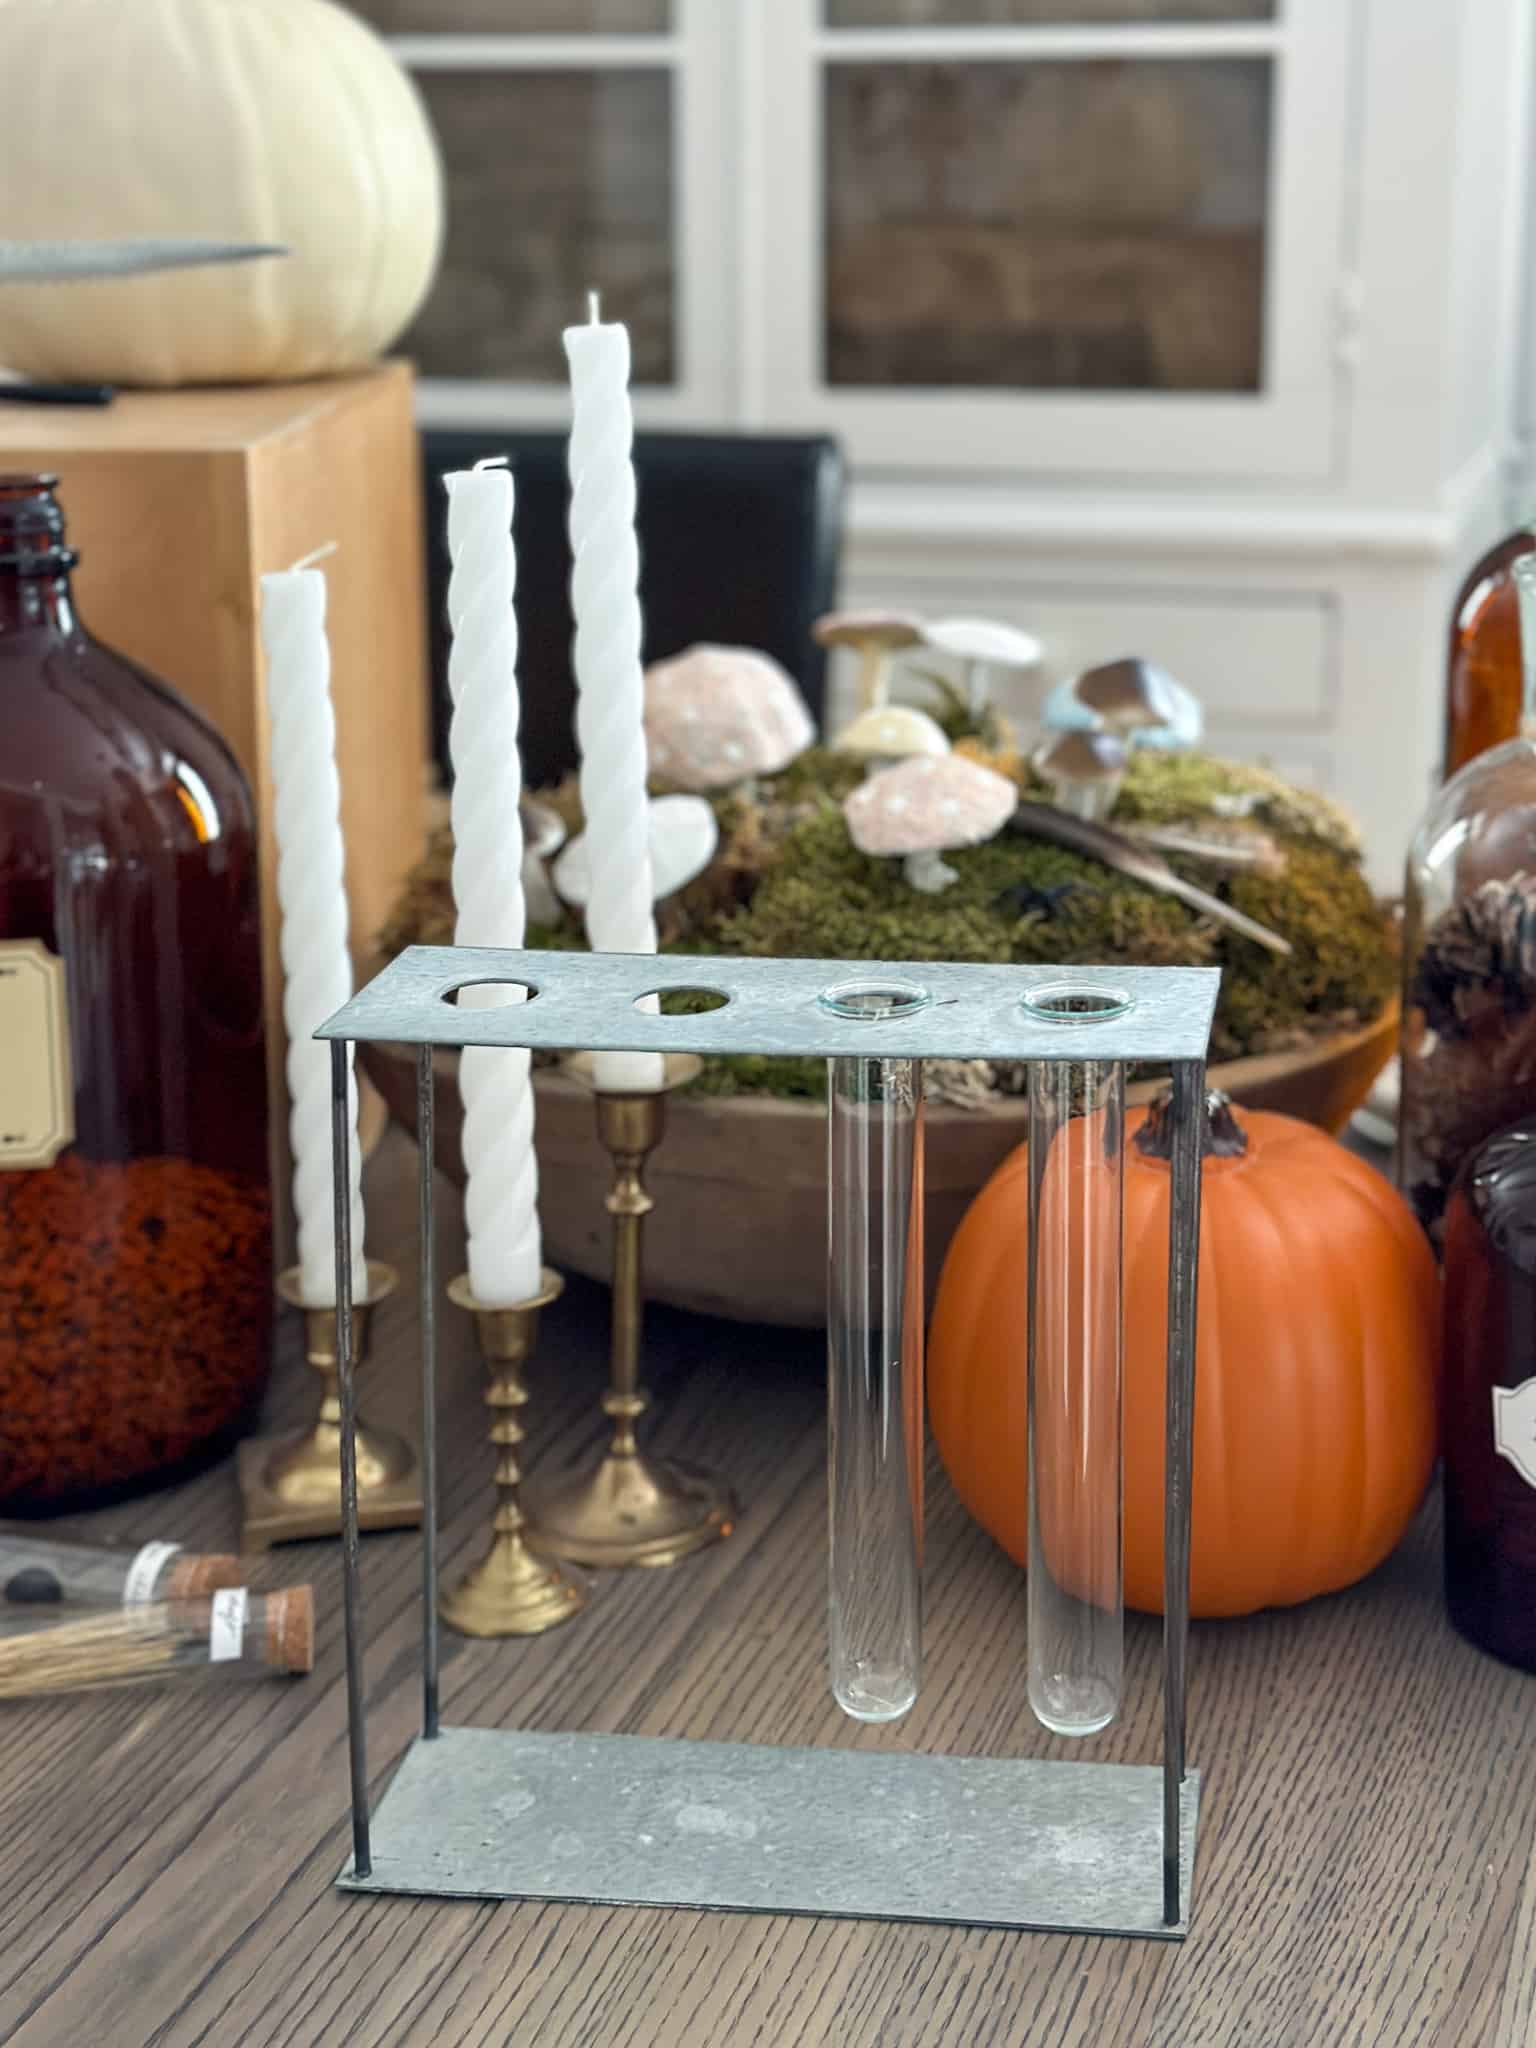
I've also been collecting scientific glass for sometime. I have a few vintage pieces from antique sales, and some new pieces. There are also some new pieces from the craft store. They often carry around Halloween, and they're the perfect touch. The potion bottles were placed mainly down the centre of the dining table. I wanted it to look as though the students were about to use them to make some potions.
More Magical Accessories
A few more items that seem fitting were a magnifying glass, a feather that resembles a quill, and some vintage books piled together. And since it's Halloween, I scattered a few faux pumpkins throughout. I also added lots of candles in different brass candle stick holders found at antique and thrift stores.
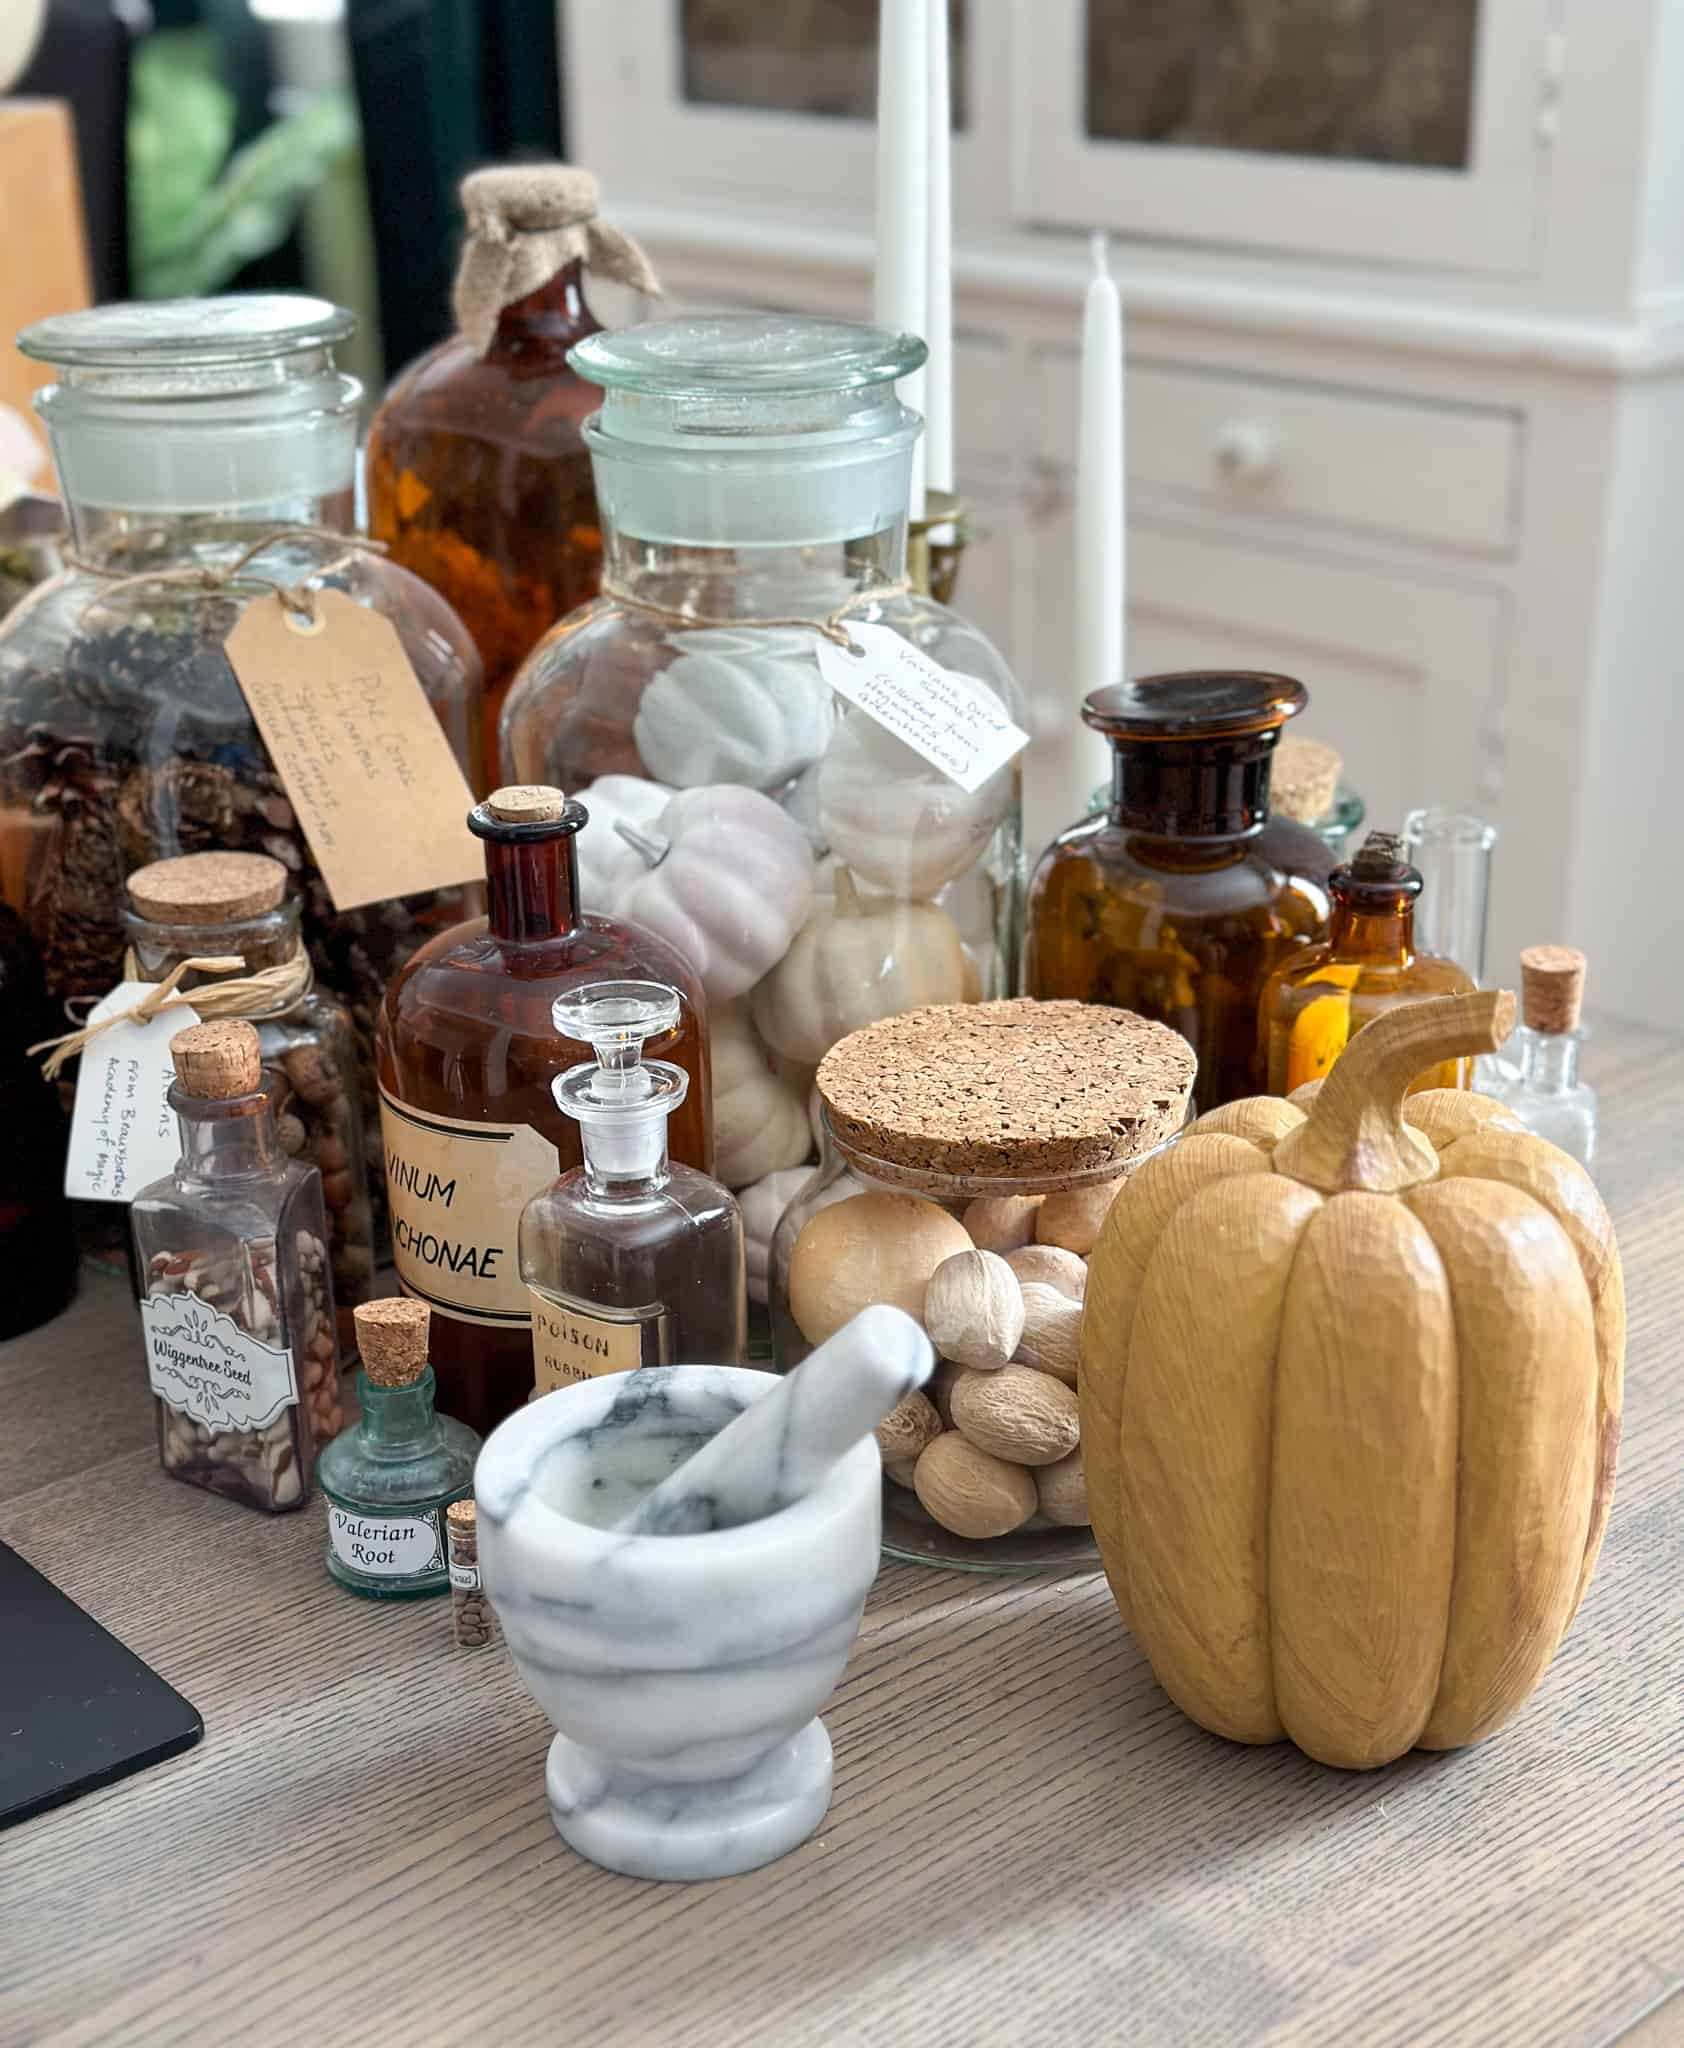
I thought it would be fun to add some magic wands to the table. We had one we purchased from Ollivander's wand shop in Diagon Alley when we visited Universal. The Harry Potter wands come in such cool boxes, that I added it to the table, opened up to reveal the wand, all ready for a student in the class to use.
I also made a Potions Class sign for this area. We used a Cricut machine to cut out the words. I hung it up on my china cabinet. Since my china dishes didn't really fit the vibe, I hung some burlap with tacks on the inside of the cupboard doors, which worked perfectly. On top of the cabinet I added a vintage scale for weighing out ingredients, and lots of empty amber glass bottles waiting to be filled with potions as the students make them.
Professor's Office
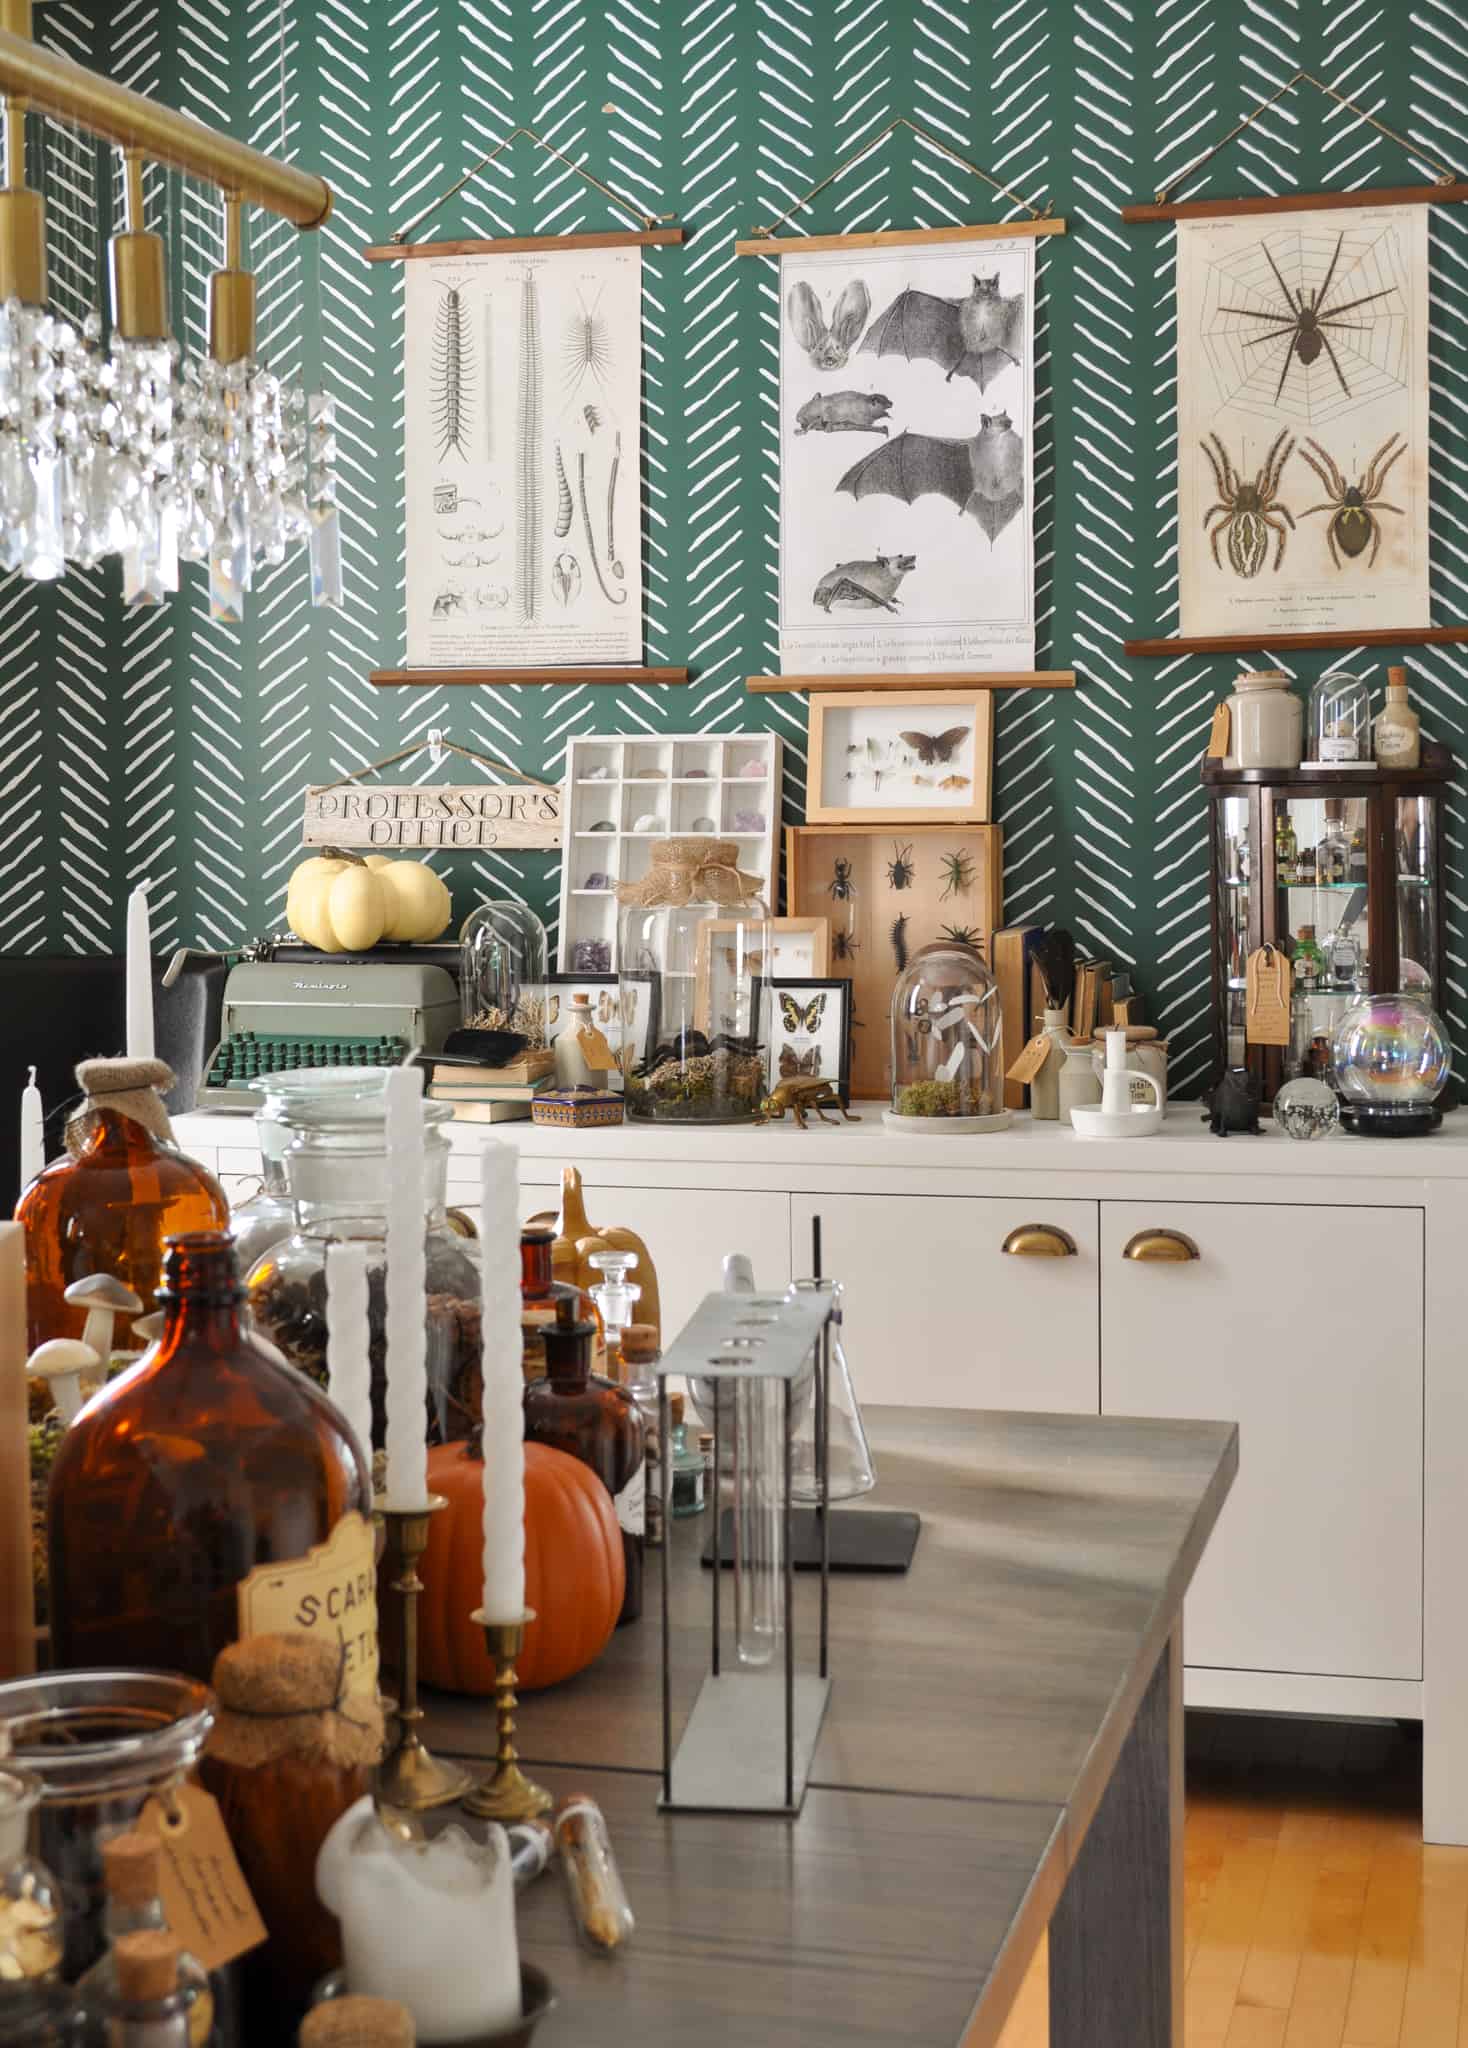
On the back buffet, I thought it would be fun to create a professor's desk area as another one of our Harry Potter party decorations.
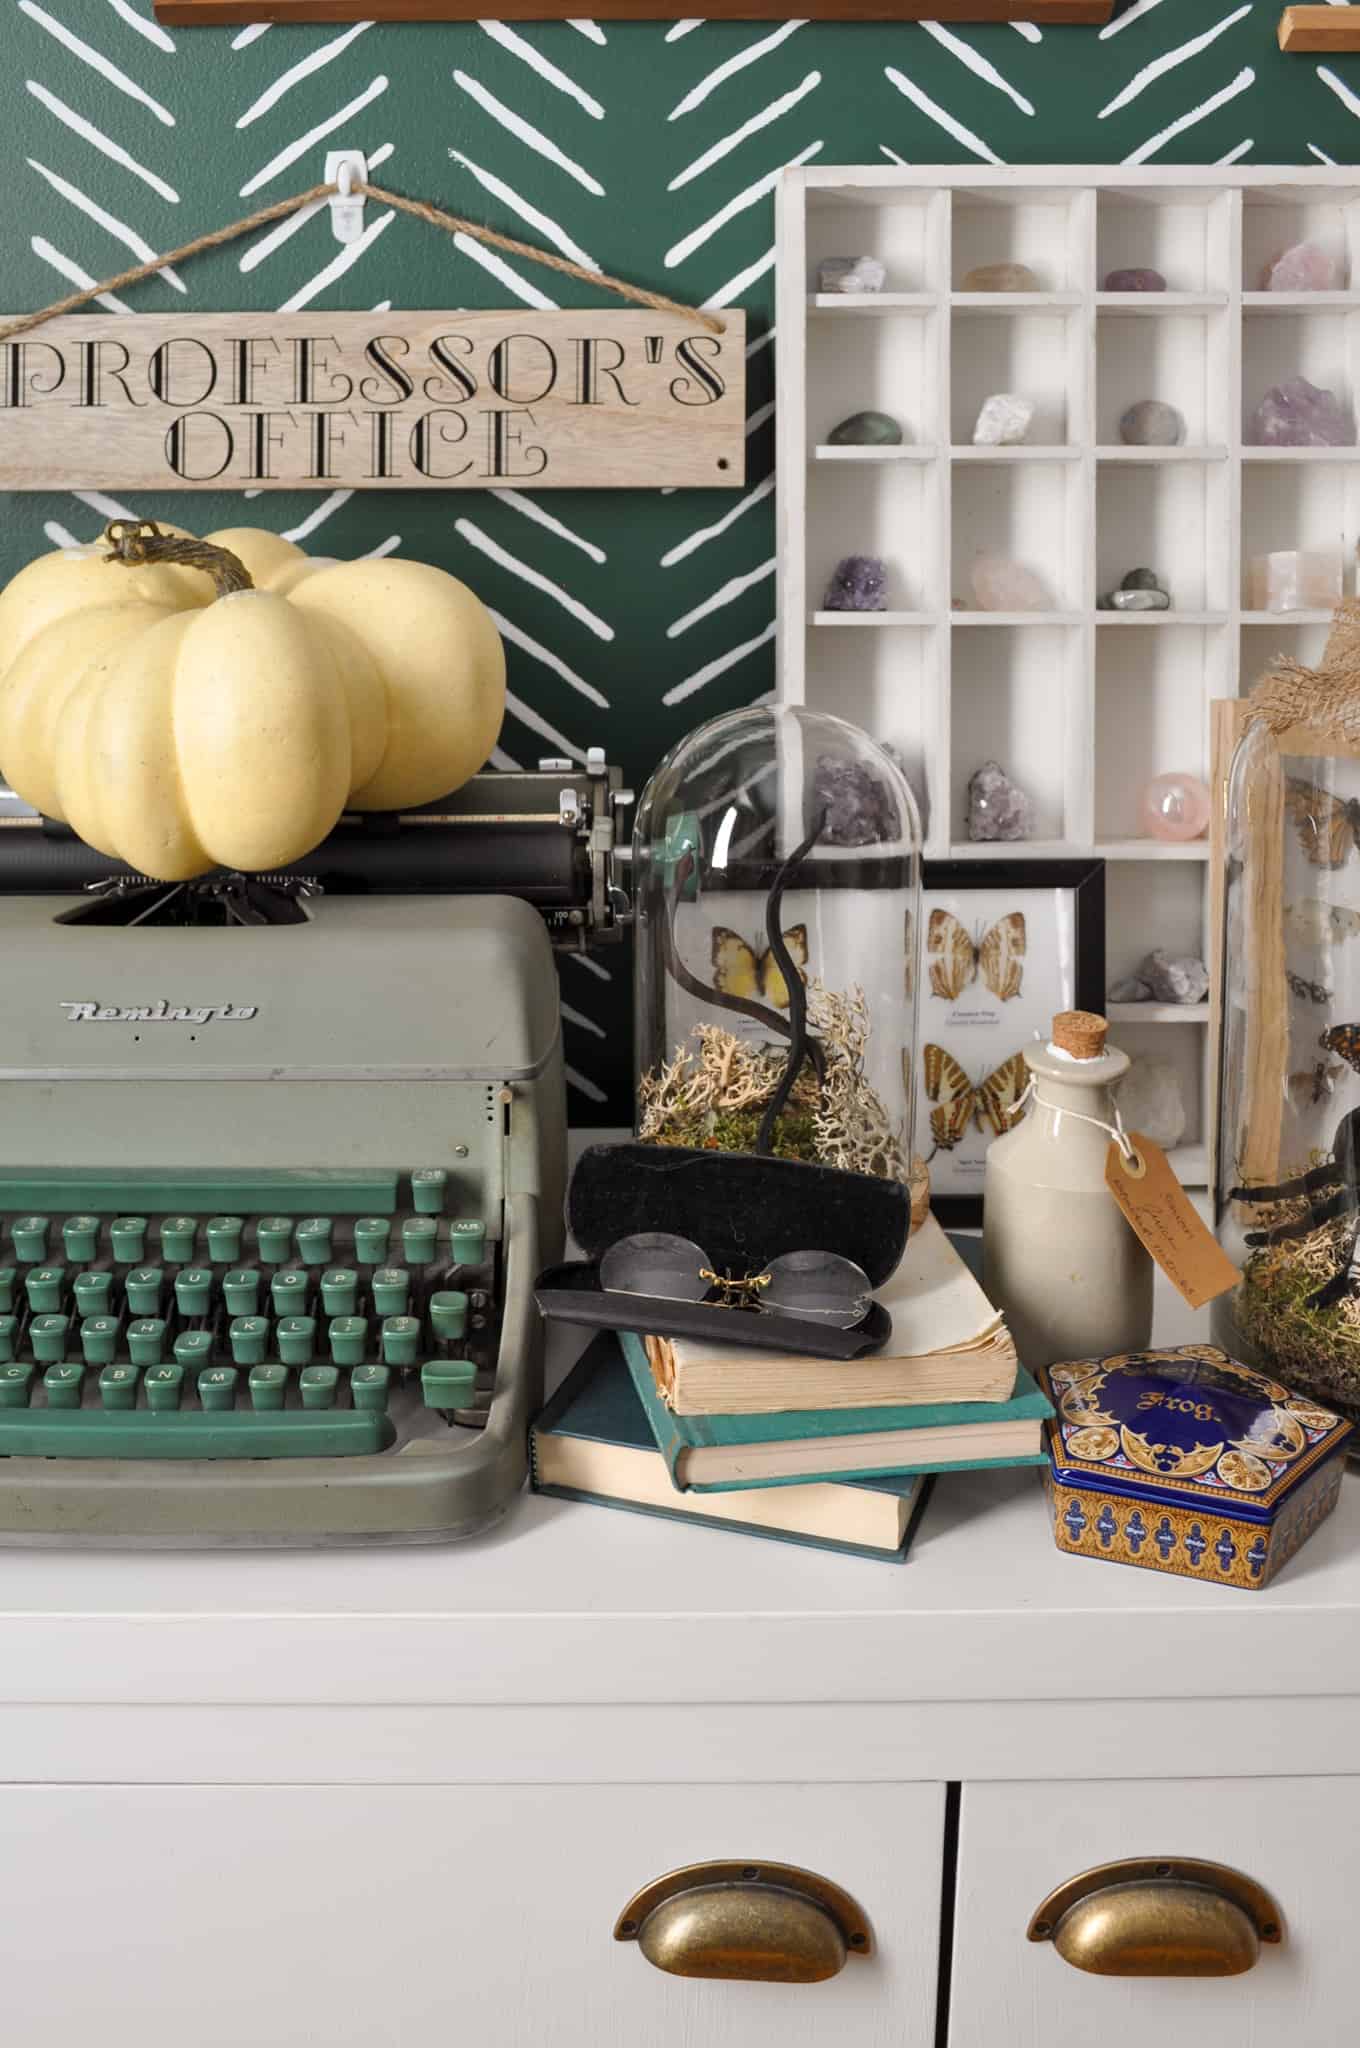
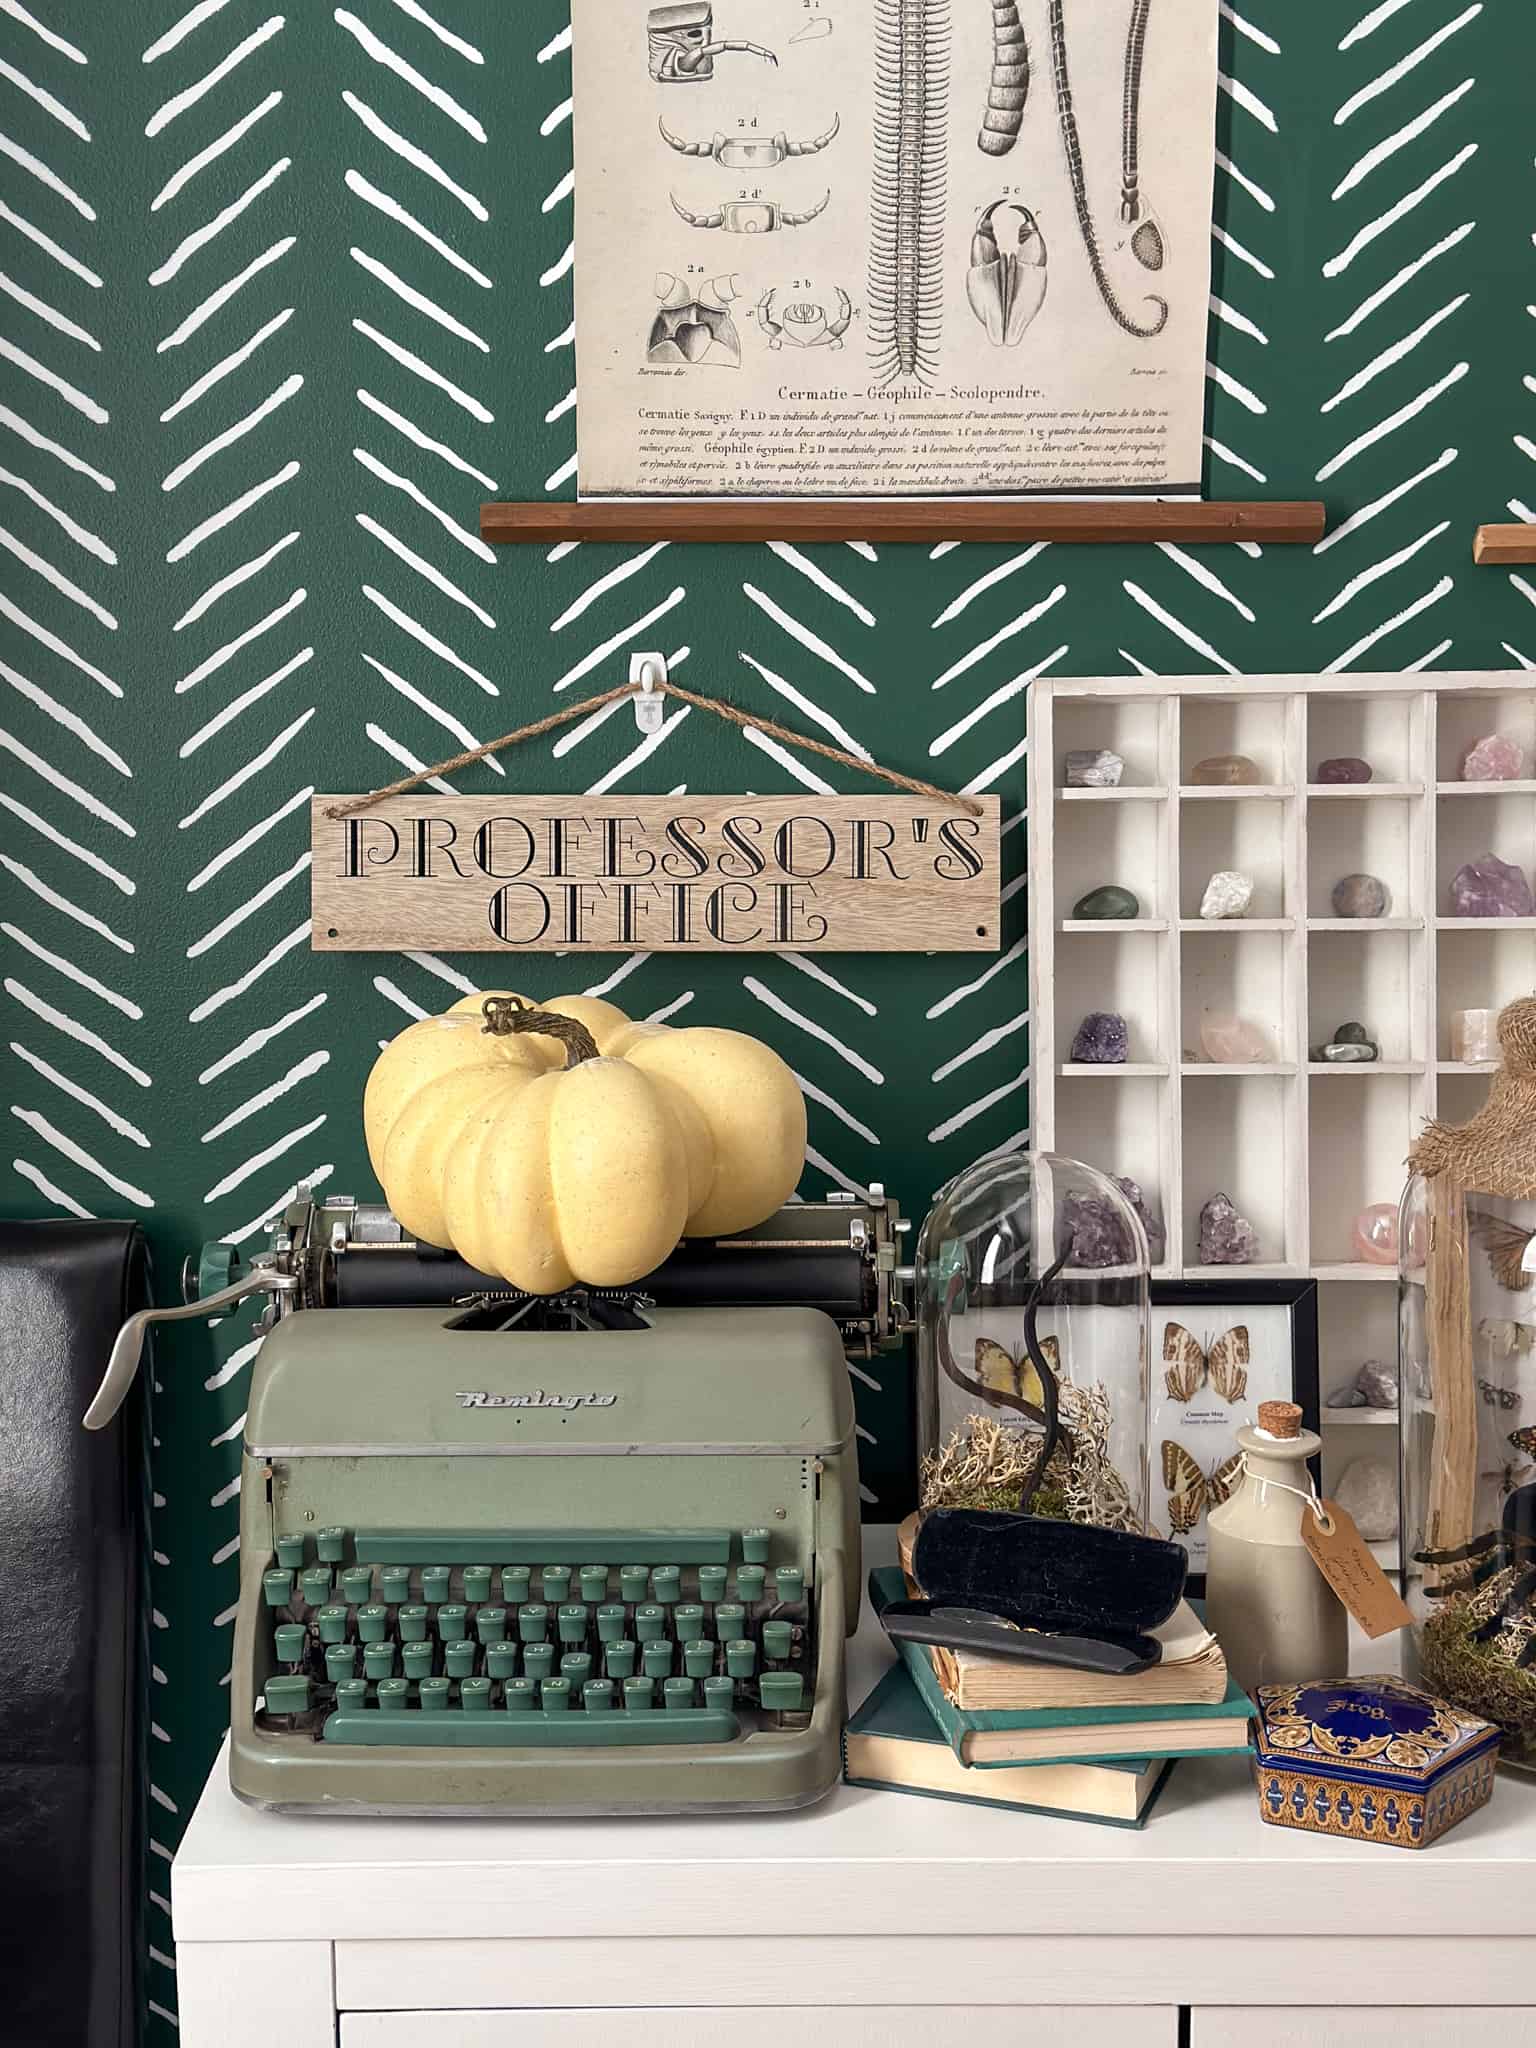
I started with a vintage typewriter, and beside I added a stack of vintage books, and a pair of glasses that I can imagine a professor using to type and work on wizard paperwork. I also added a chocolate frog box. We purchased this chocolate frog box as a souvenir when we visited The Wizarding World of Harry Potter at Universal Studios. I also picked up a Harry Potter chocolate frog snack at the party store, and added one to the box. I can imagine a professor working away here at the typewriter, and indulging in this treat. The only thing missing is a cup of tea.
Spooky Artwork
I found these vintage printable art pieces online. They're authentic old vintage botanical prints. I had them printed as large colored engineer prints at the office supply store. This is an inexpensive way to make colour prints. I added some wood strips to the top and bottom and they look great as Halloween art. There are lots of different vintage botanical prints are available but the centipede, spider, and bat anatomy posters were so perfect for Halloween, and for the Harry Potter witchy vibes. Get the spider free printable here. Find the bat free printable poster here. And get the centipede free printable poster here.
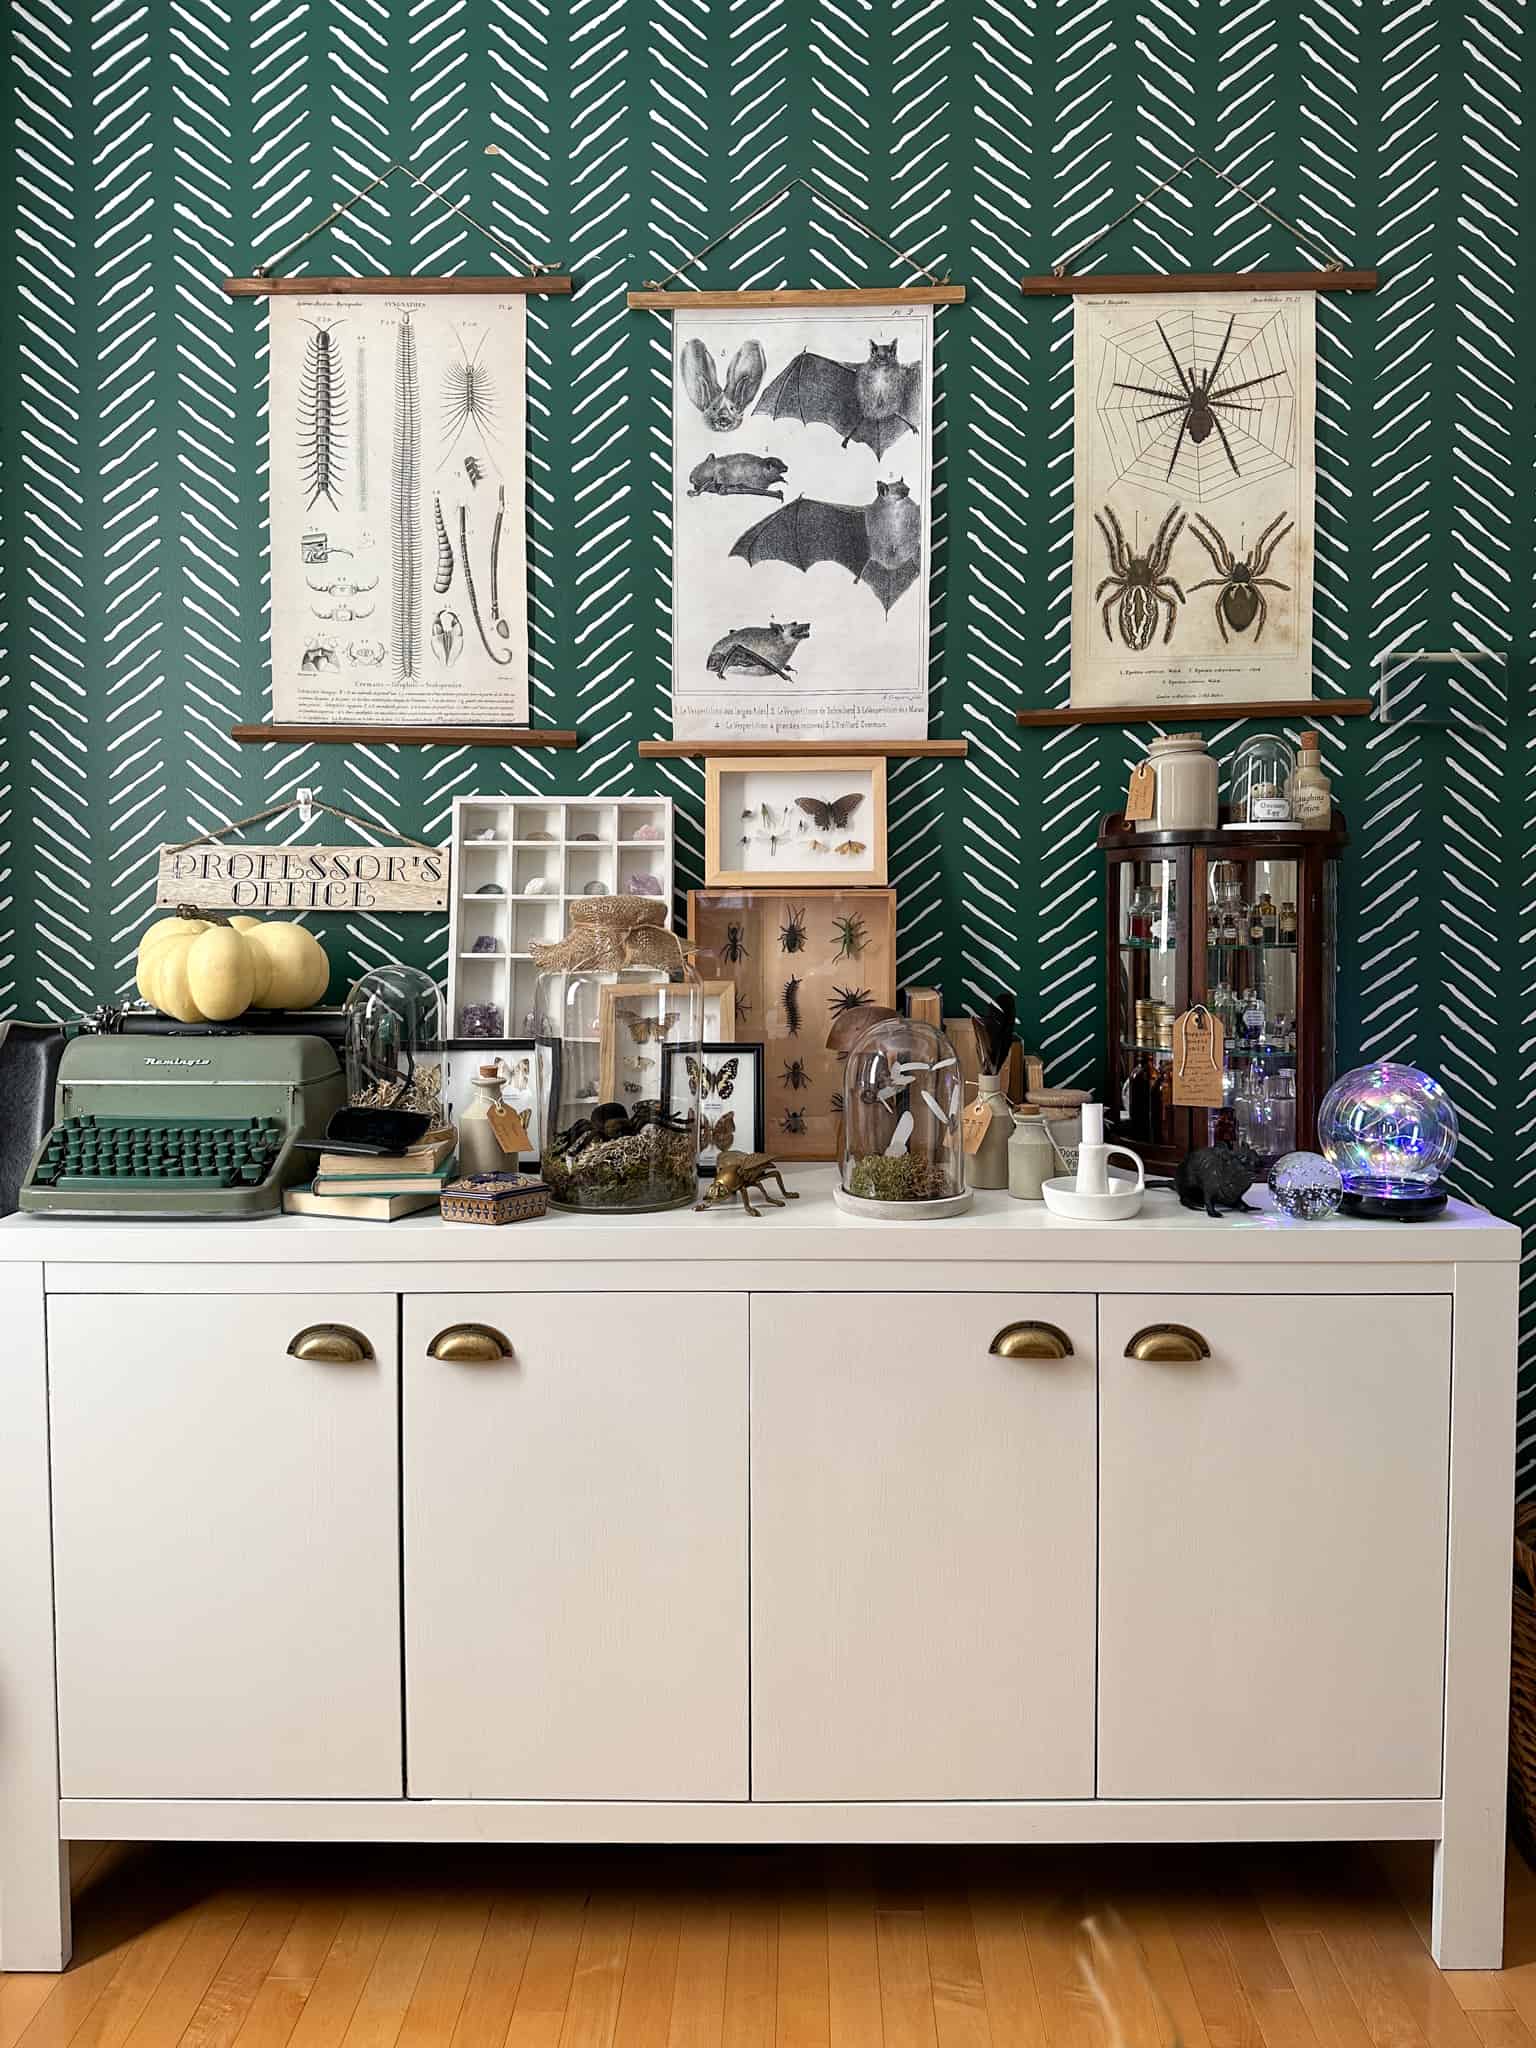
Along with the artwork, I added another sign. This one is labeled Professor's Office. I made it with the Cricut also, and used the same font to unify it with the other one.
Insects
In keeping with the insect and bat anatomy posters, I wanted to add some more insects. I had some real, preserved insects, but I also made a display with some plastic dollar store bugs. The plastic bugs were in bright primary colours. I used some paint in blacks, browns, and greens to make them look more real. A stick pin was added to the insects backs to make them look pinned in place, and then I hot glued them into the shadow box. See how I made the faux insect specimen box it here.
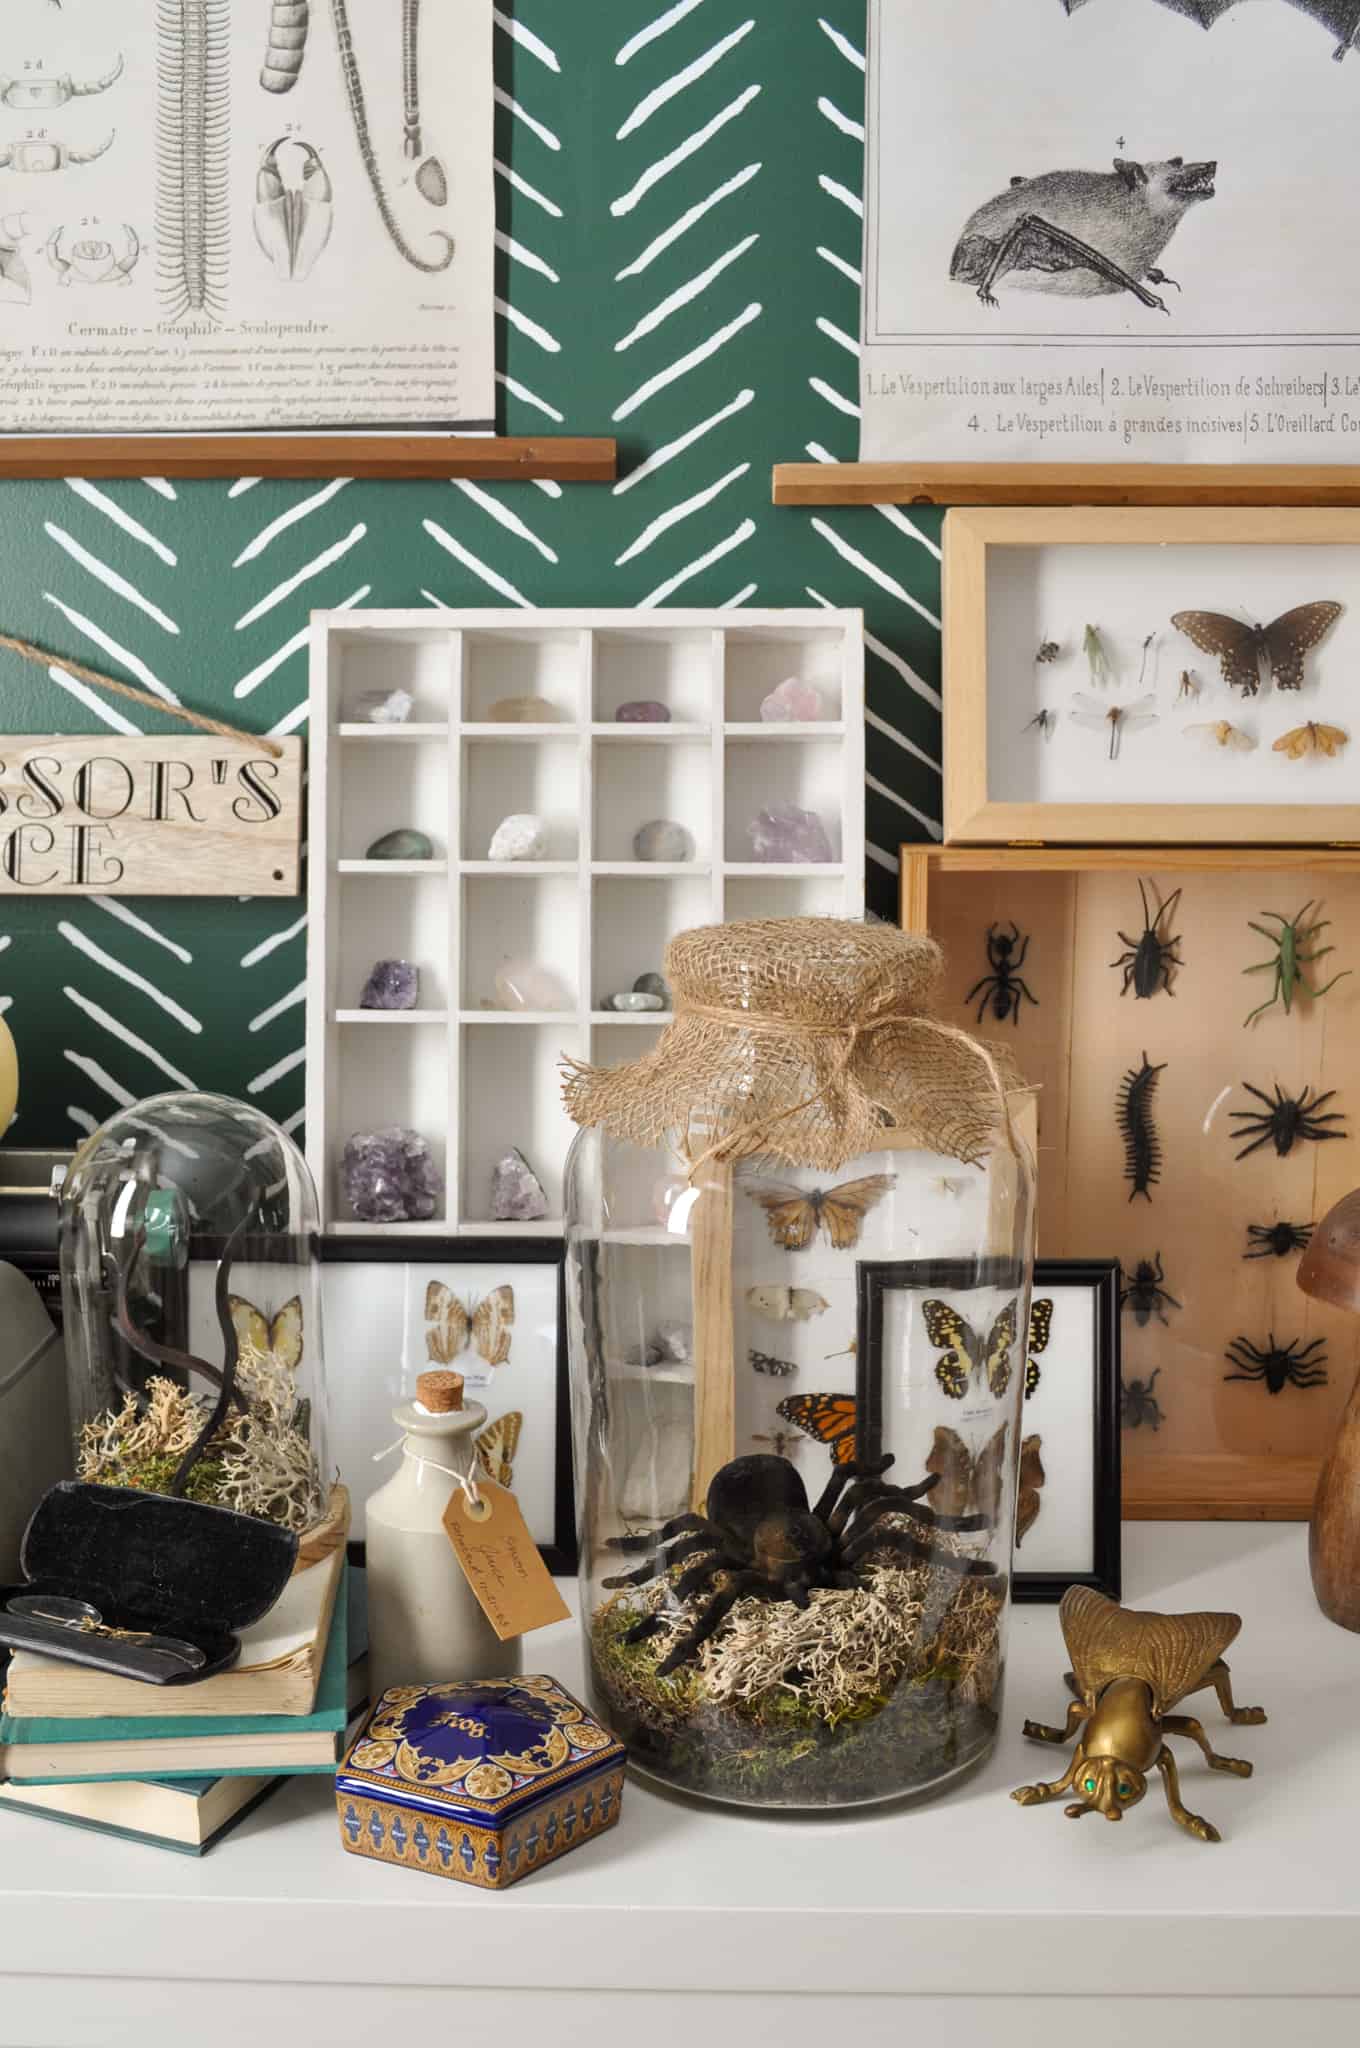
Along with these insects I added a large dollar store spider to a large vintage glass jar, along with a burlap top. This area was taking on the look of a collection of magical beasts, and I also added in some plastic snakes, that I also painted to look more realistic, and placed them under a glass cloche.
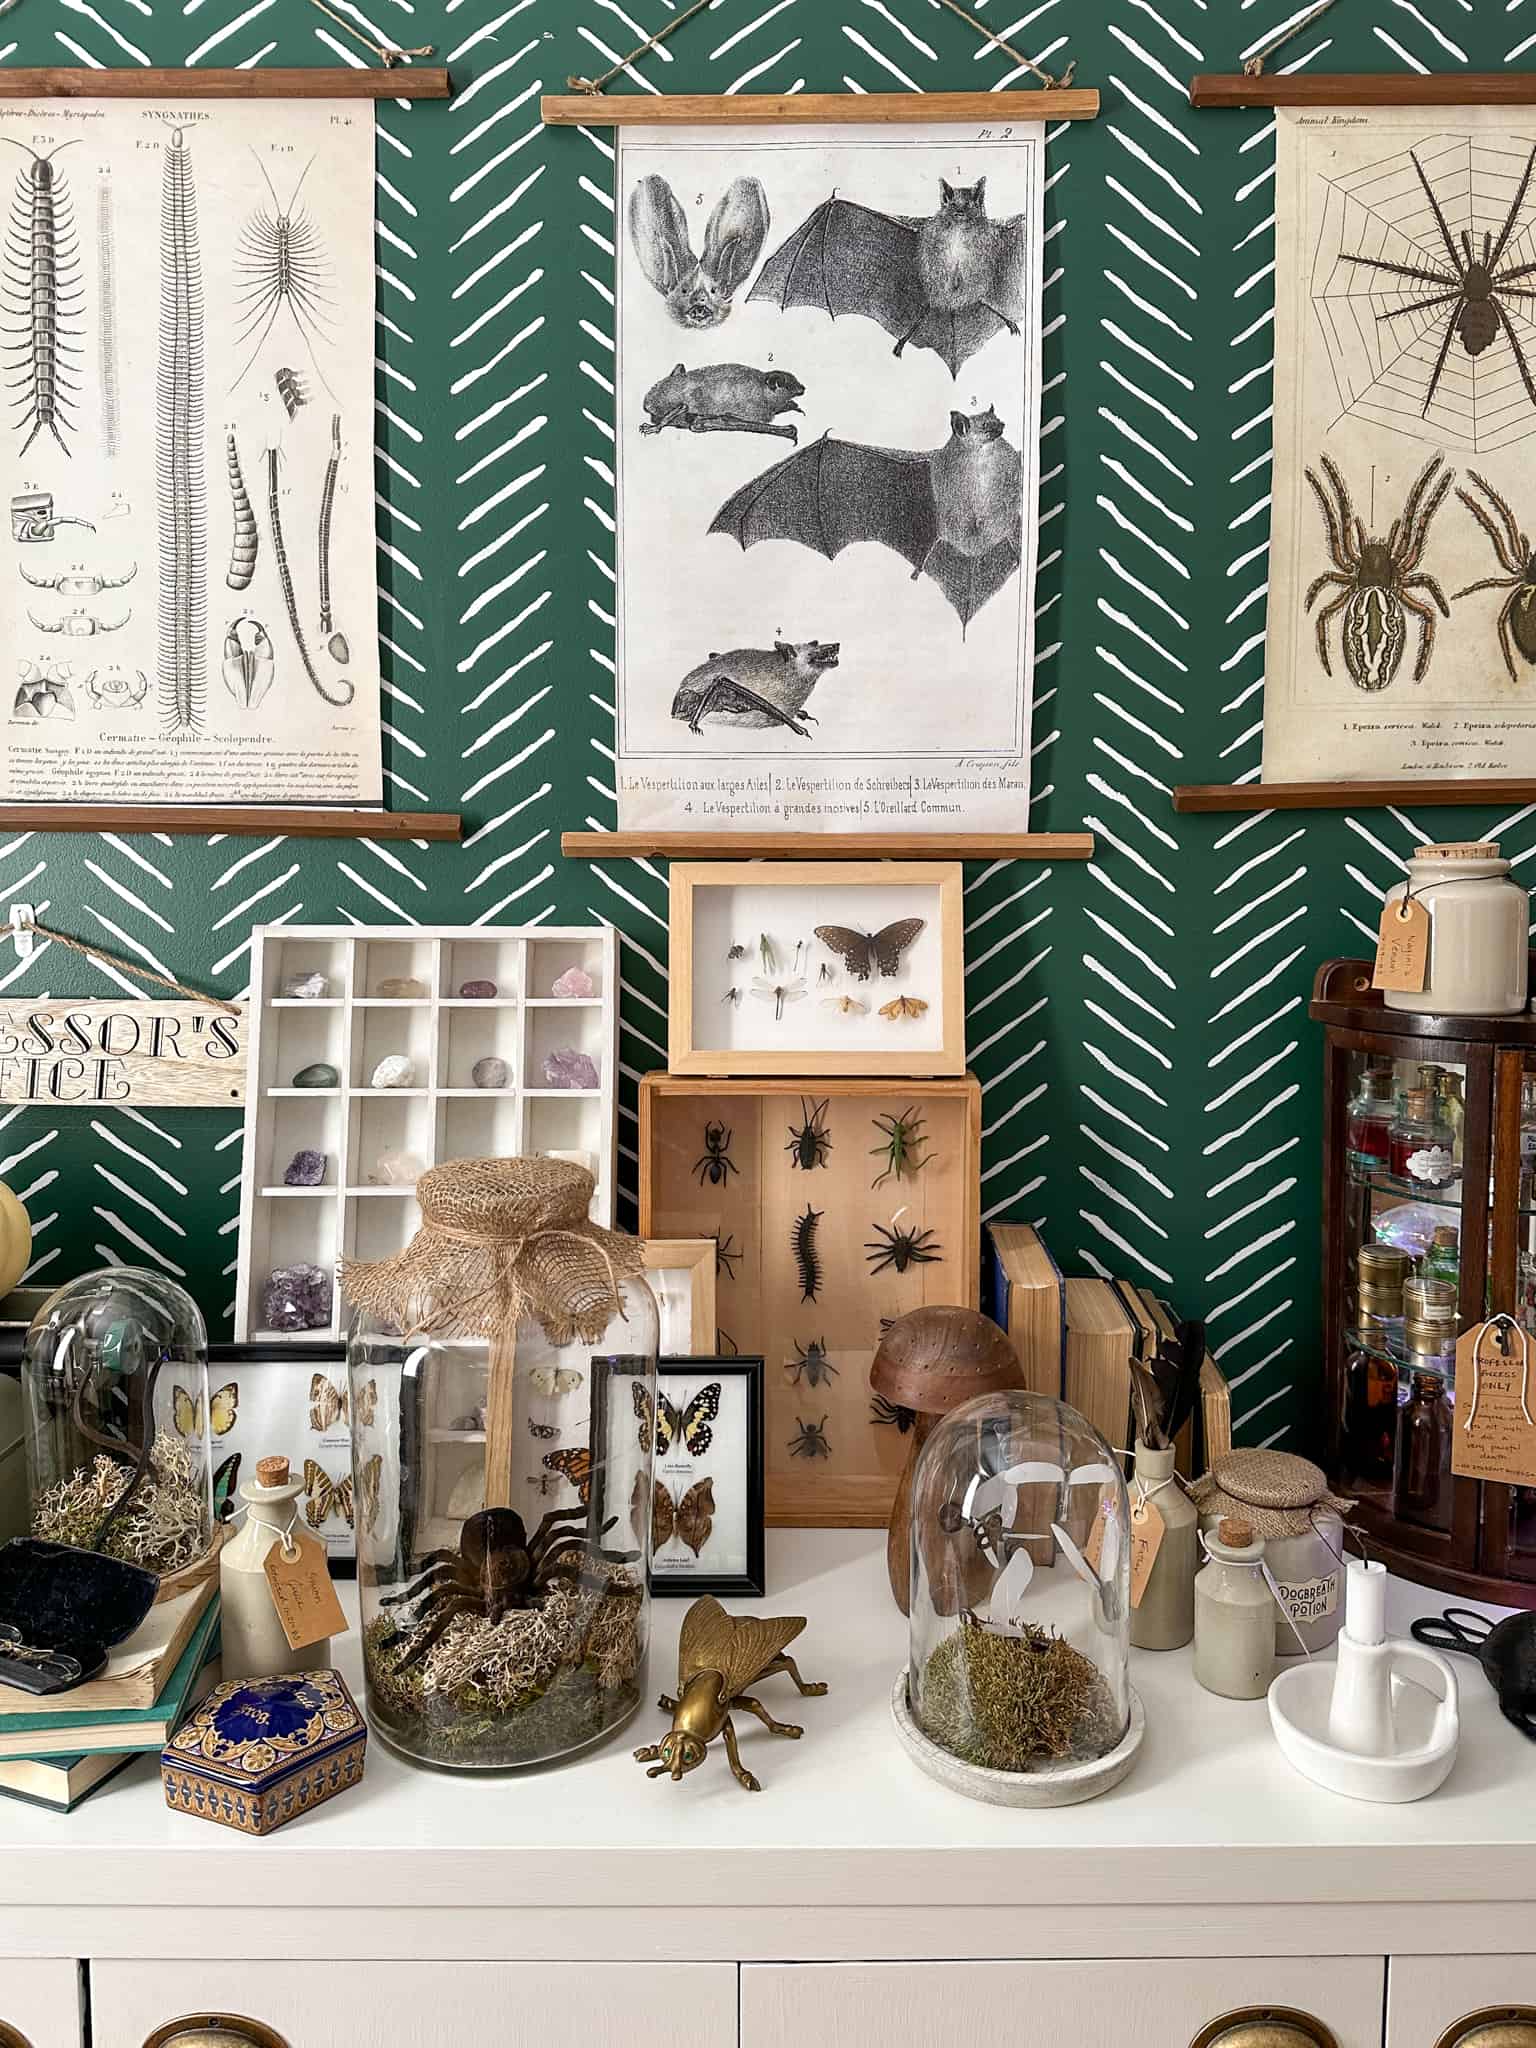
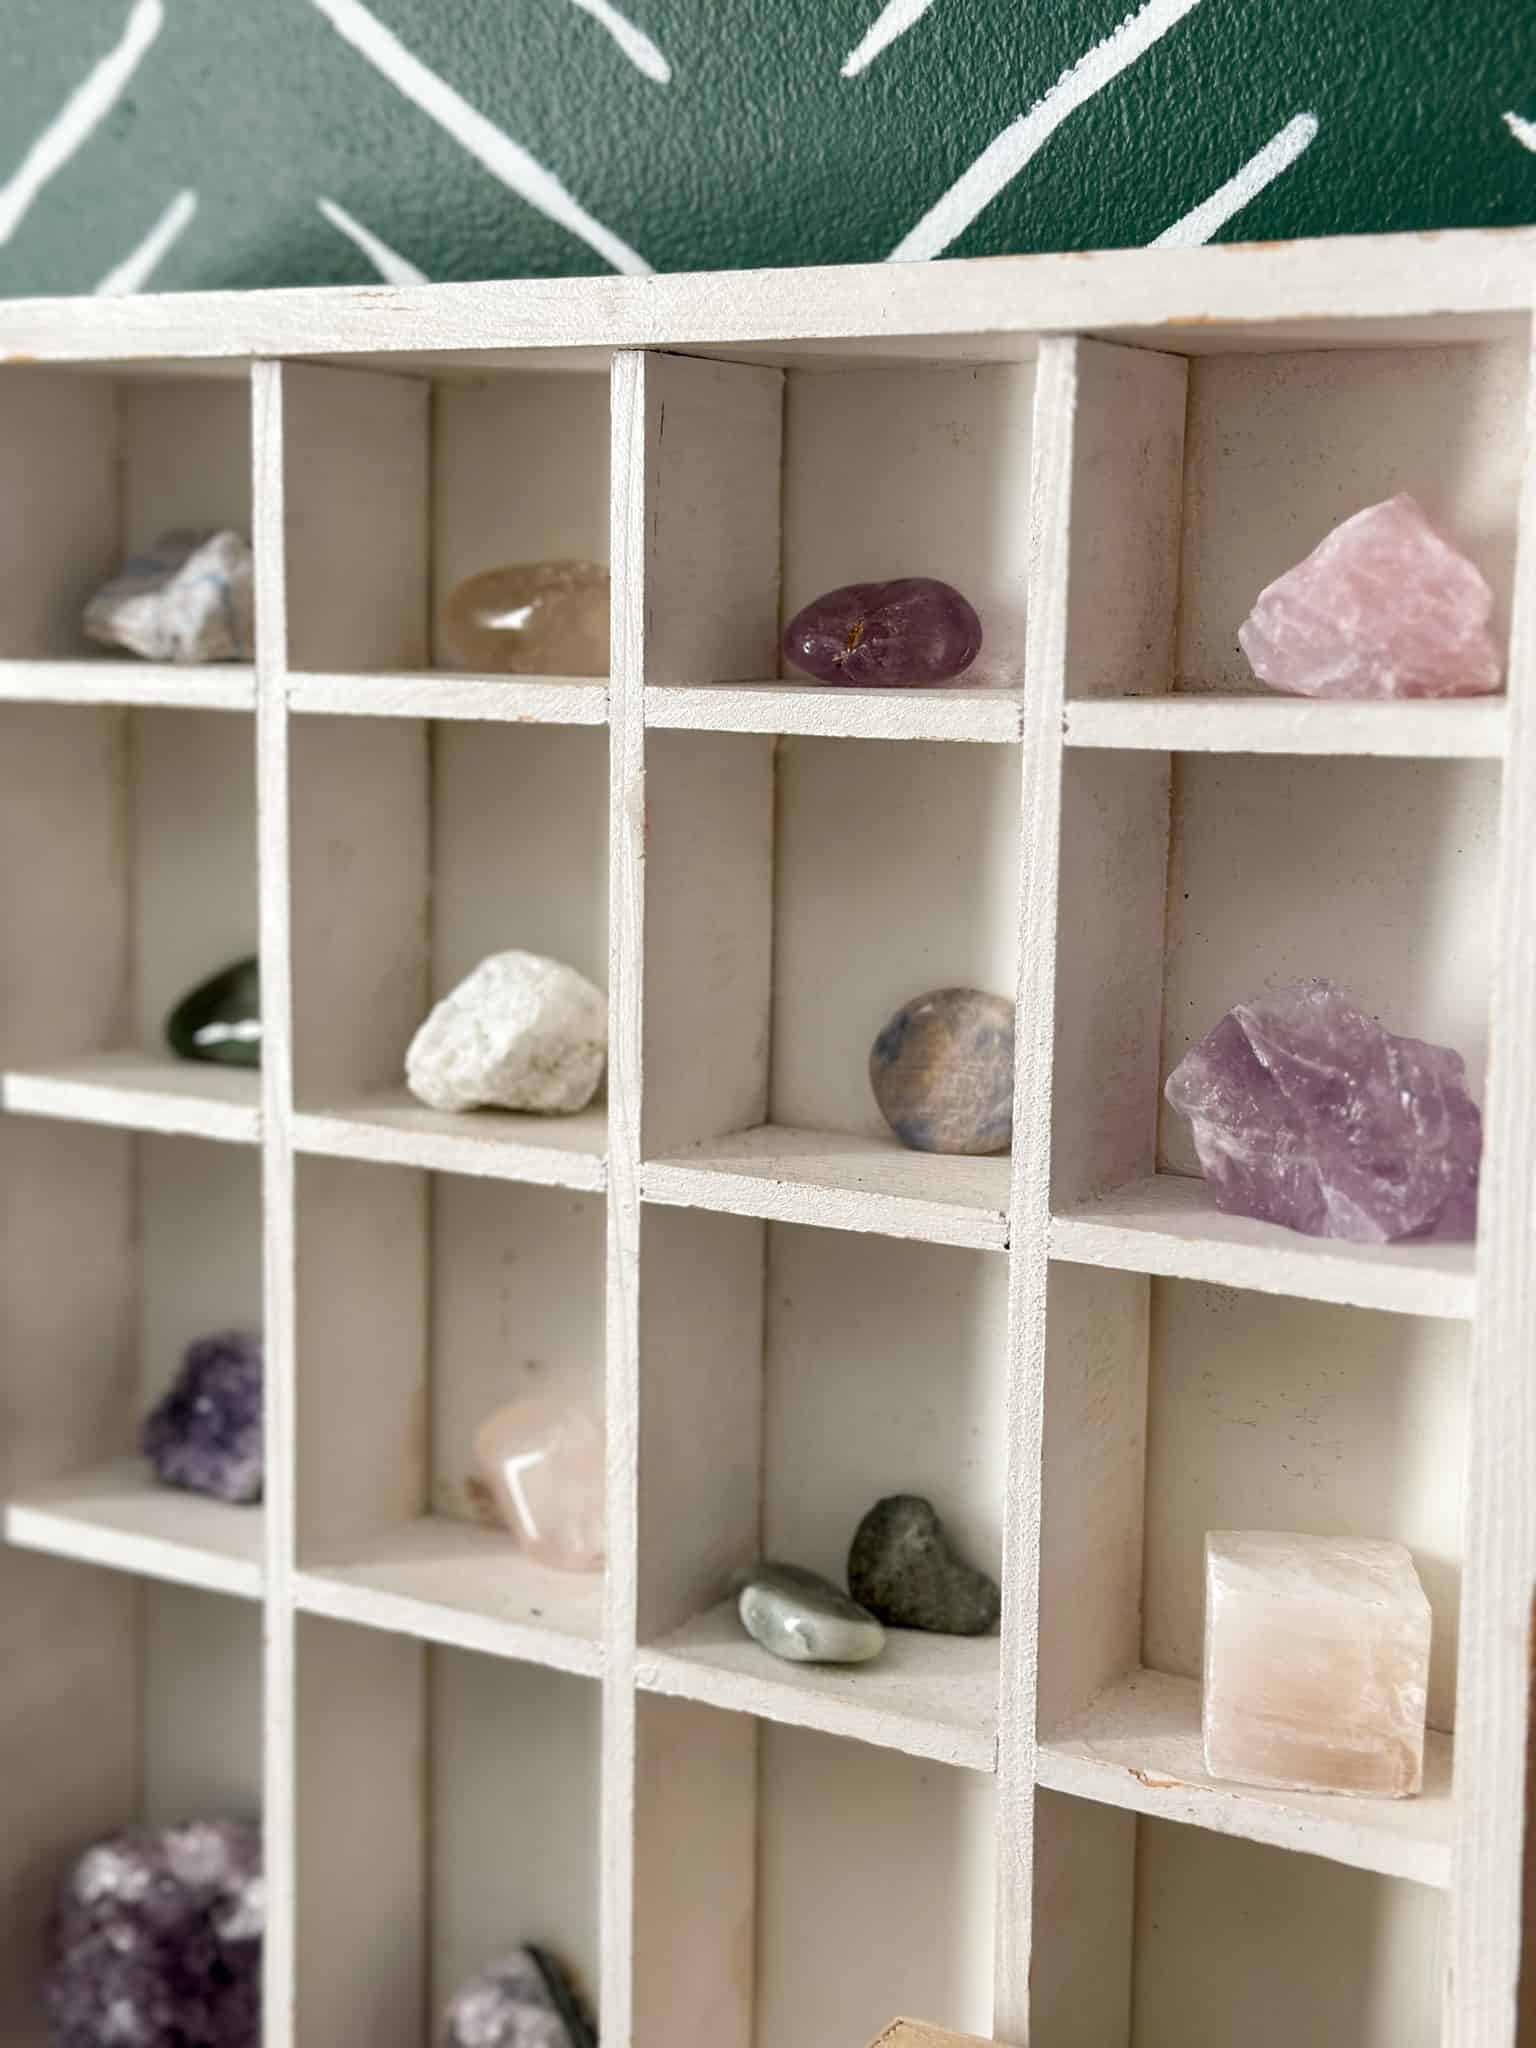
I also added a collection of rocks and minerals. The little shelf of cubby squares is from a thrift shop. We added a collection of rocks and crystals. I thought these seemed like something a witch or wizard might use for magic spells. On the other end I placed a collection of vintage books. Since the original titles of the books weren't very magical, I placed them spine side facing in.
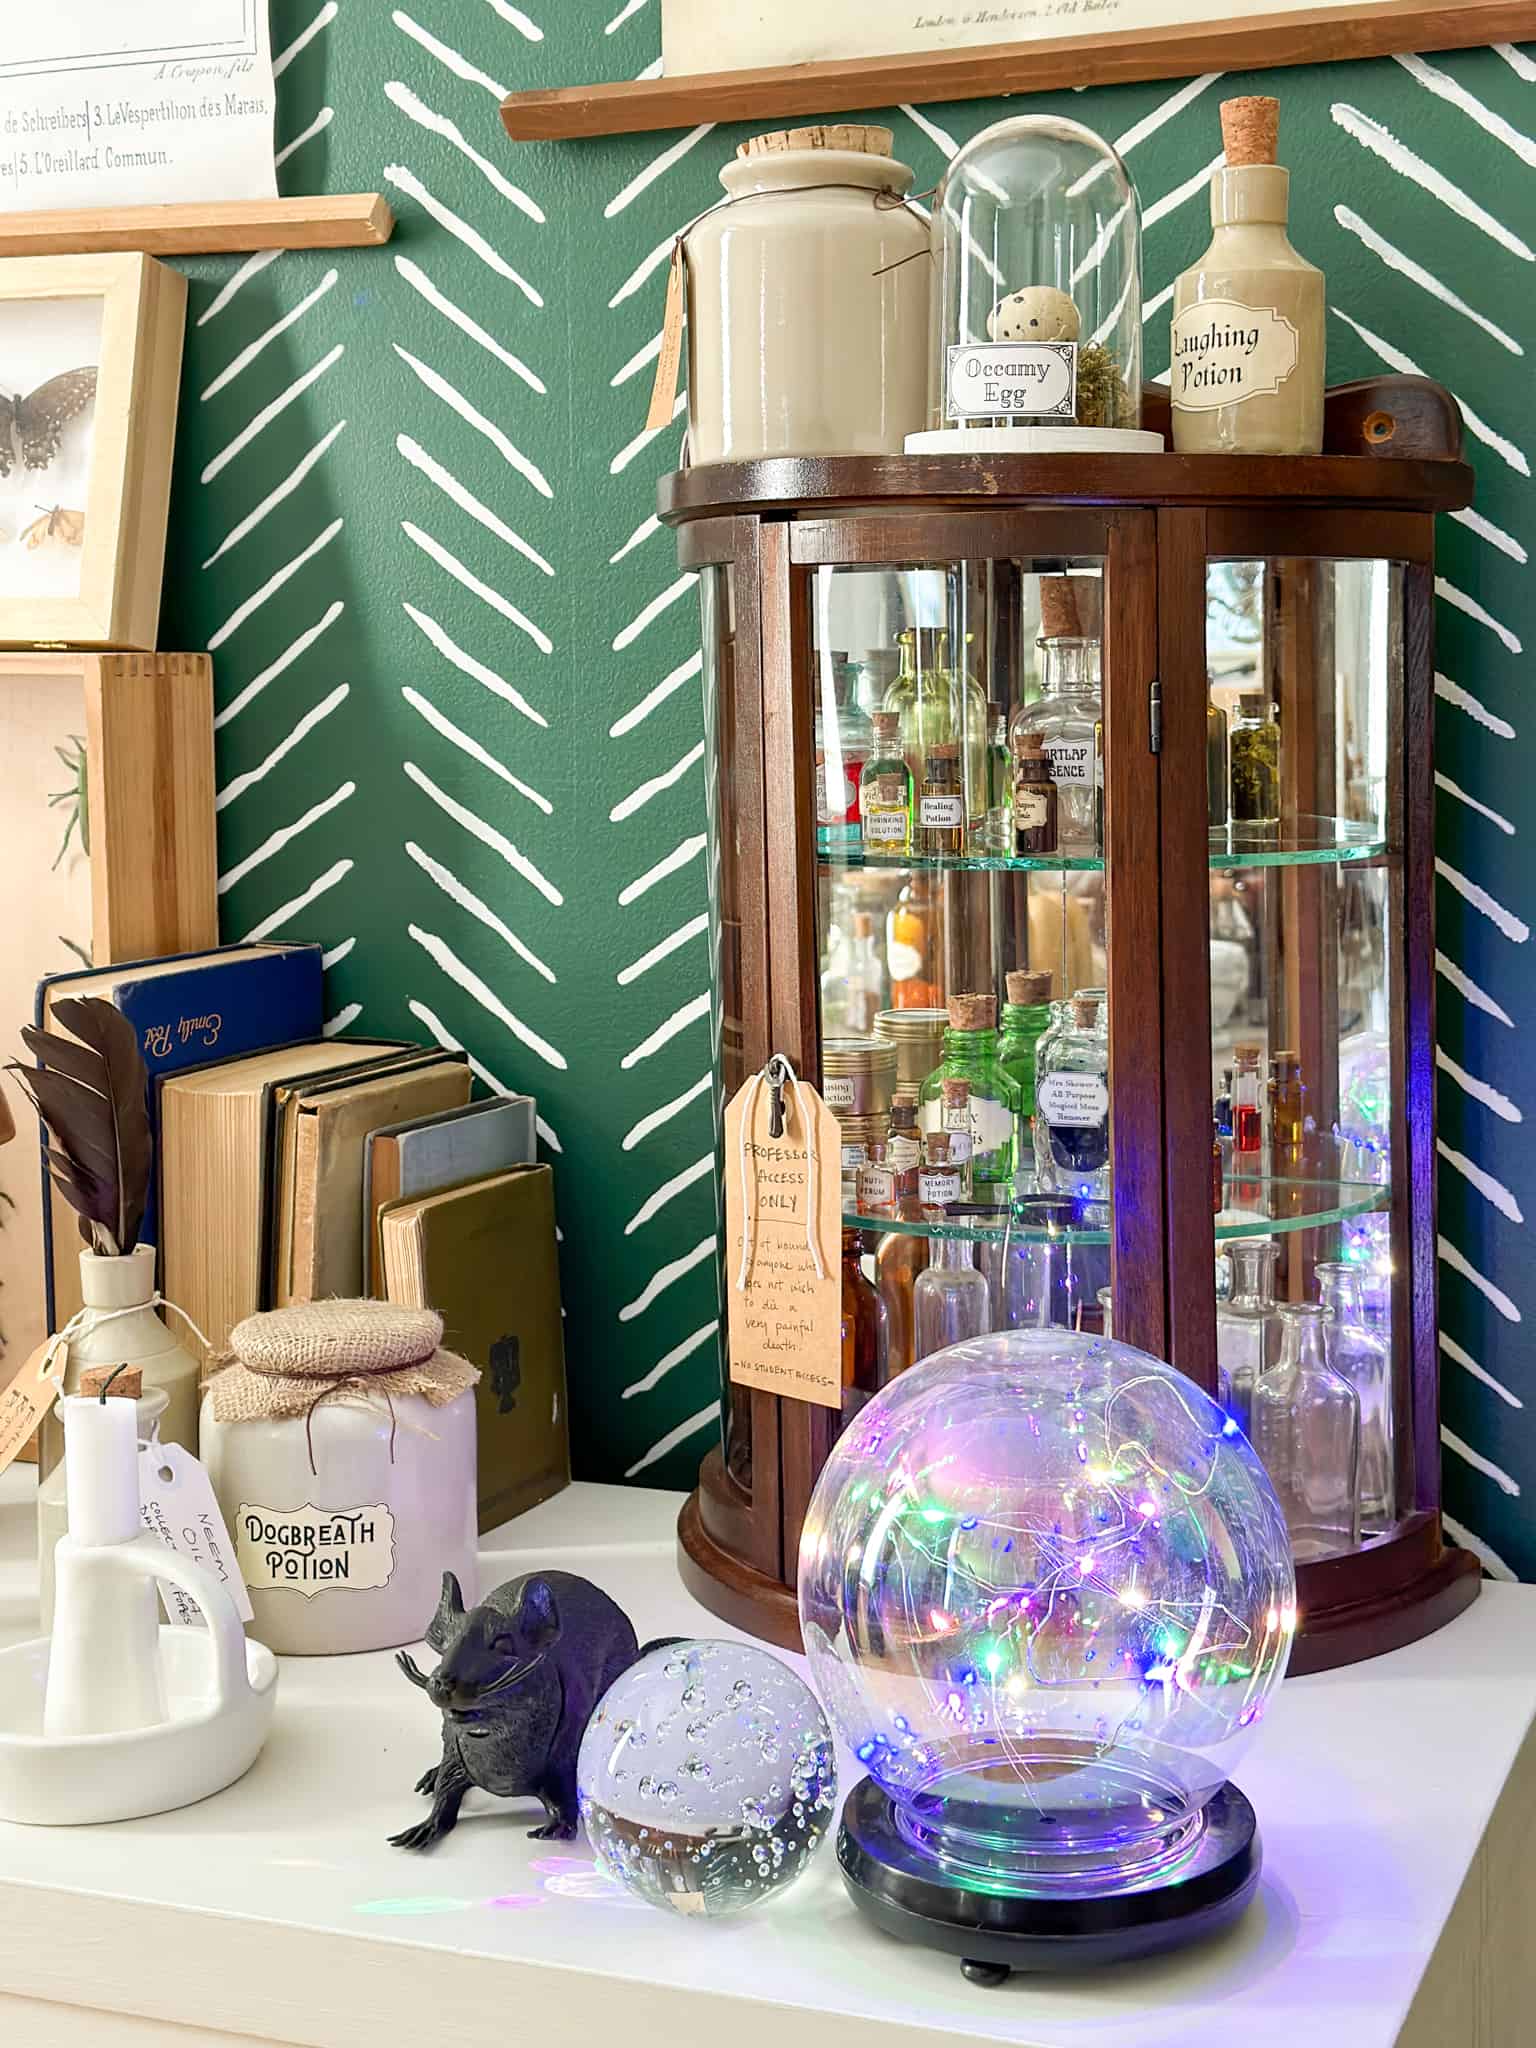
I also found a faux rat at the dollar store, that reminded me of Scabbers. He got a little makeover with some paint. I should have cut off one toe, to make him more authentic.
This crystal ball that lights up is from the dollar tree, and it reminded of something that might have been used in Divination class at Hogwarts. I also had this glass ball, which seemed perfect to add.
Flying Keys
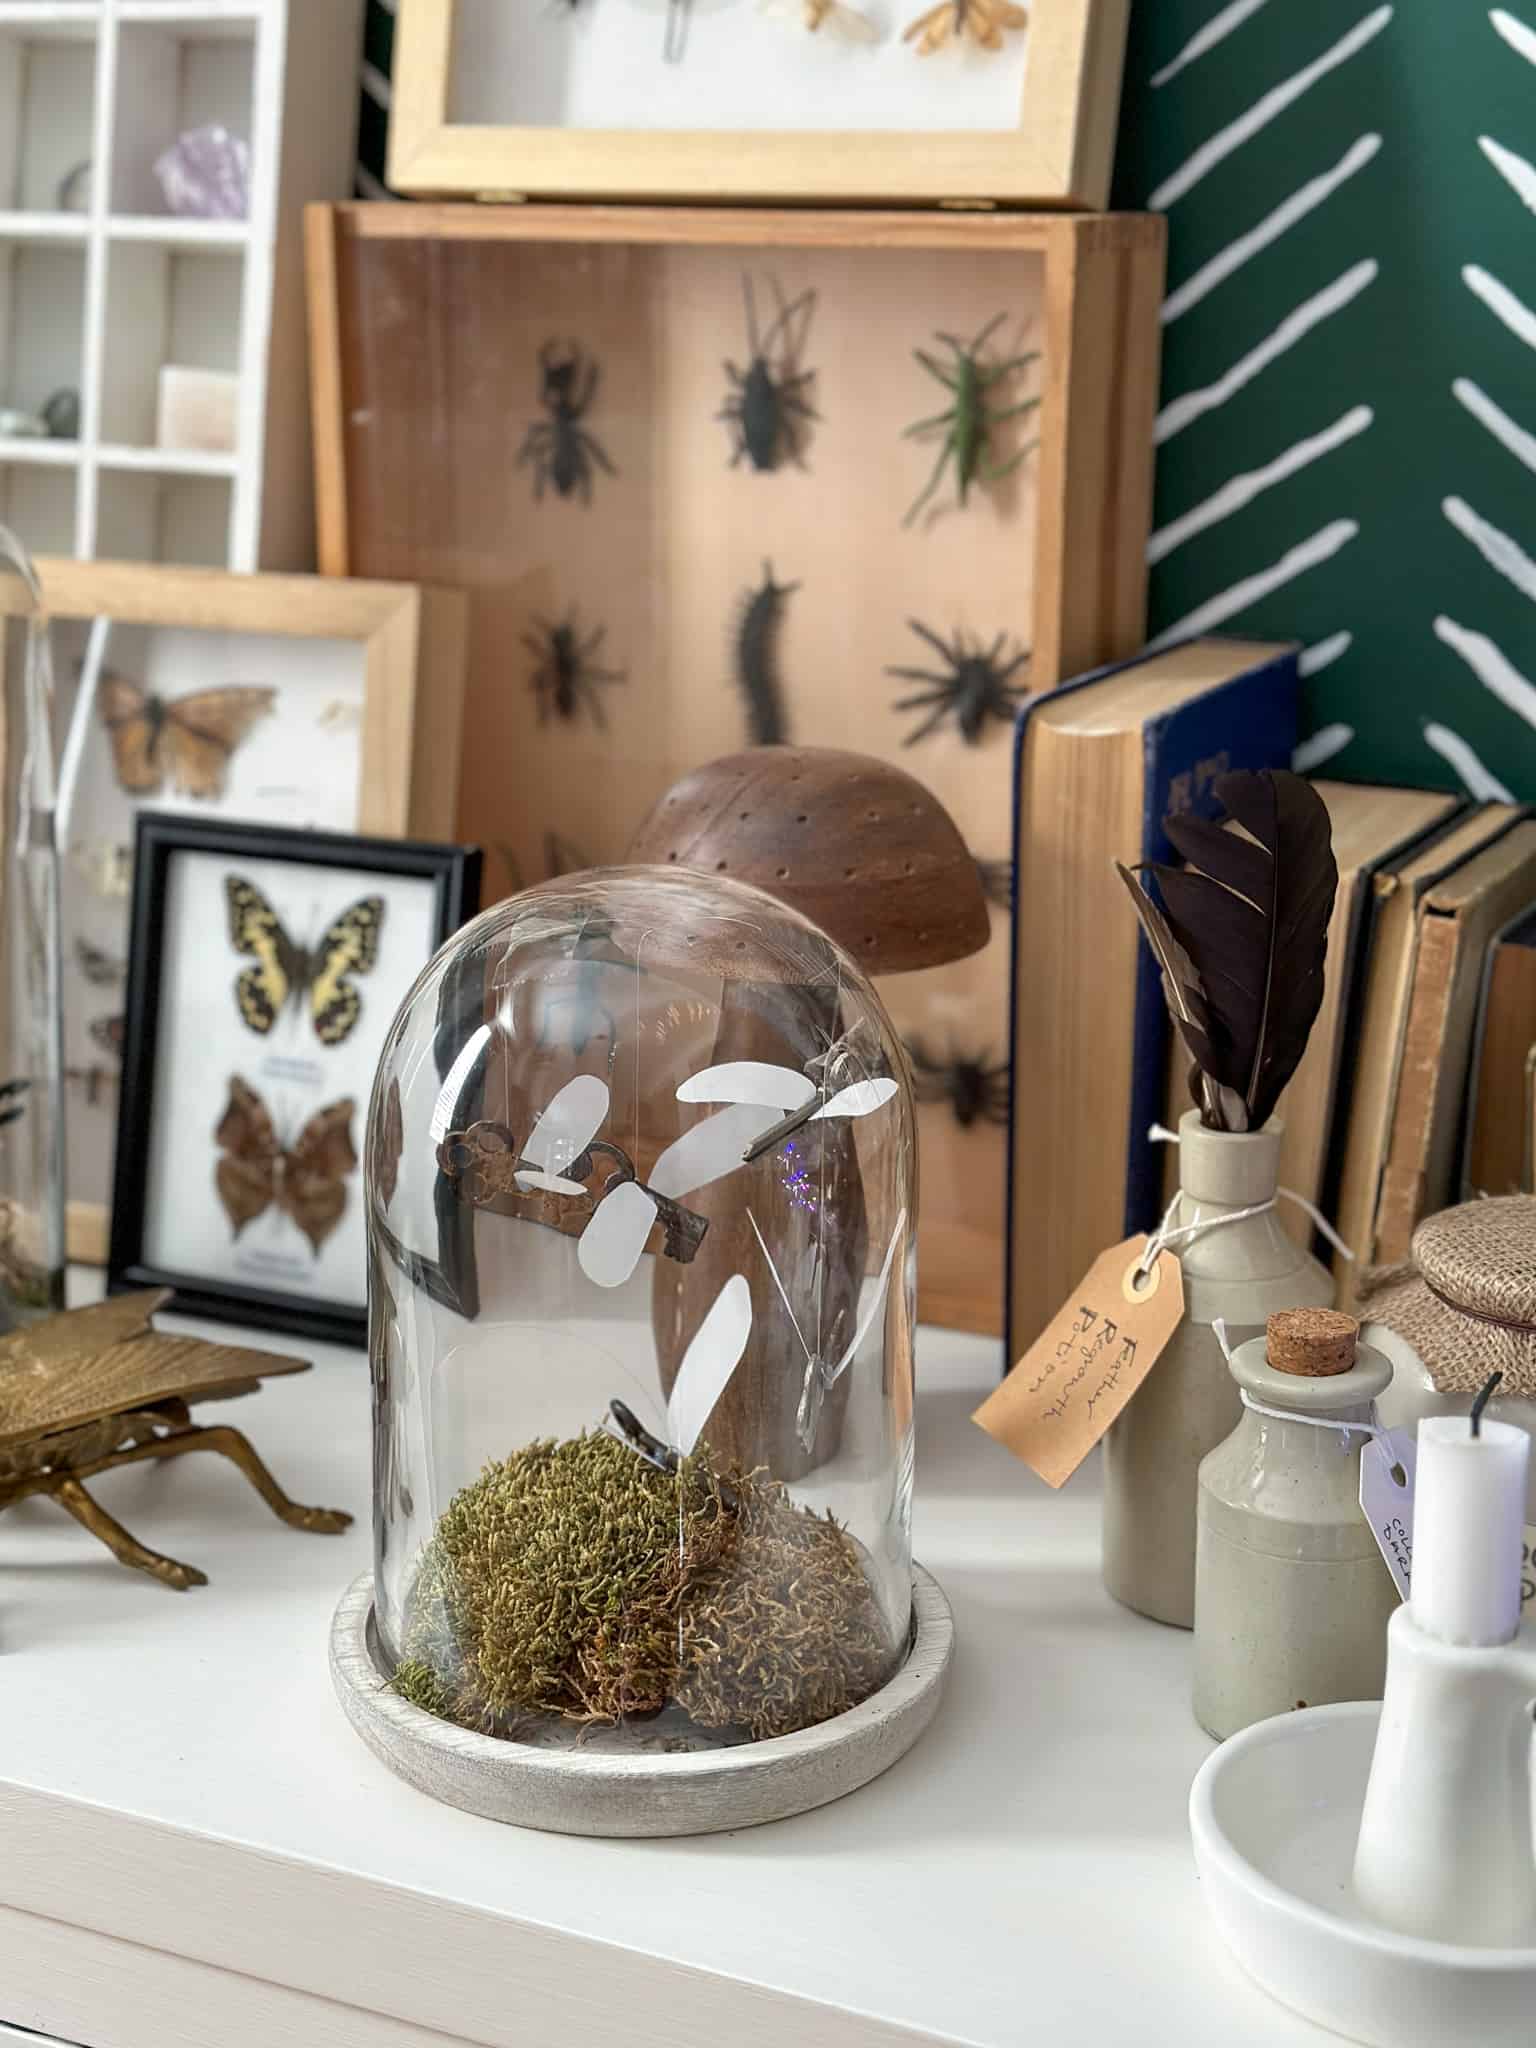
We also created some flying keys. I had some beautiful vintage keys, which worked perfectly for this little DIY project. The wings were made from some vellum paper and hot glued them to the sides of the keys. I tied some fishing line around them and then used clear tape to attach them to the top of a cloche. In the bottom of the cloche I added some dried moss. This little project was such a fun detail to add.
Potions Cabinet
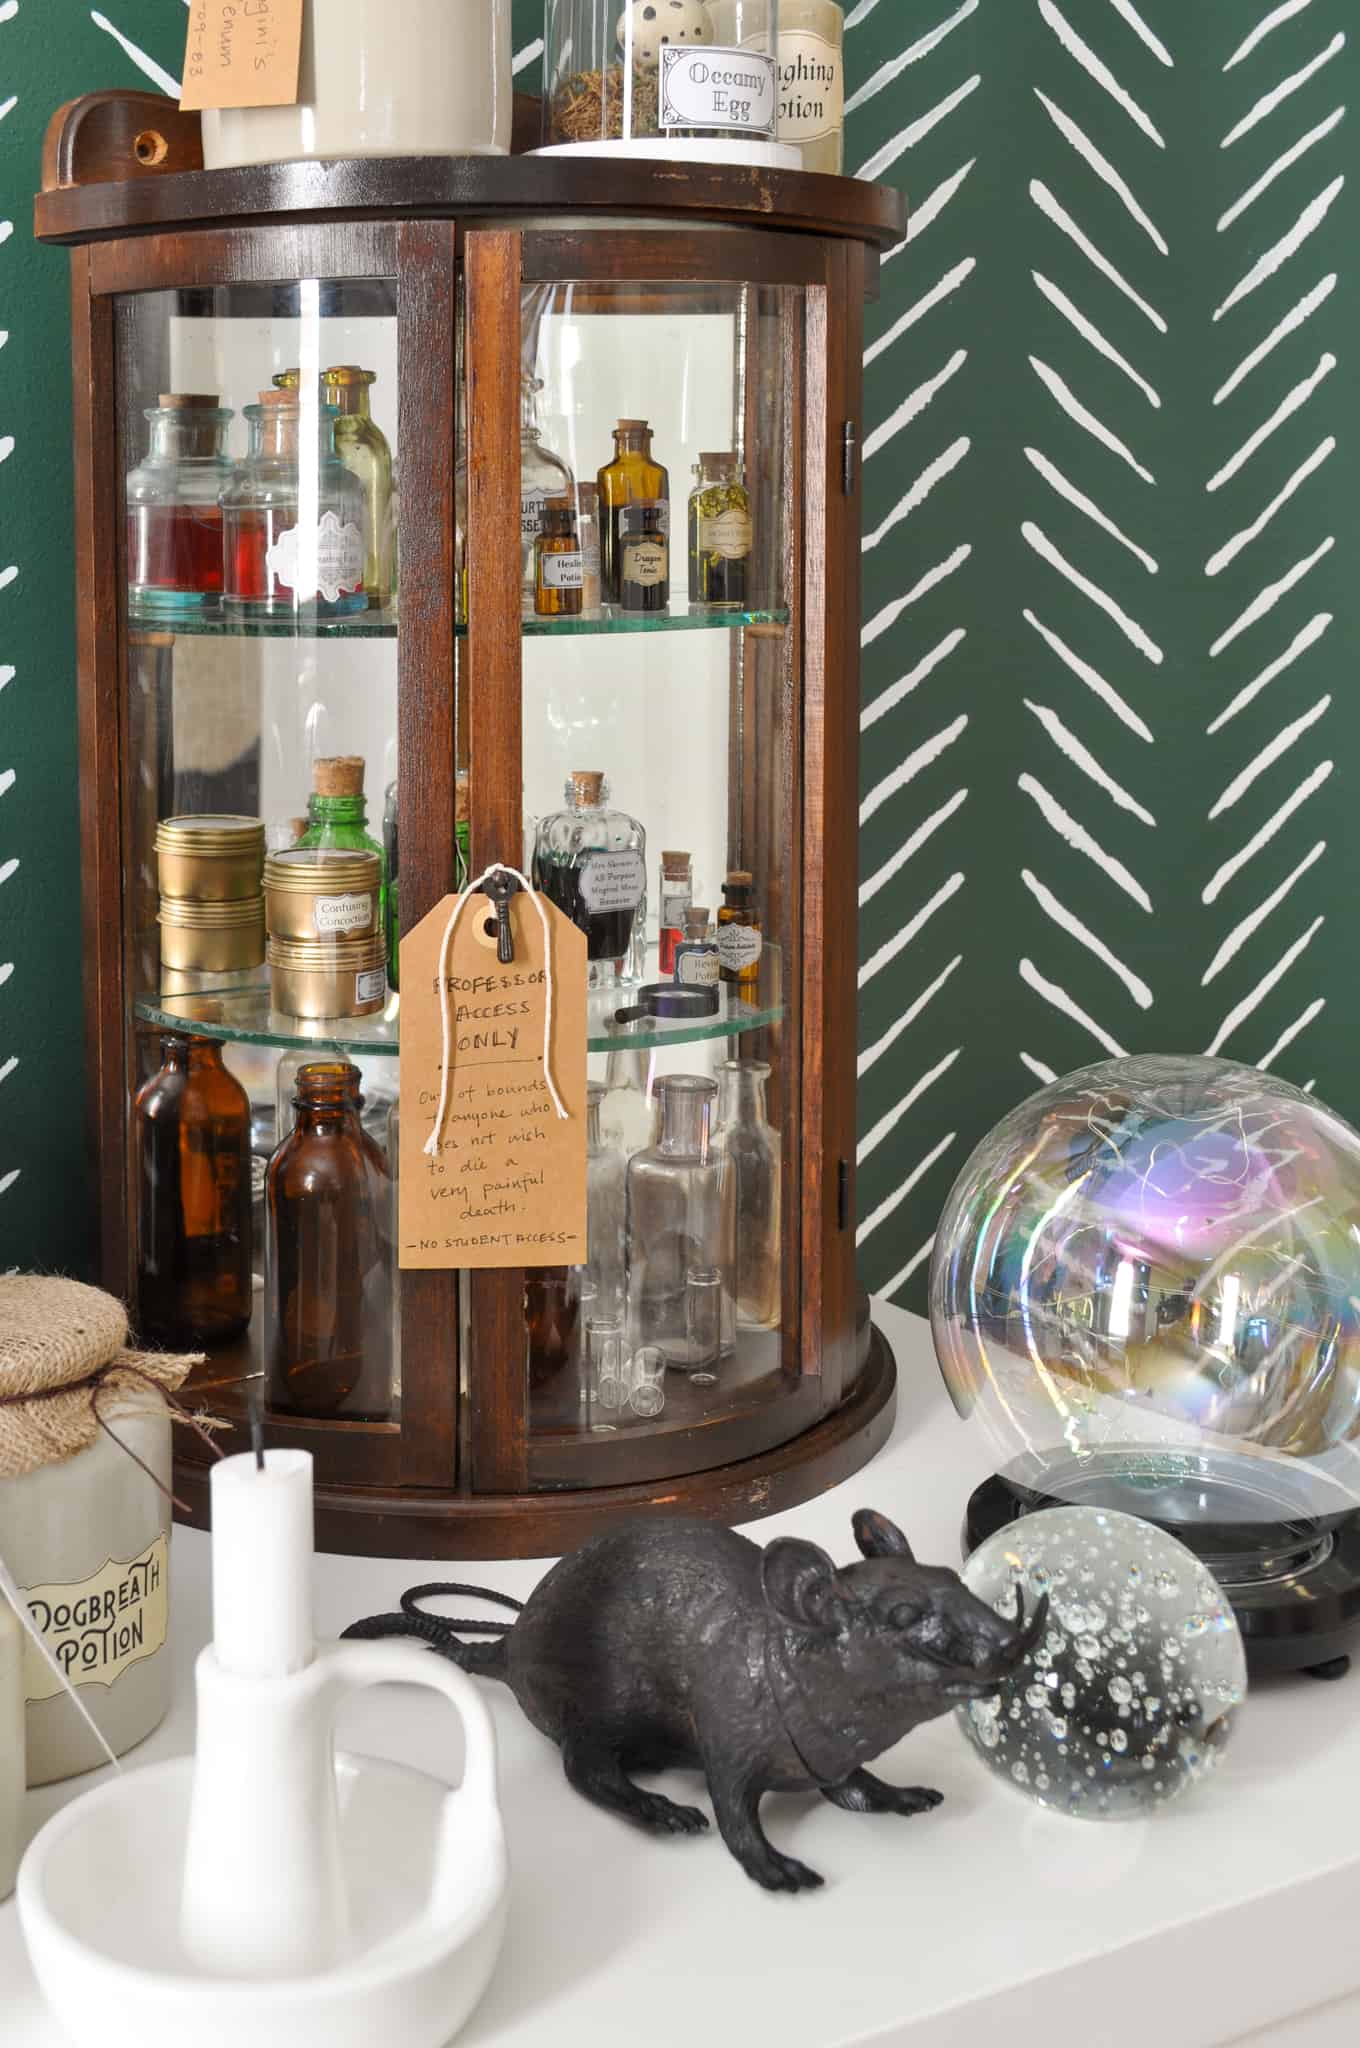
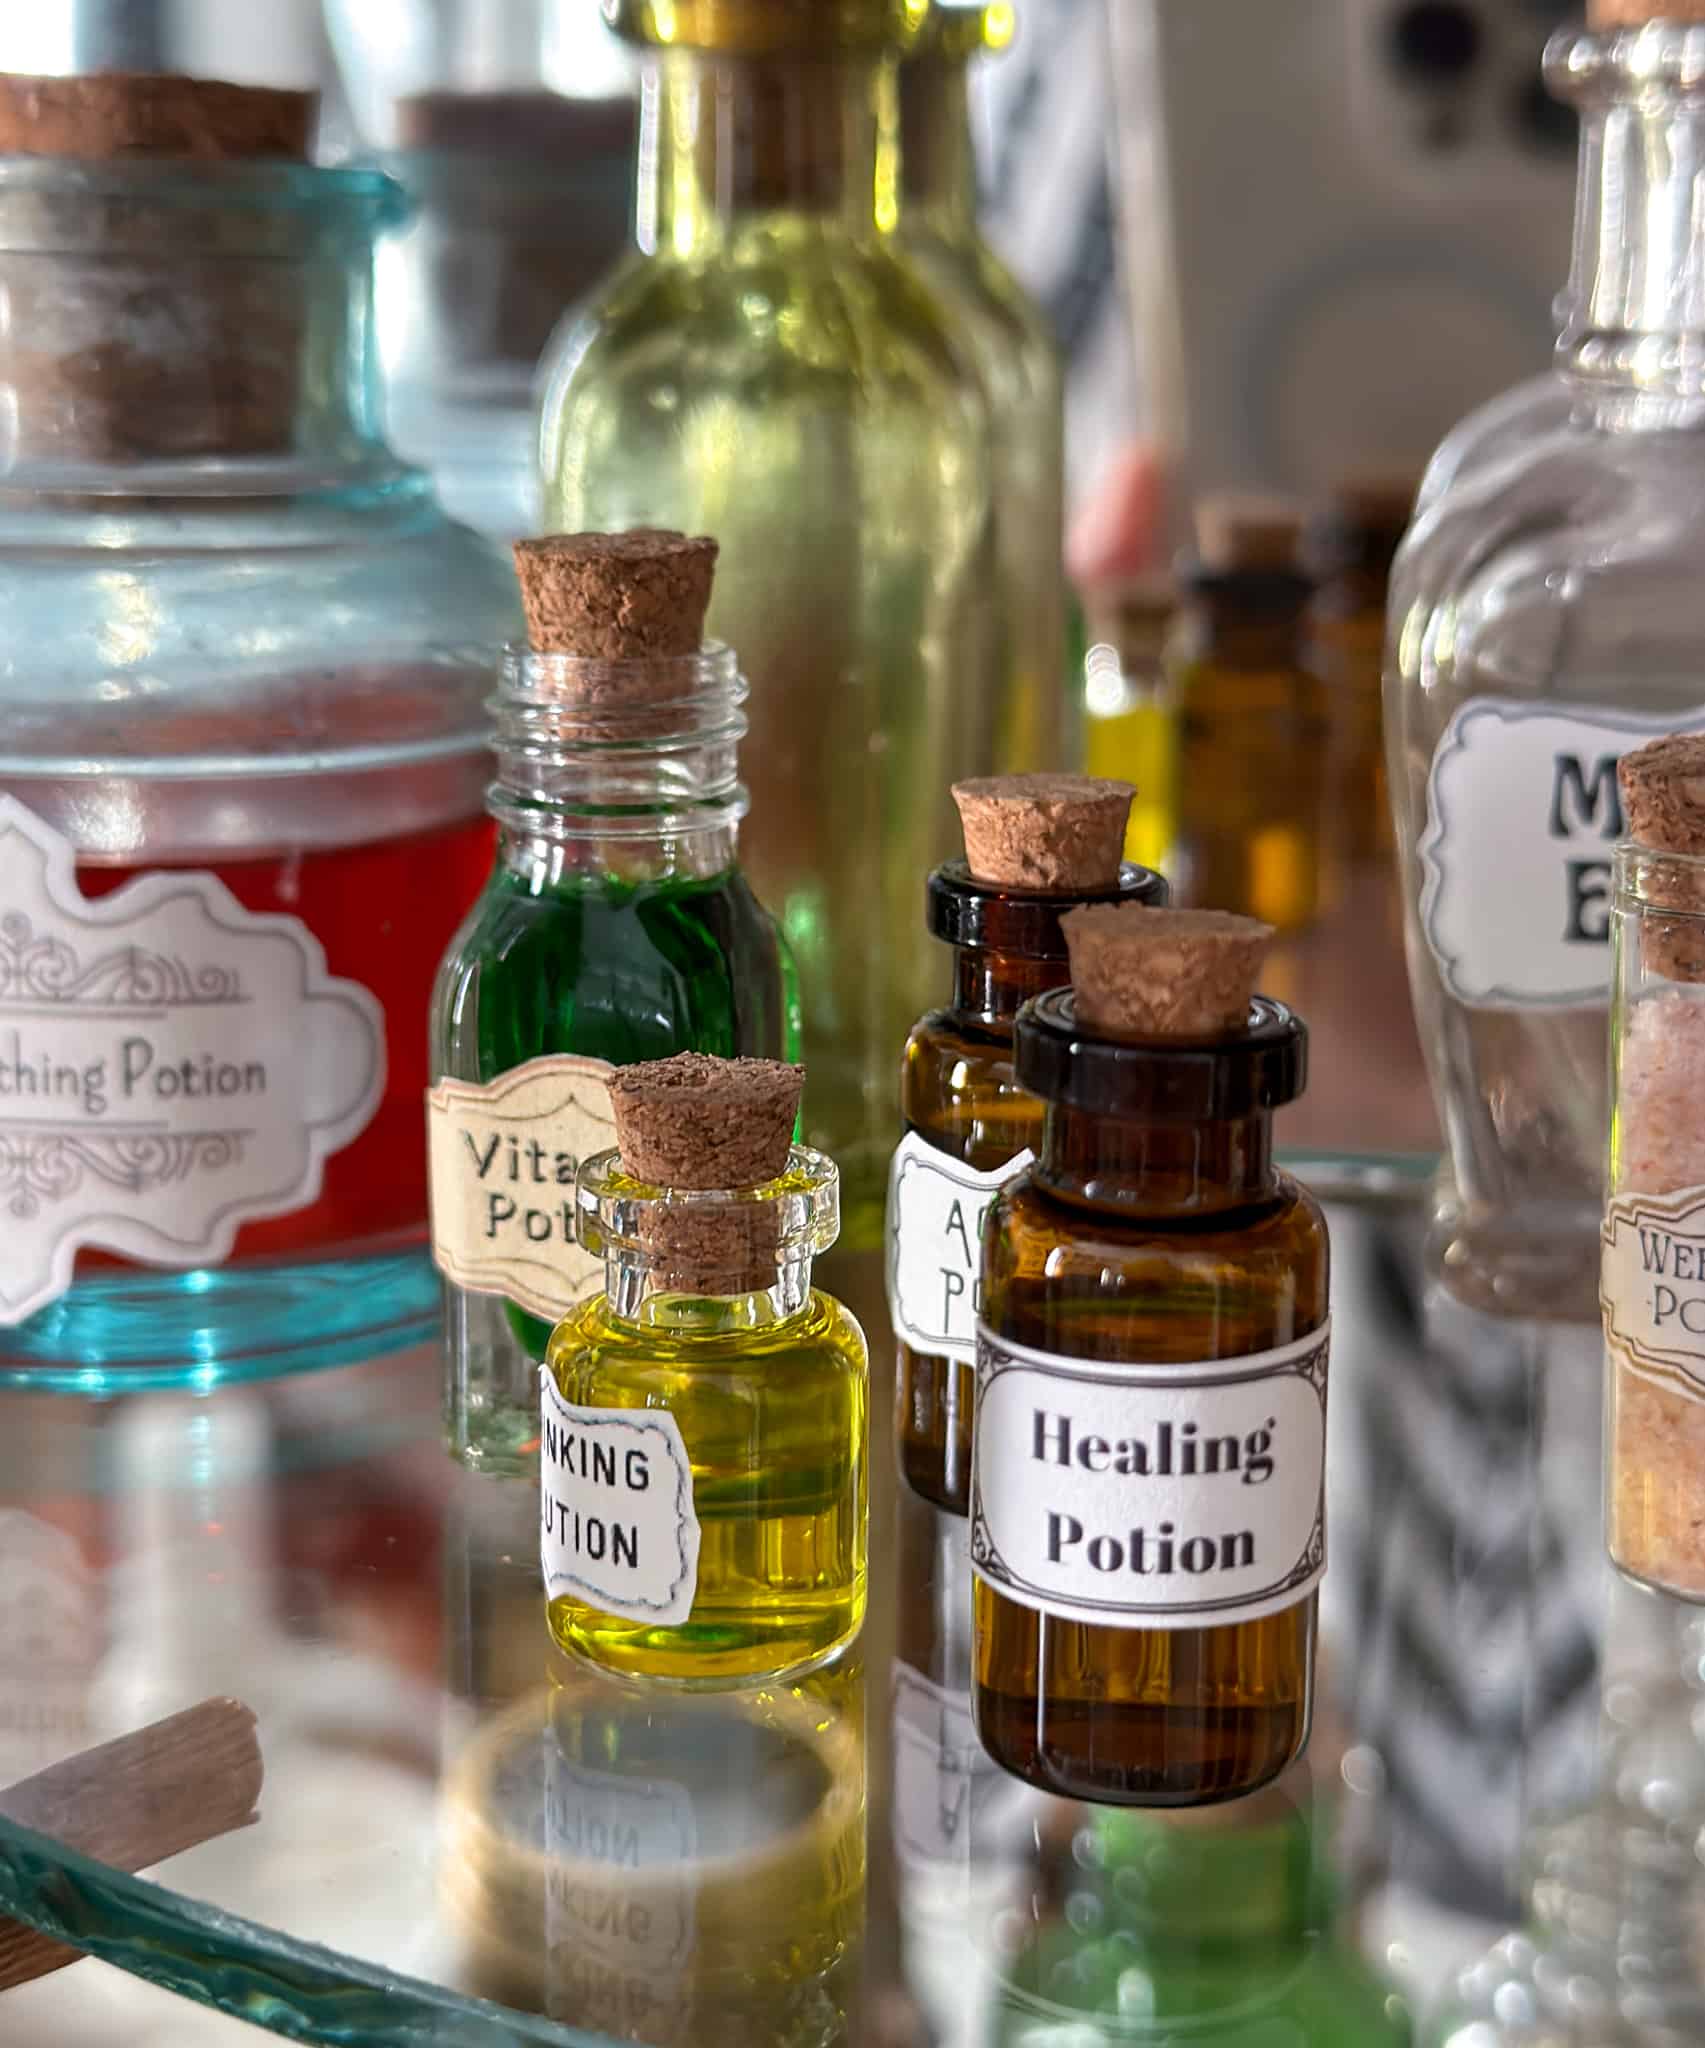
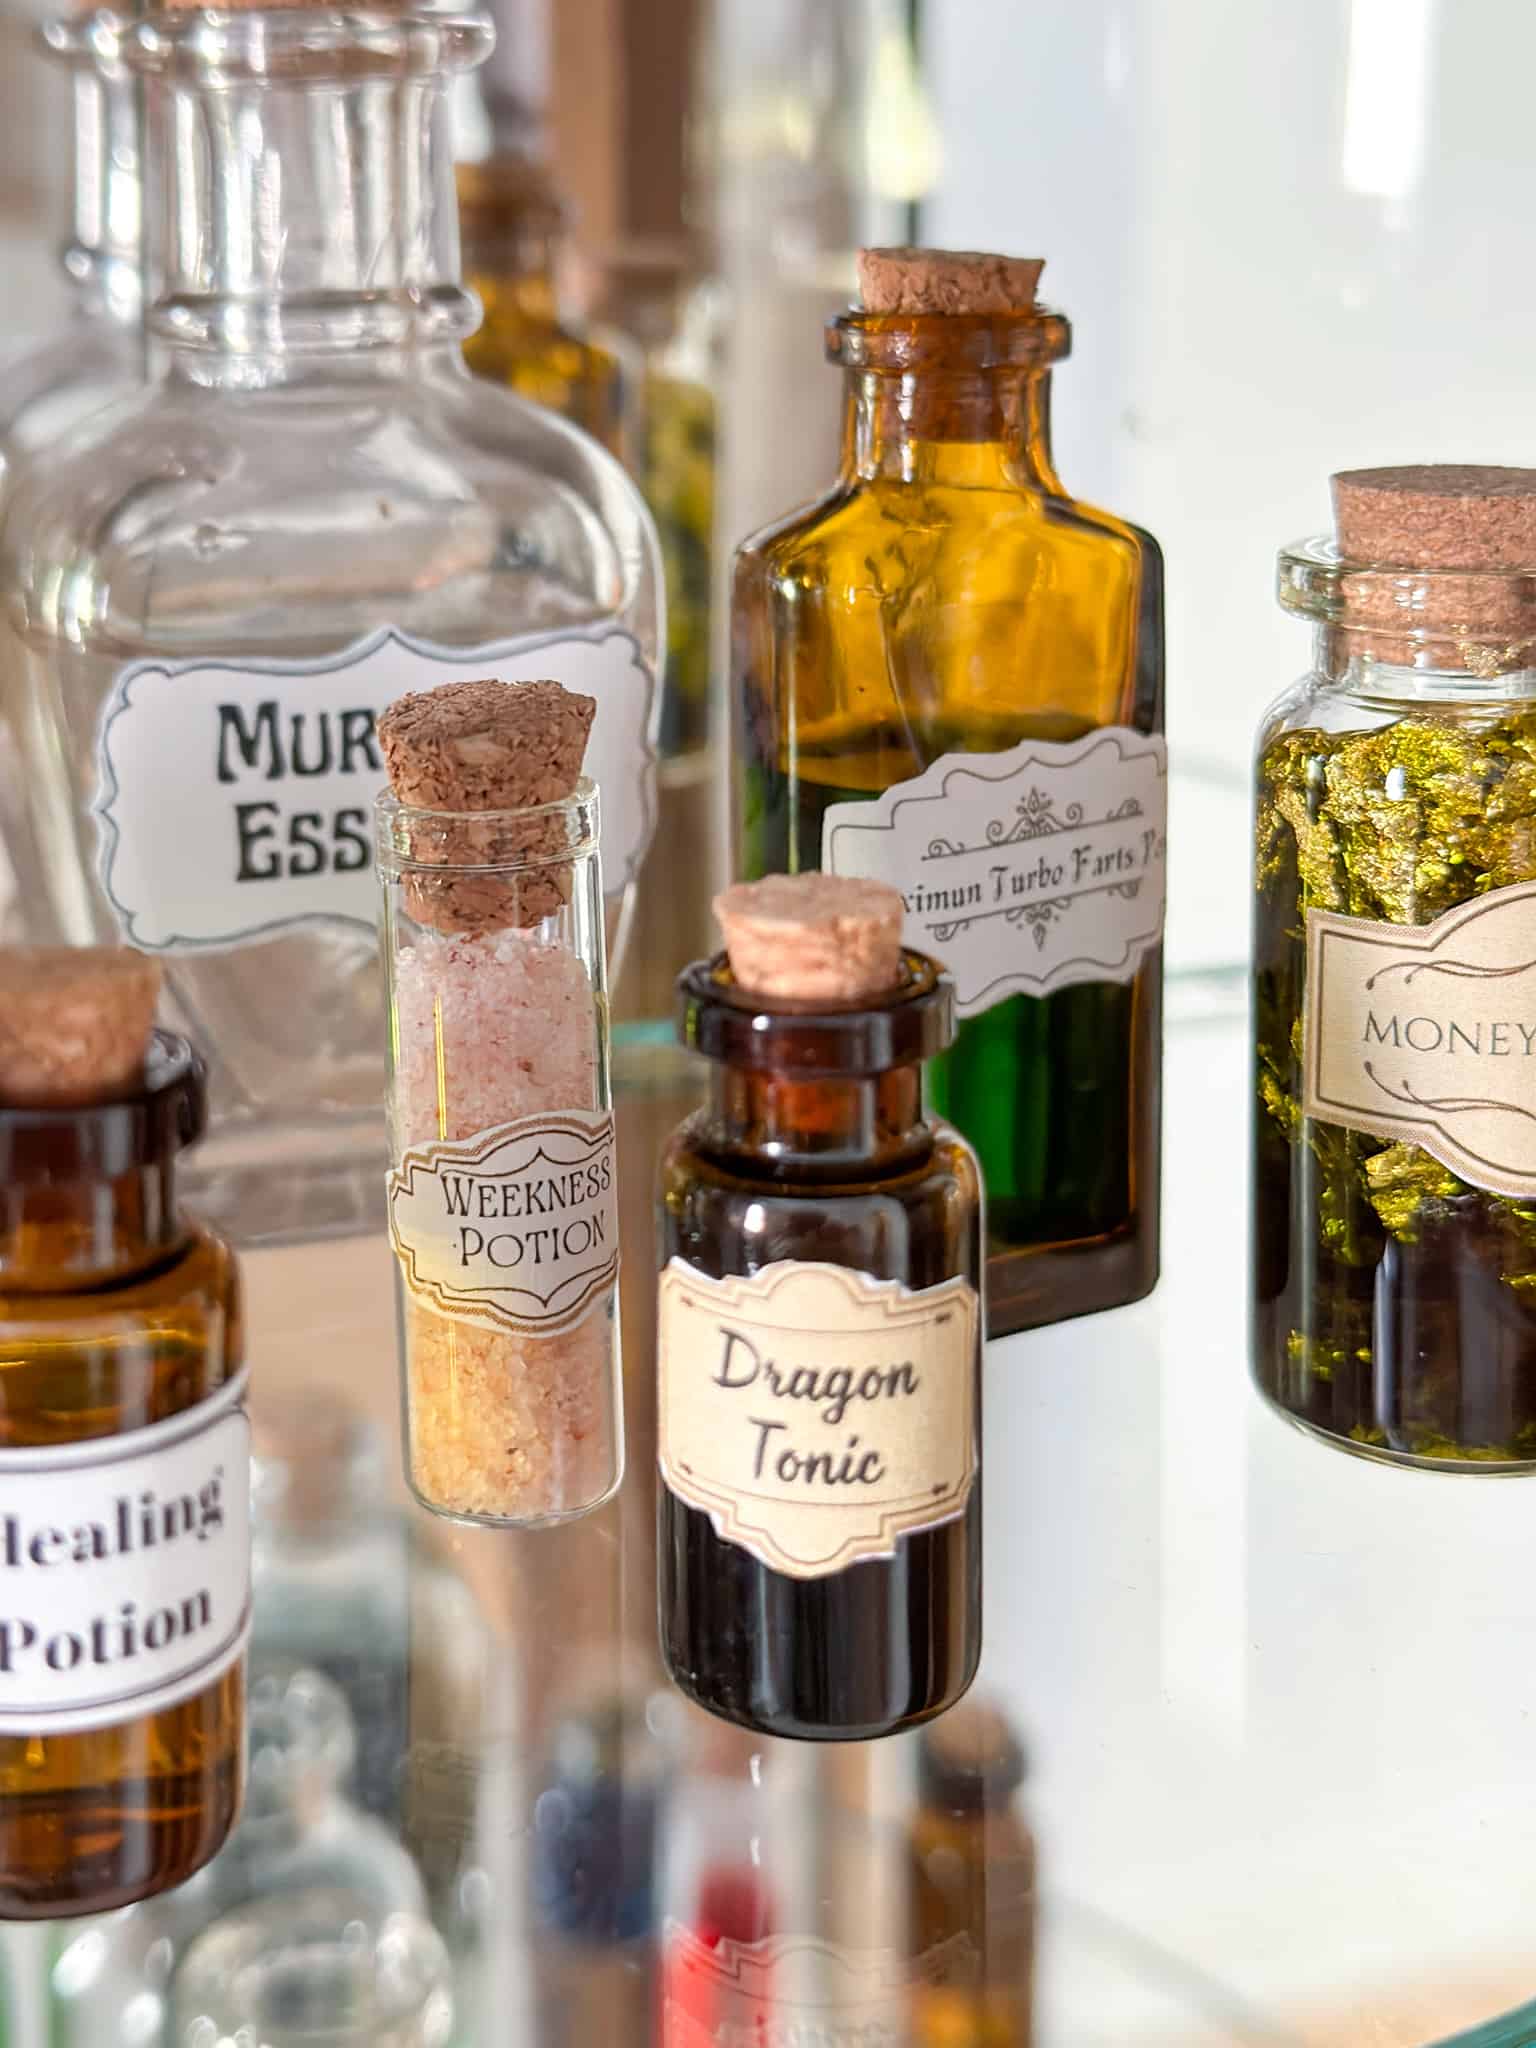
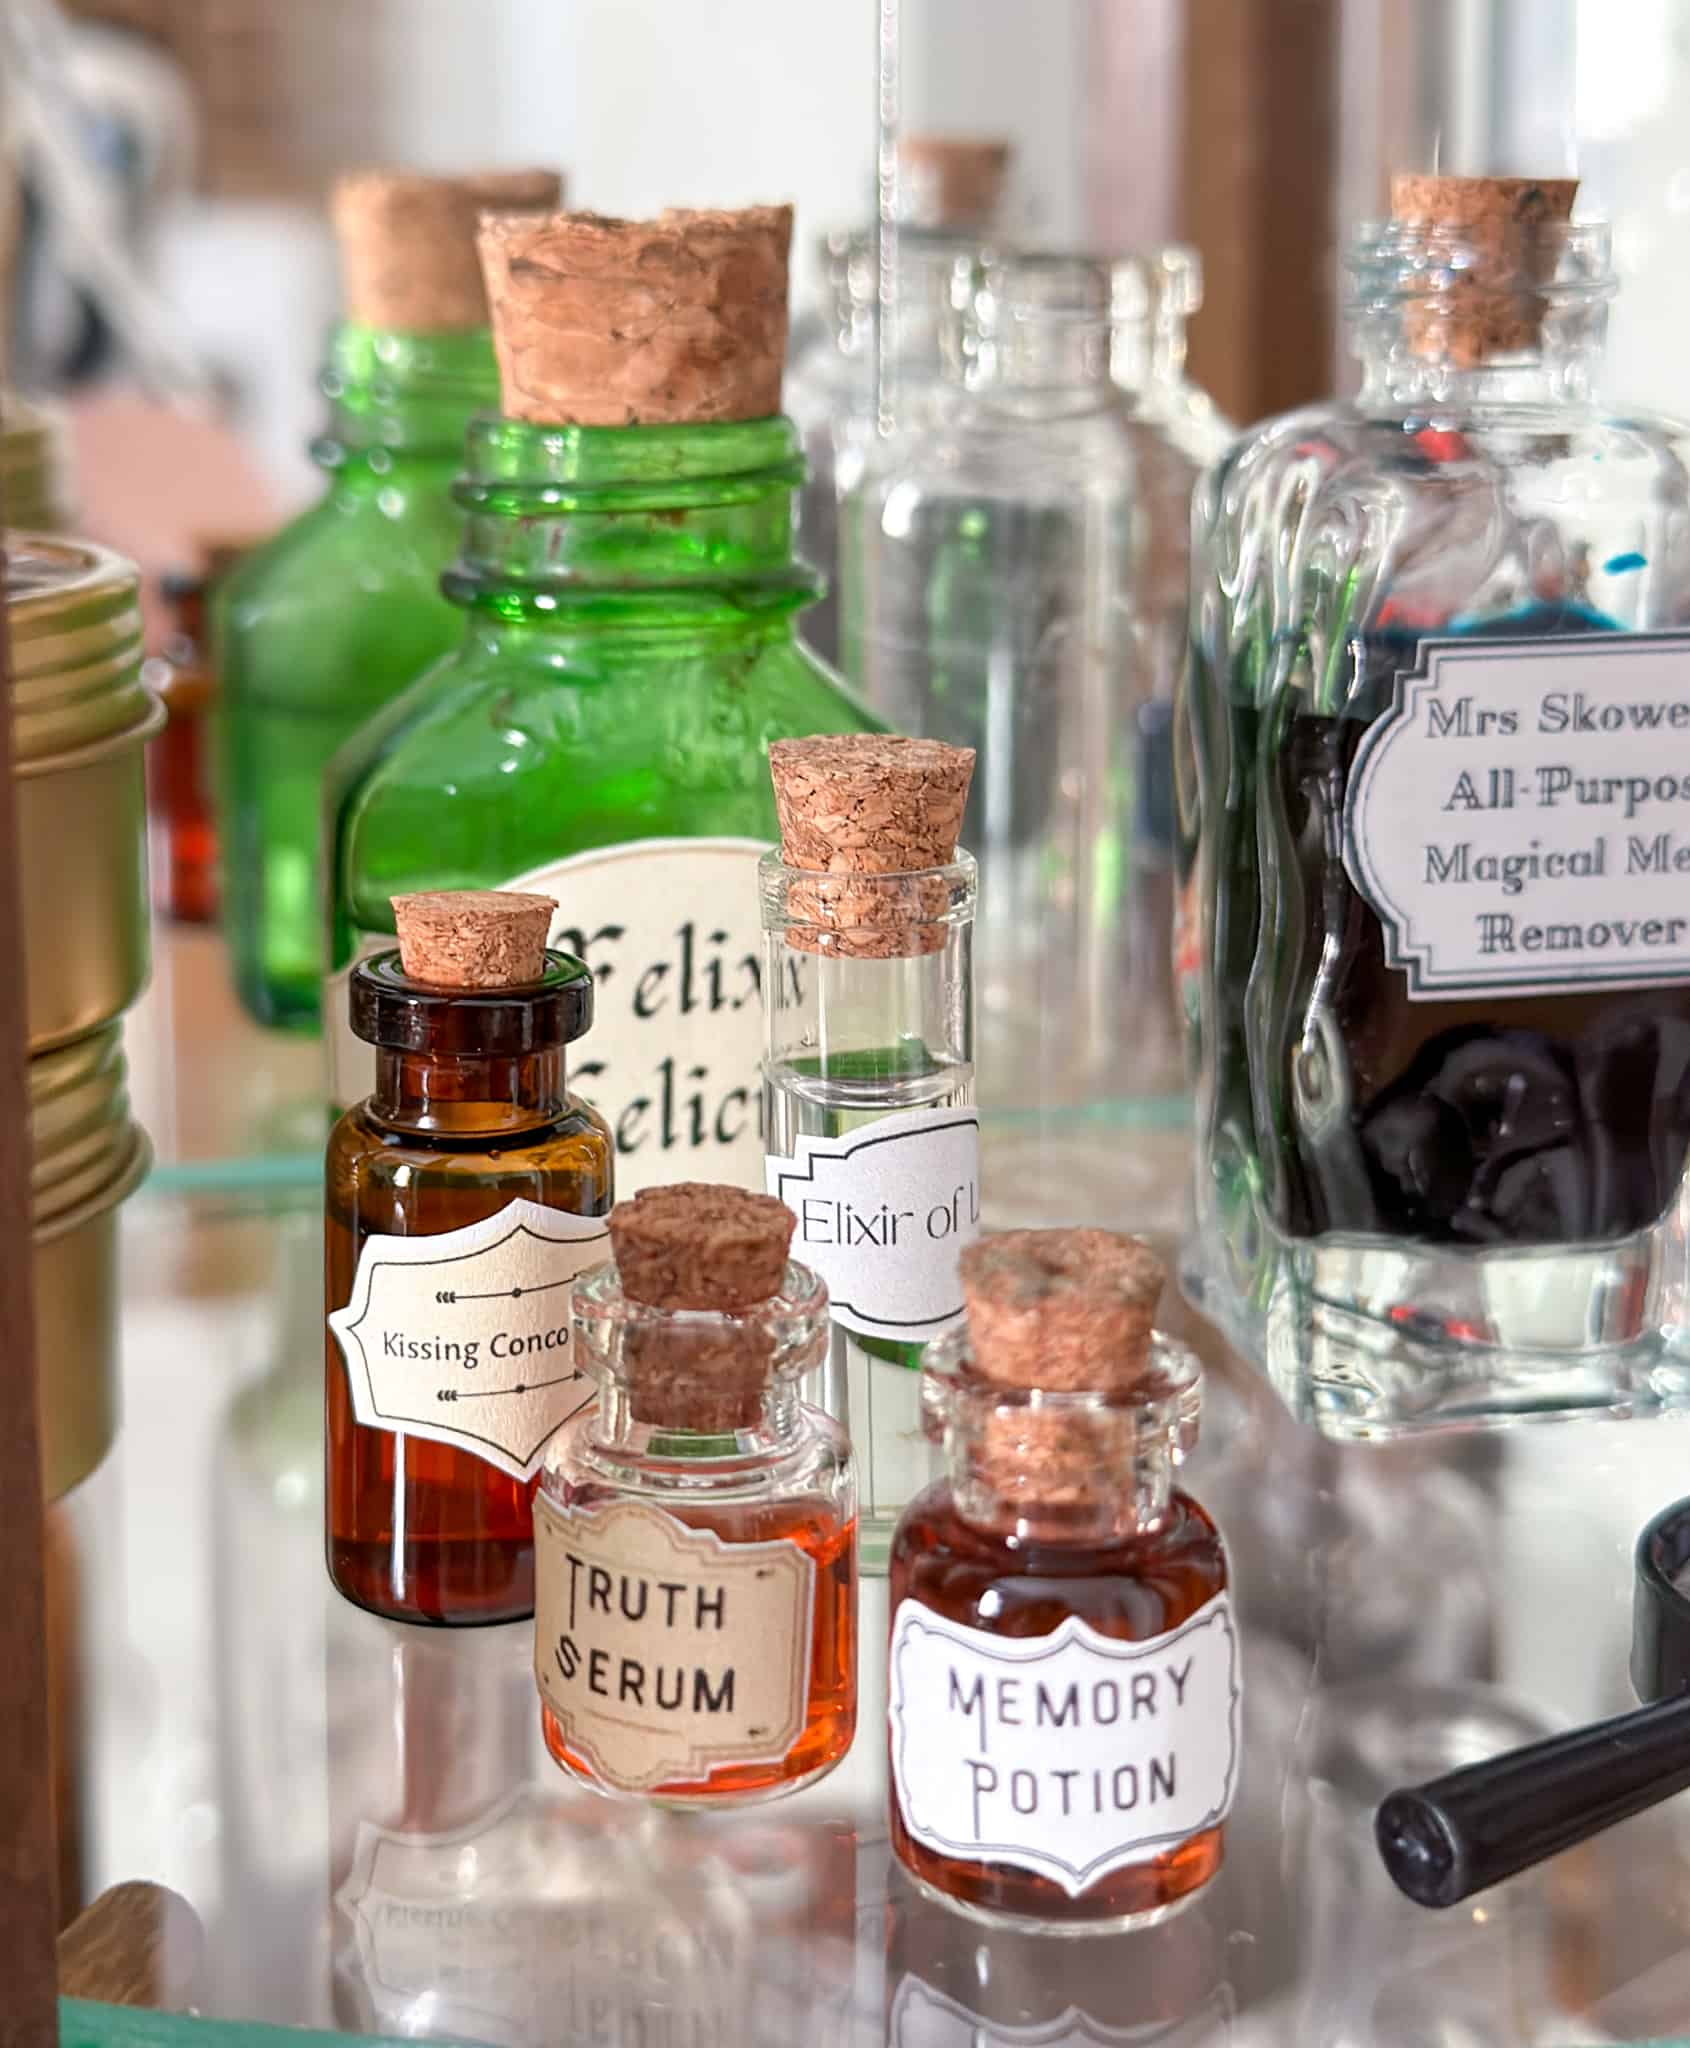
I found this little cabinet for $10 at the thrift store while I was planning my Harry Potter decor and thought it would be a great addition. It's one of my best Harry Potter party ideas. We set it up, and filled it with potions. On the main table I added lots of potion ingredients. In this little cabinet I wanted to add lots of potions. These are in much smaller bottles, and mostly liquids. Again I searched online, and found a complete list of every potion mentioned in the Harry Potter books. I used these names to make authentic labels for the little bottles. If you want to make something similar, you can print my tiny labels. The small potion labels are available as a free printable in our Free Resource Library. There are also a sheet of blank labels, if you want to make your own.
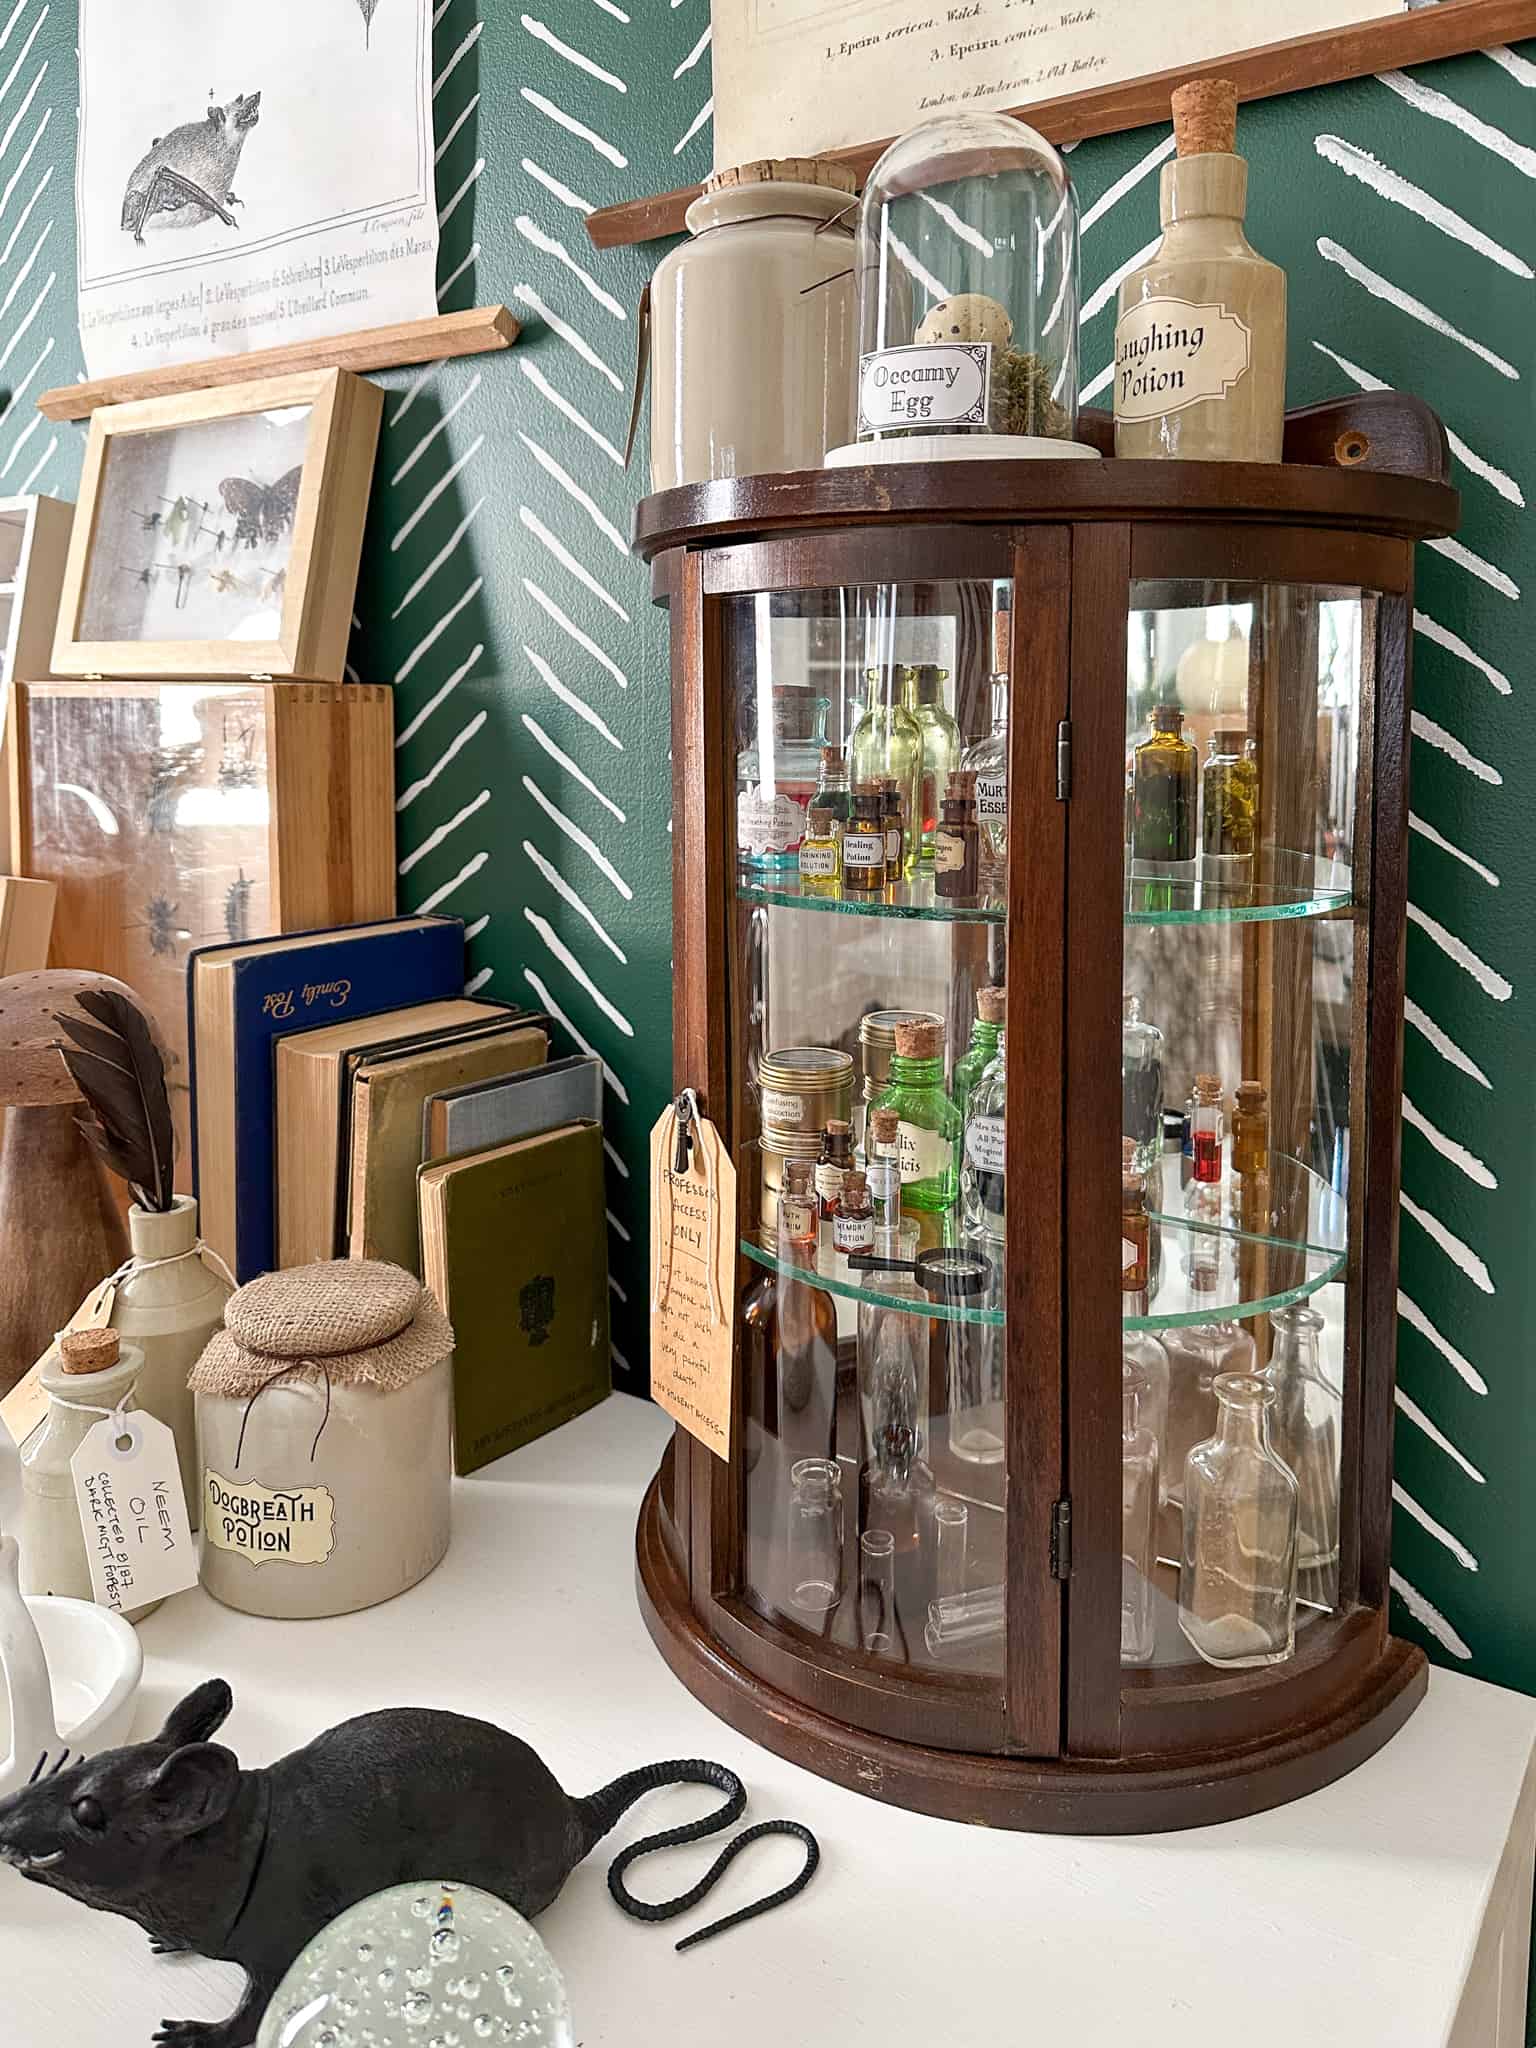
The bottles are a mix of vintage and new ones from the dollar store. I filled them with water, and used food colouring to dye some of them. The labels are glued onto the bottles with a glue stick. I also found a tiny magnifying glass. The cabinet is filled with small things, and it turned out great.
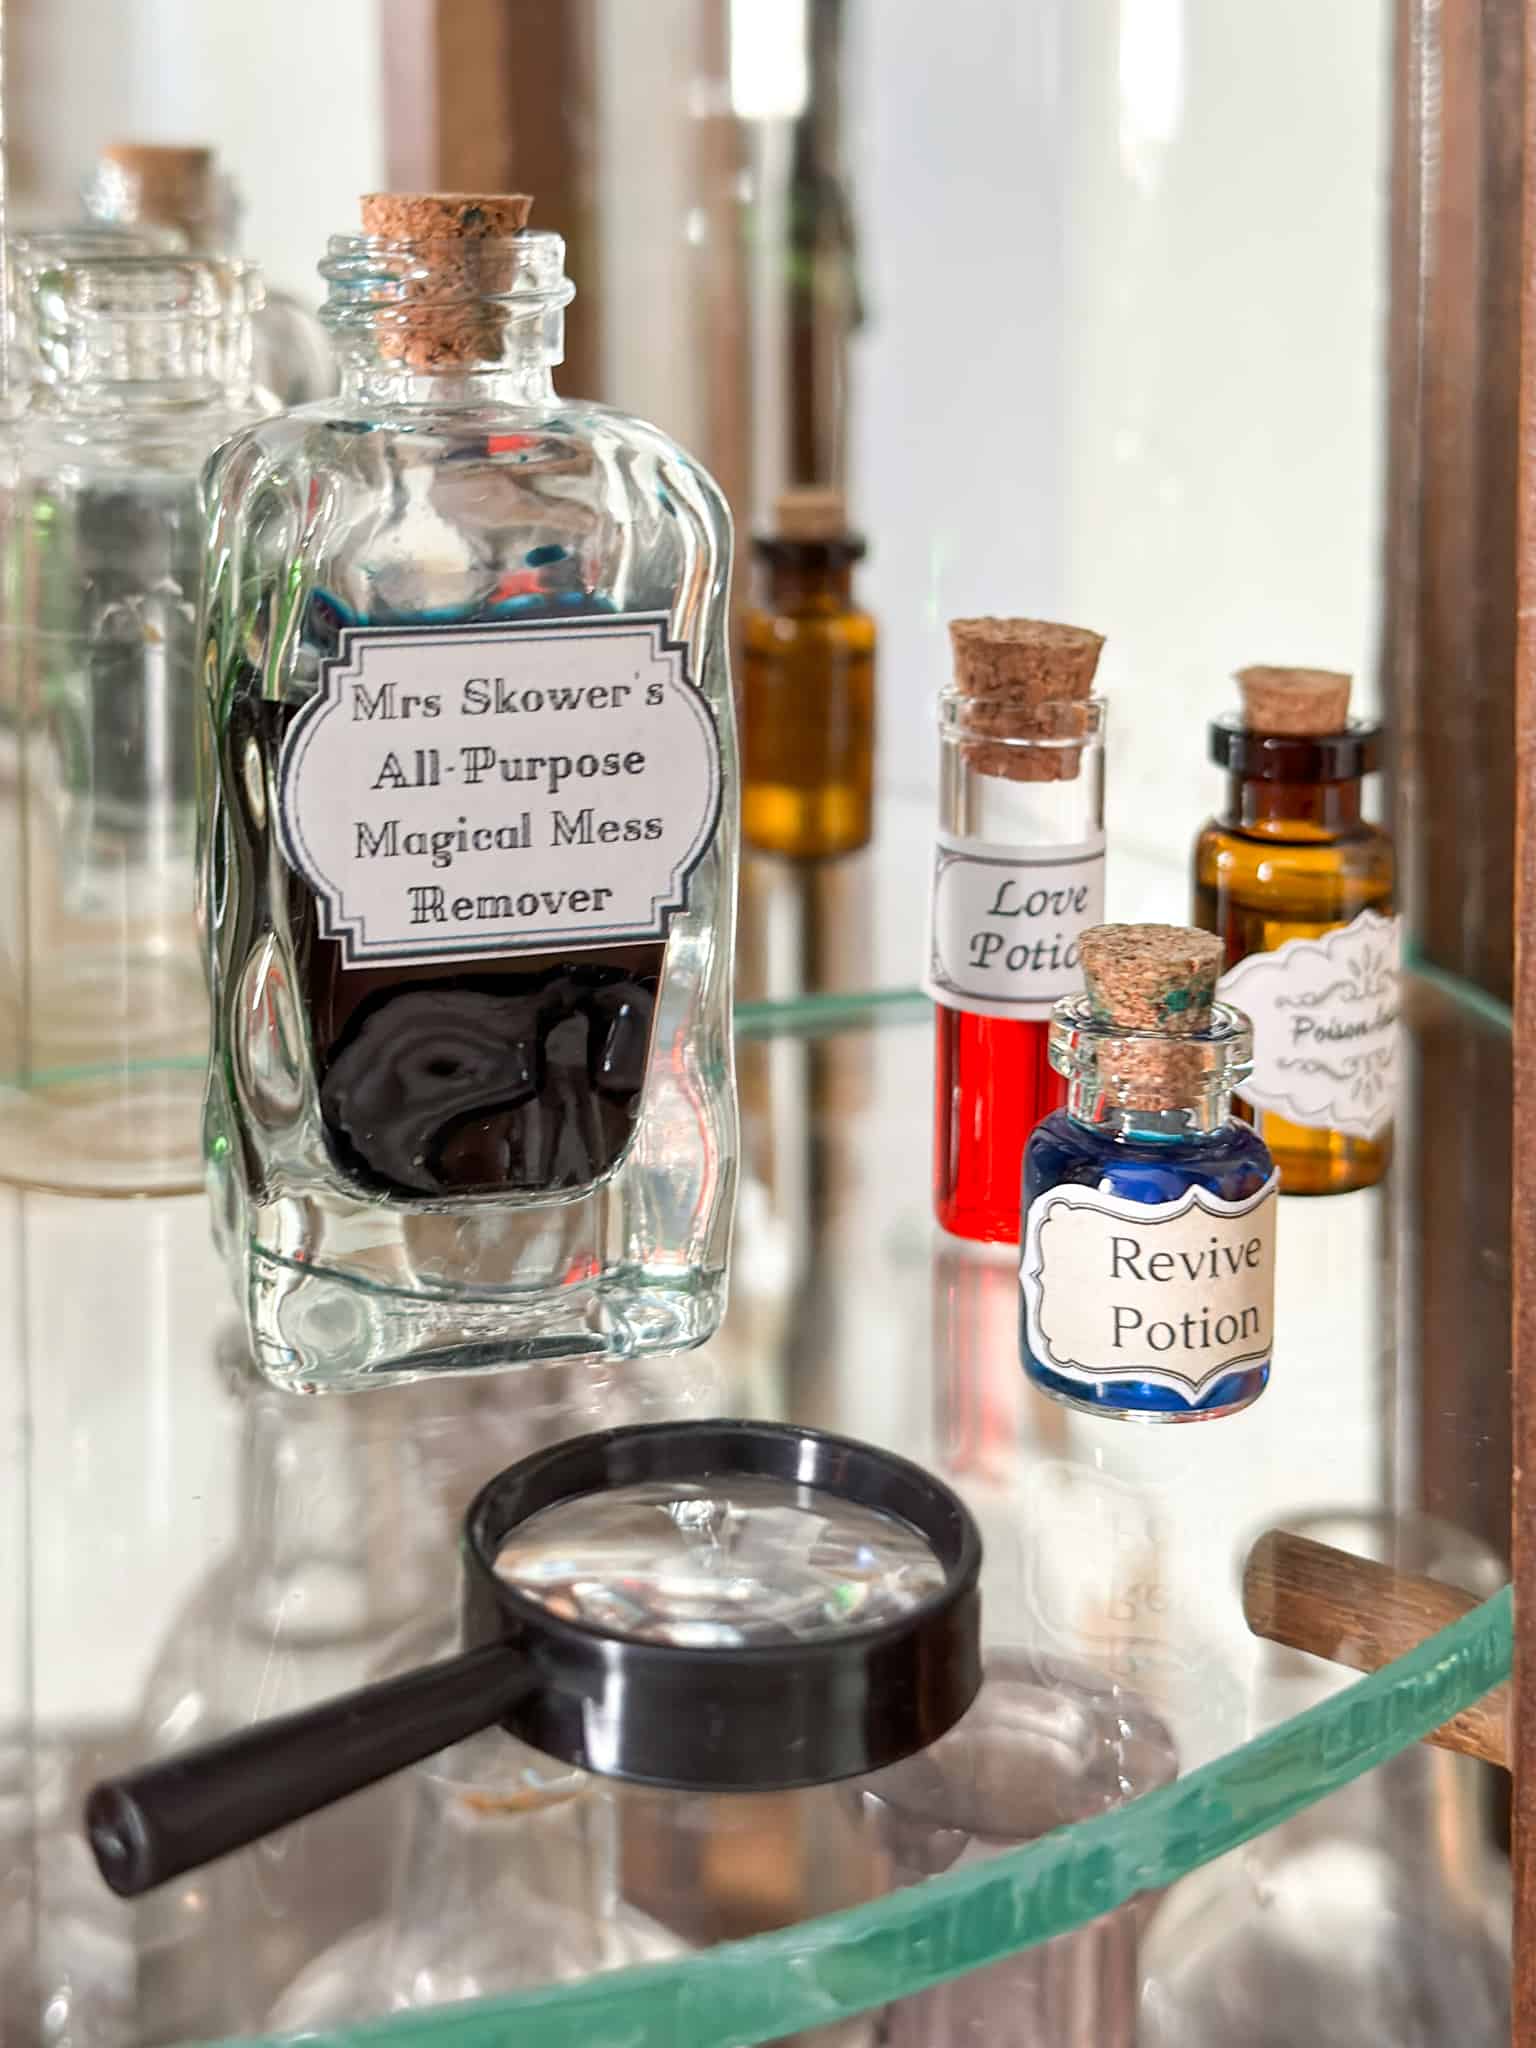
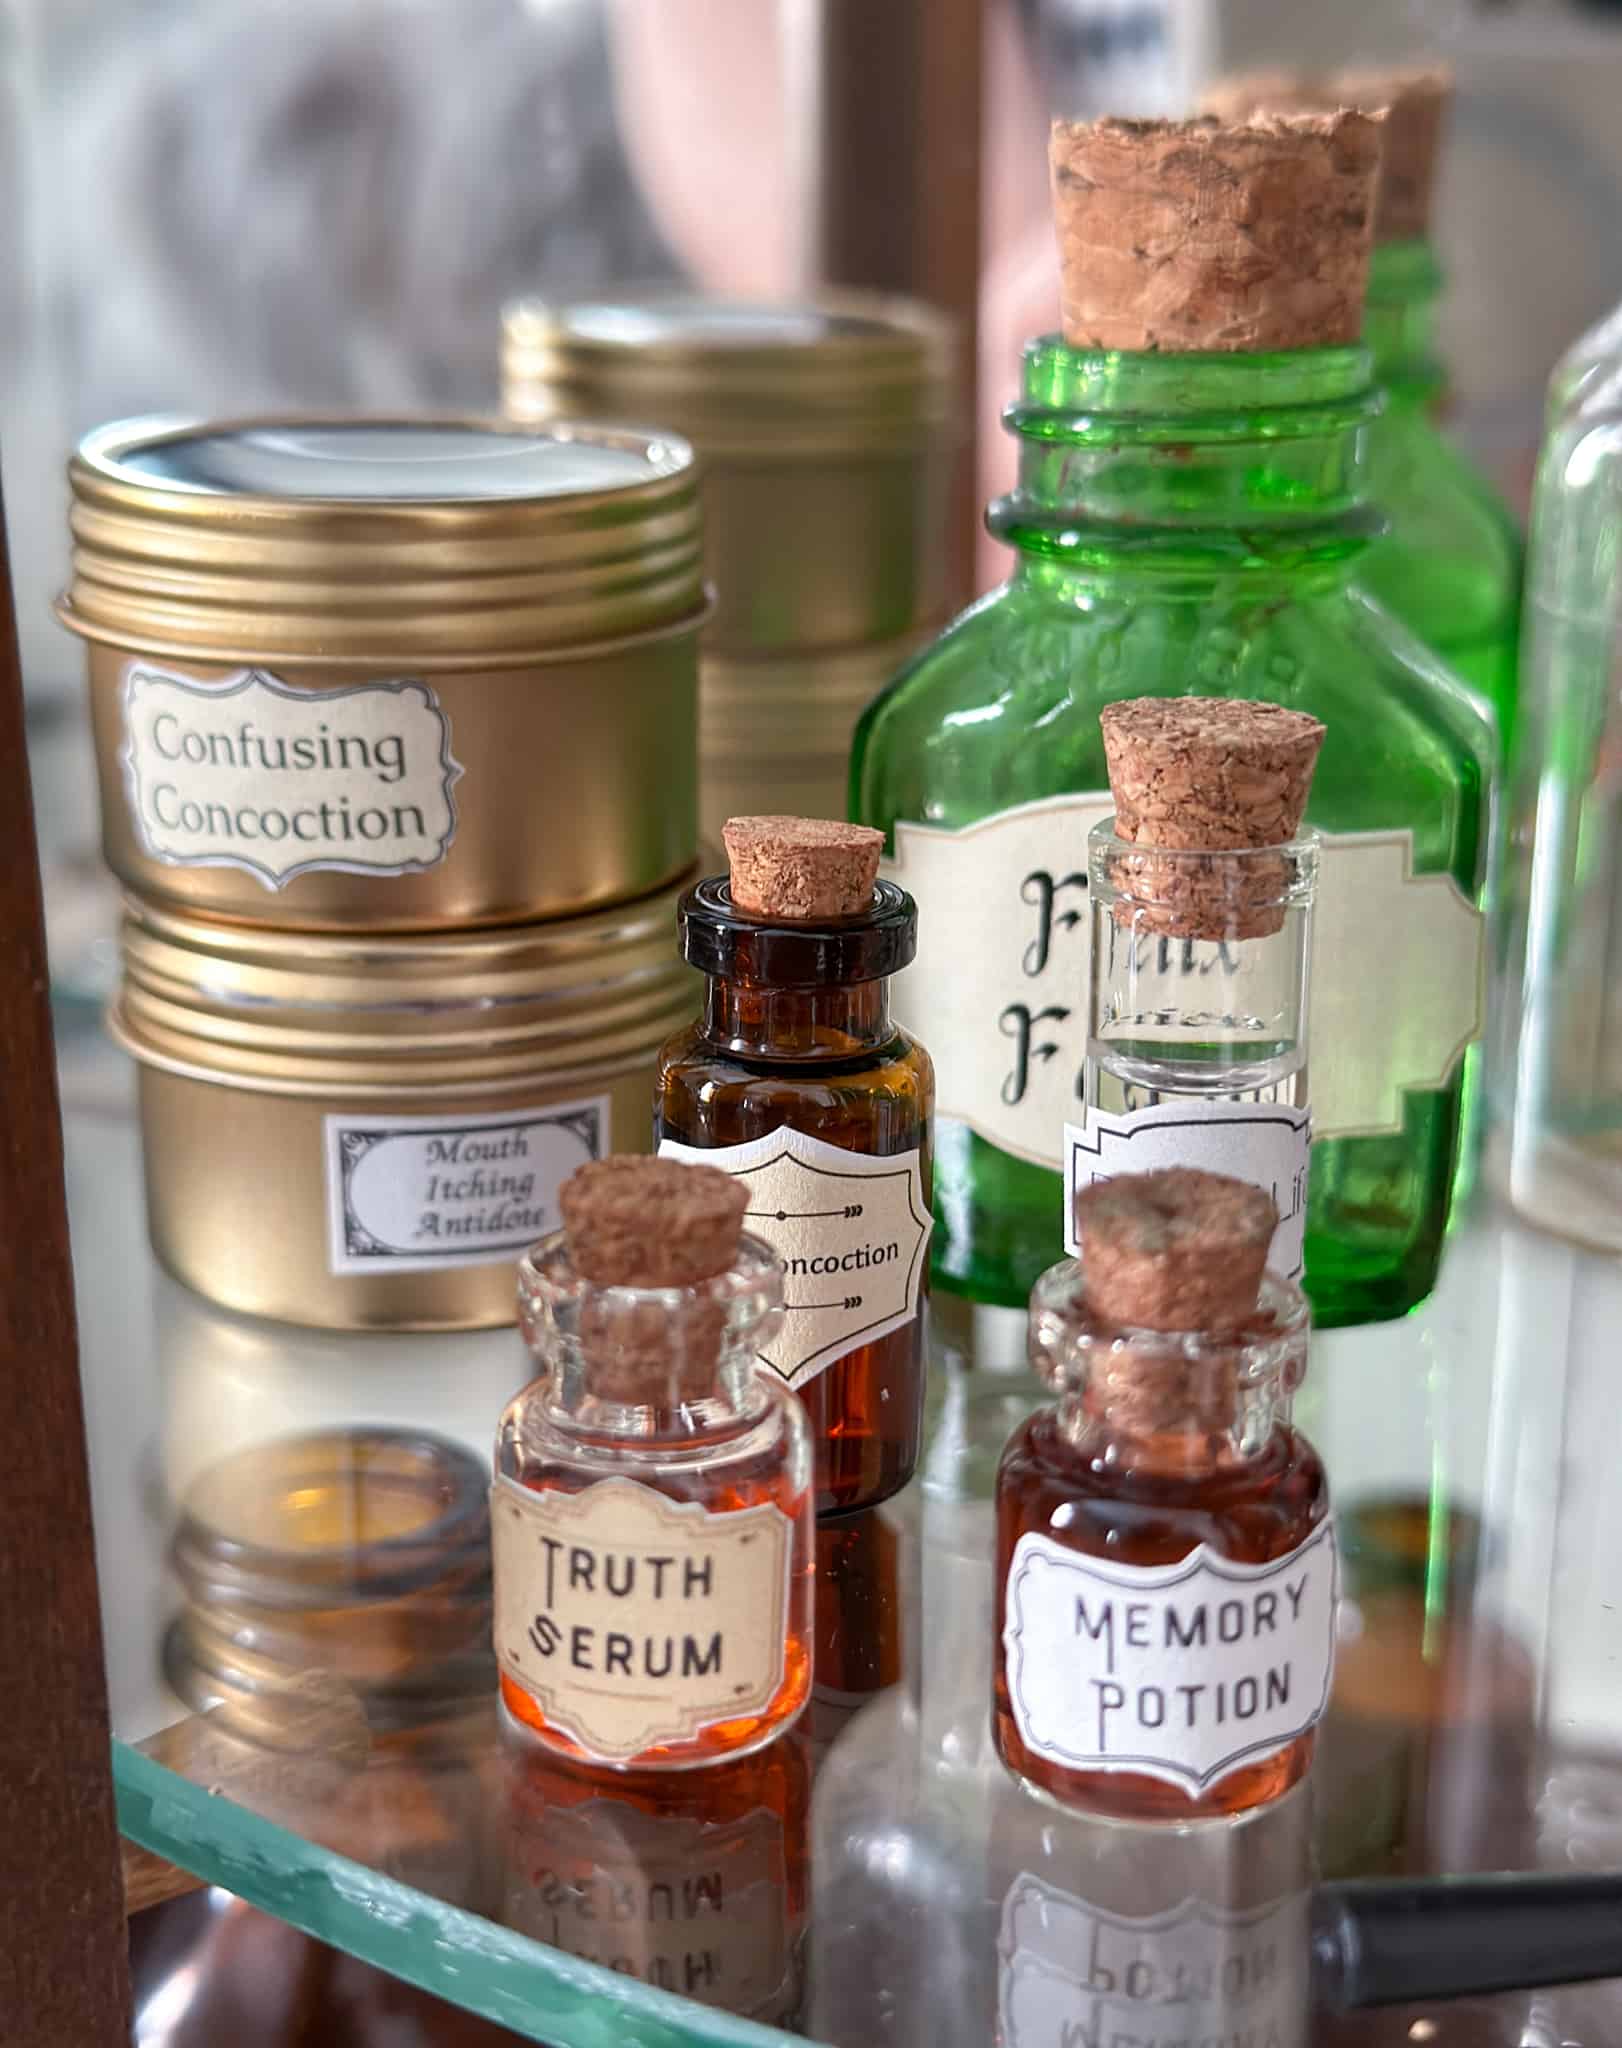
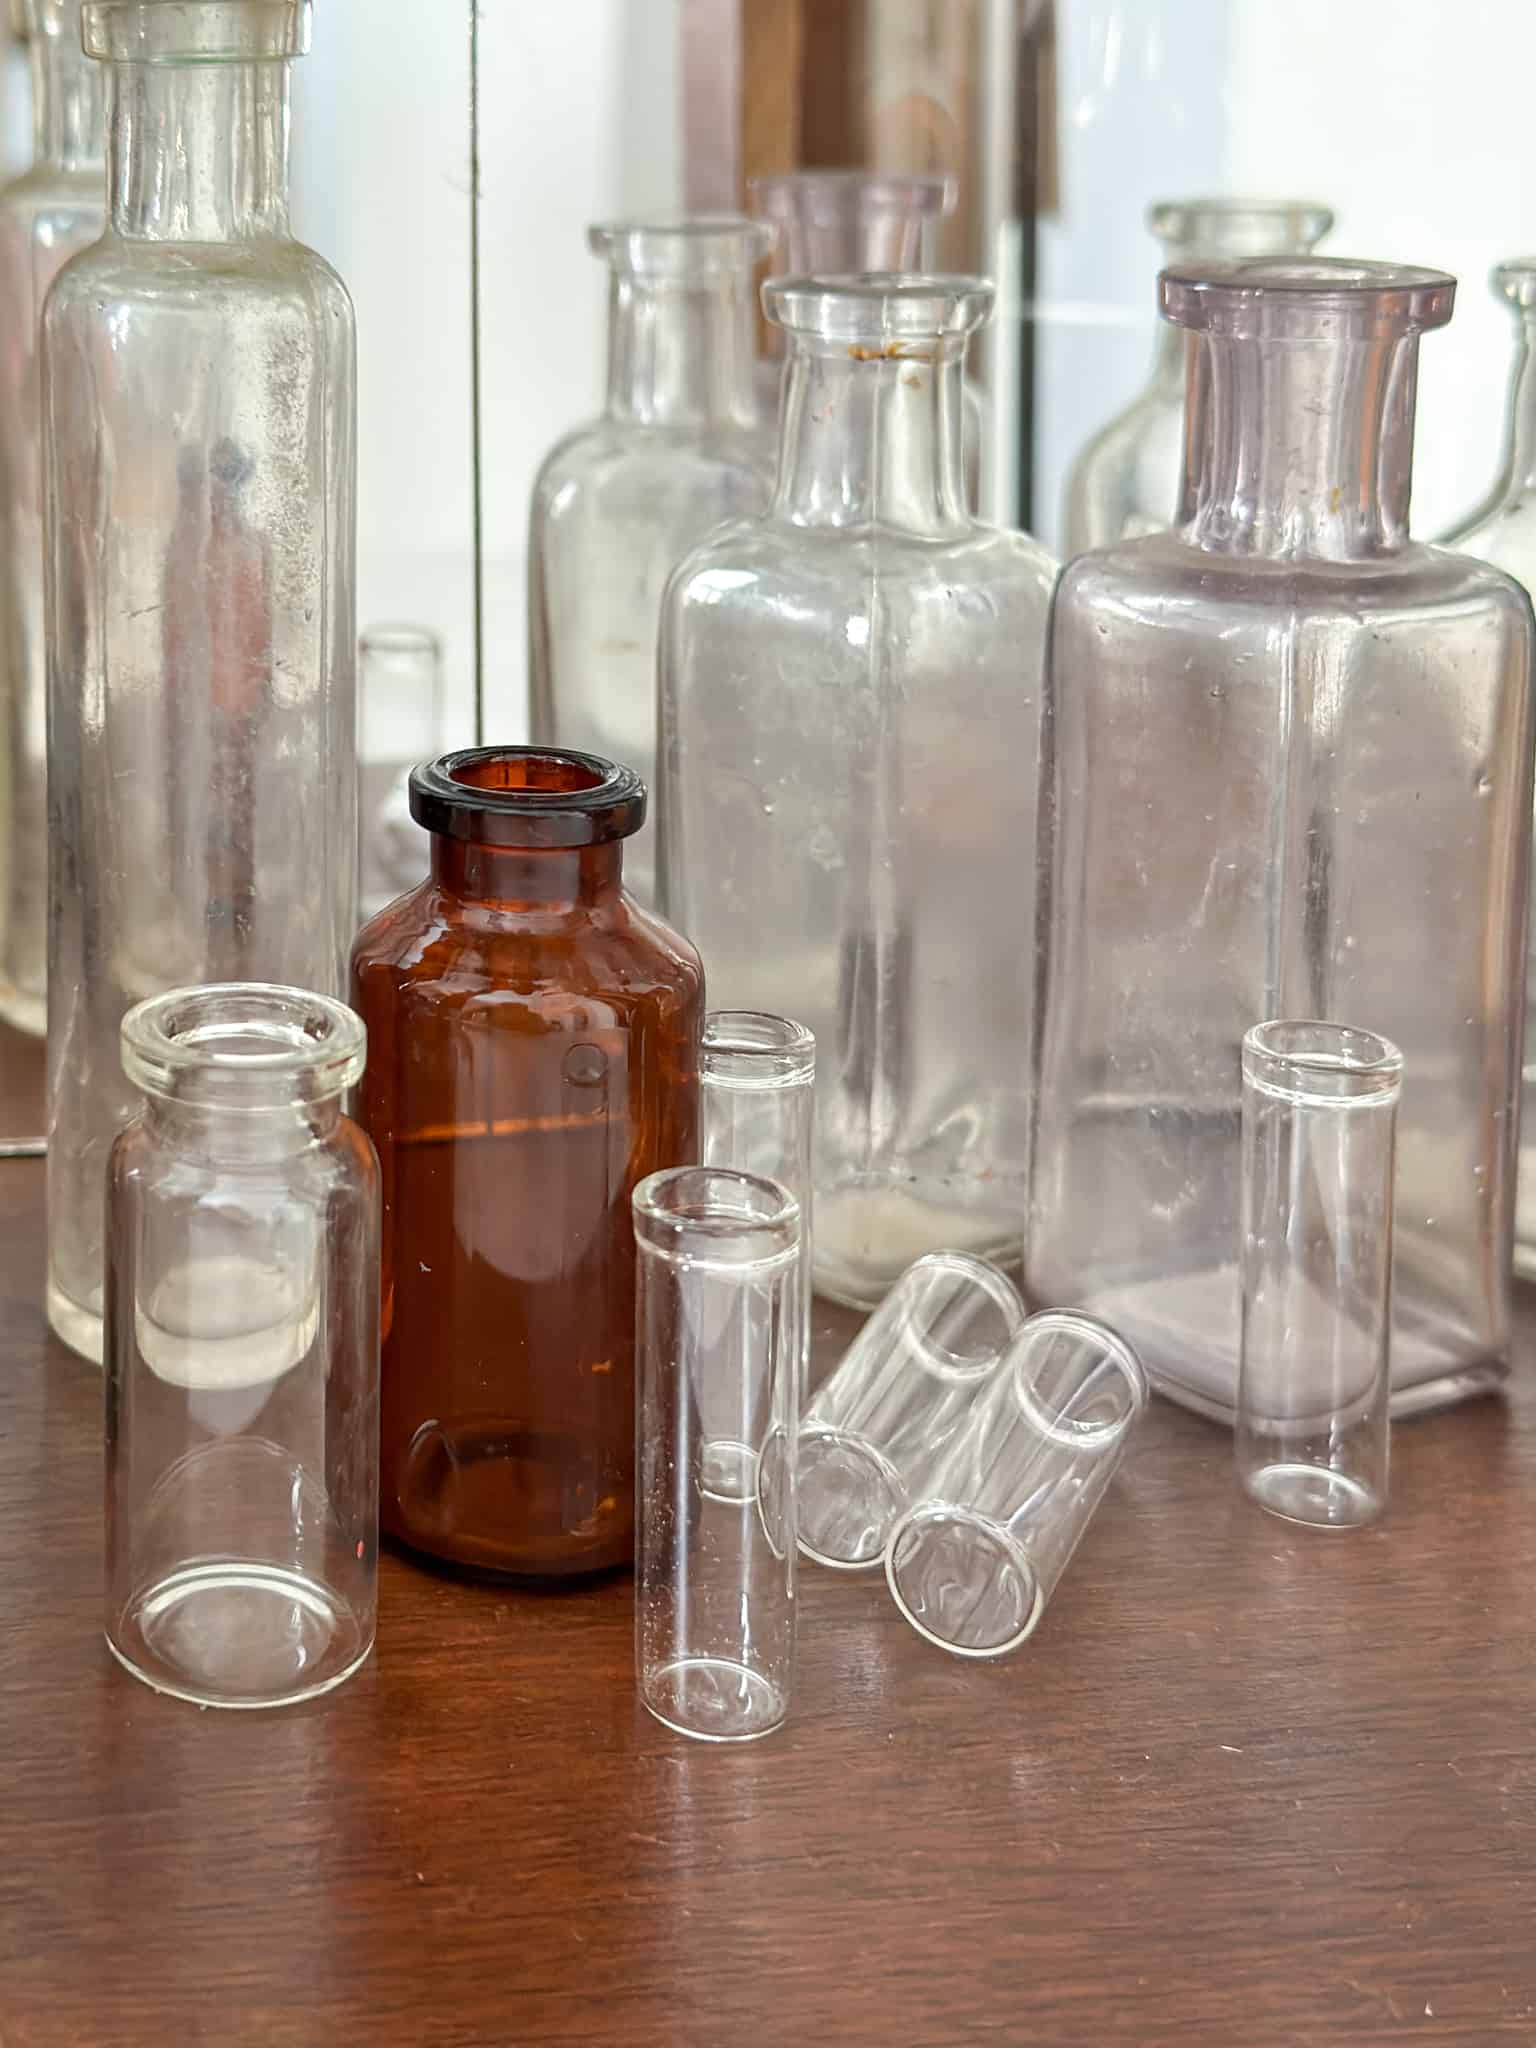
The bottom of the cabinet is filled with some empty glass bottles and vials, ready for the potions the students will be making.
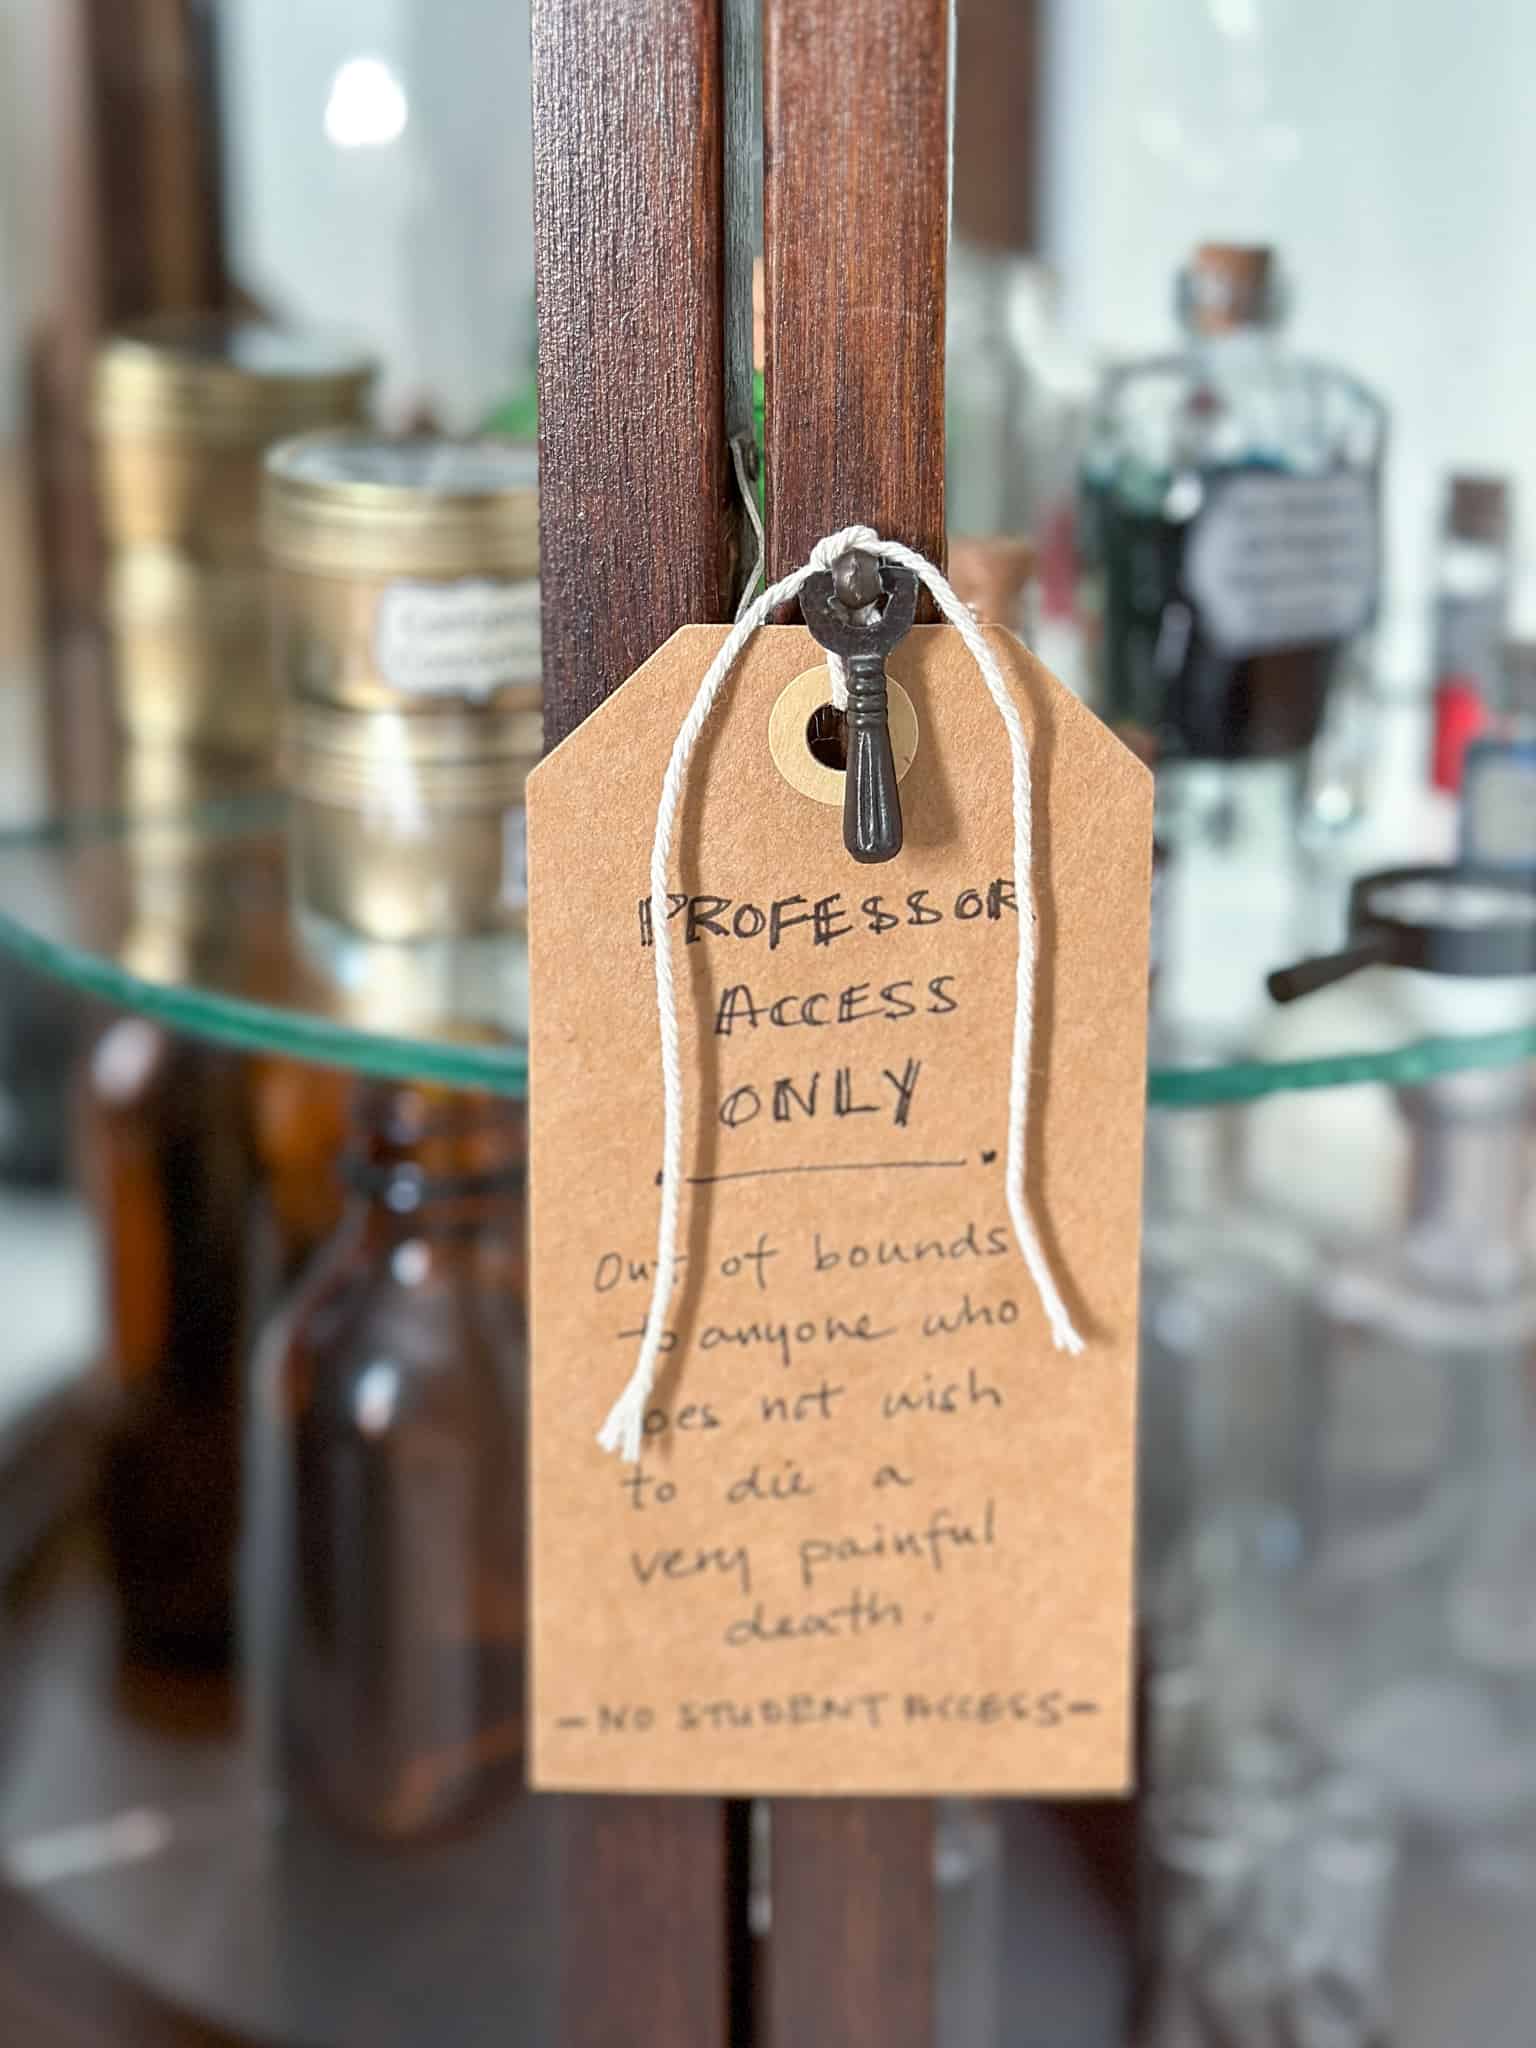
On the front of the cabinet is a label saying "Professor Access Only - Out of bounds to anyone who does not wish to die a very painful death. -NO STUDENT ACCESS- ". So no little wizards are permitted access.
Herbology
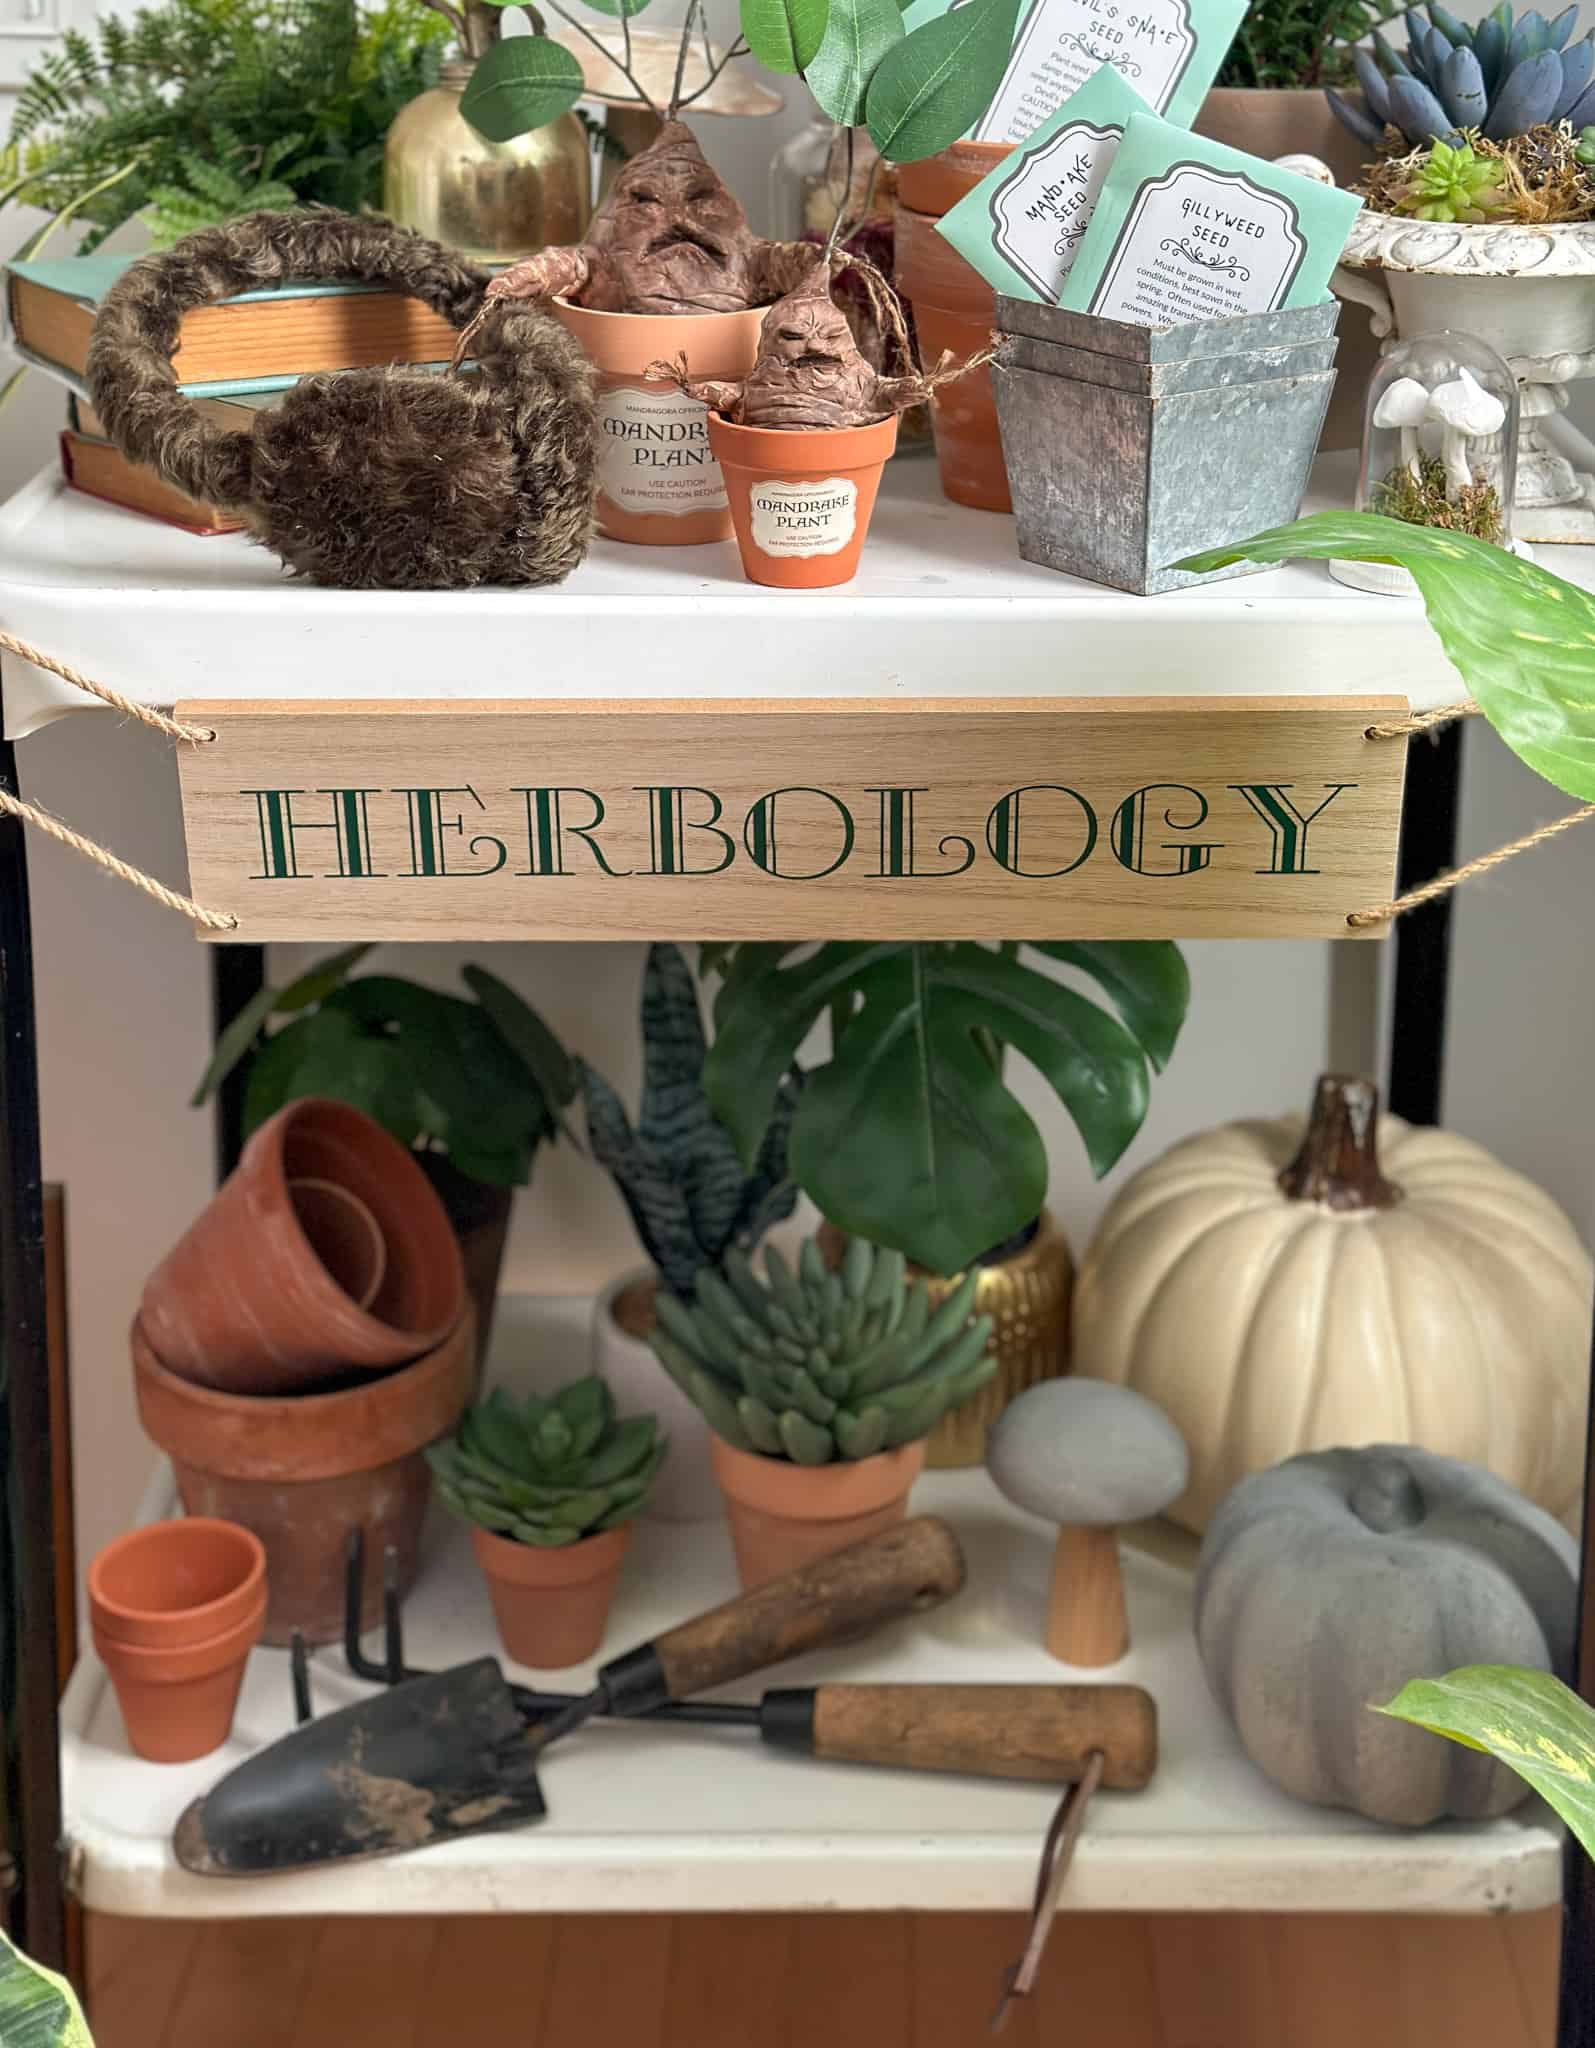
In another corner of the room, on our little vintage bar cart, I set up a Herbology classroom to fit in with our Harry Potter theme. I started out by adding lots of faux plants, and garden supplies, like trowels, and plant pots.
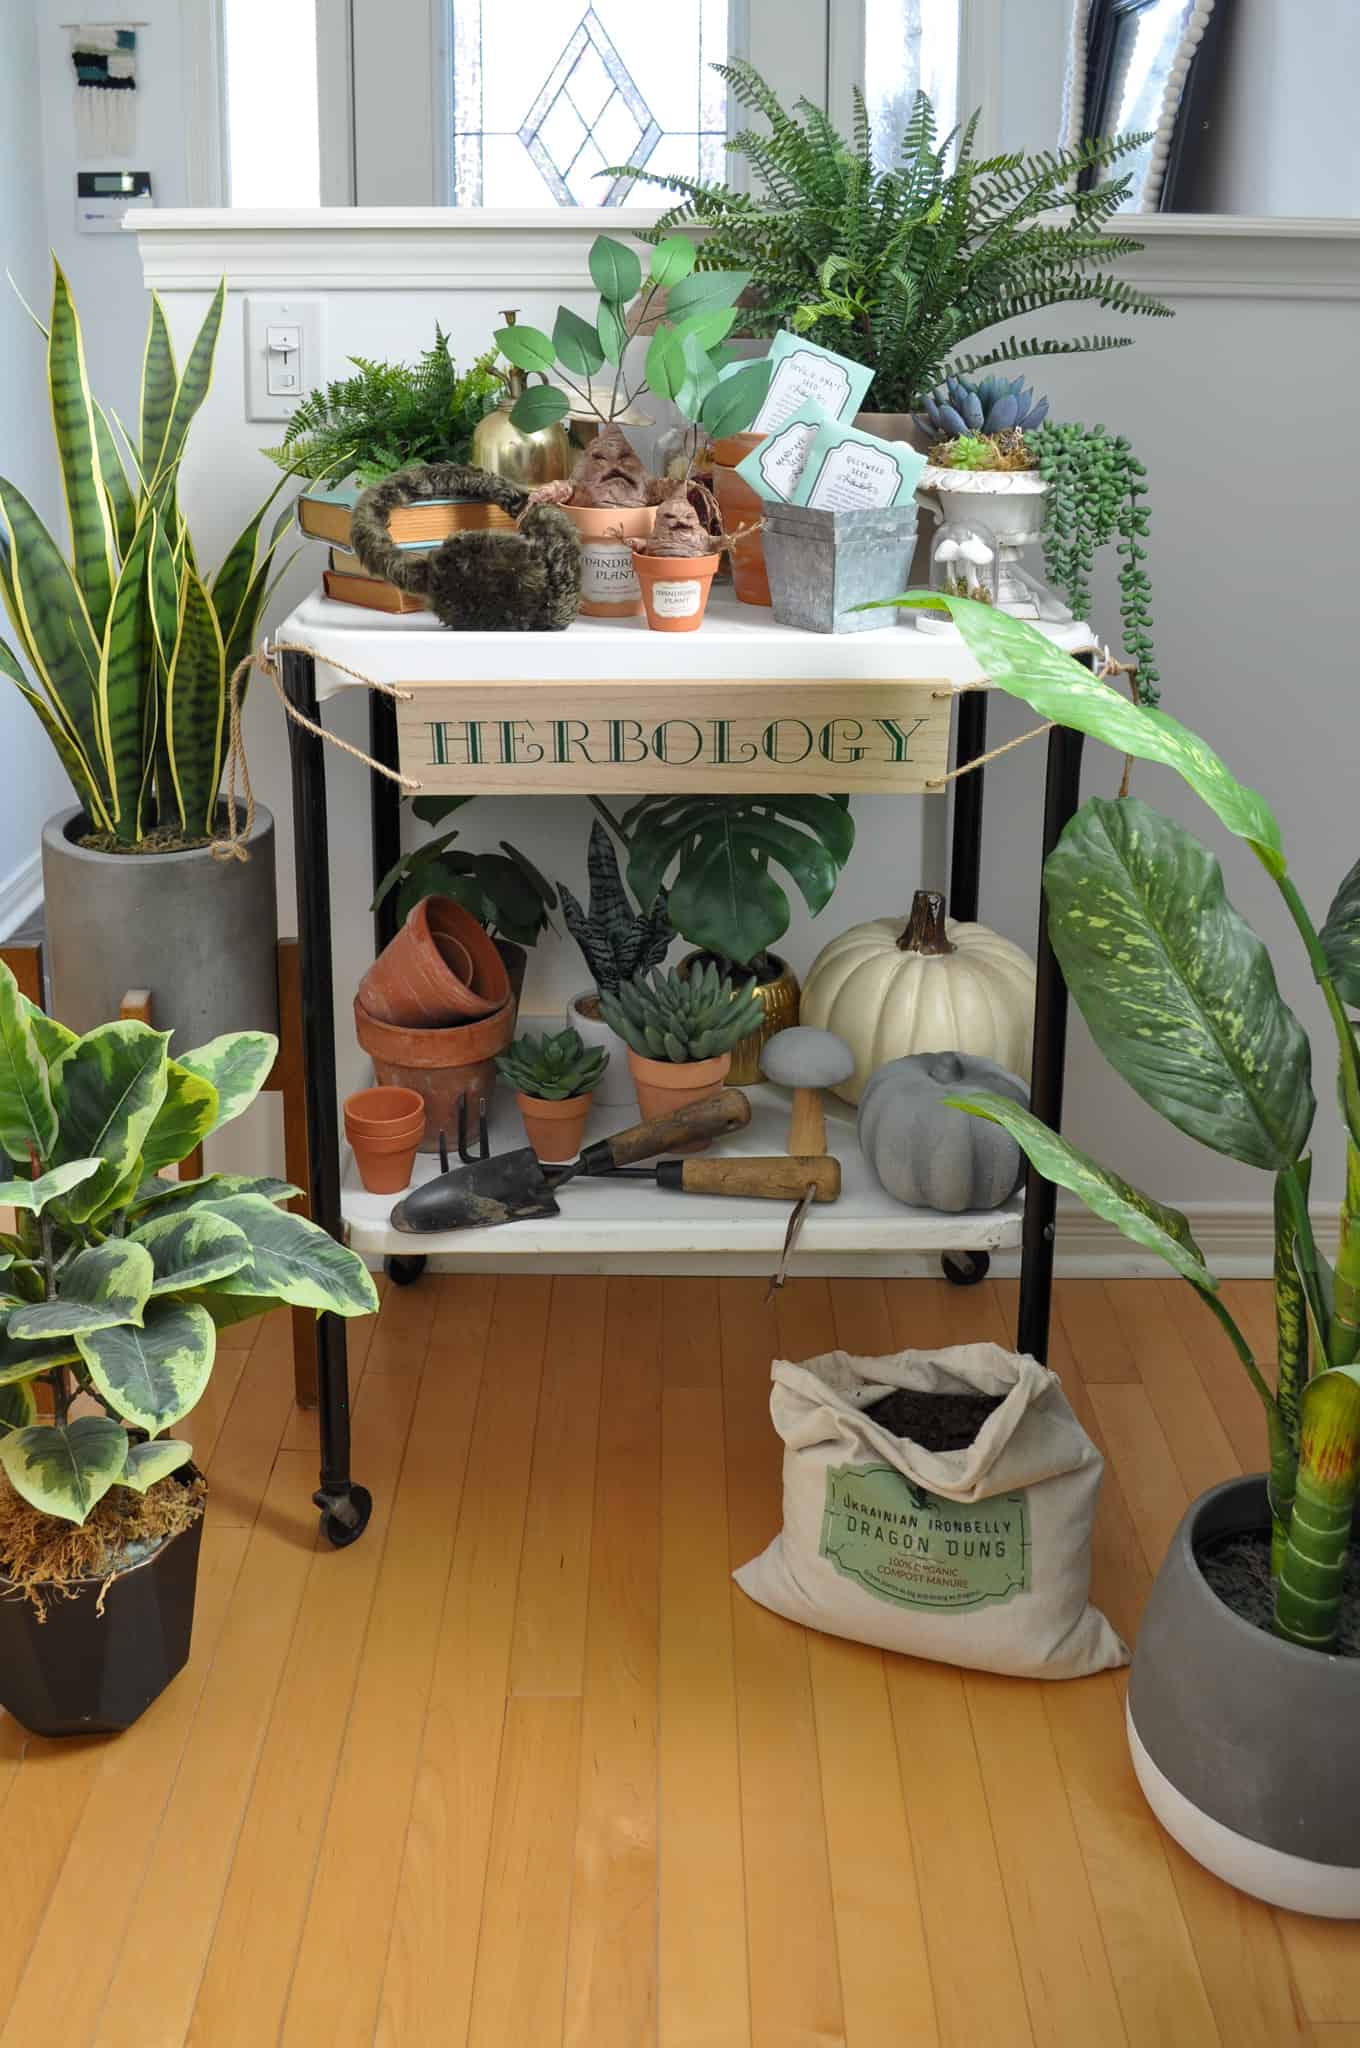
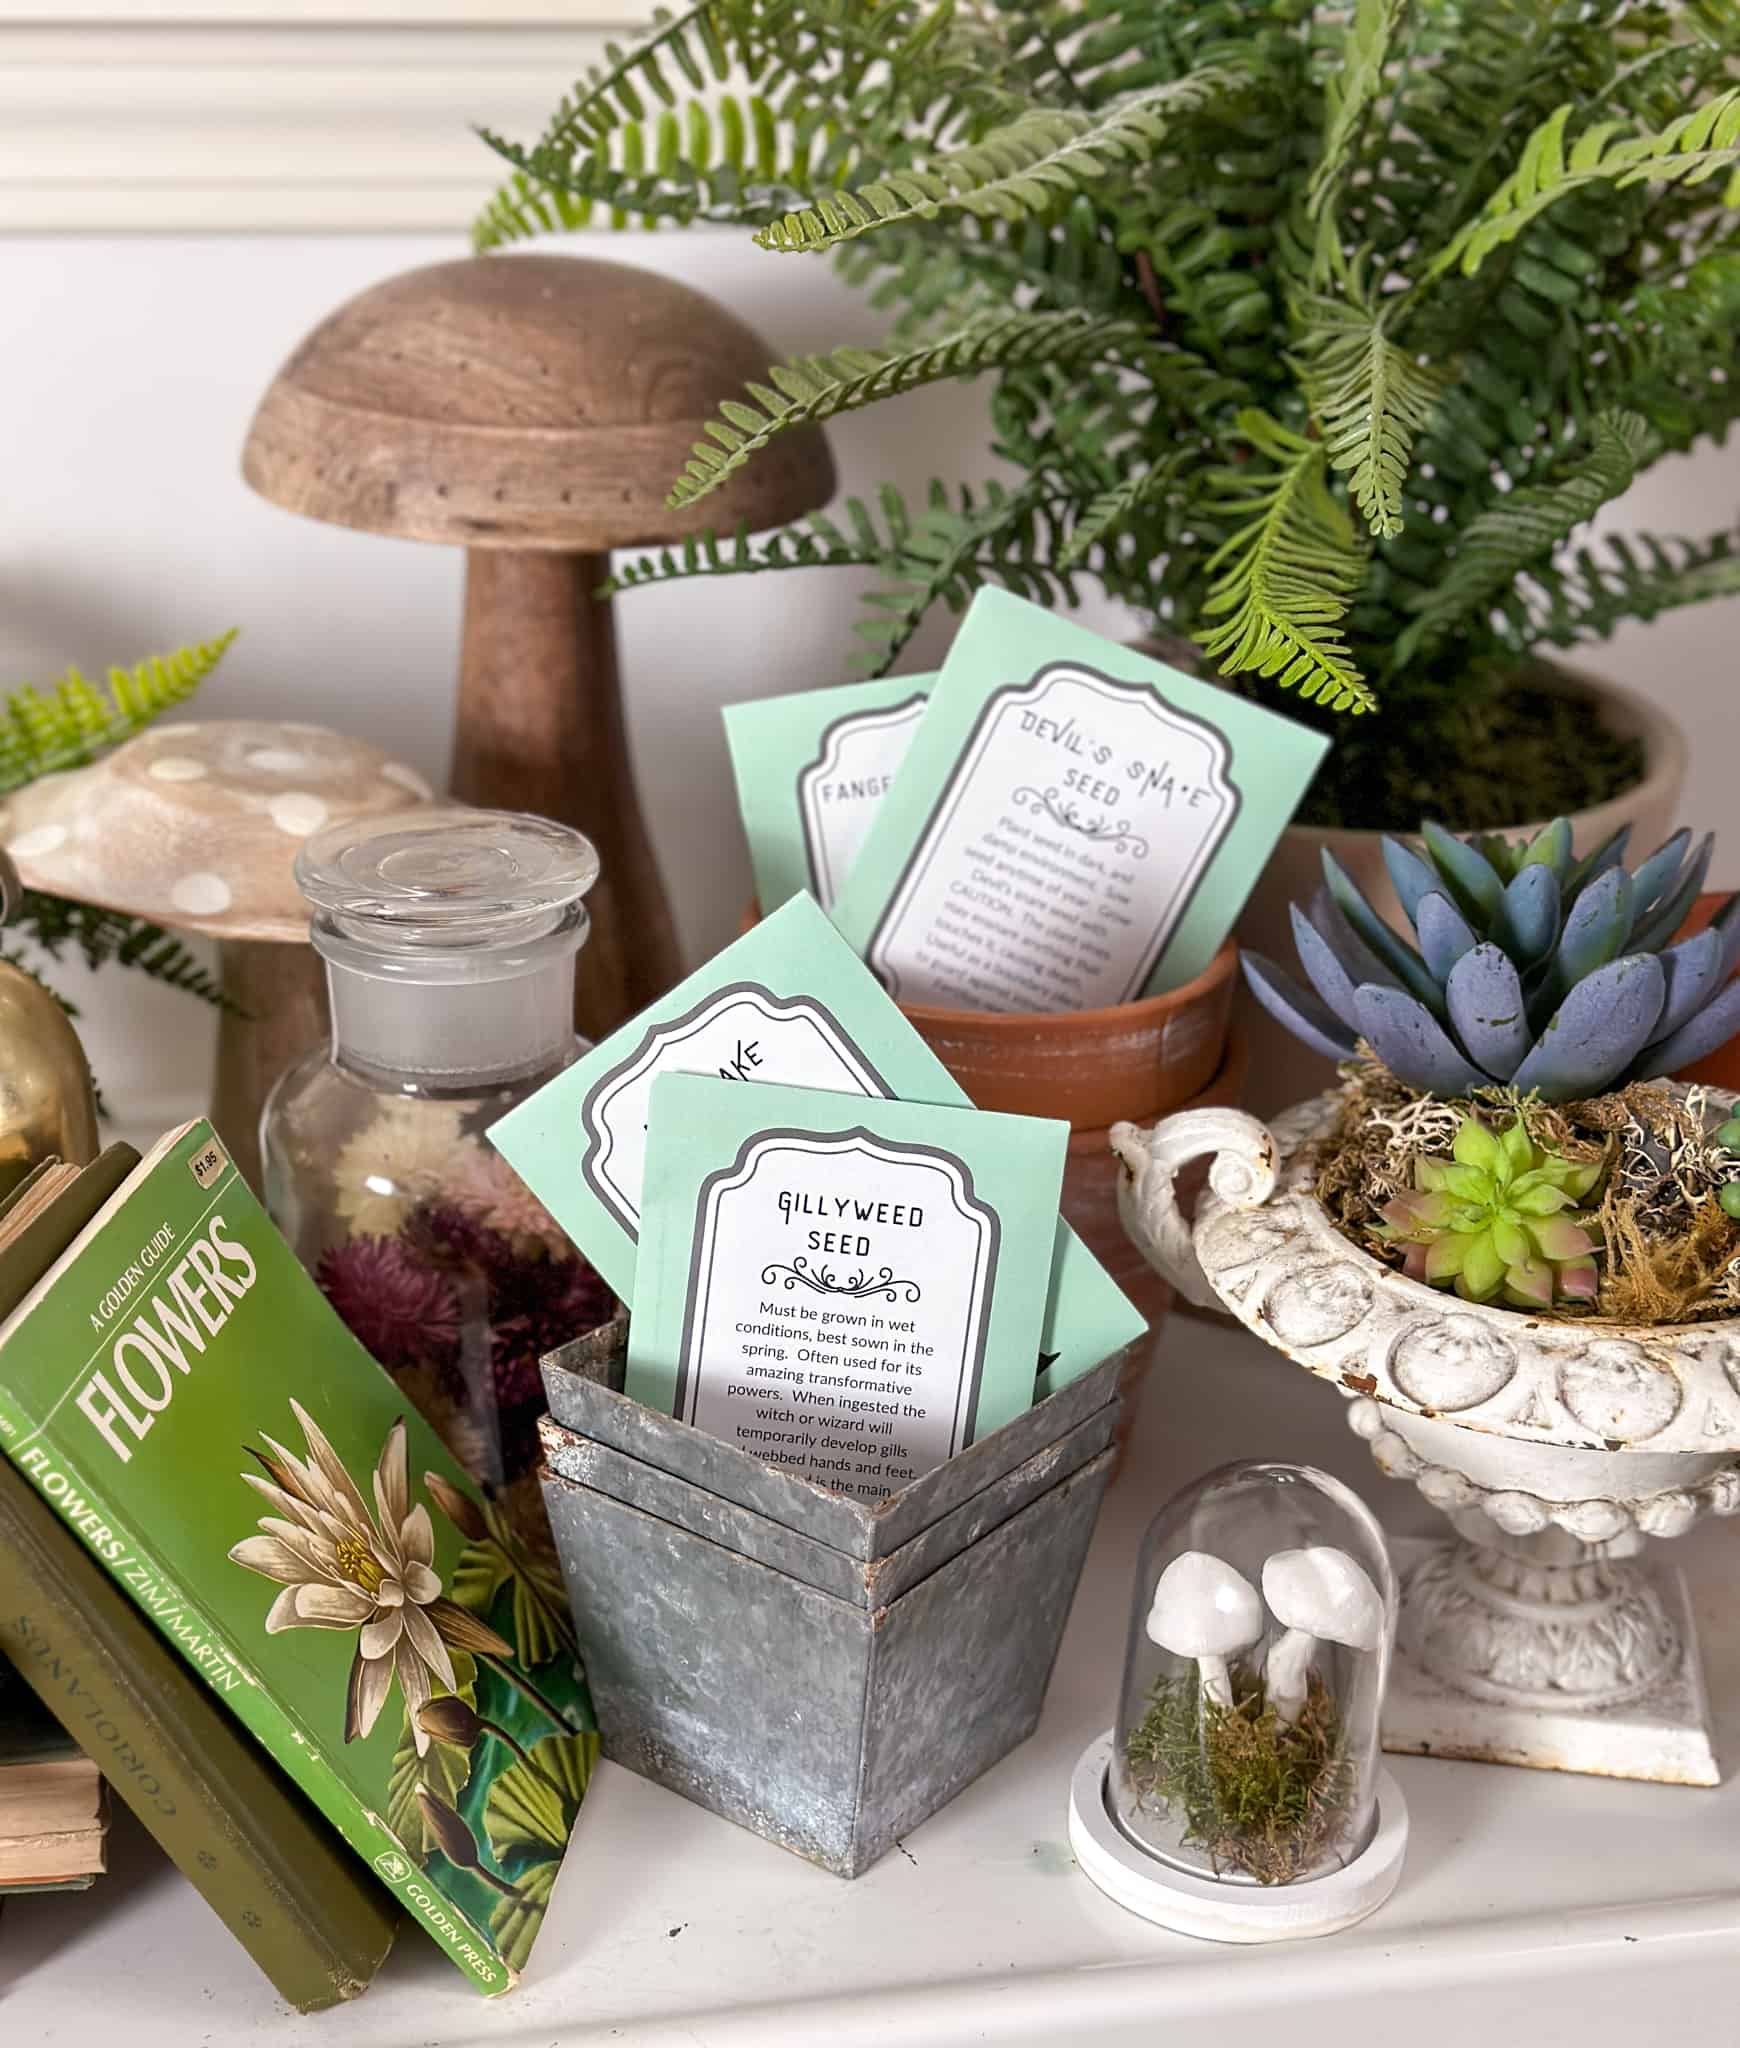
Up on the top, I added some seed packages. They're all ready to be planted by Hogwarts students. I created the printable seed packages, and you can access them in the Free Resource Library. The seeds are authentic plants that were all mentioned in the Harry Potter books. They're an easy and fun DIY to make. Just cut them out, fold, and glue together. I filled them with some dry rice so that they look, feel, and sound like real seed packages.
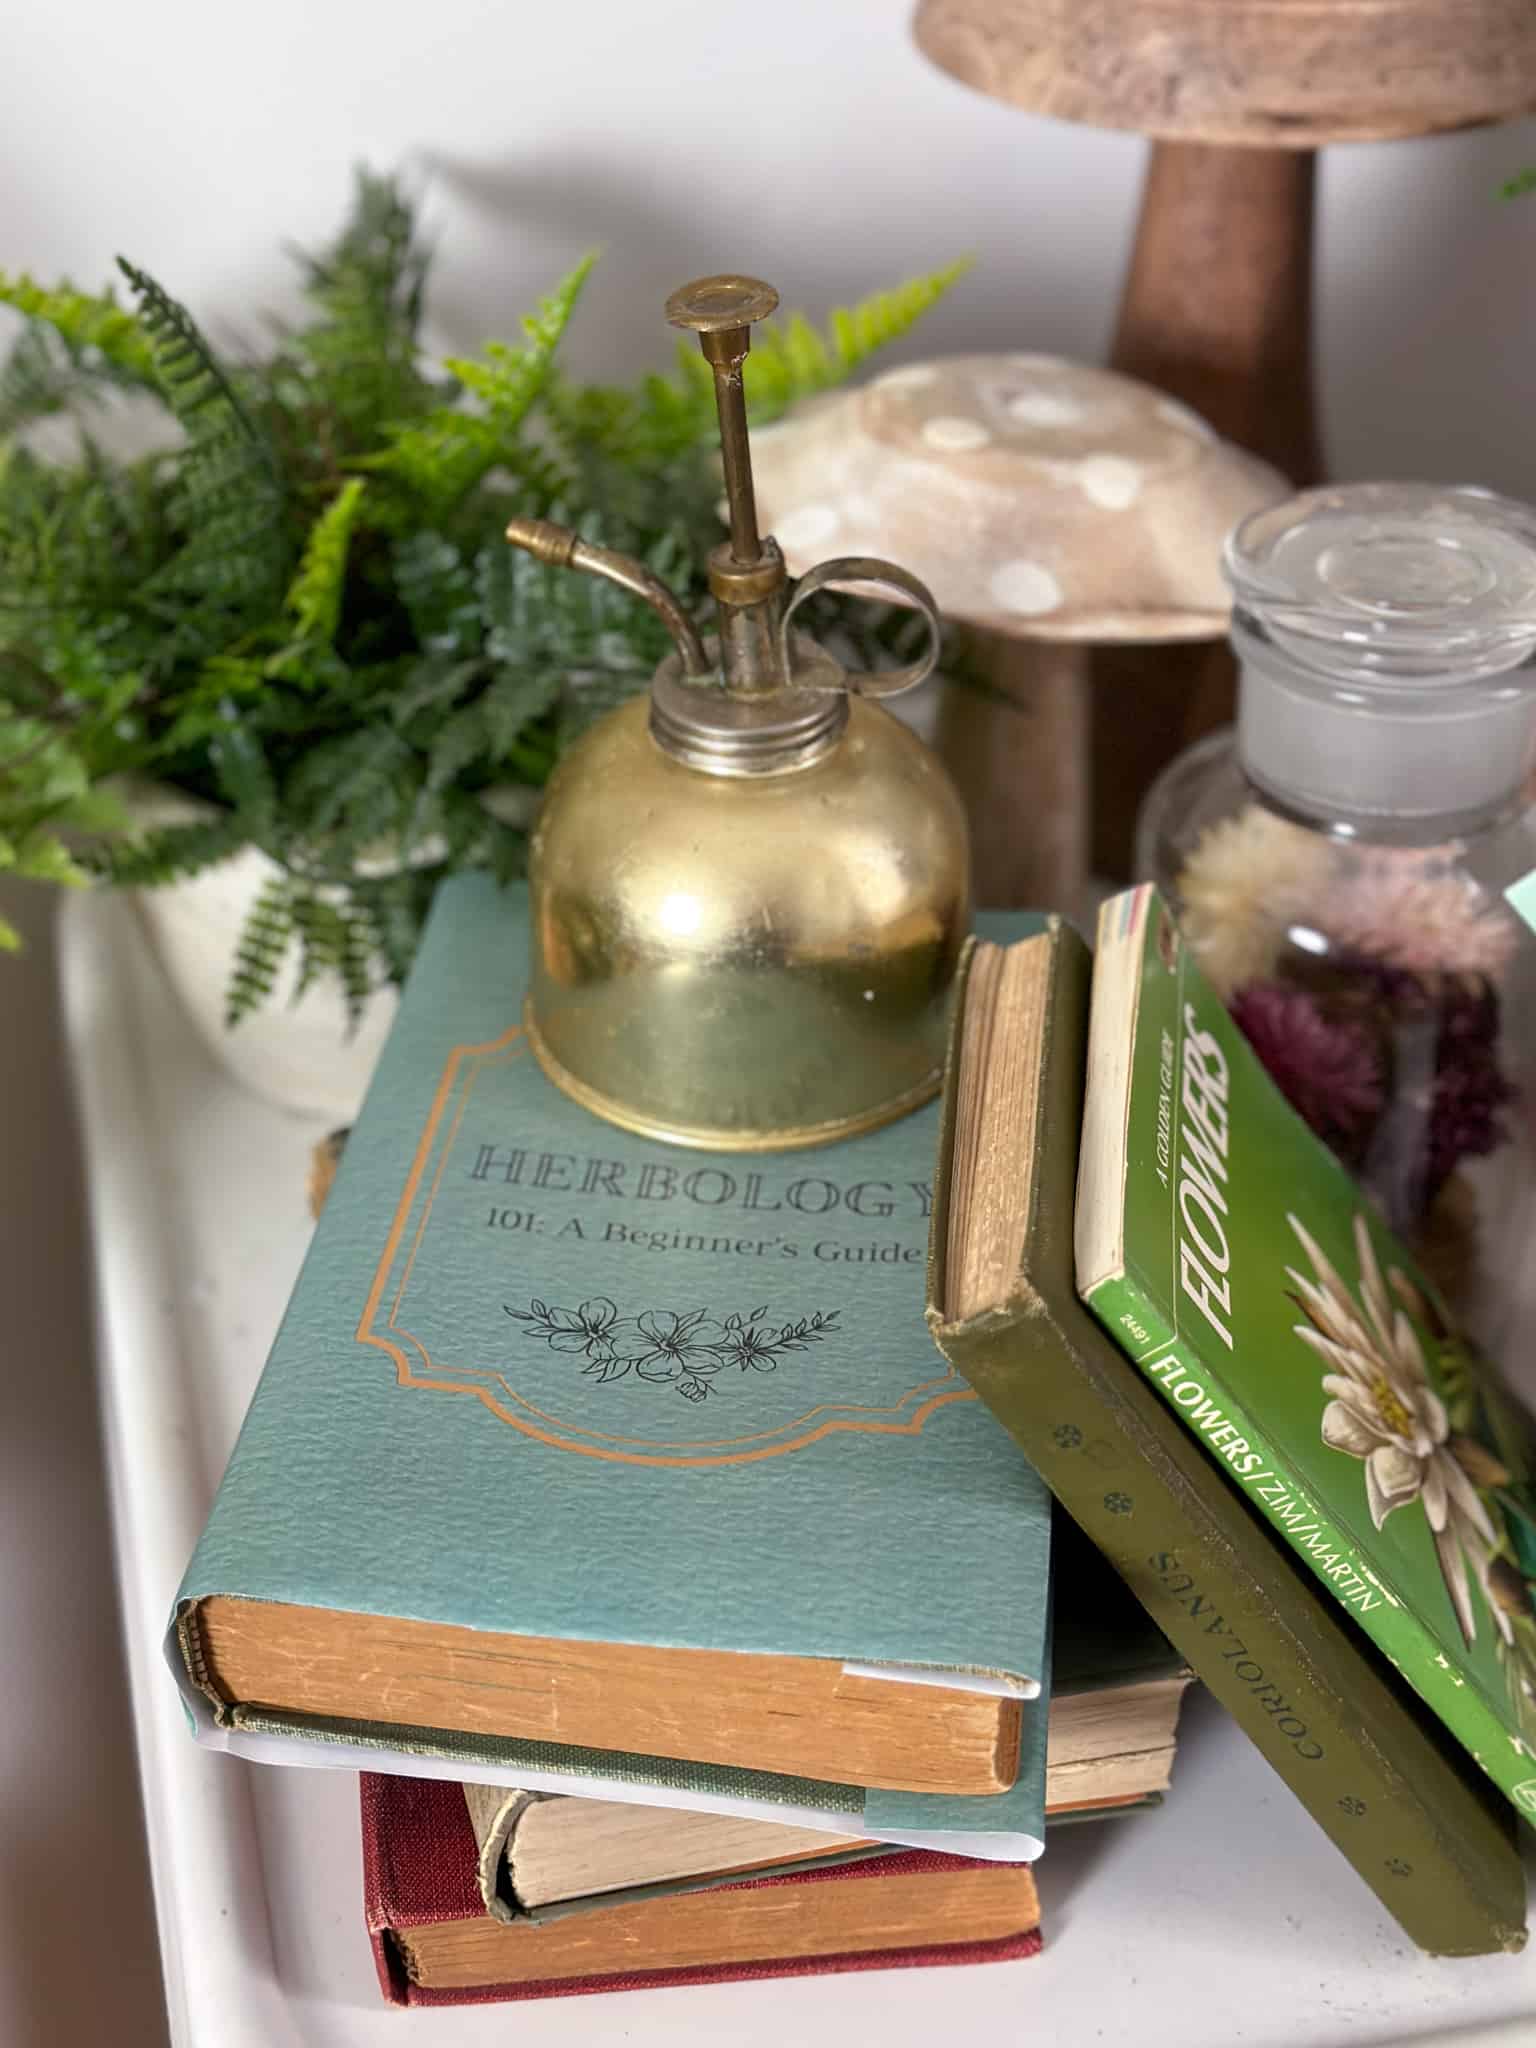
I also created a Herbology textbook cover. It's also in the Free Resource Library for subscribers. Print it out on legal size paper to fit most books.
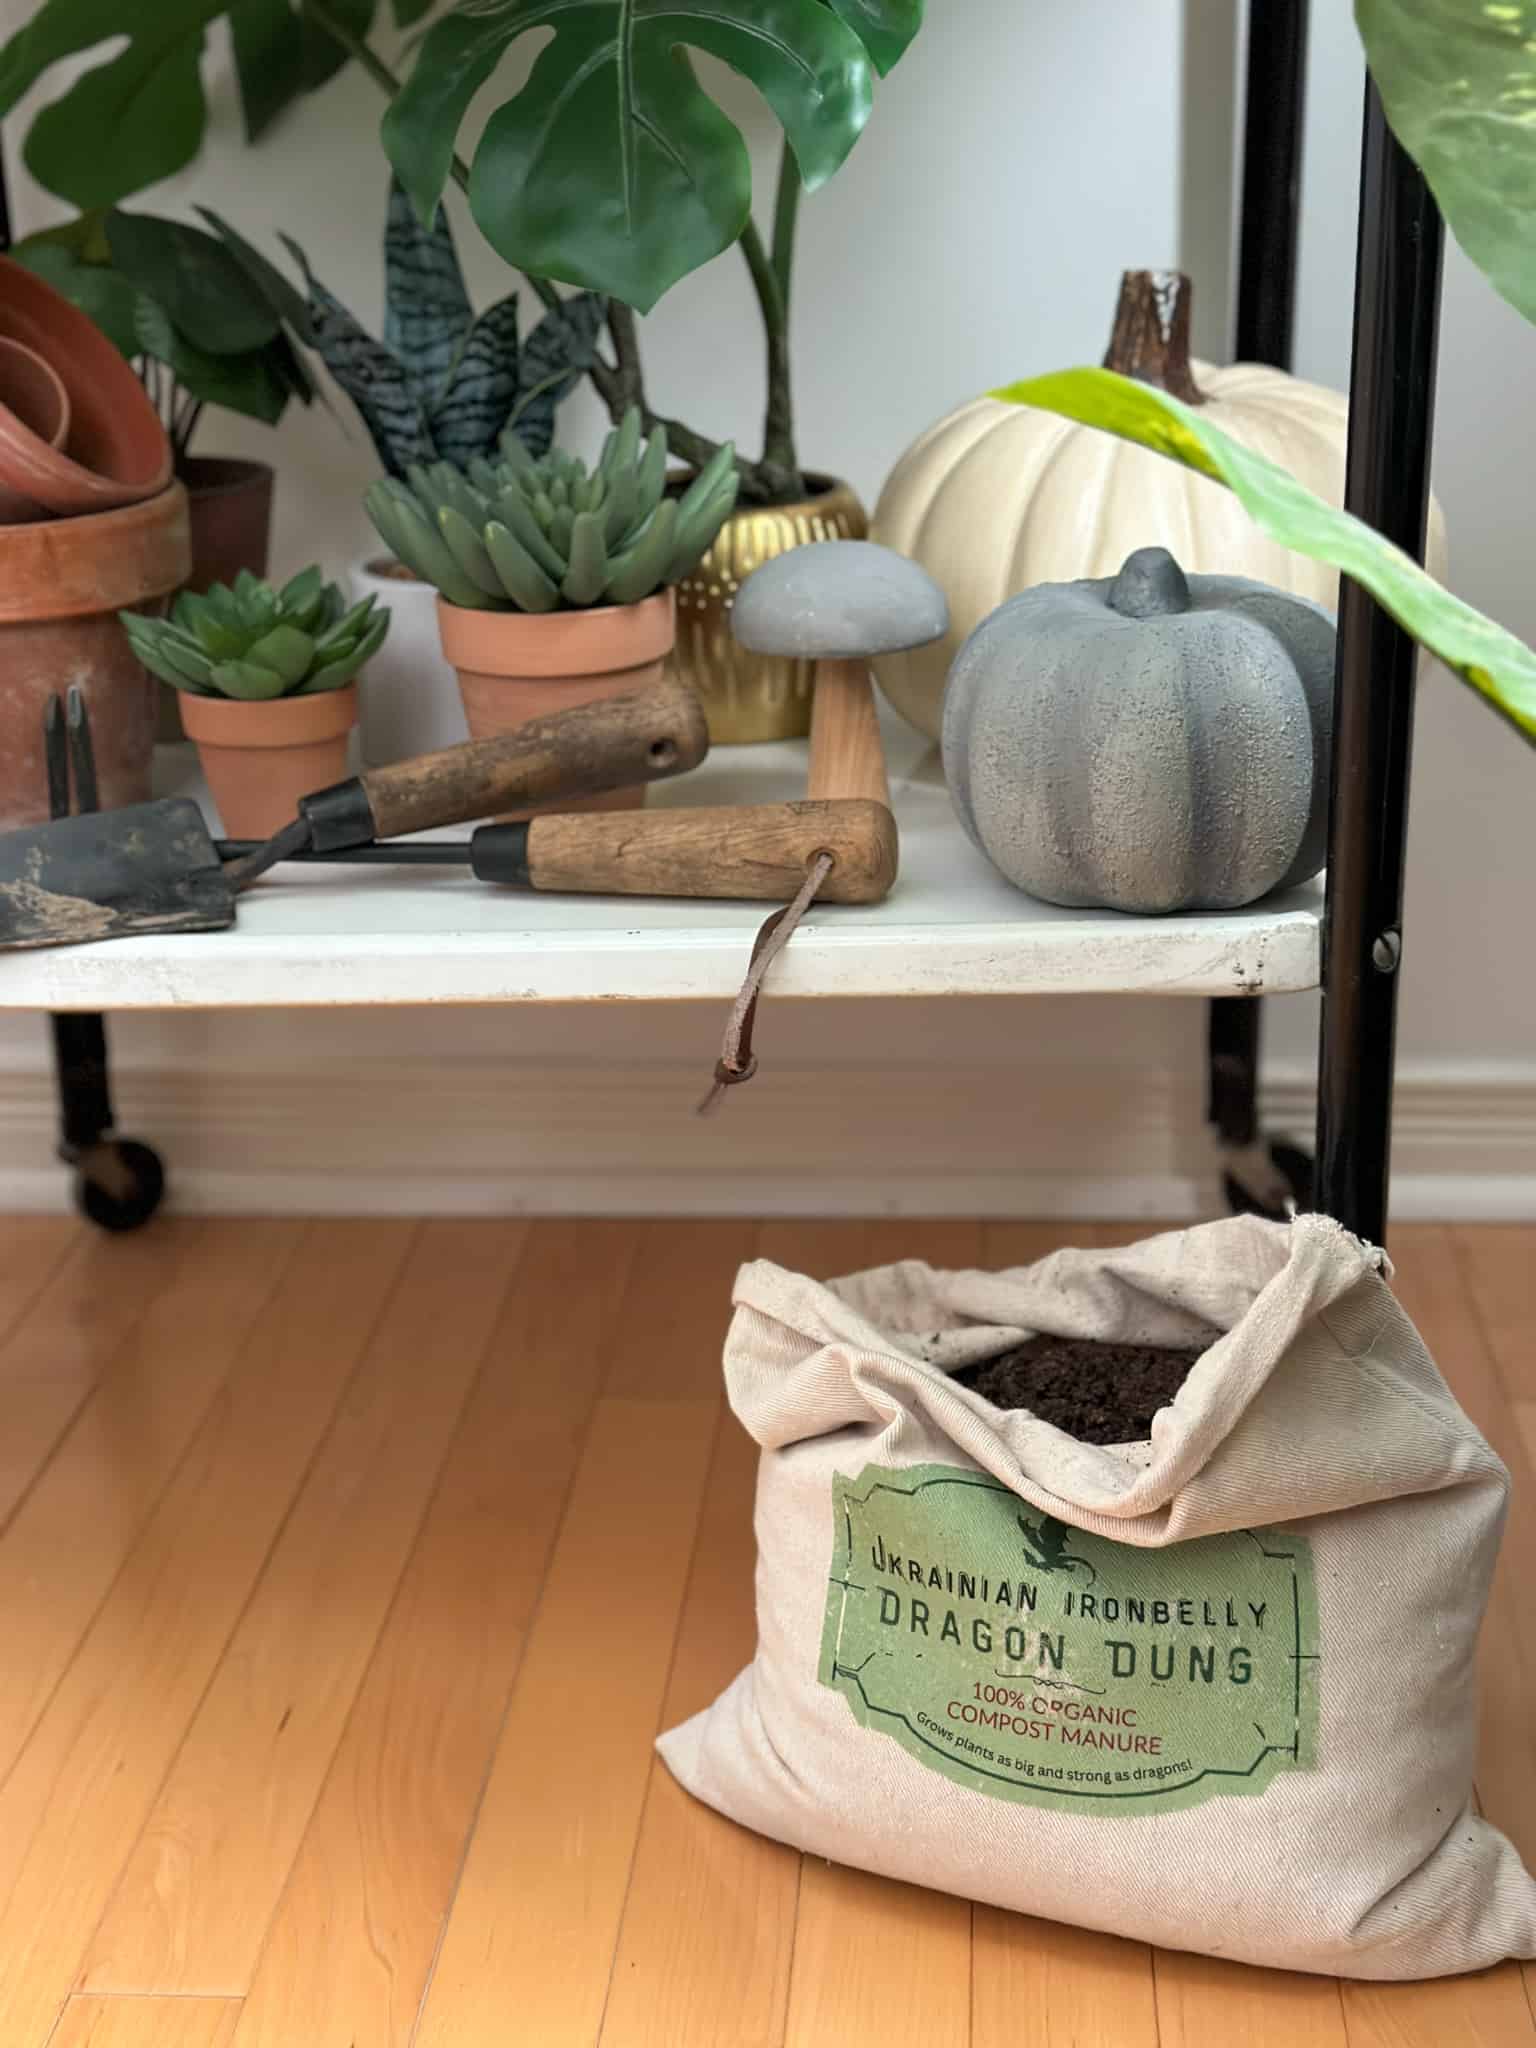
It was so much fun adding lots of details to this spot. I sewed a sack out of some old paint drop cloths, and added a "Dragon Dung" label. You can access it also in the Free Resource Library. Print it onto some printable iron-on, making sure to mirror the image, and then iron it onto your cloth sack. Alternatively you could print it onto sticker paper, and add it to the sack that way. We filled the sack with some soil and leaned it against the cart. It's such a fun detail.
I also added a Herbology sign to the cart, made with my Cricut machine.
Mandrake Plants
One final detail to this section, was to create some mandrake plants. I made a base with some tinfoil, and added some twine to make root hands. Then I covered the form with a layer of air dry clay, and formed the mandrake plant. I added details with the back of a knife, and stuck a piece of a silk plant into the top. After the mandrake plant dried, I painted it, and frayed the twine to make it look more like plant roots. See how I made the mandrake plants part one here, and part two here.
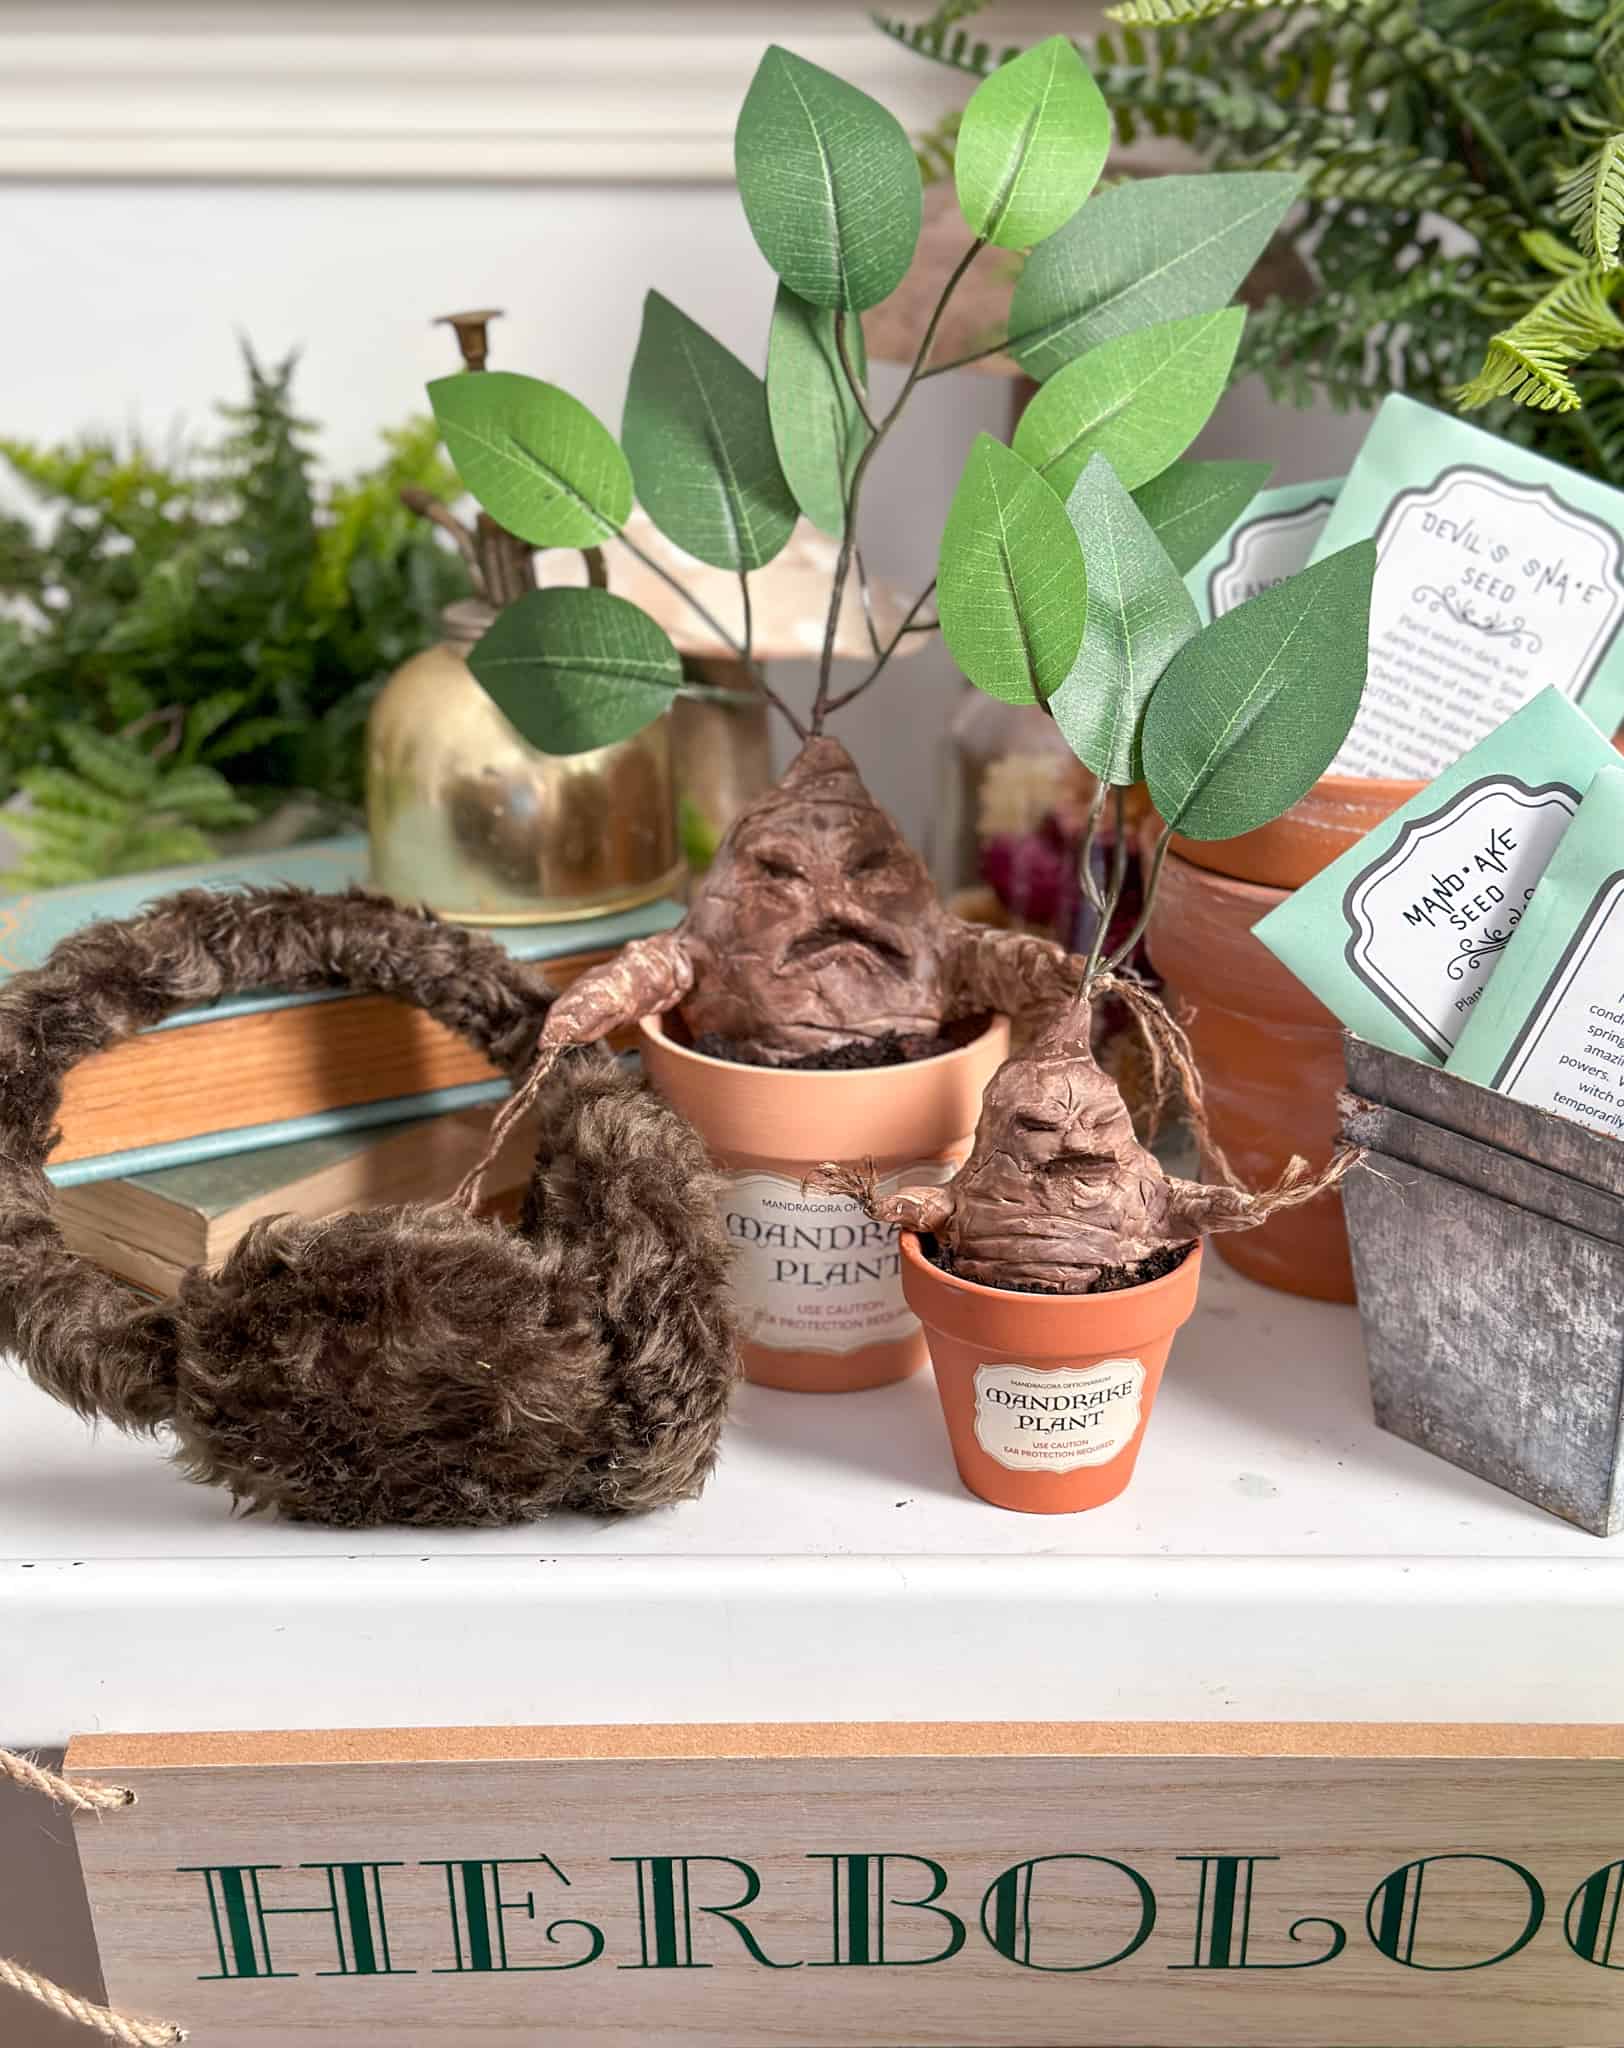
I made two, in different sizes, to fit into two different sized small terracotta pots. I potted them with a little bit of soil, and added a label to the front of the pots. You can find the free printable mandrake plant labels in the Free Resource Library.

Owl Post
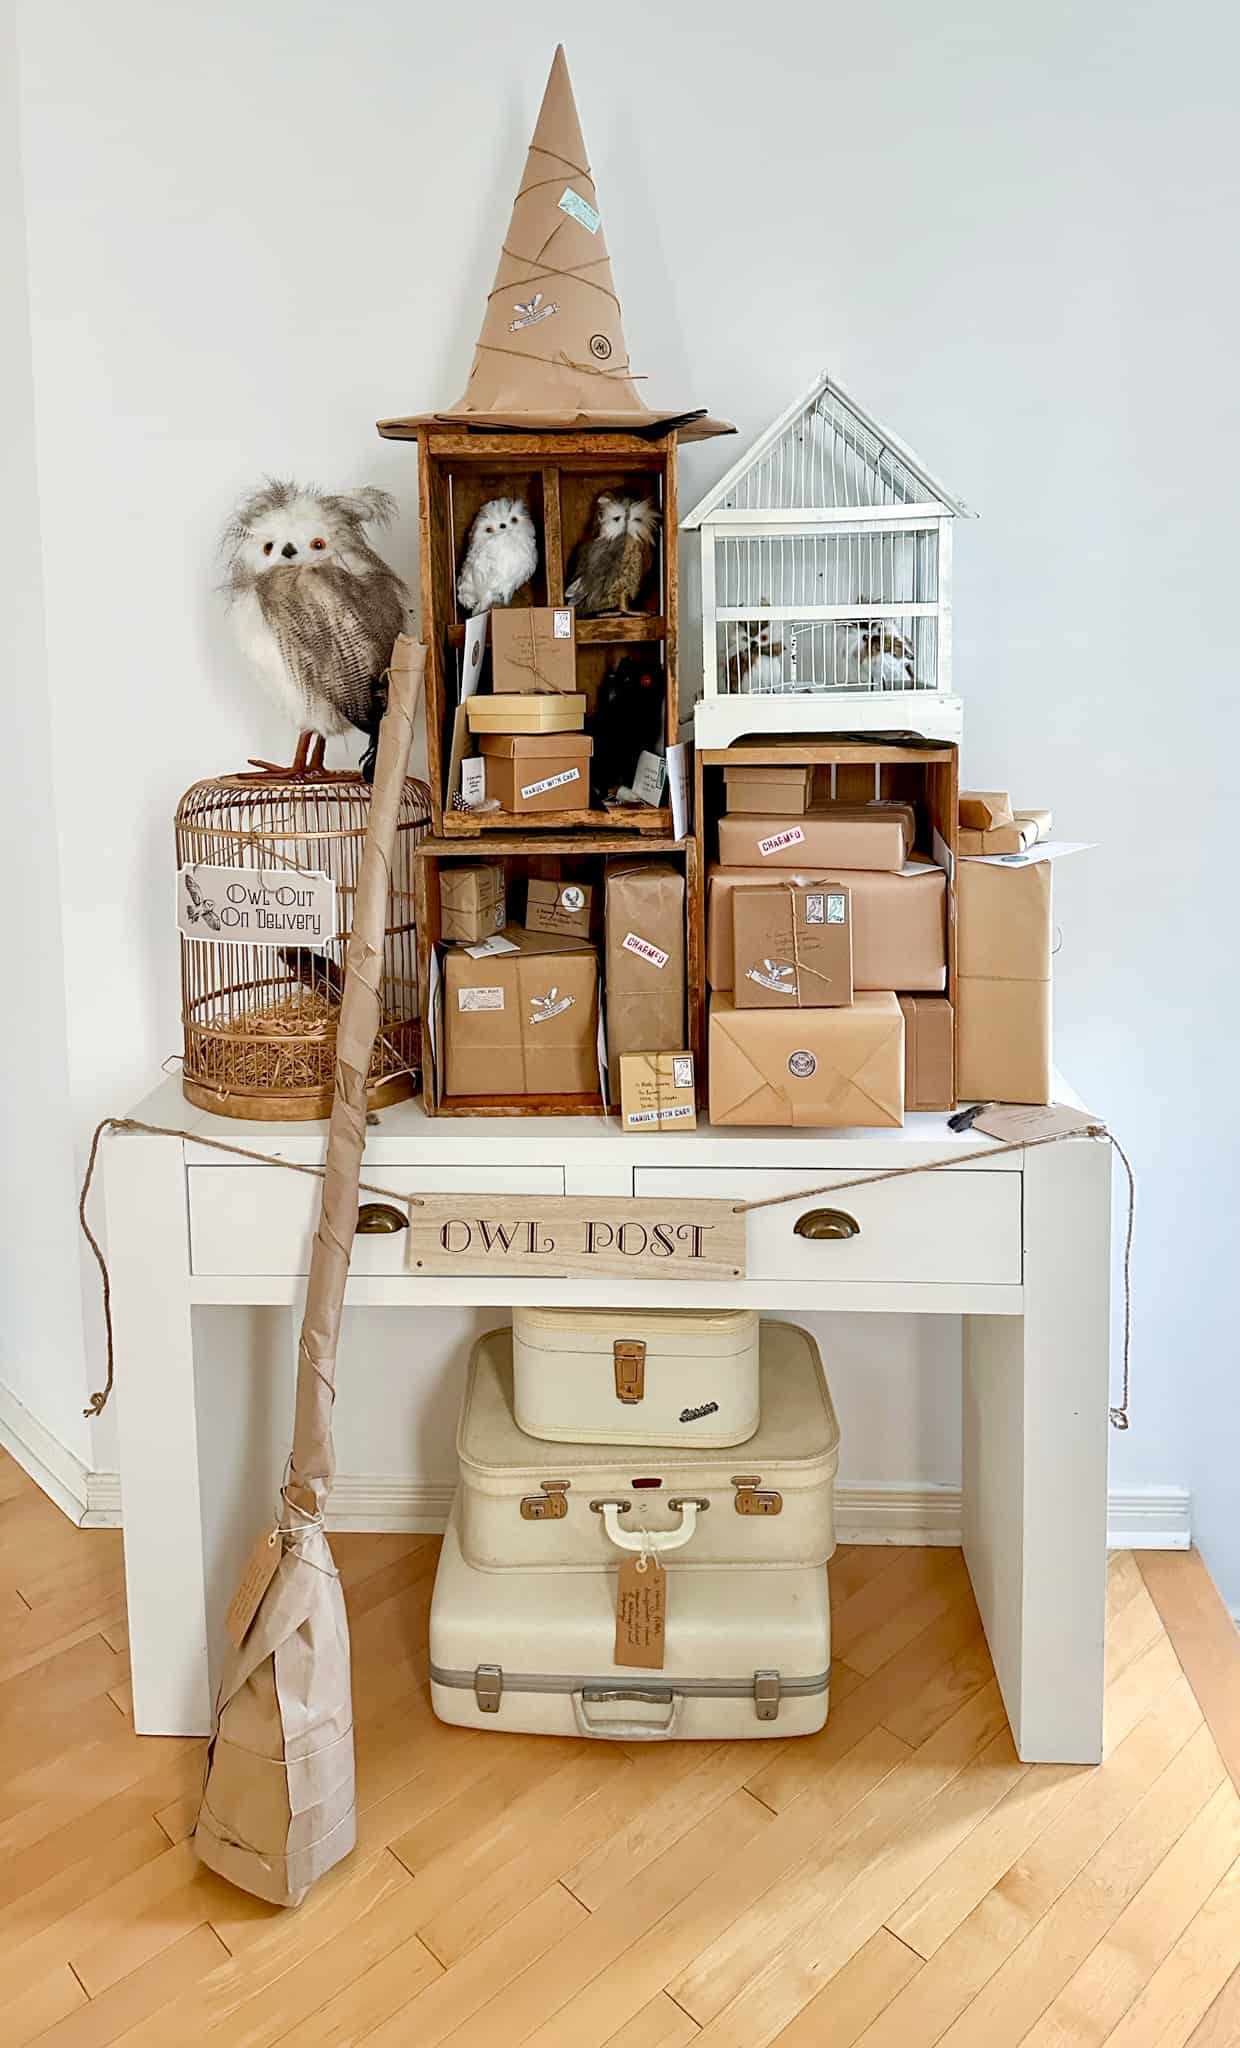
Our last area of our DIY Harry Potter decorations was to create an Owl Post near the front door. Inspired by the owl post at Universal Studios, we made some cubbies out of some old crates to hold owls, packages, and letters.
Owls
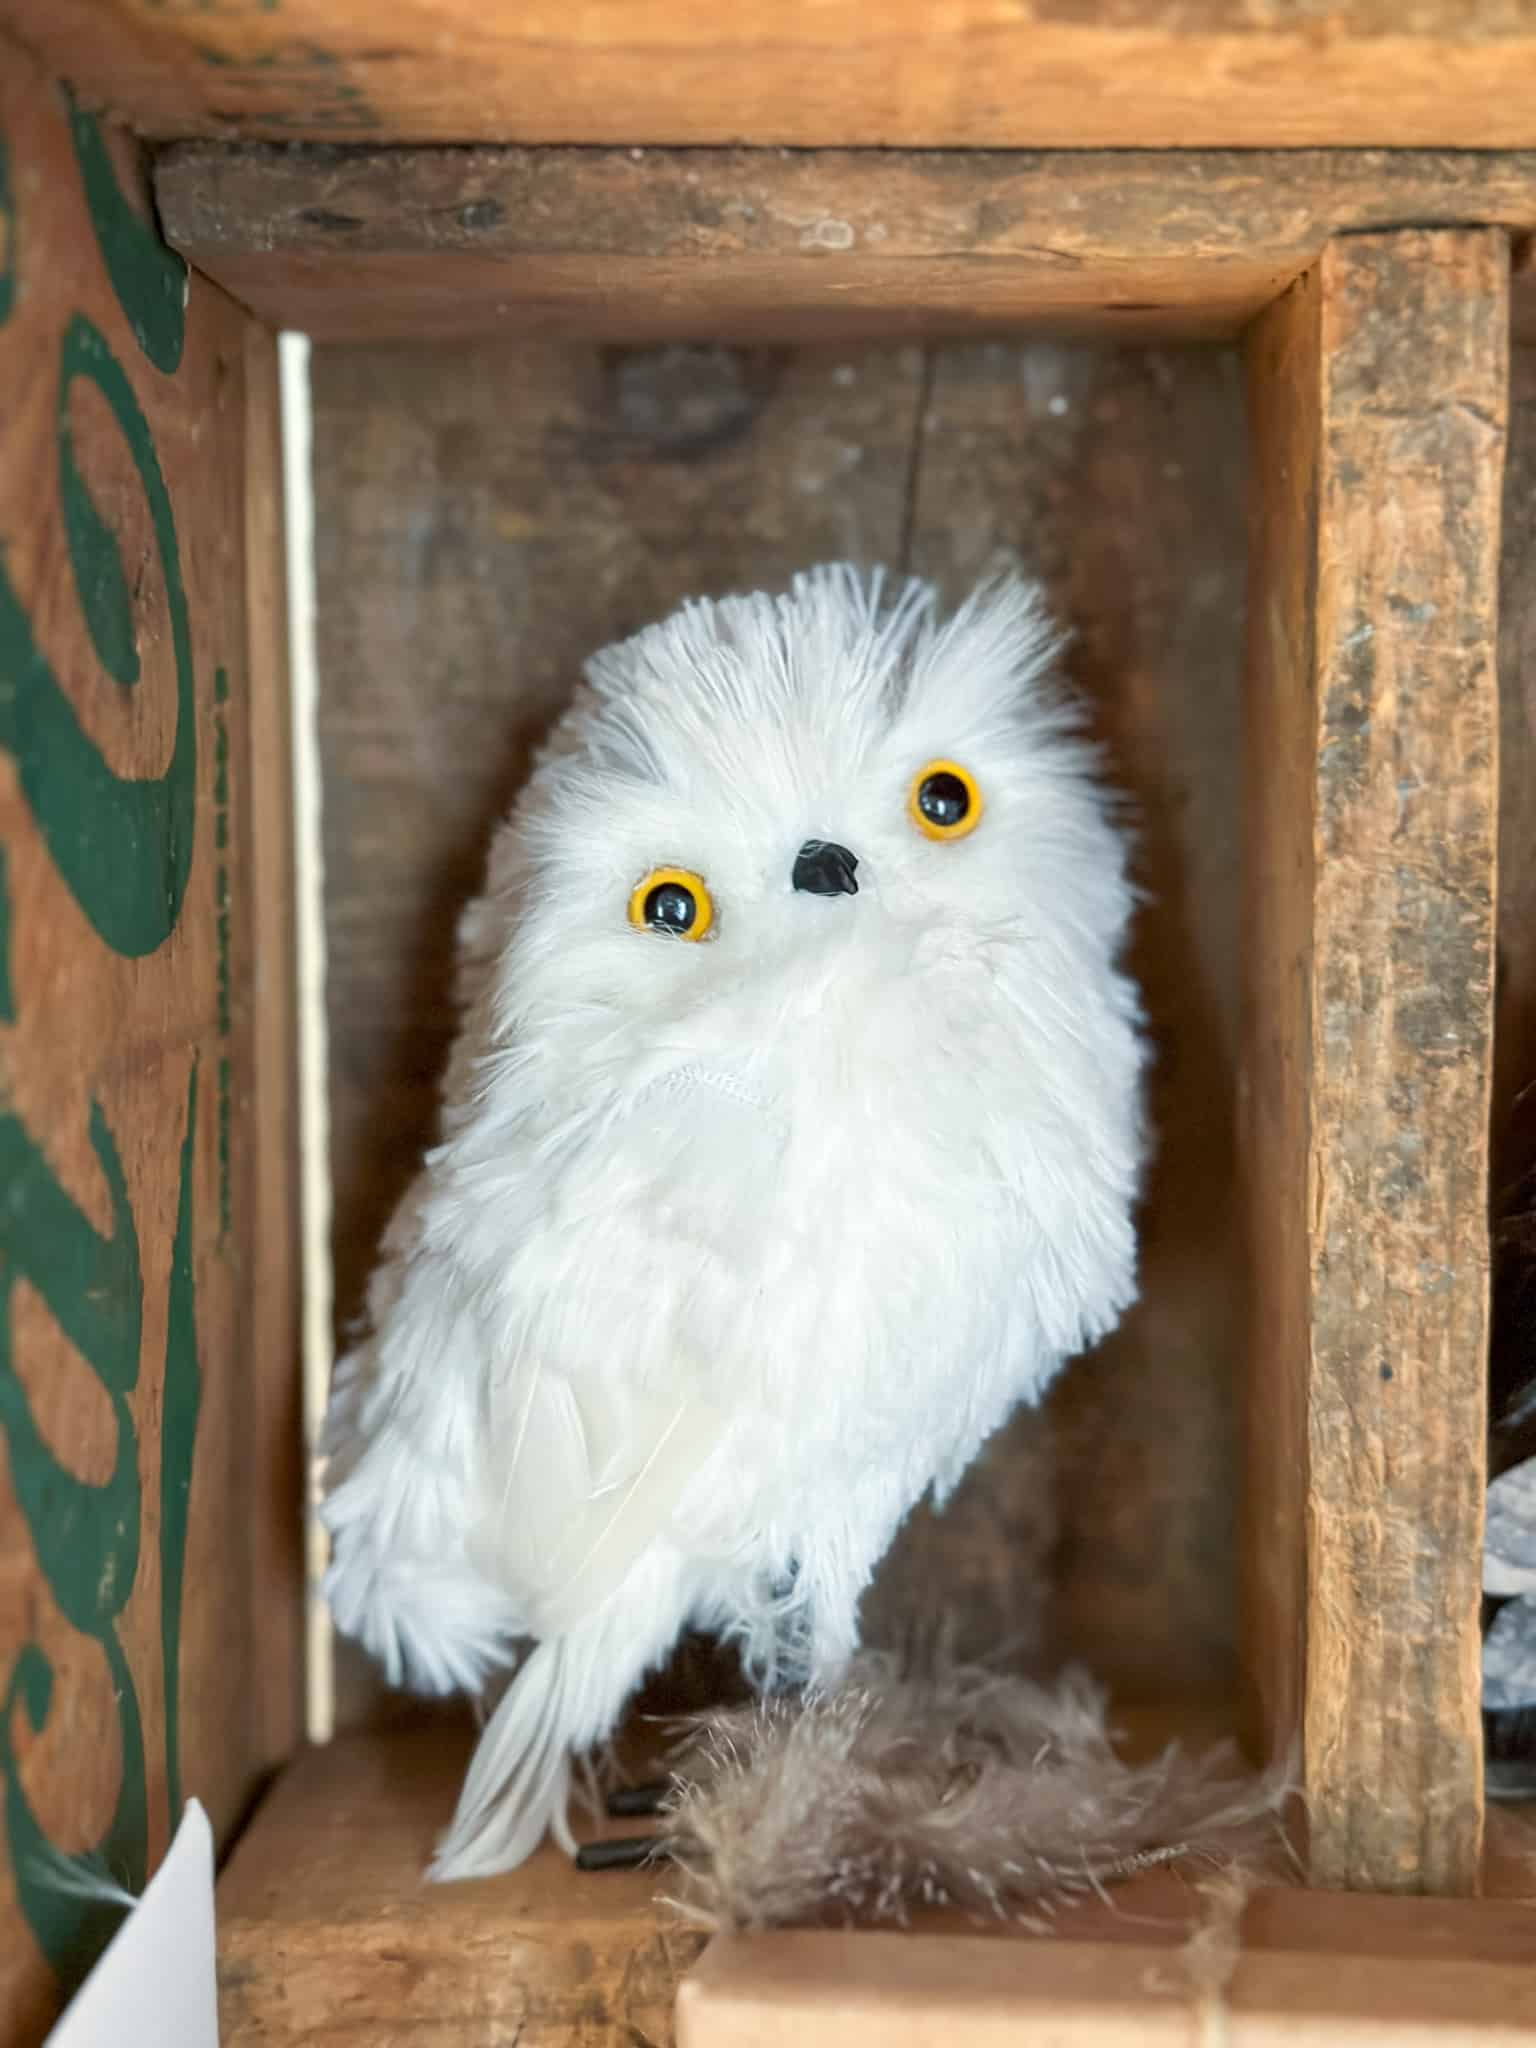
The vintage coke crate with it's sections worked perfectly to hold some small owls. I also had some old vintage bird cages.
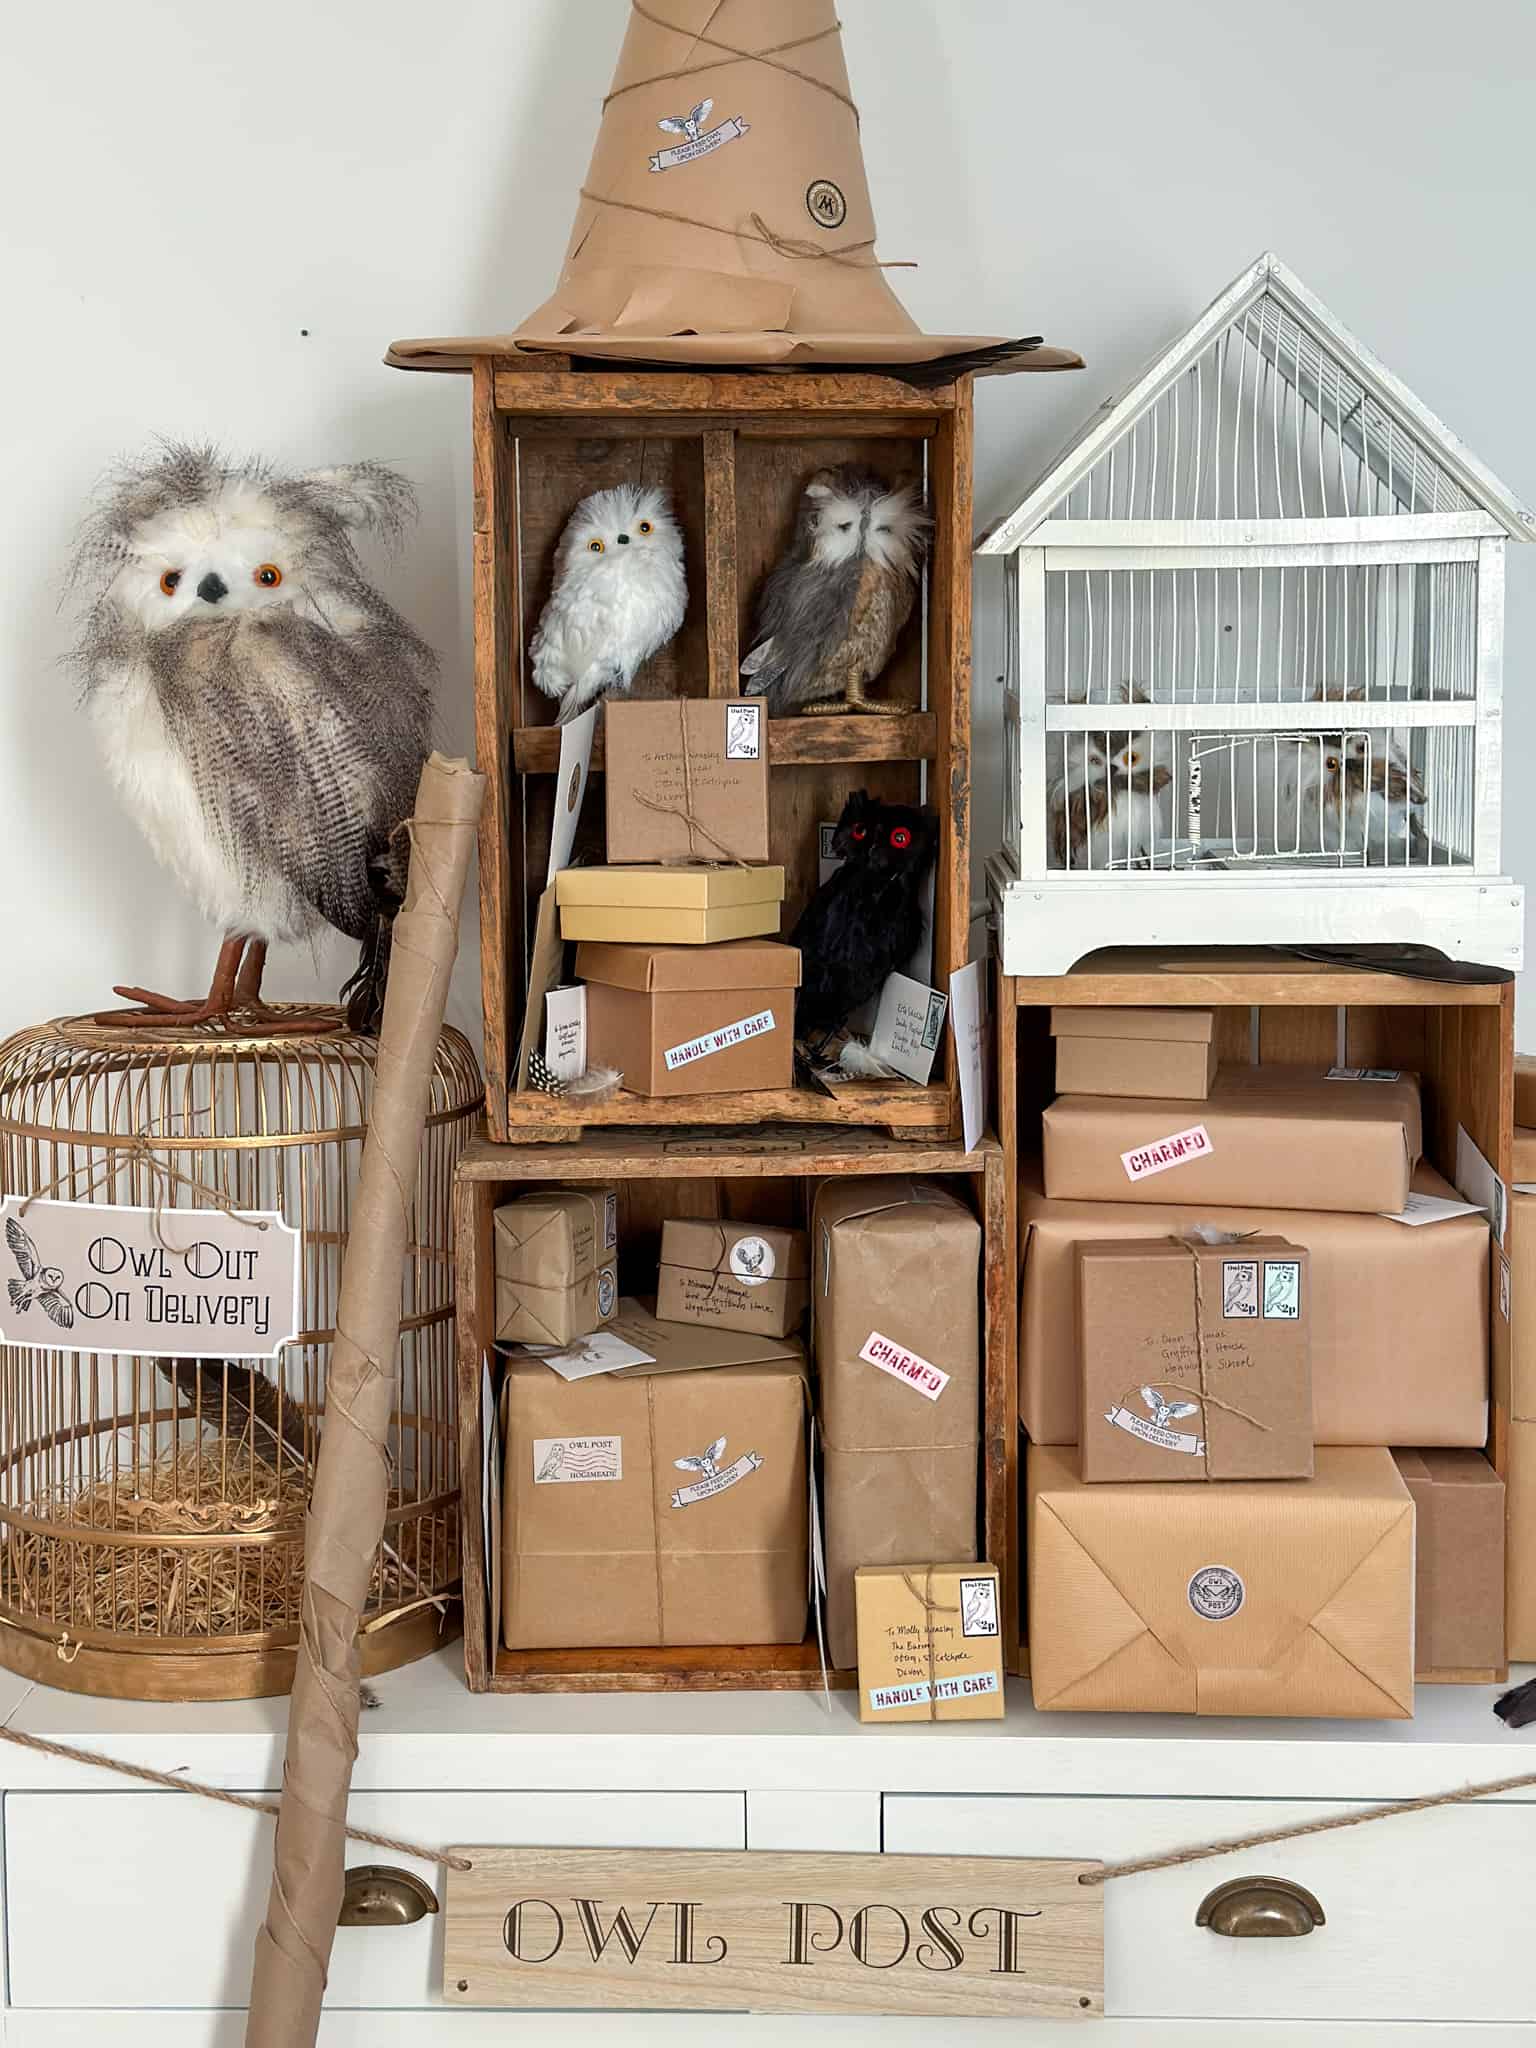
I used spray paint to make one white, and one gold. The white one has two small owls in it. The gold one has a "Owl Out On Delivery" sign.
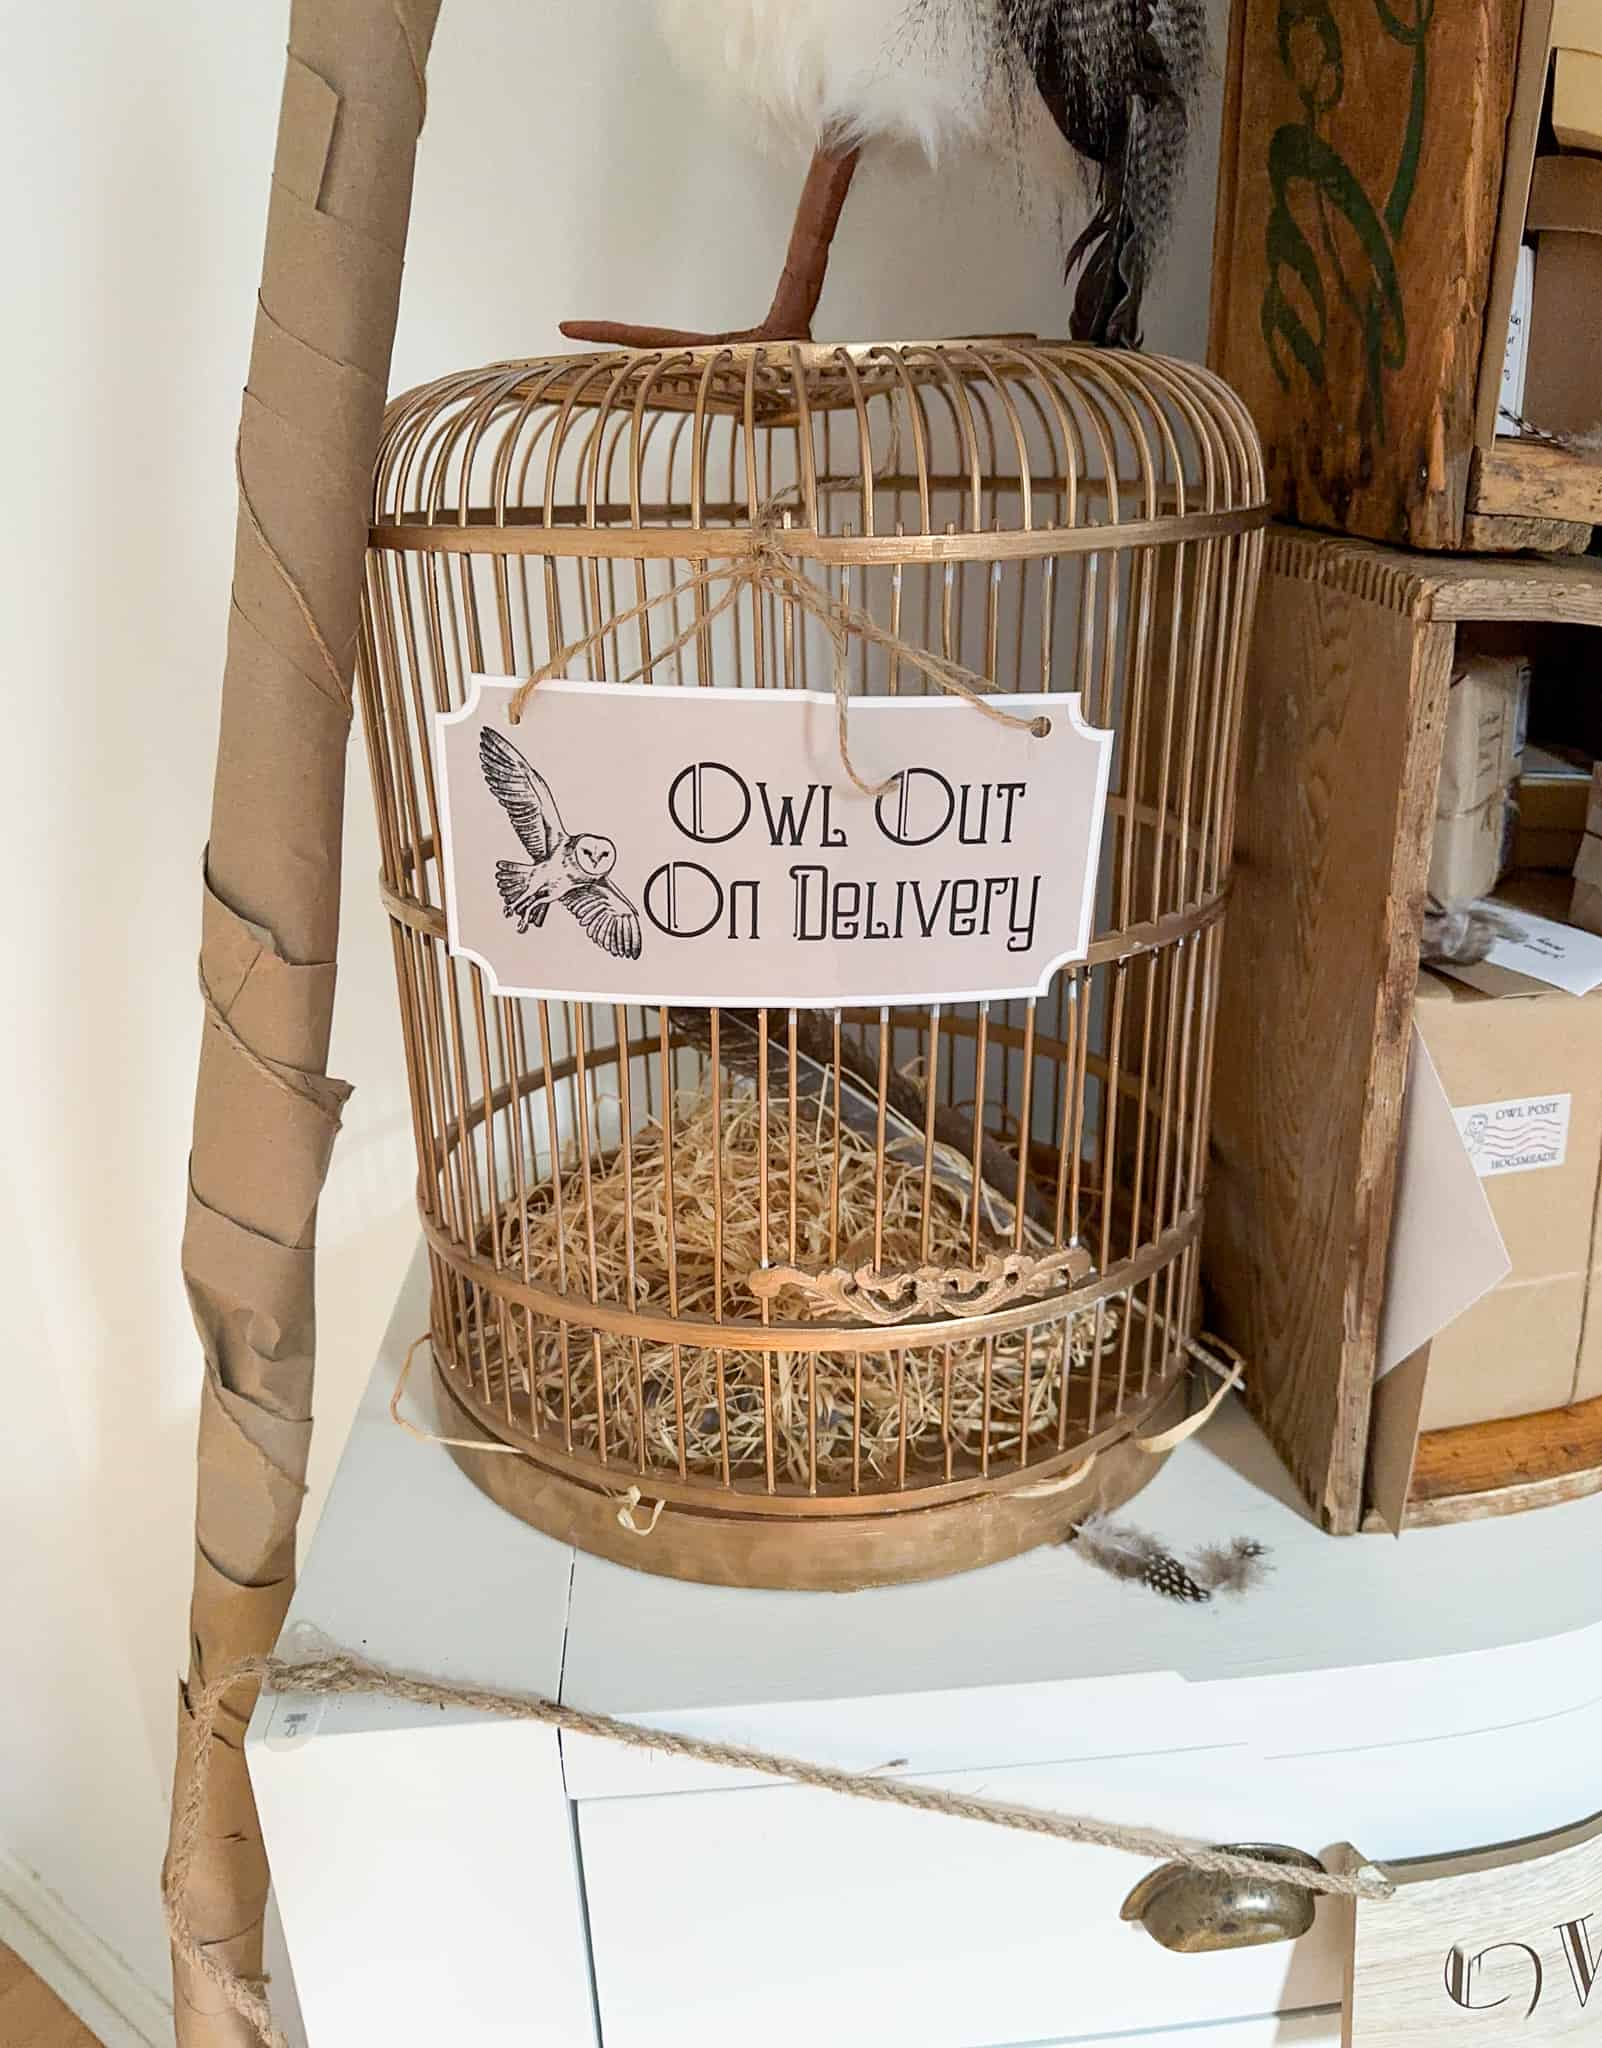
You can access this free printable owl sign in the Free Resource Library. This cage was the perfect perch for a large owl. Once the owls were all positioned, I filled all the other nooks and crannies with packages and letters.
Packages and Letters
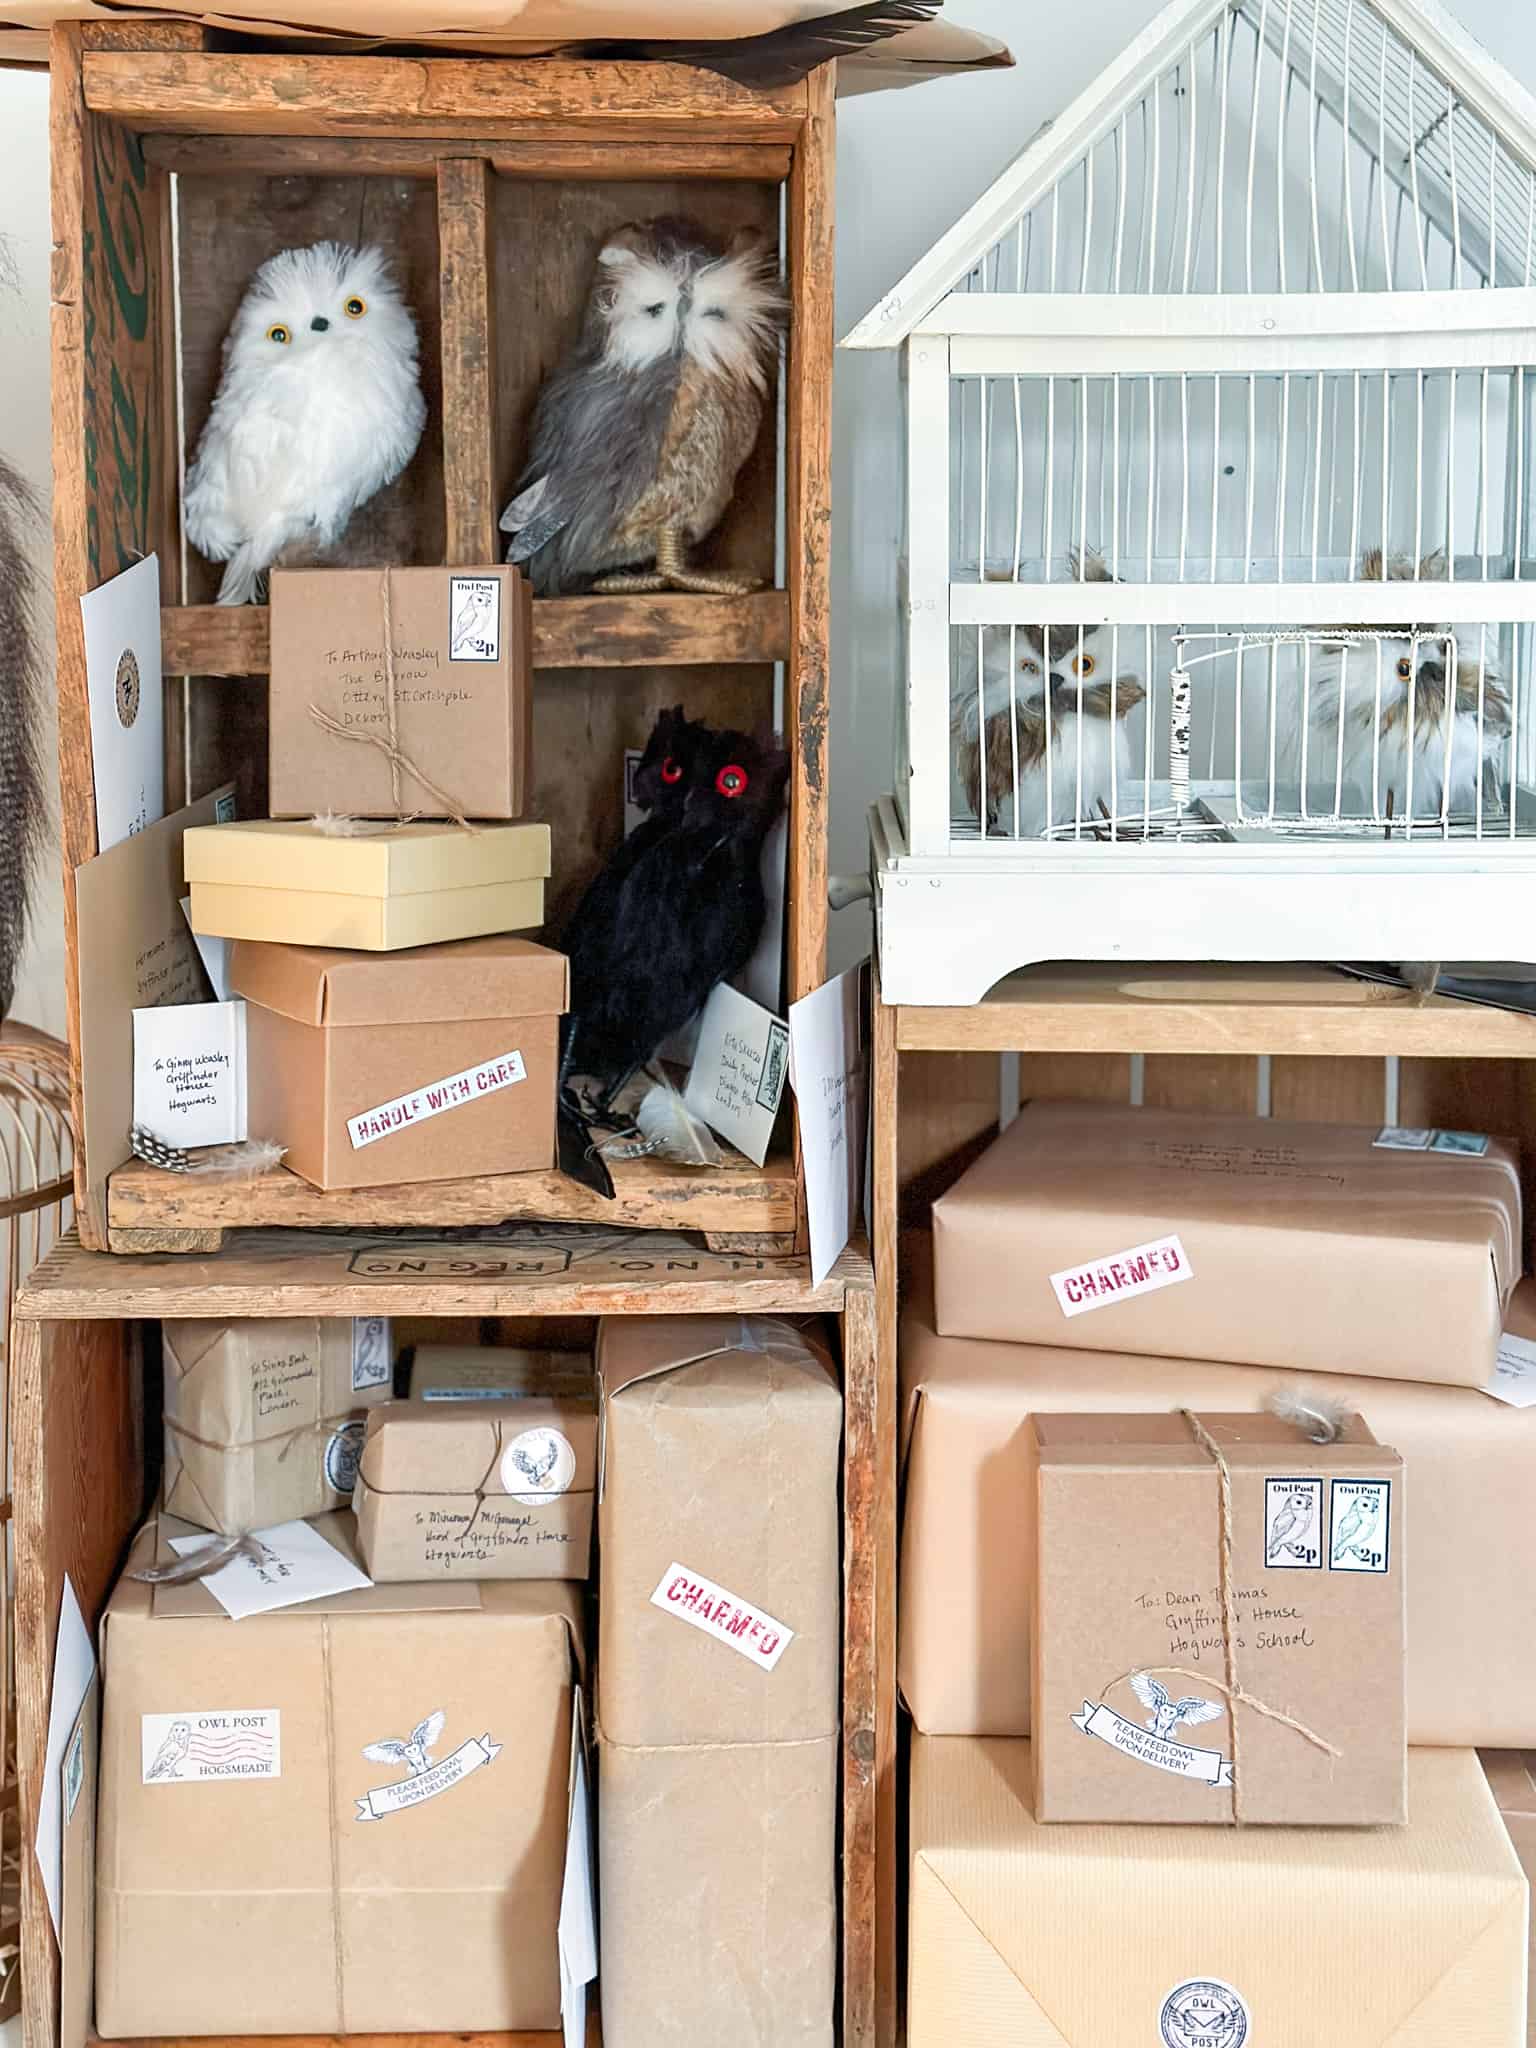
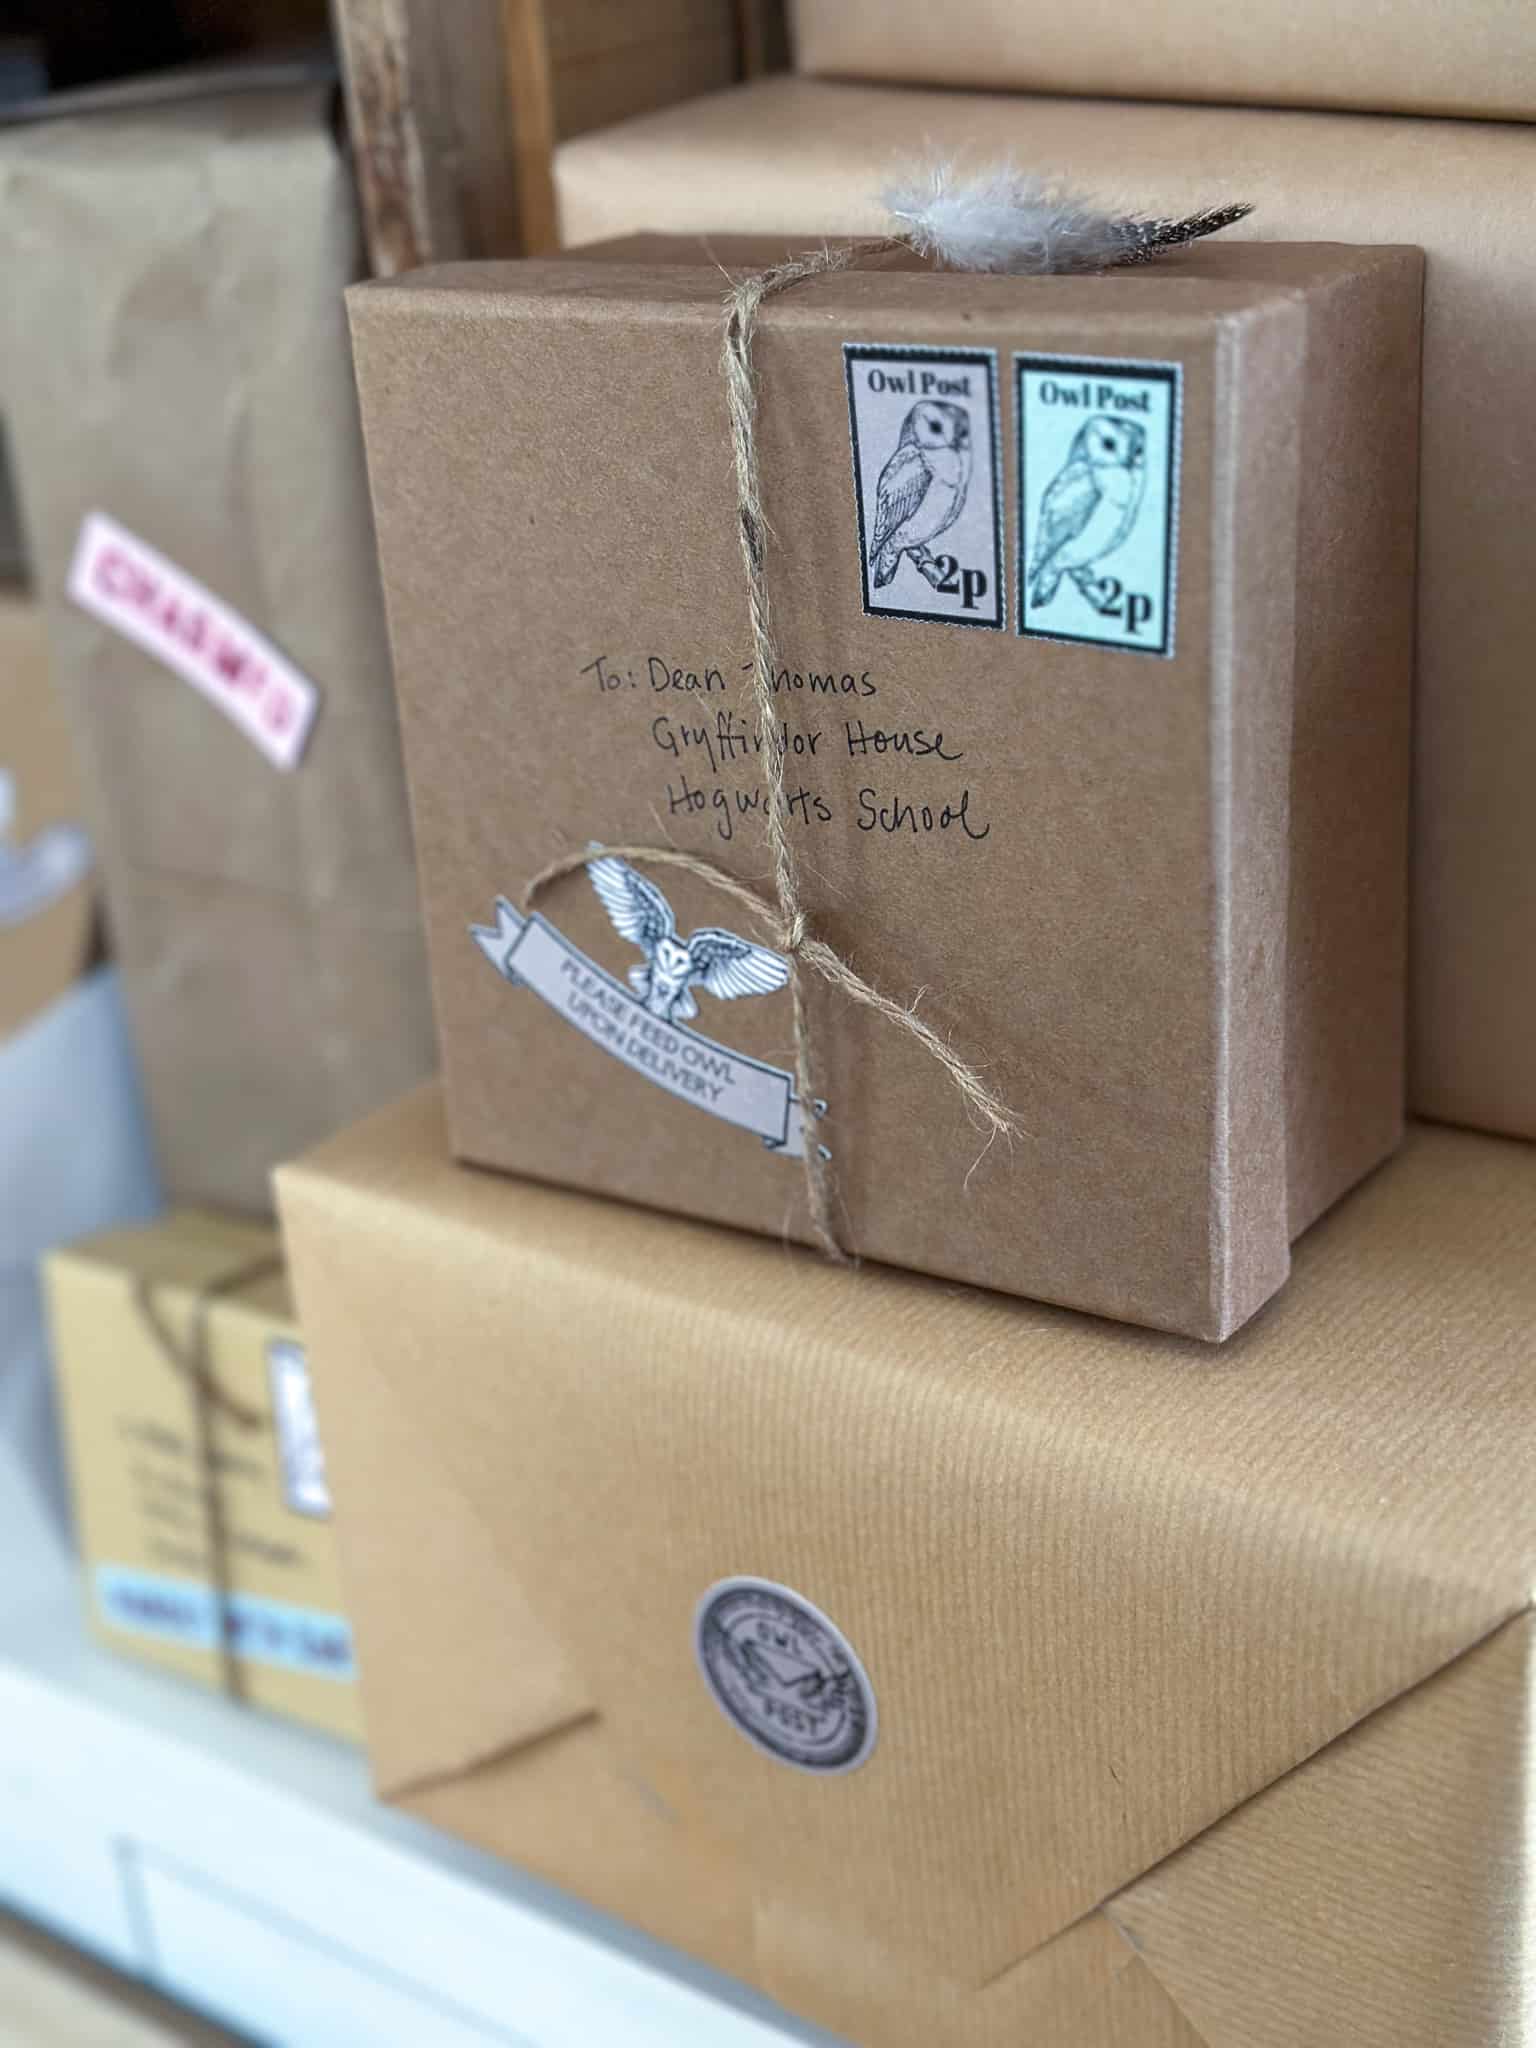
We collected small boxes for weeks, and wrapped them all in brown paper. I also collected different envelopes in white and brown paper, in various sizes.
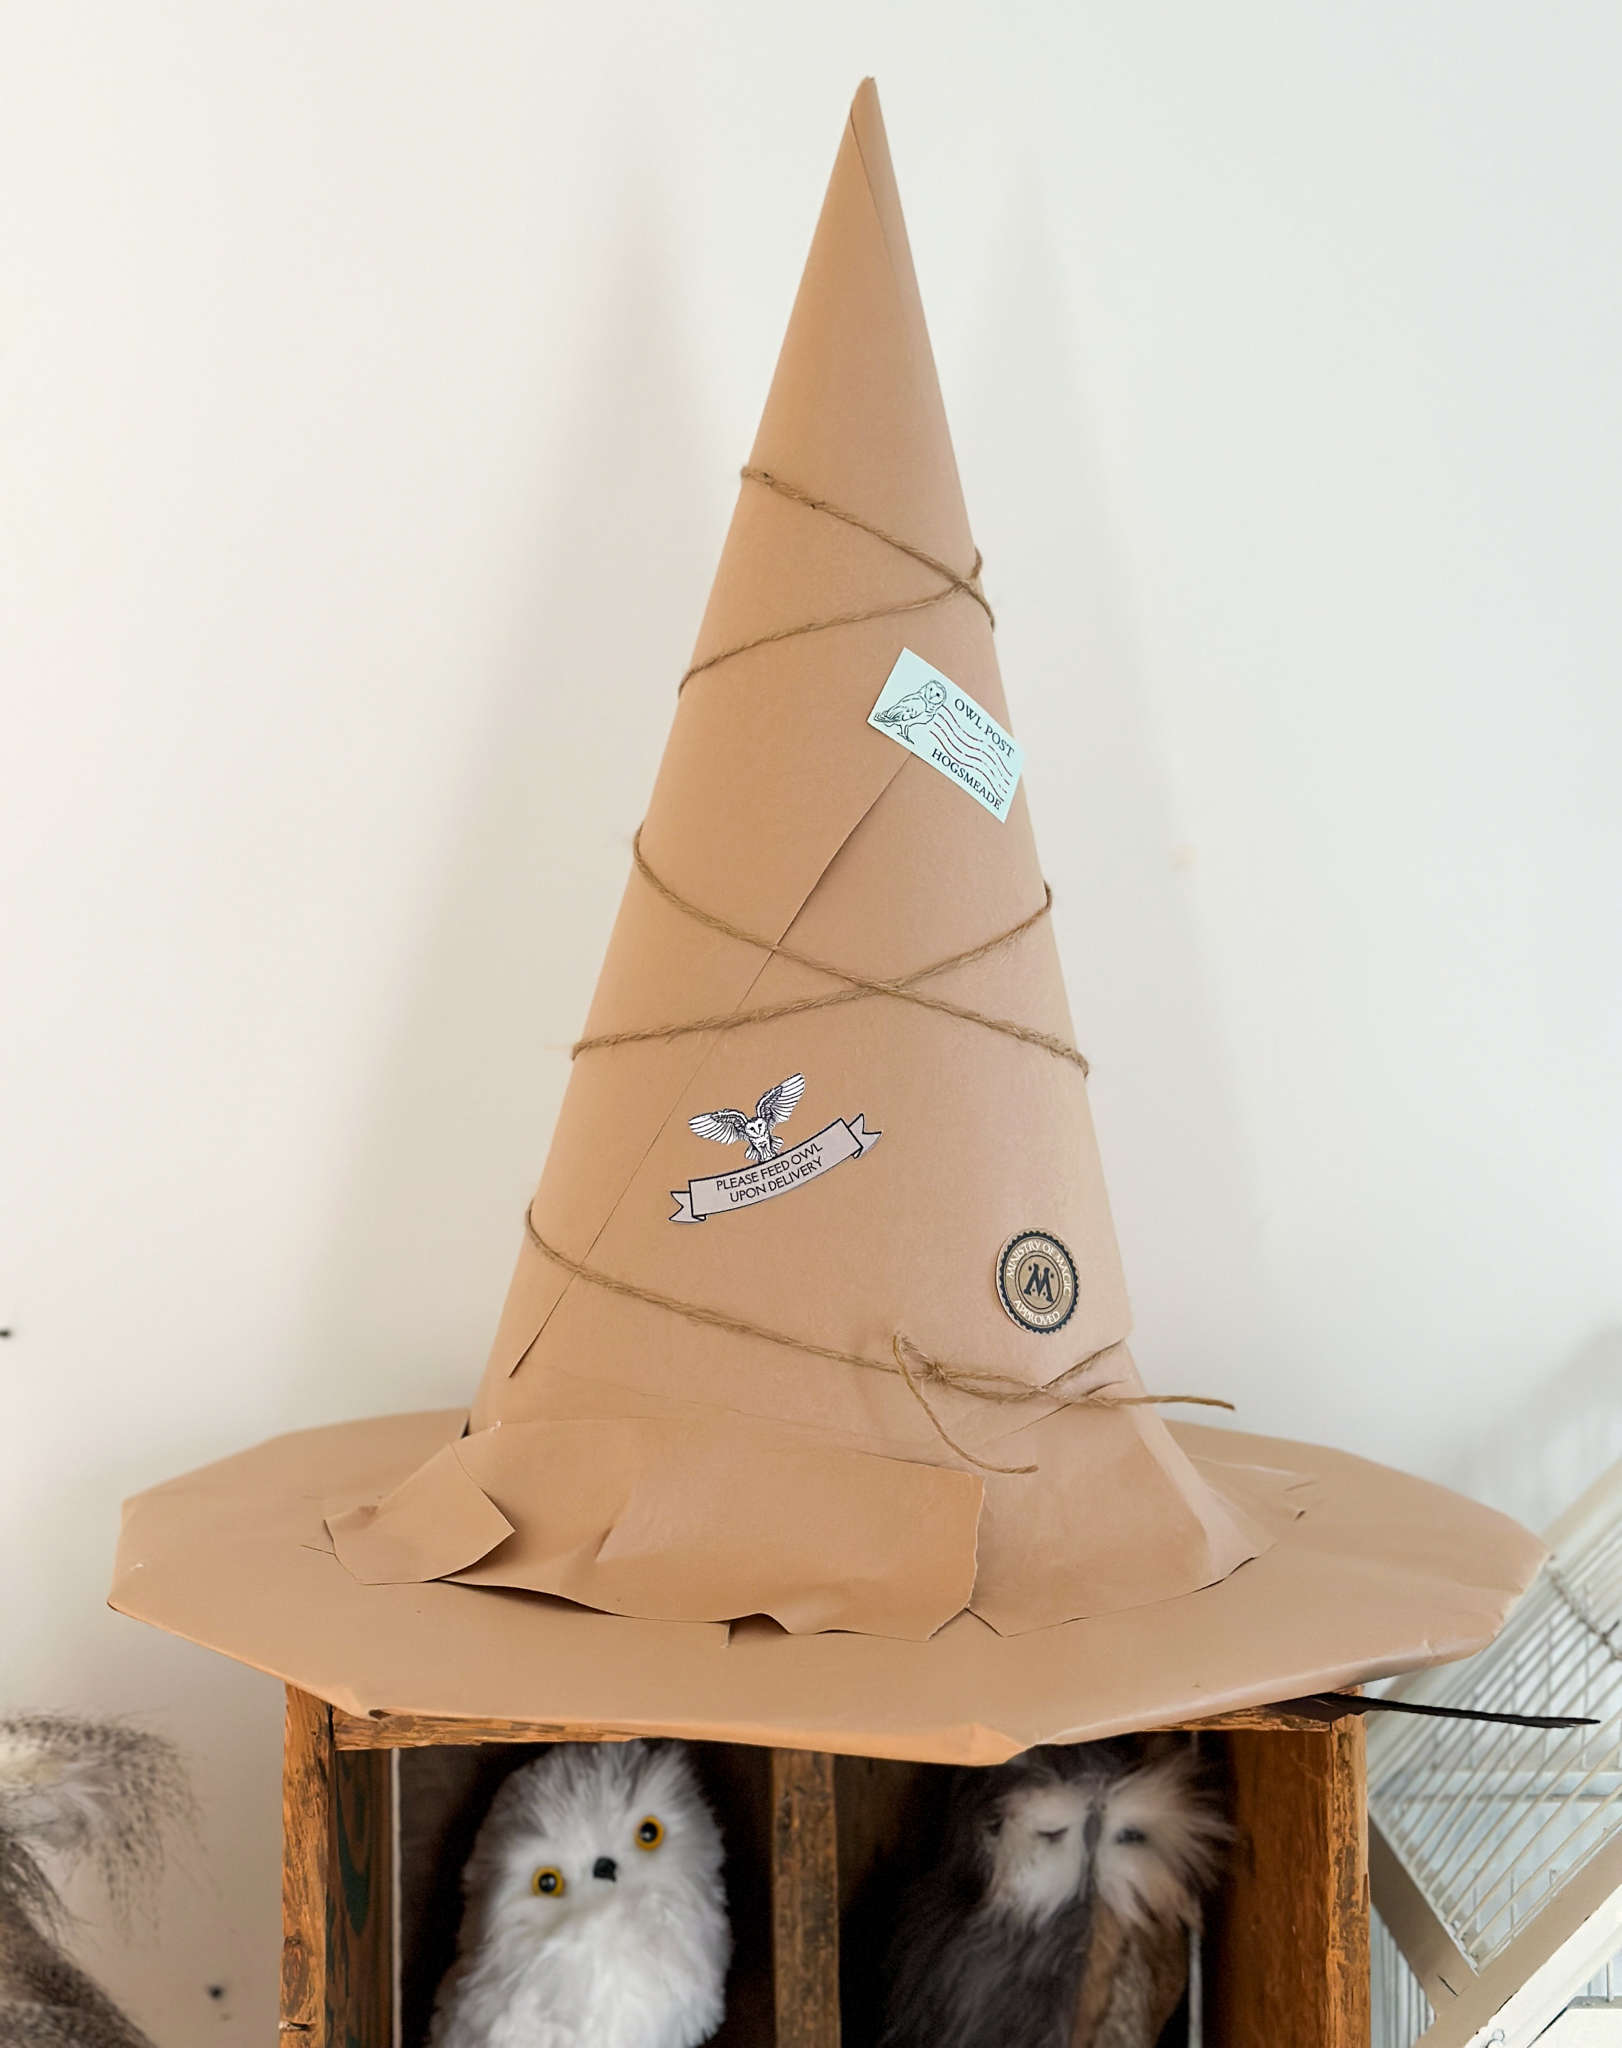
Inspired by Universal Studios, I wanted to add a witch hat parcel. I created a witch hat out of a cut up cardboard pizza box and poster board. After making the shape of the hat, I covered it in brown paper and stamps, and tied it with twine. It looks so authentic.
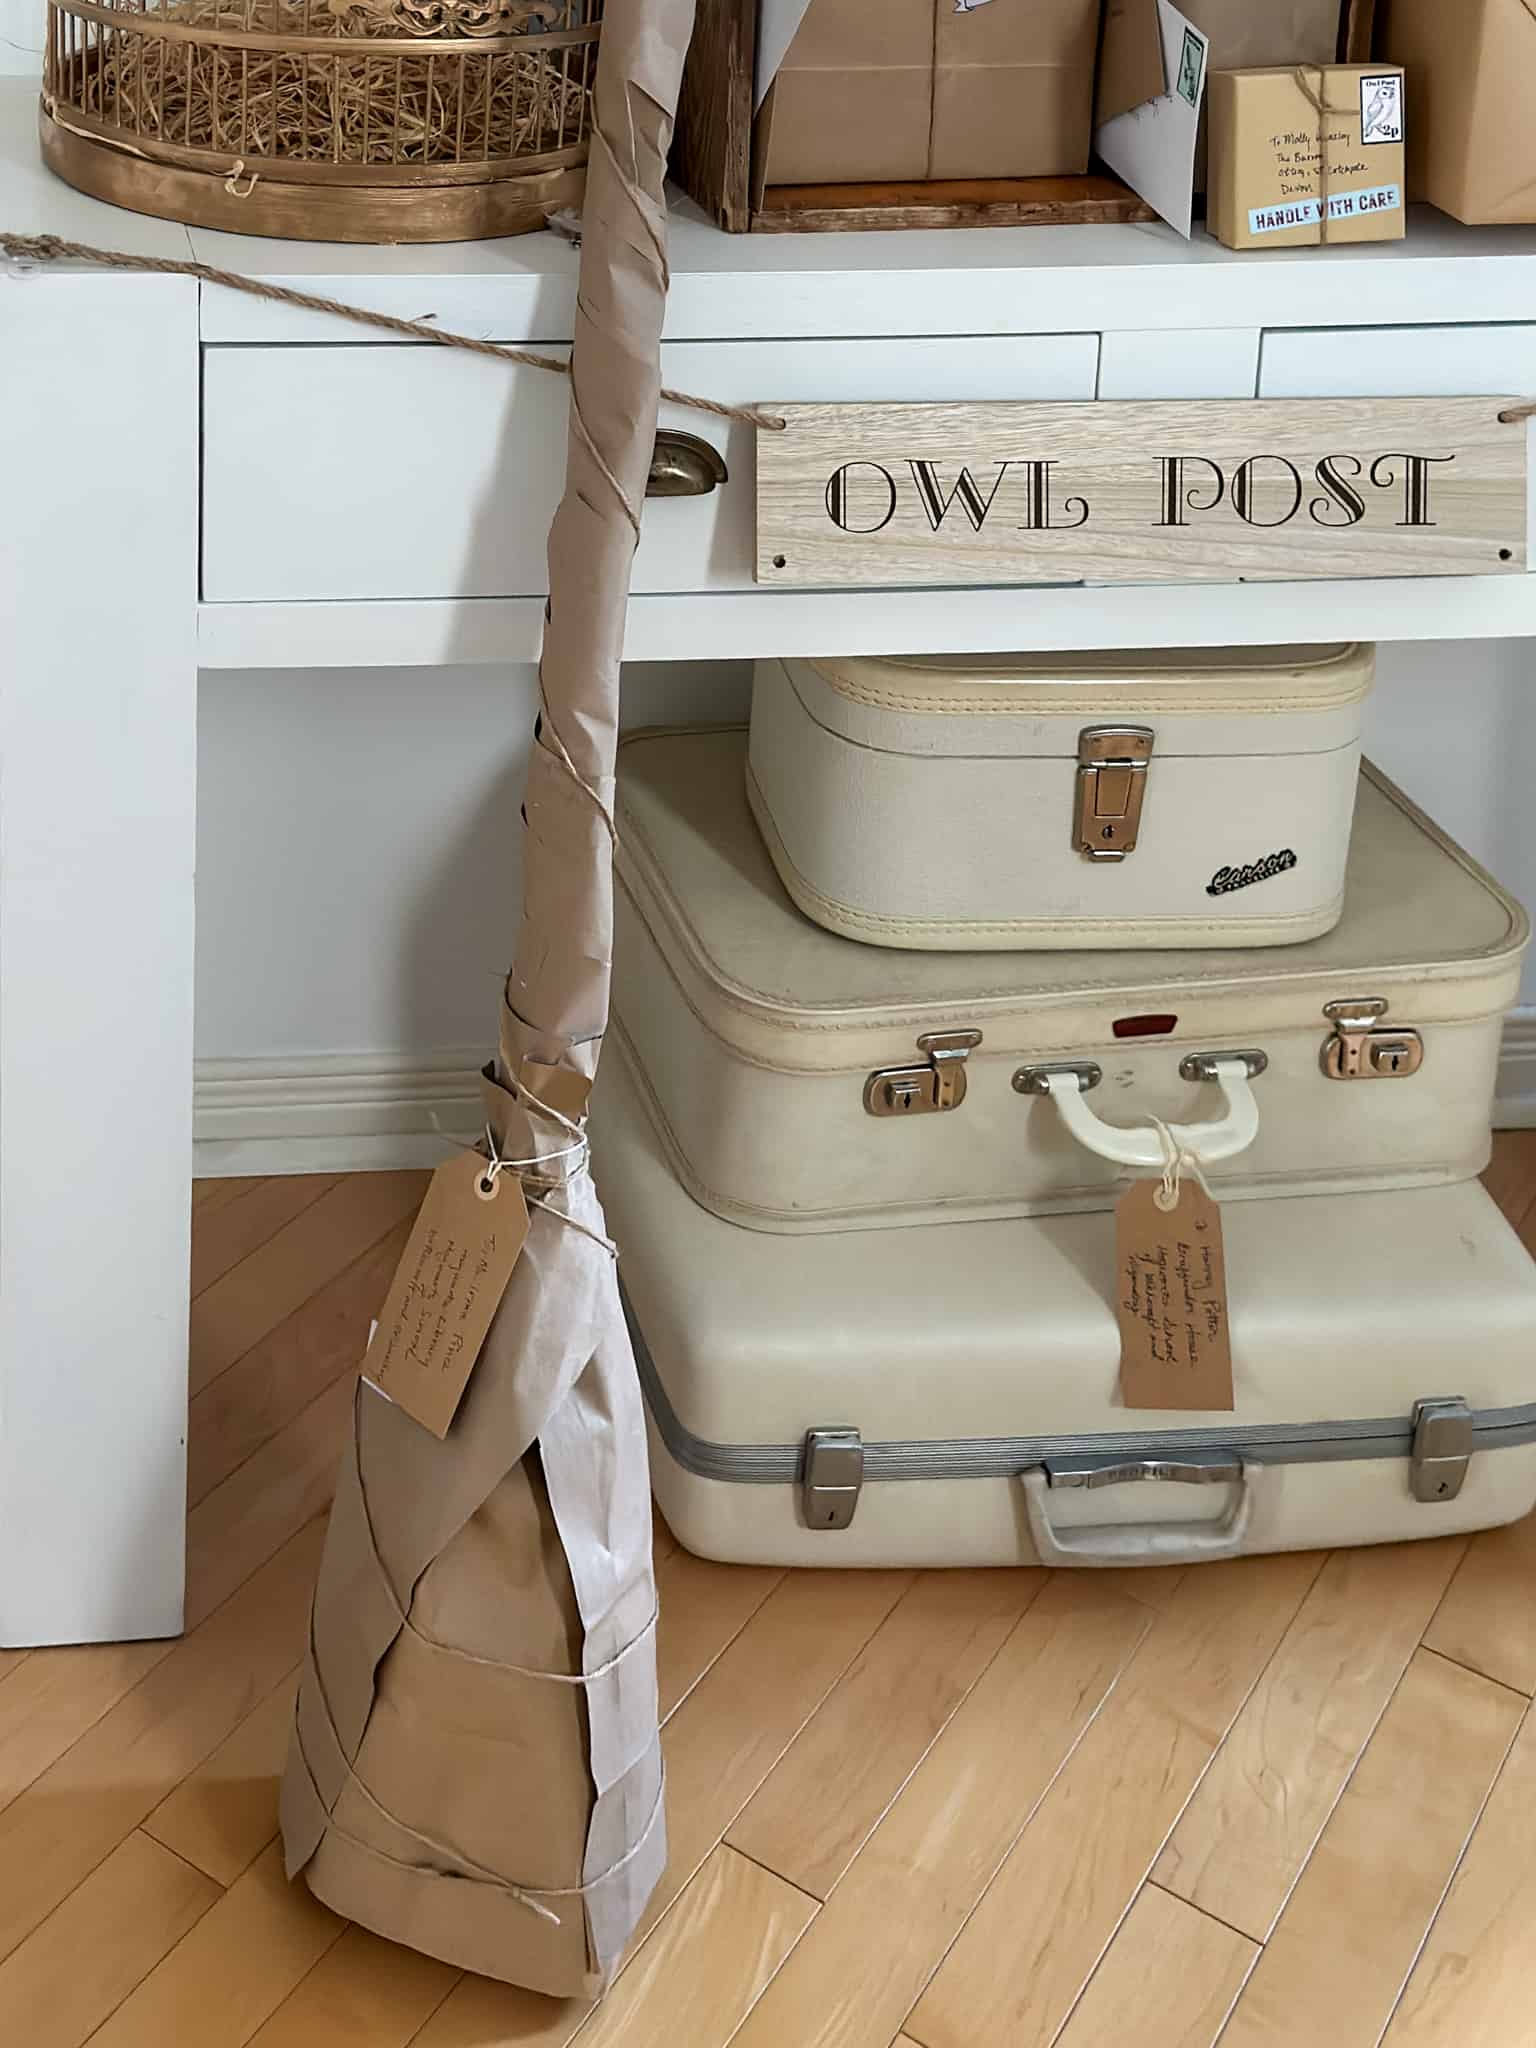
I also made a witch's broom parcel. An old bamboo stake from the garden was used all the broom handle. I bulked it up using my hot glue gun and some cardboard, then shaped a broom bottom with cardboard. Then it was all wrapped up in brown paper to make a package and it looks so perfect for our Harry Potter inspired Owl Post. Hogwarts acceptance letters would be a great addition too.
Addresses
I addressed them all to real characters from the Harry Potter books, and tried to work out authentic addresses for everyone. It's amazing what you can find on the internet! I wrote the addresses right onto the brown paper packages or envelopes. Mail needs stamps and owl mail needs owl stamps.
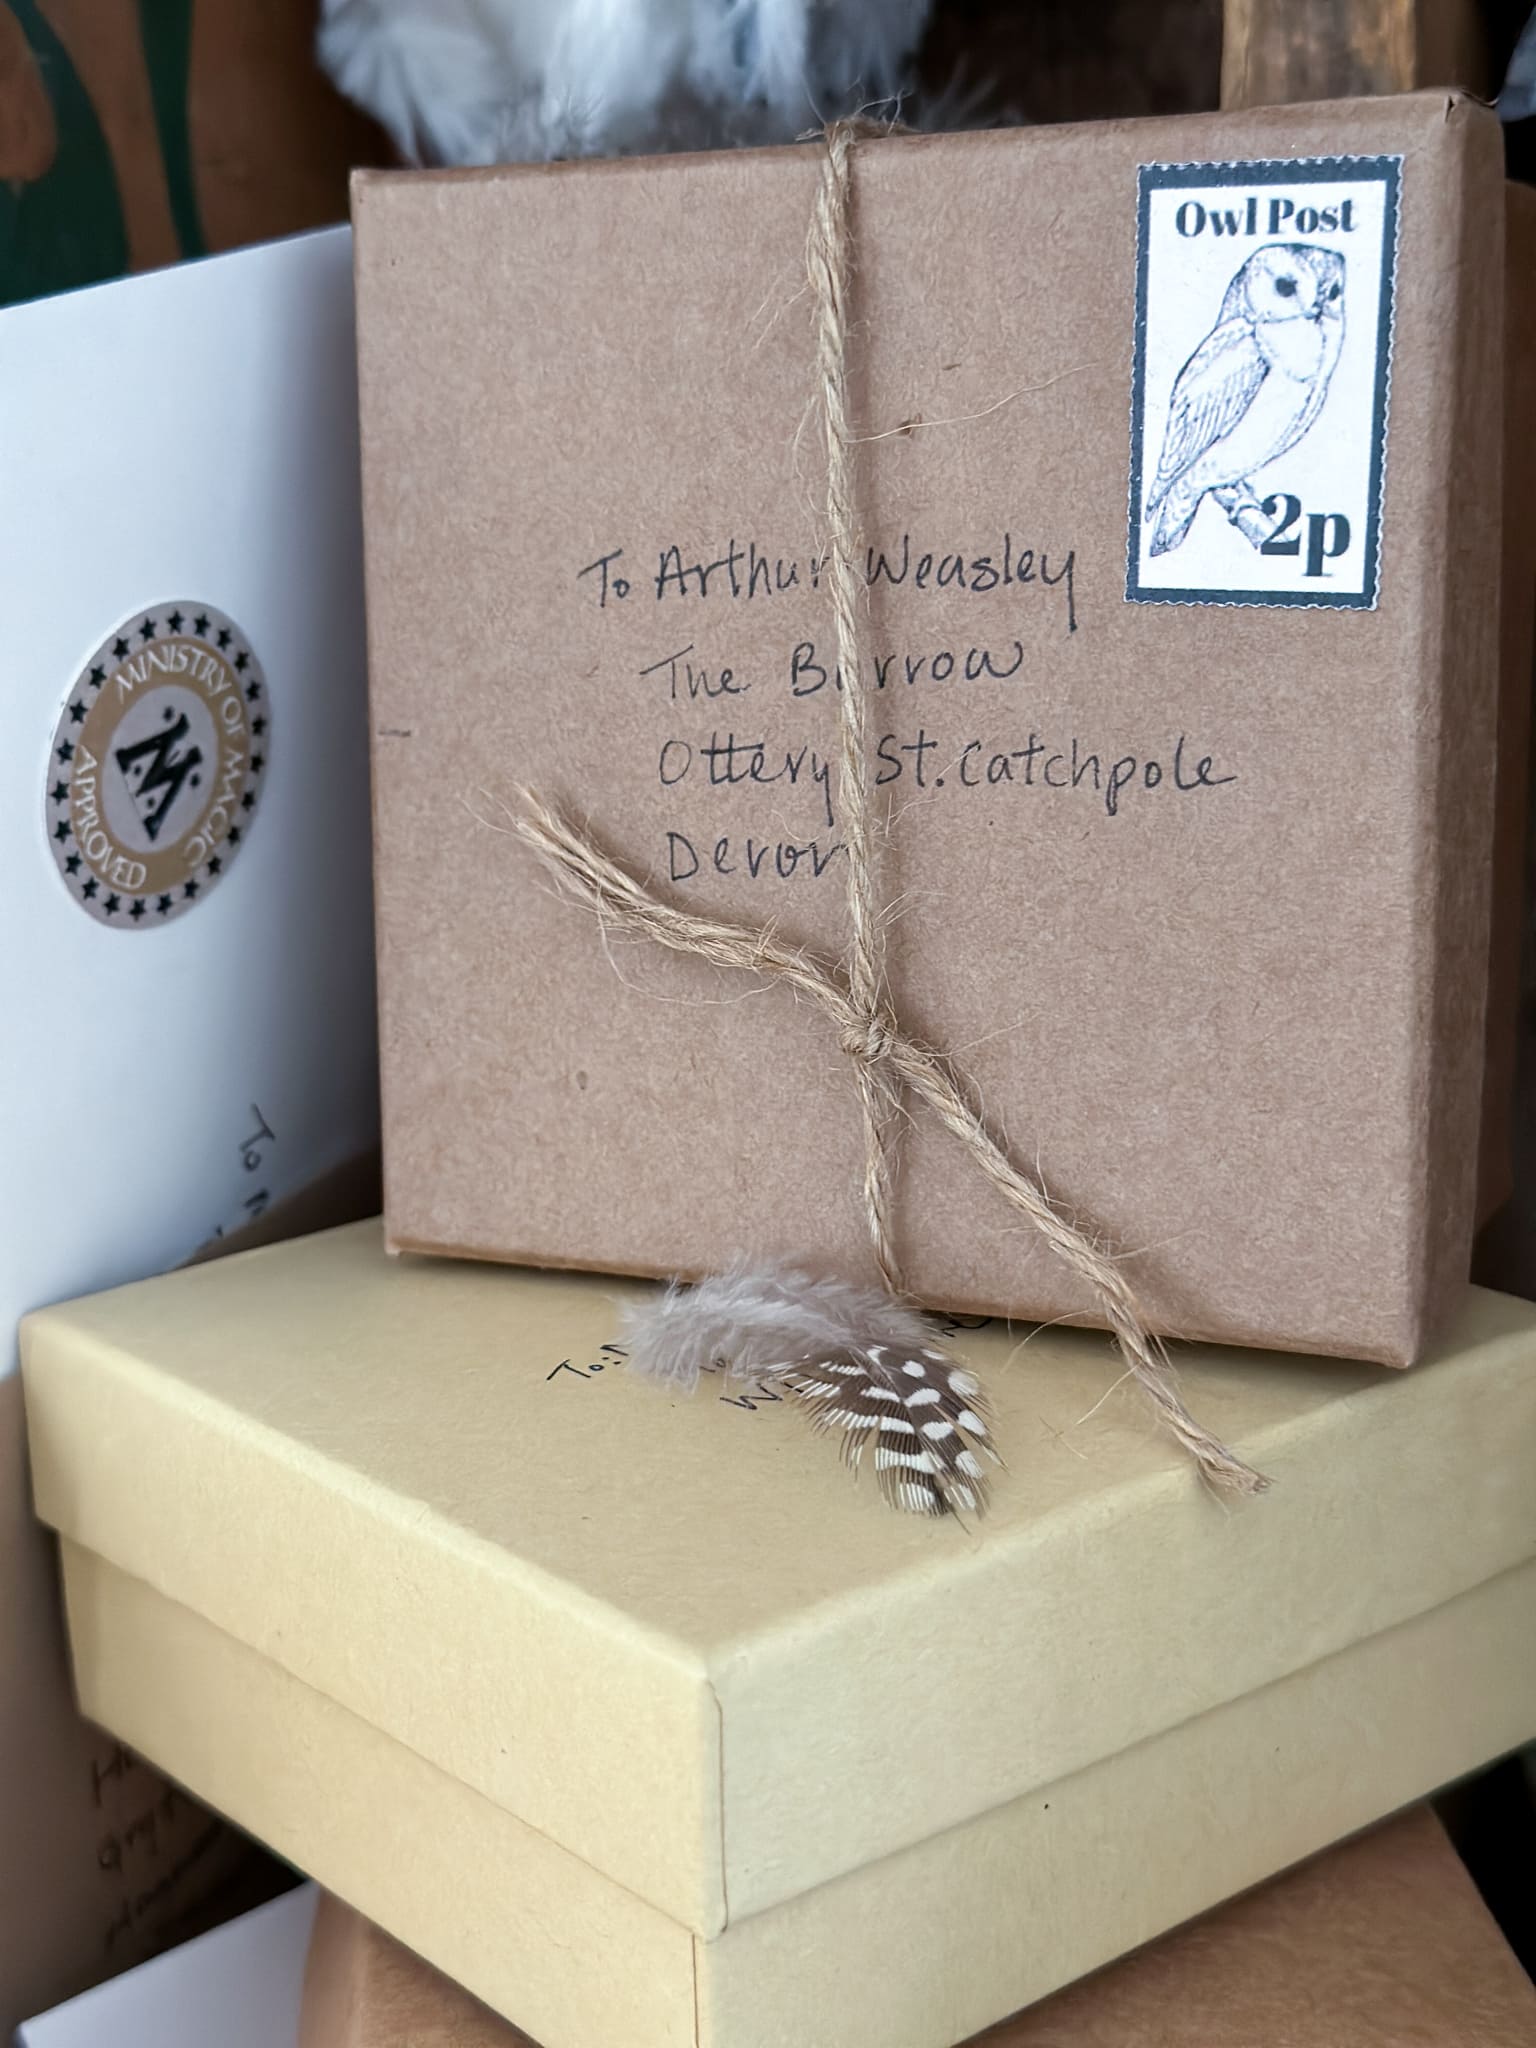
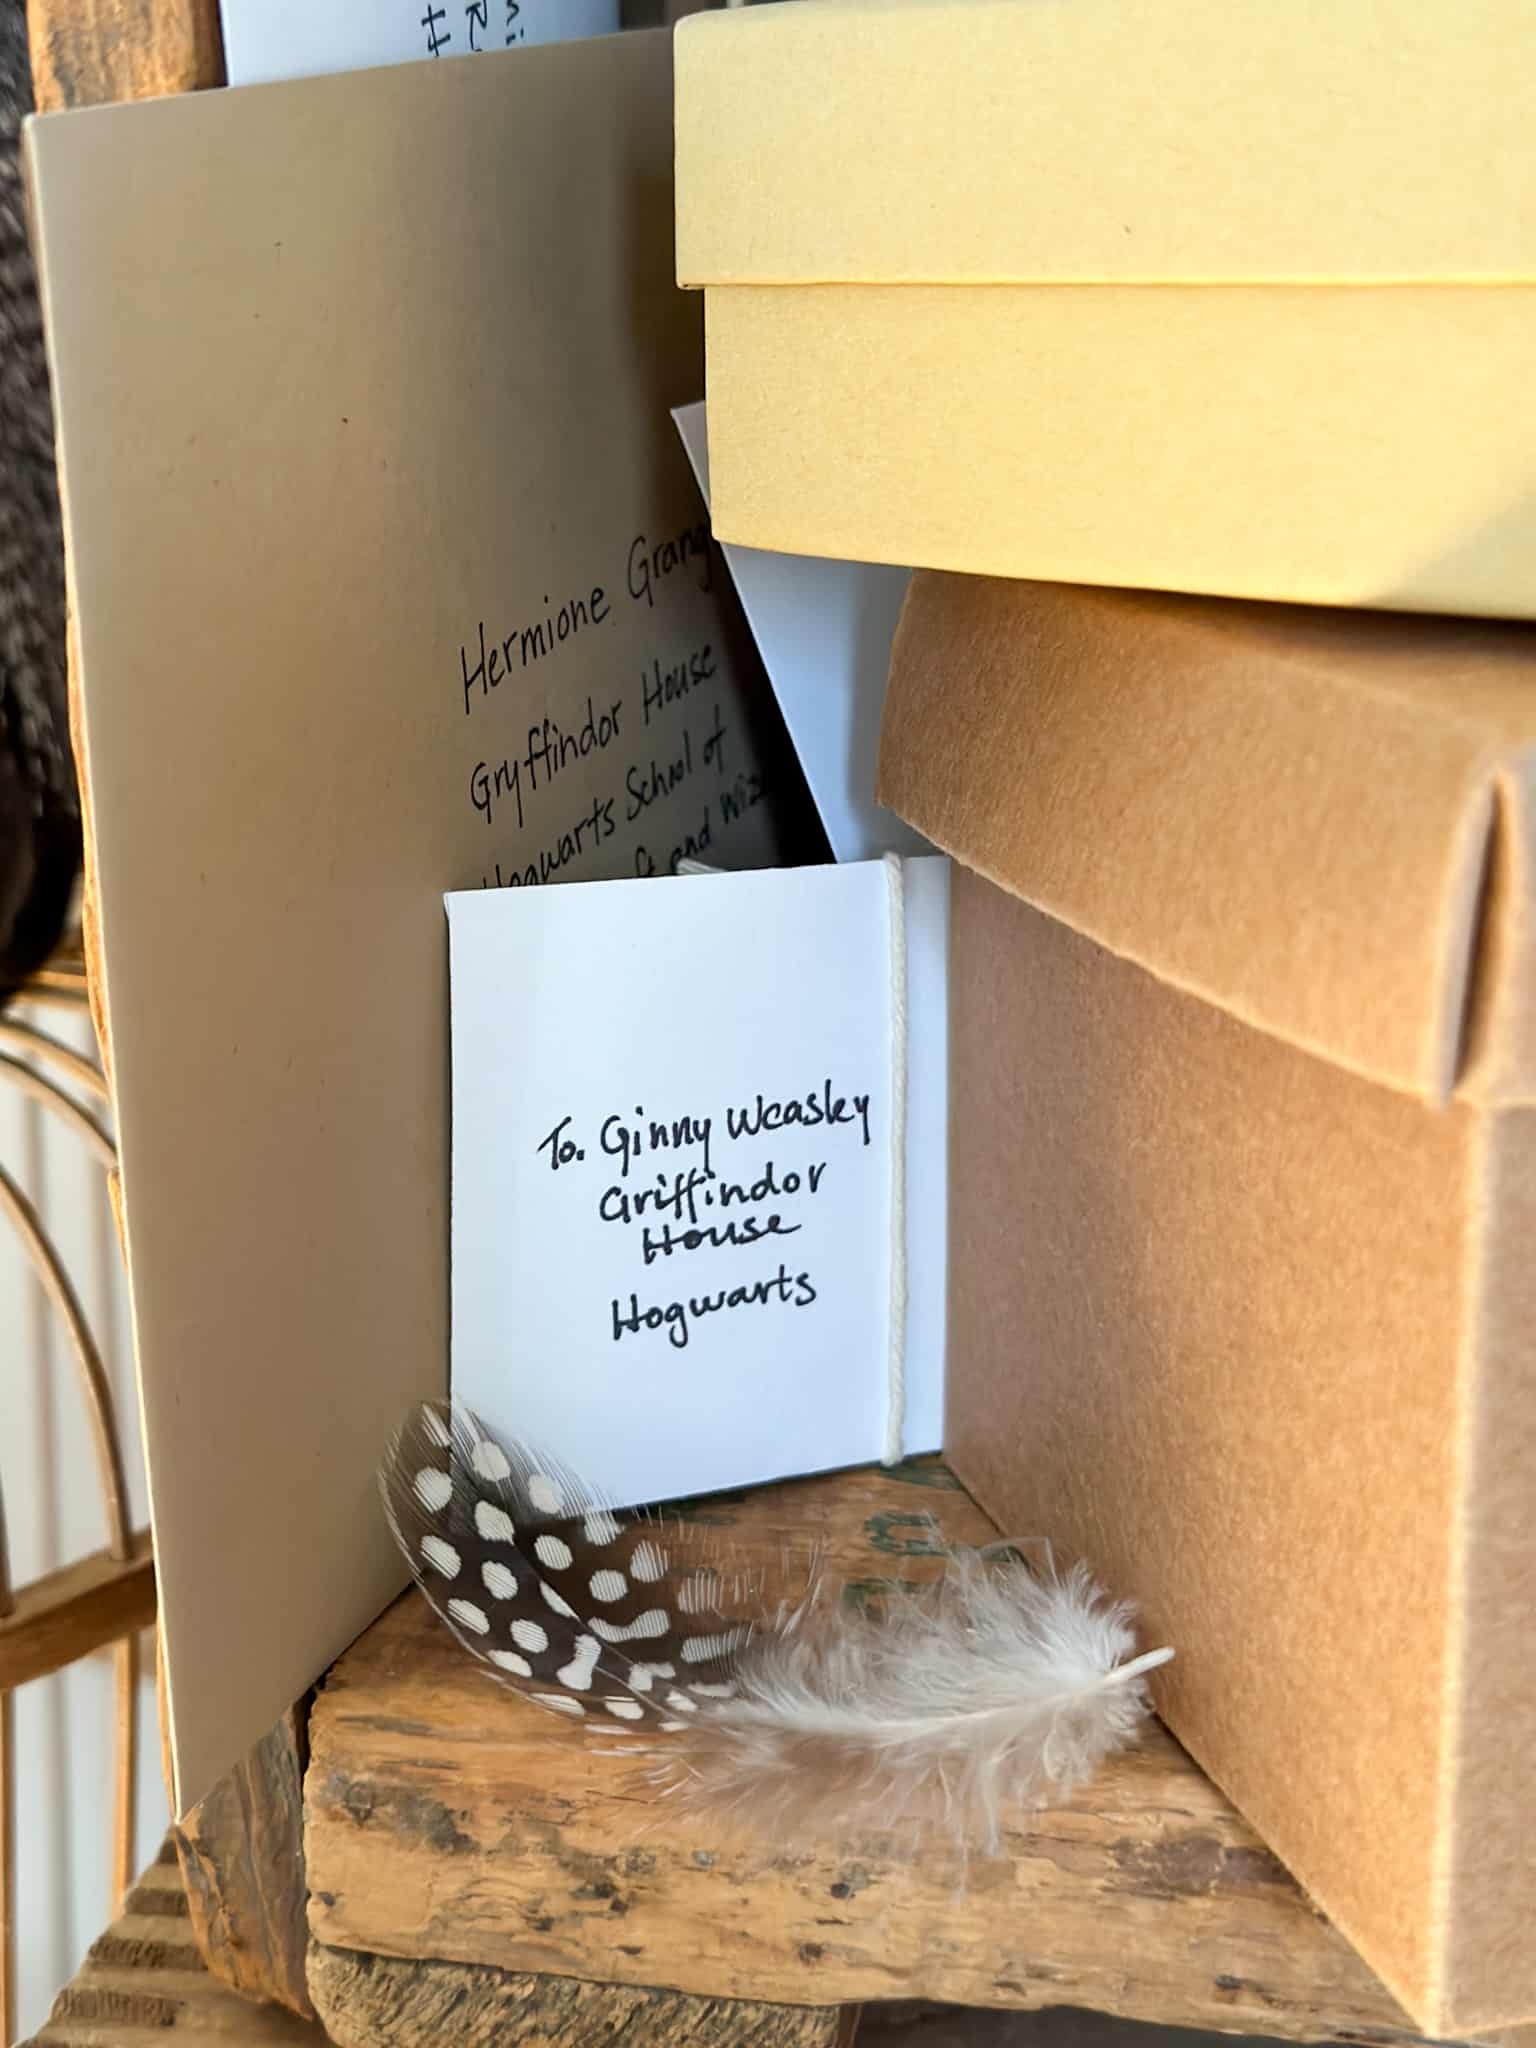
I created some free printables with owl post stamps in a few different designs to use on all the packages and letters. We also made some postmarks to add to the packages. These are all available in the Free Resource Library. I printed them on sticker paper, and cut them out using my Cricut machine. These worked perfectly for adding to our letters and parcels.
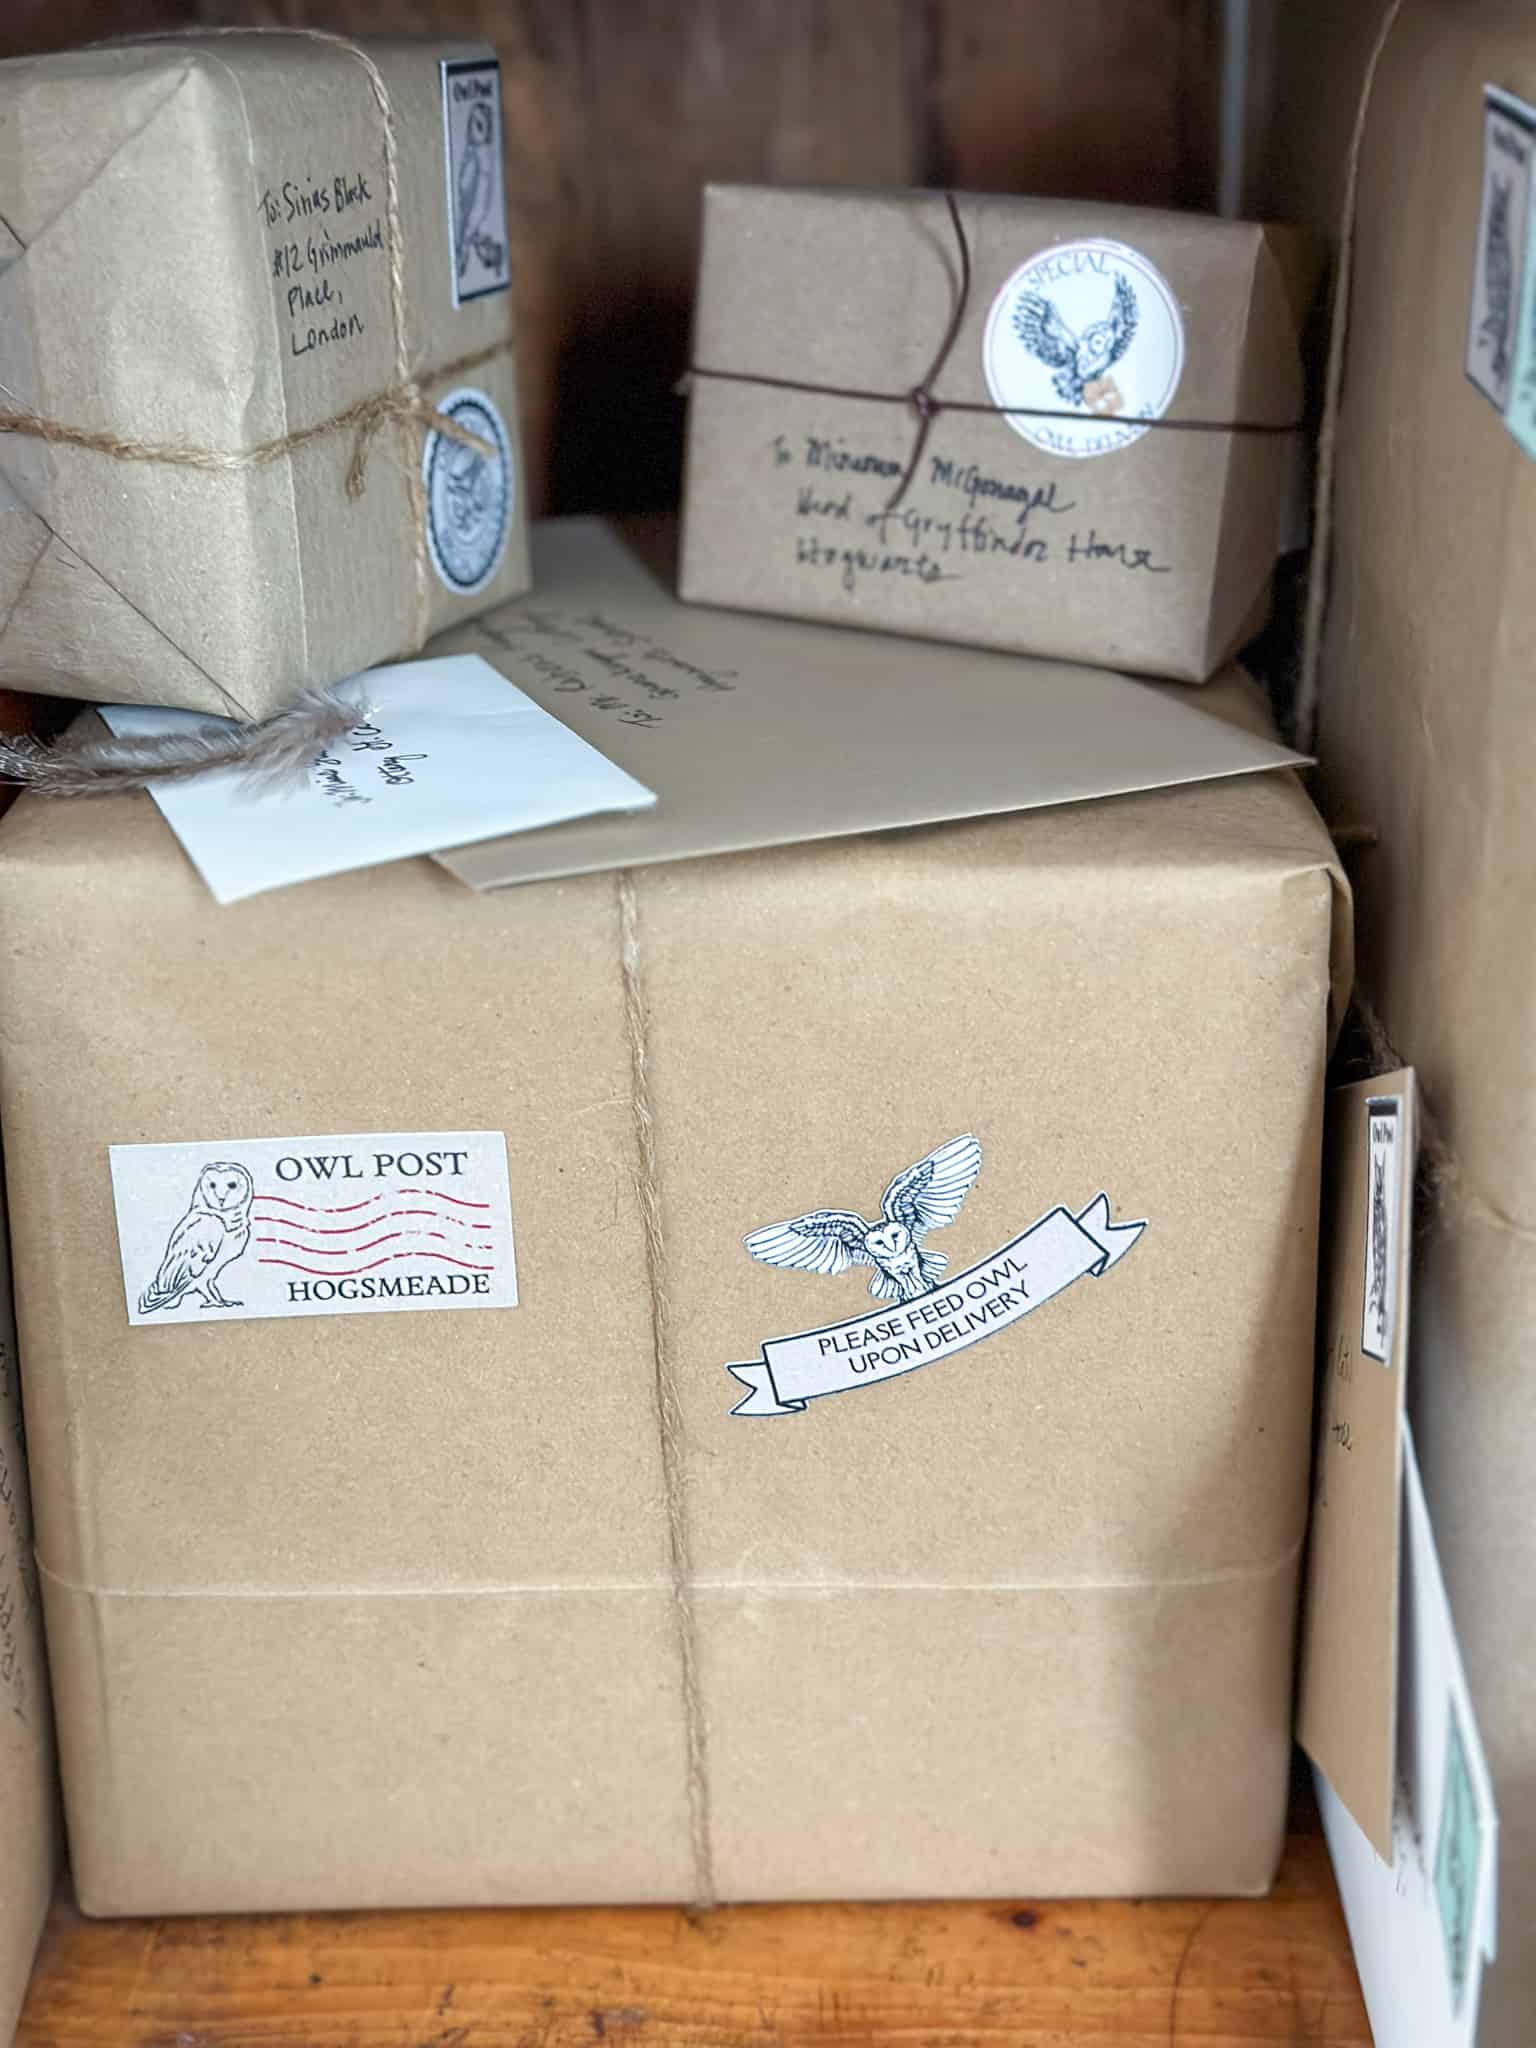
Where Do I Get The Free Harry Potter Printables?
All the free Harry Potter printables for the signs, owl post, and labels are in our Free Resource Library. This library is free for our subscribers to use. For instant access sign up below, and look for an email with the library password sent via email.

I had so much fun creating this little piece of Hogwarts in my own dining room. Themed decorations are so much fun, and I had a great time adding all the special details. Any Harry Potter fan would love all the details. I admit, I may have gotten a little carried away. I hope some of these creative ideas inspired by our favorite scenes in the Harry Potter movies, help you create a great themed party. If you're planning a themed birthday party, or Halloween party I hope some of these DIY ideas help transform your living space. If you love Harry Potter, these fun ideas are an easy way to to create your own Harry Potter universe. Your Harry Potter party guests will love it. Our decor has been a huge success with all our friends and family.
With all these fun Harry Potter decor ideas, life really is a party!
More Harry Potter Inspiration
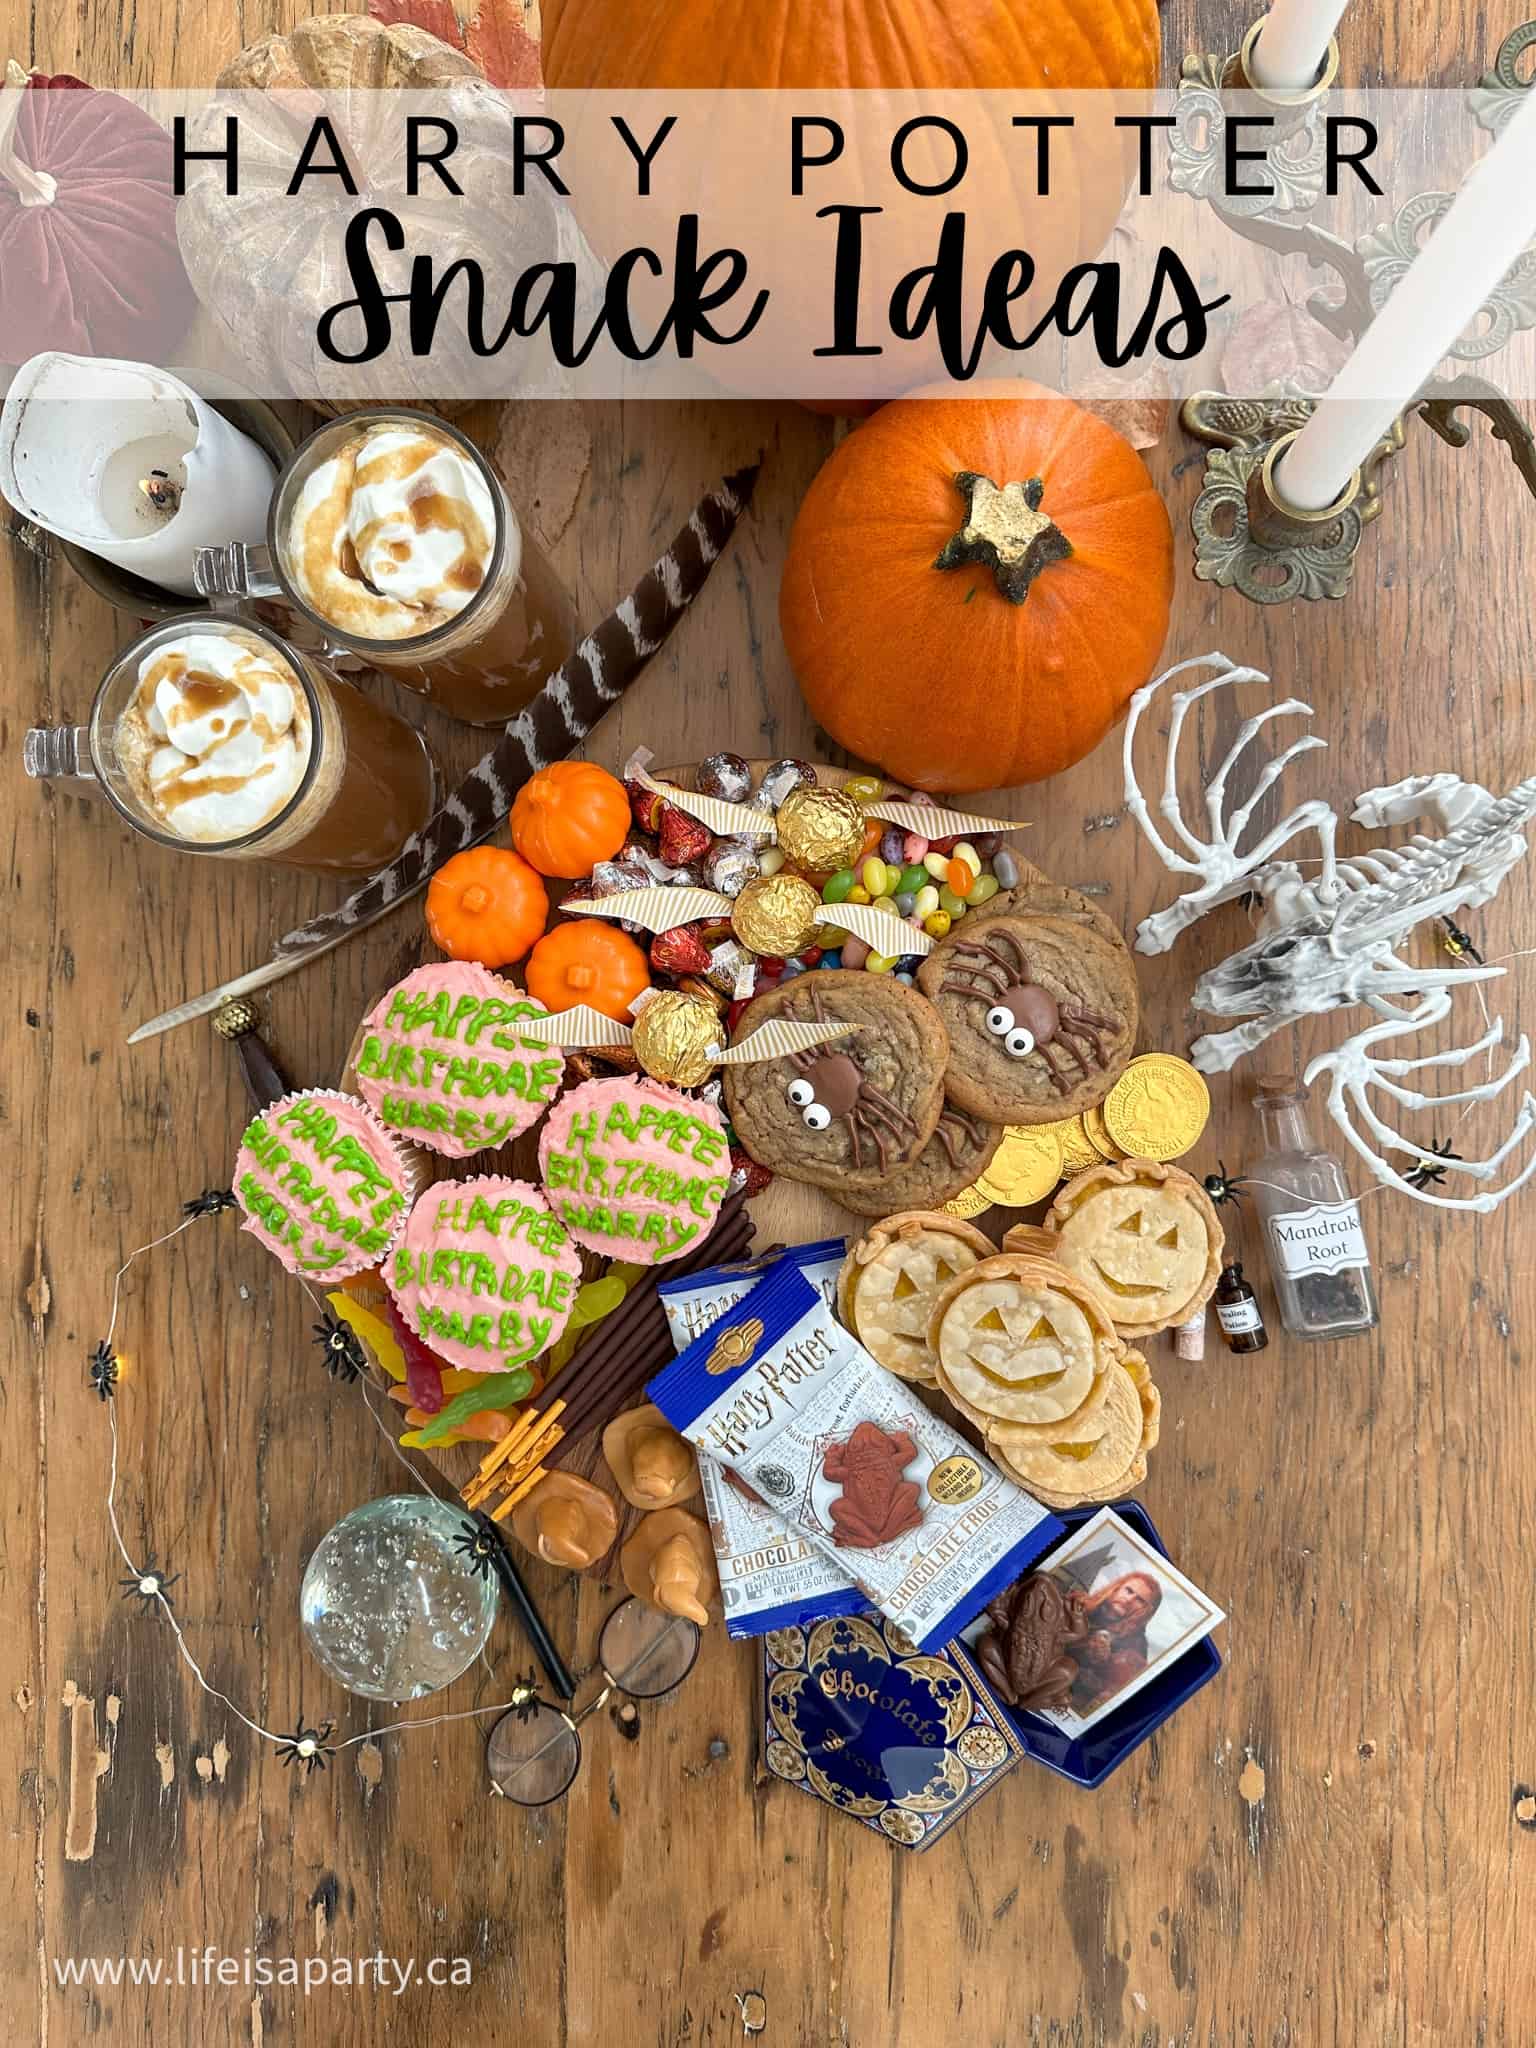
You might also like our Harry Potter Inspired Treats and Snack Ideas here.
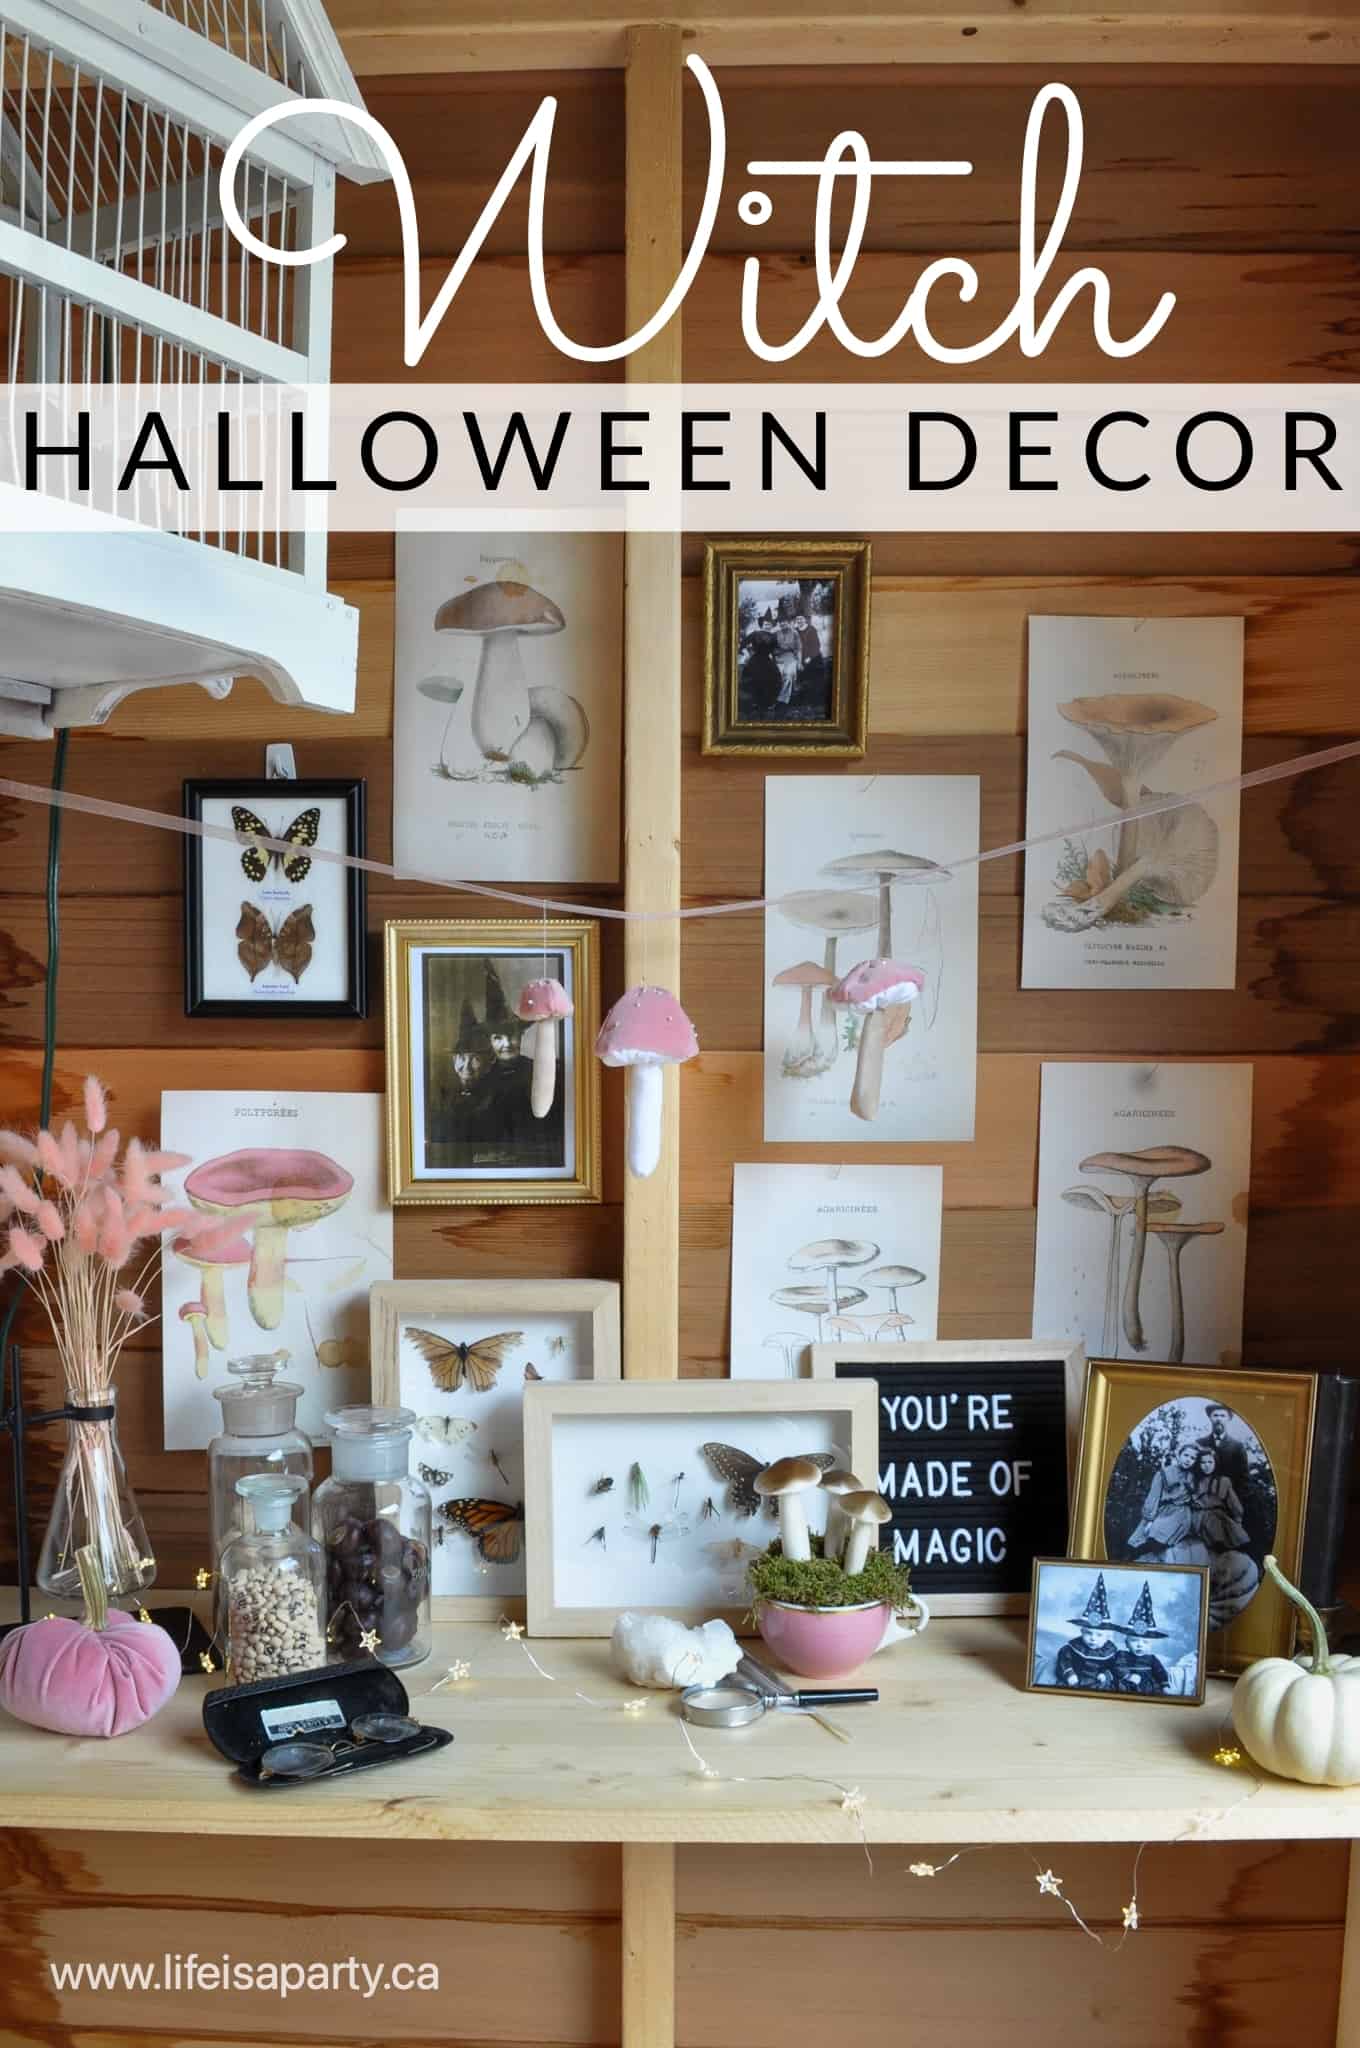
You might also like our Witch Halloween Decor here.
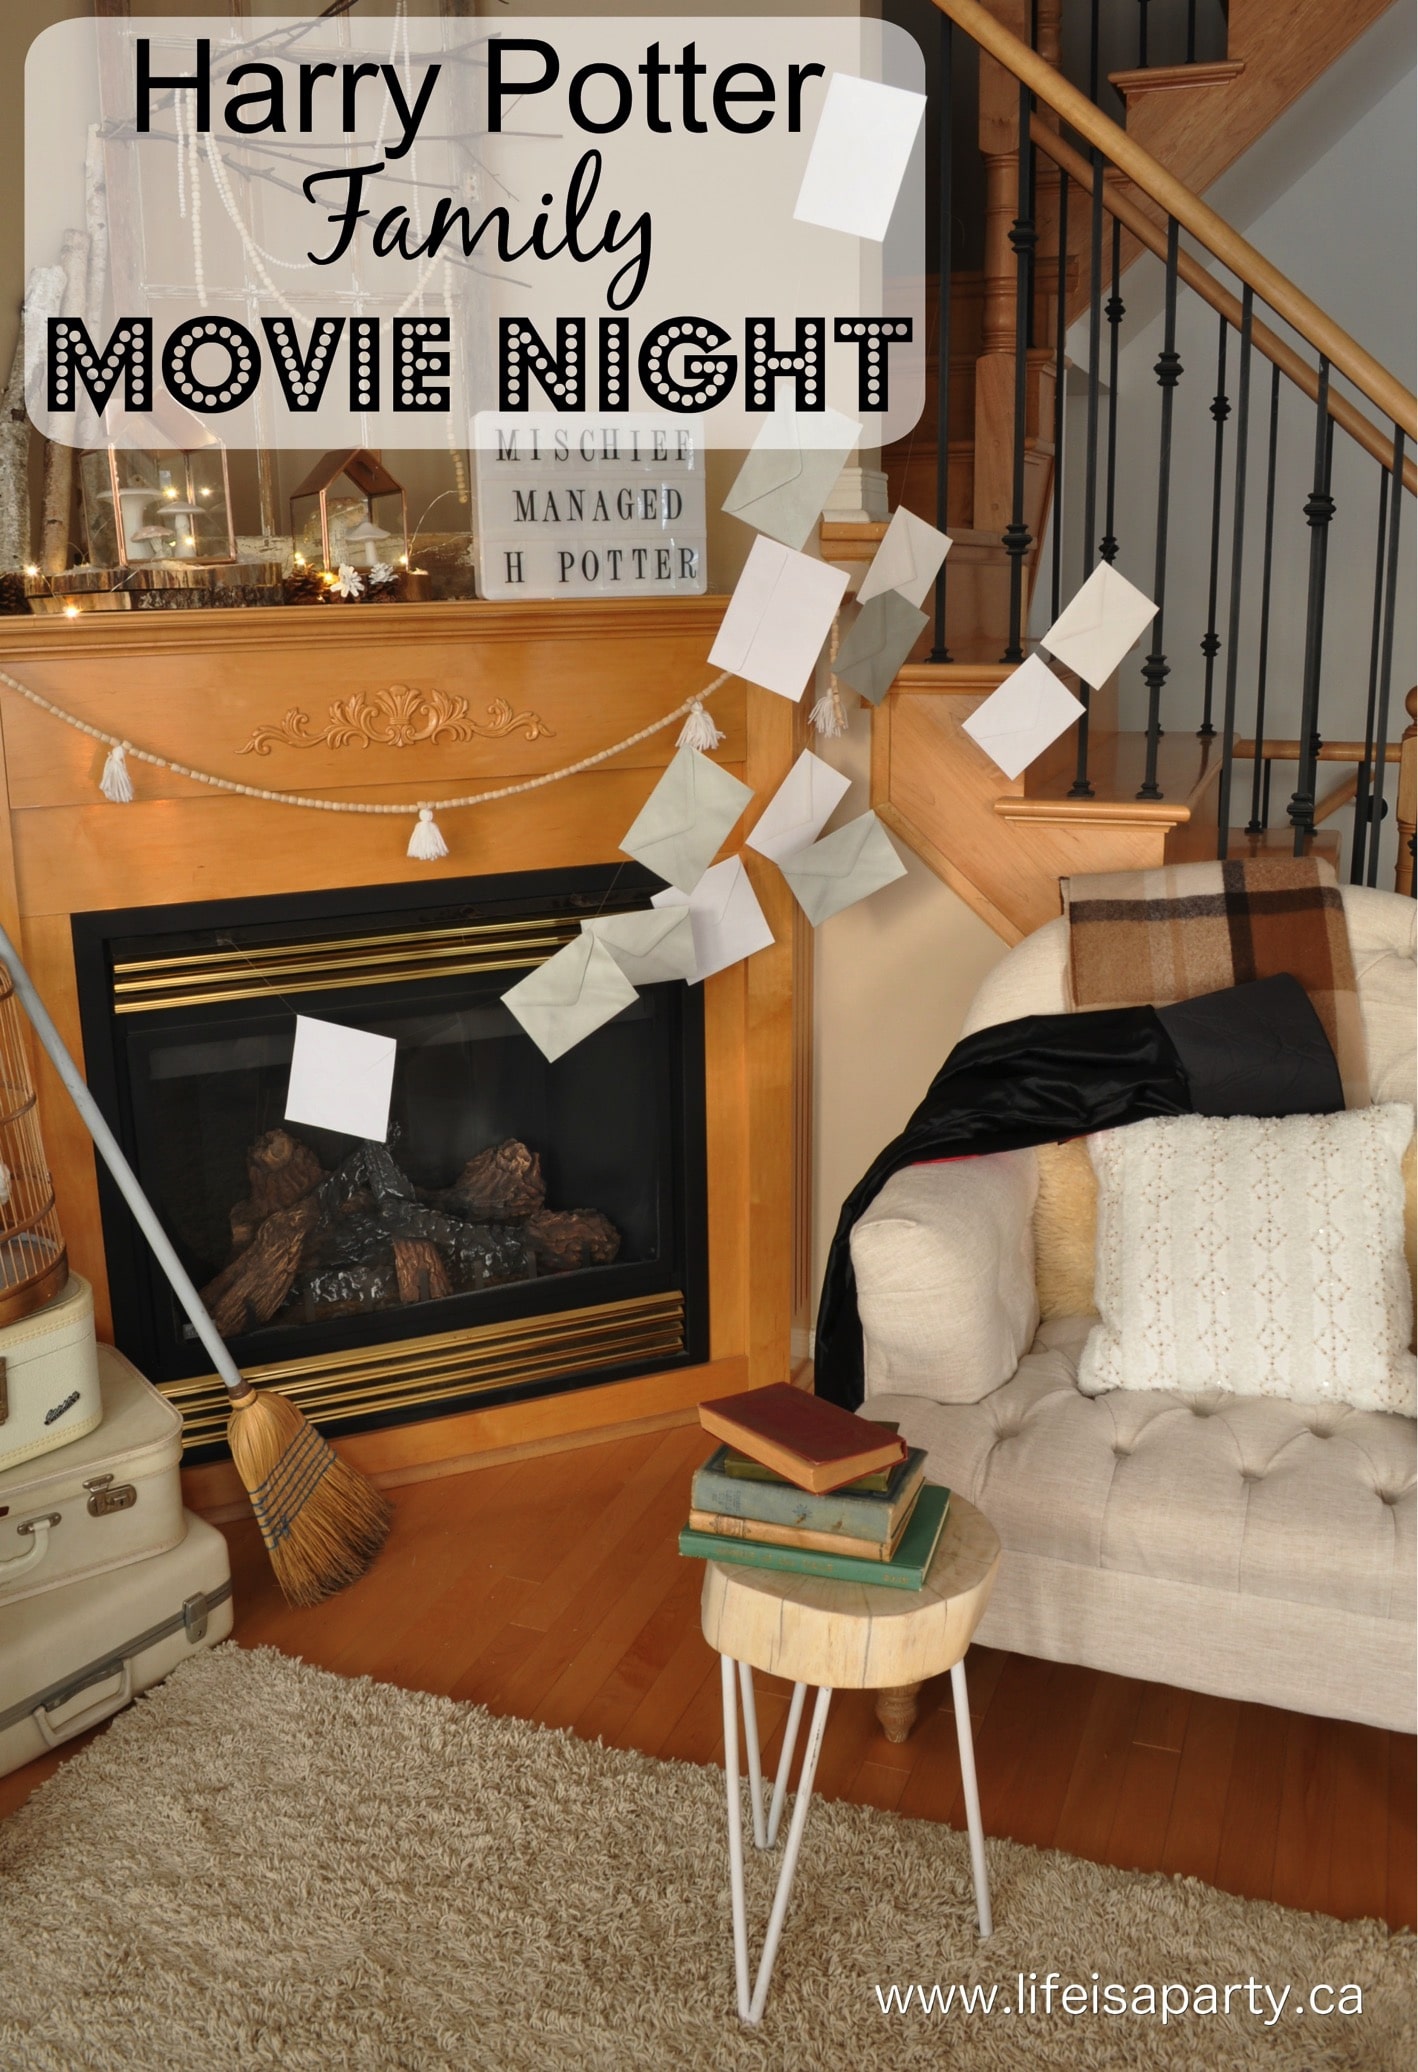
Also check out our Harry Potter Family Movie Night here.


Dannyelle Nicolle-Ramjist says
Hi Belinda, Great I hope you have a great party. You can find the free printables in our Resource Library. Just subscribe and you'll be sent the password for access.
Dannyelle
Belinda Bickford says
I love these ideas! My best friend is throwing her son a Harry Potter-themed birthday party, and I'm looking for the printable wings so we can do the Ferro Rocher candy pieces.
Dannyelle Nicolle-Ramjist says
I'm so sorry, and thanks for letting me know. We've been updating the site and the box was missing. It is there now, near the bottom of the page and will give you instant access to the printables.
Dannyelle
Kelly Nash says
Hi, I am interested in the free printables for the Harry Potter themed party! But I don't see where to subscribe and get a password for the resource library? This is an amazing display! You are so talented 🙂
Sara says
Beautiful and creative display!