Installing Backsplash Tile In A Kitchen: from removing tile, and replacing dry wall to installing the new tile and grouting.
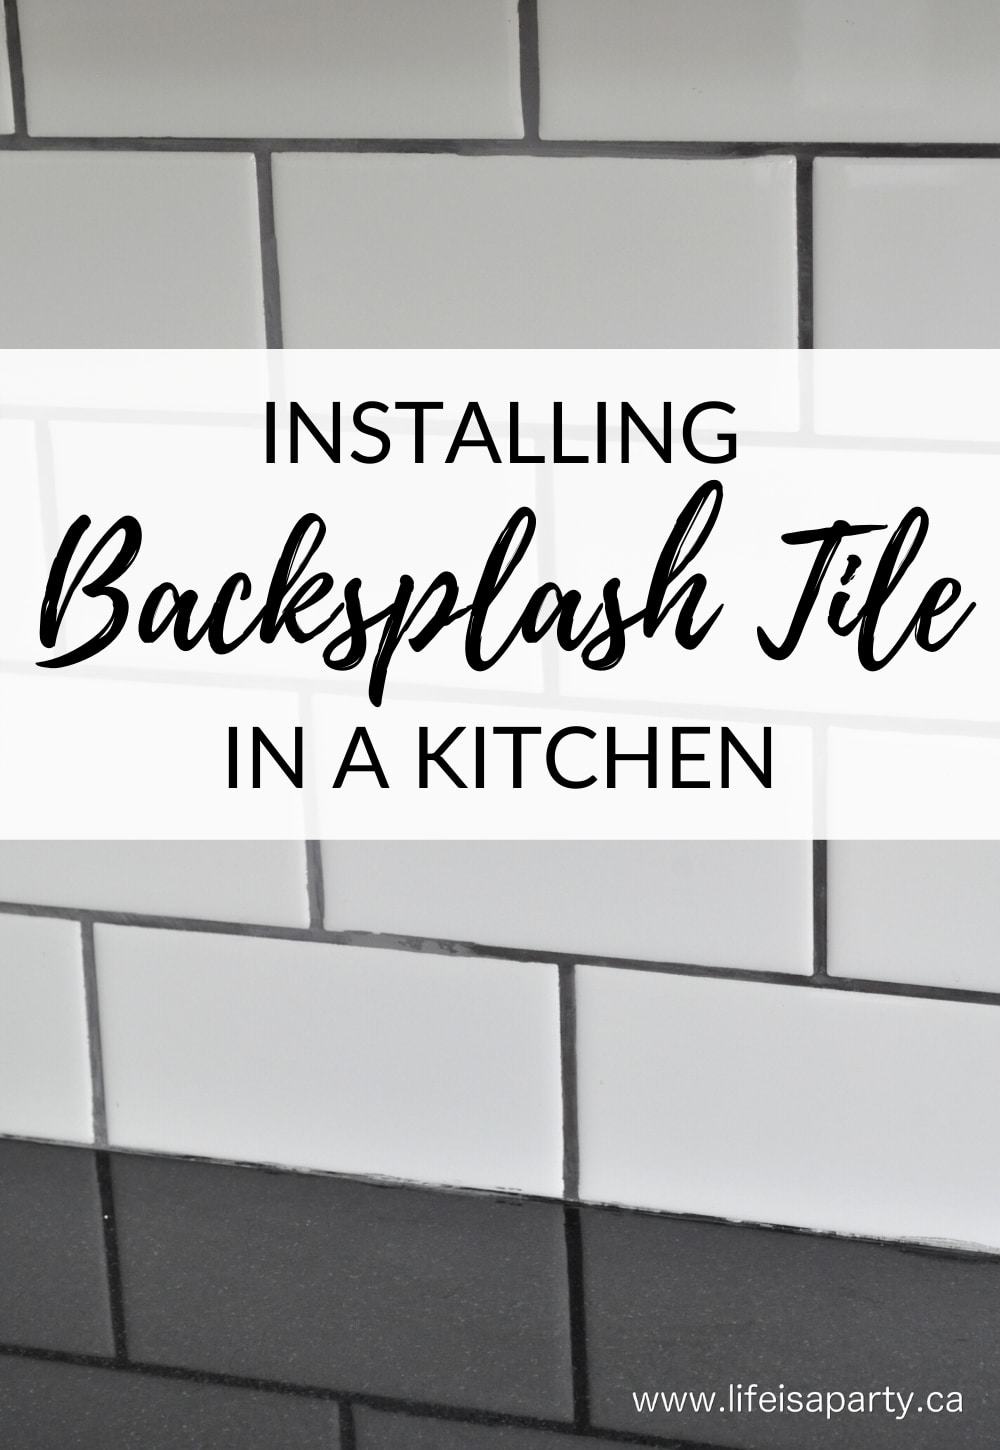
I have never liked my kitchen backsplash tile, so when we decided to give our kitchen a facelift I knew that ripping out the old tile and installing backsplash tile in a kitchen was high on the priority list.
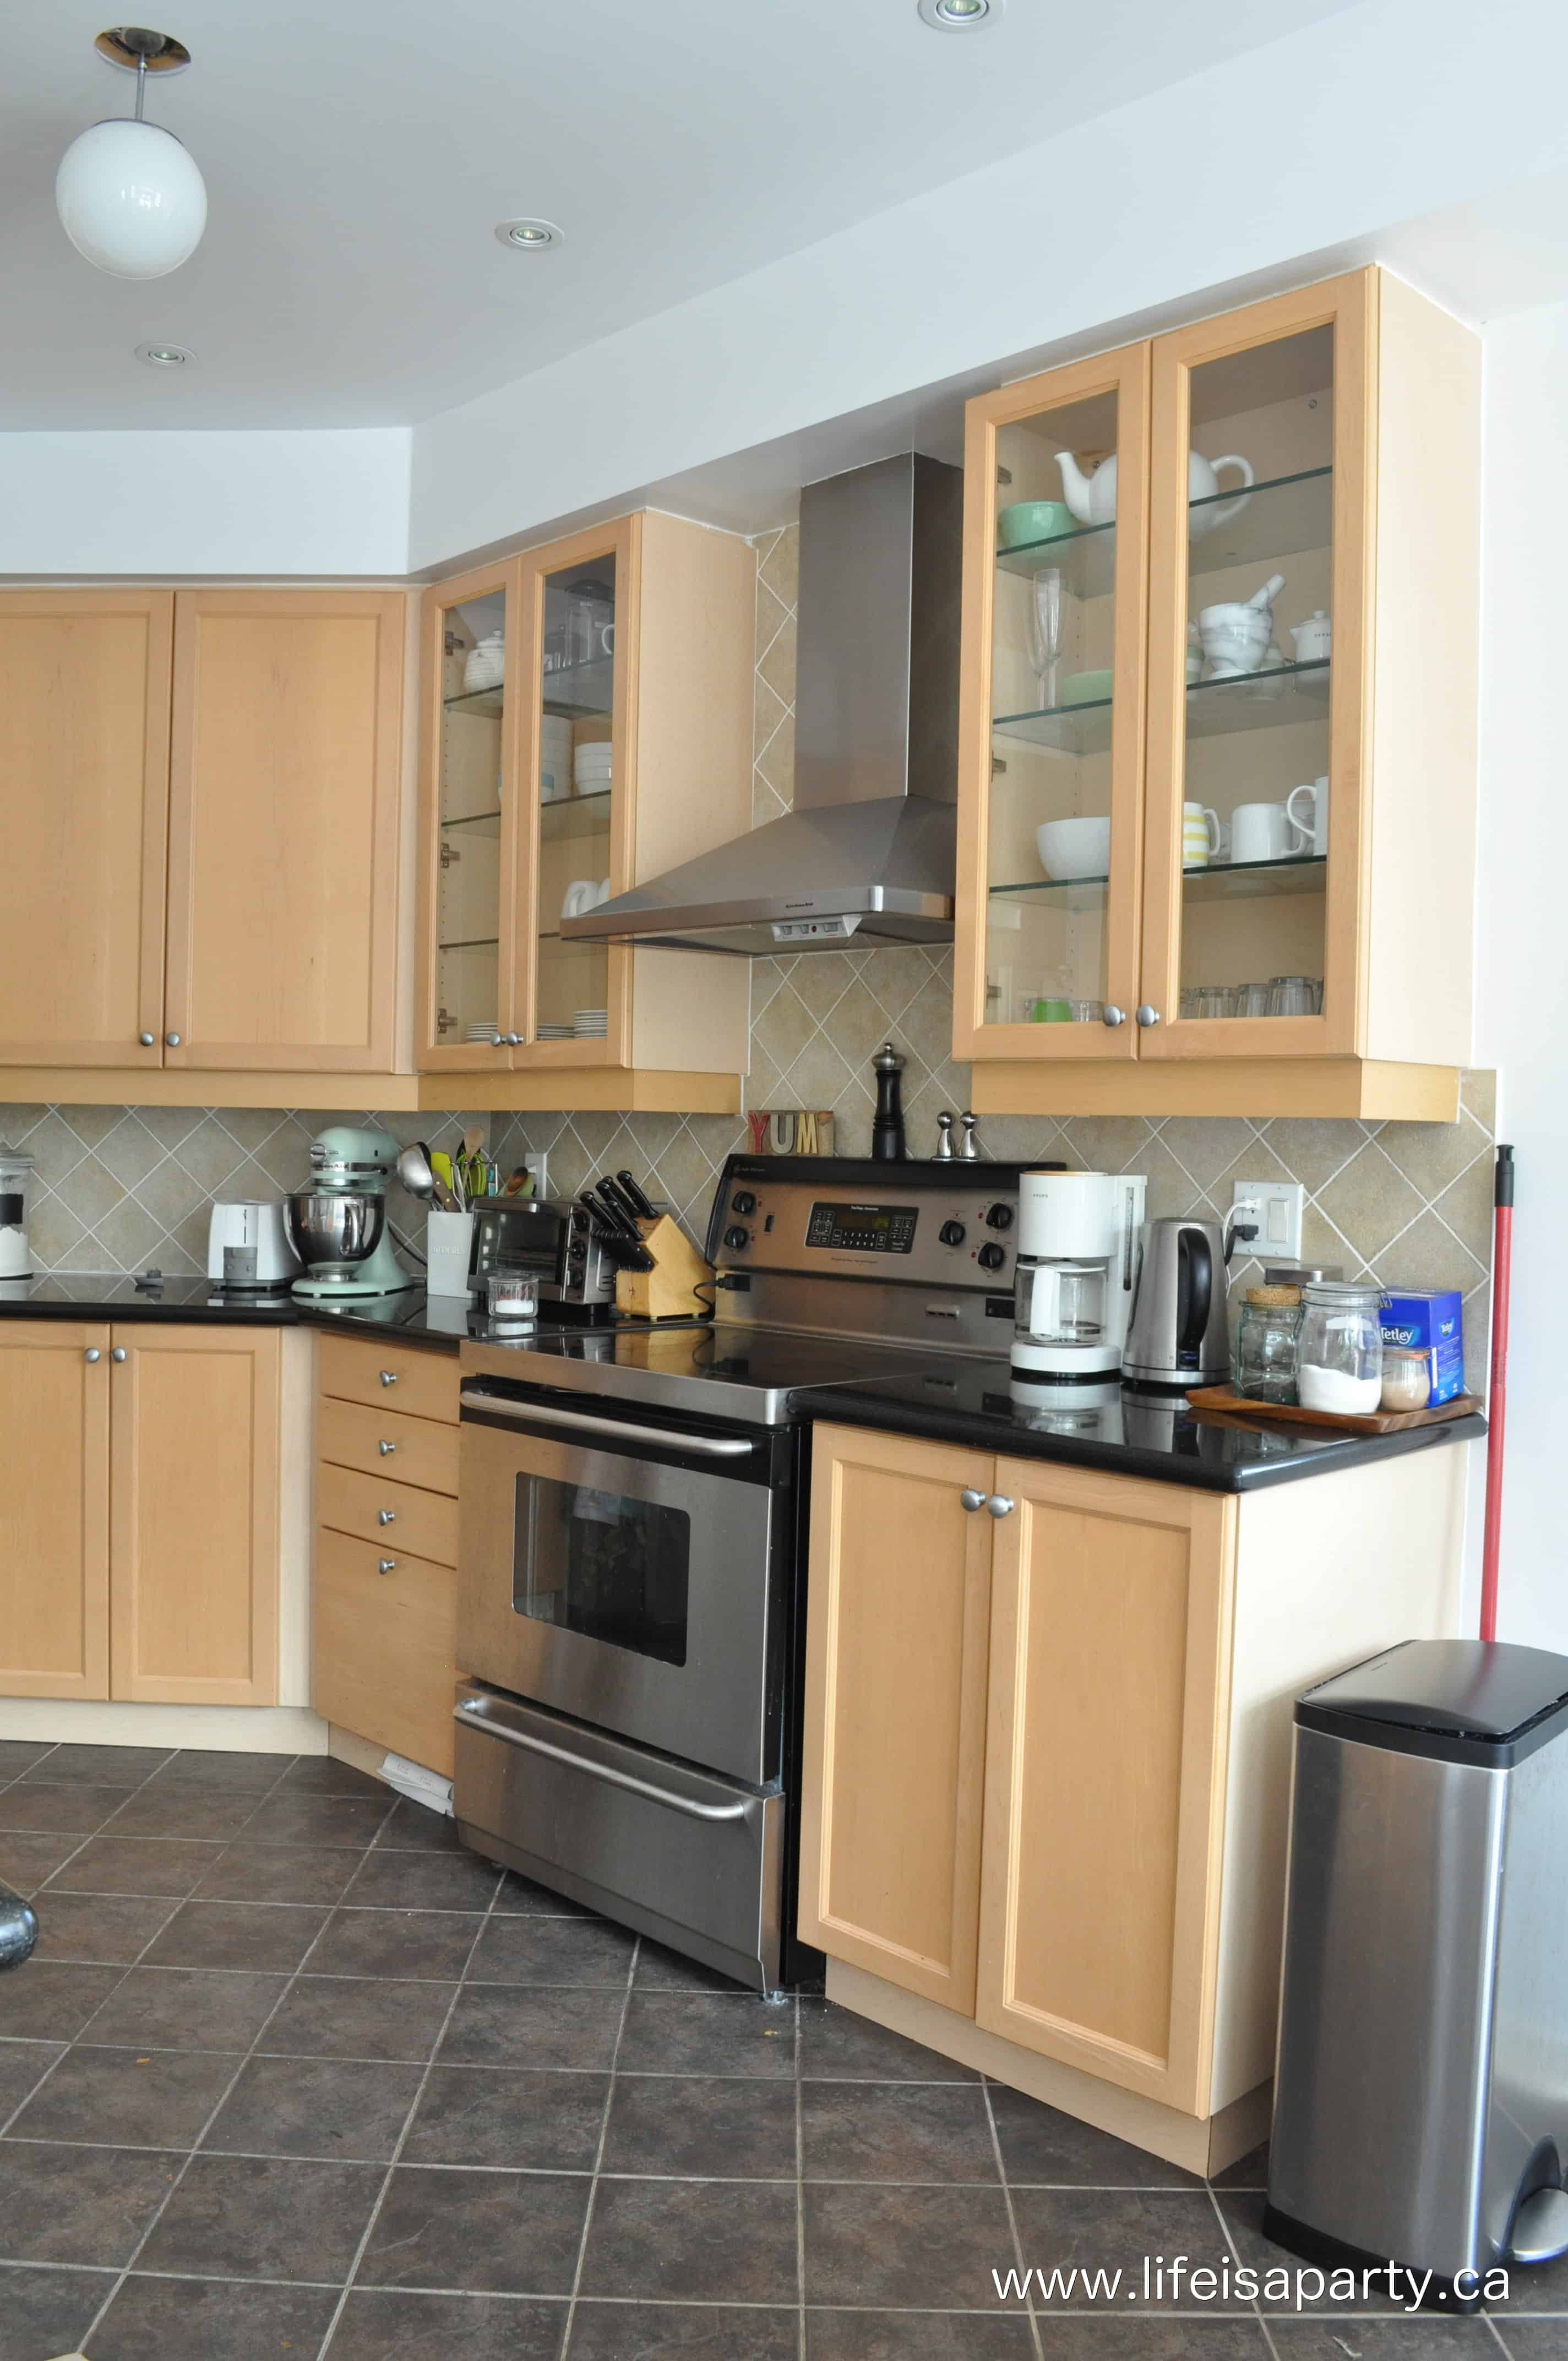
Before Picture:
Here's a before picture of what we started out with.
The Plan:
And here is the direction we were headed.

Installing Backsplash Tile In A Kitchen
1.Remove Old Tile
The first job was to remove the old tile. When we removed it we really damaged the drywall. We had hoped we'd be able to save the drywall in some areas, but we had to replace it. We were also removing the cupboards from the wall with the stove and replacing them with floating shelves so the wall was prepped for the shelf brackets at the same time -you can read all about our DIY Floating Shelves here.

Use a strong exacto knife or cutting tool to cut out the drywall and leave nice clean edges.

2.Re-Drywall
To prep the wall for tile, replace the drywall with new pieces screwed into place with drywall screws.

After the dry wall was up, I sealed the seams with some tape and tile adhesive, and then added a tile primer. Because we're prepping the wall for tile and not to paint we used the tile adhesive and didn't worry about sanding like you would normally.
3. Installing The Backsplash Tile
This past weekend we installed all the tile. A special thanks to Home Depot Canada this week for supplying all the materials for the tile and grout.
My sweet brother-in-law Shaun from Benjamin Woodworks, came for the weekend along with my sister and their two dachshunds. I have to say that the tile was harder than I expected. That seems to be the trend here. I'm all for trying new things, but if Shaun hadn't been here, I know it won't have come out looking this good, and I don't think it would be done yet. I did learn a ton -but we joked that if he hired me as his new apprentice, he won't want to pay me by the hour, haha.
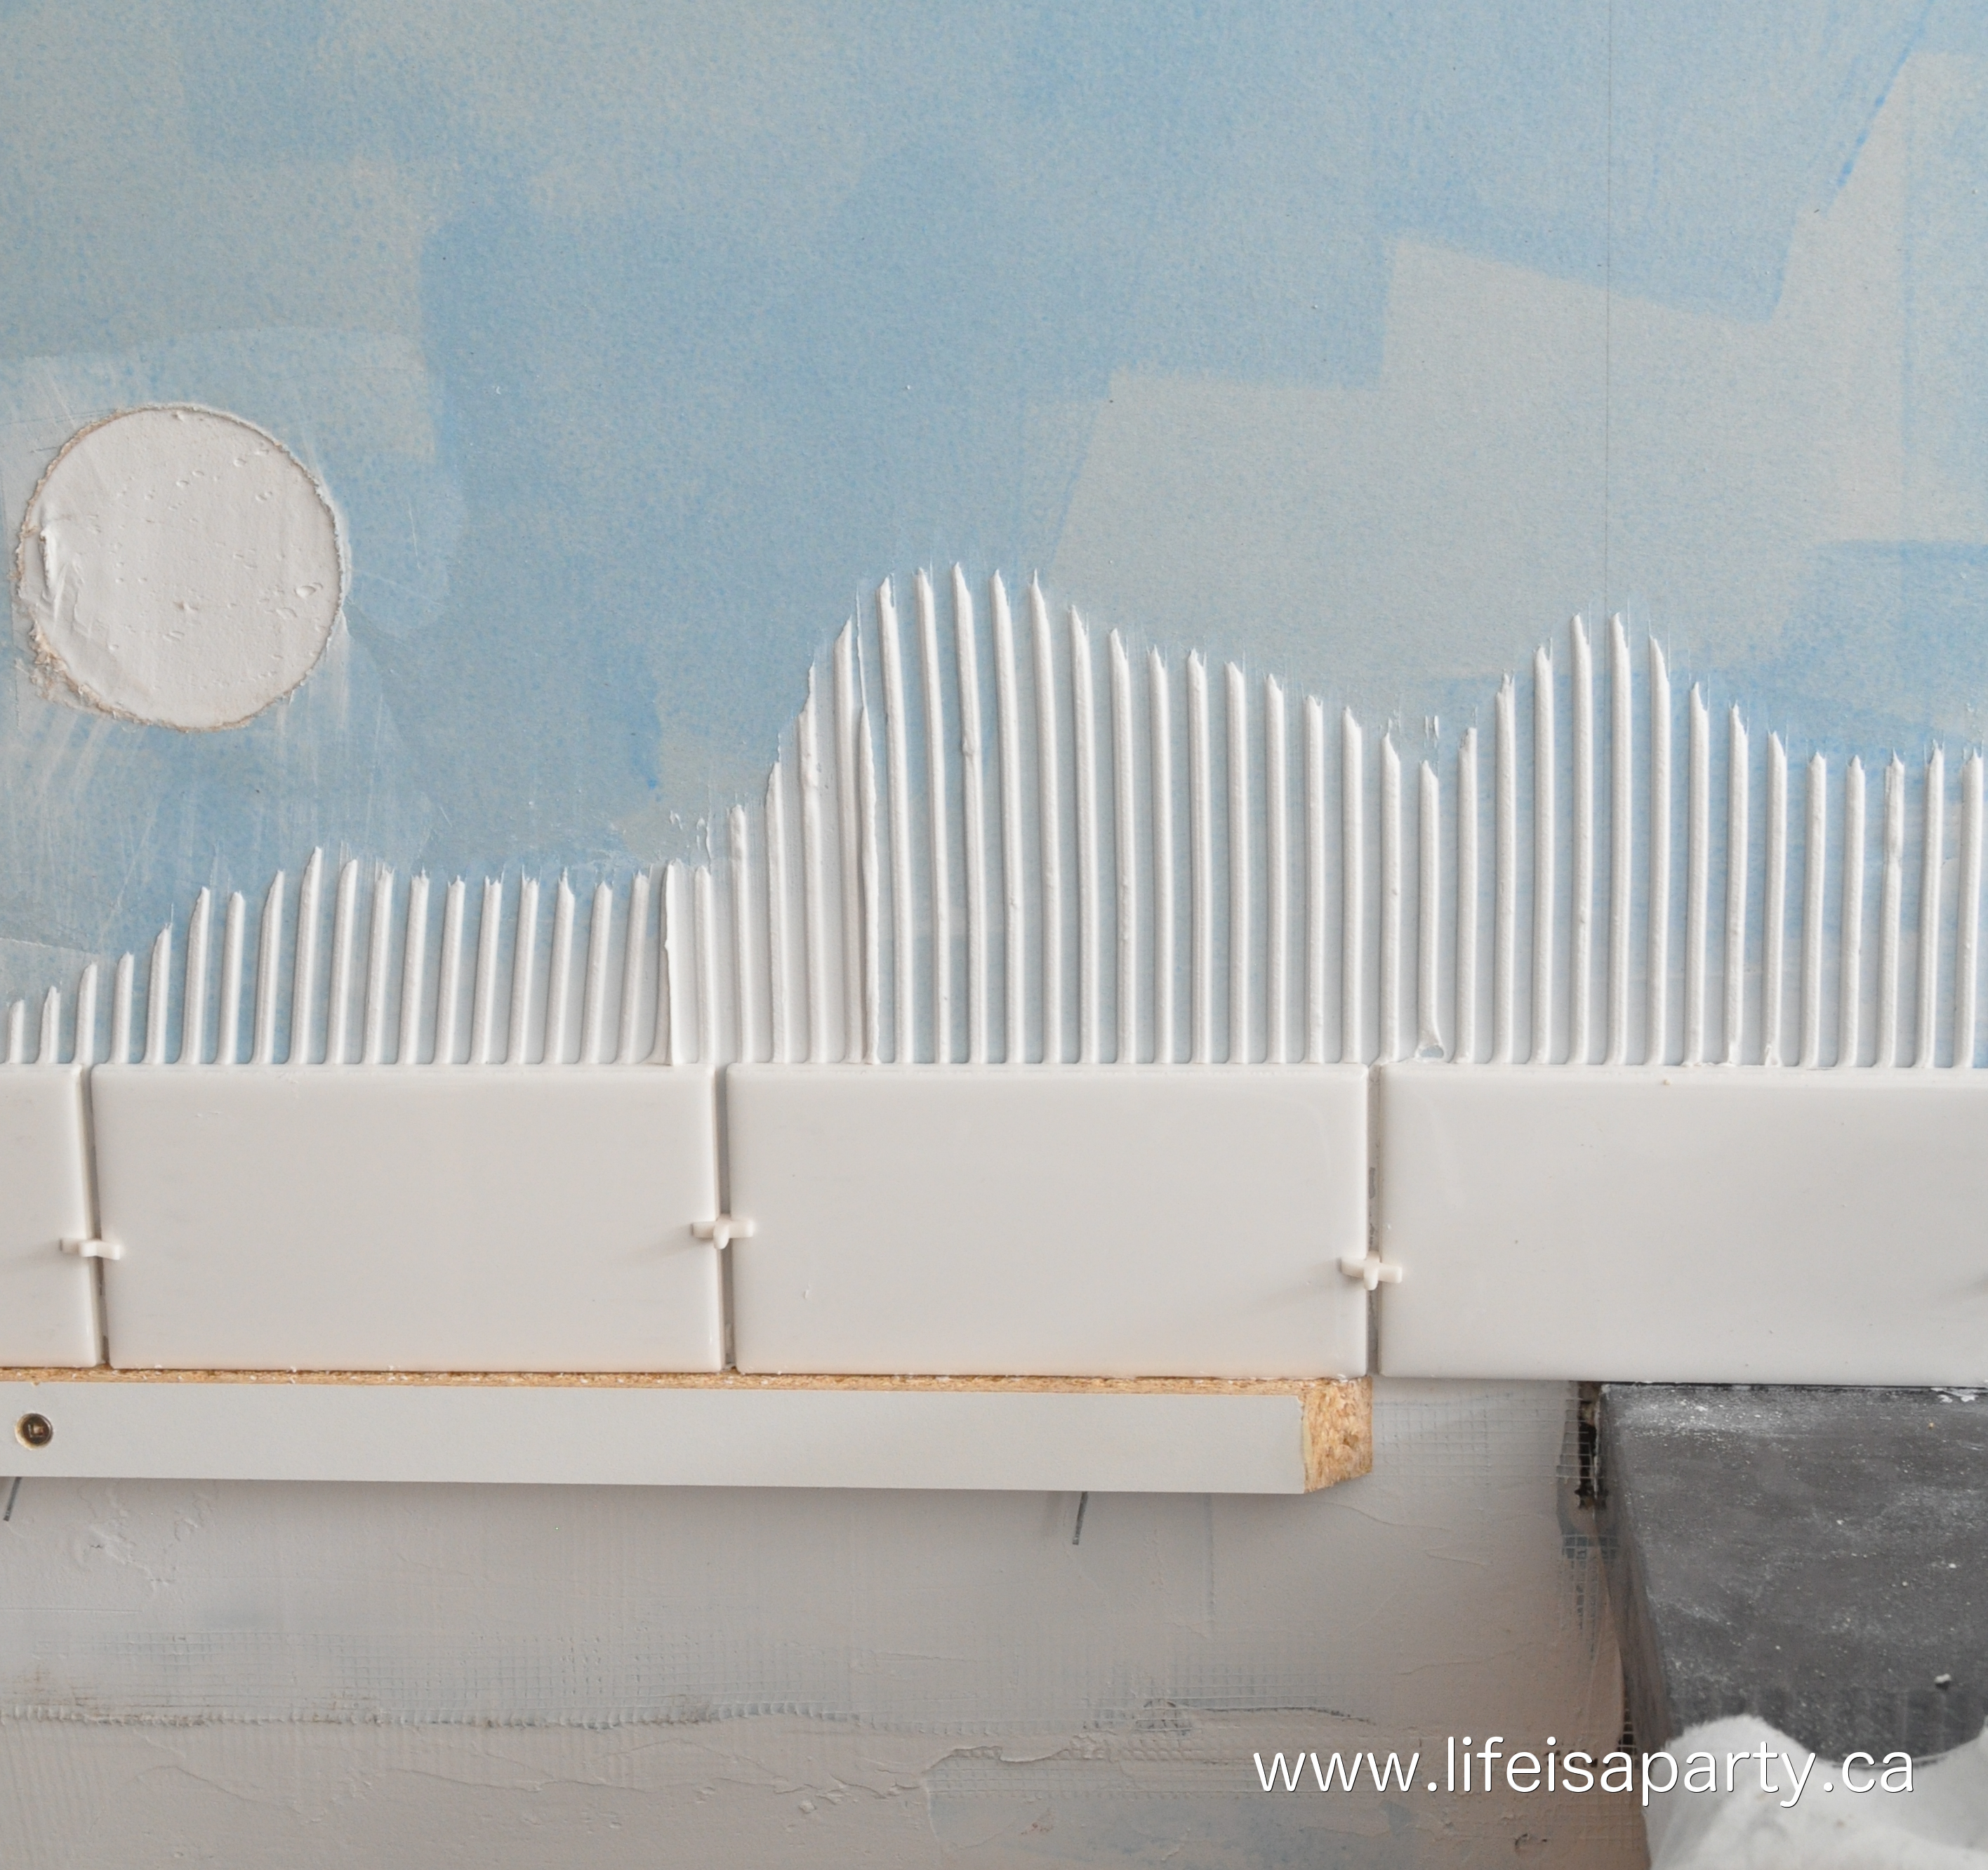
We started over by the sink, and we're lucky enough to be working with granite counters so they were perfectly level.
Begin by spreading your tile adhesive on the wall with a notched trowel.
Place your tiles on the wall and use the spaces to creating even spaces between them.
Use a tile cutter to to cut straight lines to make the tiles fit your pattern. We went with a basic brick pattern.
Use and angle grinder to cut tiles to fit around outlets, or for for corners.
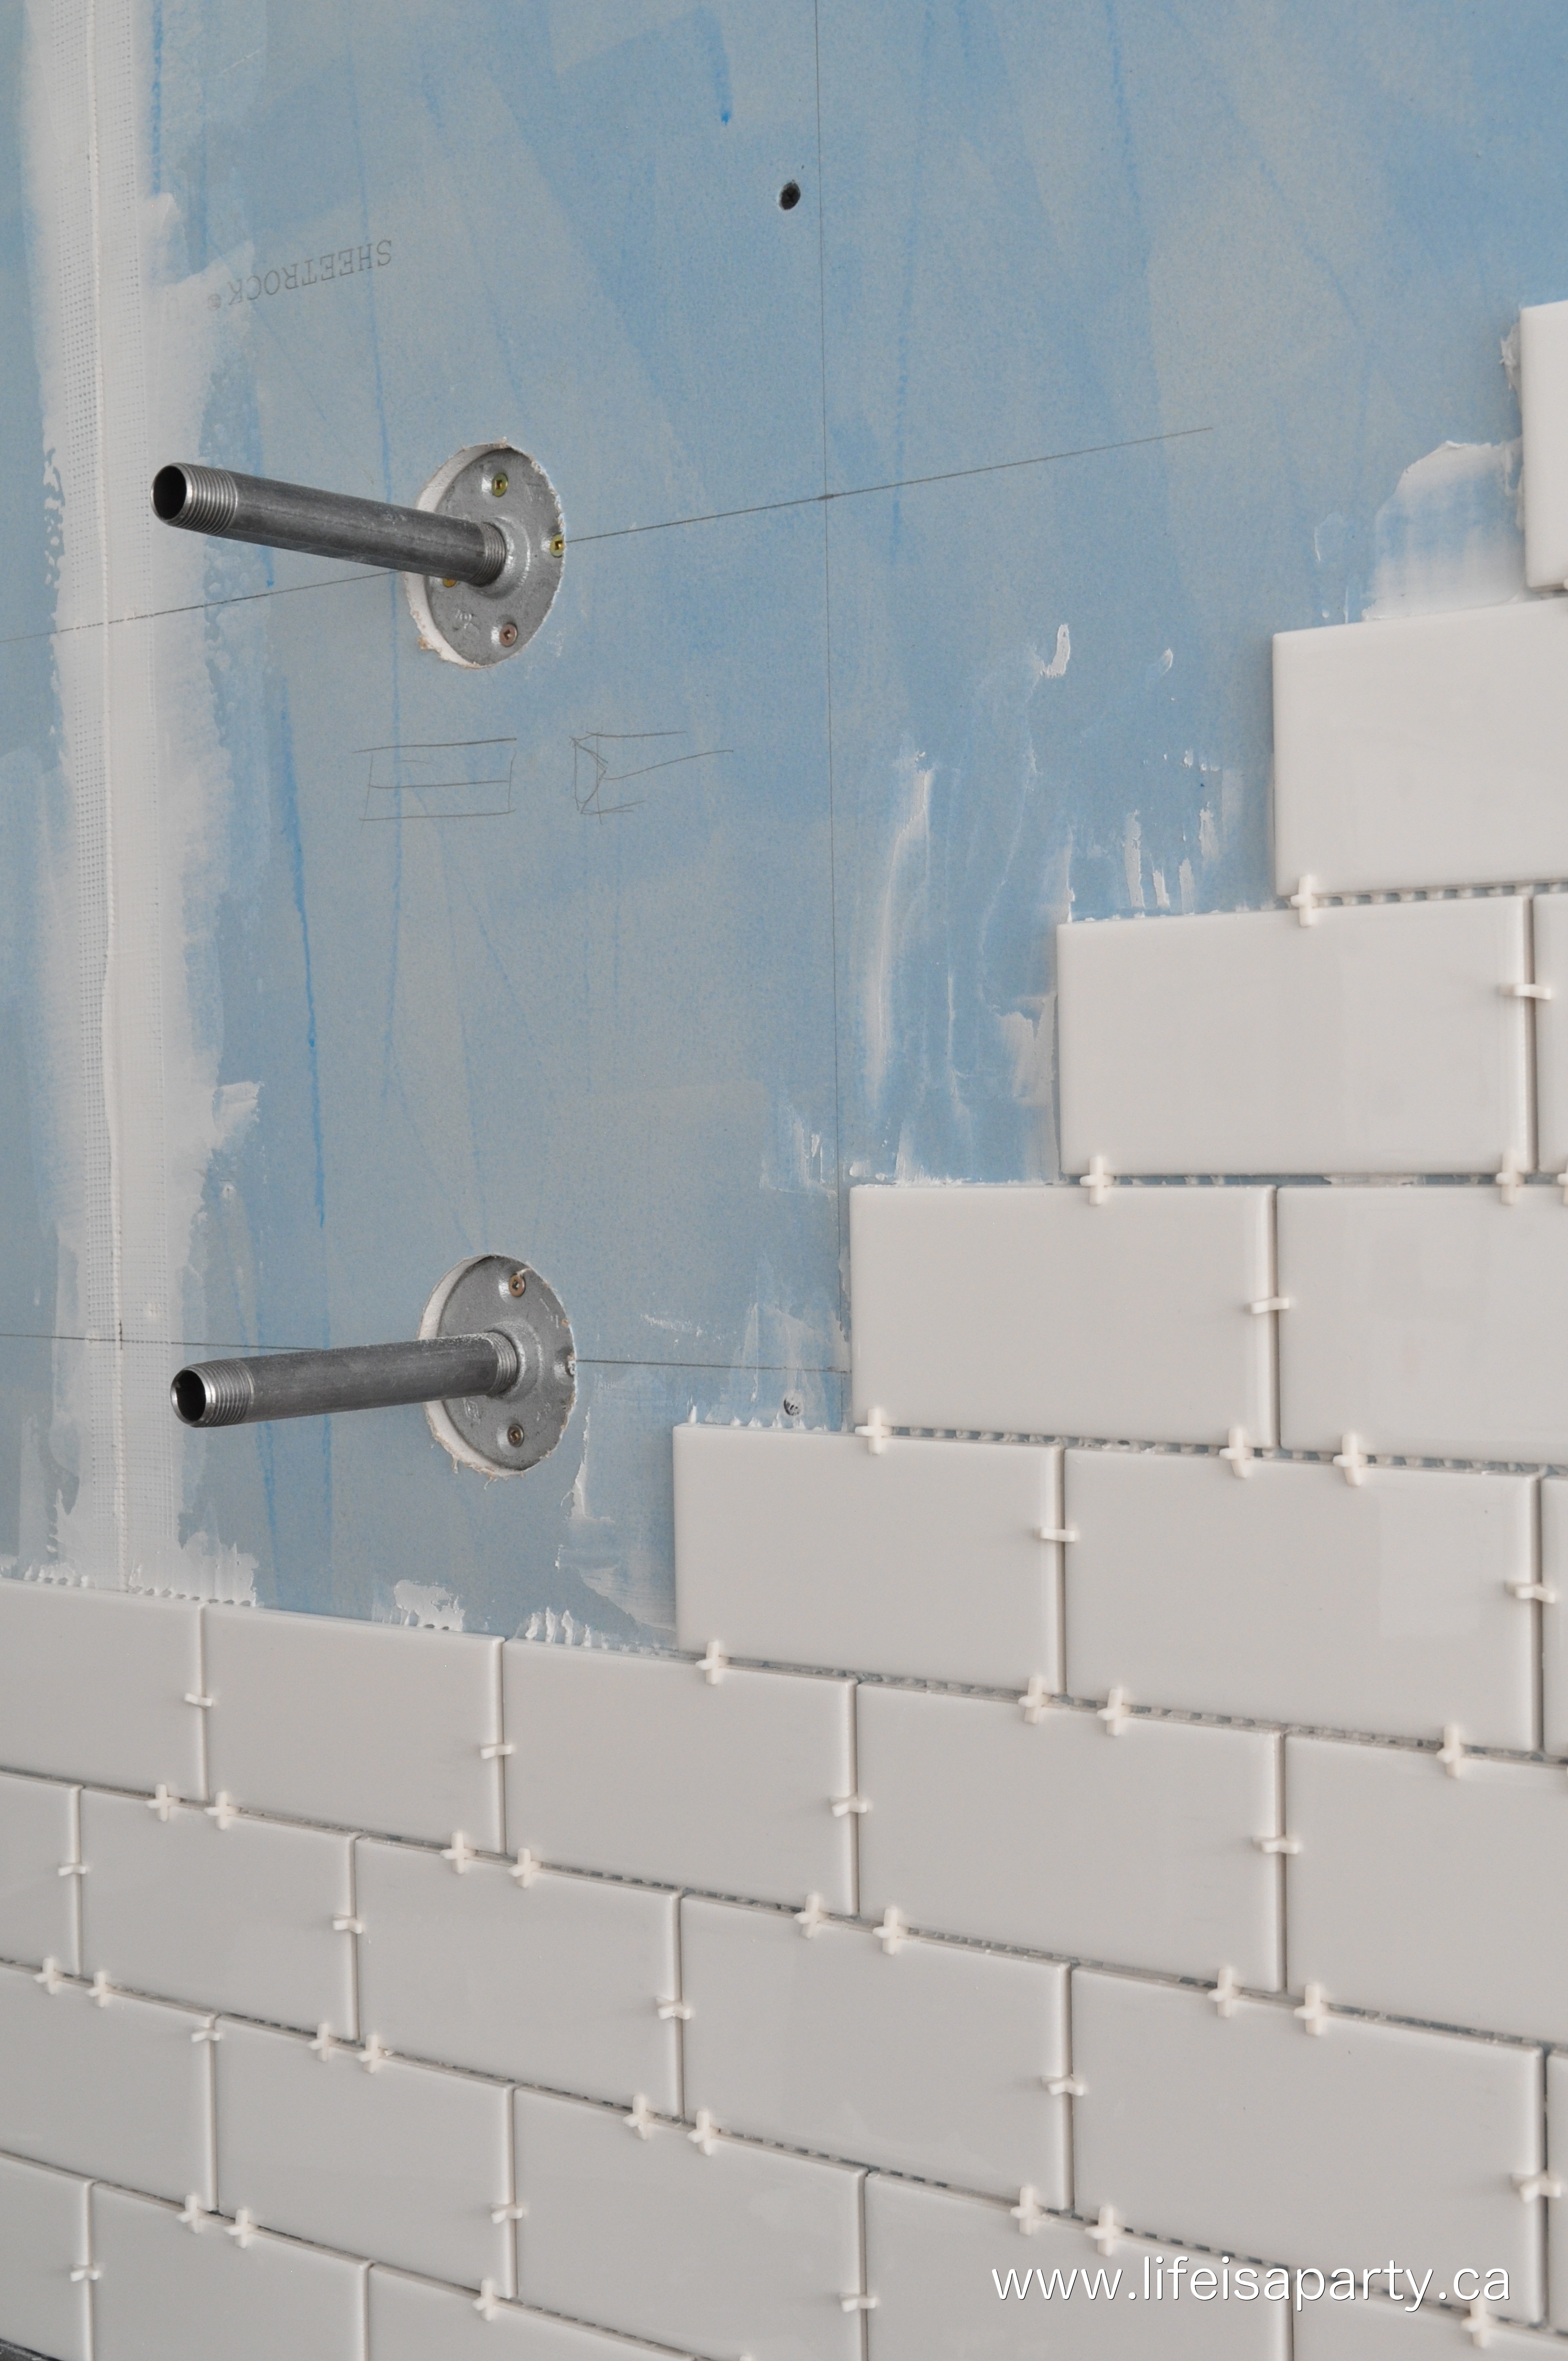
To cut around our shelf supports we drilled holes in the tiles.
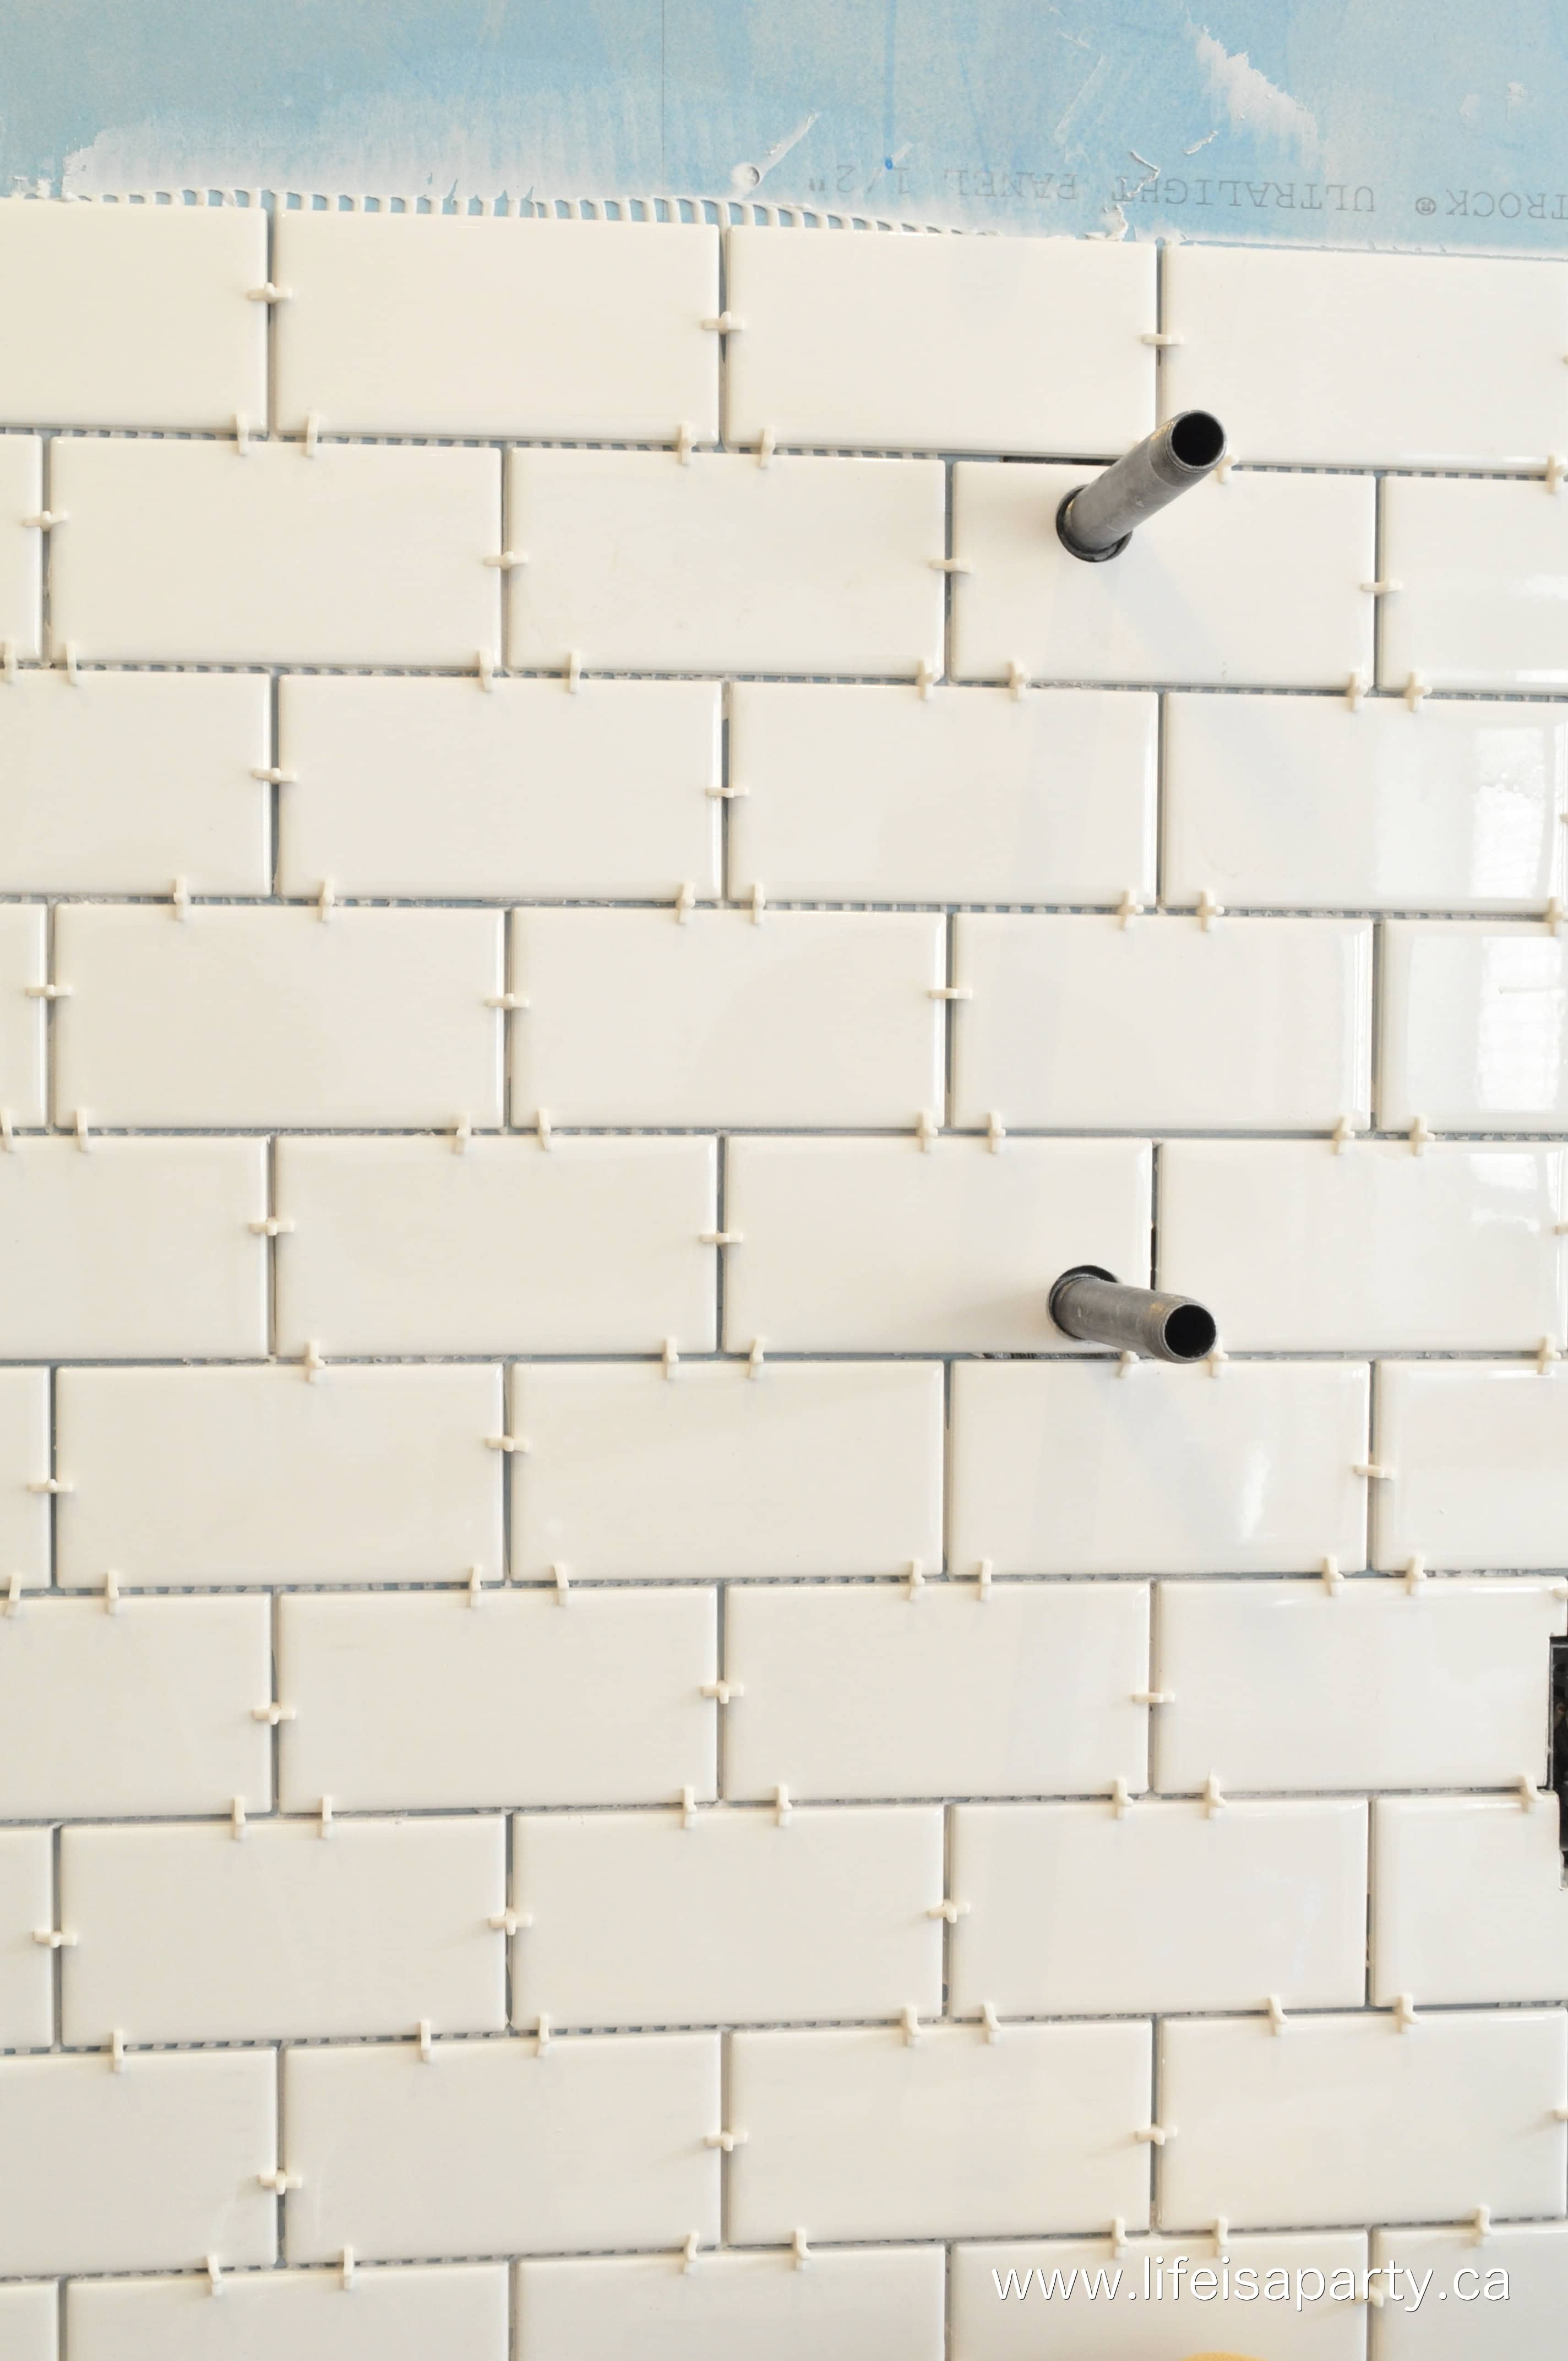
After 24 hours you can remove the spacers and your ready to begin the grout.
4. The Grout
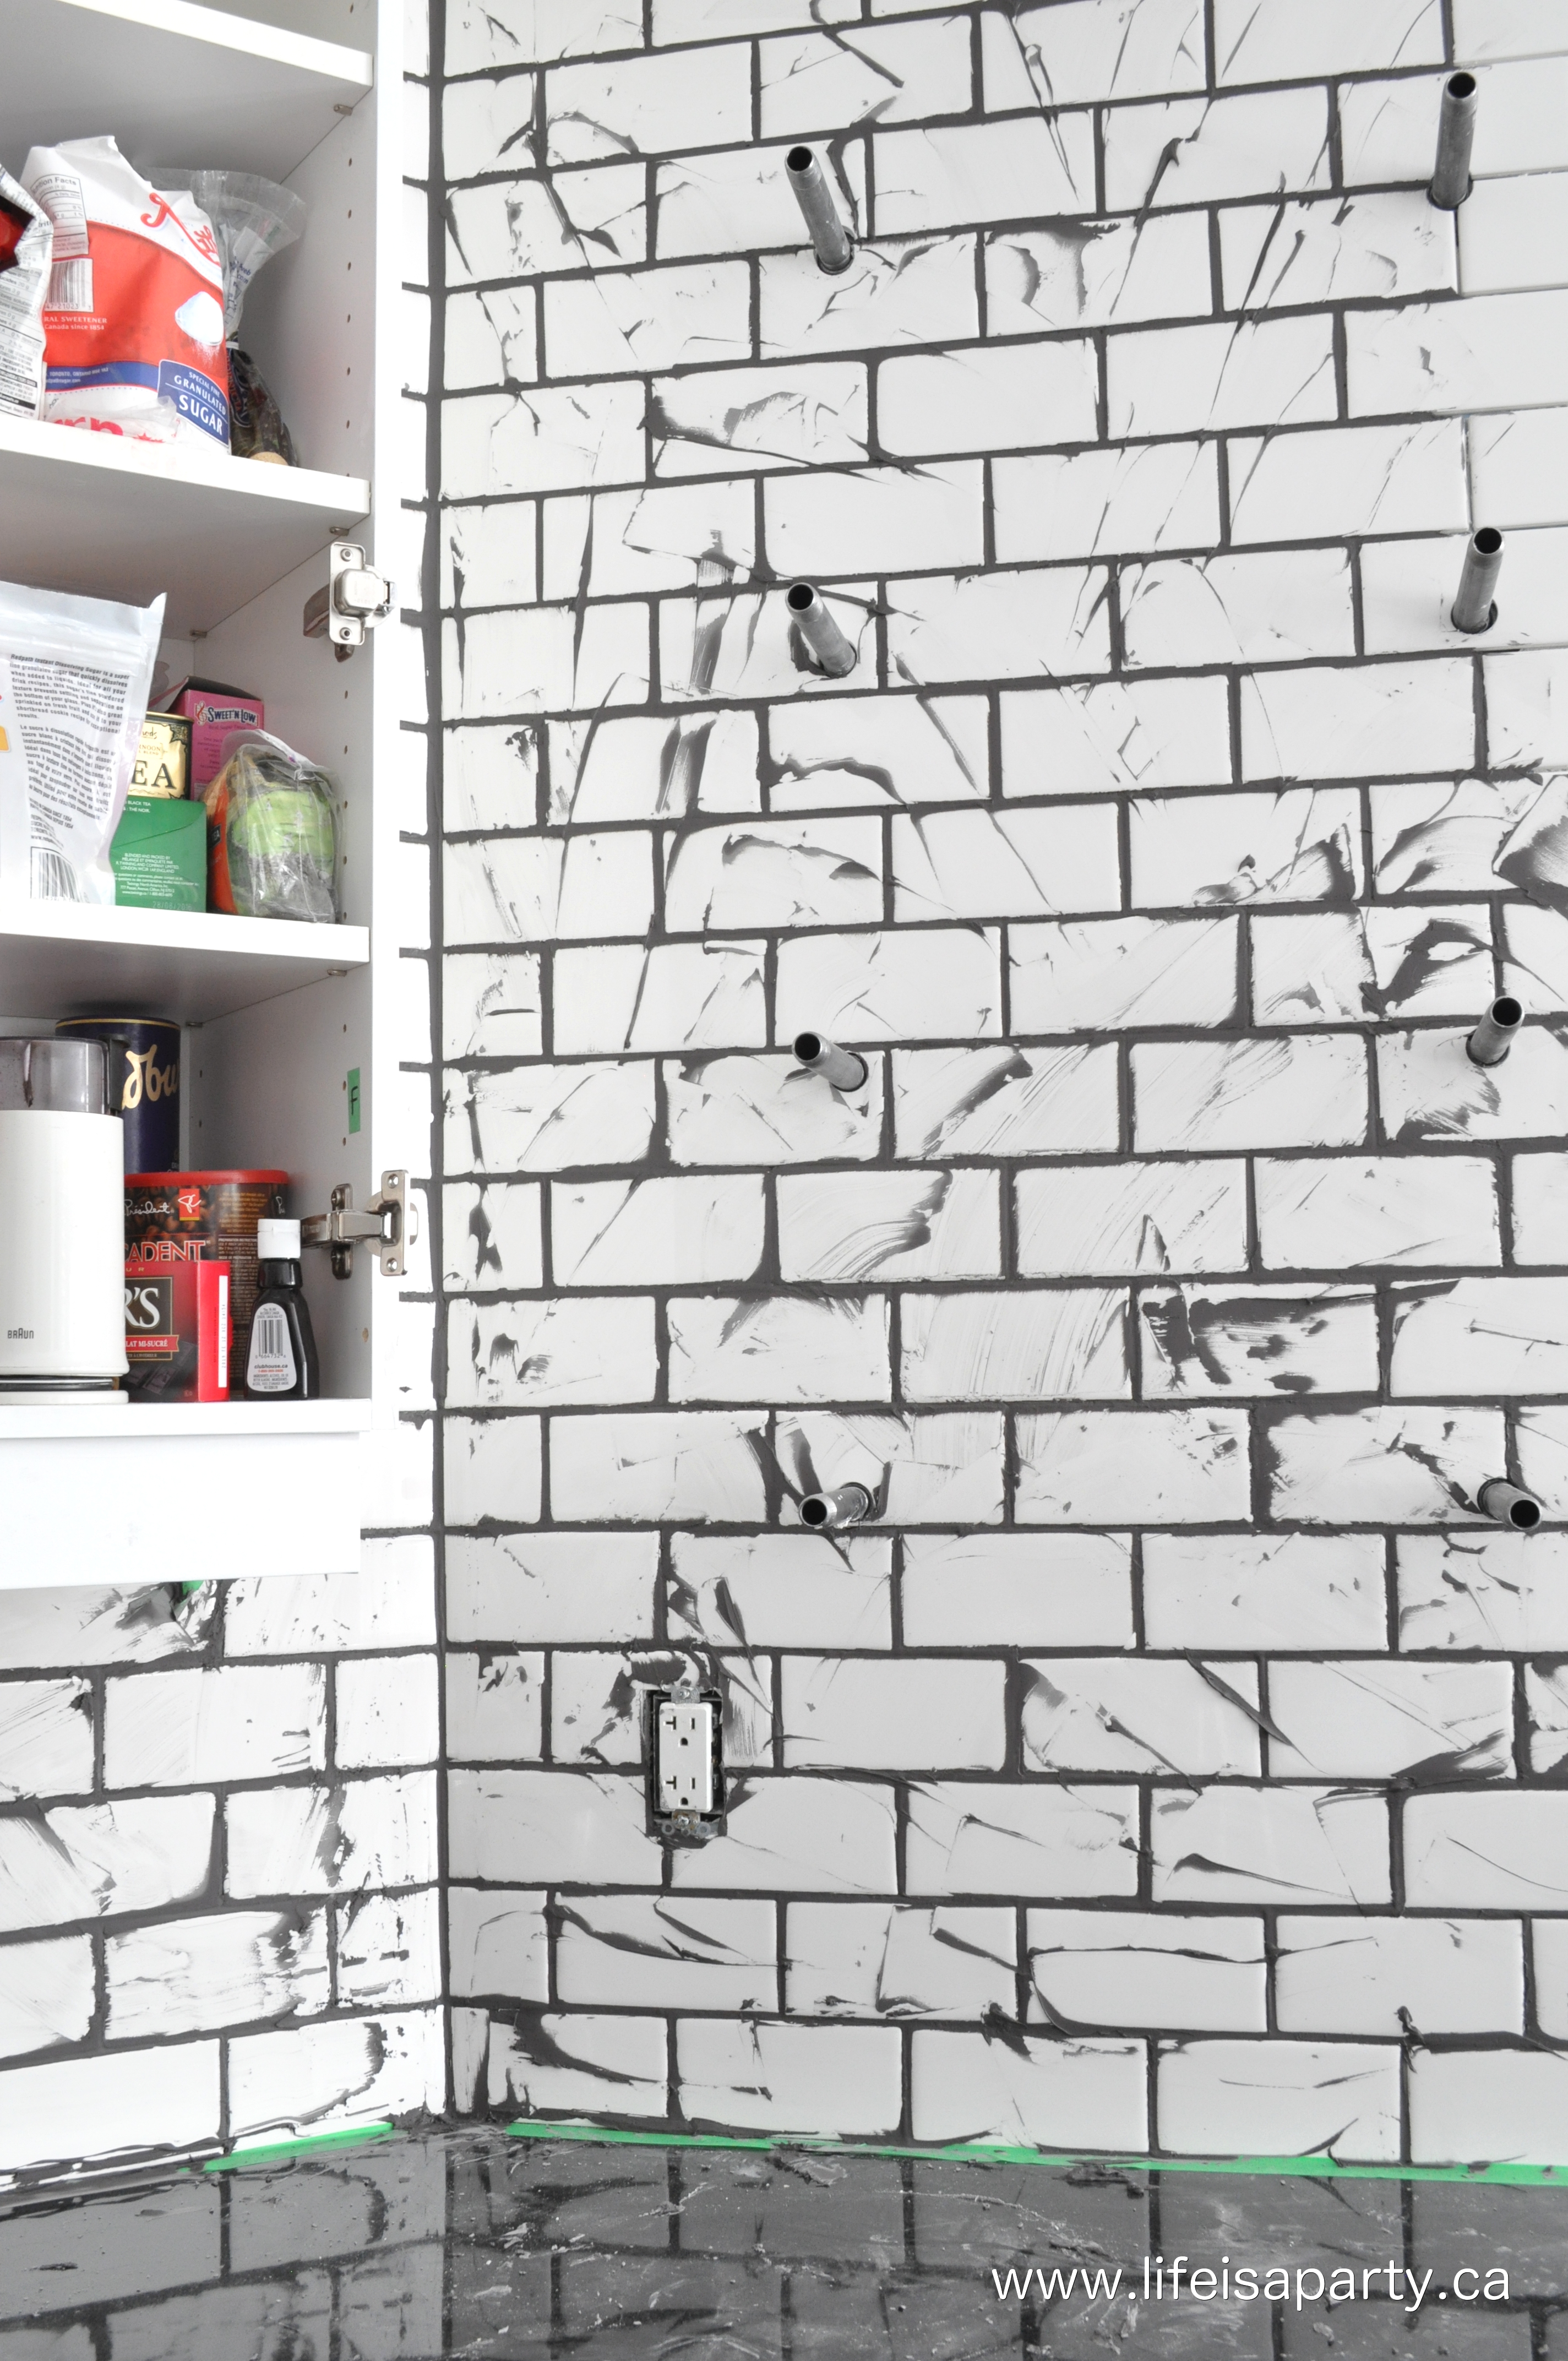
This week it was my job to do the grout. I've never done grout before. Shaun talked me through it and I read the directions. I started with the little area behind the sink and it went well.
Just mix the grout according to package directions and apply with the grout float at a 45 degree angle. Once it's just set but not completely hard yet, use a sponge to remove the access.
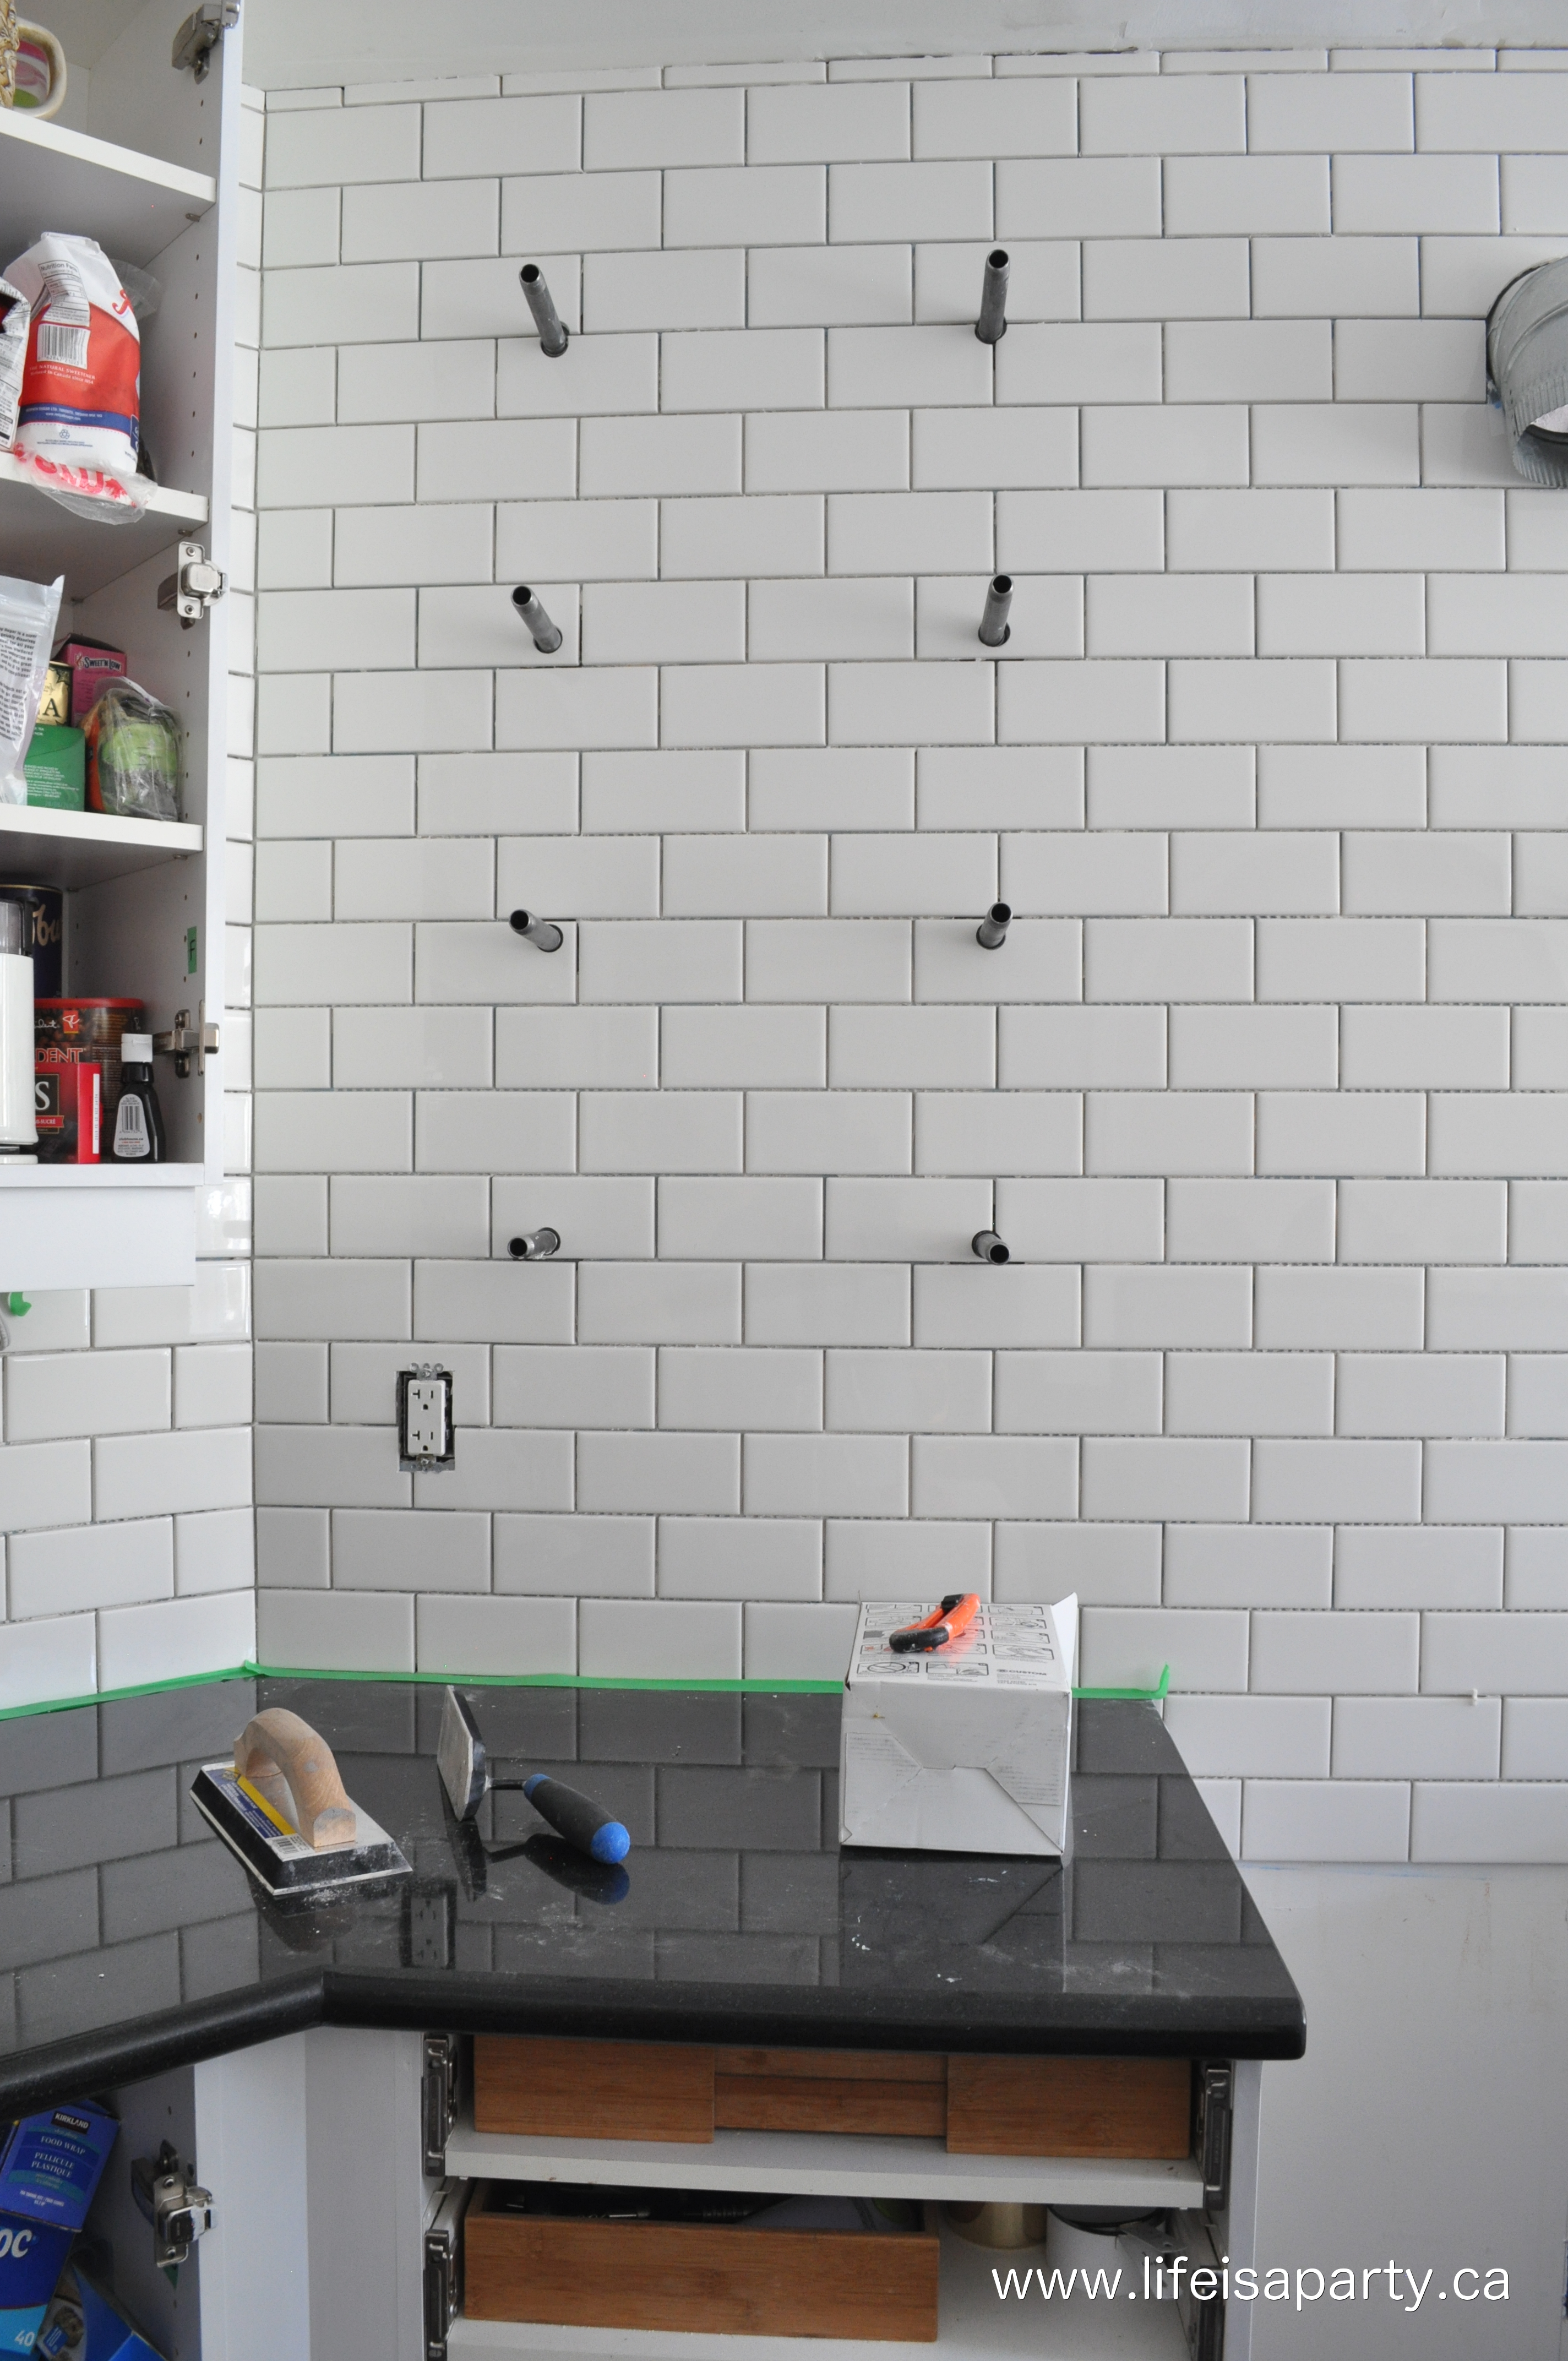
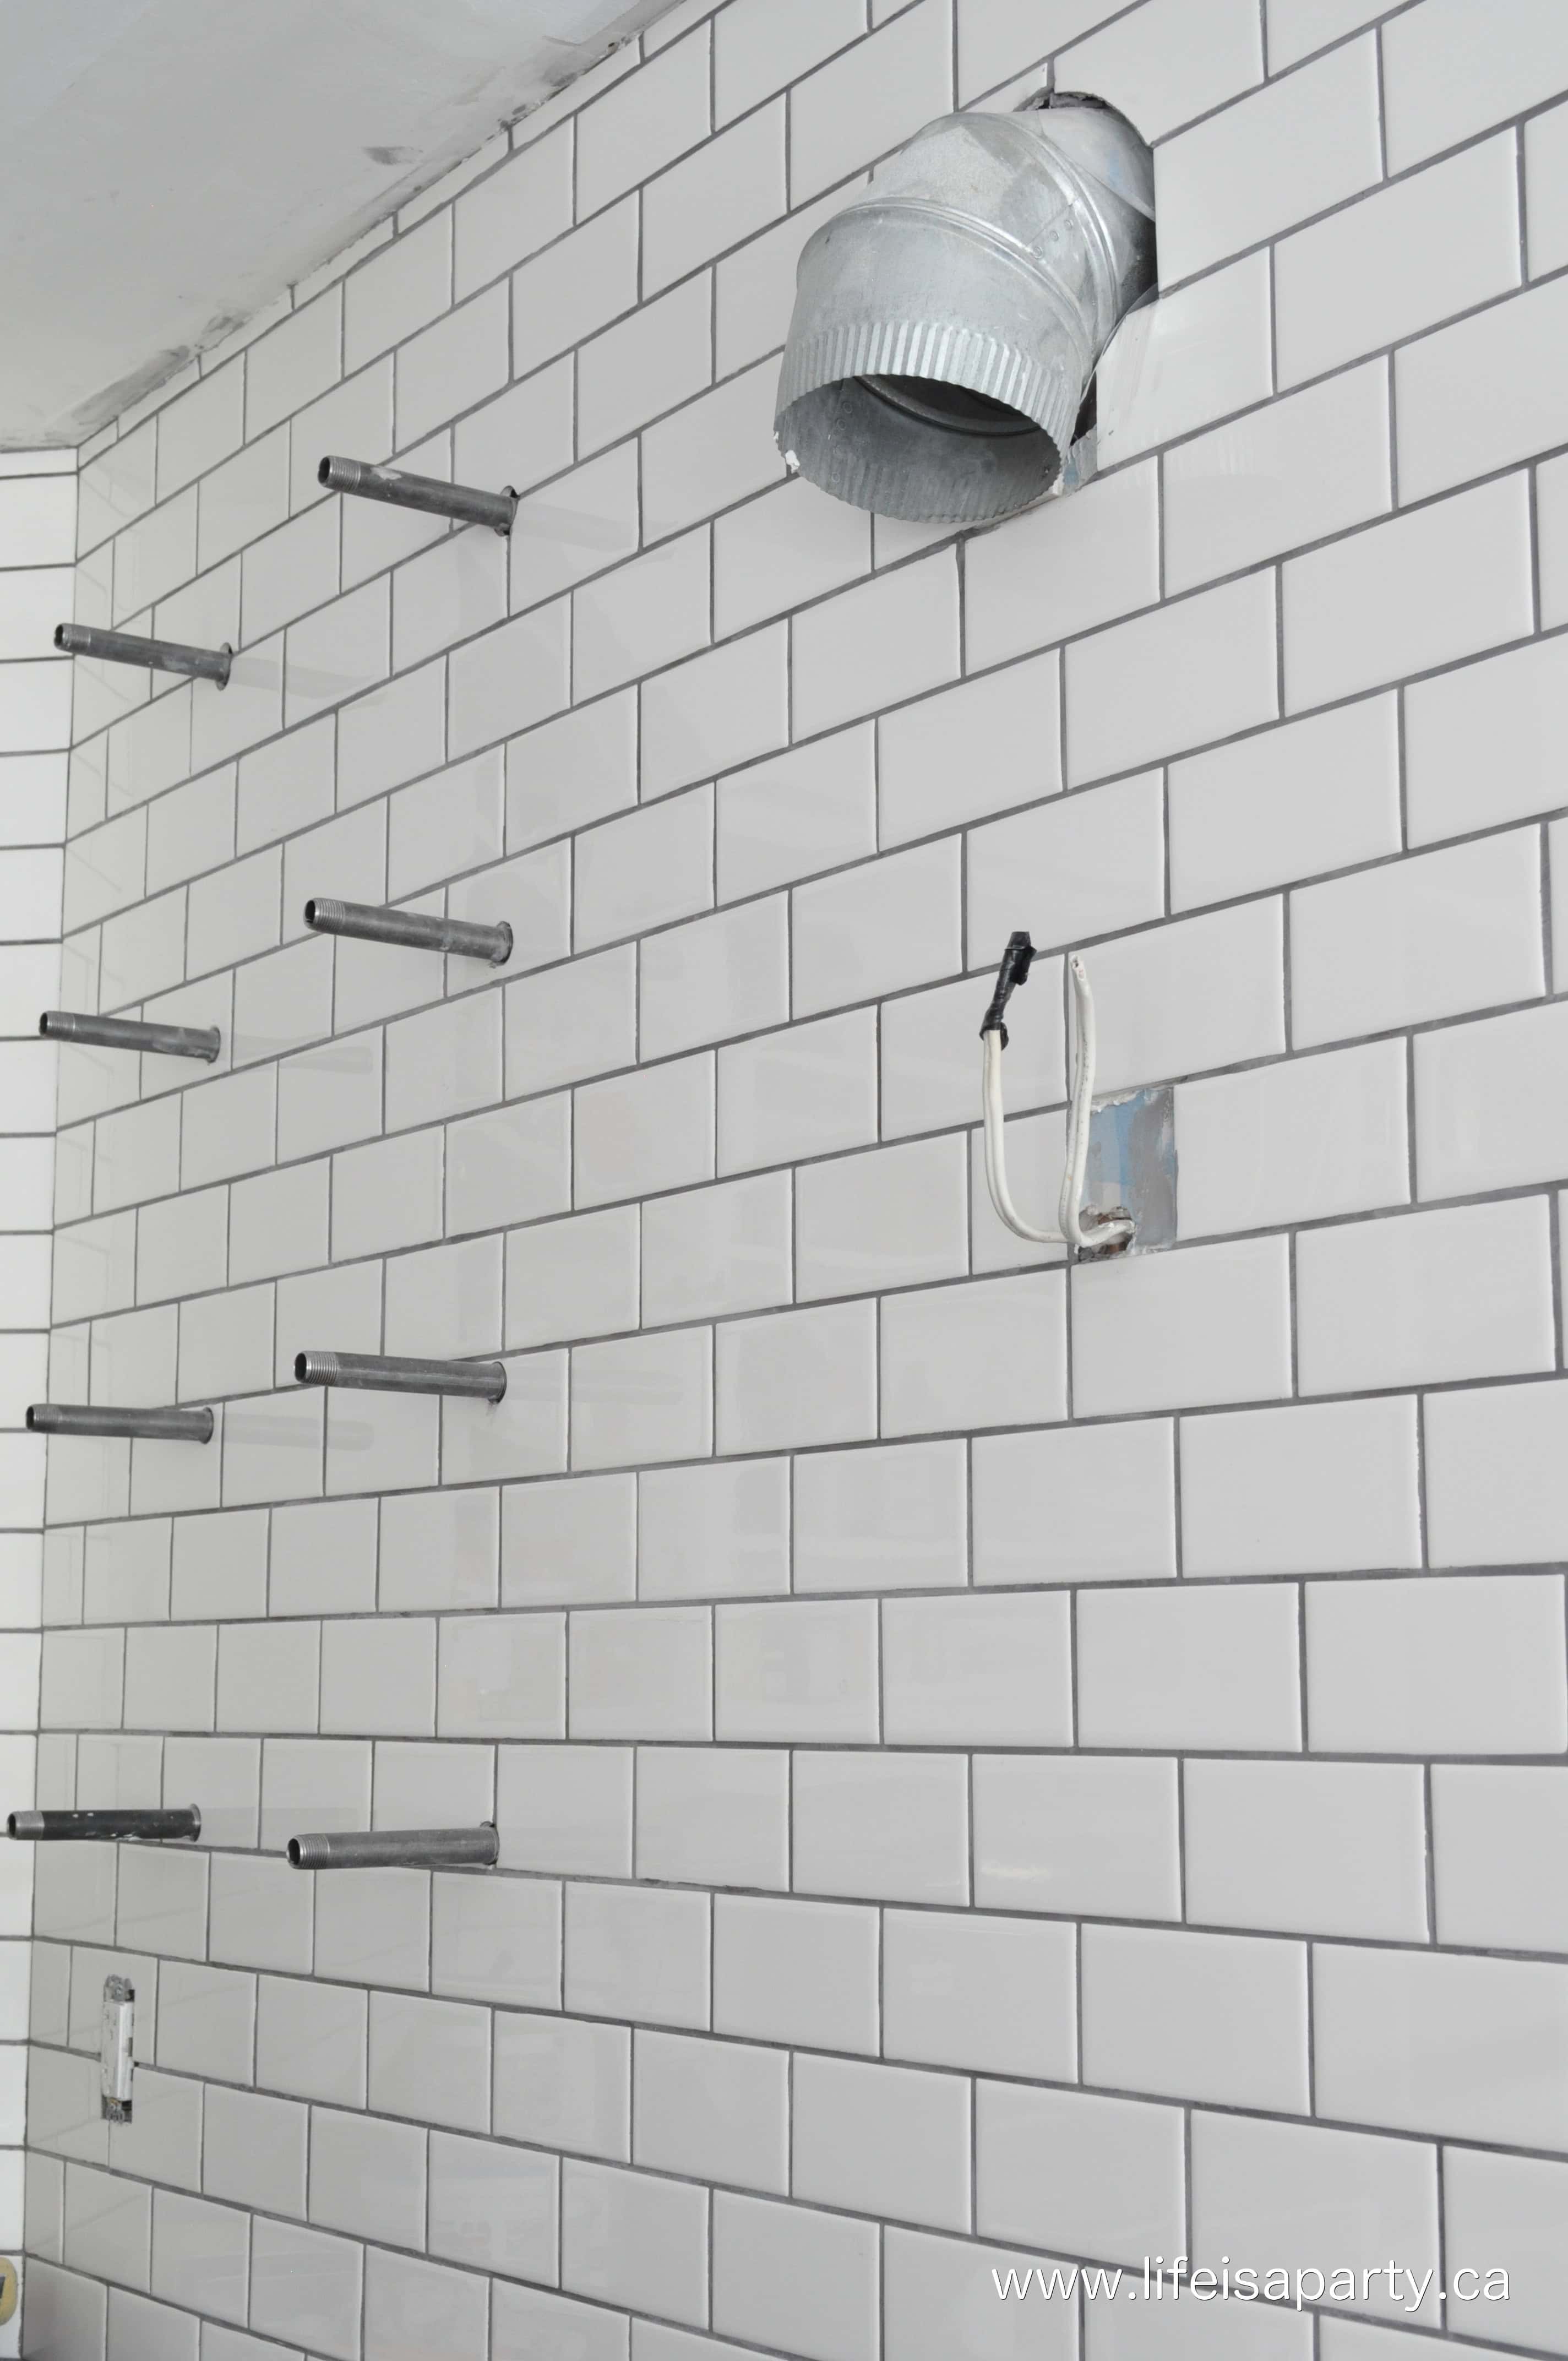
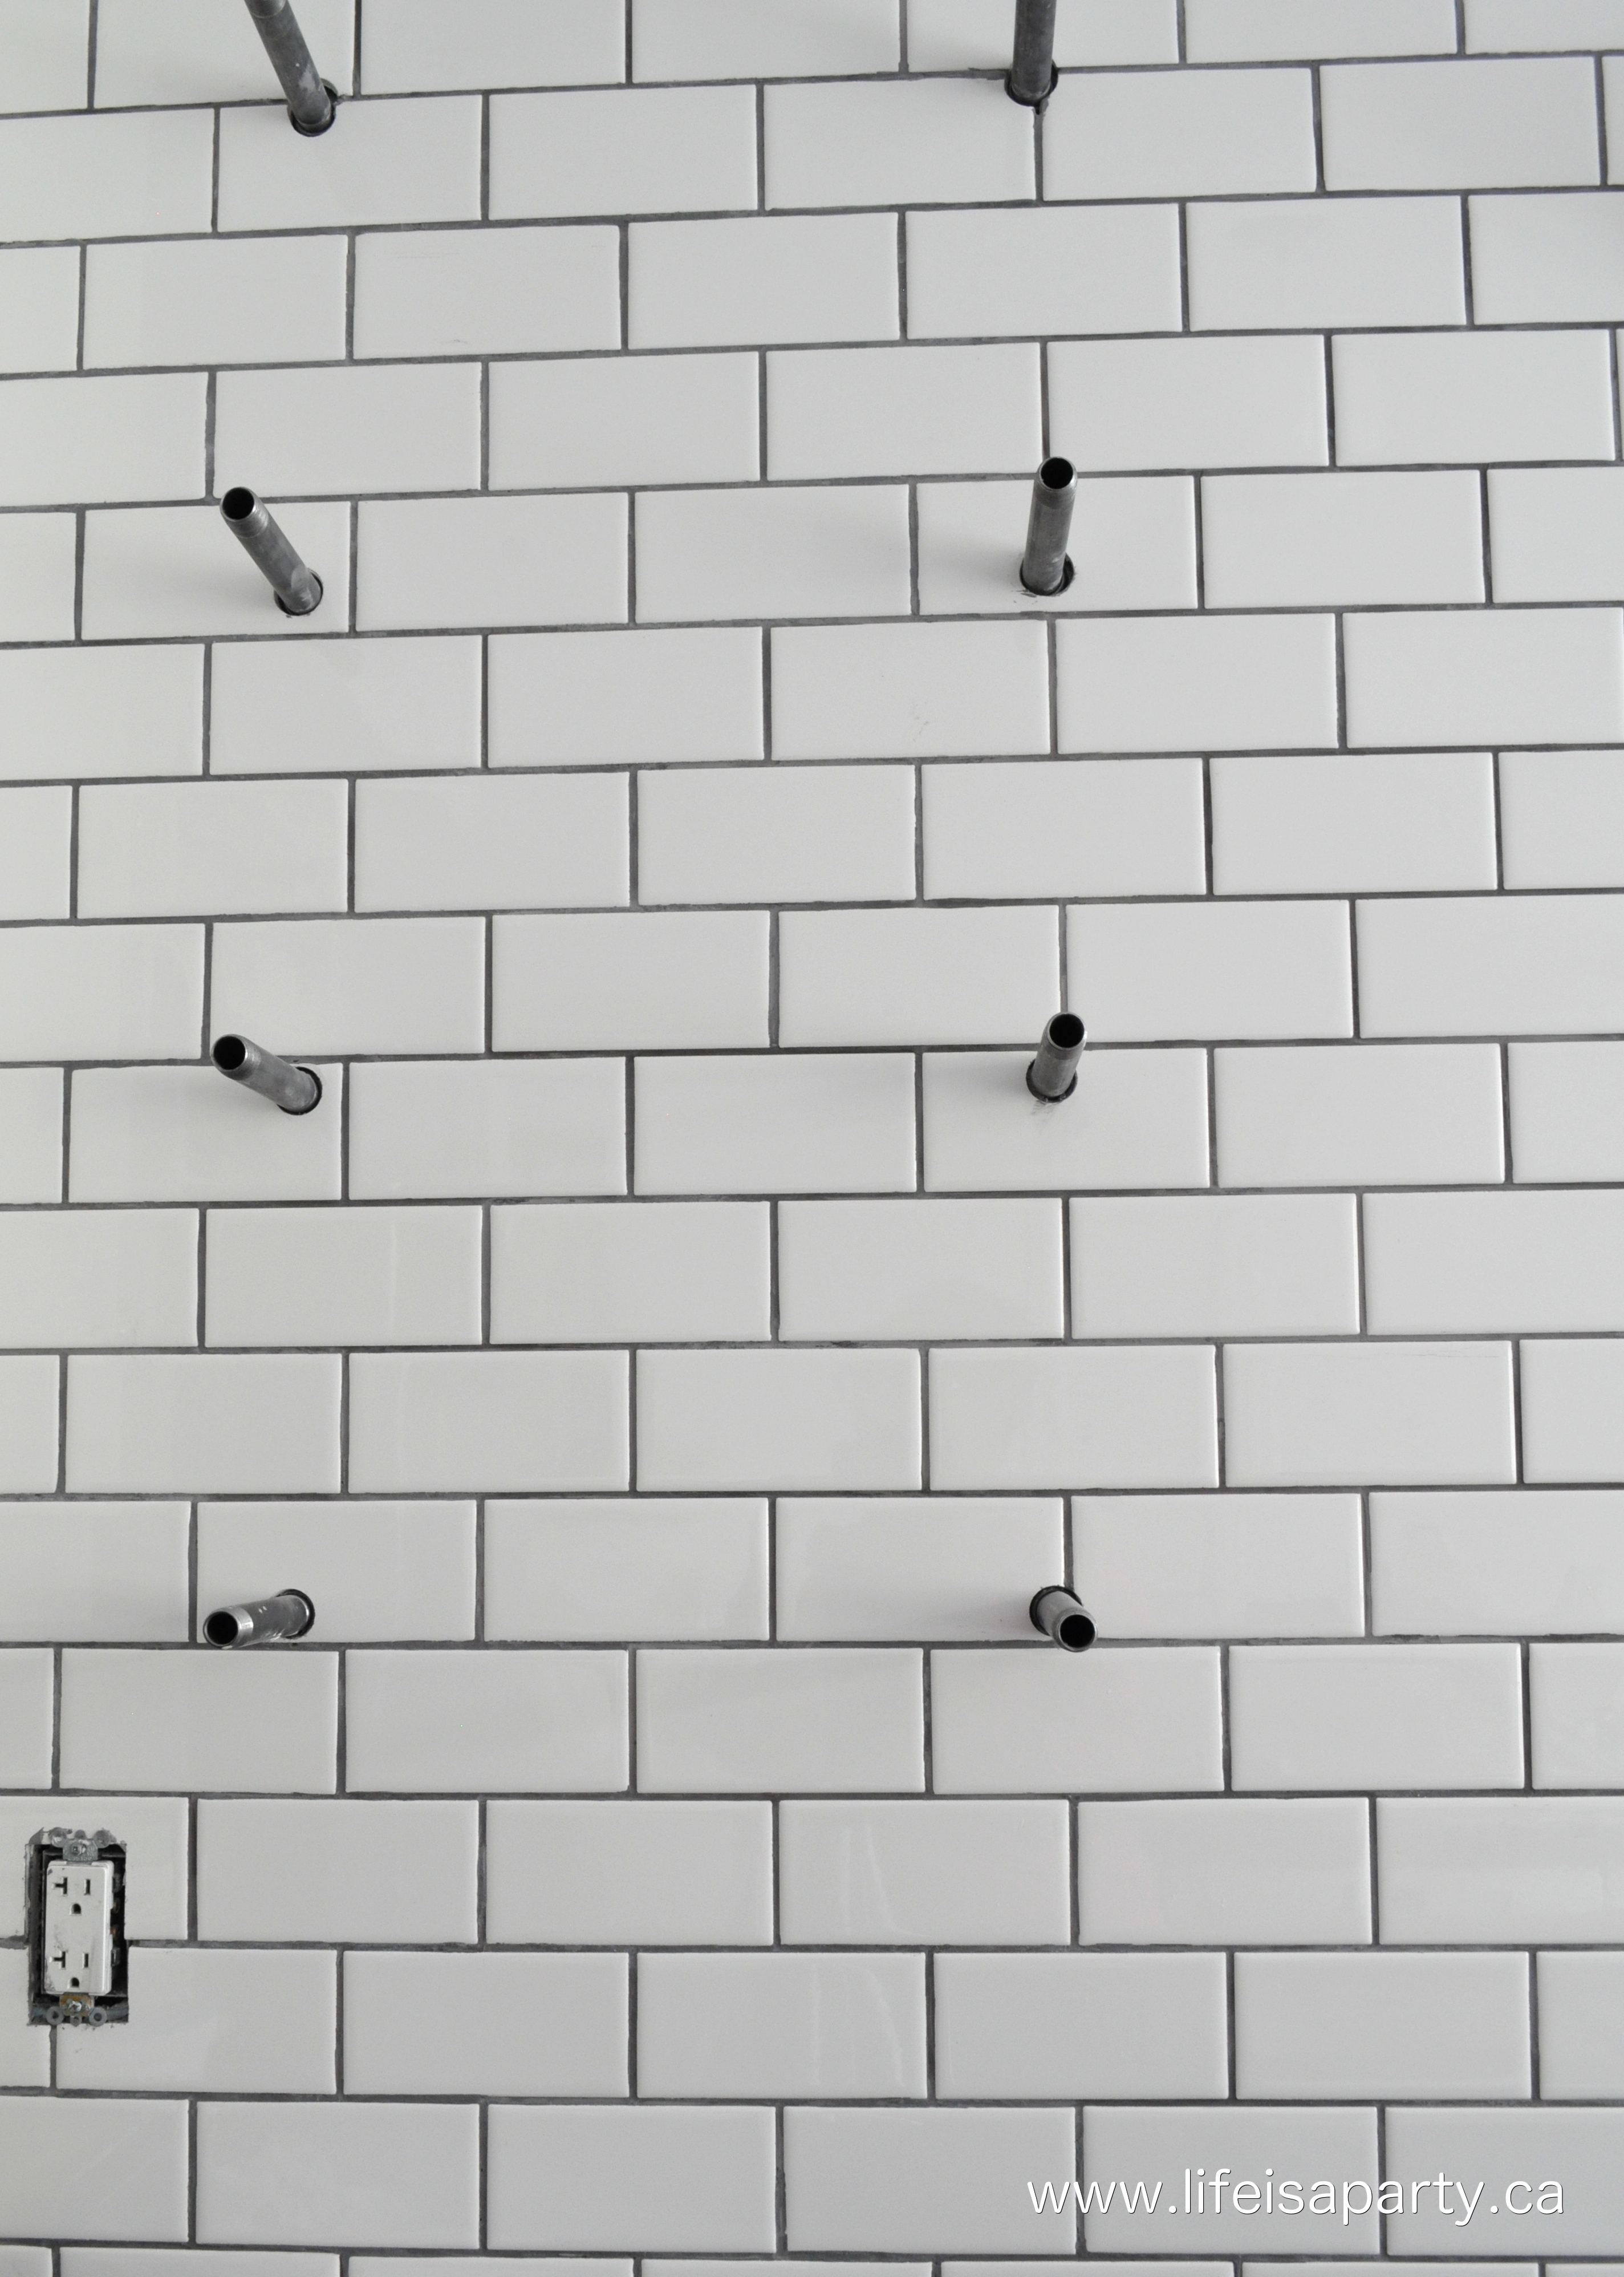
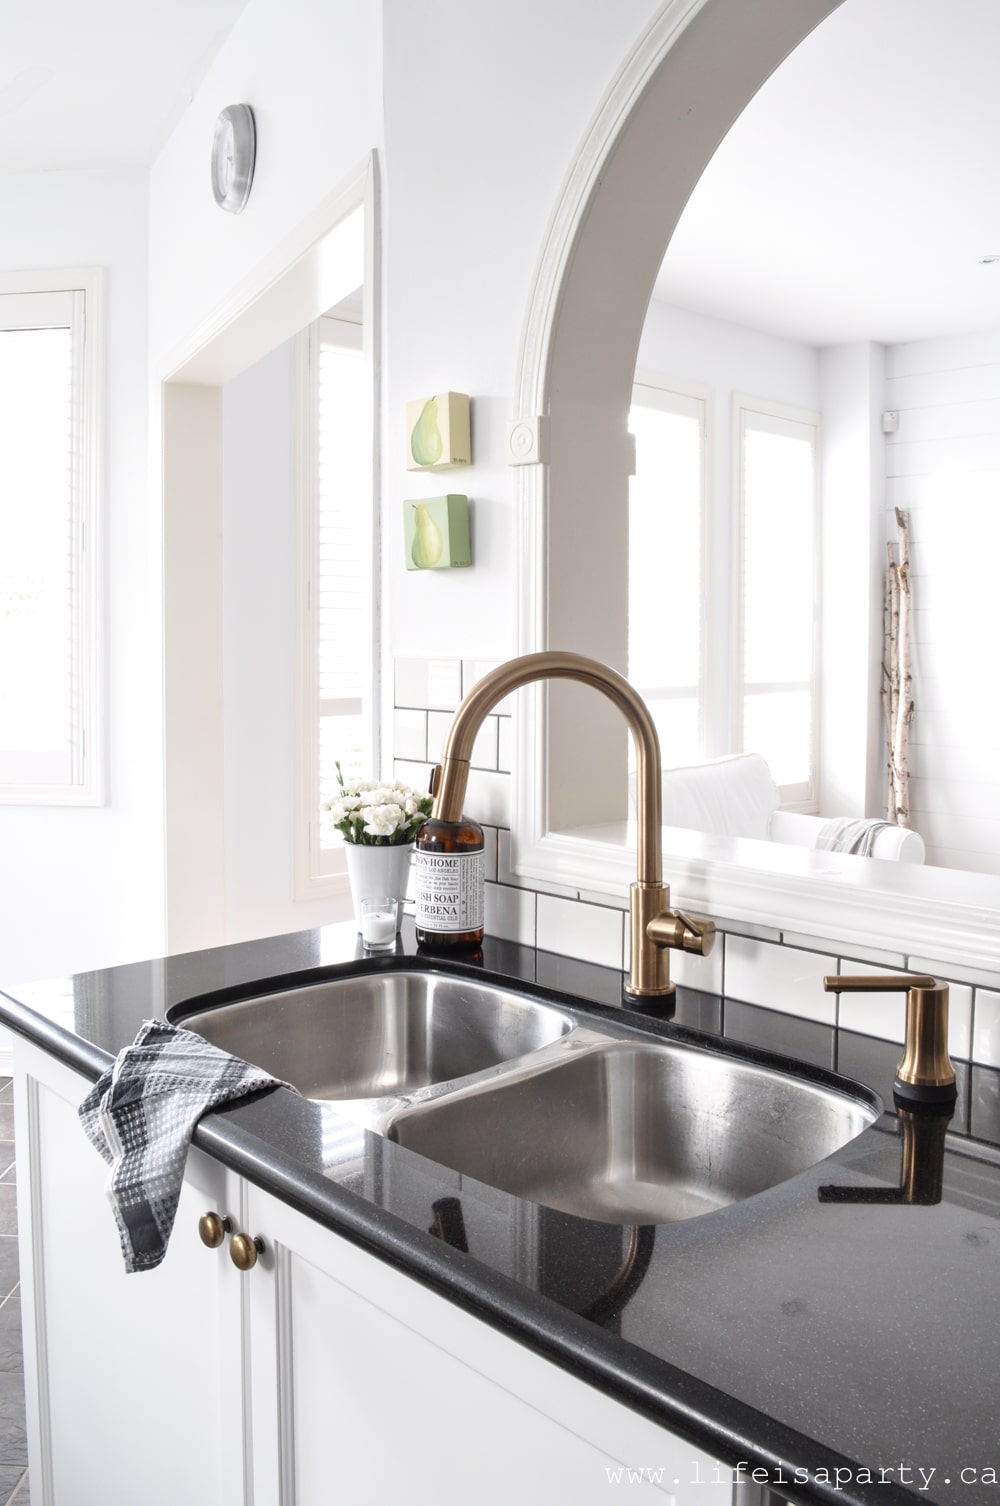
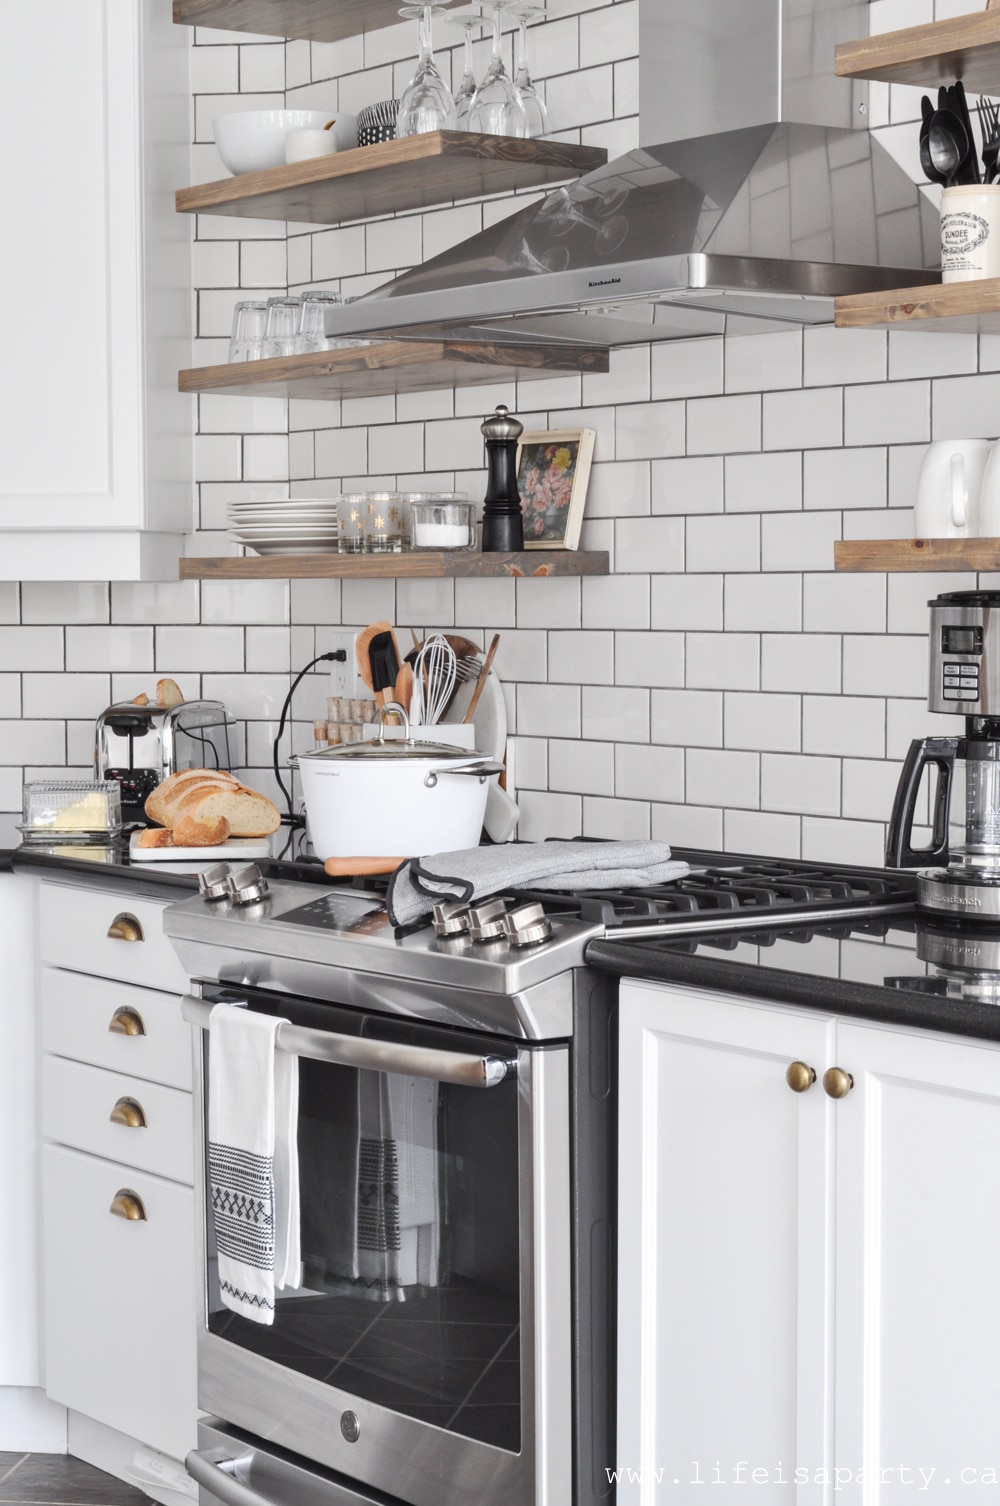
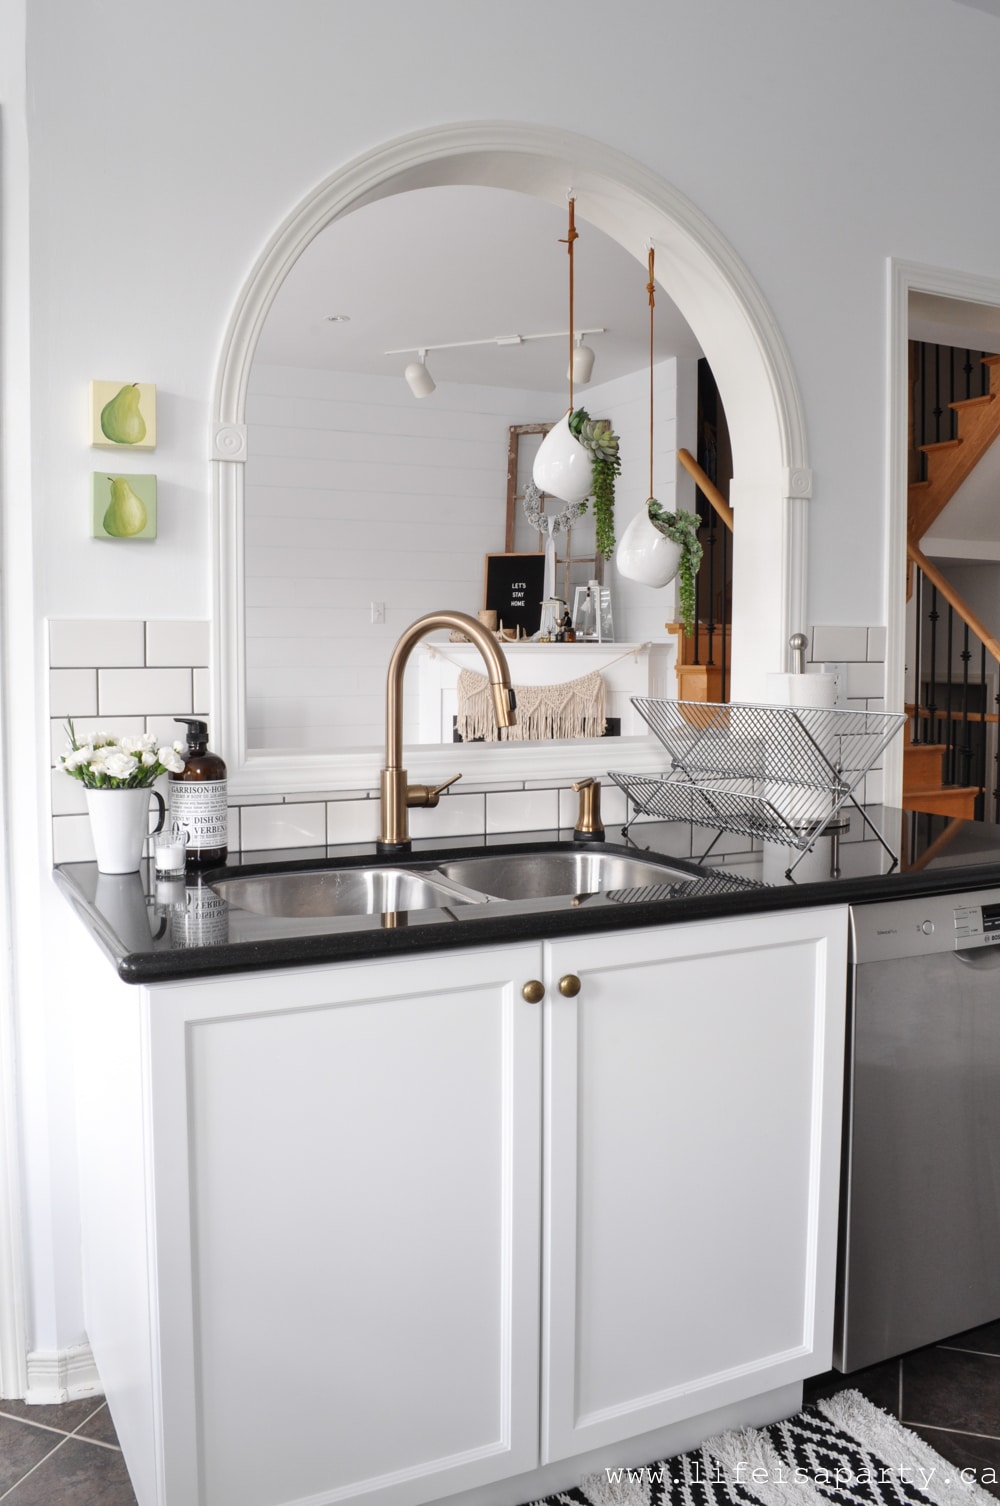
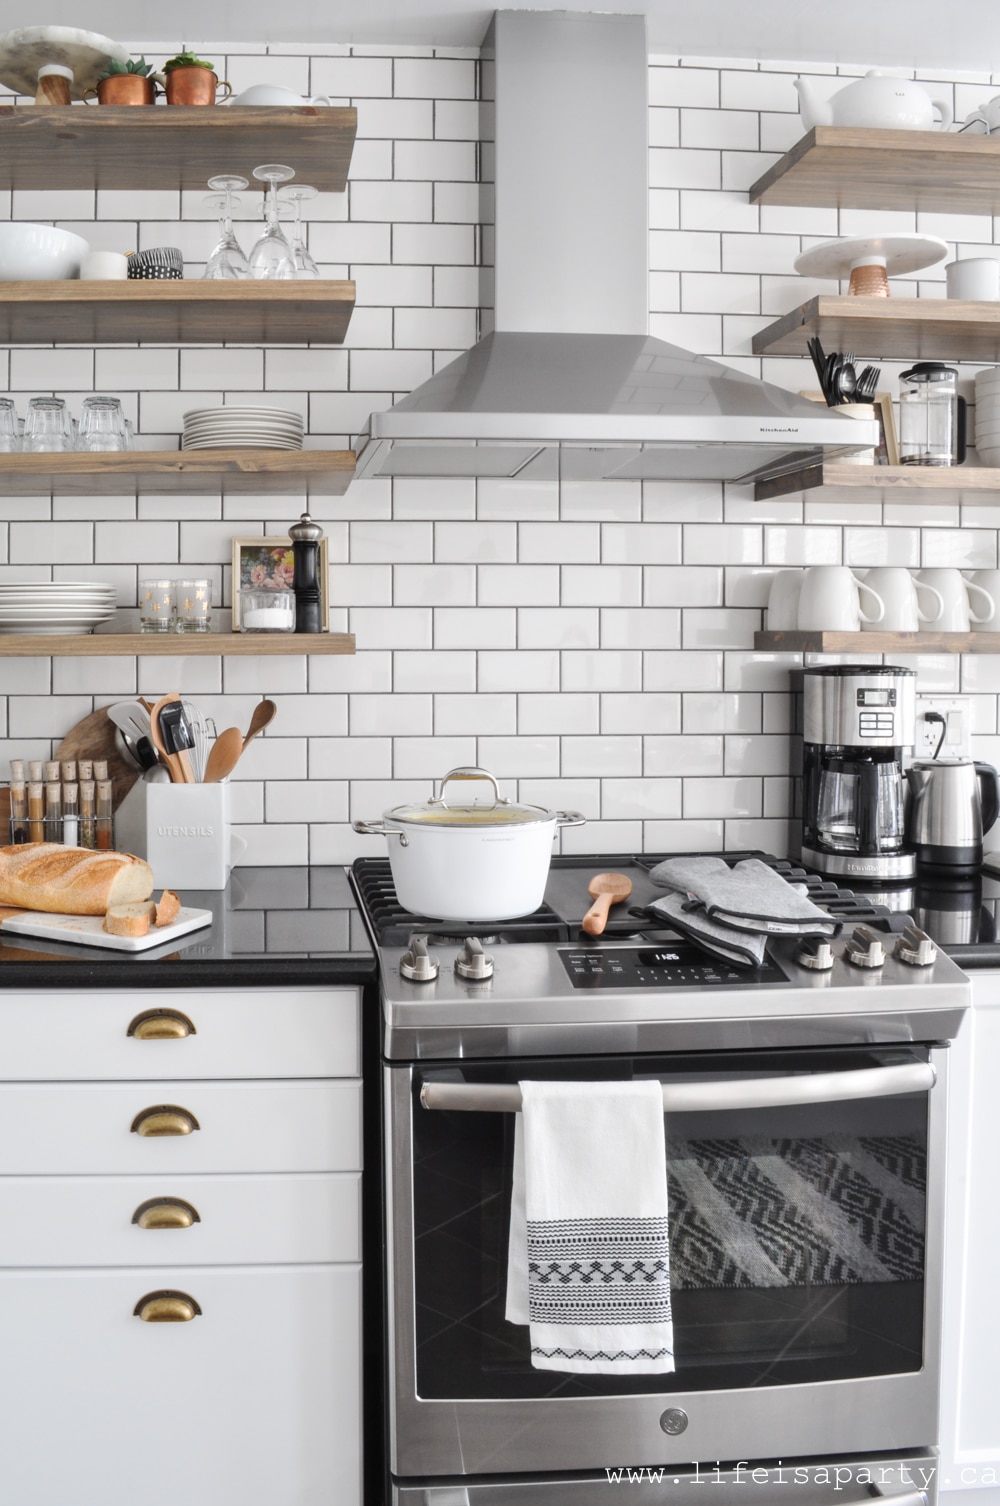
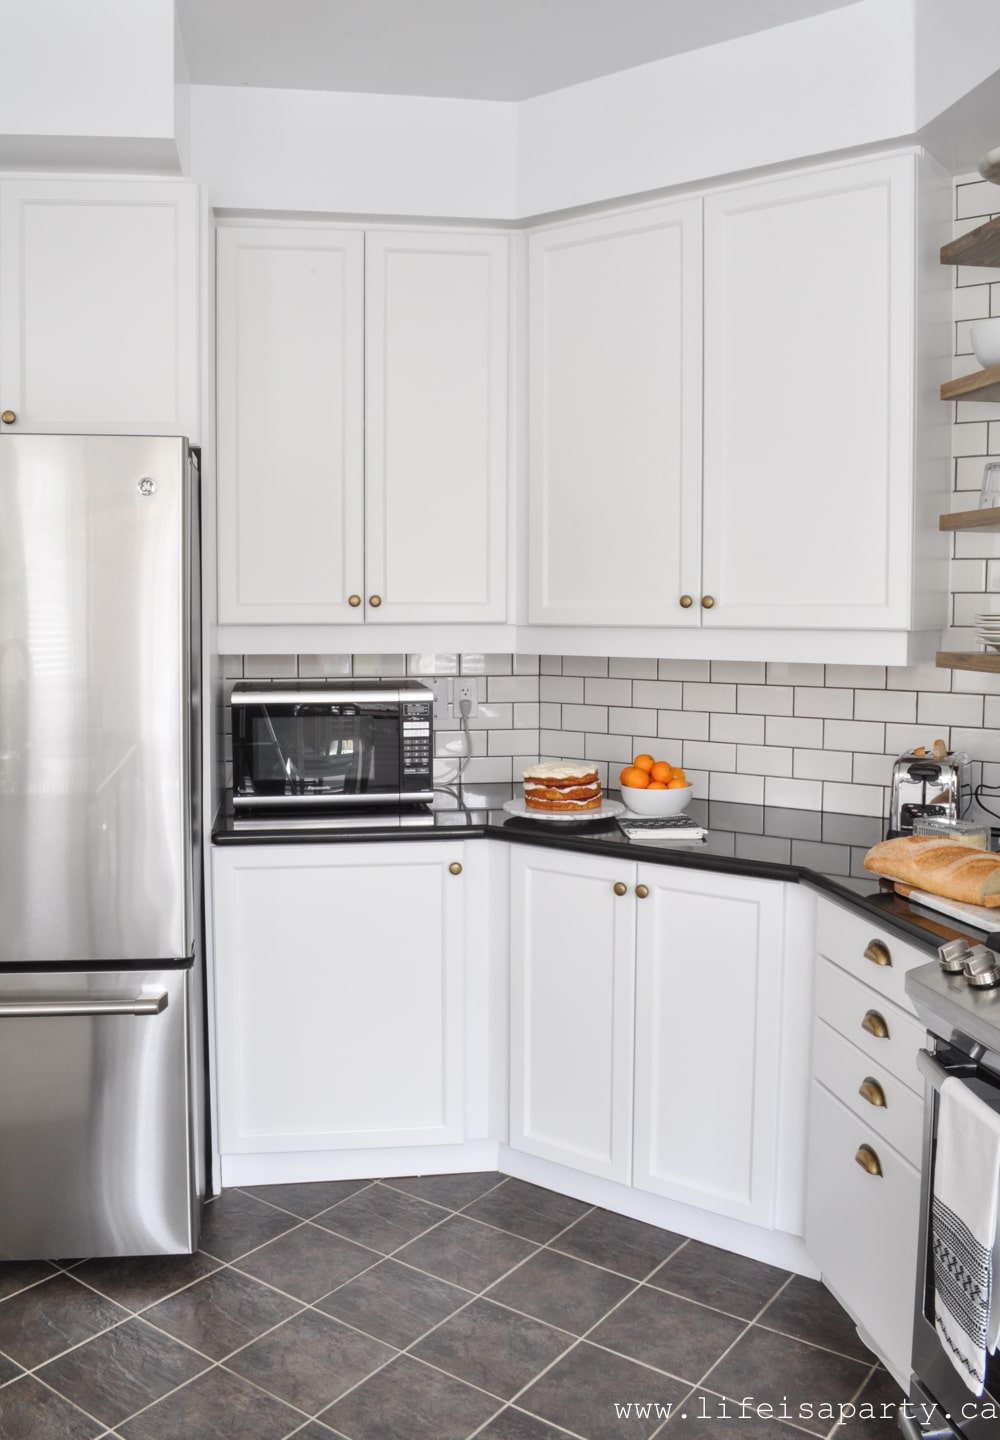
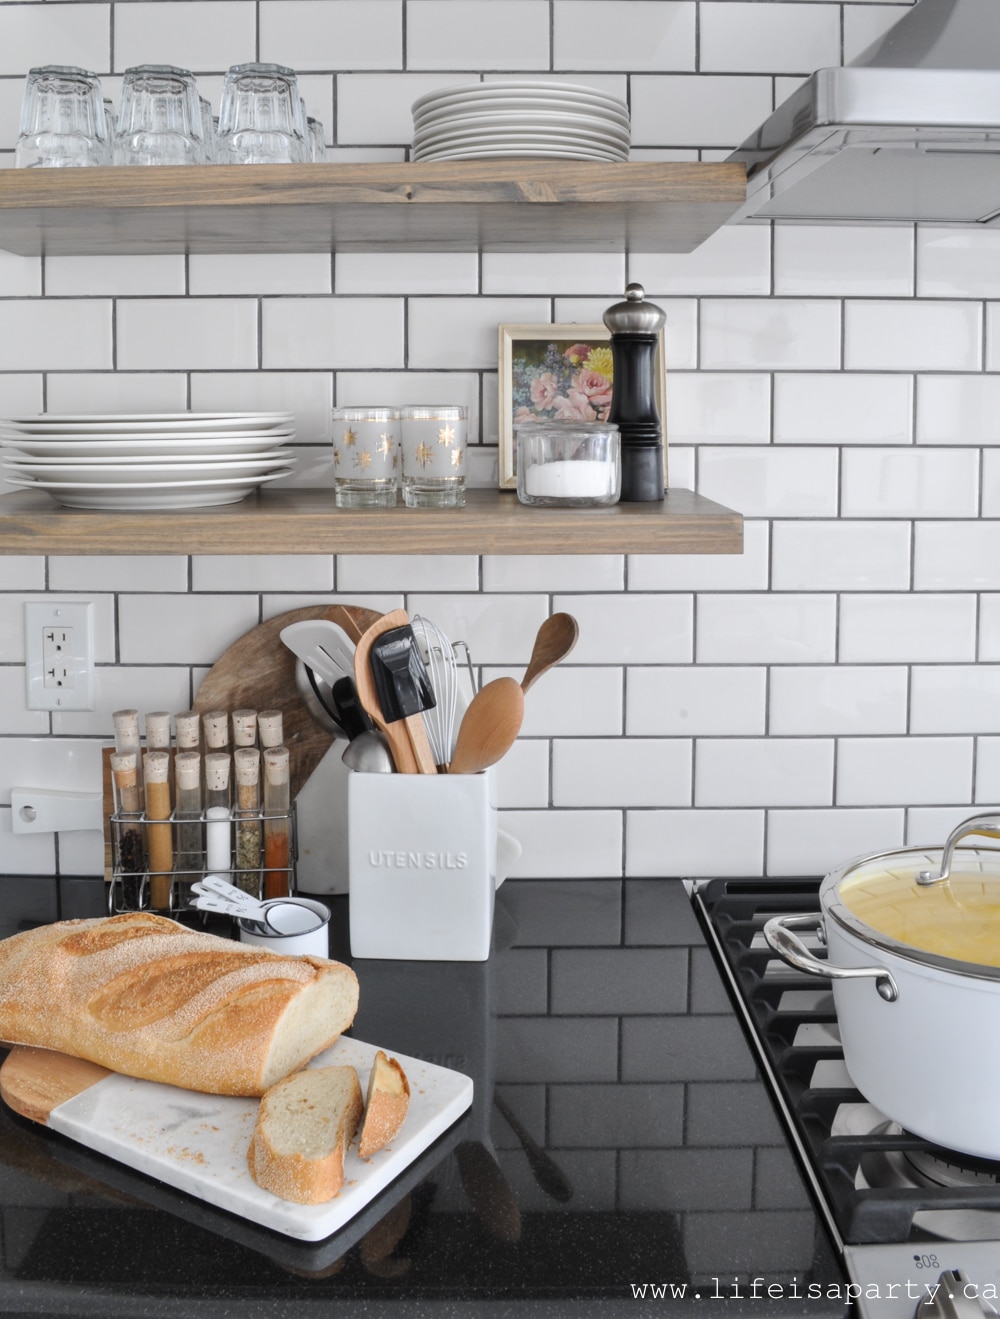
After
And here is what the tile looked like when it was all completely finished! I love it.
The Rest Of The Kitchen Makeover
This was week four of the One Room Challenge, and I'm happy to report that it feels like we've made lots of progress. I'm taking part in a Challenge hosted by Calling it Home where bloggers take six weeks to makeover one room of their homes and share their weekly progress. Be sure to check out everyone else's progress too at Calling It Home.
If you missed any of my updates you can catch up here:
The Kitchen Before and Inspiration
Kitchen Cabinet Makeover
Affordable DIY Large Floating Shelves for the Kitchen
Black Dipped Paint Brass Candlesticks
This week it felt like we made some great progress and the end really is in sight, but there's still a fair bit on the to do list.
I'm working with some amazing brands on this project, and I'm so grateful. I've received products or discounts, but as always, all opinions are my own. I’m so happy to be partnering with Home Depot, Wayfair Canada, GE Canada, Benjamin Woodworks, Lagostina, Smith Sprayers, Lee Valley Tools, Delta Faucet, Krylon, Minwax, and Hamilton Beach.
With a kitchen makeover that's making progress, life really is a party!



Nicki says
I think it looks great! I would never have noticed any flaws at all. I have had tiling nightmares too and still am far from perfect at it!
dnr says
Thanks Ariel, bit by bit we're getting there. 😉
Dannyelle
ariel says
What a great tile job! I love the dark grout against the white tile. Looking good friend!
dnr says
Dianne, thanks so much, your so sweet.
Dannyelle
dnr says
Thanks Linda, thanks for your sweet encouragement.
Dannyelle
Lindi says
From your photos the grout looks great! But I totally know what you're talking about. I've struggled through my own grout mistakes - it's so hard! Plus parenting and renos don't always mix well, lol. It's looking fantastic though!
Diane Rath says
Even though you ran into a bit of trouble with the grout, it really looks fantastic!! Bravo!!!
dnr says
Thanks Susanne. I can't believe what a difference it made with the counters -I never really liked them but now they're looking so good. 😉
Dannyelle
dnr says
Cathy,
Thanks so much for your sweet encouragement, and great advice -big picture for sure.
Dannyelle
Susanne says
It turned out great and looks great with those granite counters!! I am glad you got some help. Can't wait to see next week!
Cathy says
When I read your notes, I think we could be emotional twins! I applaud your accomplishments, it looks fantastic. Remember....think big picture....it will be so much better than you give yourself credit for at this moment.
dnr says
Thanks so much Jenny, misery loves company, lol.
Best of luck with yours,
Dannyelle
dnr says
Thanks Jessica, I appreciate your encouragement.
Dannyelle
Jenny says
wow, that is a huge project. I really love the grey grout. I'm sorry you had a hard time with that. Week 4 was meltdown week for me too. Yo are in good company. I have to say meltdown or not, it looks stunning.
Jessica says
I think it looks great! Good for you for trying, and for showing us all where you went wrong, and what you learned. Tiling is hard, and it's not always going to be perfect the first time, but that's okay!