Hammered Leaf Print: use real flowers and leaves to create art and cards by hammering them to transfer the colour and pattern to watercolour paper.
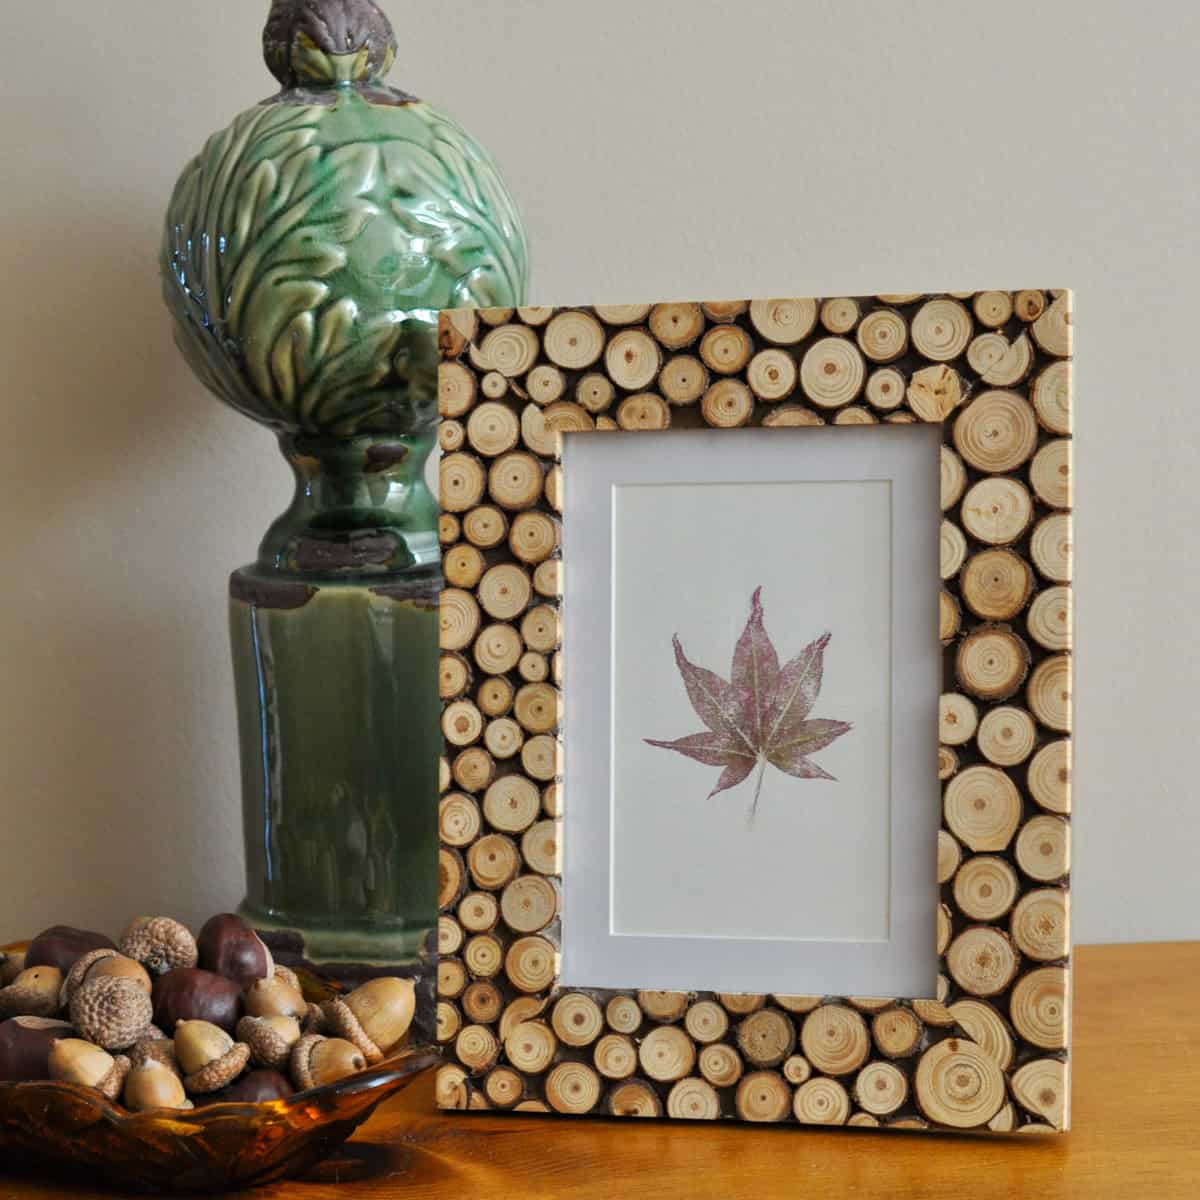
To make this hammered leaf print we used real leaves and flowers from our garden and a simple hammer to transfer their image onto watercolour paper. This easy craft is perfect for kids and adults.
Materials:
- real leaves and flowers
- watercolour paper
- hammer
- paper towel
How To Make A Hammered Leaf Print
Begin my collecting some leaves and flowers from your garden.
To start lay the leaf onto the water colour paper, cover with a paper towel to absorb the extra juiciness, and carefully begin to hammer it.

On our first attempt you could really see the marks where the hammer struck the leaf. And, the leaf slid around a lot, not the best results on the first go. But, attempt number two got a little better. We held the leaf more carefully, and tried to hammer more gently. It turned out pretty well.

By attempt number three or four we got the results we were looking for, a very pretty little leaf print if I do say so myself.
We did learn to try and choose the "juiciest" leaf we could find. This project is best done in the summer when leaves haven't begun to dry out at all.

I love the final results, and I found the perfect frame. I think it looks really sweet in its little frame, and certainly very fall-ish. It would also make a very pretty card.
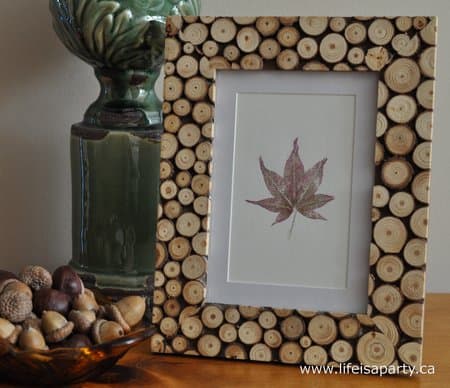
With a hammered leaf print, life really is a party!
More Fall Inspiration
You might also like Fall Leaf Backdrop here.
Also check out Fall Leaf Thanksgiving Table here.
You might also enjoy Book Page Paper Leaf Garland here.


Leanne says
Love this - I'm going to share the with the homeschooling group up here.