DIY Macrame Garland: make this beautiful macrame bunting using only two easy macrame knots. Beginner project with full tutorial.
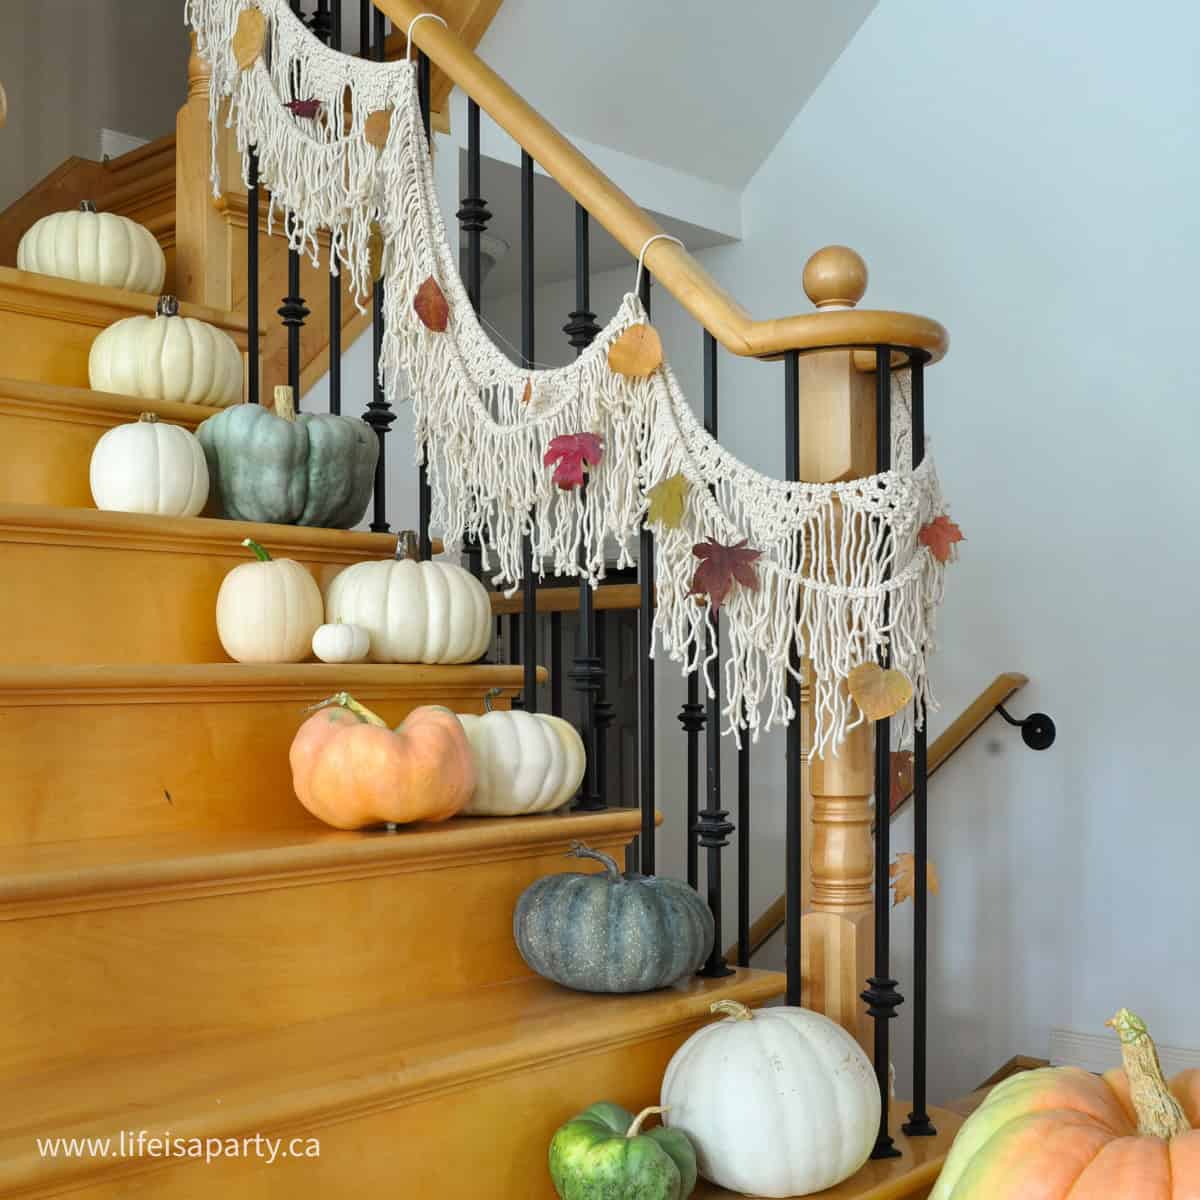
This DIY macramé garland may look complicated but it actually only requires two simple knots and is really simple to put together. It's a perfect project even for a beginner. This beautiful macrame garland is the perfect way to add some texture and a boho vibe to your space.
Use it as a home décor piece on your fireplace mantle, or layer it to add texture to a seasonal garland for Christmas or fall, or make a smaller version for your Christmas tree.
These beautiful garlands also makes perfect party decor. Use them as a fun project for as part of a backdrop or to decorate deck stair railings for a garden party. The possibilities are endless, and this simple macrame garland is great for adding a touch of vintage charm to any space.
Deciding On Your Length
You can make this as long or short as you like. Each of my sections has 6 triangles, and I did 3 sections. You could make it longer by adding more sections, or adjusting how many triangles you make in each section.
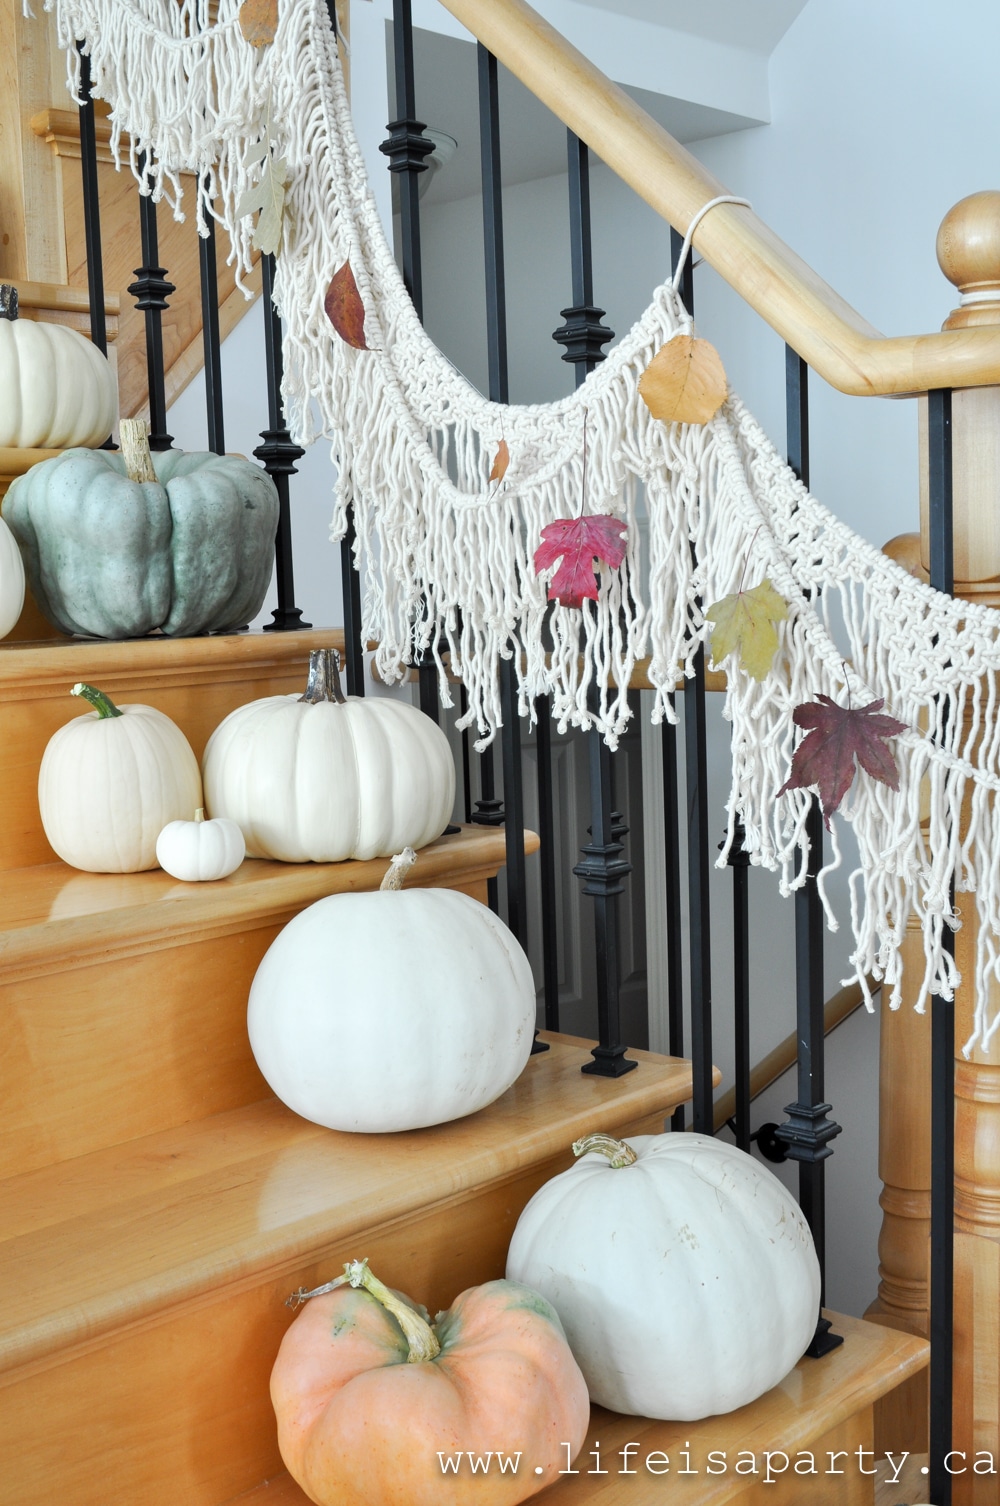
To begin with use one long cord the length of which will be the length of the garland when it's done. This base string is the top anchor cord.
Cut 10 pieces of cord per triangle, about one arms length, from fingers to mid-chest.
Lark's Head Knot
To make the first triangle attach 10 cords to the anchor cord using the lark's head knot. To make a lark's head knot fold the cord in half, put it behind the anchor cord, and pull the two ends through together and tighten.
Square Knot
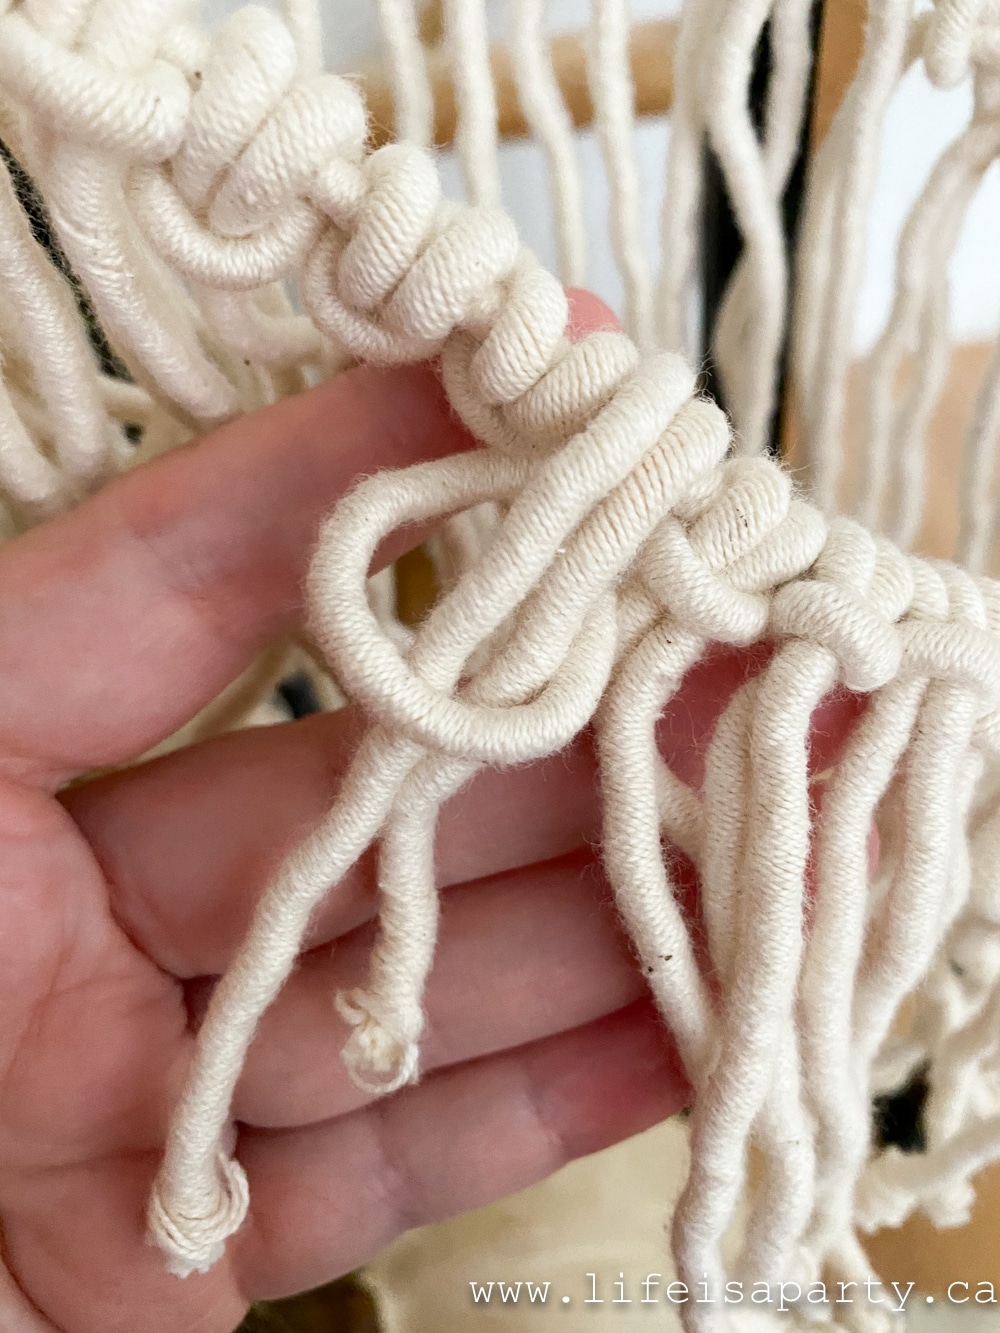
The first row of each triangle will be 5 square knots. To make a square knot select the first 4 cords. Cross the left cord across the rest. It will look a little like a number four. Tuck the crossed cover left cord behind the right most cord. Then take the end of the right most cord, and bring it through the hole you made with the first cord. Then tighten the cords.
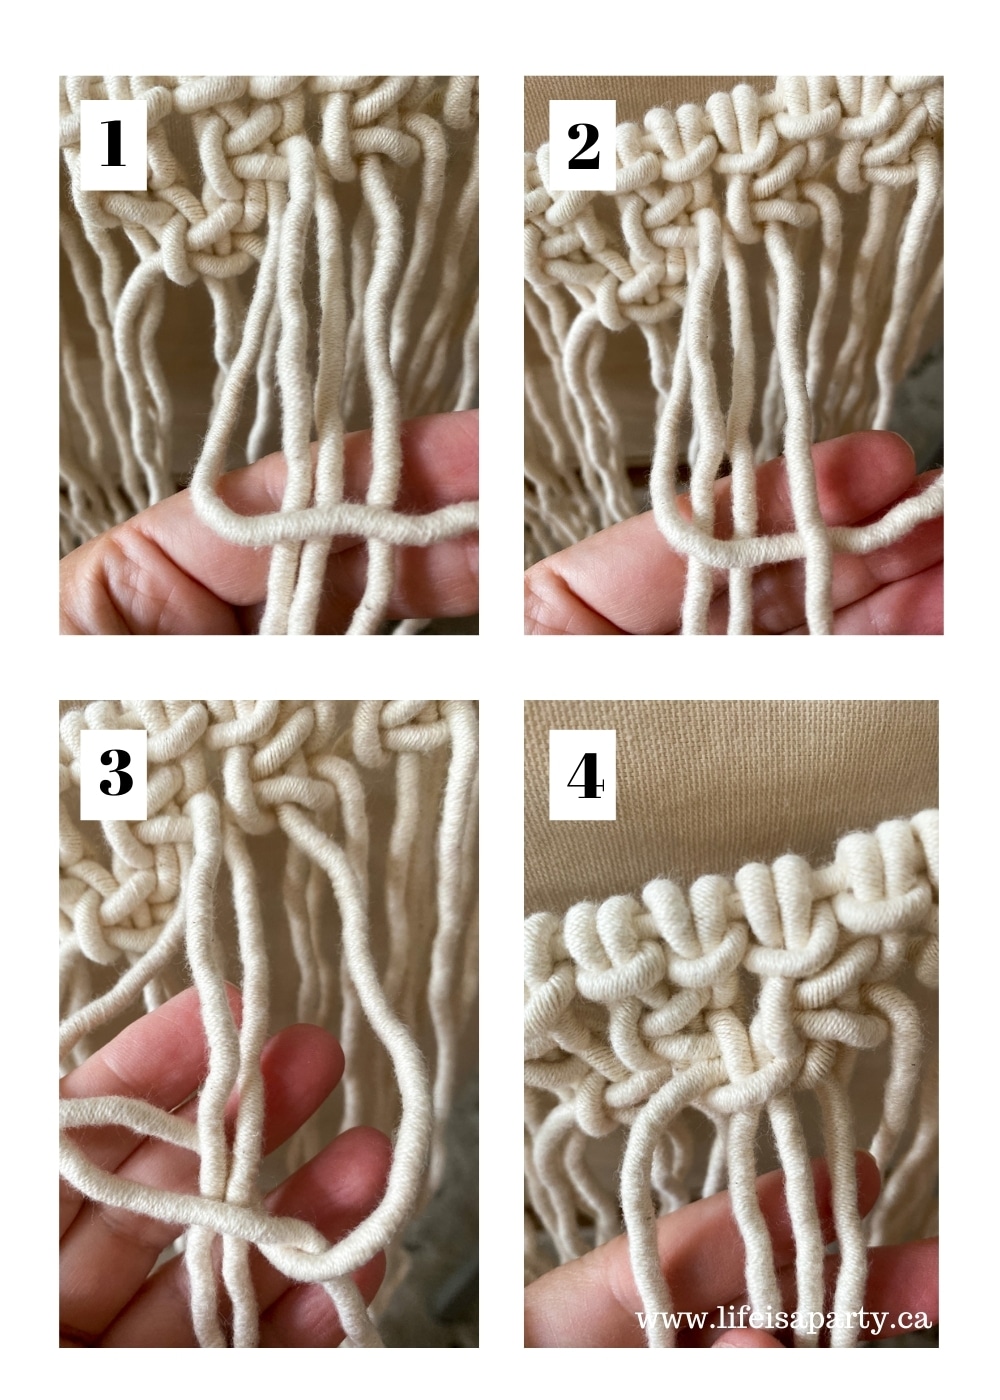
To create the second half of the square knot, do the same knot but starting with the right most cord.
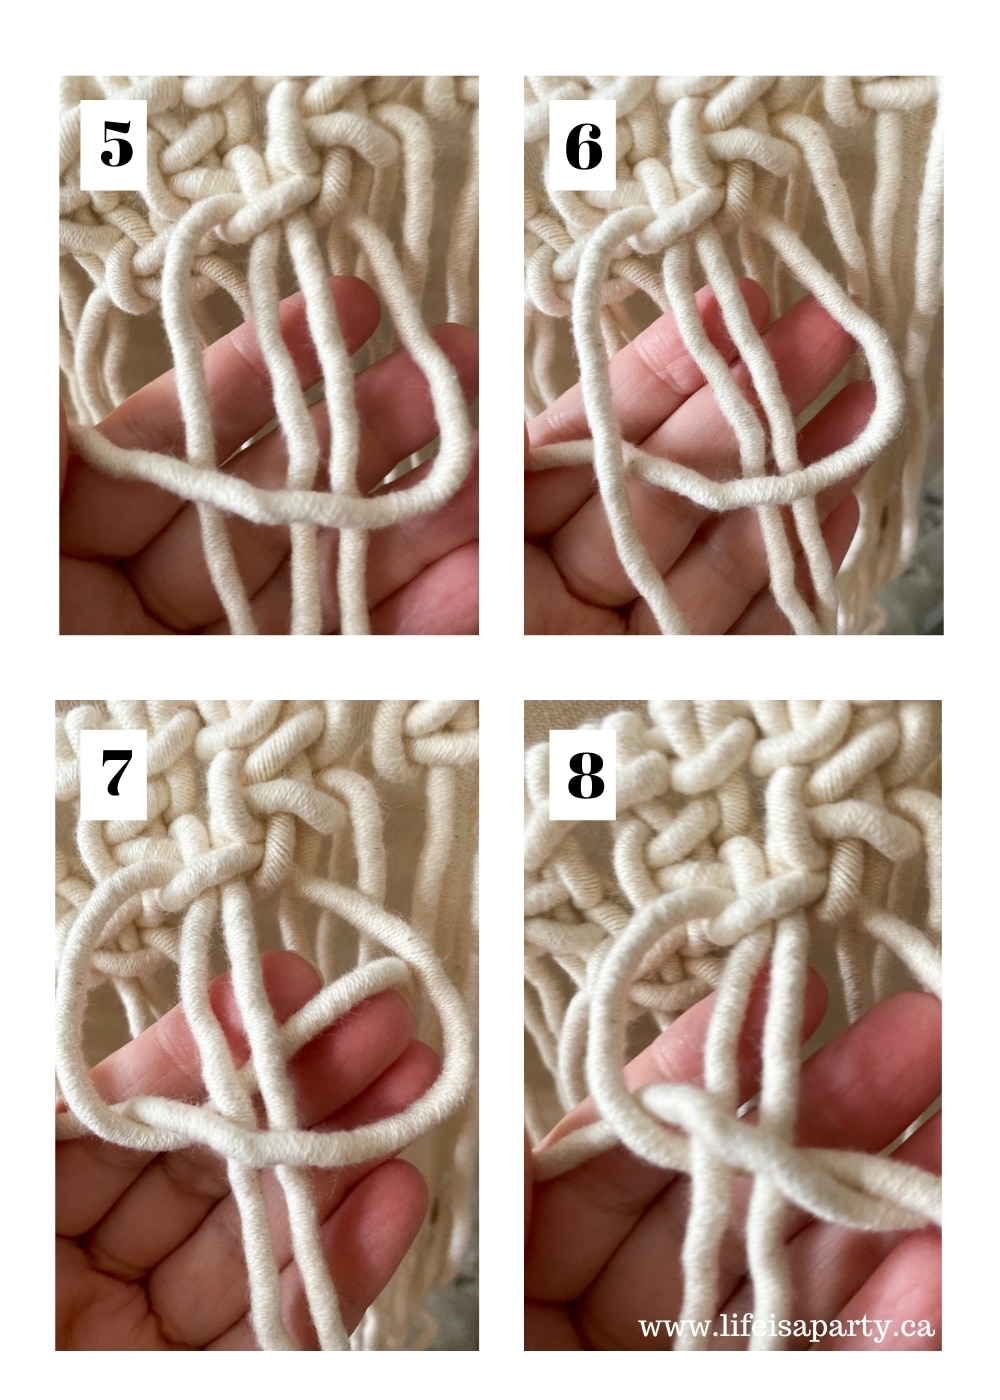
The triangles that make up the garland are all made of square knots. There are five square knots in the first row. In the second row, you drop the two first and last cords and tie another row of four square knots. The third row you do the same thing, drop two more cords on each side, and tie a row of three square knots. The same for the fourth row, and then on the last row, you tie just one square knot.
This will make up a triangle. I did 6 triangles per section, and did three sections.
Swag Fringe
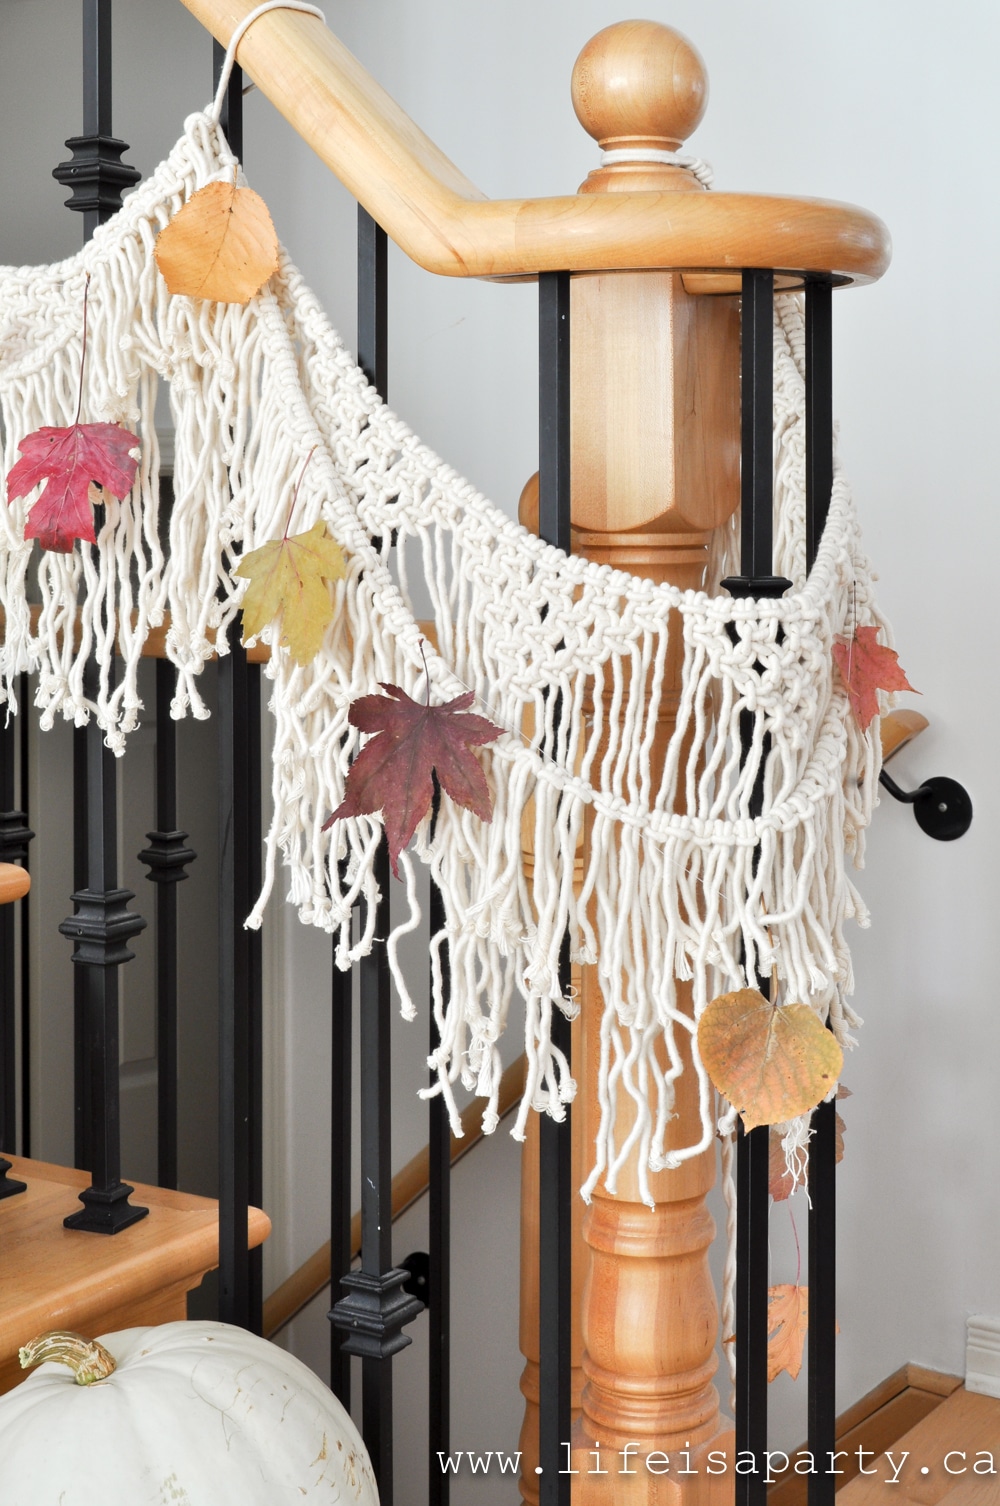
For each section I also did a swag in the front. To make the swag attach a cord to the anchor cord, and swag the macrame cord down, to about the bottom of the 3rd and 4th triangle in the section, and then attach the swag to the anchor cord after the sixth triangle. I did one swag for each of the three sections.
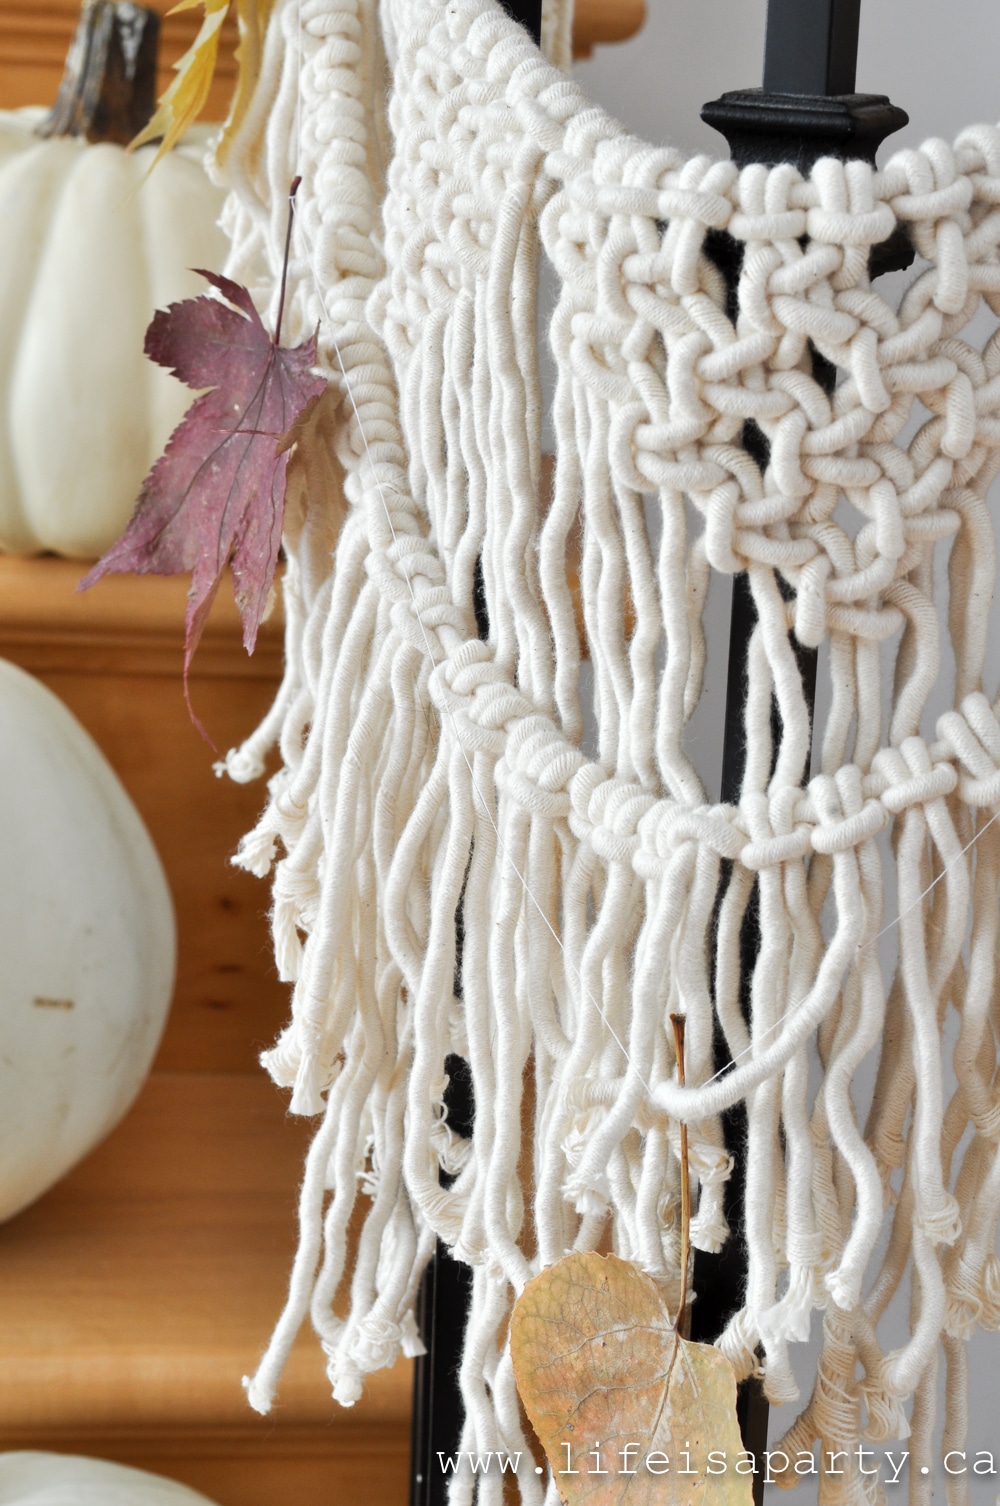
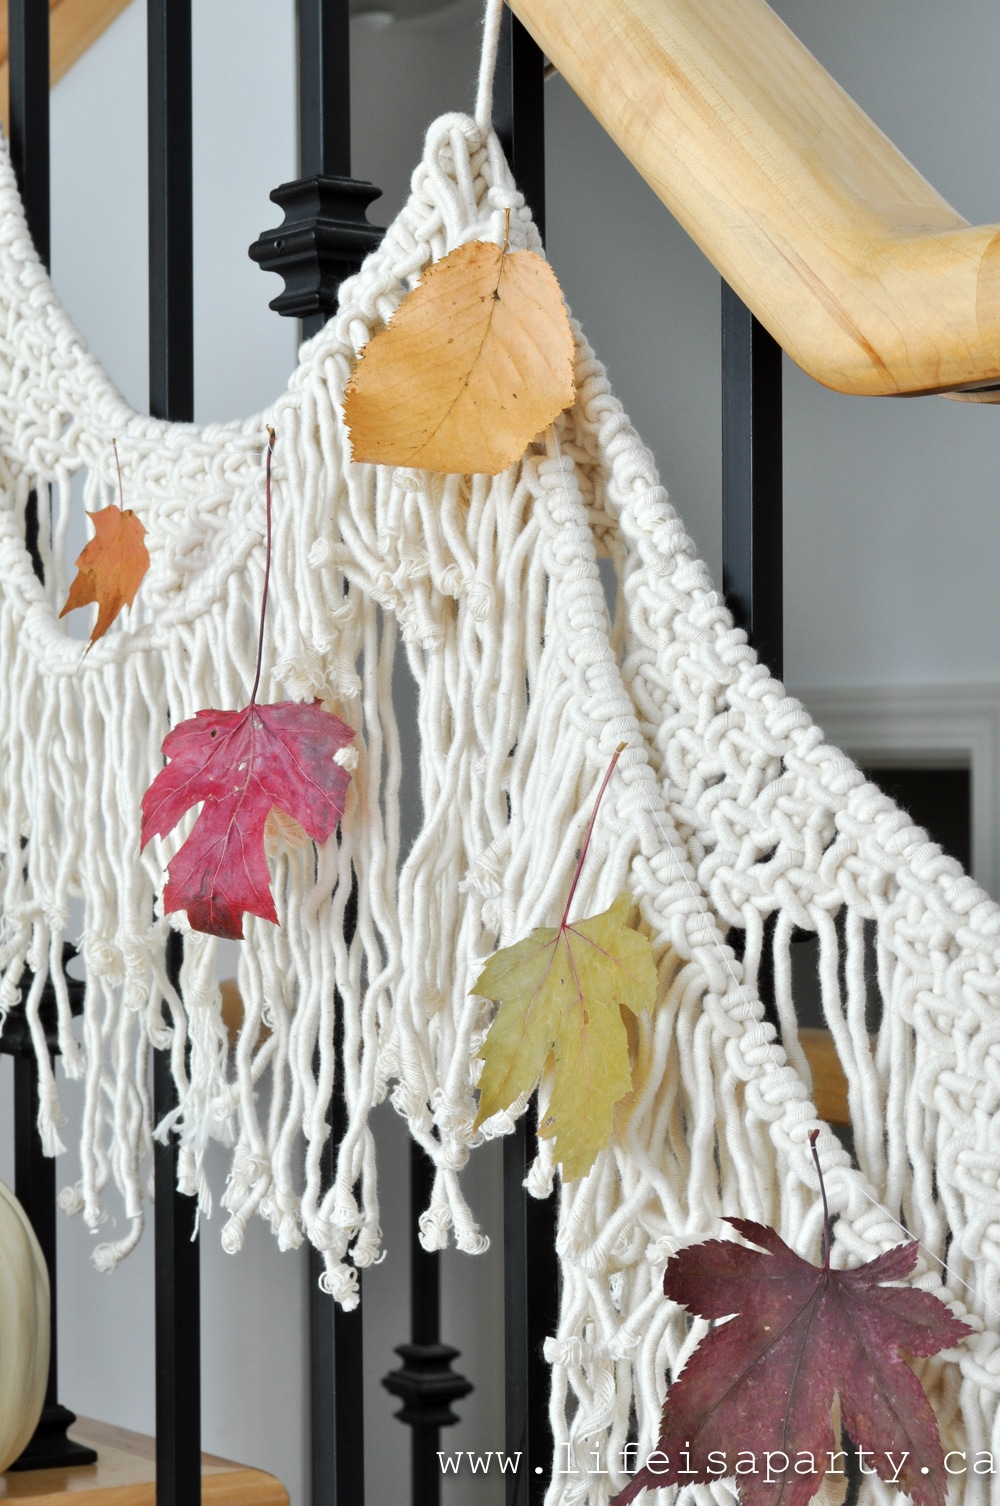
To create the fringe, cut shorter cords about 7 inches long each. Tie the shorter cords onto the swag with a lark's head knots, side by side to fill the swag. Since these fringe pieces are quite short, it's a great way to use up leftover cord pieces.
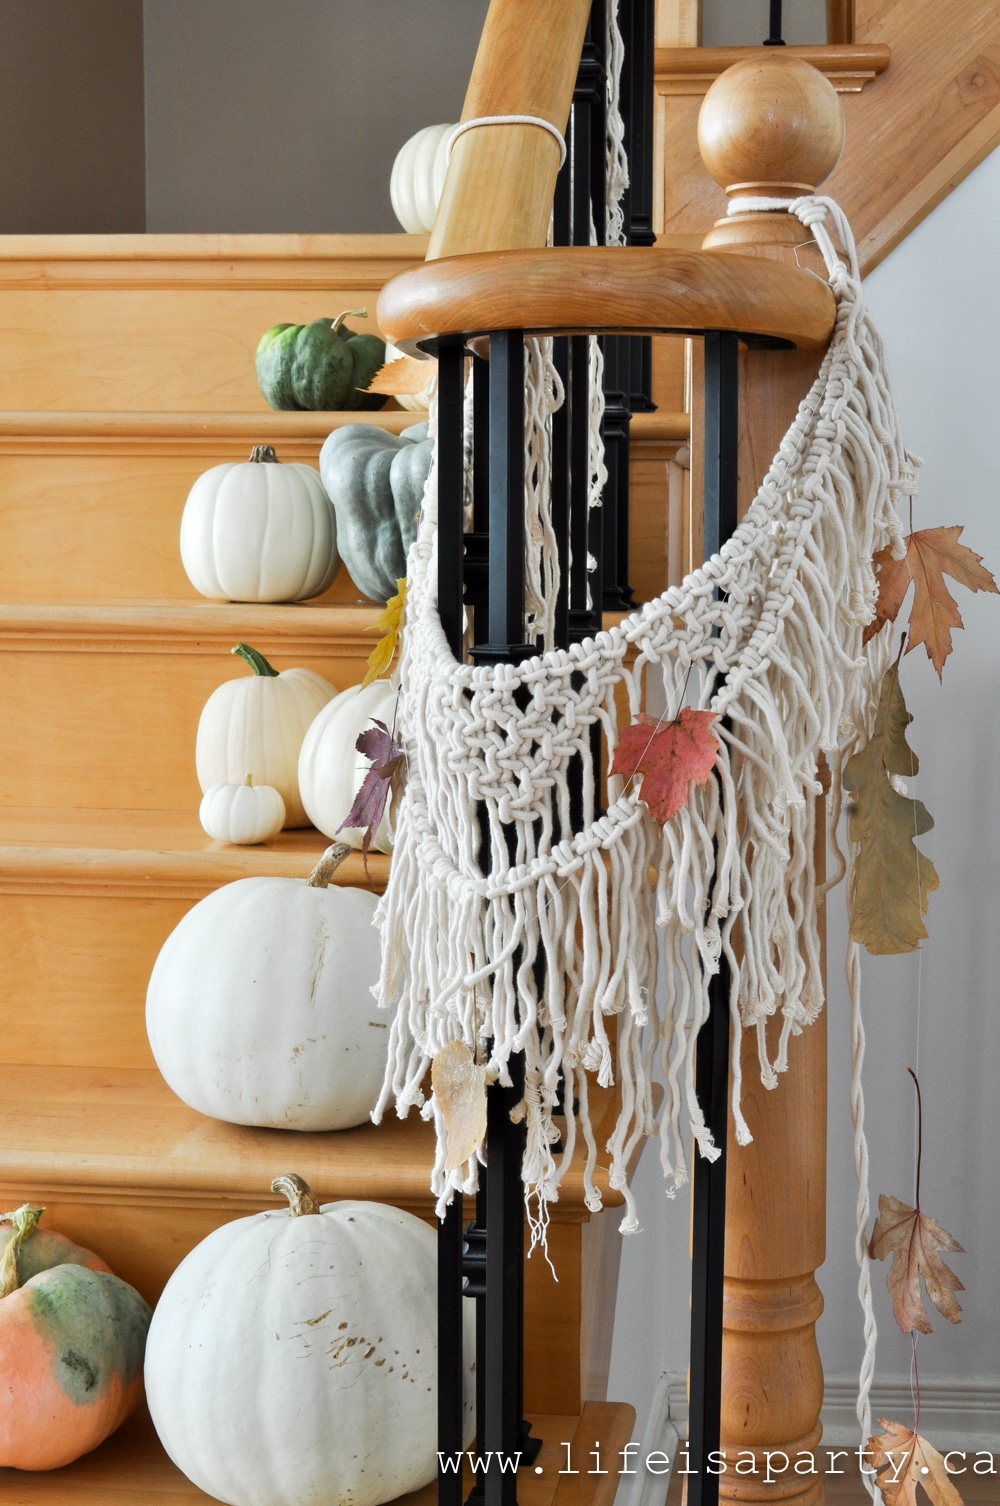
Stair Garland
I used my macrame swag on my stairs for fall, along with some pumpkins. I wanted to create a layered effect so I also added some fall leaves. The leaves were pressed and dried, and then I used a thread a tie them and layered them in front of the macrame swag. This boho macrame garland also looks great at Christmas layered with greenery and lights. I usually leave it up all by itself year round as a lovely way add texture and interest to the staircase.
I love the neutral color of the garland, but you could use colored macrame cord if you wanted to. Macrame cord is available in lot of color options. Another idea would be to dye the finished macrame garland, you could even try dip dying for an ombre effect. You could also incorporate some wooden beads to the knots or to the fringe ends if you wanted to.
This project uses very basic macramé knots, and doesn't take tons of time with thicker cord. The easy knots are quick to tie. This is the perfect tv watching project.
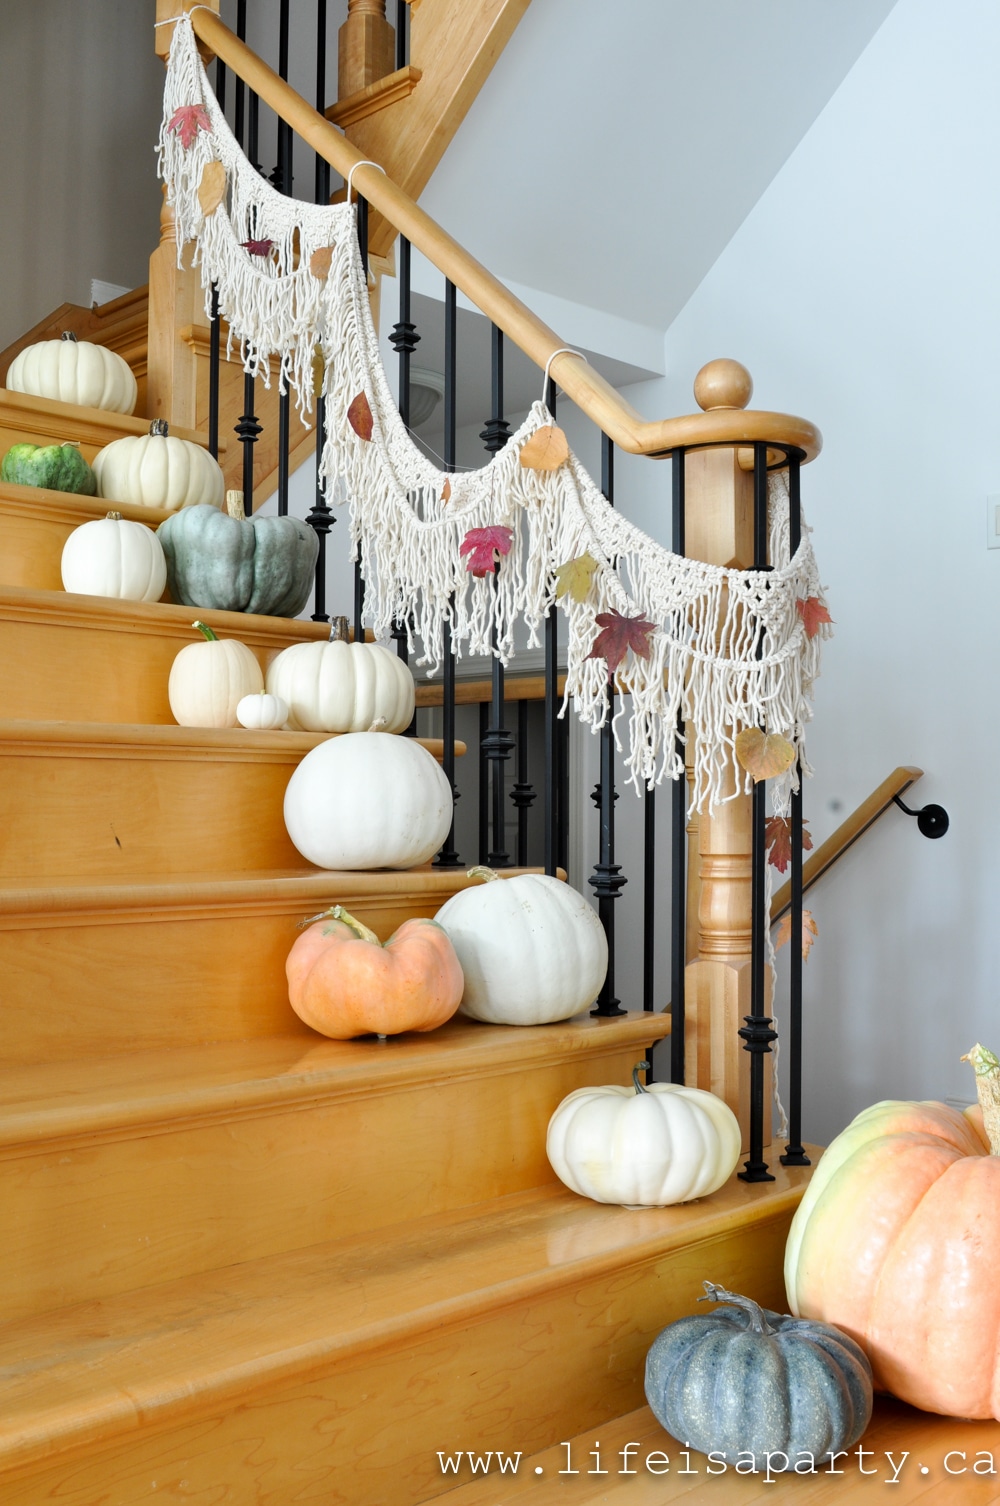
With this easy DIY macrame garland, life really is a party!


Dannyelle says
Hi Jackie, Unfortunately I don't have a link for it, it was some older rope that I had on hand. Sorry to not be more helpful.
Dannyelle
Jackie C says
Found you through Christy over at Confessions of a Serial DIYer. Super cute! Love it, a lot. Do you have a link for where you got your rope?
dnr says
Hi Janice,
I actually used a two ply rope to make my macrame garland, so I don't have an actually size of macrame cording to suggest. Sorry about that.
Dannyelle
Janice says
What size is that macramé cording?
dnr says
Hi Traci,
Sorry I didn't keep track of how much I used. I was using some cord leftovers from another project I had...of course it would depend on how long you make it as well. Sorry I'm not more helpful.
Dannyelle
Traci says
Just curious how many yards did it take to make that one?
Danielle says
I'm inspired to try macrame. Thanks for the tutorial!
Jenn says
Beautiful Boho look! What a great idea!
Ashley Stringfellow says
This is beautiful. Love it draped on your railing. Pinned!
Cassie Bustamante says
that is beautiful and i love how it cascades down your staircase!