Spray Painted Vase Cutlery and Makeover: give inexpensive thrift store vases and cutlery new life with spray paint, perfect for entertaining.
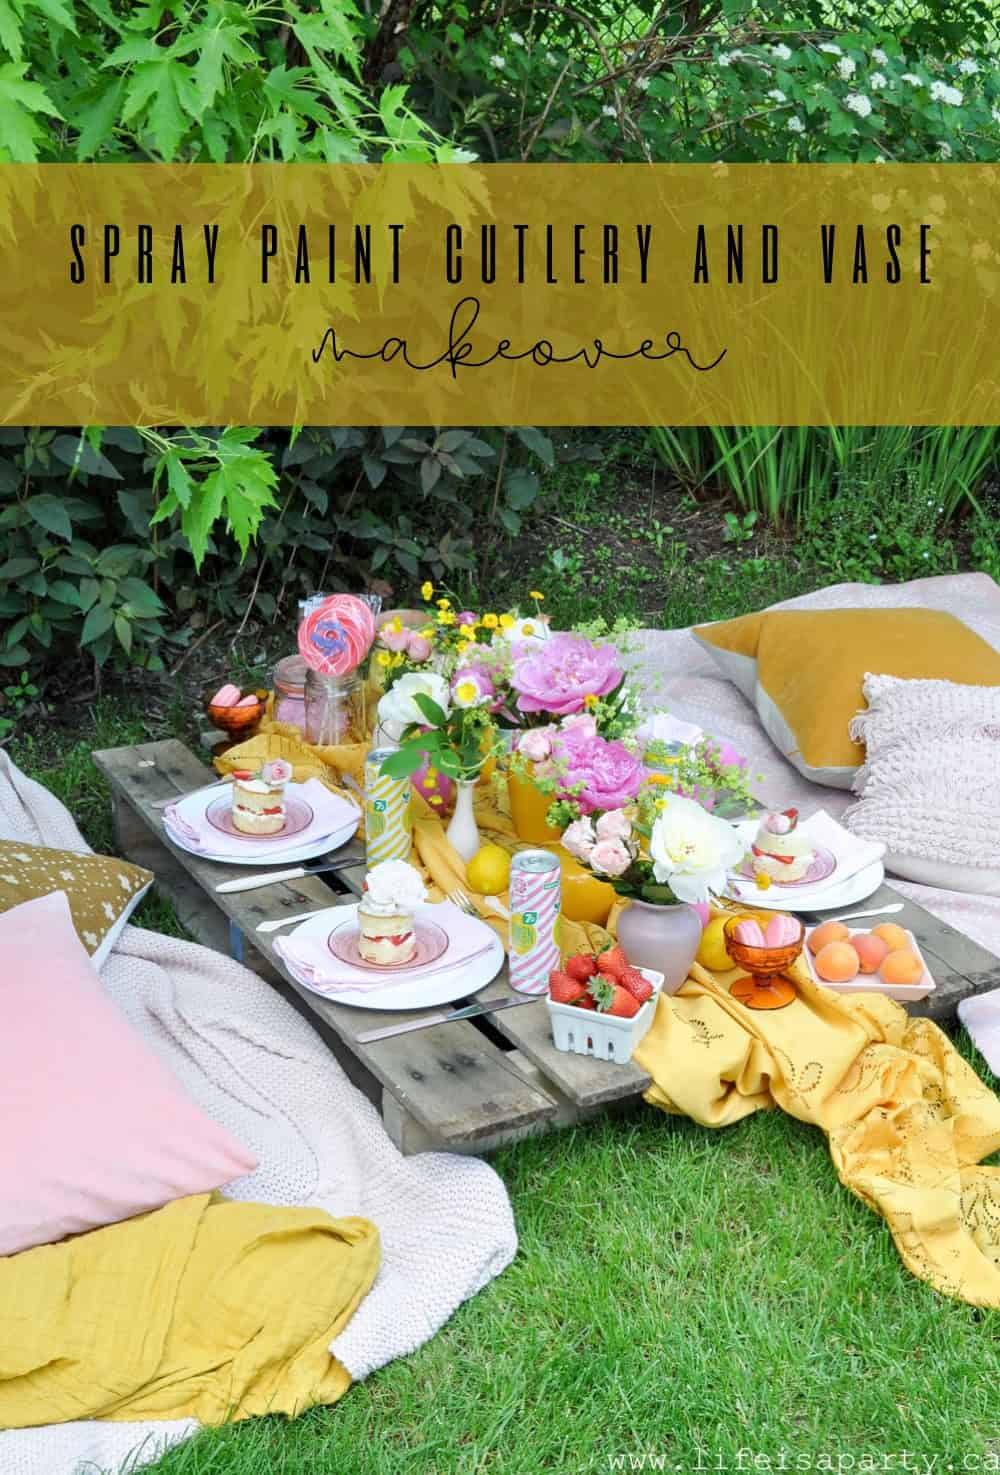
I love entertaining and this spray painted vase and cutlery makeover is the perfect way to give some old mismatched cutlery and vases from the thrift store new life!
Spraying New Life
Have you noticed all the different cutlery that's become available in the last few years? We've seen cutlery come out in gold, black, rose gold, and handles in pastels, whites, you name it. It's such a fun detail to add to a beautiful tablescape. Like jewelry for a table setting. So this DIY version is perfect, because you can customize it to any colour or combination of colours that you love, and it's super inexpensive to make. It's always amazing what a little love and attention can do for an old cast off thrift store find, you just need a little imagination.

Once I had the idea to do the cutlery project, I thought it would be fun to do some spray painted vases in matching colours, and create a really beautiful tablescape.
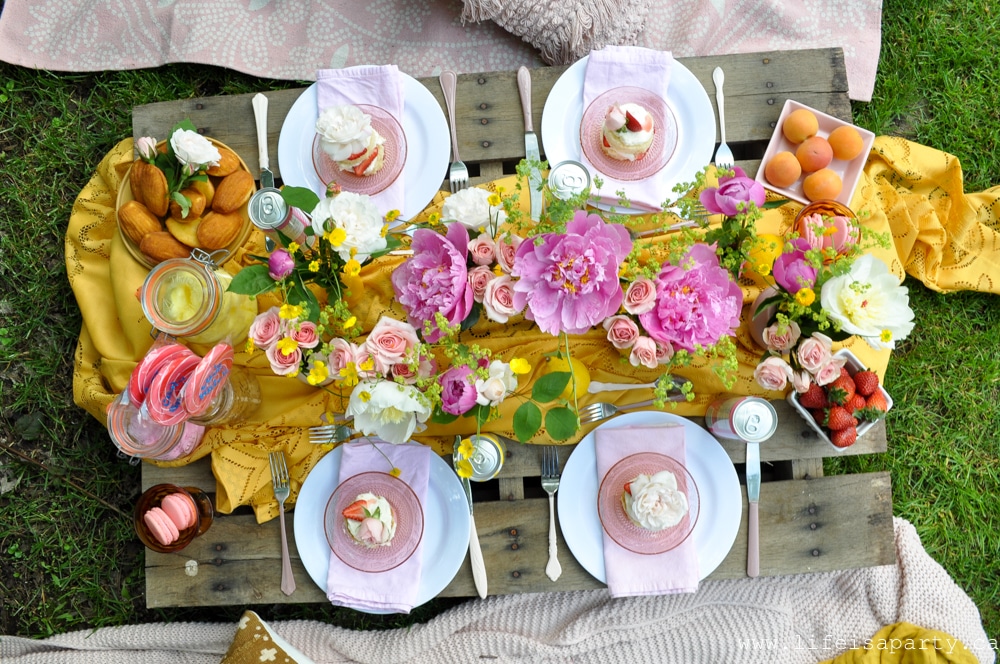
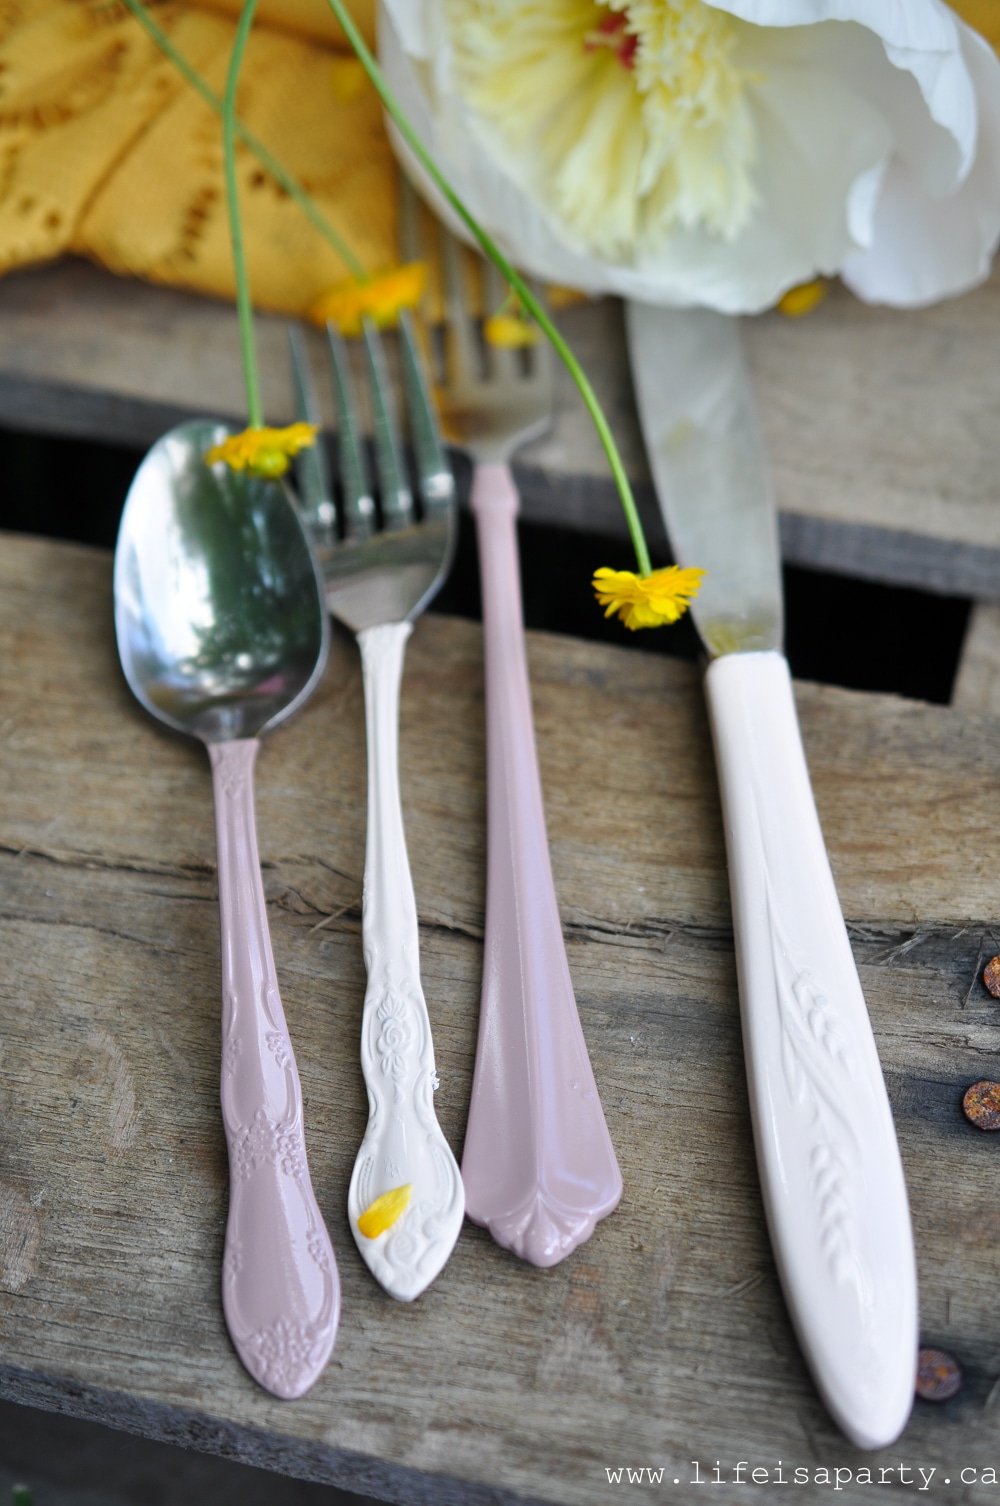
I shopped for my cutlery and vases at thrift stores. I looked for mismatched cutlery, but tried to find ones that felt antique-ish and had curves, flowers, and swirls as part of the patterns on the handles. They were very inexpensive.
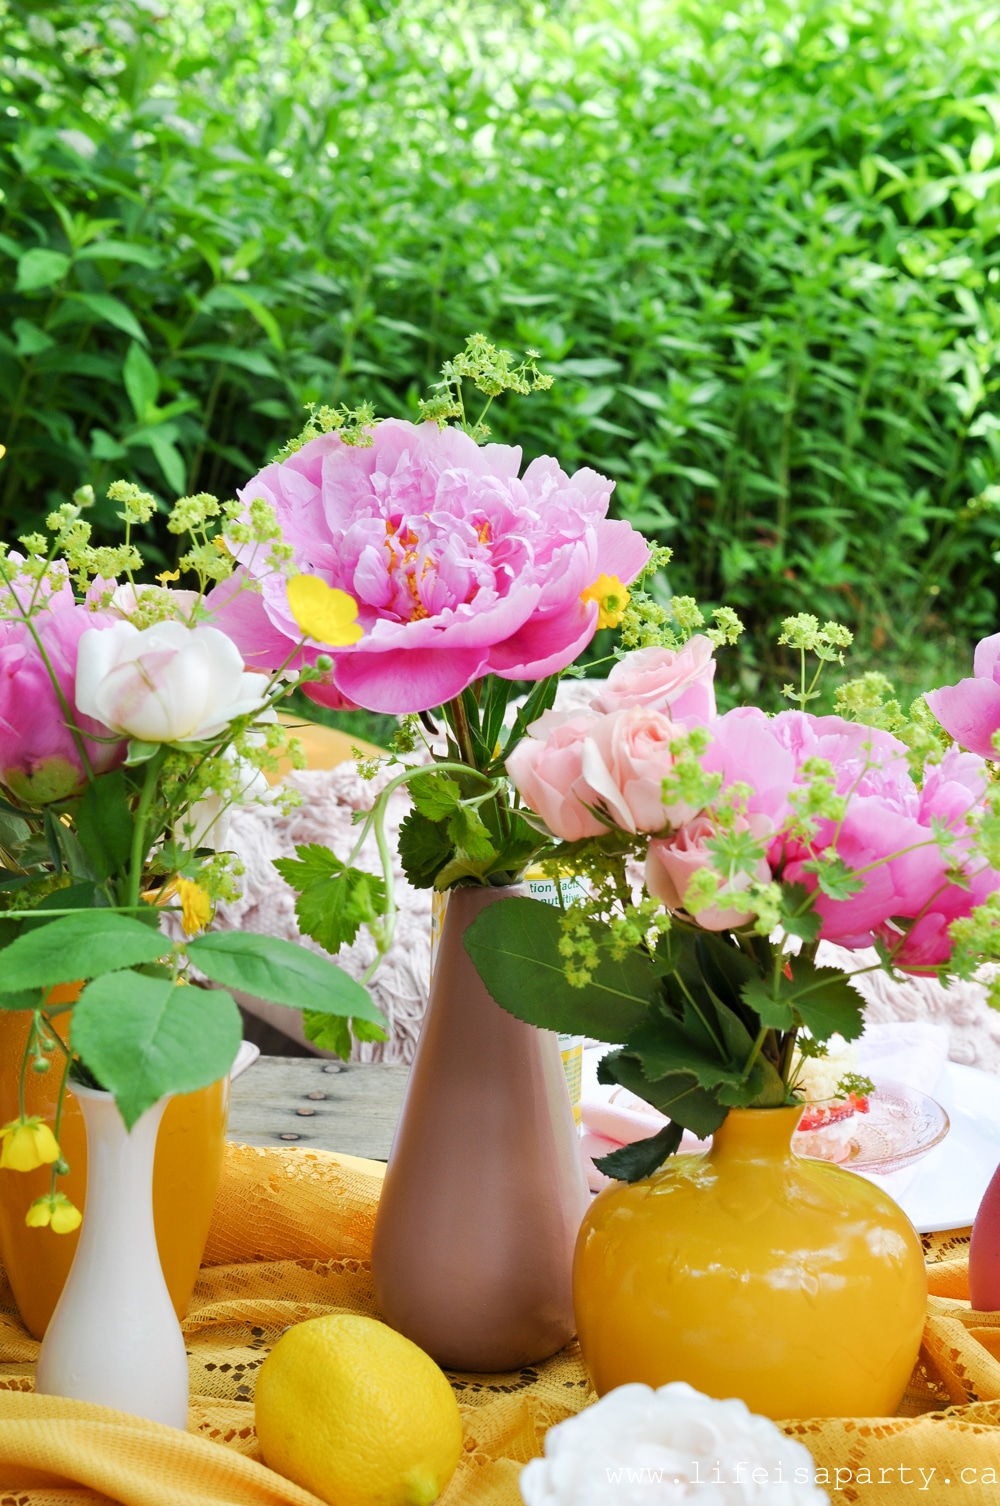
For the spray painted vases, since I wanted to create a grouping I looked for ones that were small, and different shapes to create interest. I used ceramic vases.
Materials:
- Mismatched Cutlery
- Old Flower Vases in various sizes and shapes
- Gloss Berry PinkRust-oleum Painter’s Touch
- Satin Vintage Blush Rust-oleum Painter’s Touch
- Gloss Marigold Rust-oleum Painter’s Touch
- Gloss Pink Peony Rust-oleum Painter’s Touch
Spray Painted Vase and Cutlery Makeover Instructions:
1. Clean cutlery and vases. Tape off everything but the handles of the cutlery to ensure that they will still be food safe after painting.
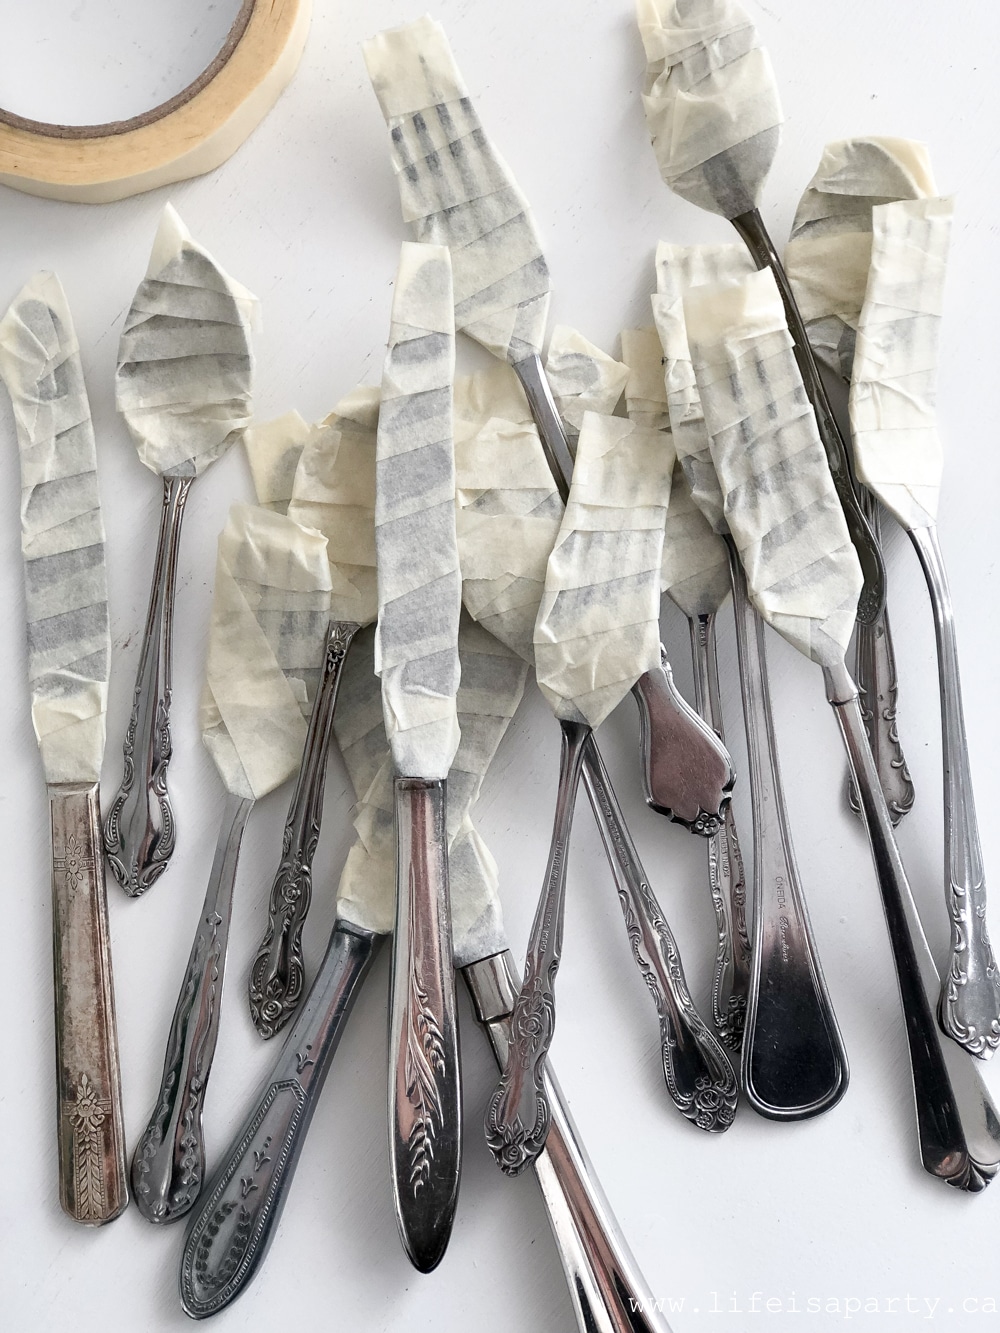
2. Spray paint the vases and cutlery handles with multiple light and even coats of spray paint, letting them dry in between, and turning them to cover them completely.
3. Once dry, remove the tape from the cutlery and hand wash them before using (never put them in the dishwasher). Fill the vases with beautiful flowers, and set a gorgeous table.
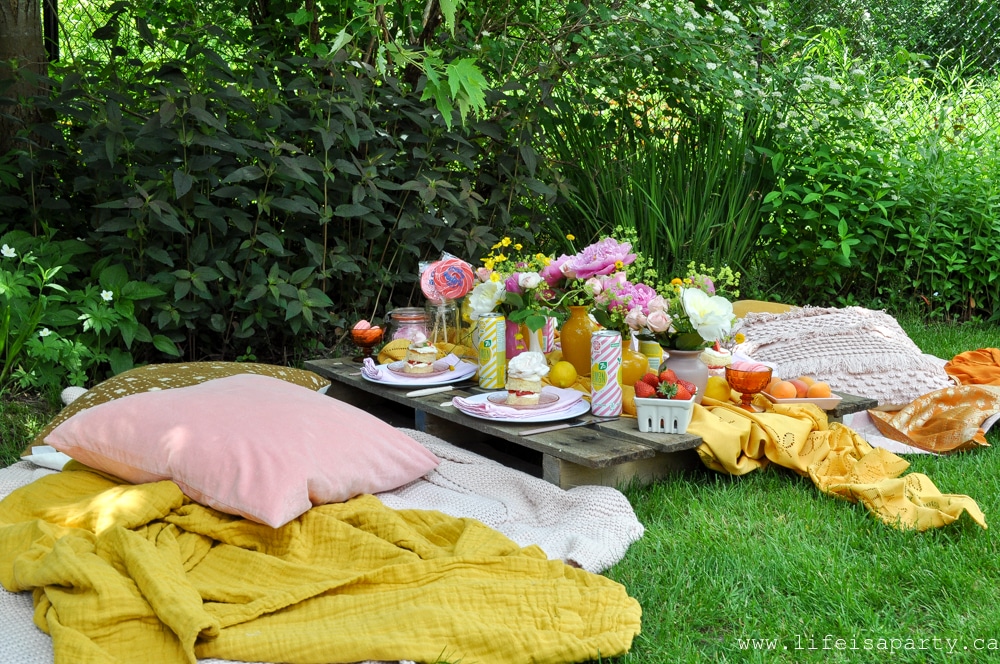
This was a really fun project to create. I really love that you could do this for any colour scheme that you liked or for a specific party.
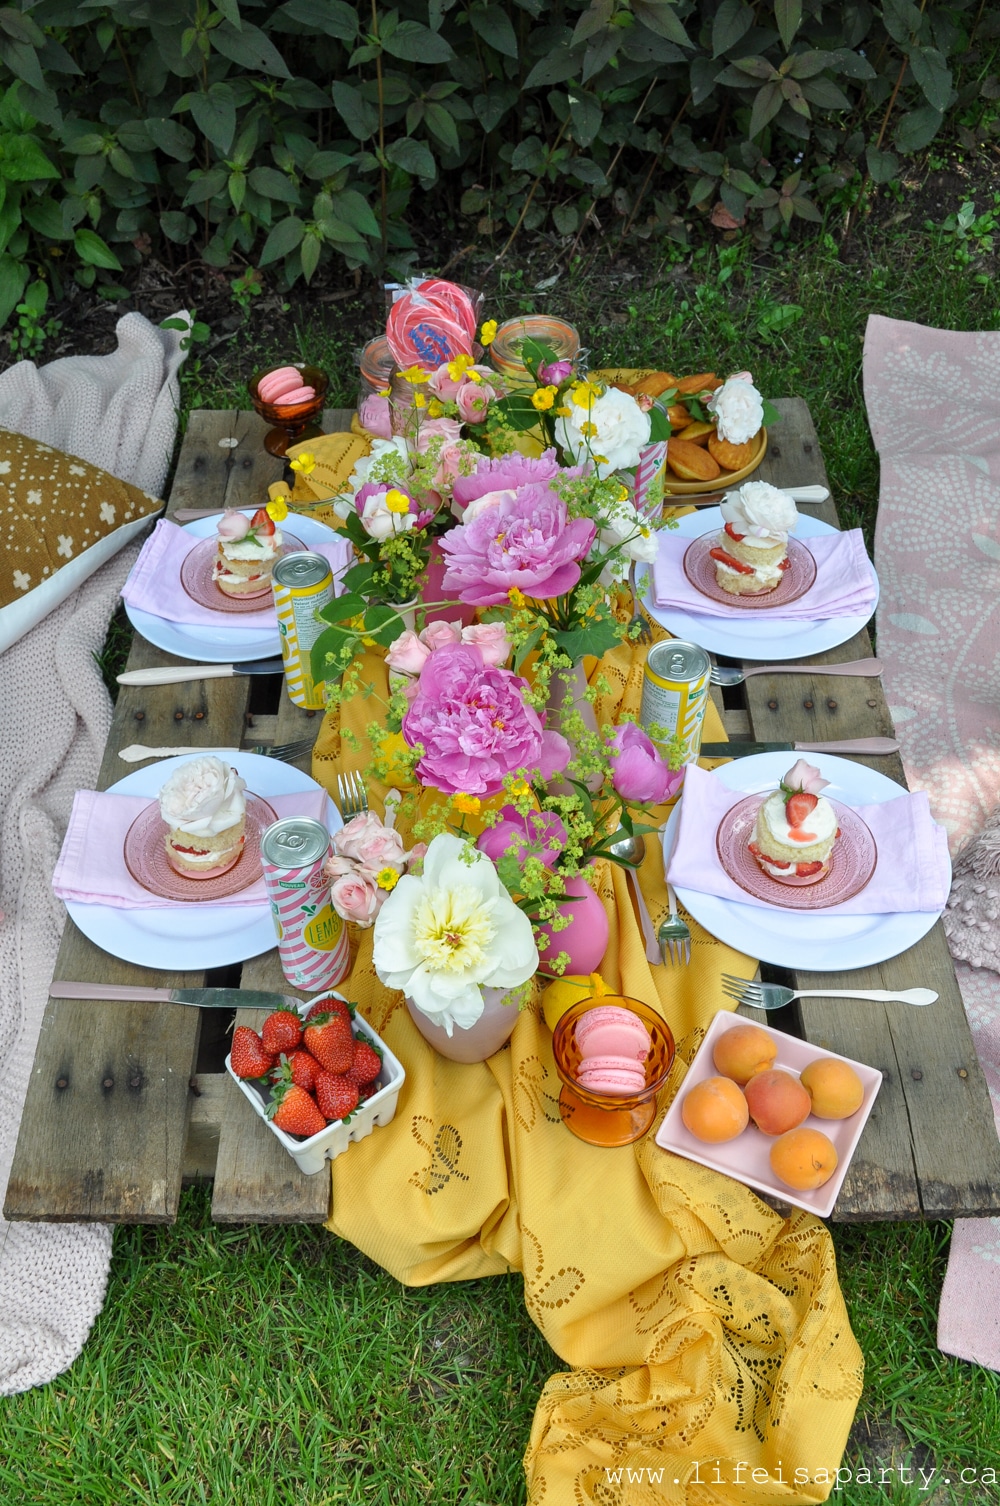
The Picnic
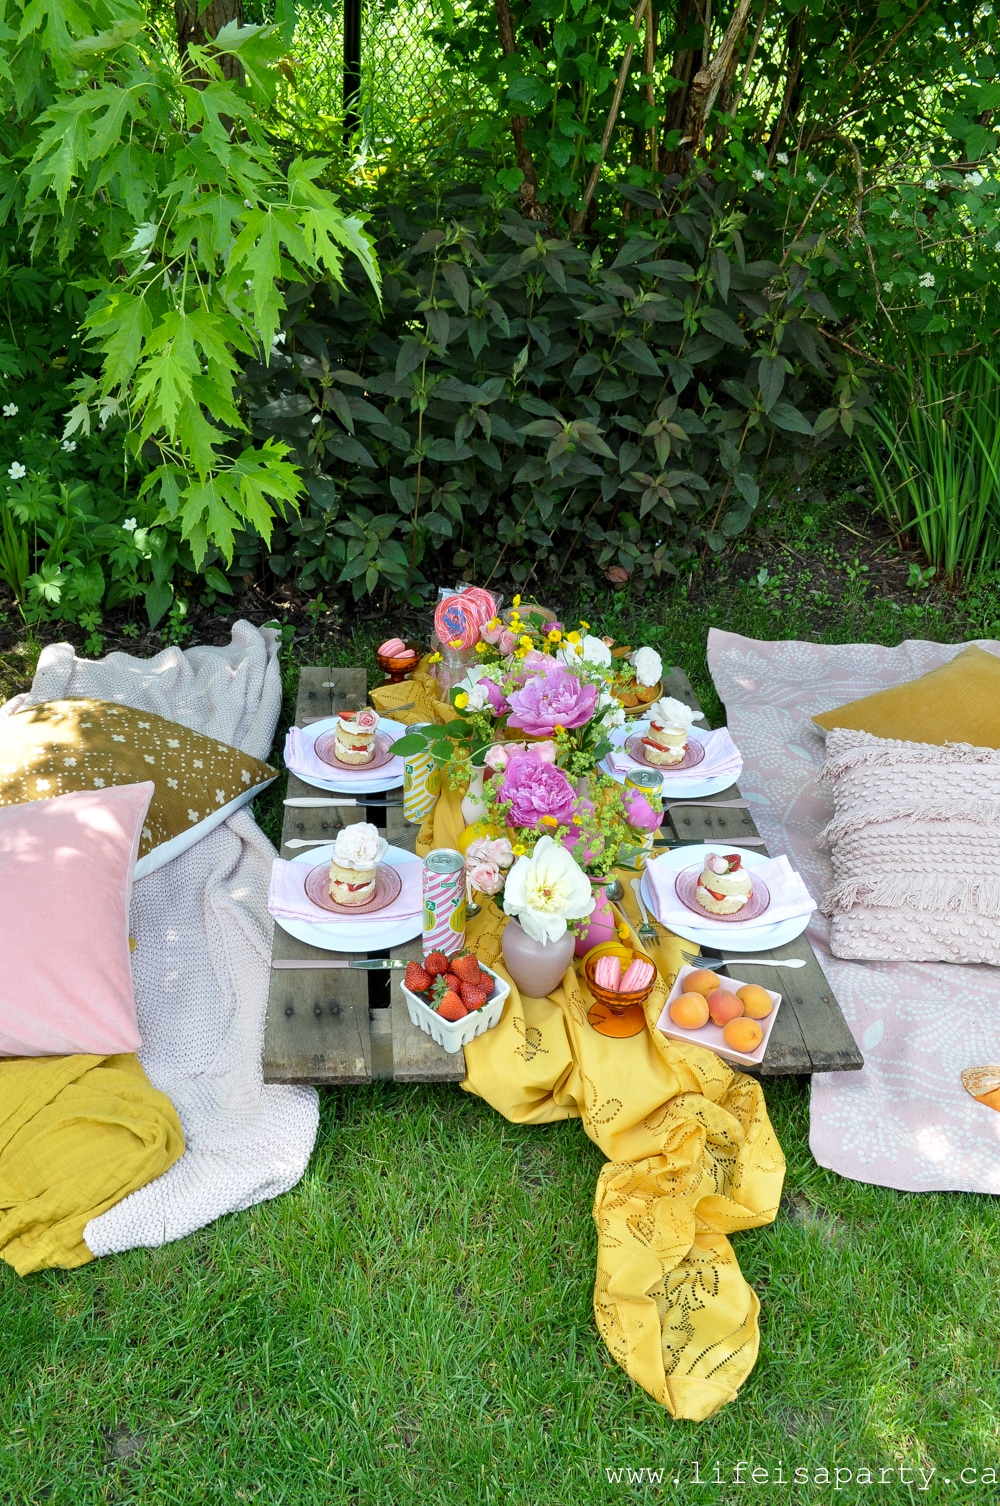
I set up my finished pieces for a fun backyard picnic. I used a old palette as the picnic table, and incorporated lots of pinks and yellows for a really colourful, inviting space. I've been loving all things pink and mustard yellow this summer -did you see how I used those colours in my recent home tour? This combination outside was just perfect and felt so happy and celebratory.

In this shady corner of my yard we set down a rug and blanket and then piled on lots of pretty pillows, and throws. It was so cozy and comfortable, and we sat here for ages chatting and enjoying our dessert picnic.
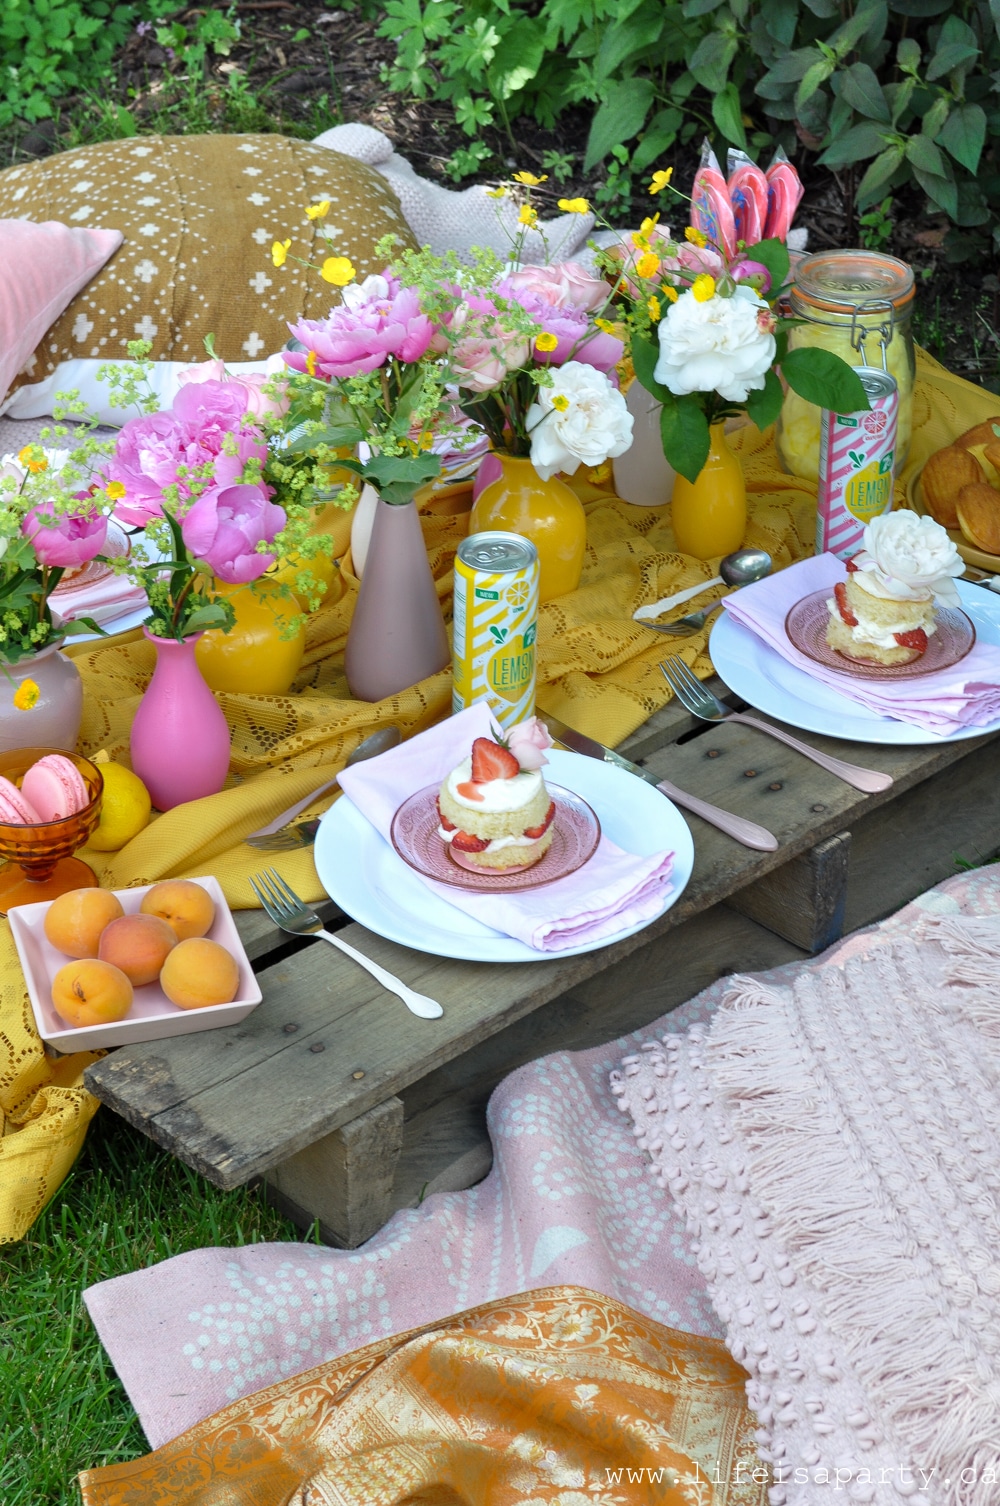
The pretty little cakes were easy to make. I used a cake mix and then cut the rectangular cake into circles and stacked them with the most delicious vanilla buttercream and fresh strawberries.
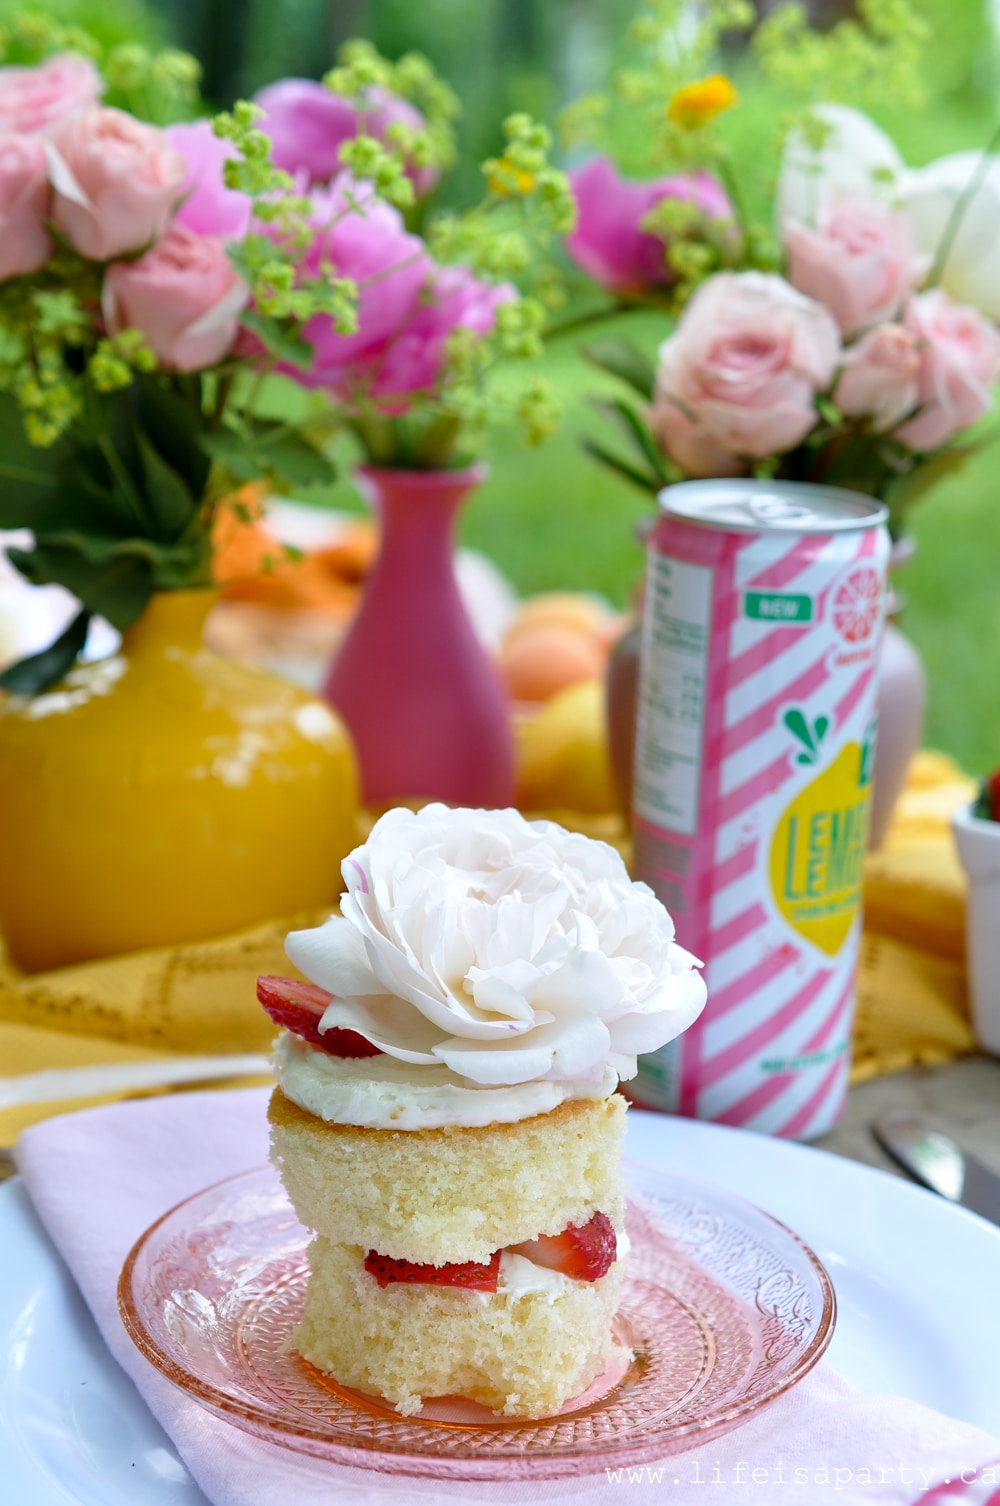
We decorated them with flowers from the garden.
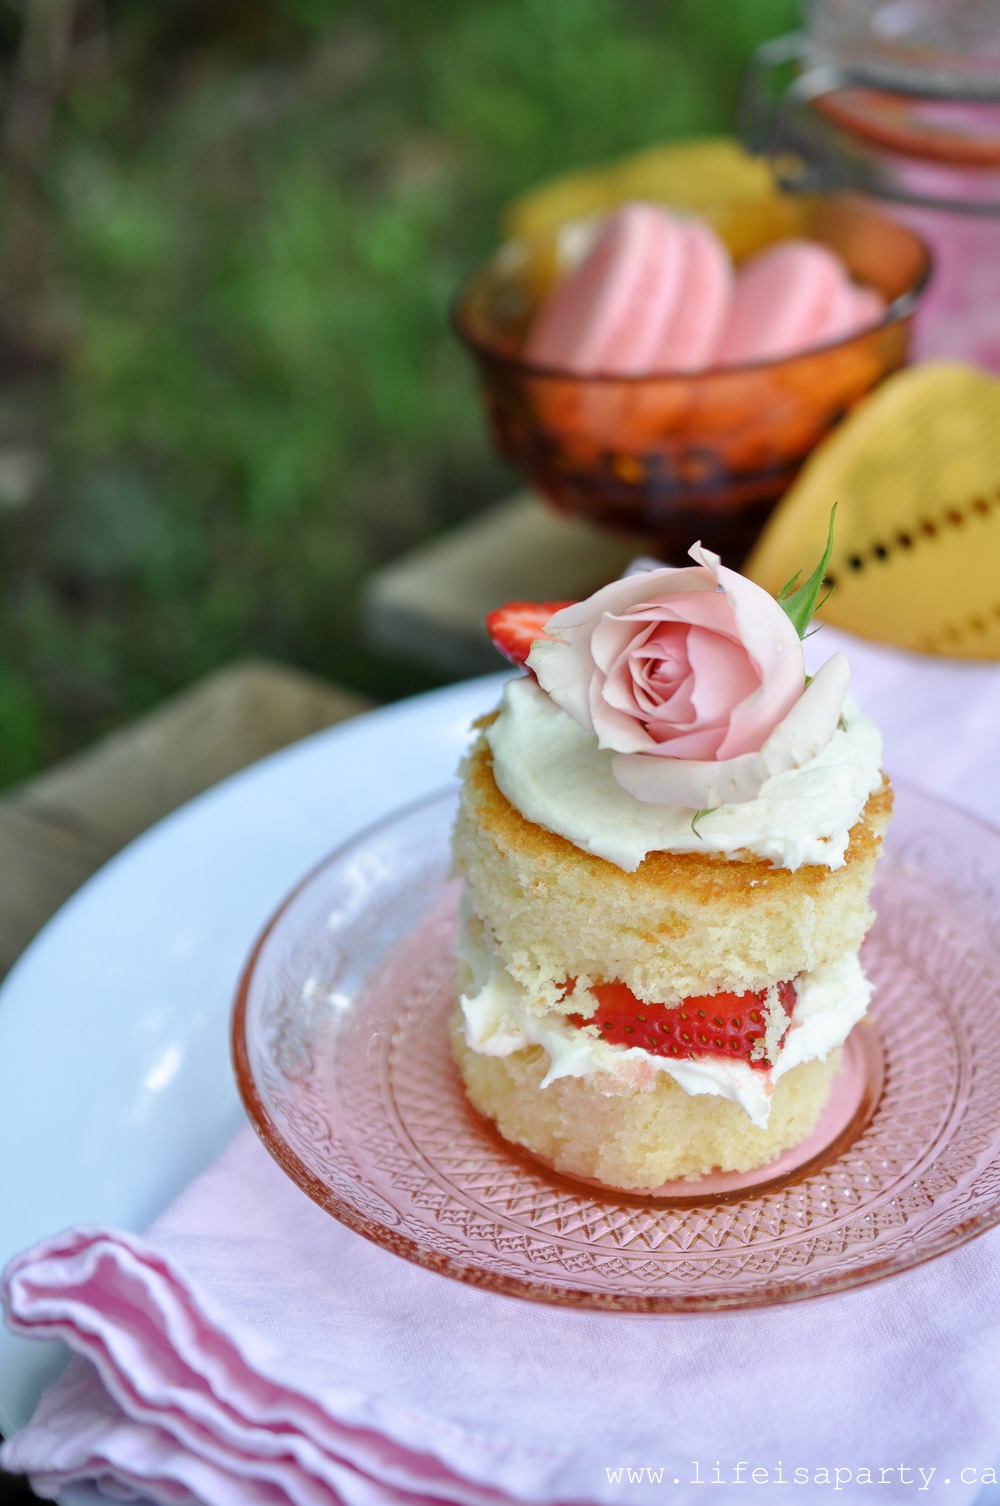
For the rest of the menu we enjoyed fresh fruits, and lots of sweets.
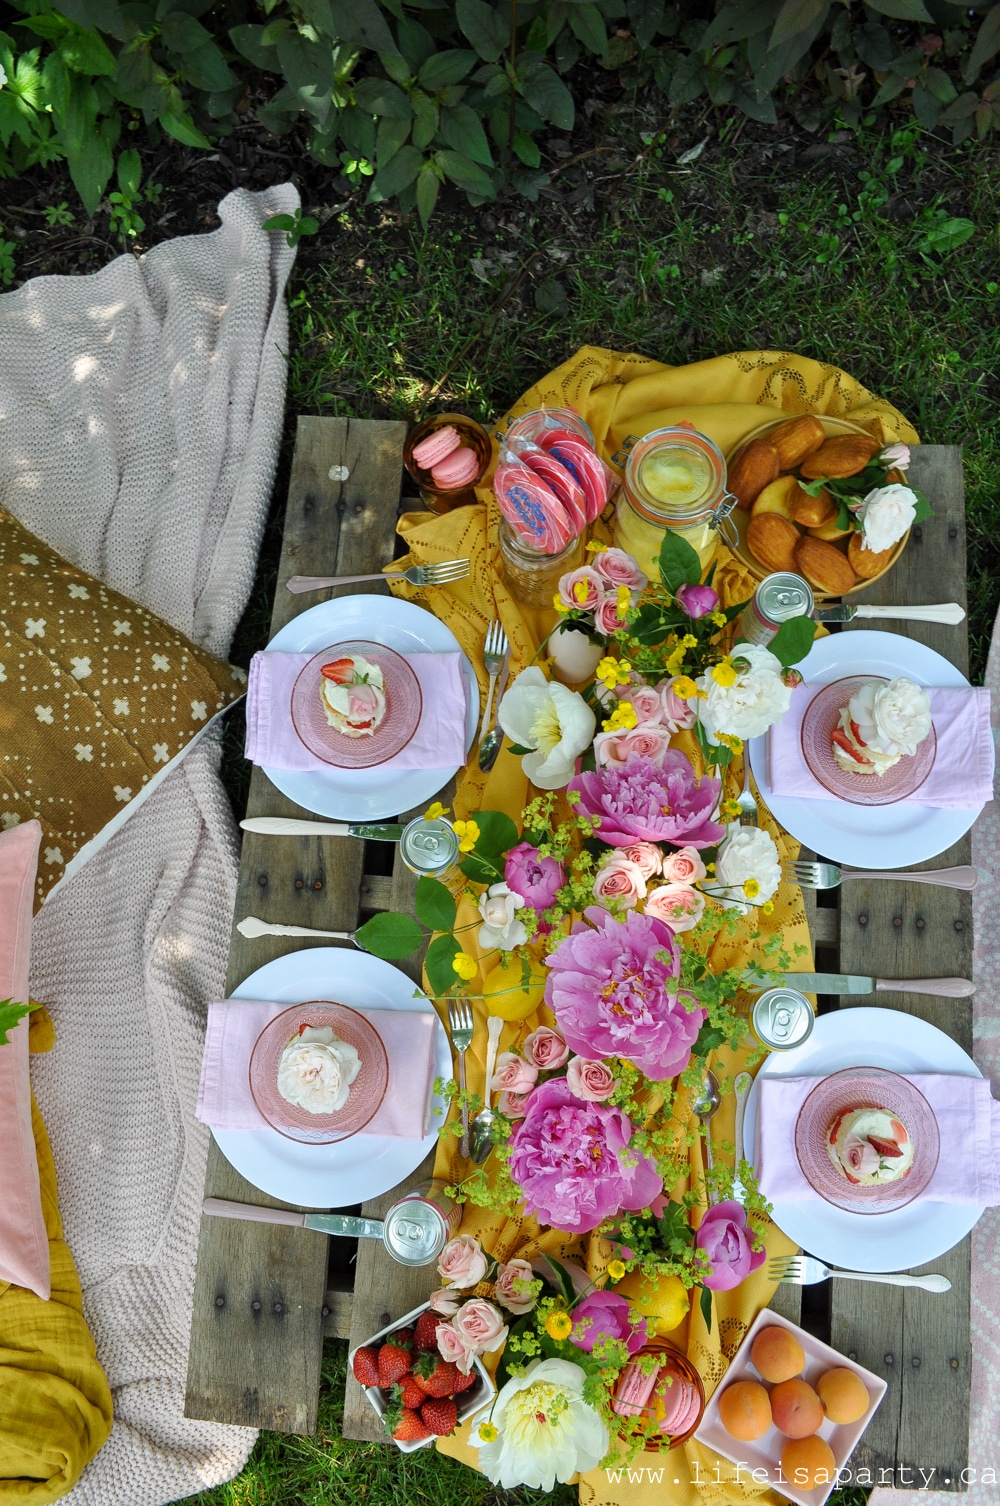
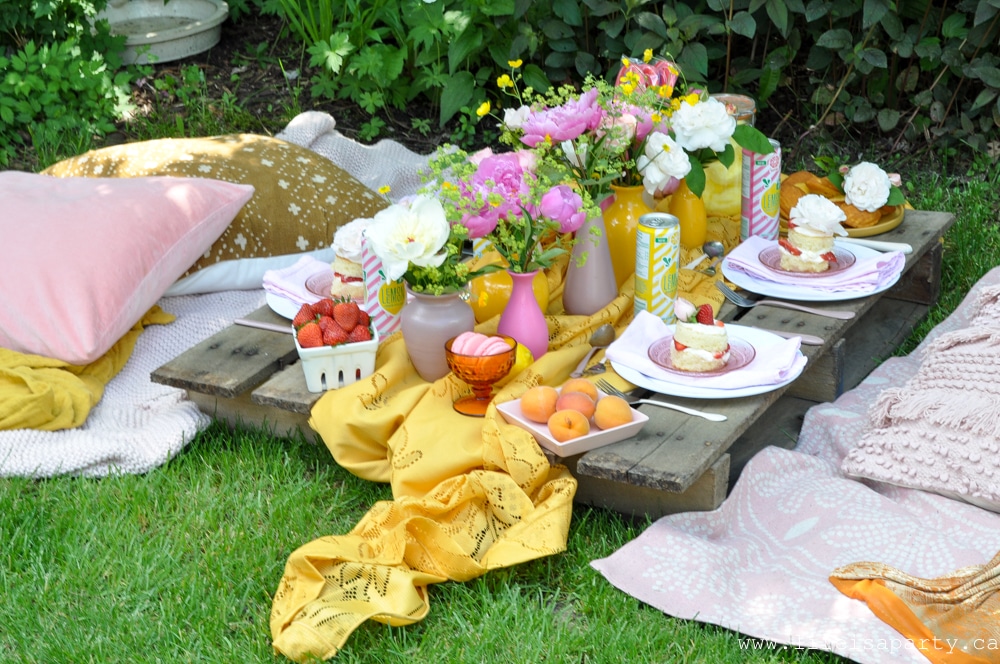
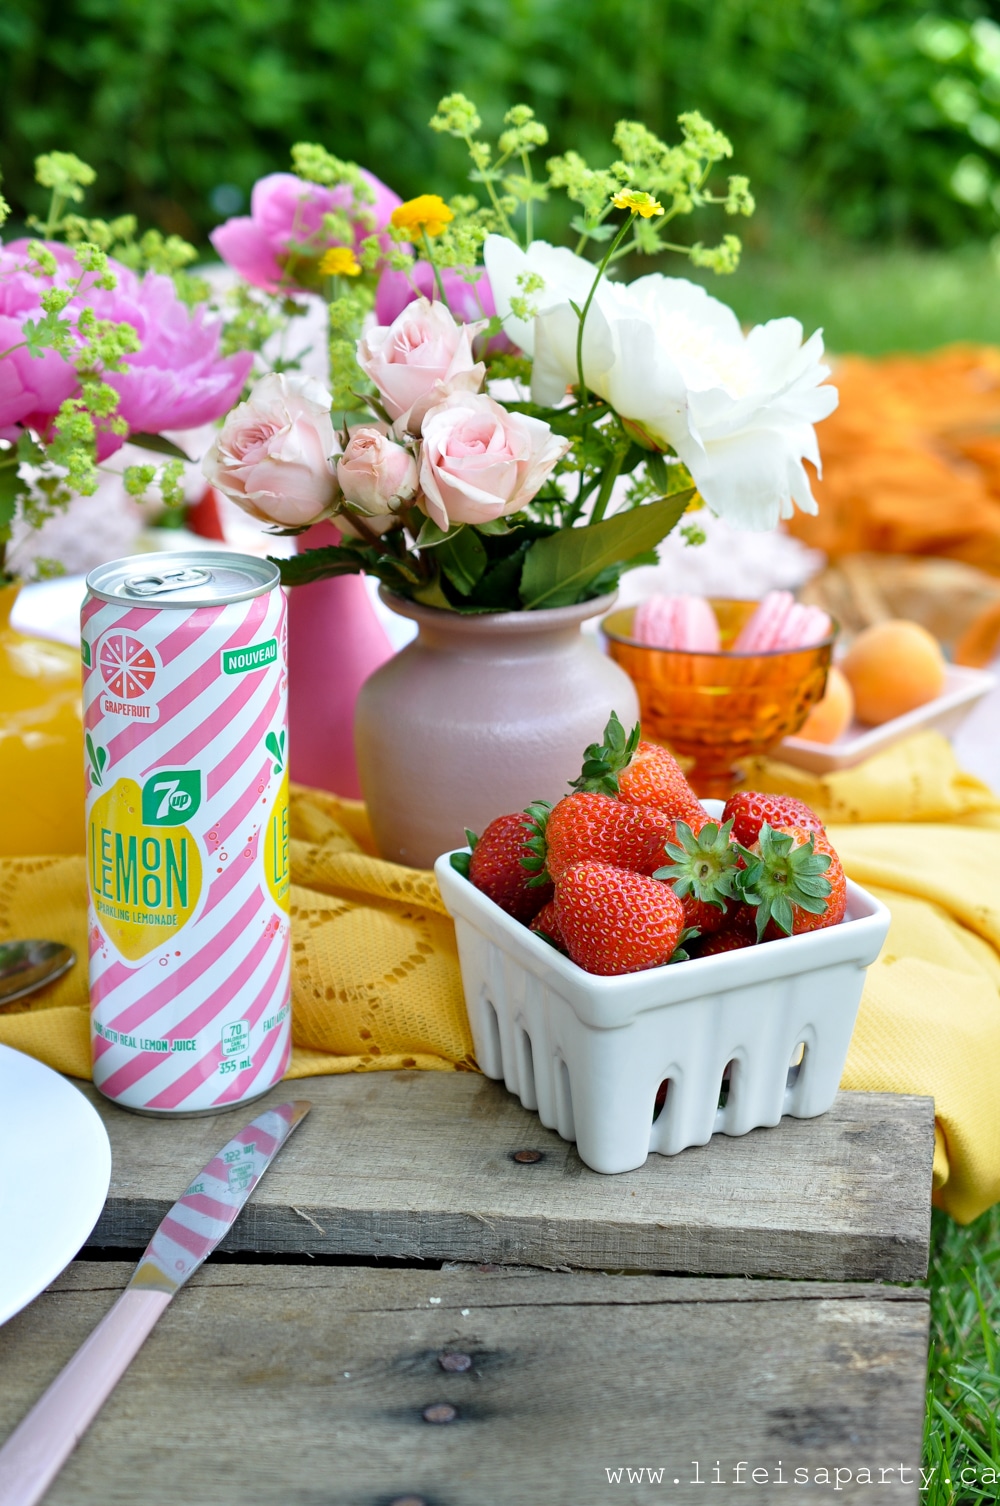
Macaroons were a fun and special addition. Along with candy and madeline cookies, and the prettiest fizzy lemonades.
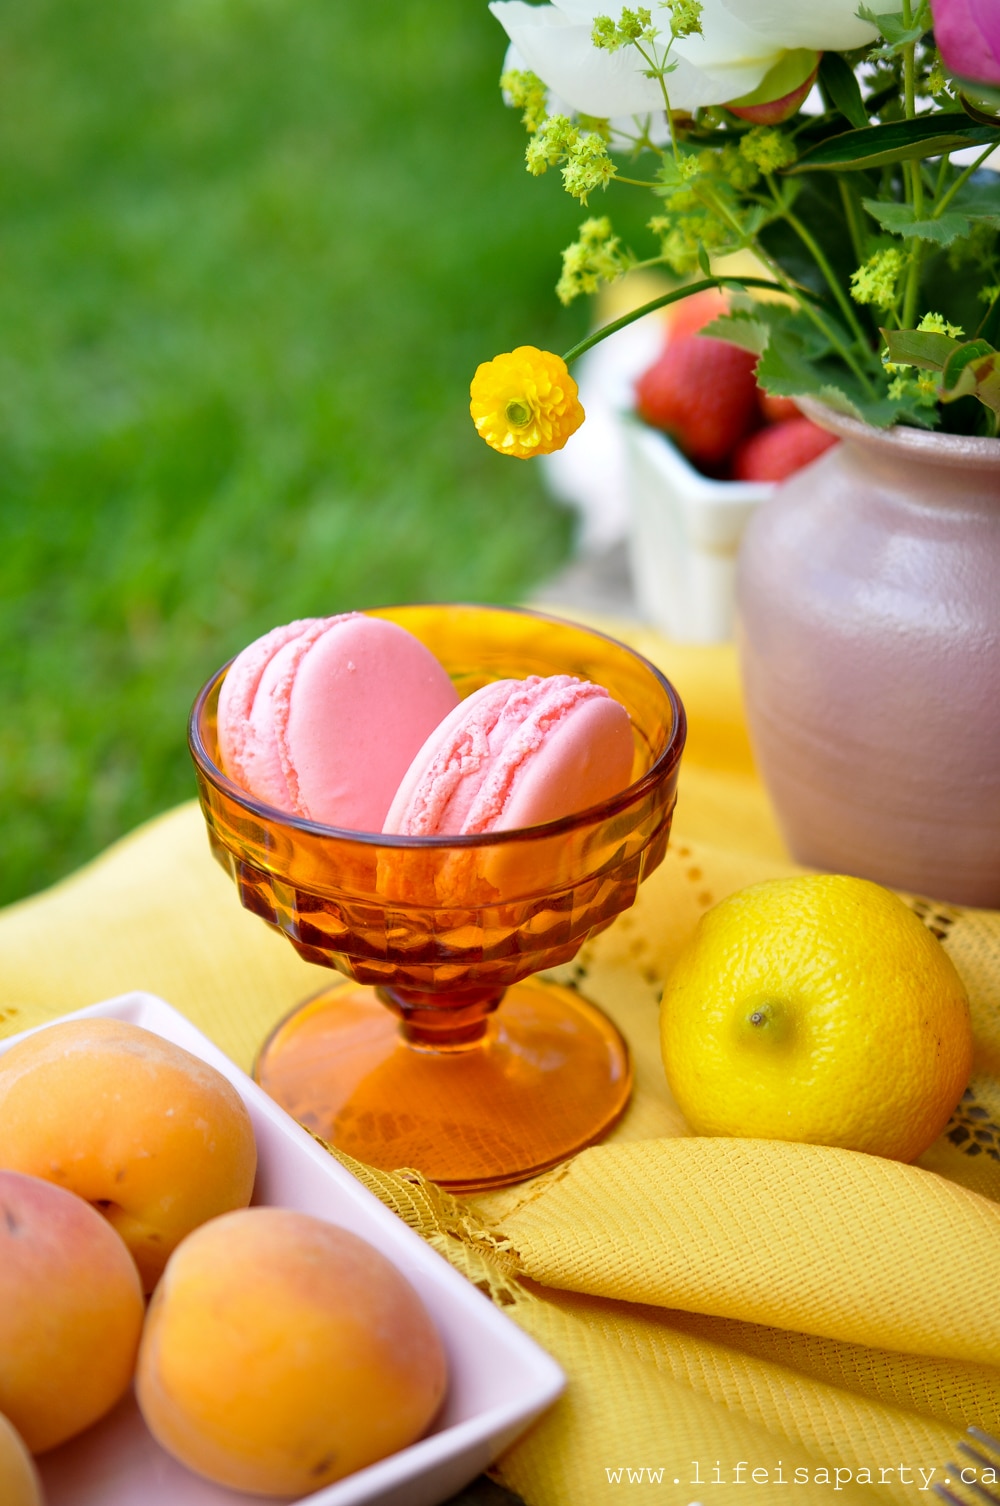
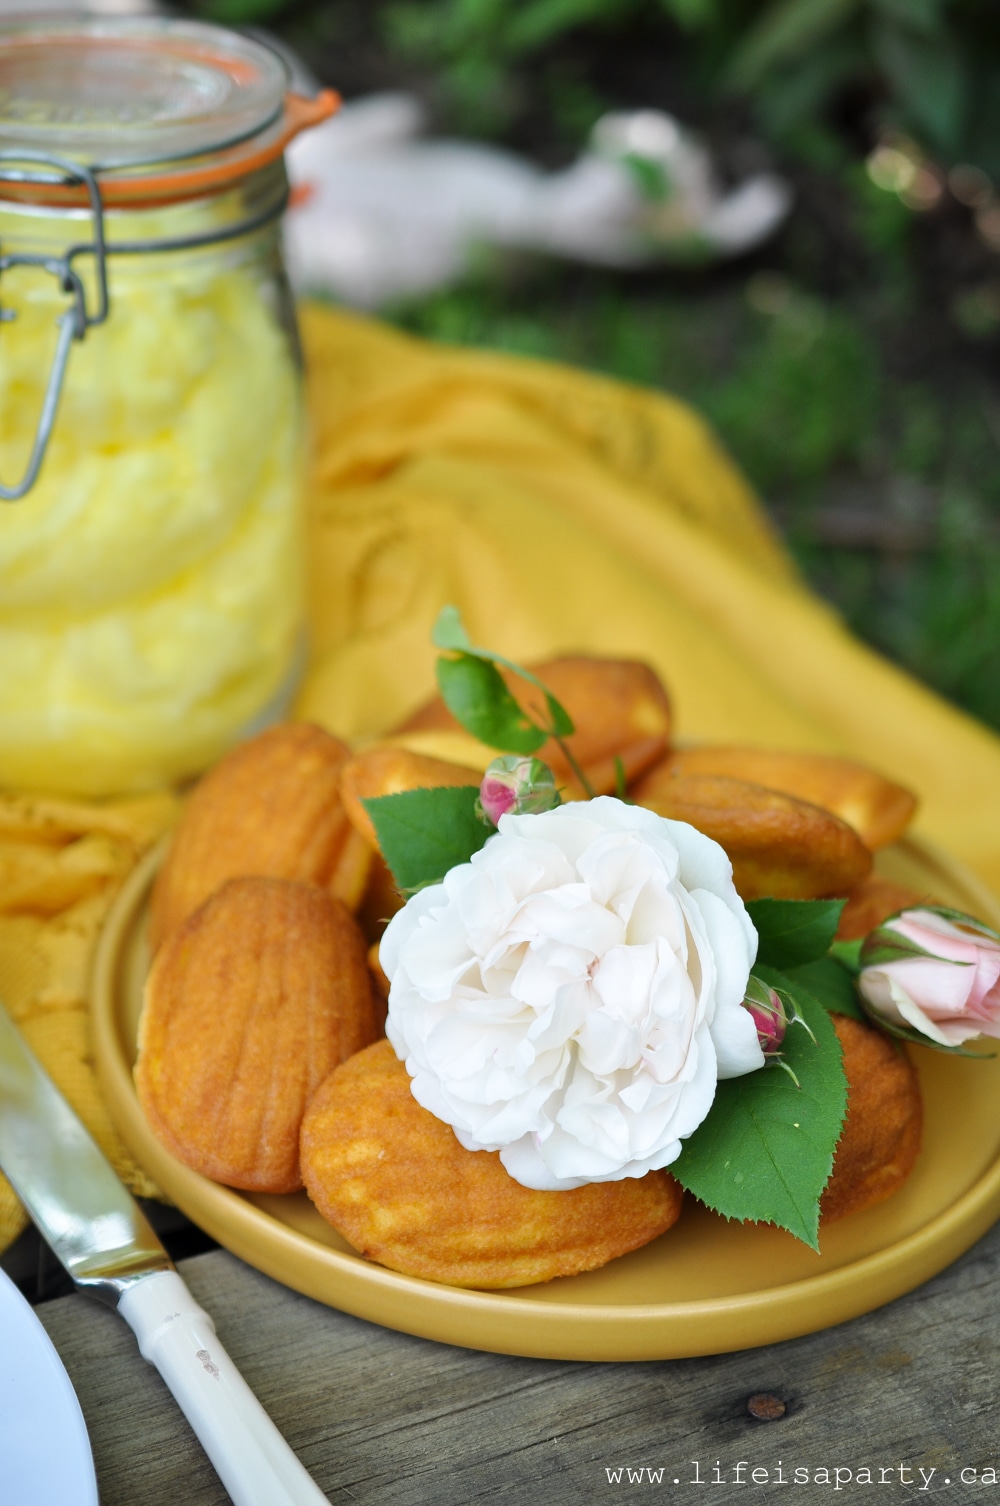
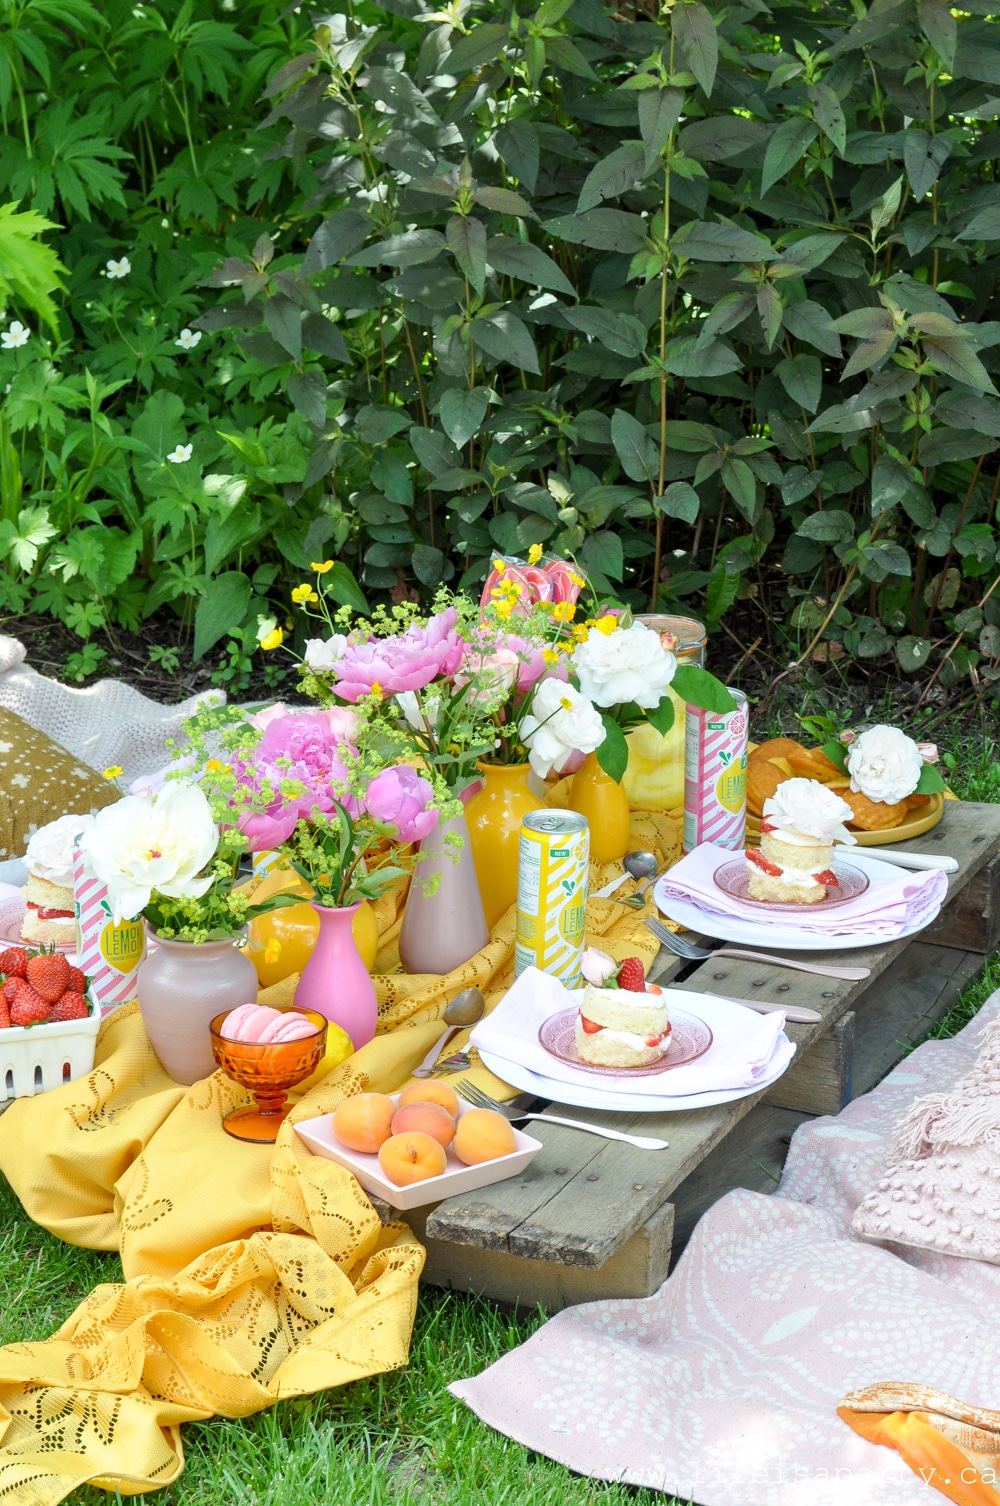
The vases lined the centre of the table and were filled with roses and peonies. They looked so beautiful and full and the yellow and pinks together were just gorgeous. I just loved how they turned out.
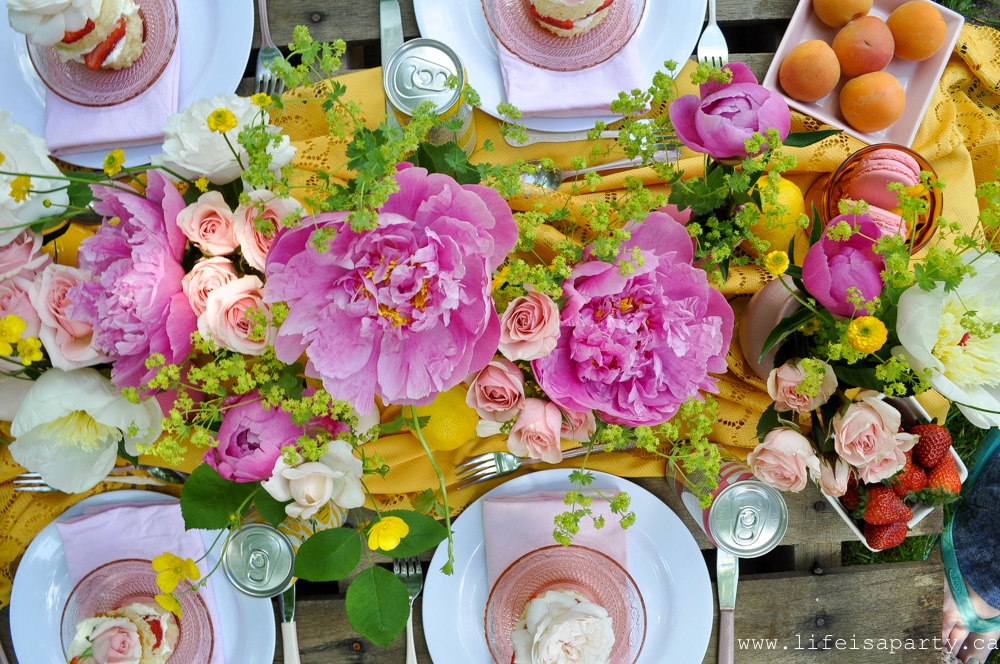
The cutlery was so pretty, mixed and matched together and a vintage feel to table, but in a modern way with the beautiful painted handles.
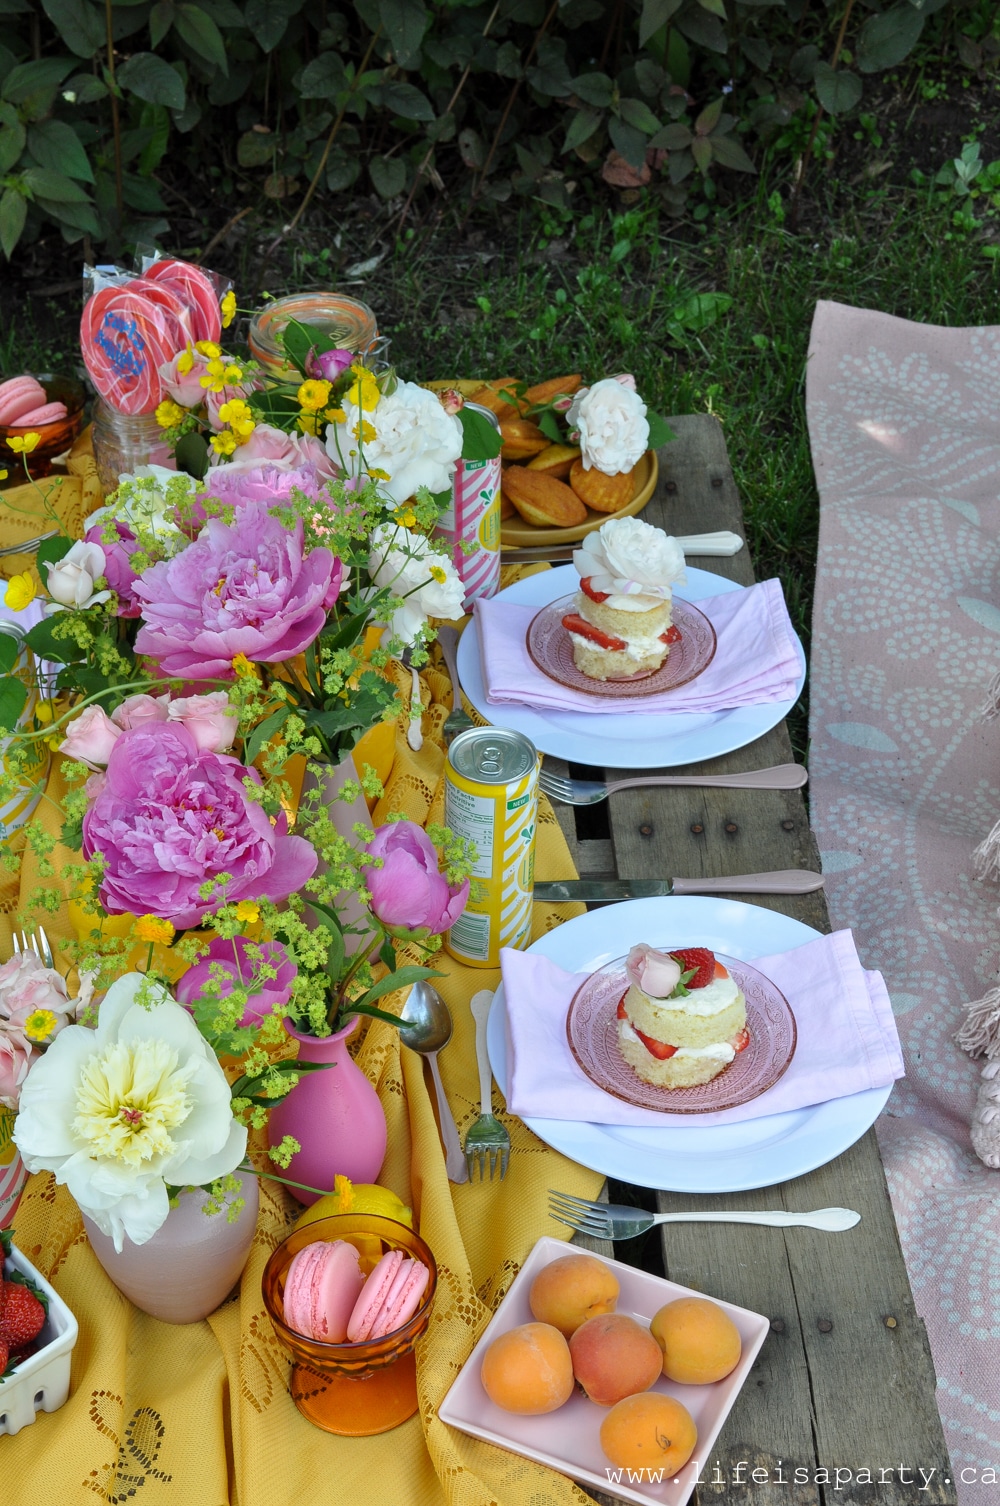
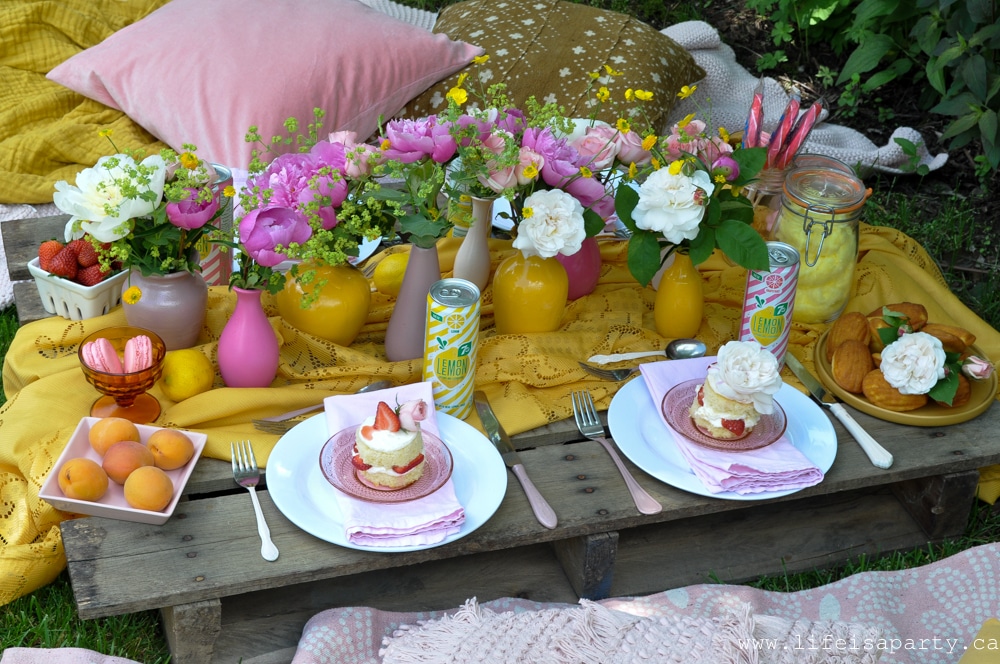
I love how this picnic turned out, and the beautiful afternoon we had enjoying it. It was really a simple inexpensive project, and so fun for anyone who loves to entertain and set a beautiful table -inside or out.
Disclaimer: This post is sponsored by Rust-oleum Canada. As always, all opinions are my own. Thanks so much for supporting the brands that make Life is a Party possible.
You might also like our DIY Rainbow Book Art here.
Also check out our Ribbon Wall Hanging Tutorial here.
You might also enjoy our DIY Mason Jar Oil Lamps here.


Leave a Reply