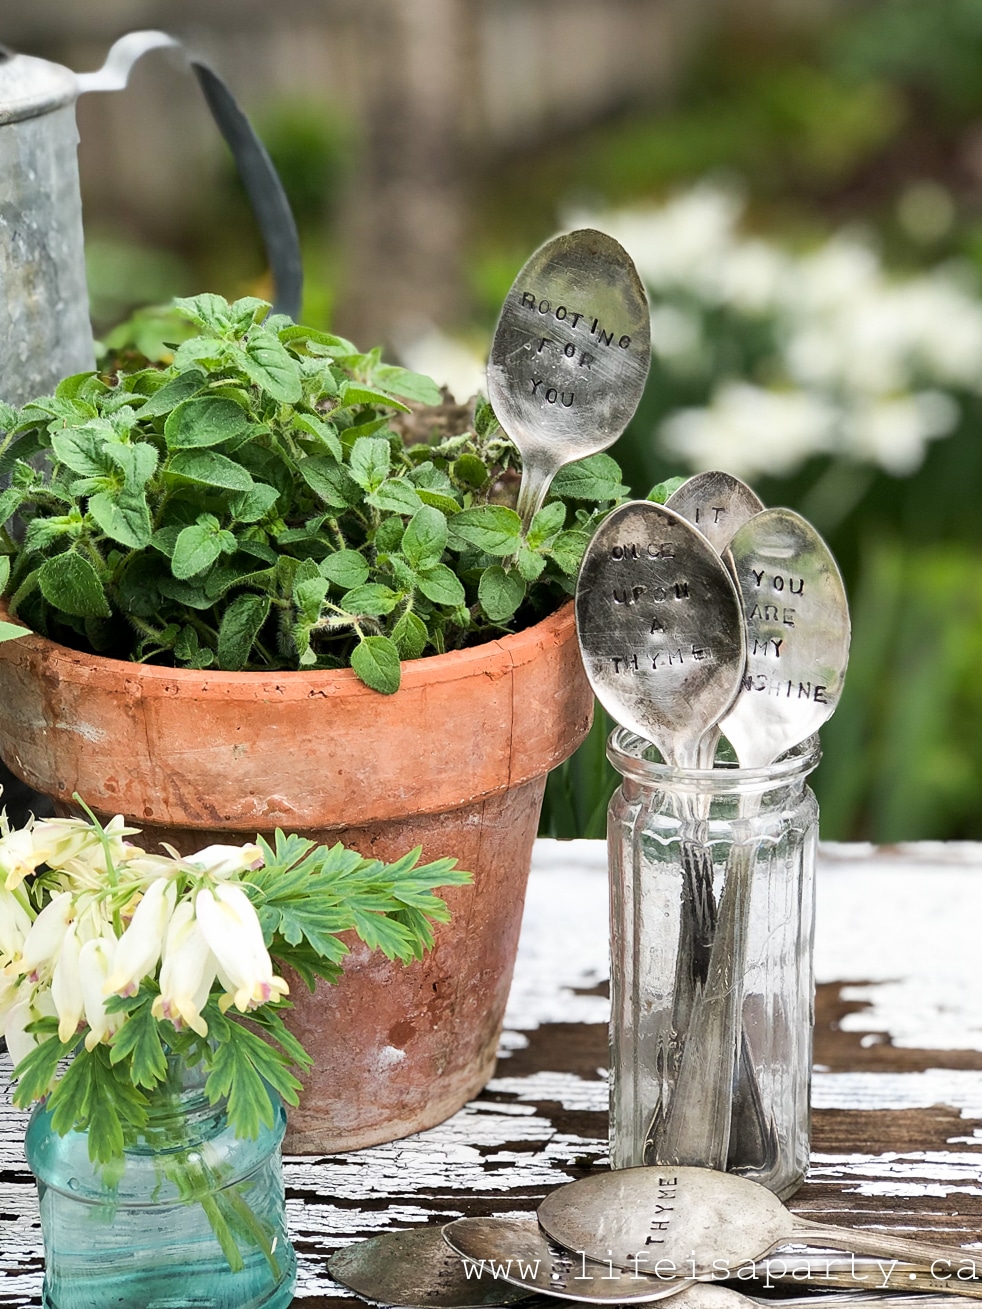
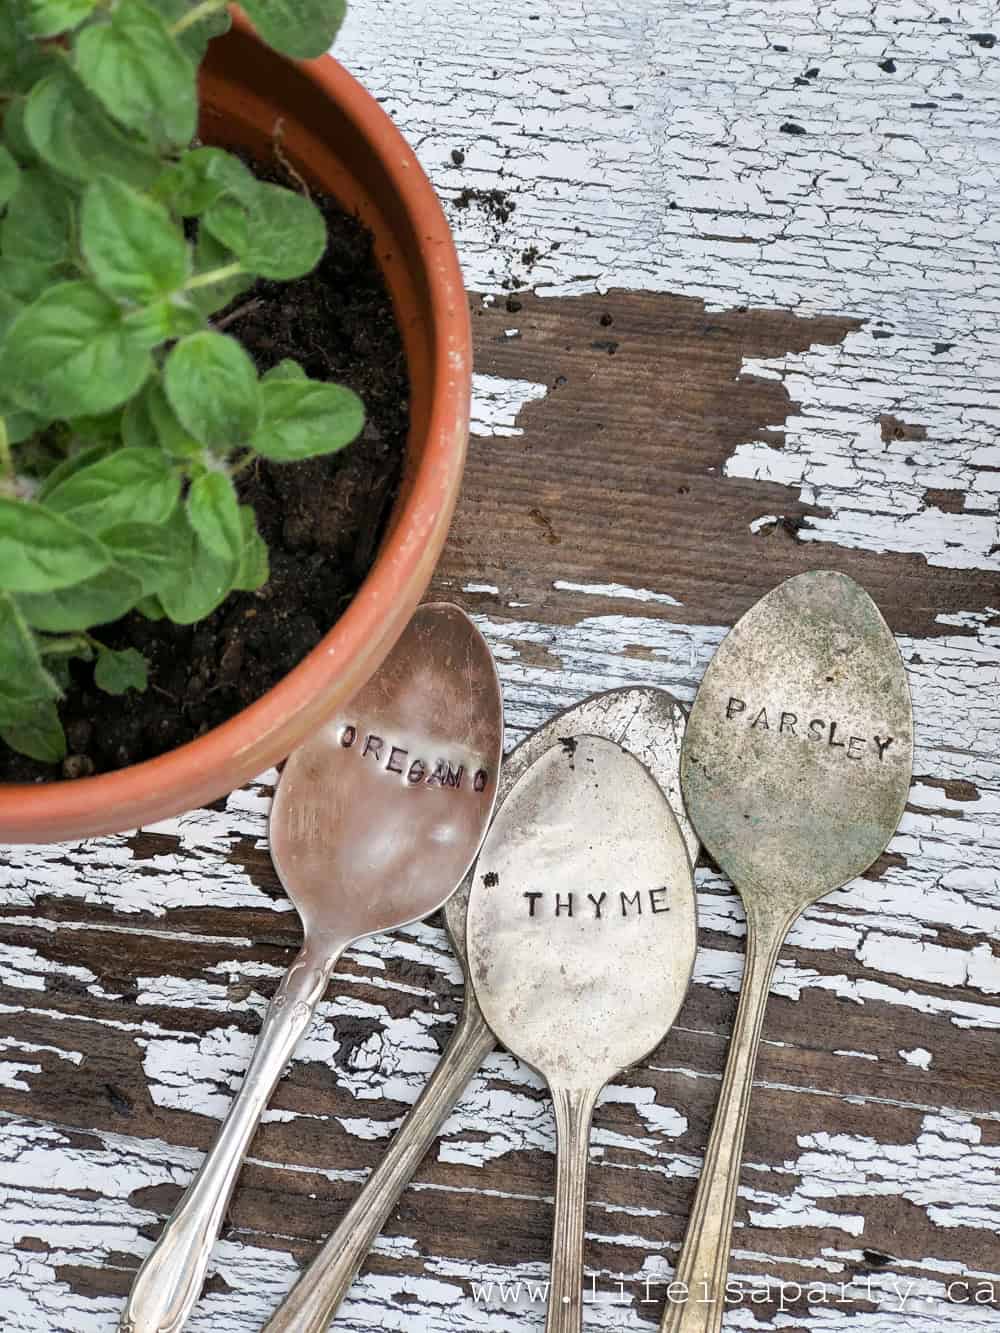
How To Make Stamped Spoon Garden Markers: use metal stamps to engrave old spoons with plant and herb names, or funny or inspirational sayings.

I made some of these stamped spoon garden markers 10 years ago, and I've loved using them in my herb garden all these years. I wanted to make some more, and thought you might like them too.
Materials:
They're fun and pretty easy to make. You need a couple special things to make them. First off you need some old silver plated spoons. It won't work with stainless steel, because they're too hard to stamp the letters into. The silver is soft enough to create the letter impression.
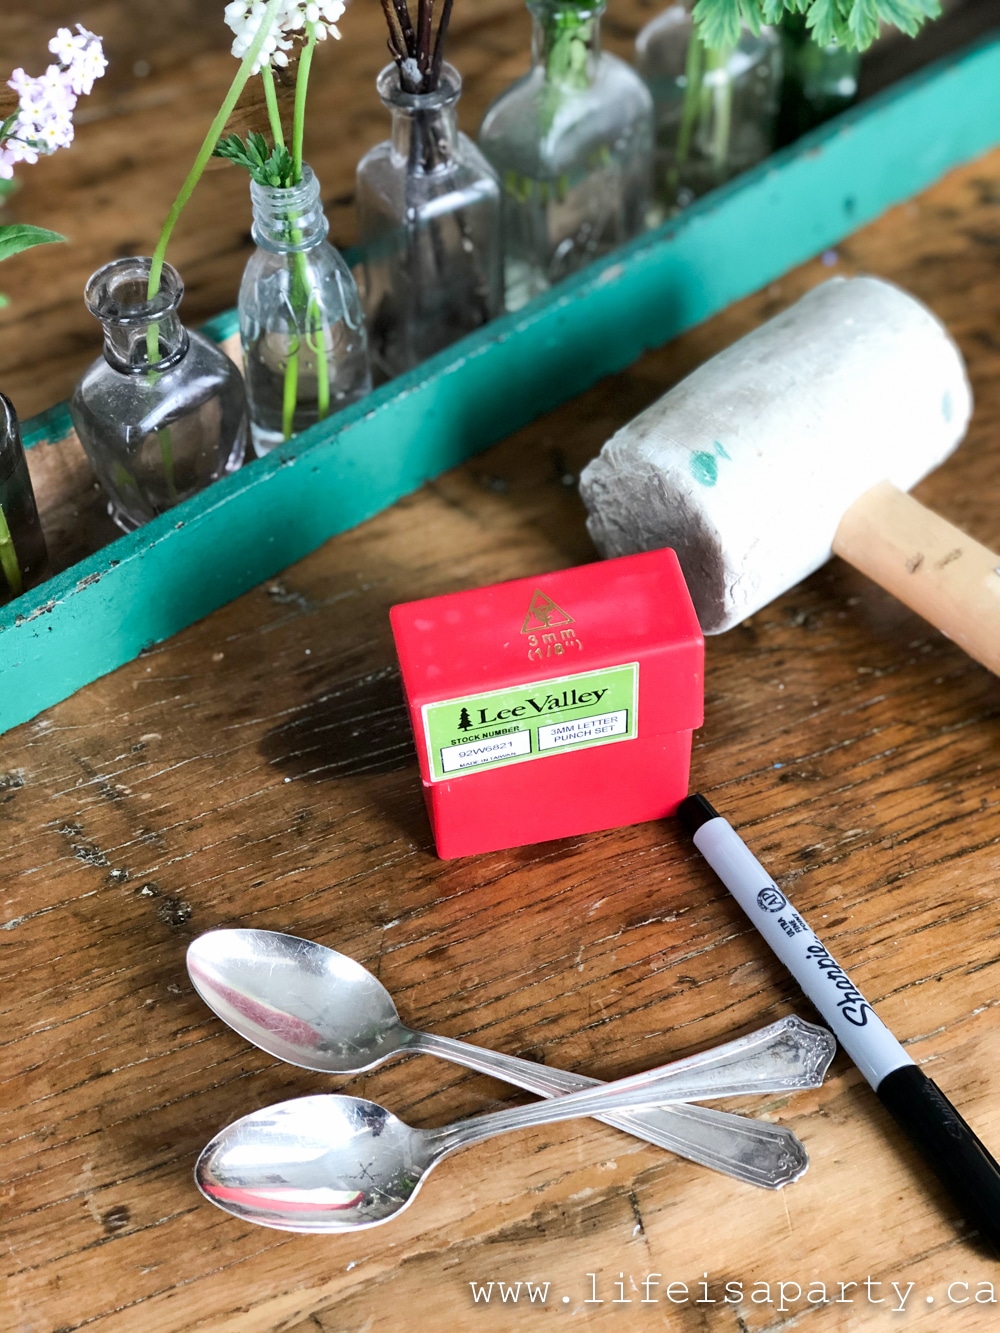
You can sometimes find the odd one of these at a thrift store. If it's tarnished then it should be silver plate, so look for tarnished ones. If you can't find them there, I have picked them up at antique fairs or shops in the past or around $1-2 each.
And secondly you need a set of metal stamps. These aren't as hard to find as they used to be. If you're in Canada mine are from Lee Valley, but you can get them at the craft store or on-line easily.
- old silver teaspoons
- metal stamp set (3 mm size)
- hammer
- rubber mallet
- scrap piece of wood
- permanent marker
How To Make Stamped Spoon Garden Markers:
1.Start by flattening out your old silver plate spoon.
I learned the hard way that if you use a regular metal hammer on the front of the spoon you will damage the silver plate, leaving marks and scratching it. You can use a rubber mallet. I found the rubber mallet was more difficult to use though. So my compromise was to use a regular hammer on the back, and just the rubber mallet on the front. You can also use a board to cover it and protect it.
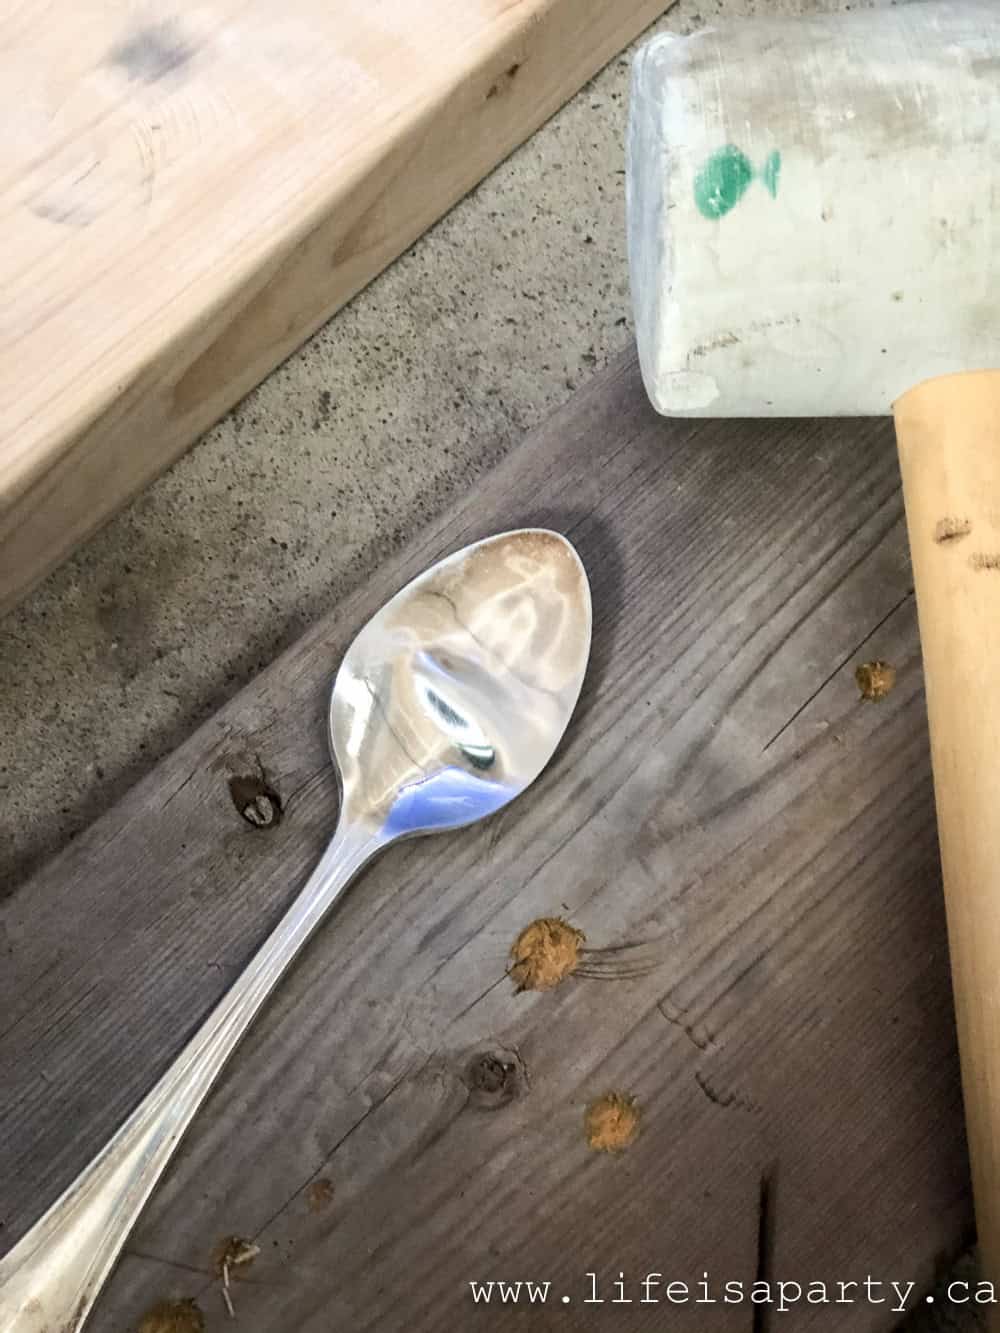
This is a noisy job.
Start with the back of the spoon, and lay it on a scrap piece of wood. You'll want to do this job on a really solid surface like the ground. Hammer the bowl of the spoon until it's flat using the regular hammer on the back and a rubber mallet on the front. It if bothers your hand to hold the spoon while you hammer it cover the handle with another piece of scrap wood and hold it.
2. Once your spoon is flat you can stamp your letters on to it.
You will likely need to strike the letter more than once with your hammer to make a clear impression. Make sure you hold the stamp nice and steady so that it doesn't move in between and mess up the impression. I hammered each letter about 3 times. It all depends on how hard the spoon is and how strong you are.
I didn't worry too much about spacing, but if you want your words really straight you can put some tape on the spoon to line up the stamps.
3. Lastly go over the letter imprints with a black permanent marker and wipe it off. Black will be left in the indents and help the words show up better on the metal.
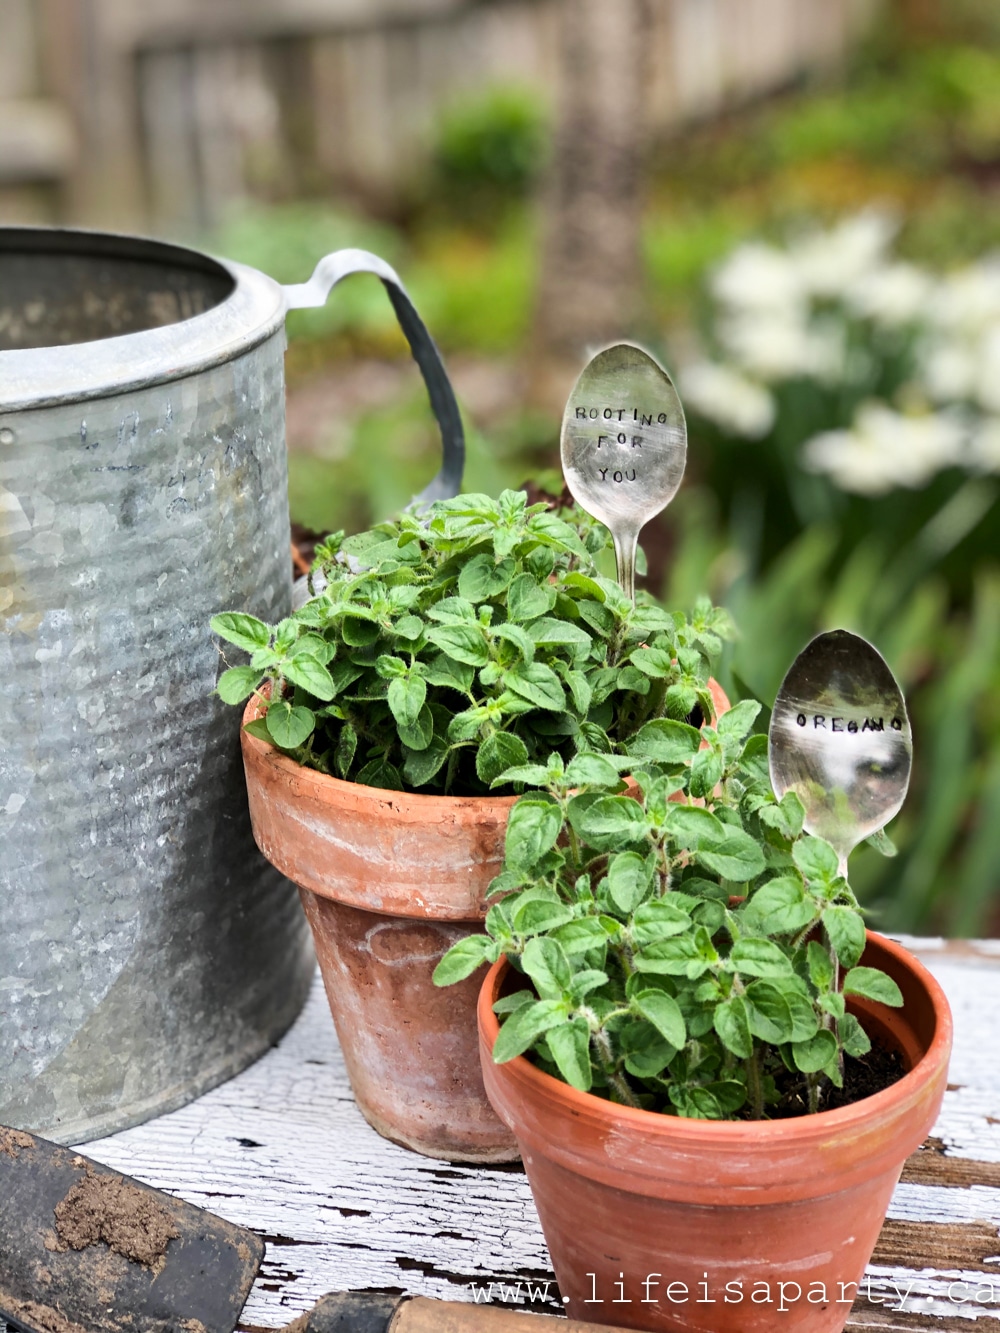
I originally made these with herb names and used them in my herb garden. You could also stamp them with vegetable or flower names.
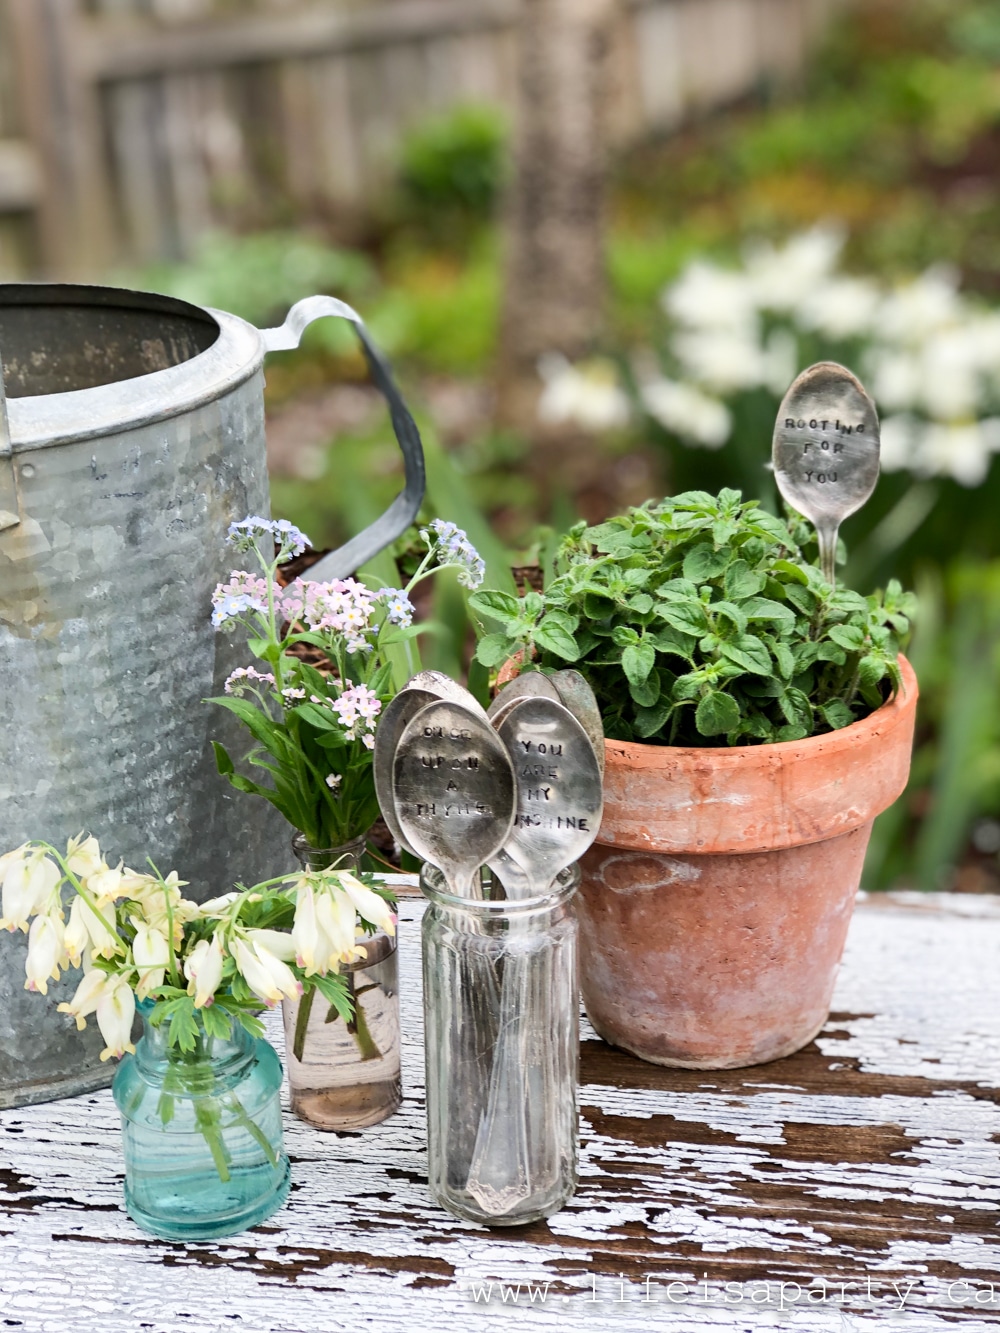
This time I got a little more creative with my sayings. I'll add them to some pots and planters. I love the inspirational ones, and also the punny ones.
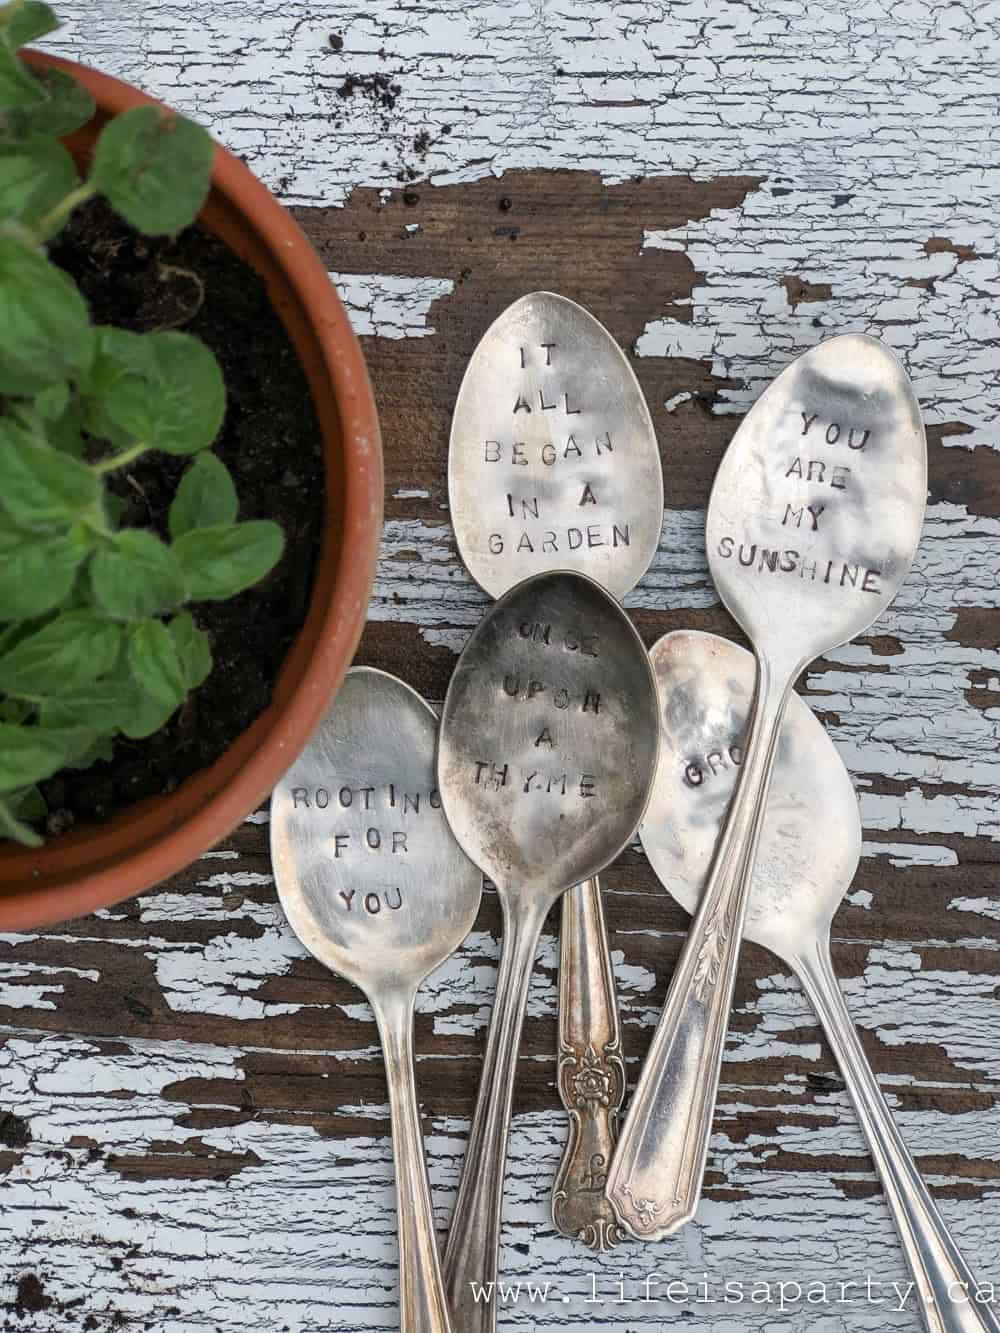
I'm about to start a garden makeover. We're redoing our veggie garden, adding raised beds, and a garden shed and pea gravel paths. I can't wait to put these in my new herb area, and in some pots in the seating area. Little details like these always make a garden special.
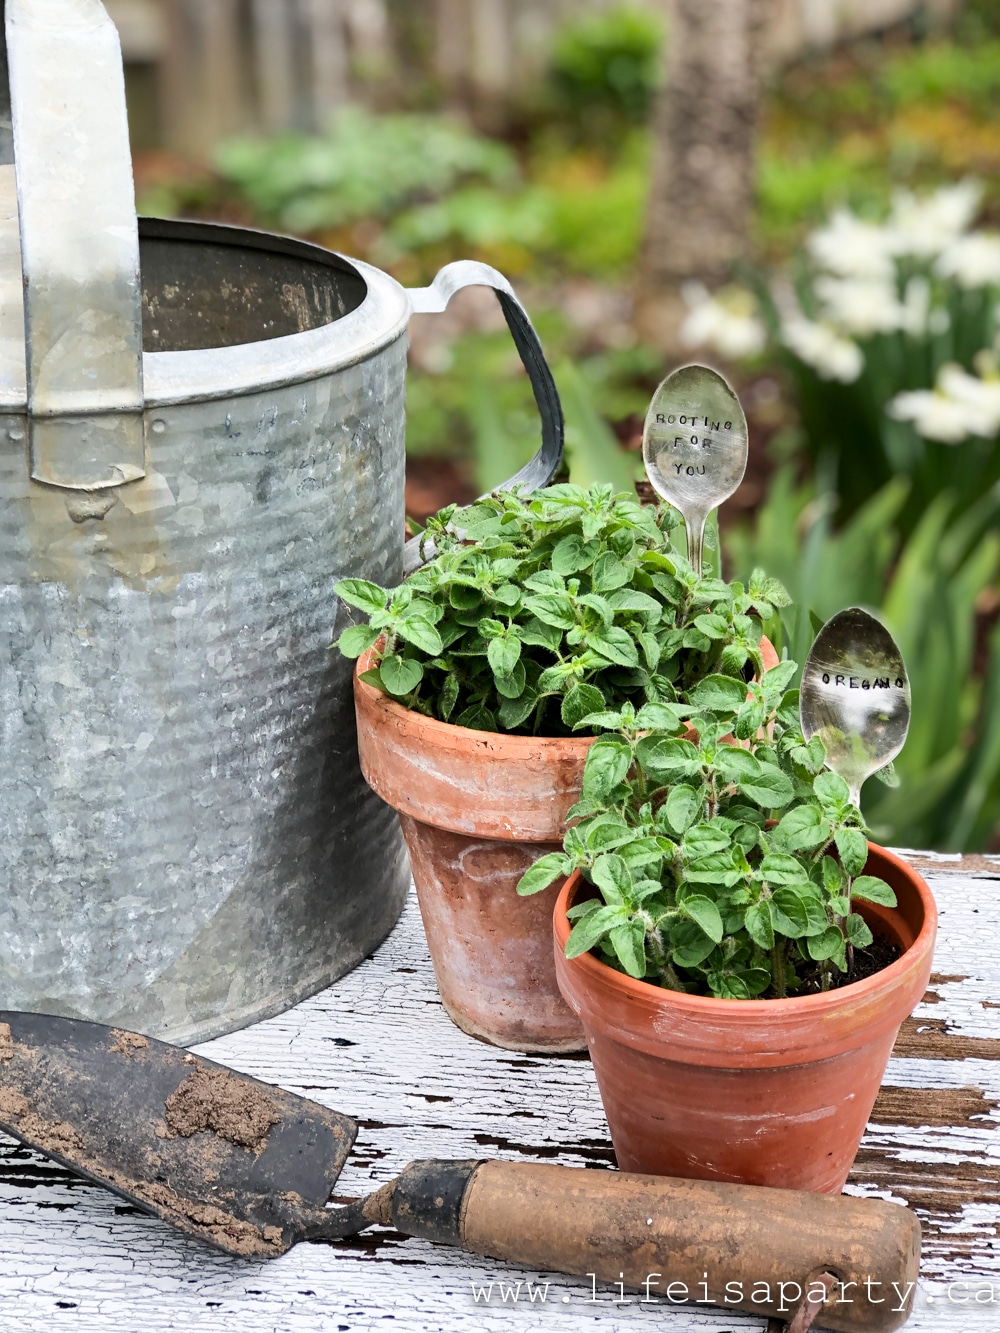
These make really great gifts too.
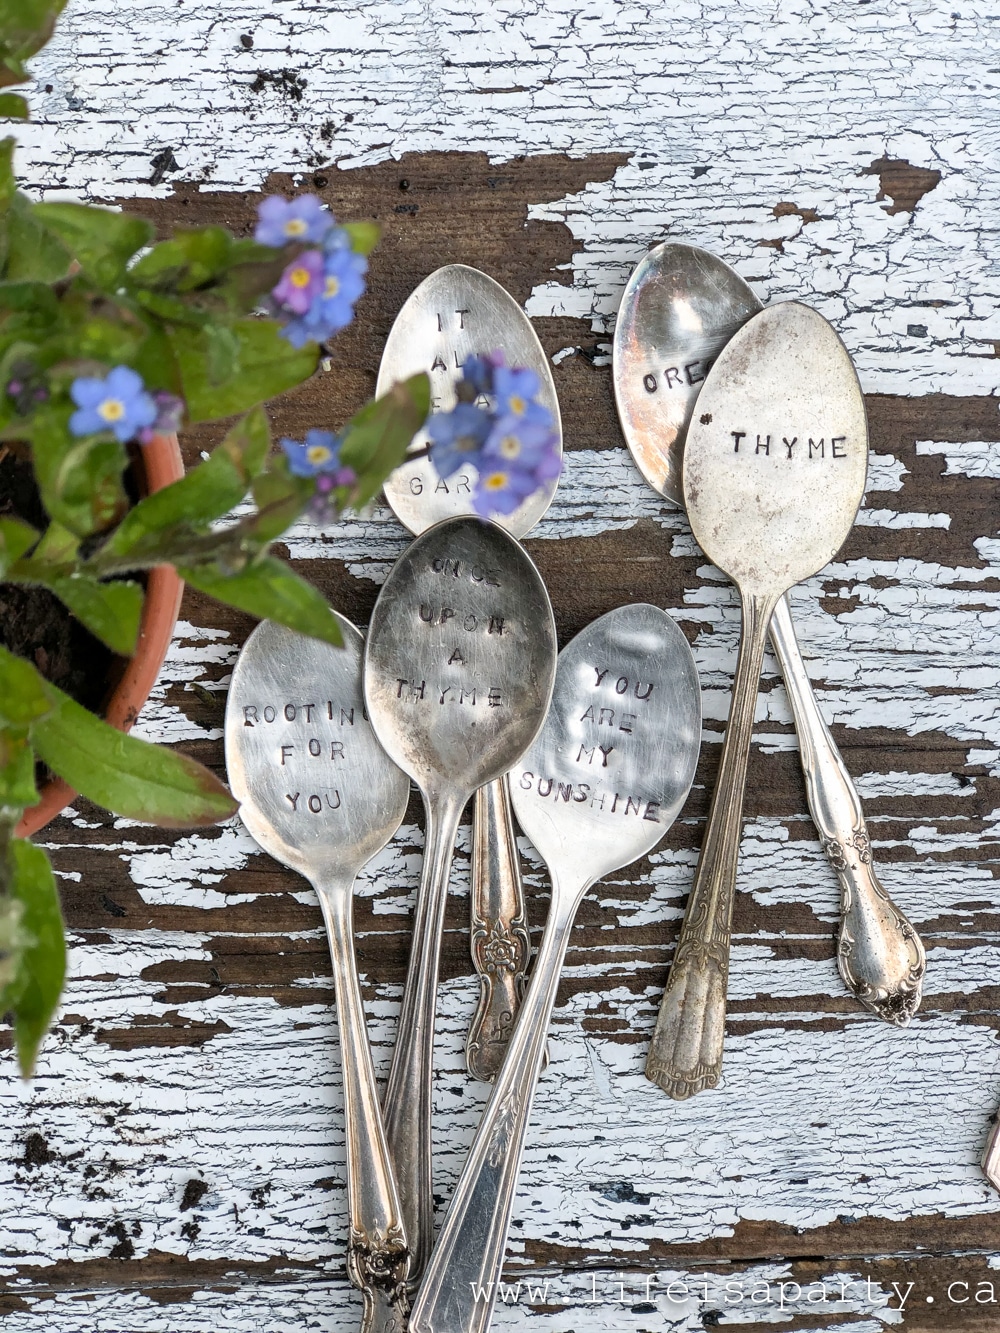
With stamped spoon garden markers, life really is a party.
More Inspiration
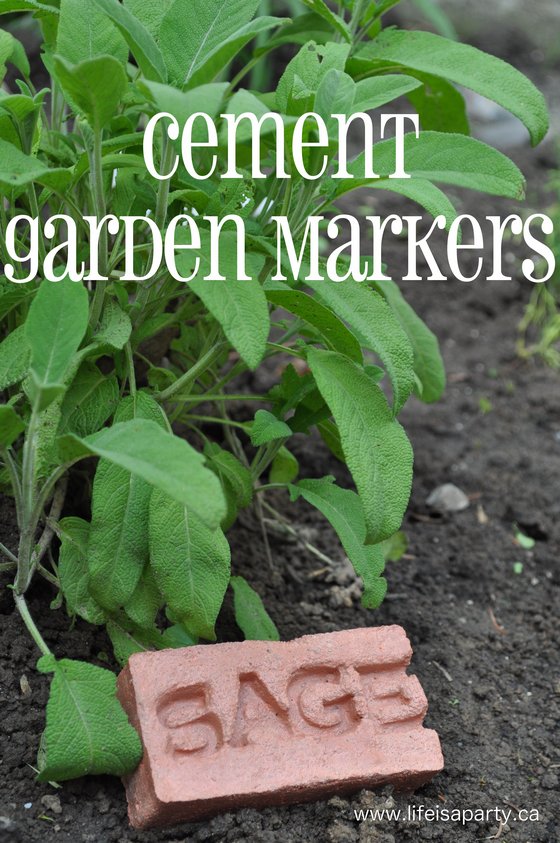
You might also like our Cement Garden Markers here.
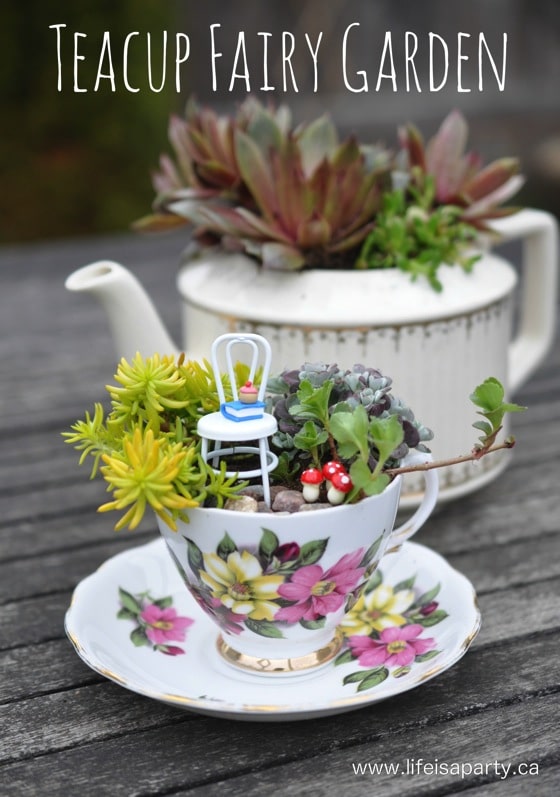
Also check out our Teacup Fairy Garden here.



Dannyelle says
Hi Lealynn, you do want to use a silver or silver plate spoon because the metal is much softer than stainless steel and it's much easier to stamp with the metal stamp. Hope this helps, best of luck. Dannyelle
Lealynn says
These look beautiful..
Wondering if I could use a regular spoon or does it have to be silver??
Danielle says
I love these so much and your photography is gorgeous!
Krista says
These are adorable, Danyelle - and such a great addition to any plant you might give as a gift!
cassie bustamante says
these look SO good! I will have to try your methods- I tried once but mine did not turn out as well!