Sweet Strawberry Theme Party: DIY strawberry party decorations made with Cricut, picnic tablescape, and strawberry dessert menu.

Jump to:
Strawberry Picnic Party
I'm so excited to share our strawberry picnic. Since everyone loves fresh strawberries in the summer it seemed a strawberry party theme was the perfect idea for a casual summer get together. We partnered with Cricut, and included lots of DIY strawberry party decorations that we can't wait to share all the details of. I love making custom party decor with my Cricut for any celebration. You can customize items to fit any theme. For our strawberry themed picnic party we had so much fun creating custom party decor with our Cricut Maker 3. These projects may look fancy, but they were actually really quick and easy to create. This sweet party would be perfect for celebrating a fun date night, or dessert party with friends. It would also be really sweet as a bachelorette or girls night theme, or for a baby shower, or wedding shower. Lots of the inspiration I found was for a 1st birthday party, which would also be so adorable. Really any special occasion this summer would be perfect for a strawberry themed picnic.
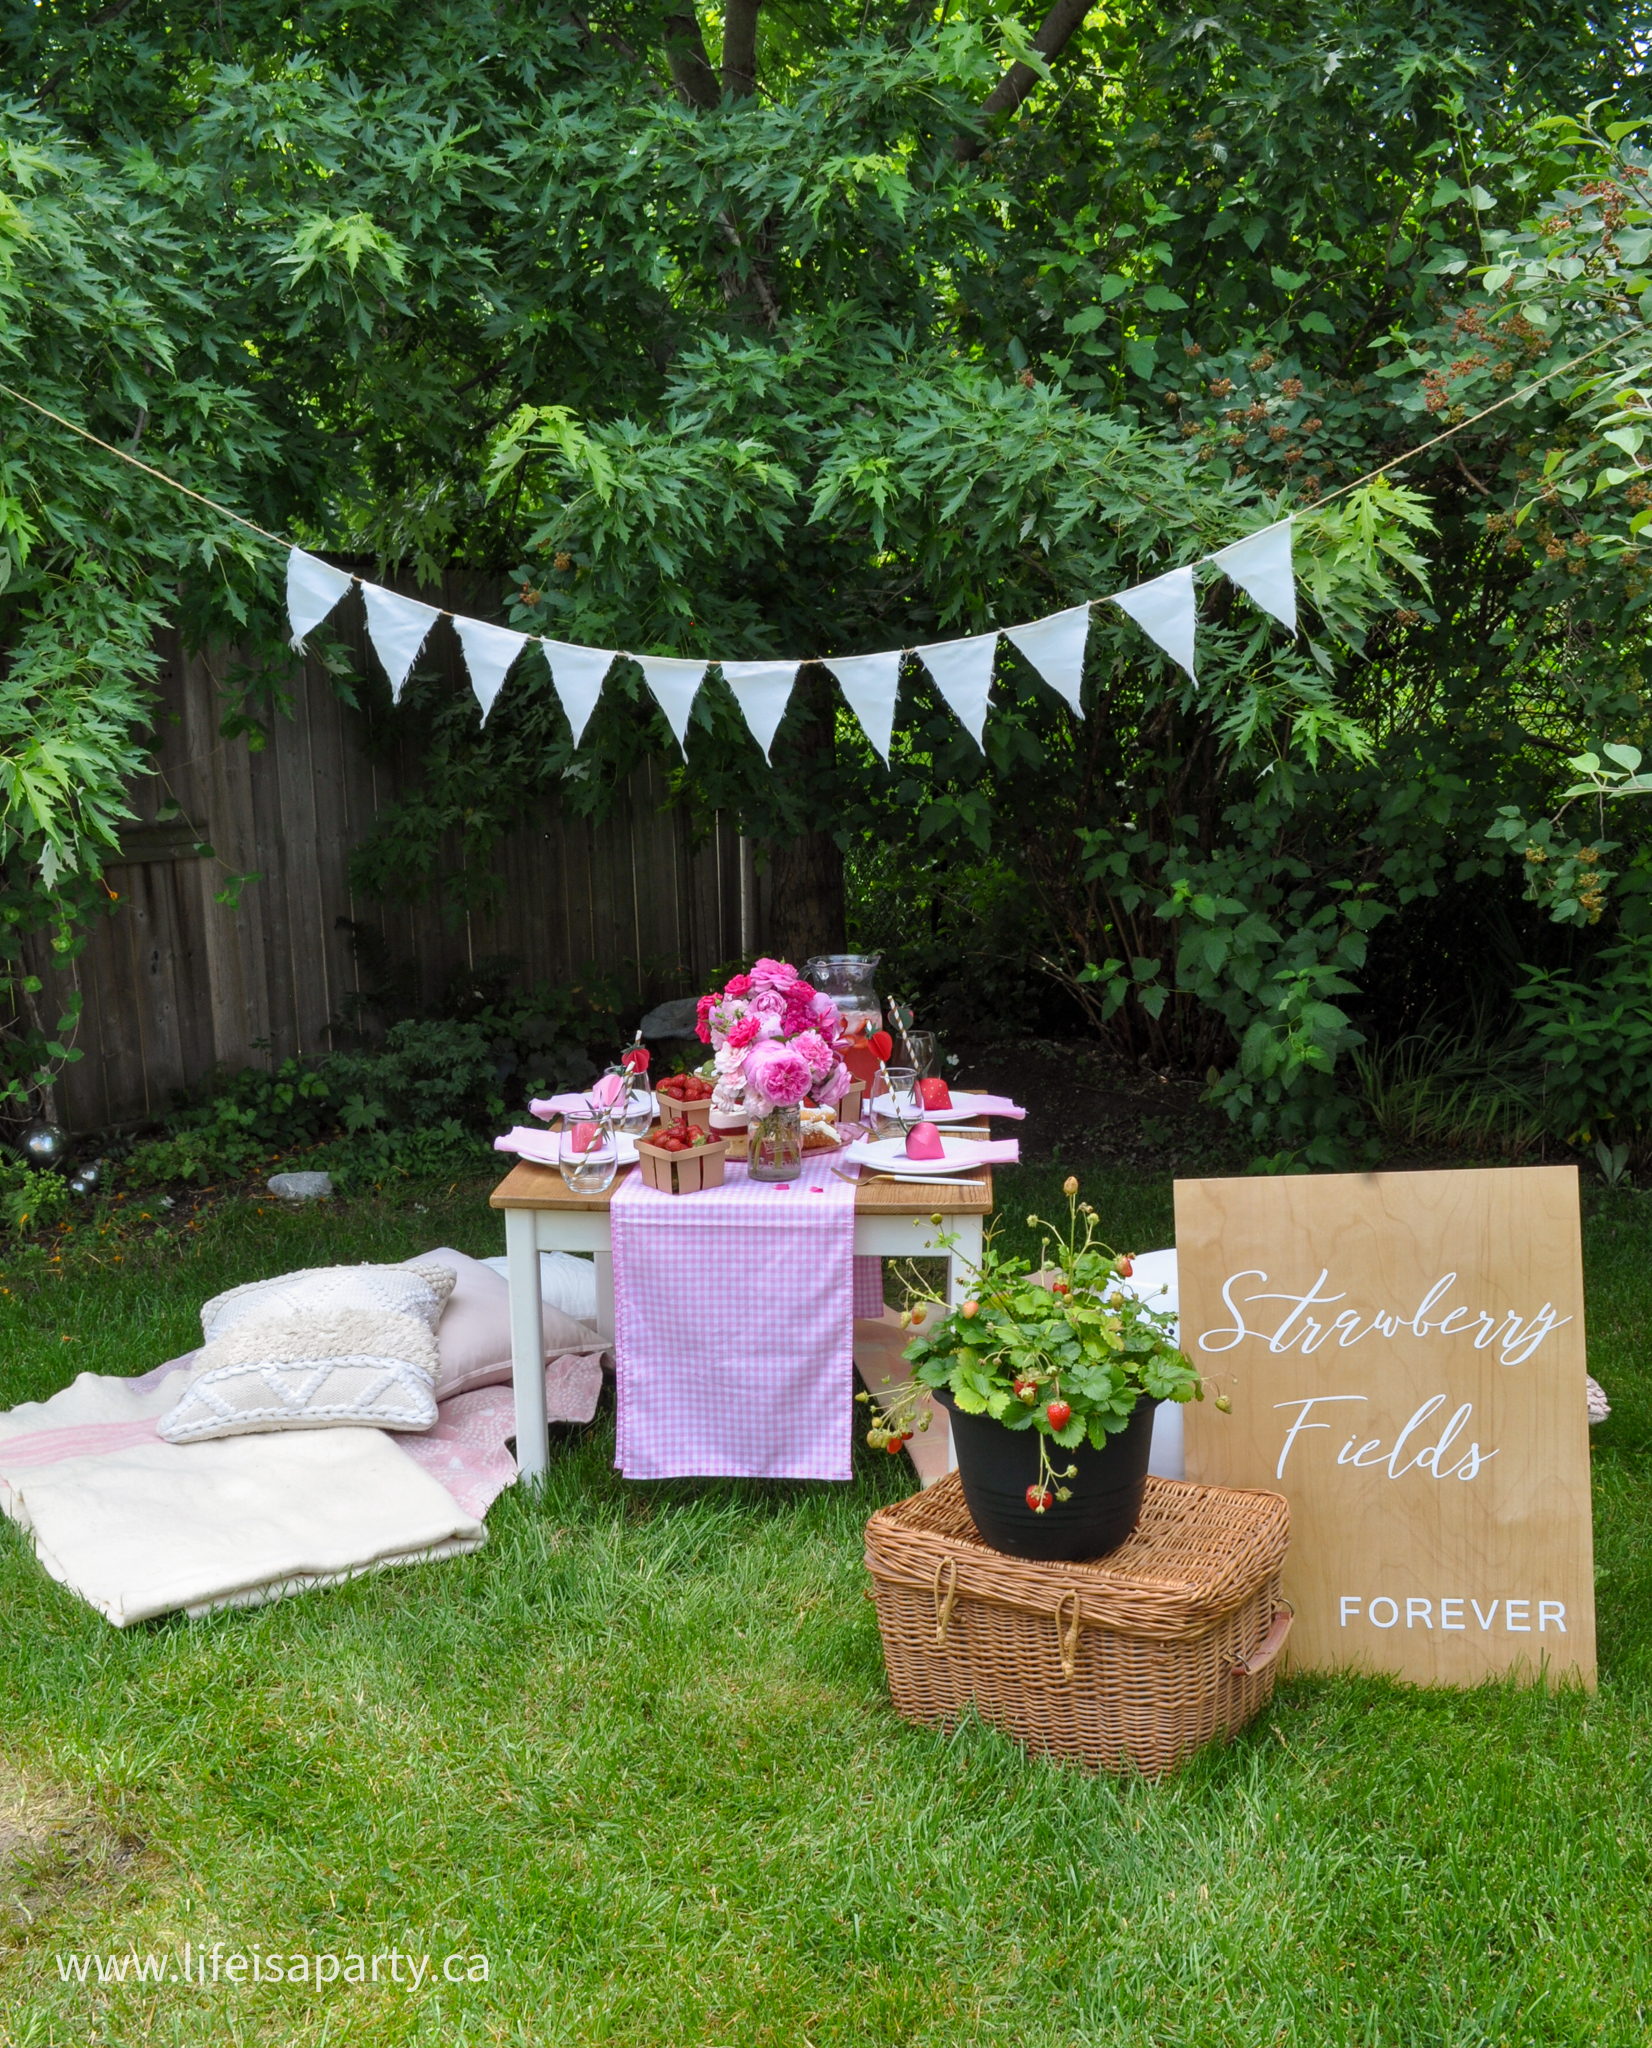
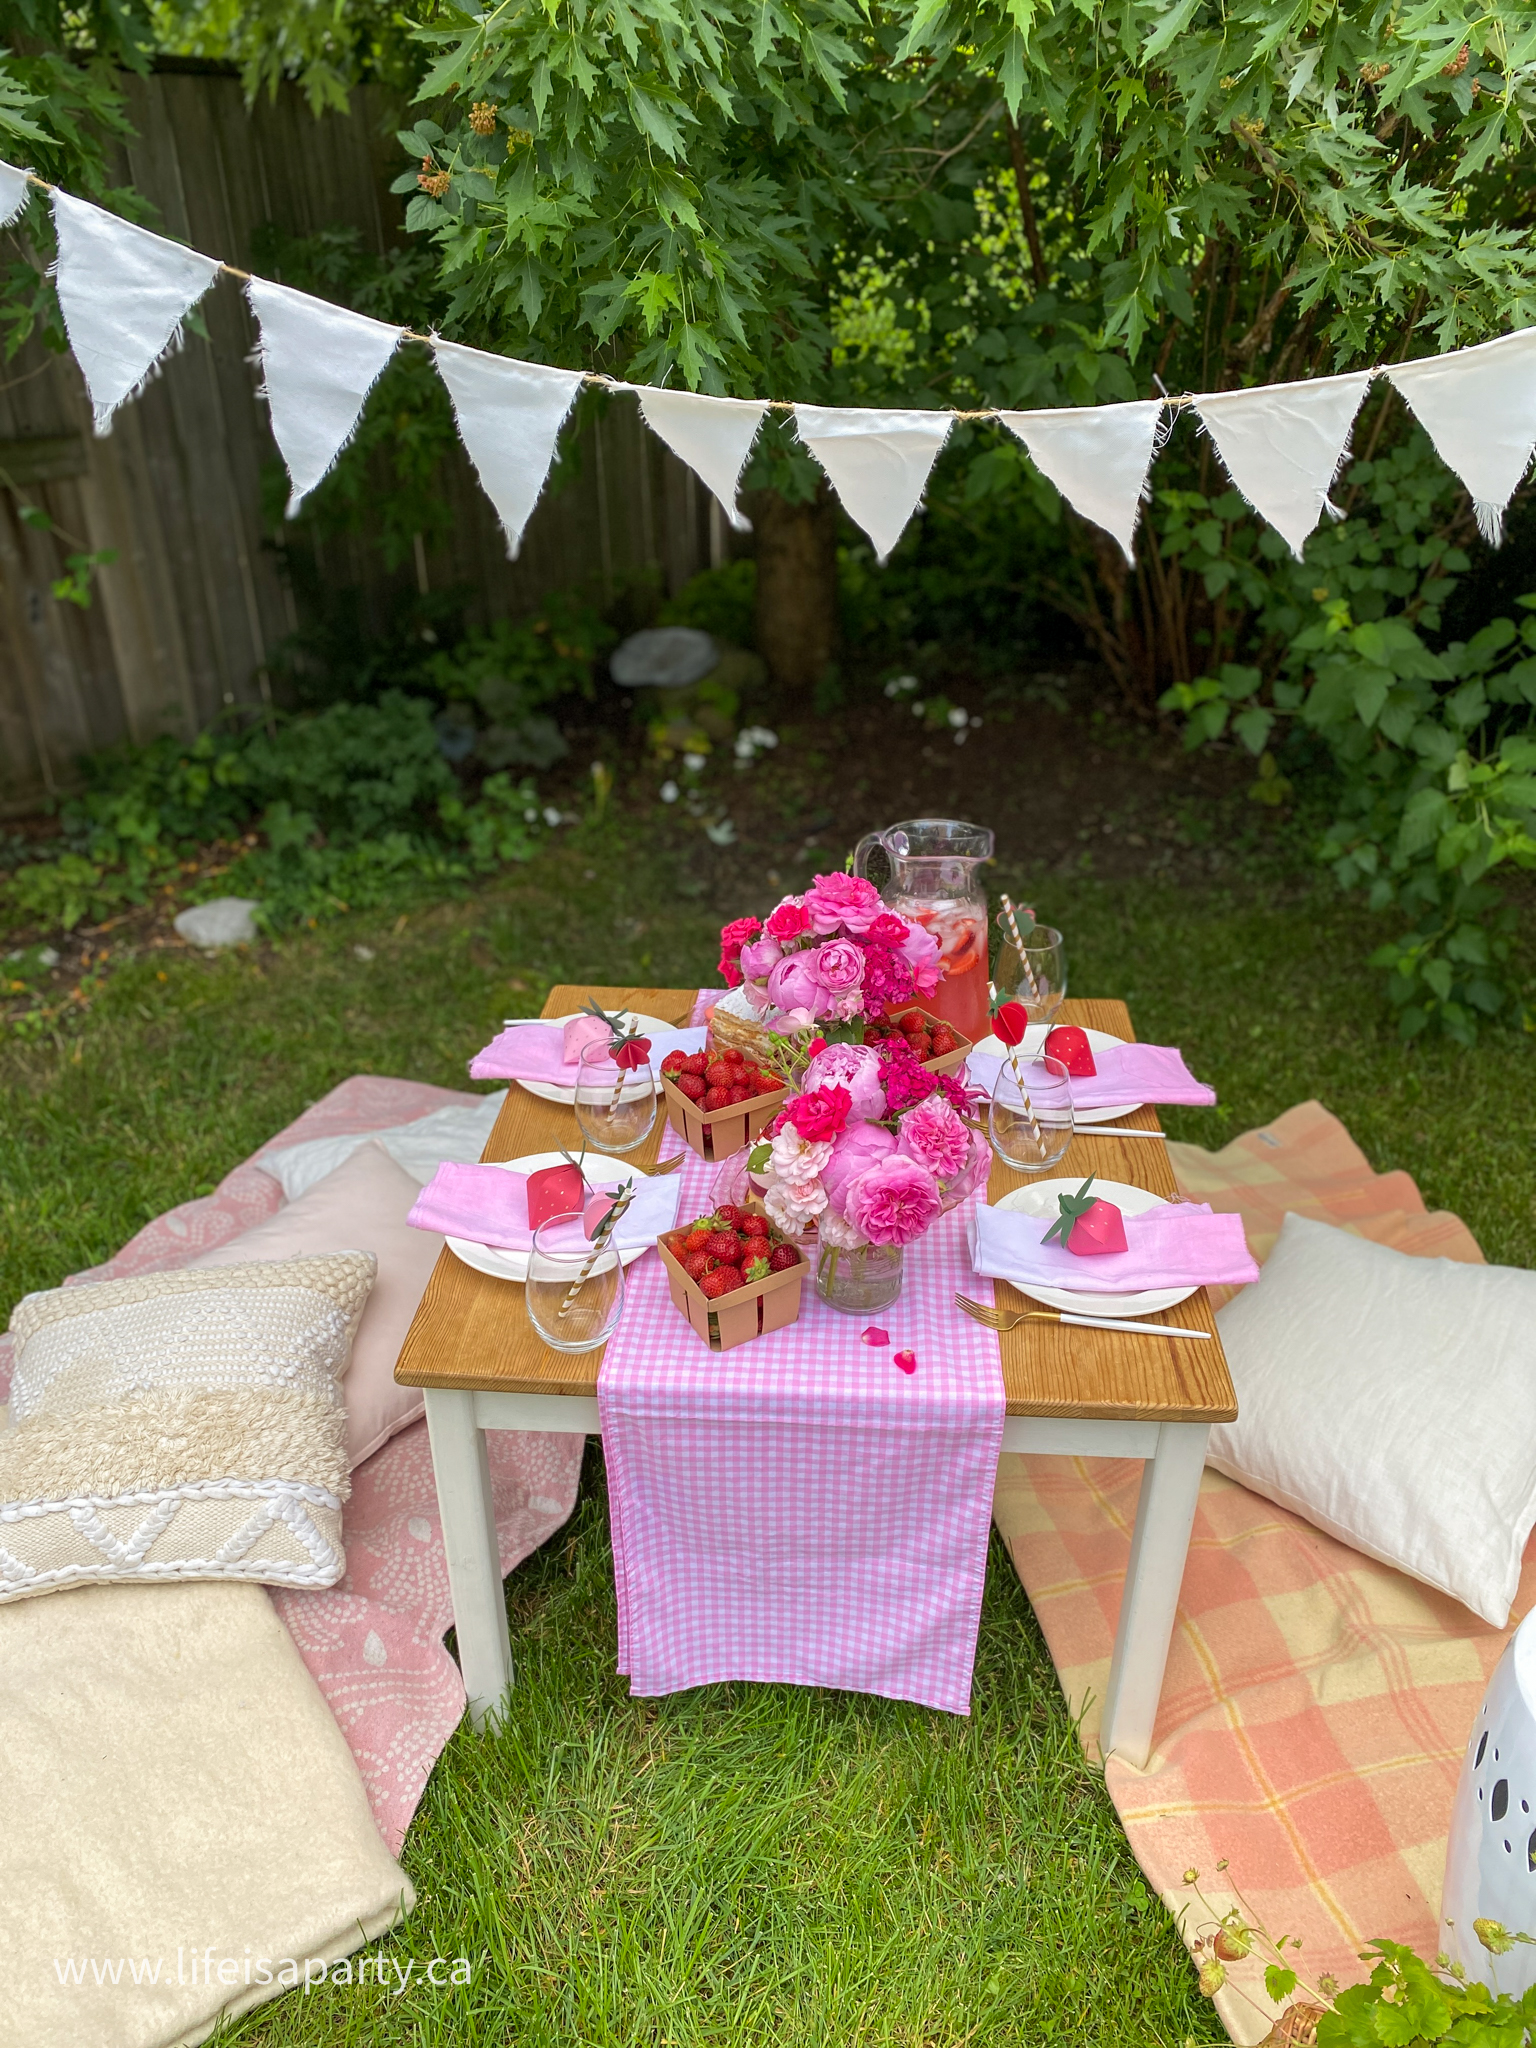
As soon as I thought about having a strawberry theme, I knew I wanted to set up our party outside and take advantage of beautiful summer weather, so we went with a fun picnic set up. We used a low coffee table piled high with strawberries, flowers, and treats, and surrounded by blankets and cushions for party guests to lounge on while they enjoyed. Let's start with some of the fun and easy Cricut projects I created to go with our strawberry theme.
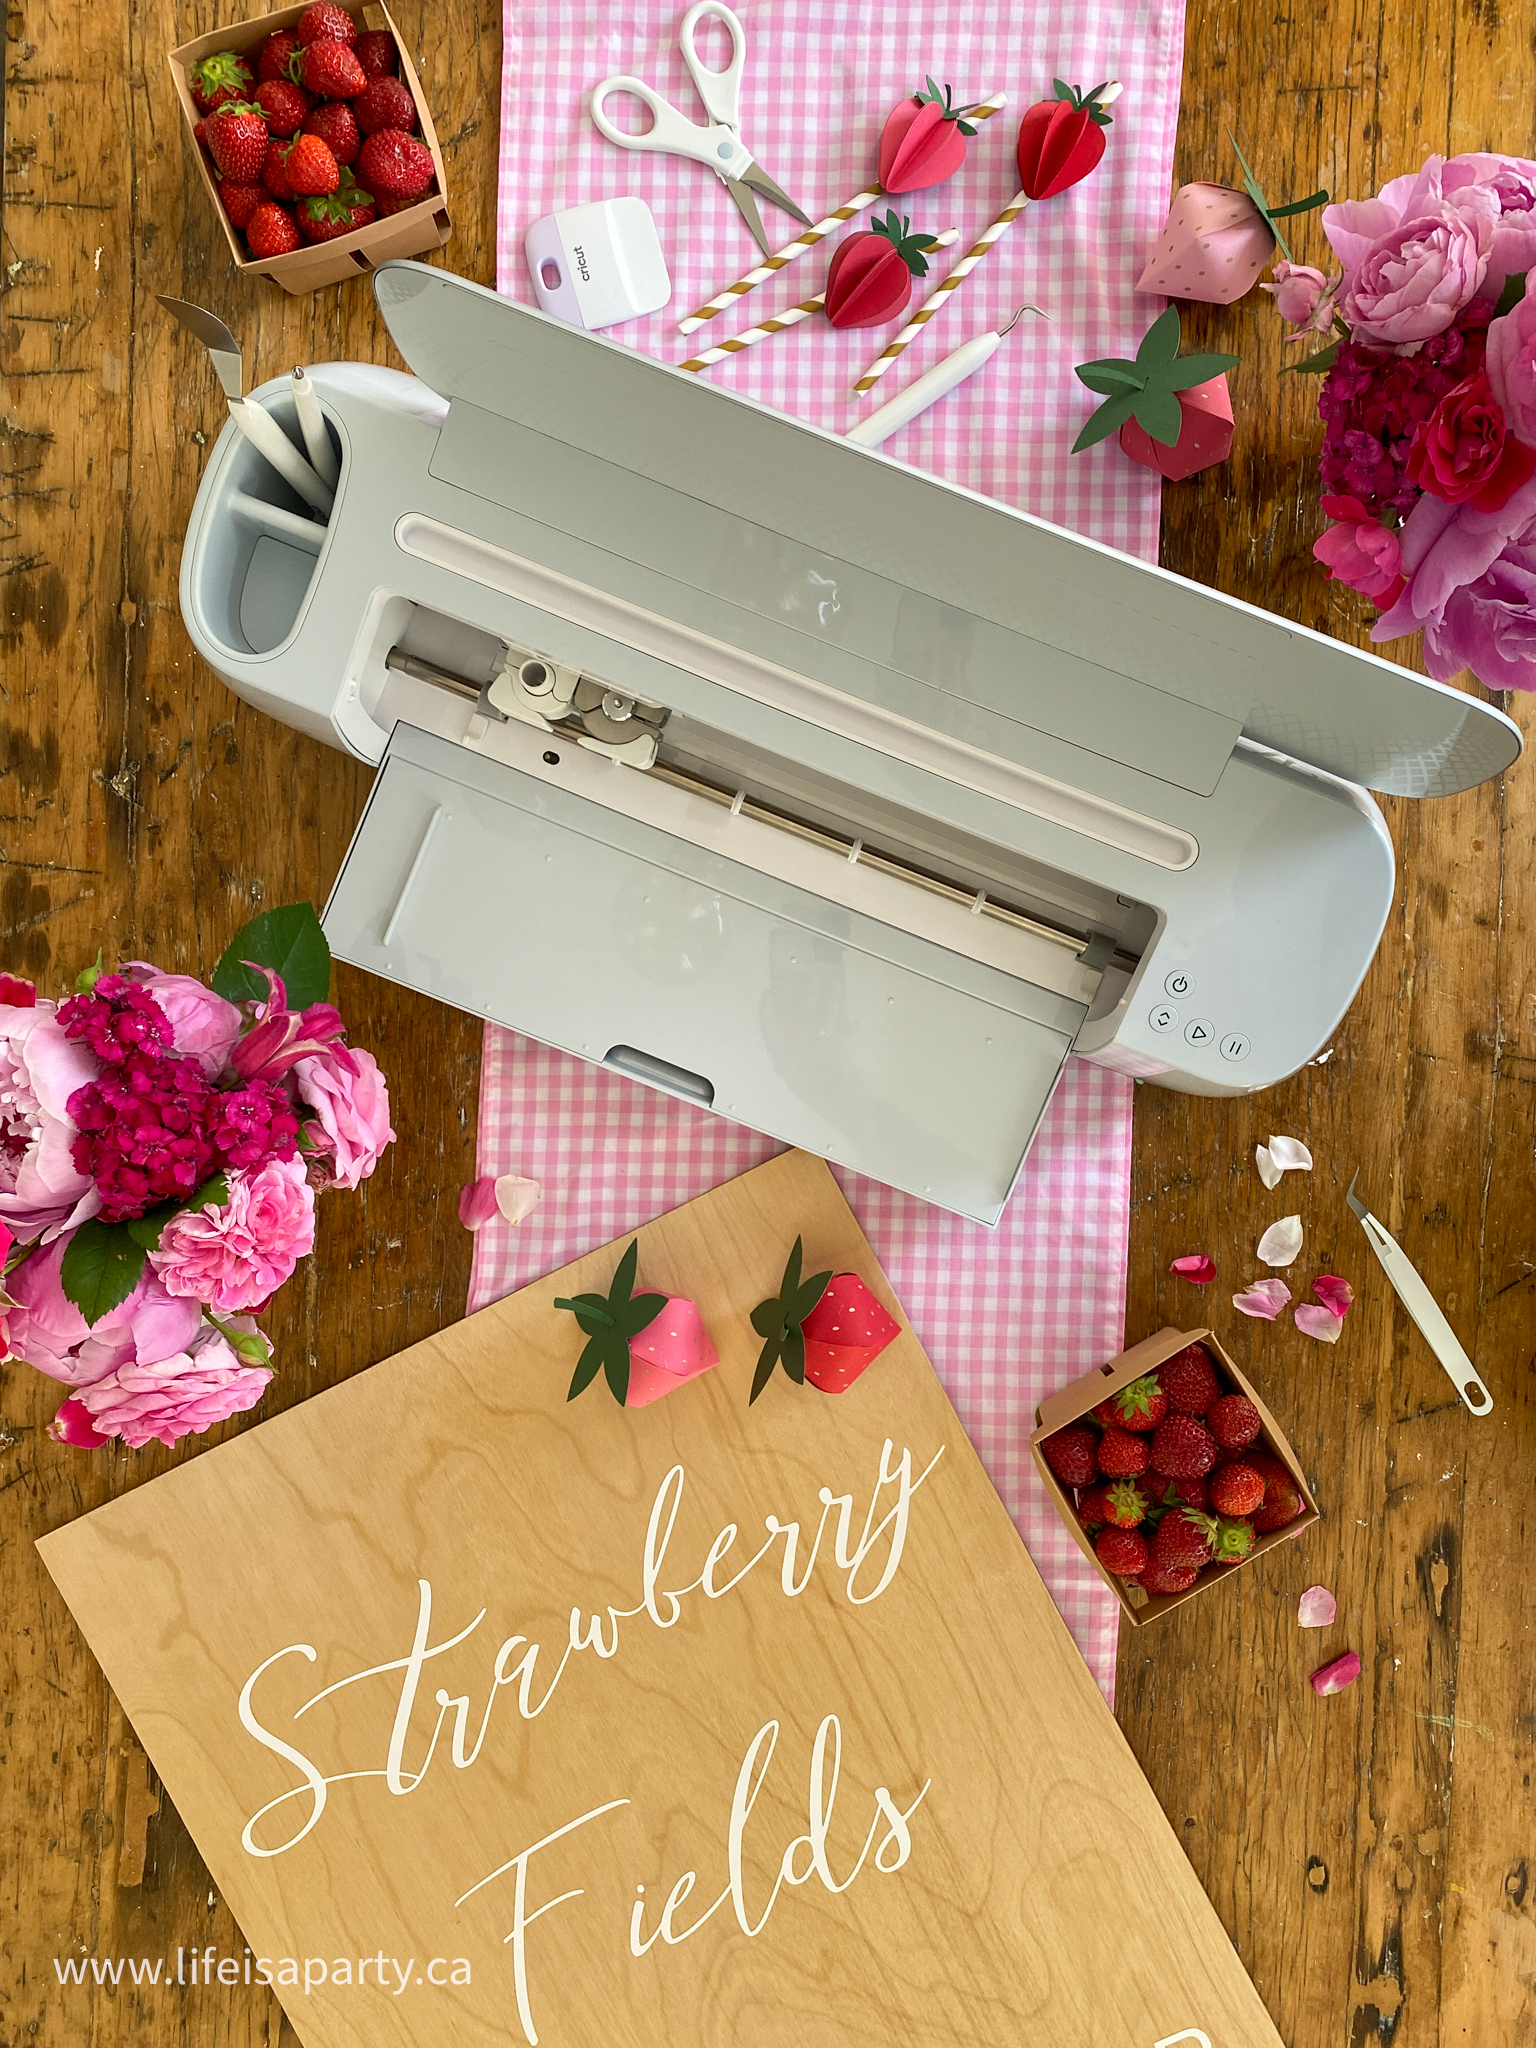
DIY Strawberry Theme Party Decorations
Video
Prefer to see exactly how I did all the projects for this party? Check out this YouTube video with all the details.
Large Sign
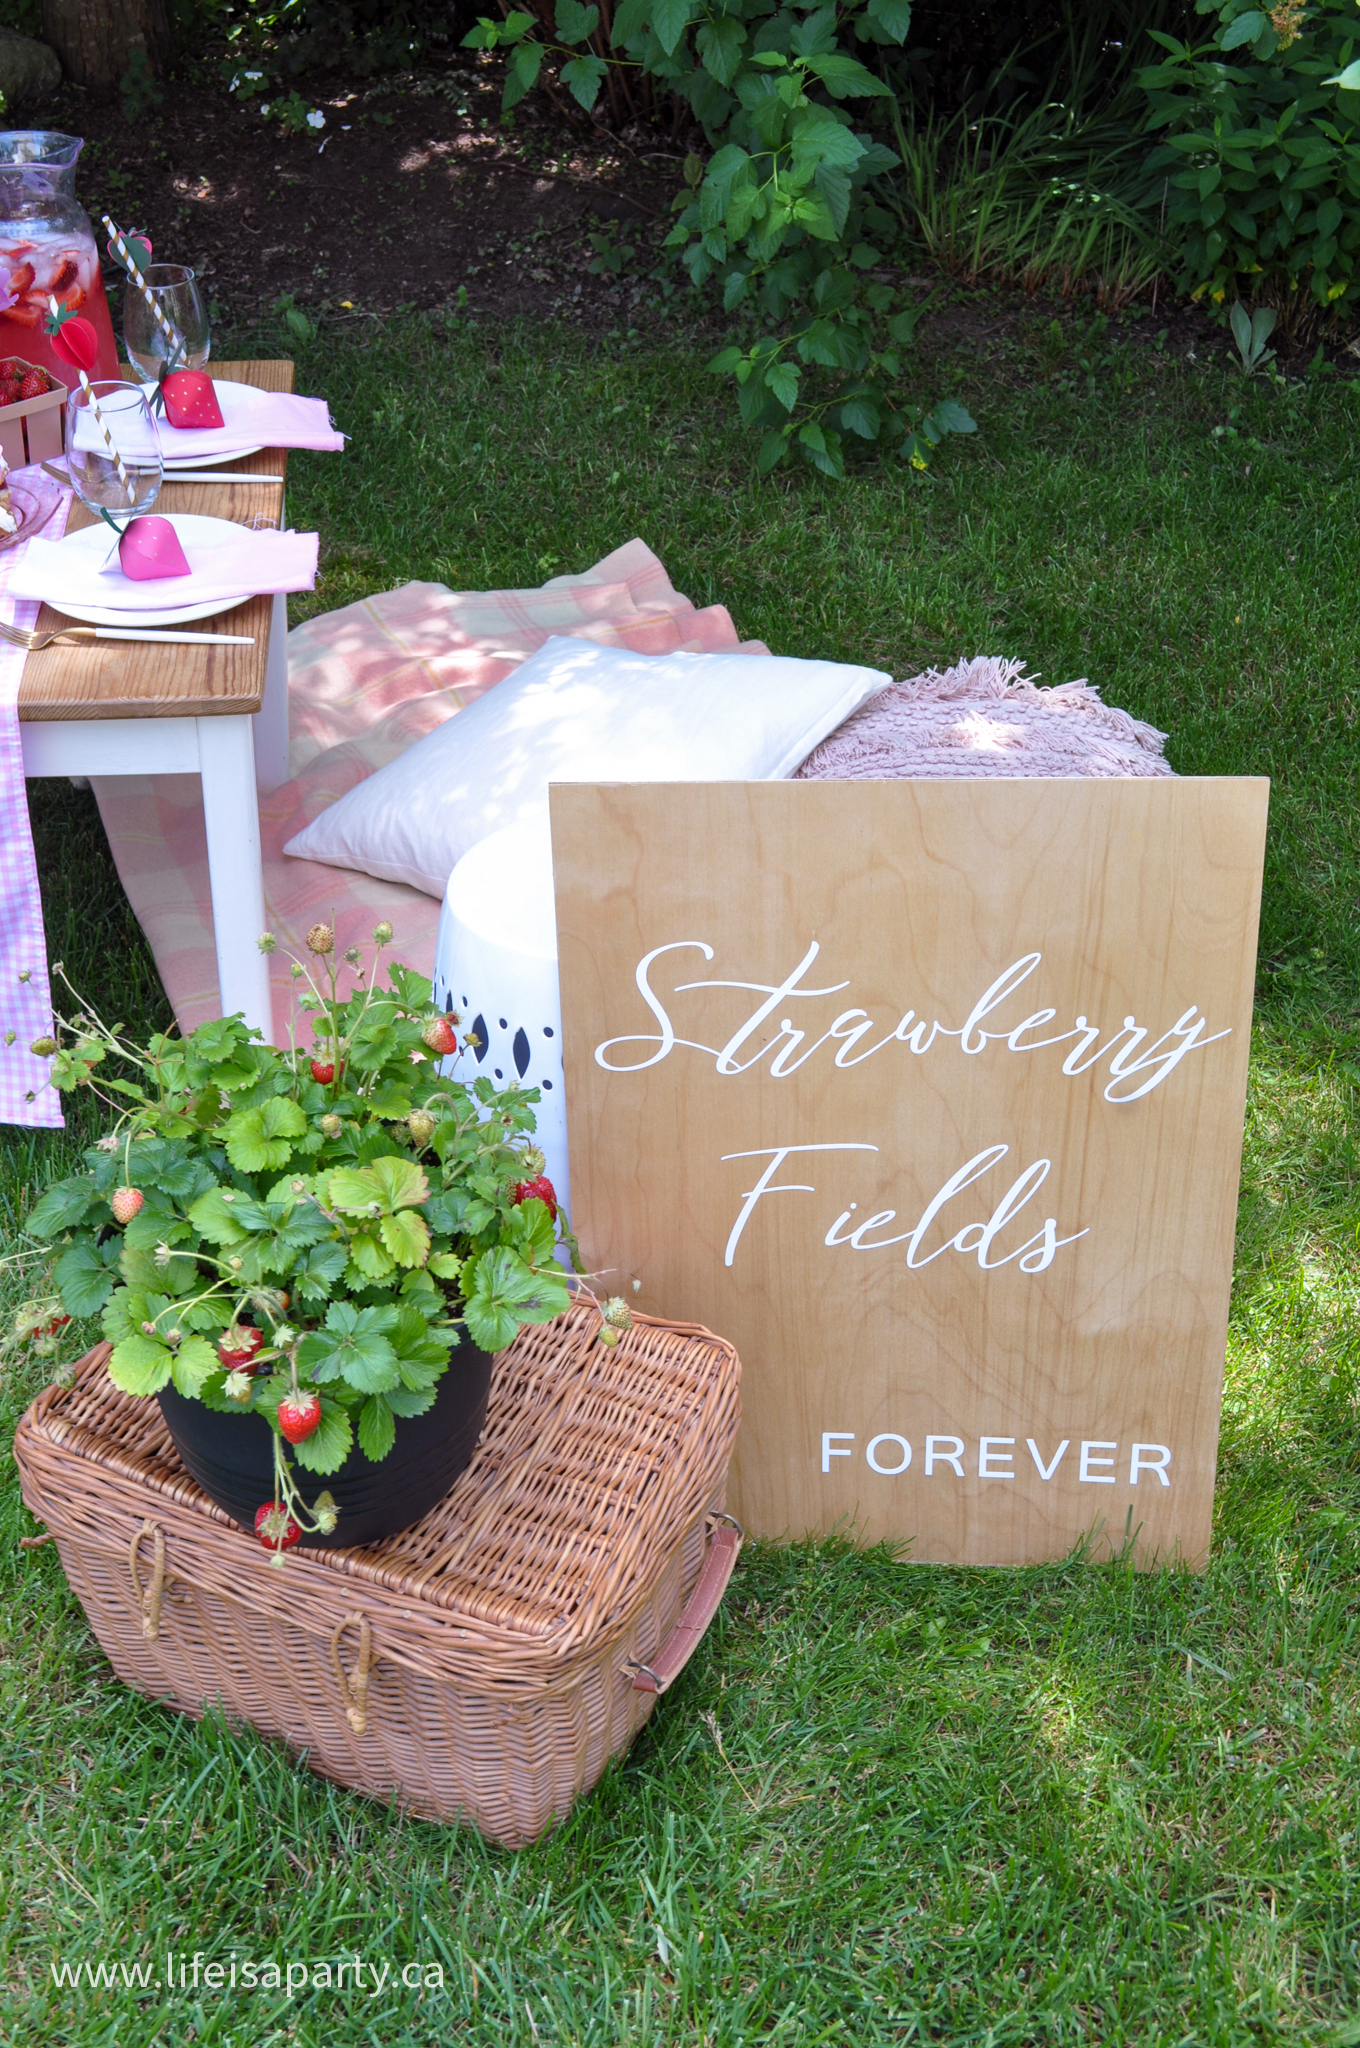
I used my new Maker 3 Cricut machine to create the strawberry decorations, including our beautiful welcome sign. The Maker 3 can cut vinyl up to 12 feet long making it perfect for creating any oversized projects. We took advantage of this amazing new feature to create our "Strawberry Fields Forever" sign. Inspired by the Beatles song lyrics we created the design in Cricut Design Space. All of the projects for our strawberry party we created using fonts and projects that are available to Cricut Access members, including the beautiful Merlot font used for the sign.
Creating the Design
To make your own open a new canvas, and add a text box. We used Merlot font (which is unkerned, so be sure to unchecked the only kerned fonts box to find it) to write Strawberry Fields and our font size was 205. Adjust the line spacing, and individual letter spacing for the "F" to create the look we did.
We added another text box with "Forever" and used Cricut Sans font, size 112, letter spacing 0.5. Our sign was 18 x 24 inches, so we added a rectangle with those dimensions to the canvas to help us find the perfect font size. Once the design was ready, we used the "hide" feature, by clicking on the eye icon beside the rectangle in the layers panel. This hides the rectangle so that it's not cut out, but you can easily unhide it for design purposes in the future if you need to.
Or use our design in Cricut Design Space here.
The Vinyl
We cut the lettering with permanent white smart vinyl. I love how you can use the smart vinyl without a mat, and cut pieces up to 12 ft. long at a time. Even with shorter cuts, there's no wastage, since you don't have to cut off a piece and attach it to the mat, you can simply run the entire piece through the Maker 3 and cut it off just below the cut when it's all finished.
The Sign Backing
For the backing of our sign we used some plywood. Look for finished on one side plywood at the home improvement store. We were able to buy a 2ft x 2ft piece for this project. We wanted our sign to be 12 x 24 inches, so we took advantage of the cutting available at the home improvement store and had it done there. After the plywood was cut to size. I also sealed the wood with a poly seal. Sealing helps make sure that the vinyl adheres well. After the sealer dried the wood was ready for me to apply the vinyl.
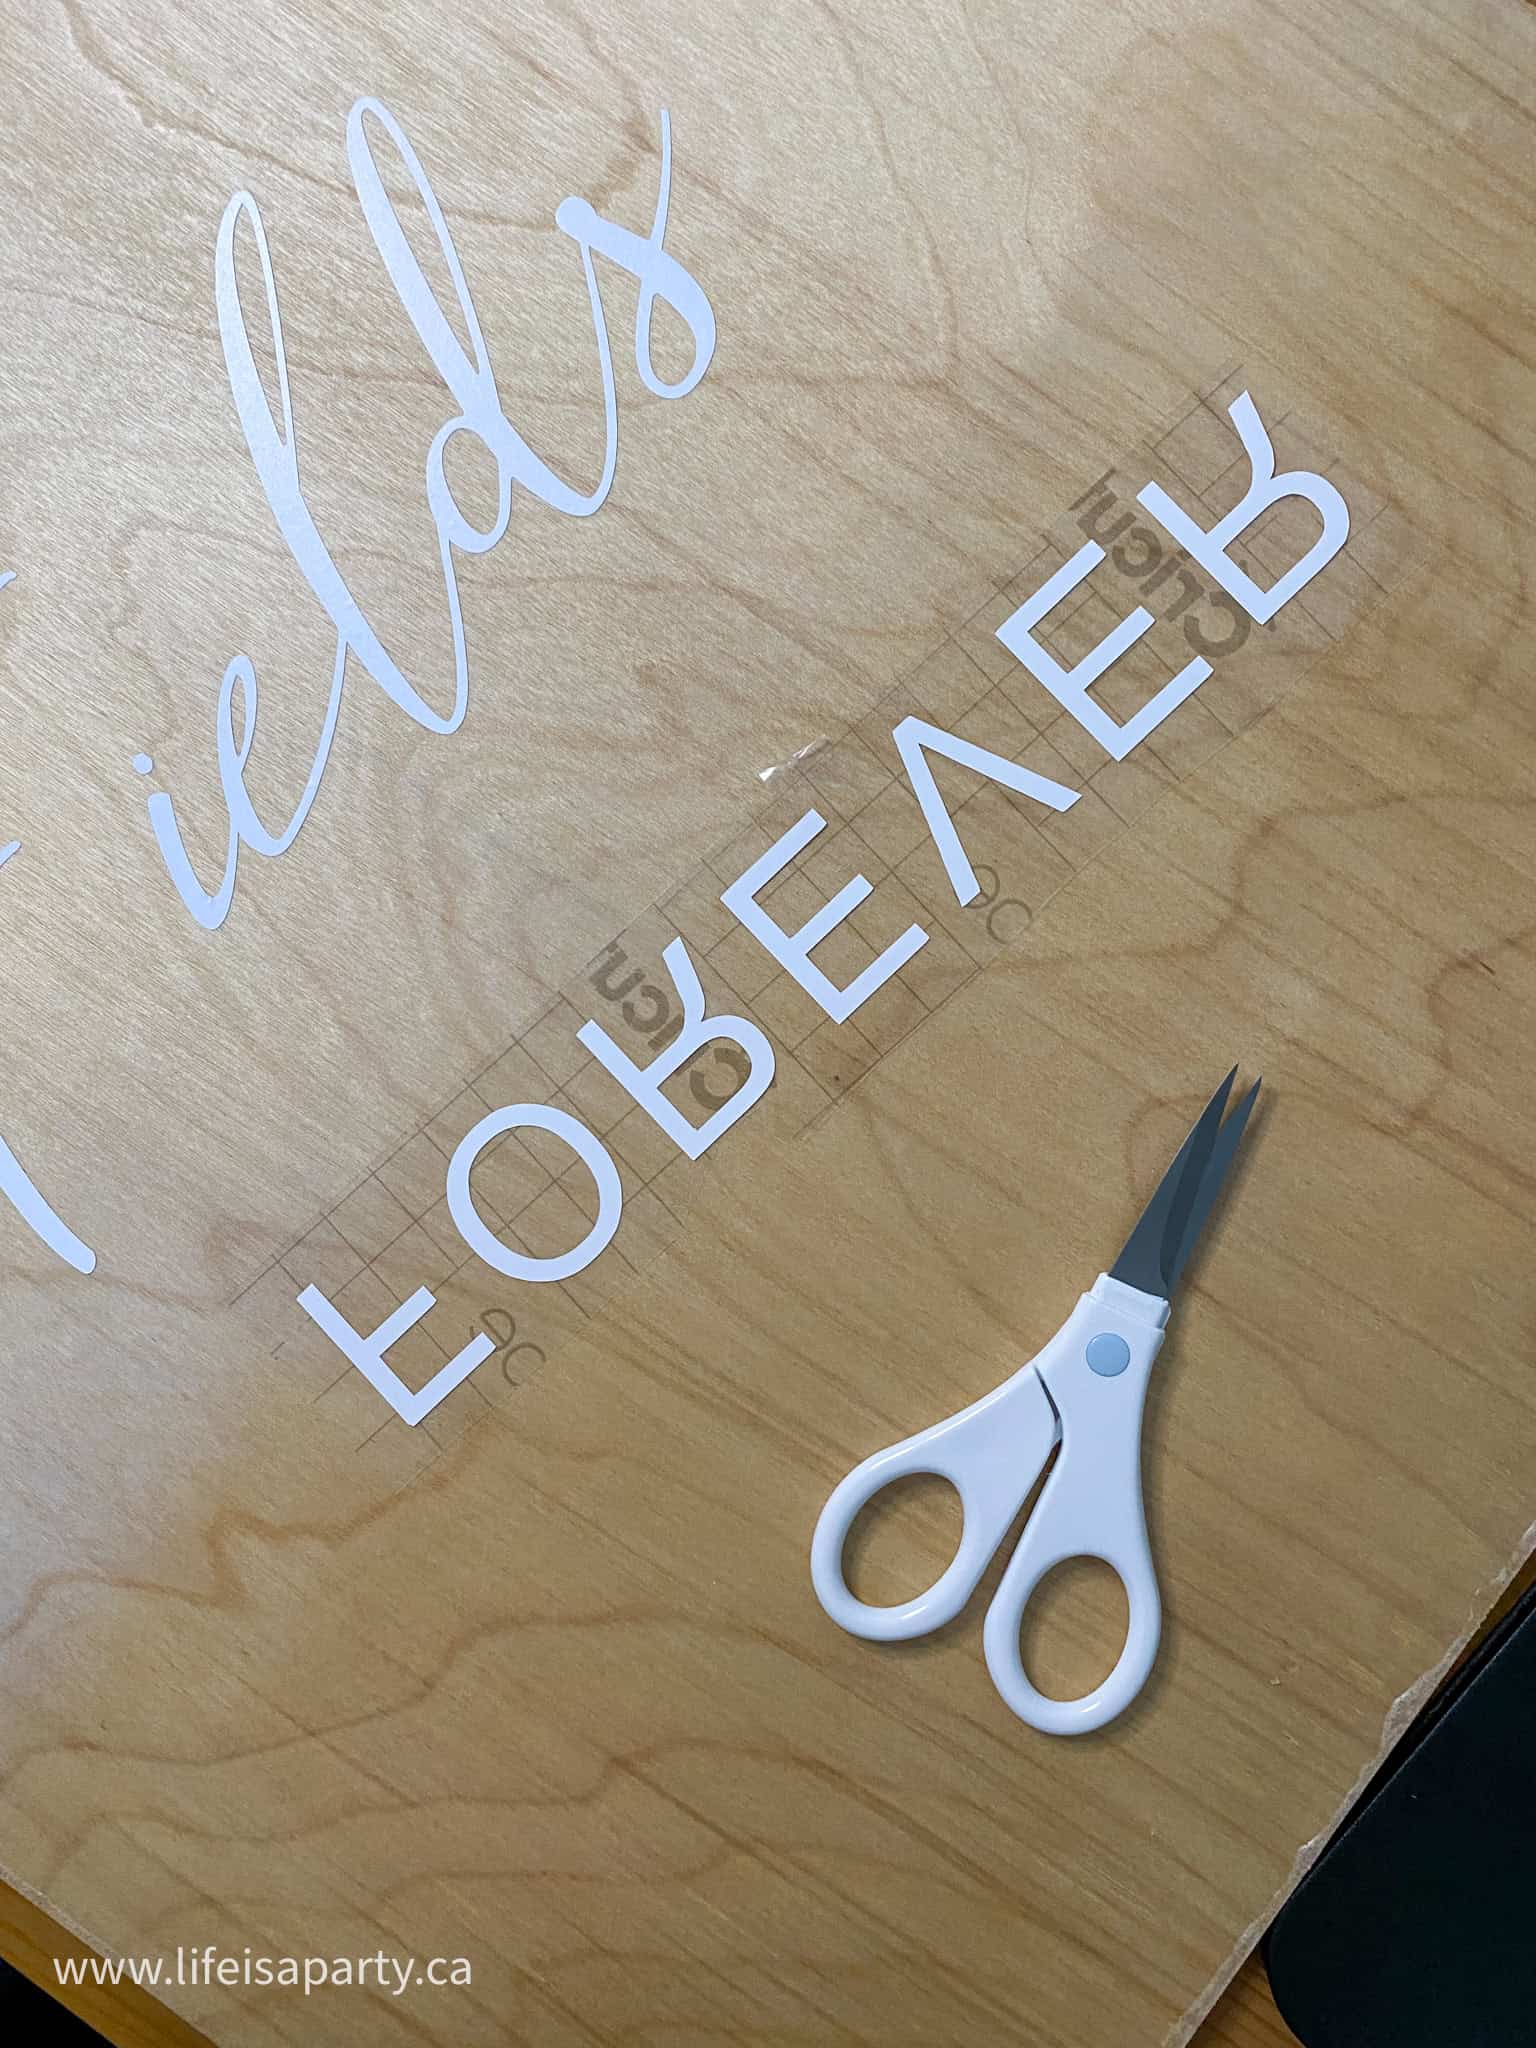
After weeding the vinyl piece, I used transfer tape and transferred each piece to the sealed plywood. I love how our DIY strawberry sign turned out. If you were making this piece for an occasion like a shower or a baby girl first birthday you could even personalize it with names or dates.
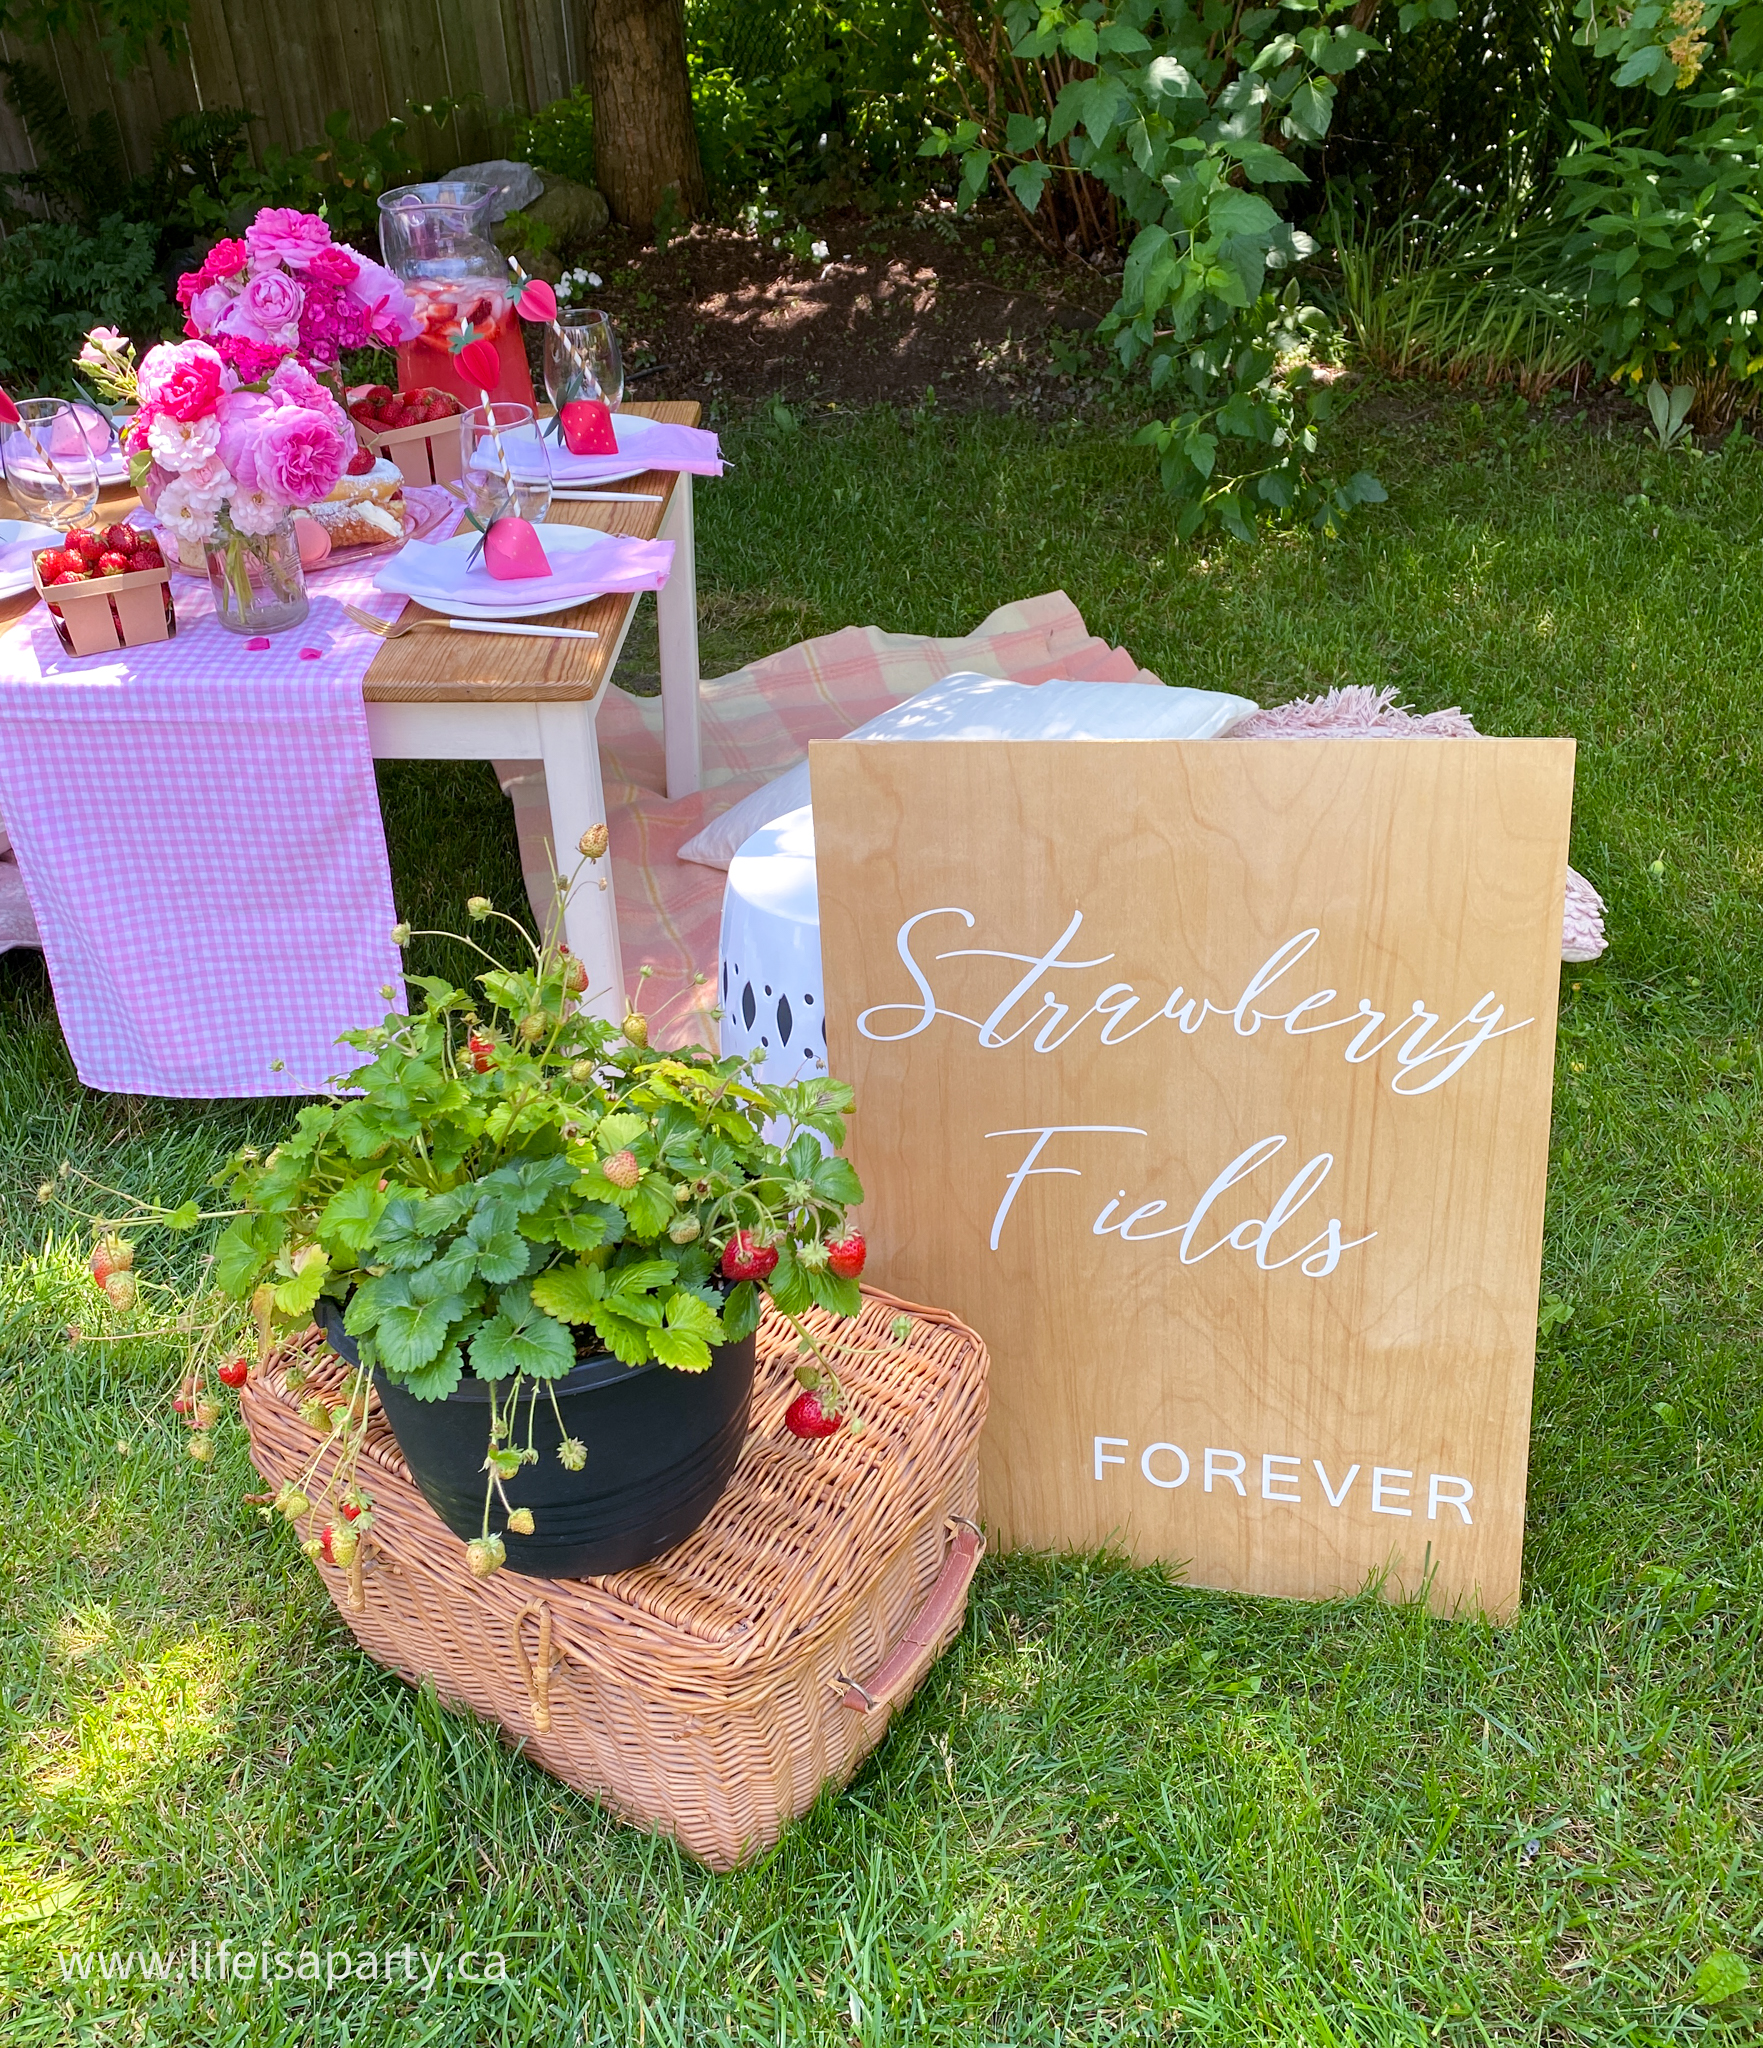
Strawberry Baskets
I also made some strawberry baskets with my Cricut. I love how easy these were to make and they look so great on our table filled with fresh strawberries. You could also use them as party favors.
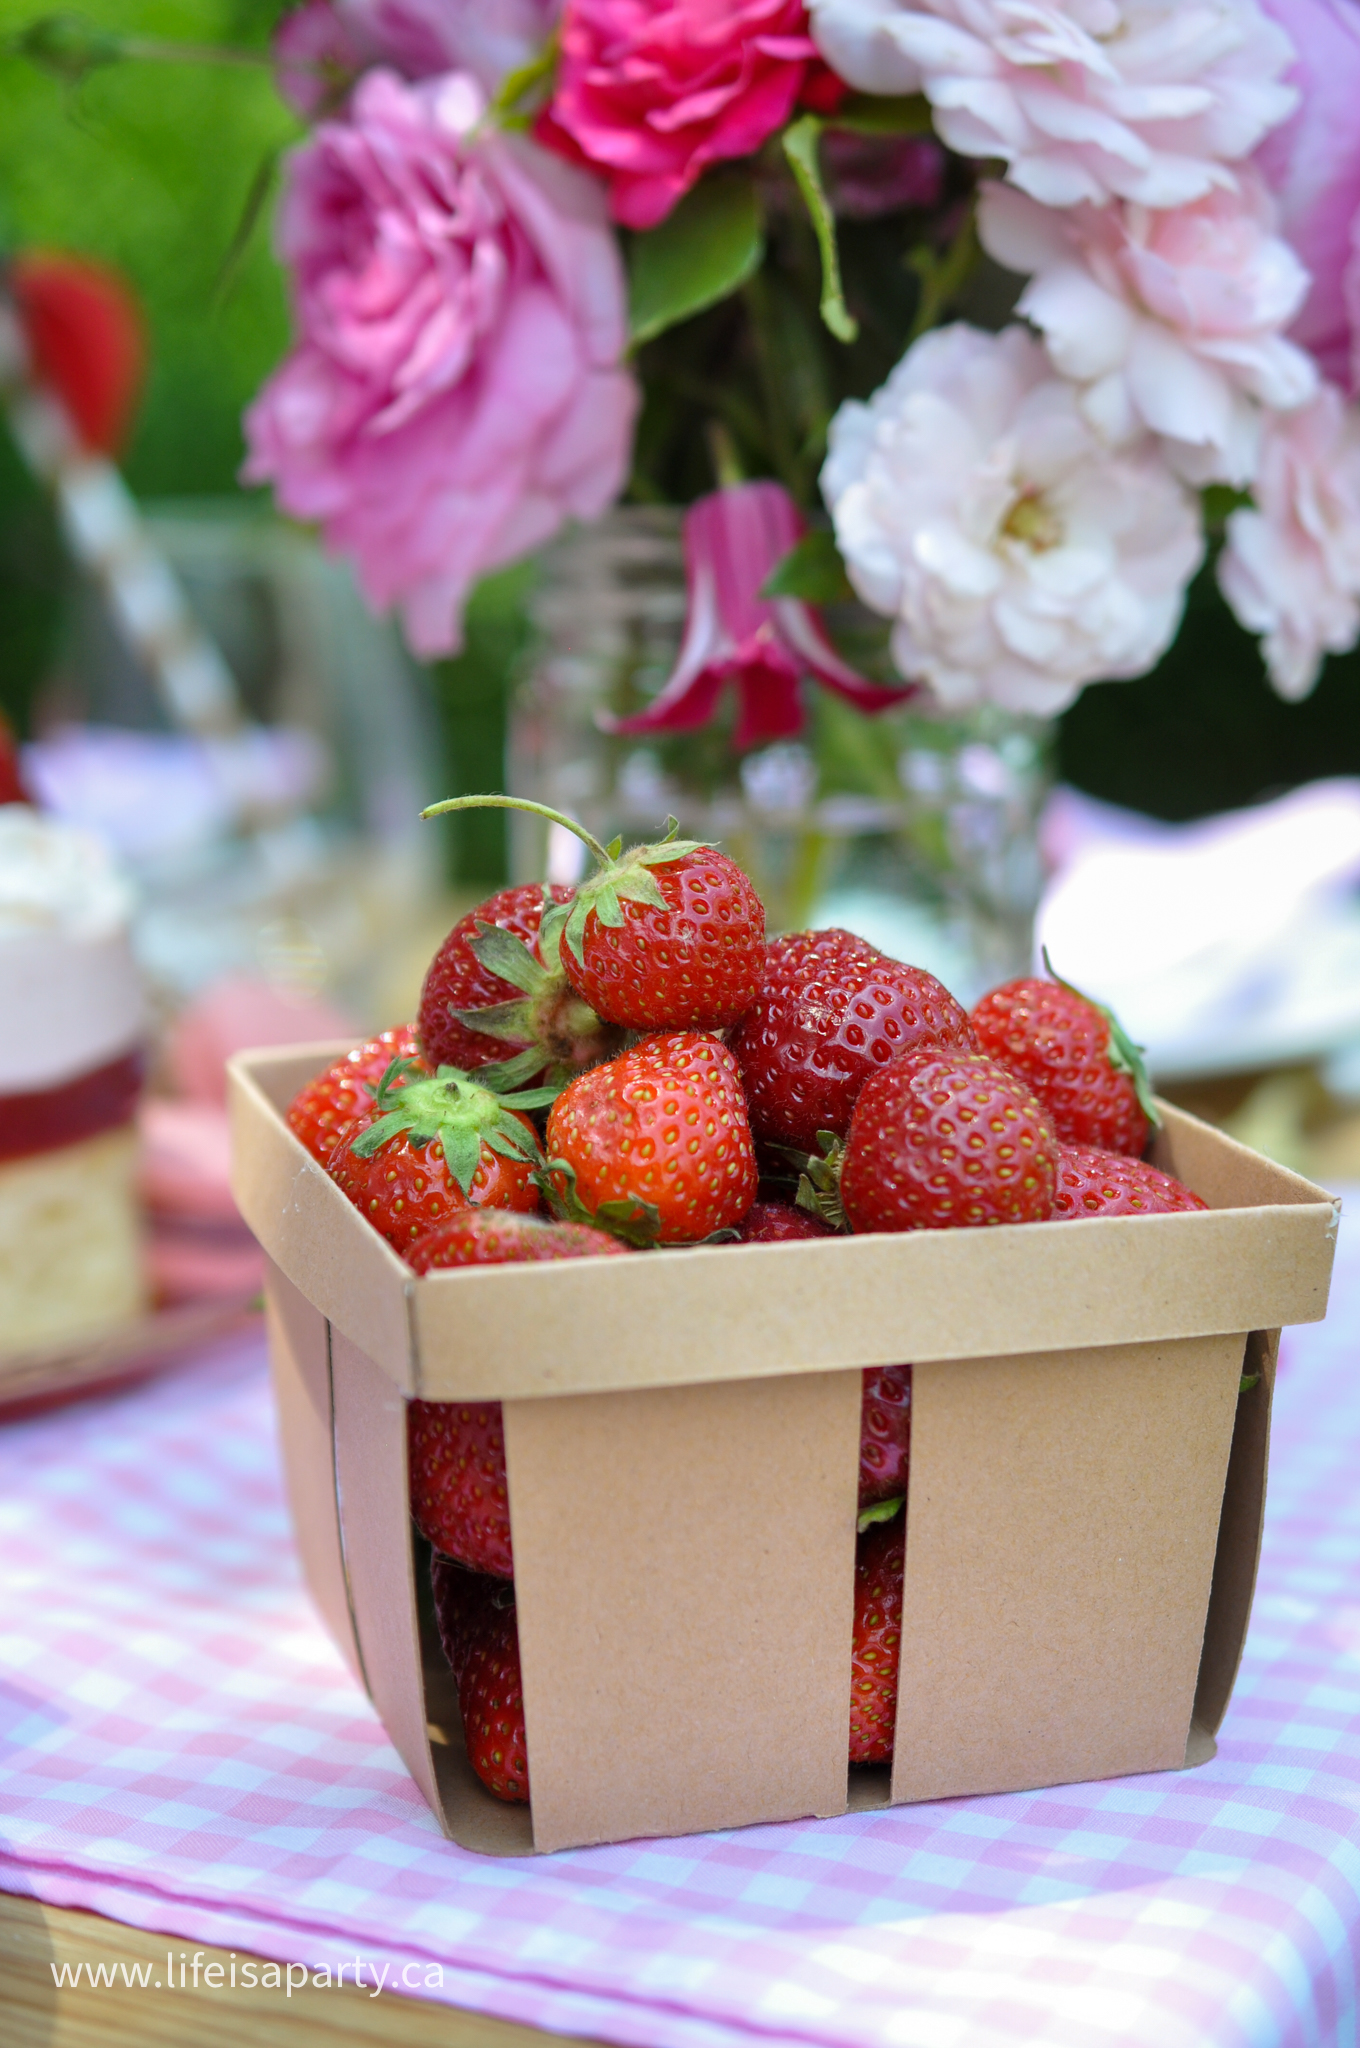
To make the strawberry baskets with your Cricut, search for "Market Berry Baskets" in Cricut Design Space. You can alter the size if you'd like to or just click make it. We cut ours out of Cricut Kraft Board in natural, using a standard grip cutting mat, and a fine point blade. After the pieces are cut out, use your glue gun to put the baskets together. I loved the look of the natural brown cardstock, but you could also make them in the traditional light green of strawberry baskets if you wanted to.
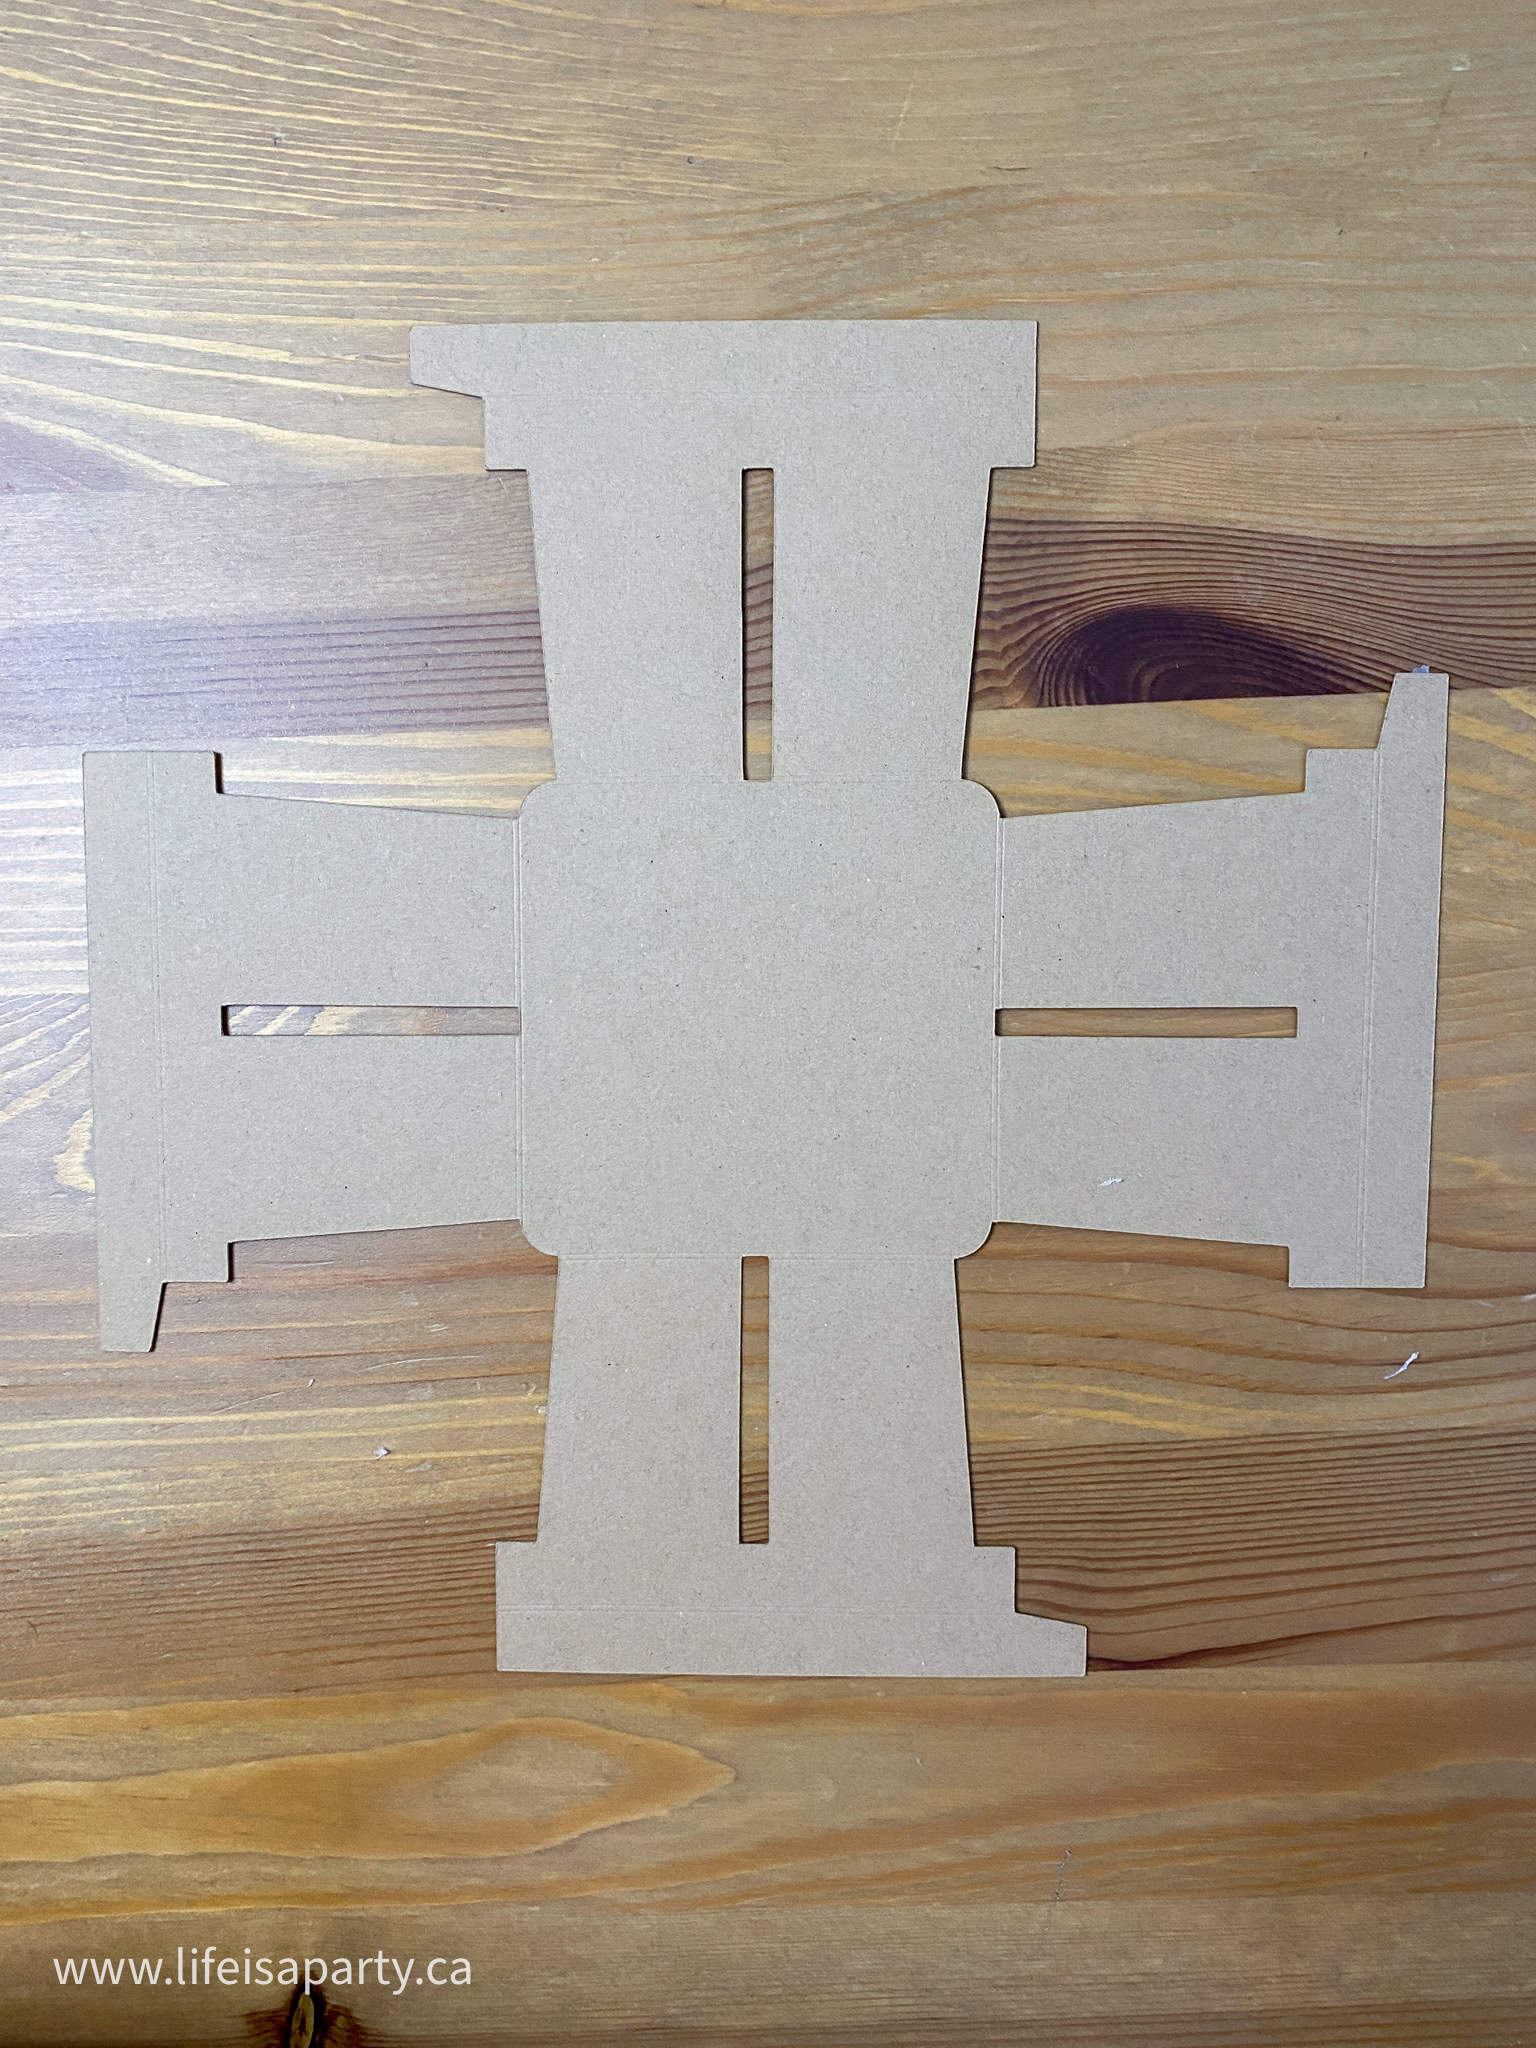
These look so great down the centre of table filled with fresh strawberries for nibbling on.
Card Stock 3D Paper Strawberries
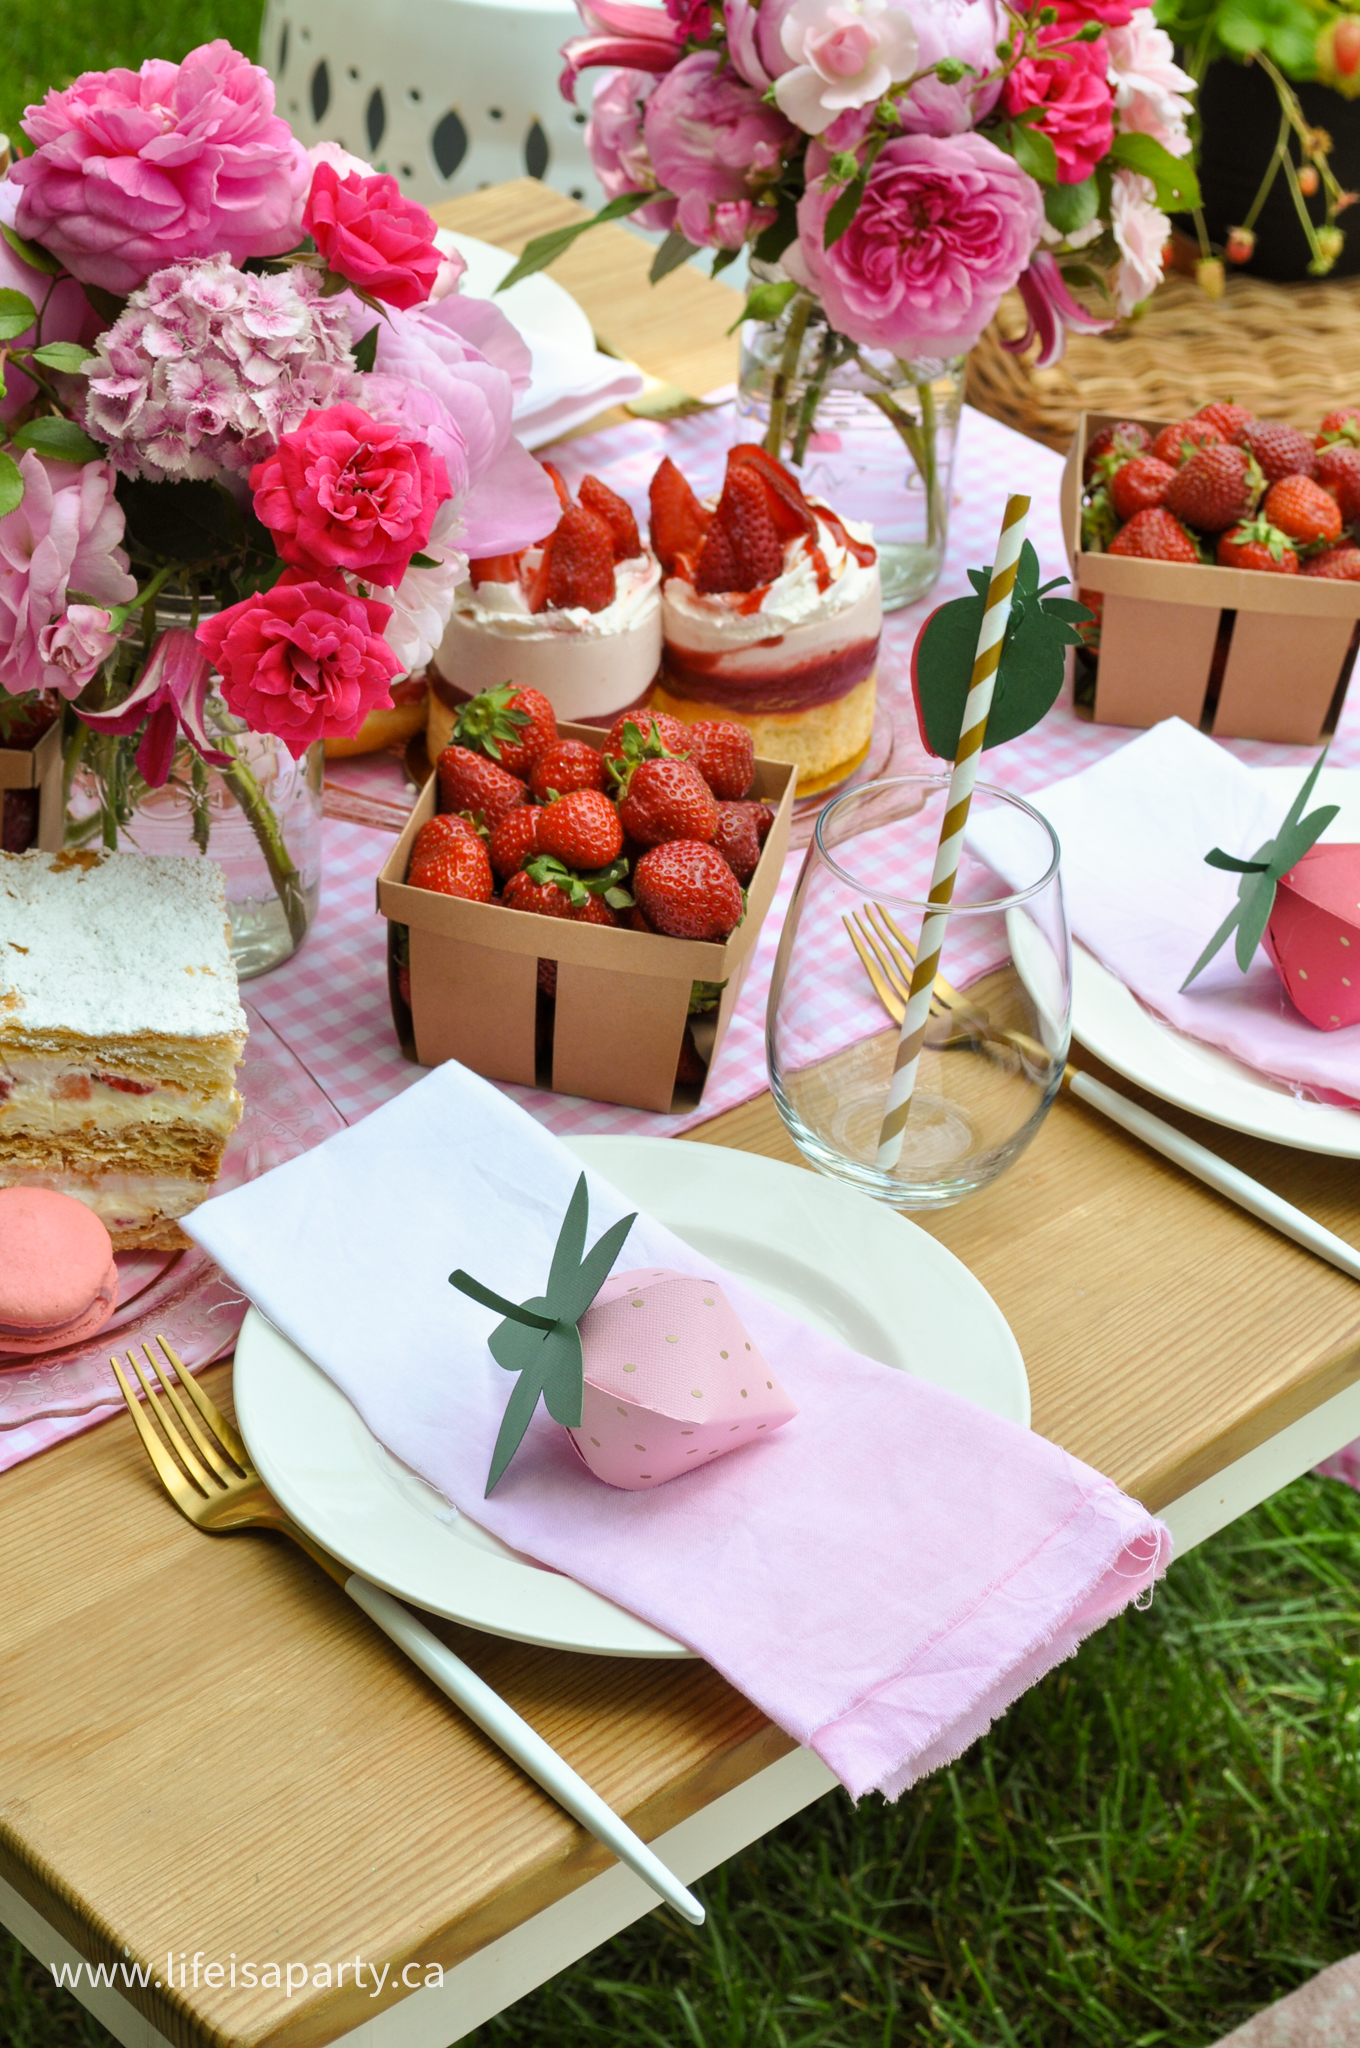
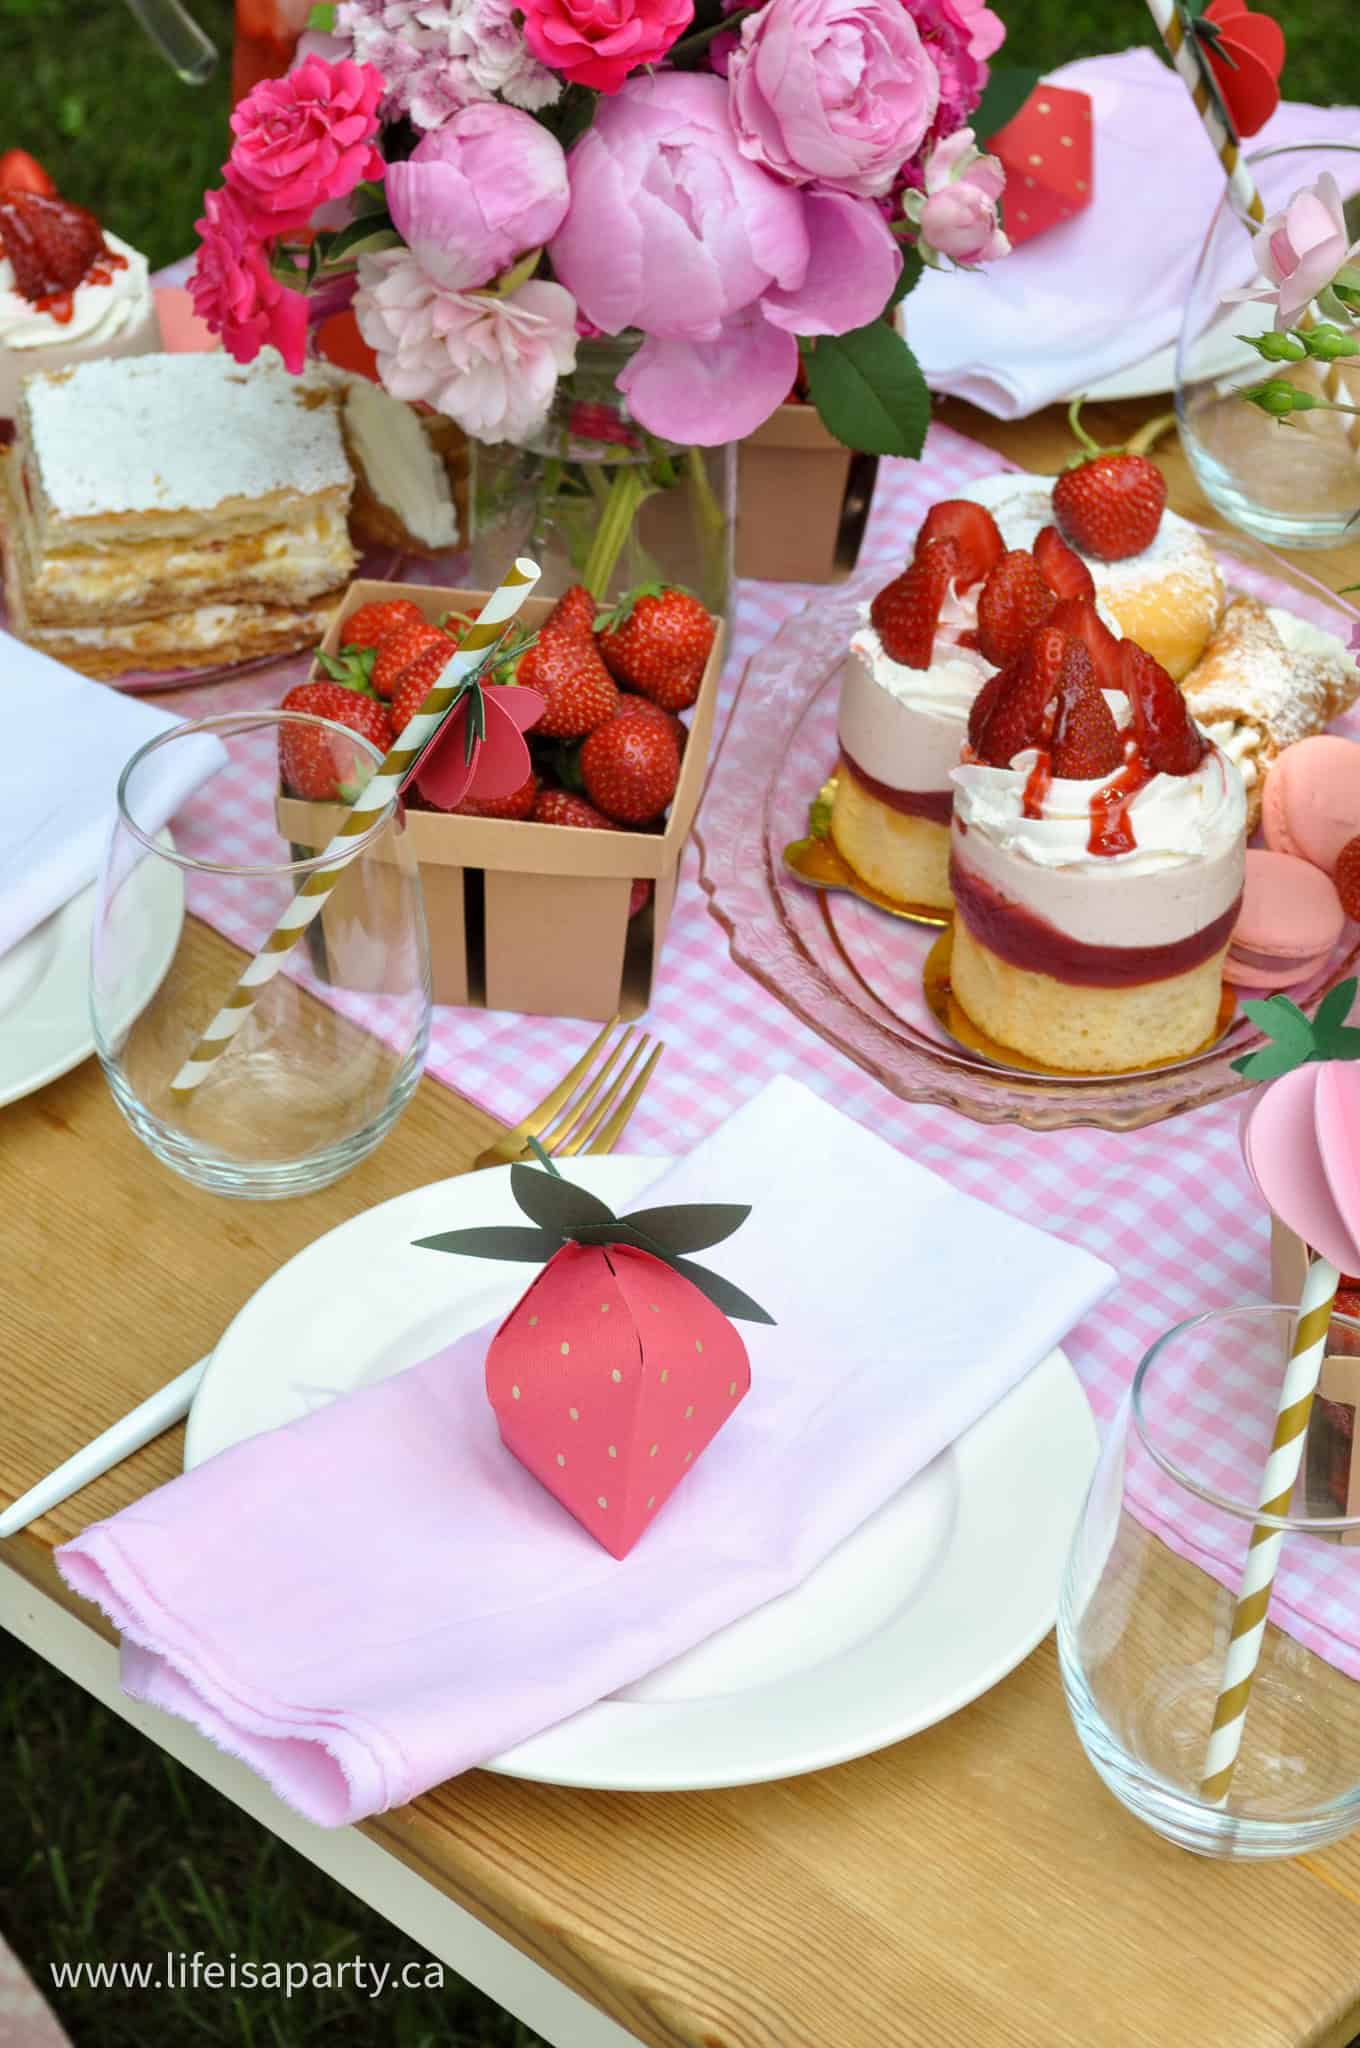
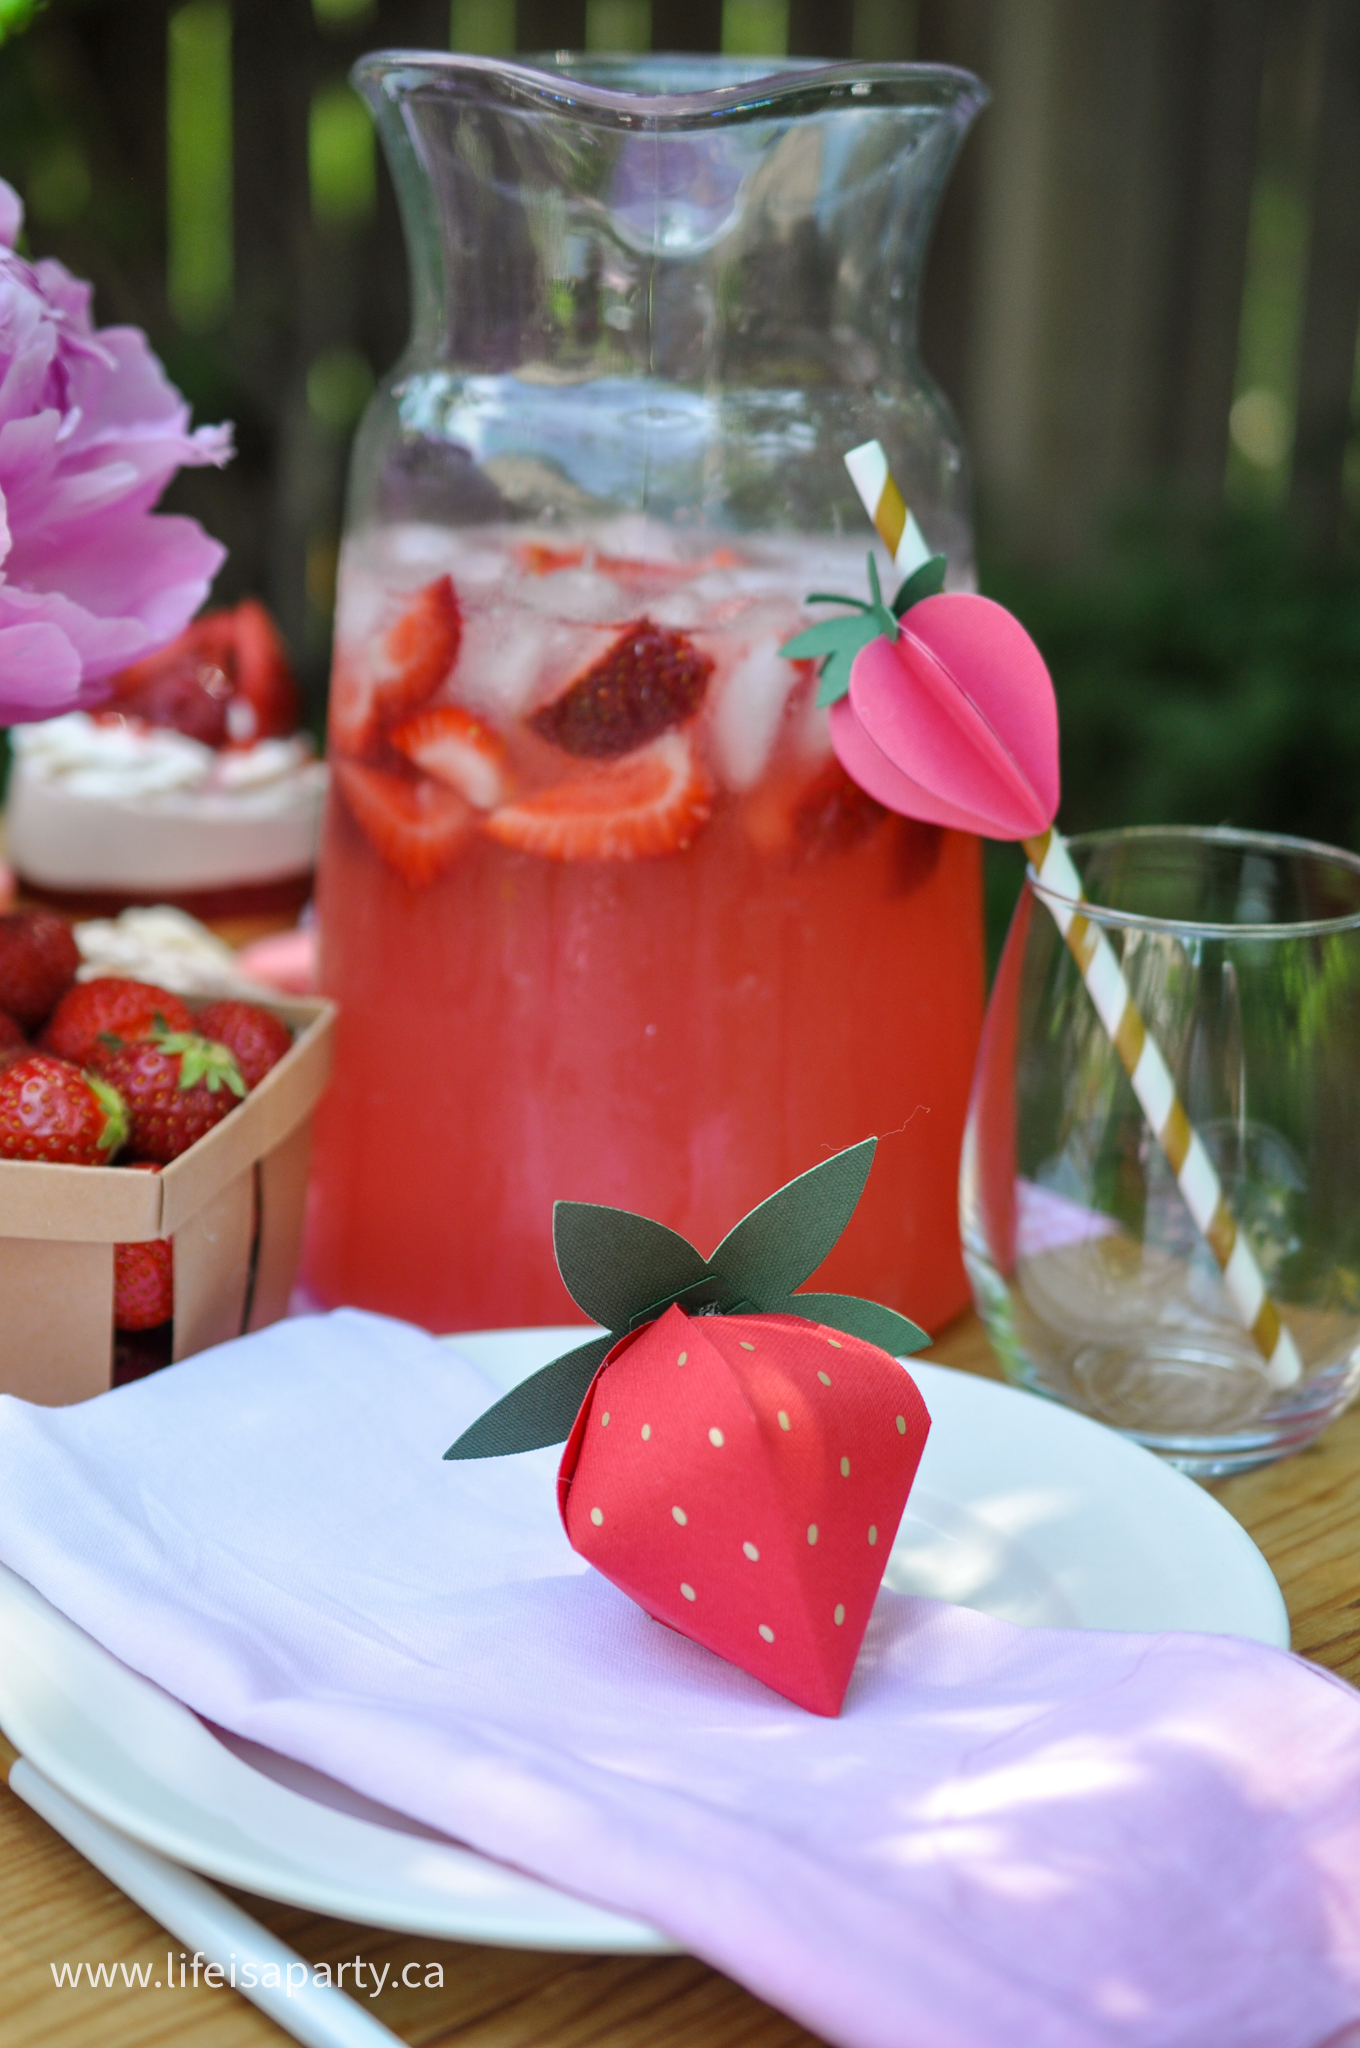
We also made some really adorable paper strawberries. Ours are filled with candies for our guests to enjoy, or to take home. These are one of my very favourite additions to our strawberry party theme. They were quite easy to make using my Cricut machine. Look for project "Zooey Deschanel's 3D Strawberry" in Cricut Design, and choose make it. Or use our file in Cricut Design Space here.
We cut ours out of different shades of pink and red cardstock. The strawberry seeds are gold iron-on vinyl, and the perfect easy way to add this fun detail.
Adding The Seeds
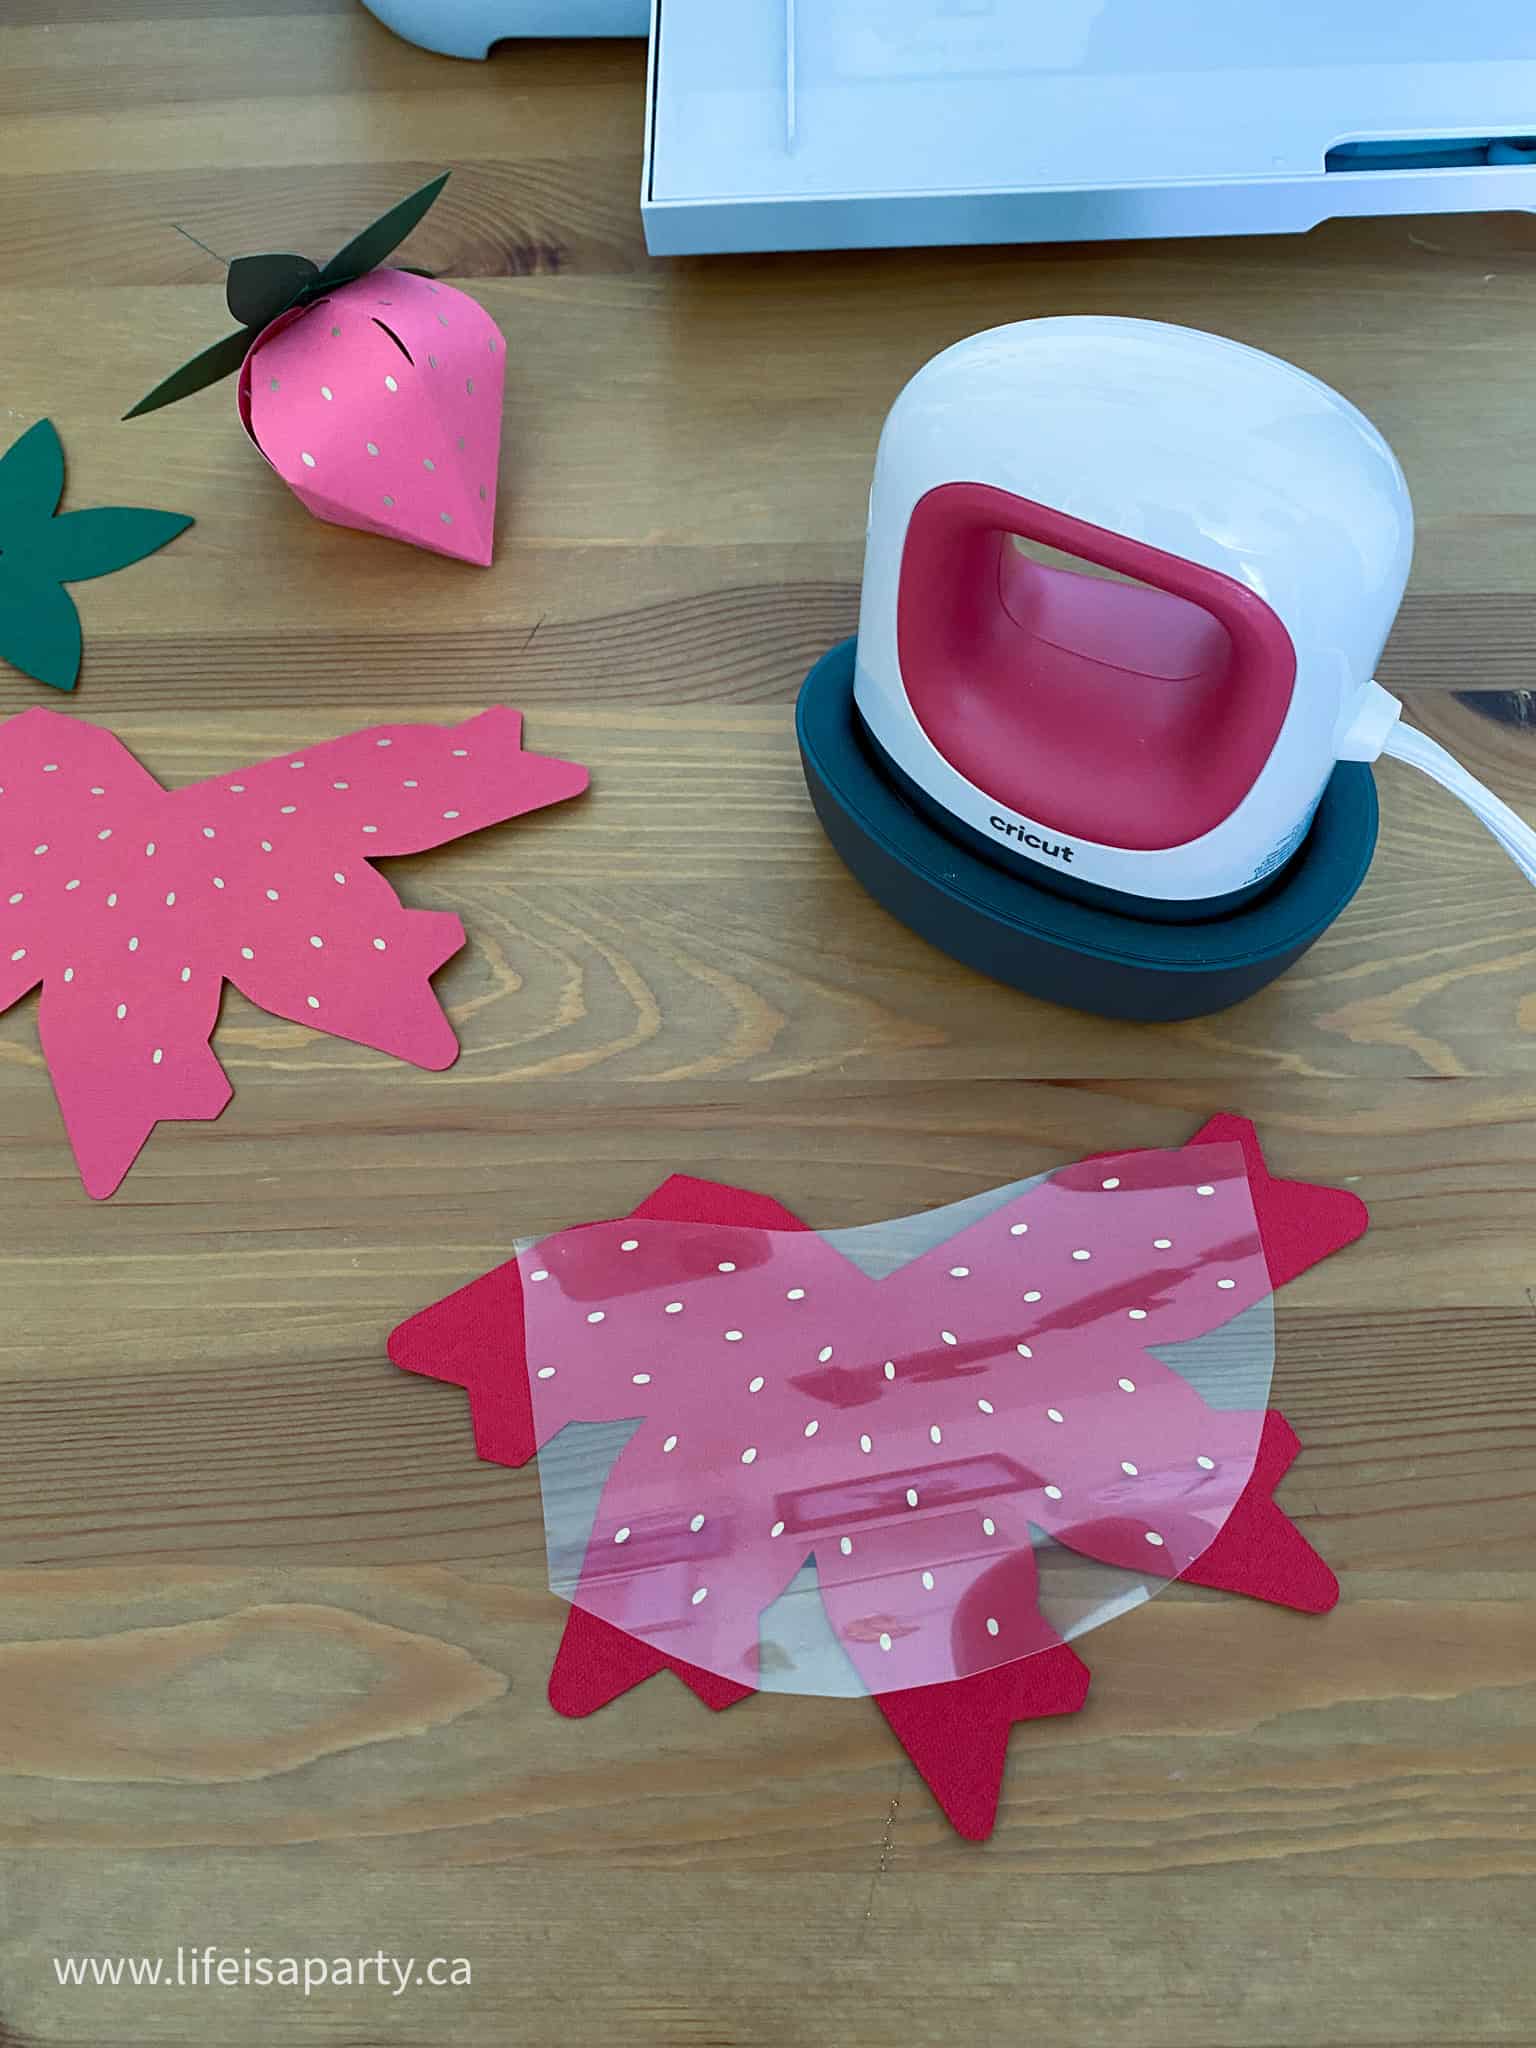
To add the seeds to the strawberries, cut out and score your cardboard strawberry, and cut out and weed the vinyl seeds made with gold iron-on vinyl. To apply the seeds to the strawberry, preheat the Cricut Easy Press Mini according to the Cricut Easy Press guide for your size of easy press and a base material of cardstock. Then apply the vinyl, press, and peel the liner when cool to the touch.
Assembling The 3D Strawberries
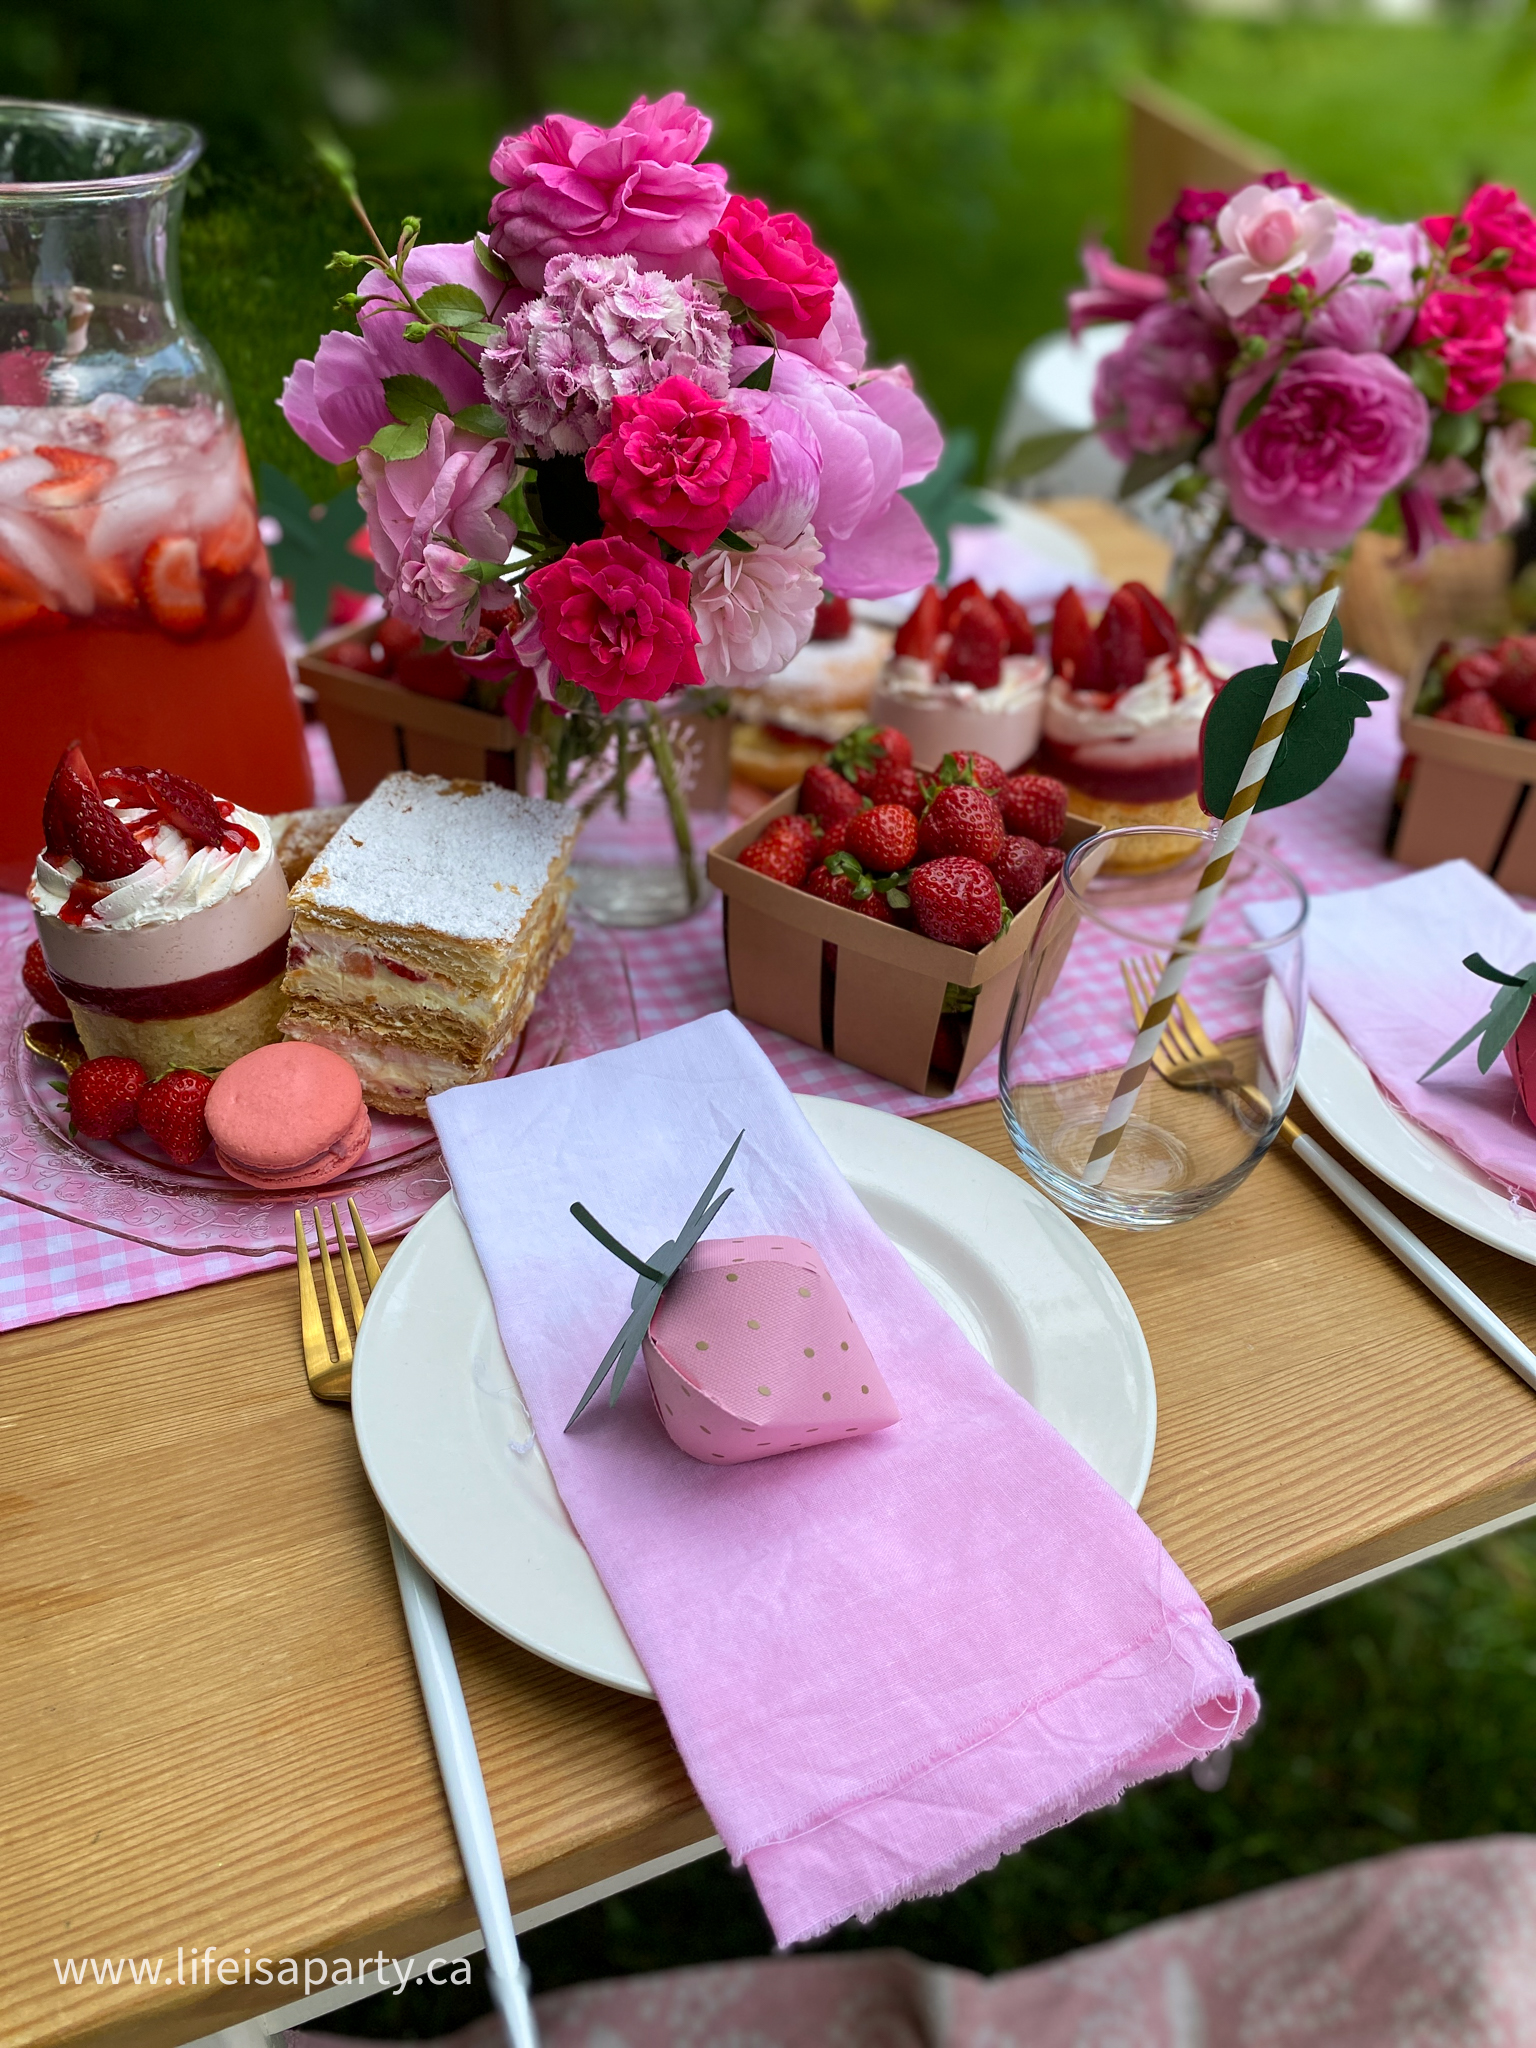
To assemble the strawberry use hot glue to glue it together. Don't forget to add a treat inside as you glue. We included some indivudiually wrapped strawberry chocolates in ours. These are perfect as a party favor for guest to take home. They look so cute on each person's plate setting, waiting for them to arrive and enjoy. You could even add favor tags, or names to use as place cards.
Strawberry Themed Party Straws
I couldn't resist making some strawberry themed straws for our picnic. Using the "strawberry social paper straw topper" design from Cricut Design Space, or look for our cut file in Cricut Design Space here.
I used green instead of brown card stock, and I made some in red and some in pink.
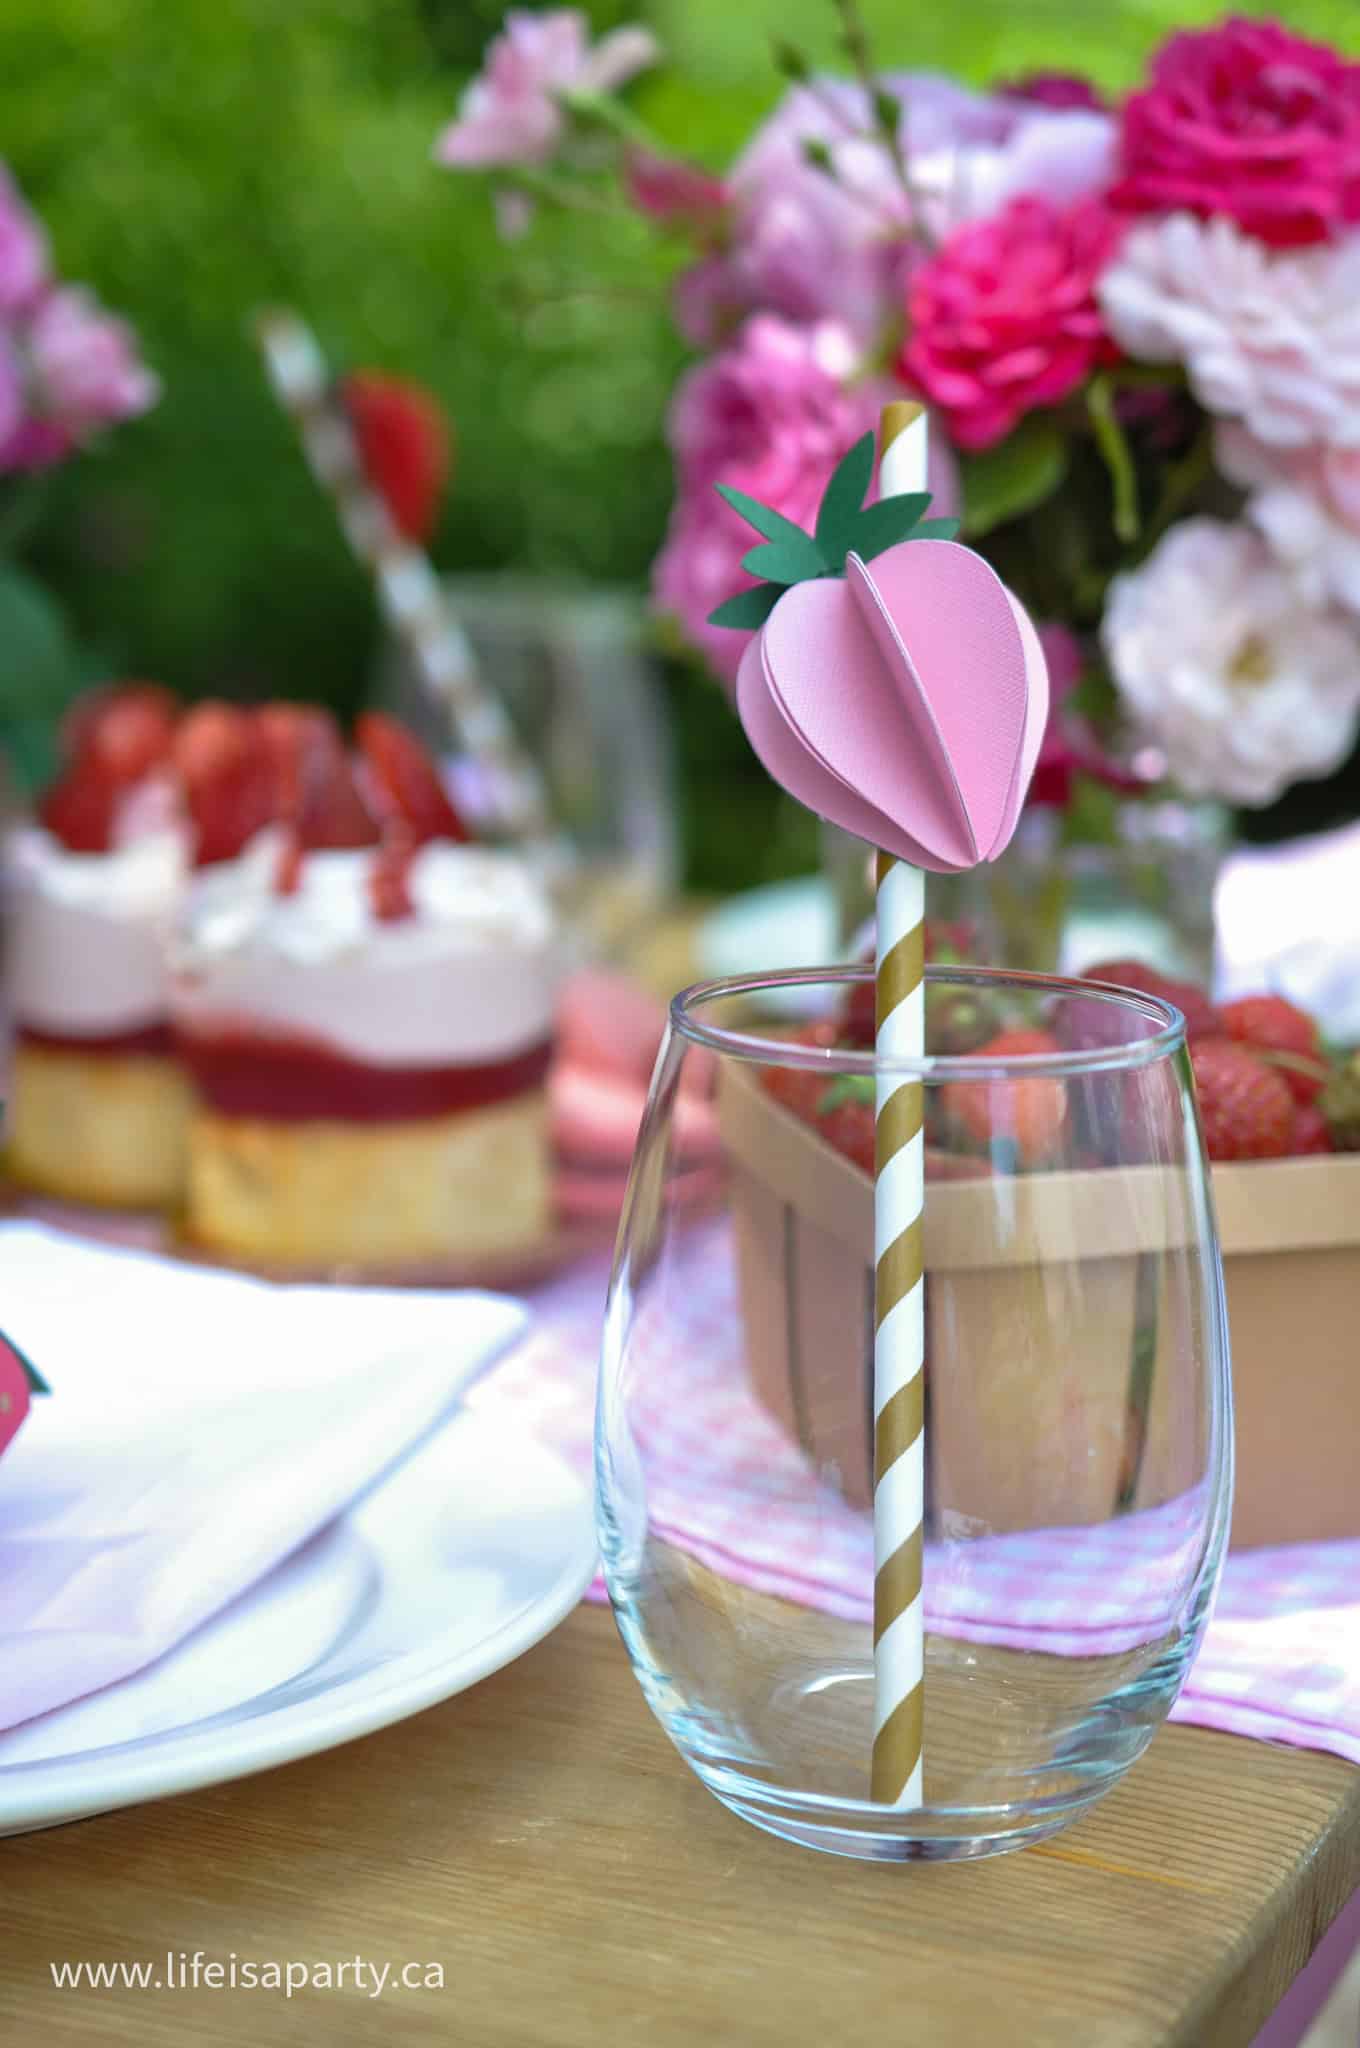
To assemble them, fold over the strawberries on the score line, and glue 4 of them together to make a fan shape, then glue them to the backing and add the leaves to the top of the strawberries. Lastly hot glue your strawberry to a paper green, red, gold, or pink straw. These would also make really adorable cupcake toppers in strawberry cupcakes too, just hot glue them to a toothpick instead of a straw. You could even adjust the size of these in Cricut Design Space and use them to make a cute strawberry themed banner.
Strawberry Picnic Table
Once you've made all your strawberry theme party supplies with your Cricut, it's time to set up our strawberry picnic party! We started by finding a shady spot with enough space in the backyard for our party area. This would be a lovely set up a local park or lake too.
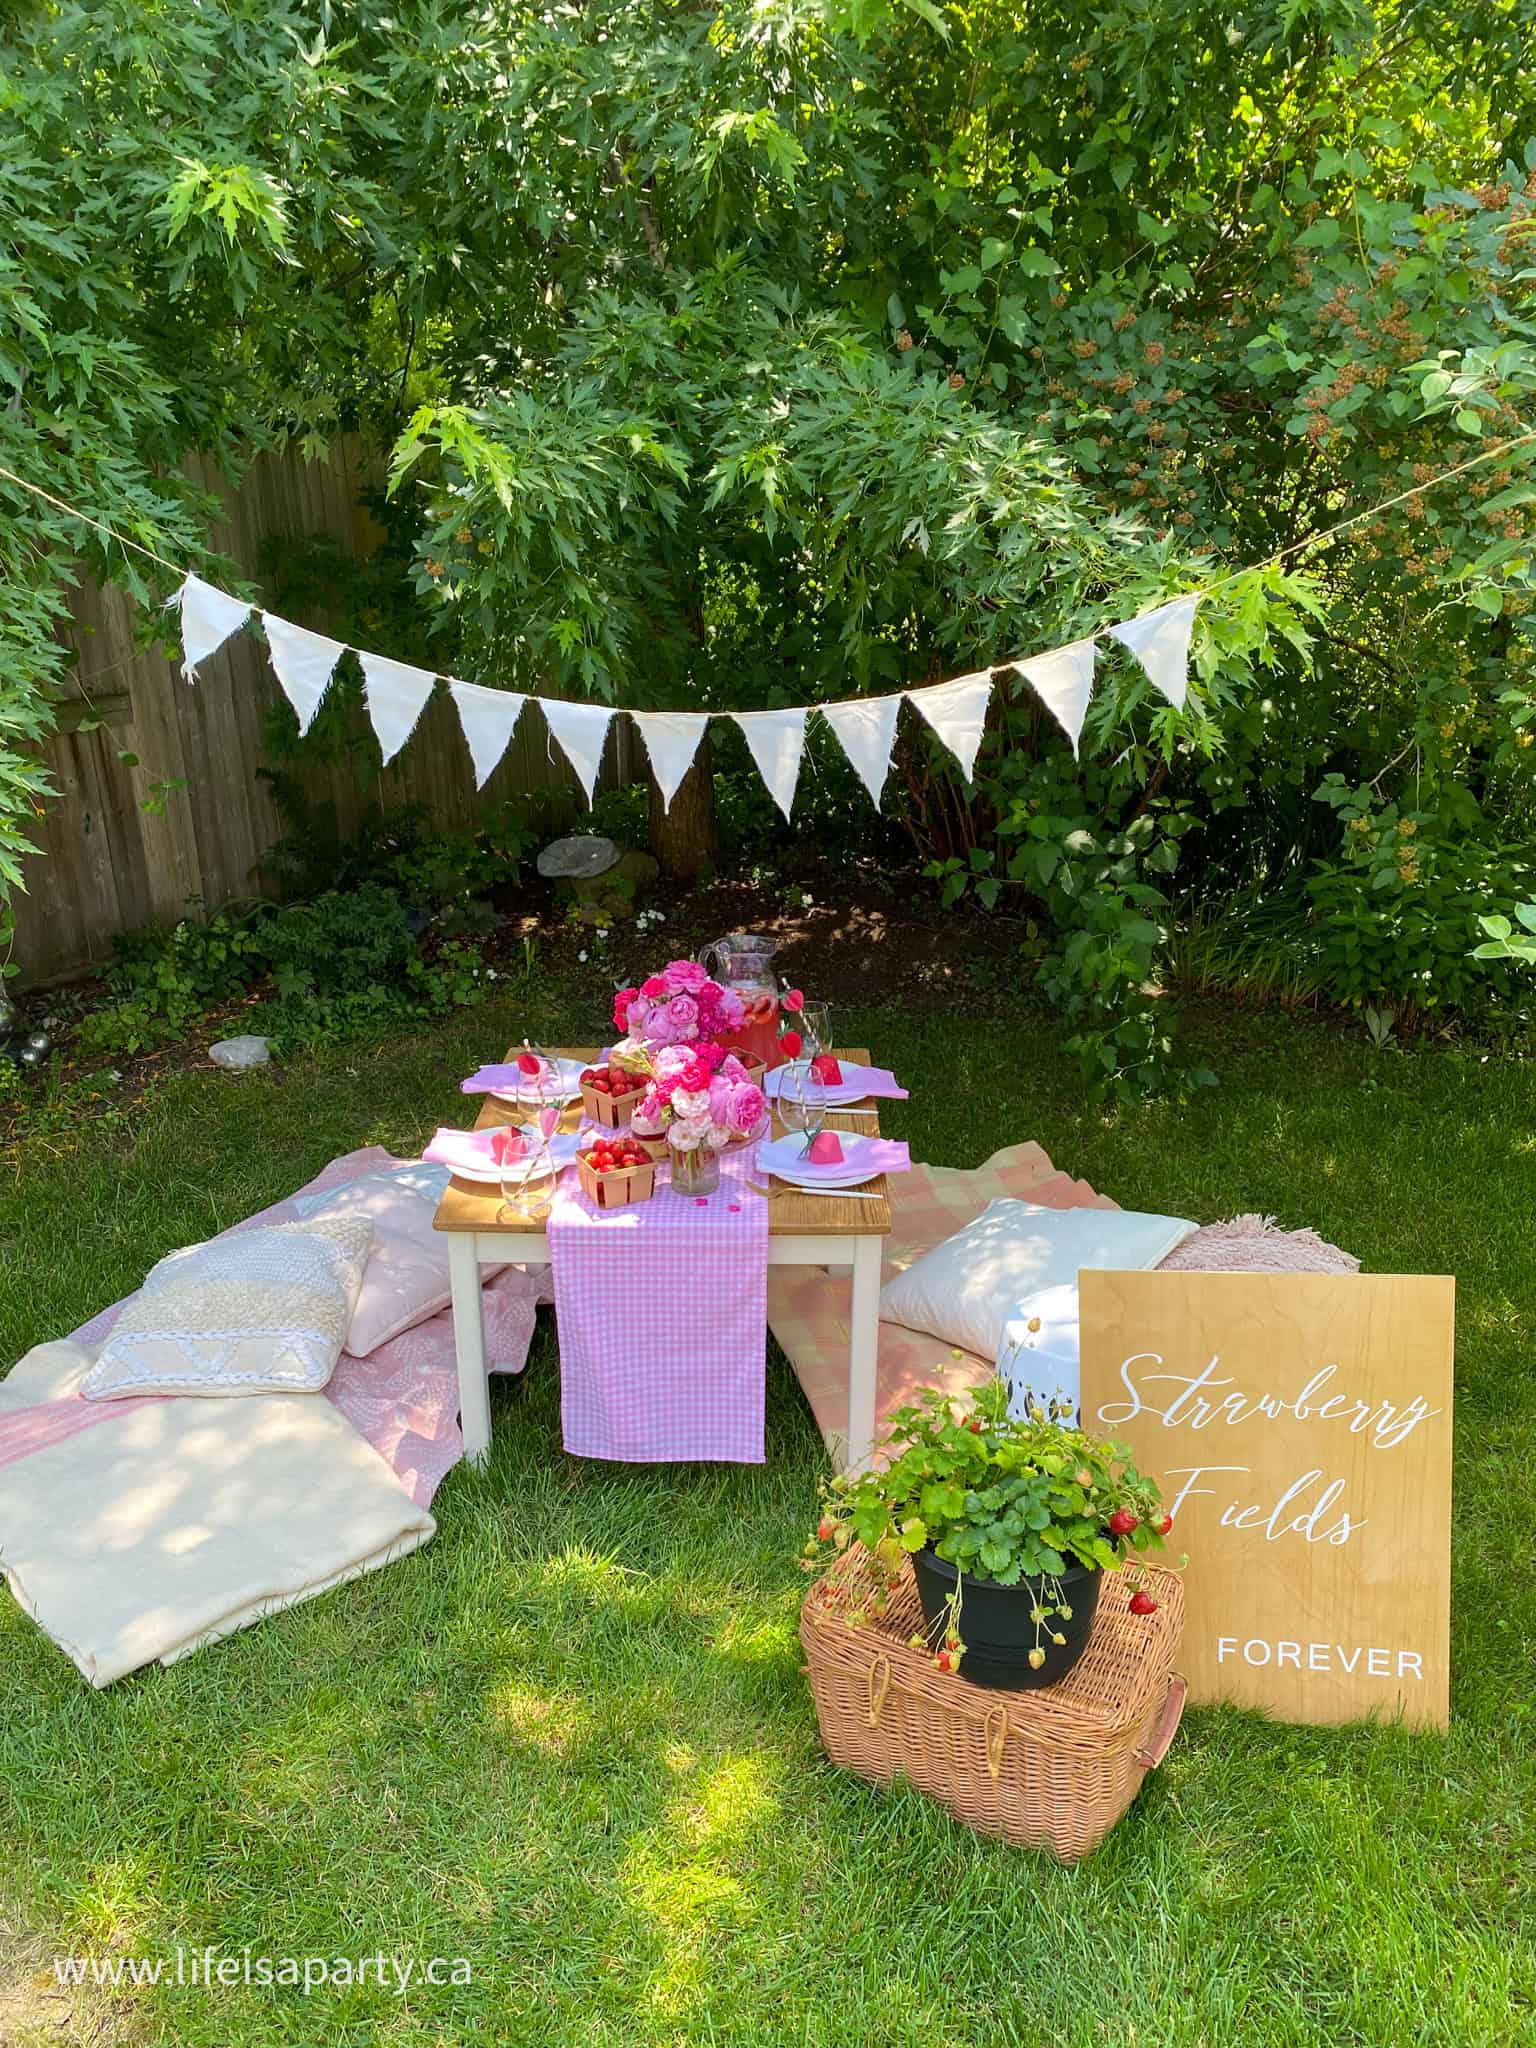
Blankets and Throws for Lounging
We layed out some blankets, throws, and pillows for lounging around a short coffee table. And overhead we strung some simple picnic bunting in the branches. The bunting was super easy to make using an old cut up inexpensive white table cloth, some hot glue, and twine. Using a small table for a picnic allows you to set a really beautiful table and not worry about spilling, but to still enjoying sitting around the table on the ground. The best of both worlds.
Flowers and Strawberries Centrepiece
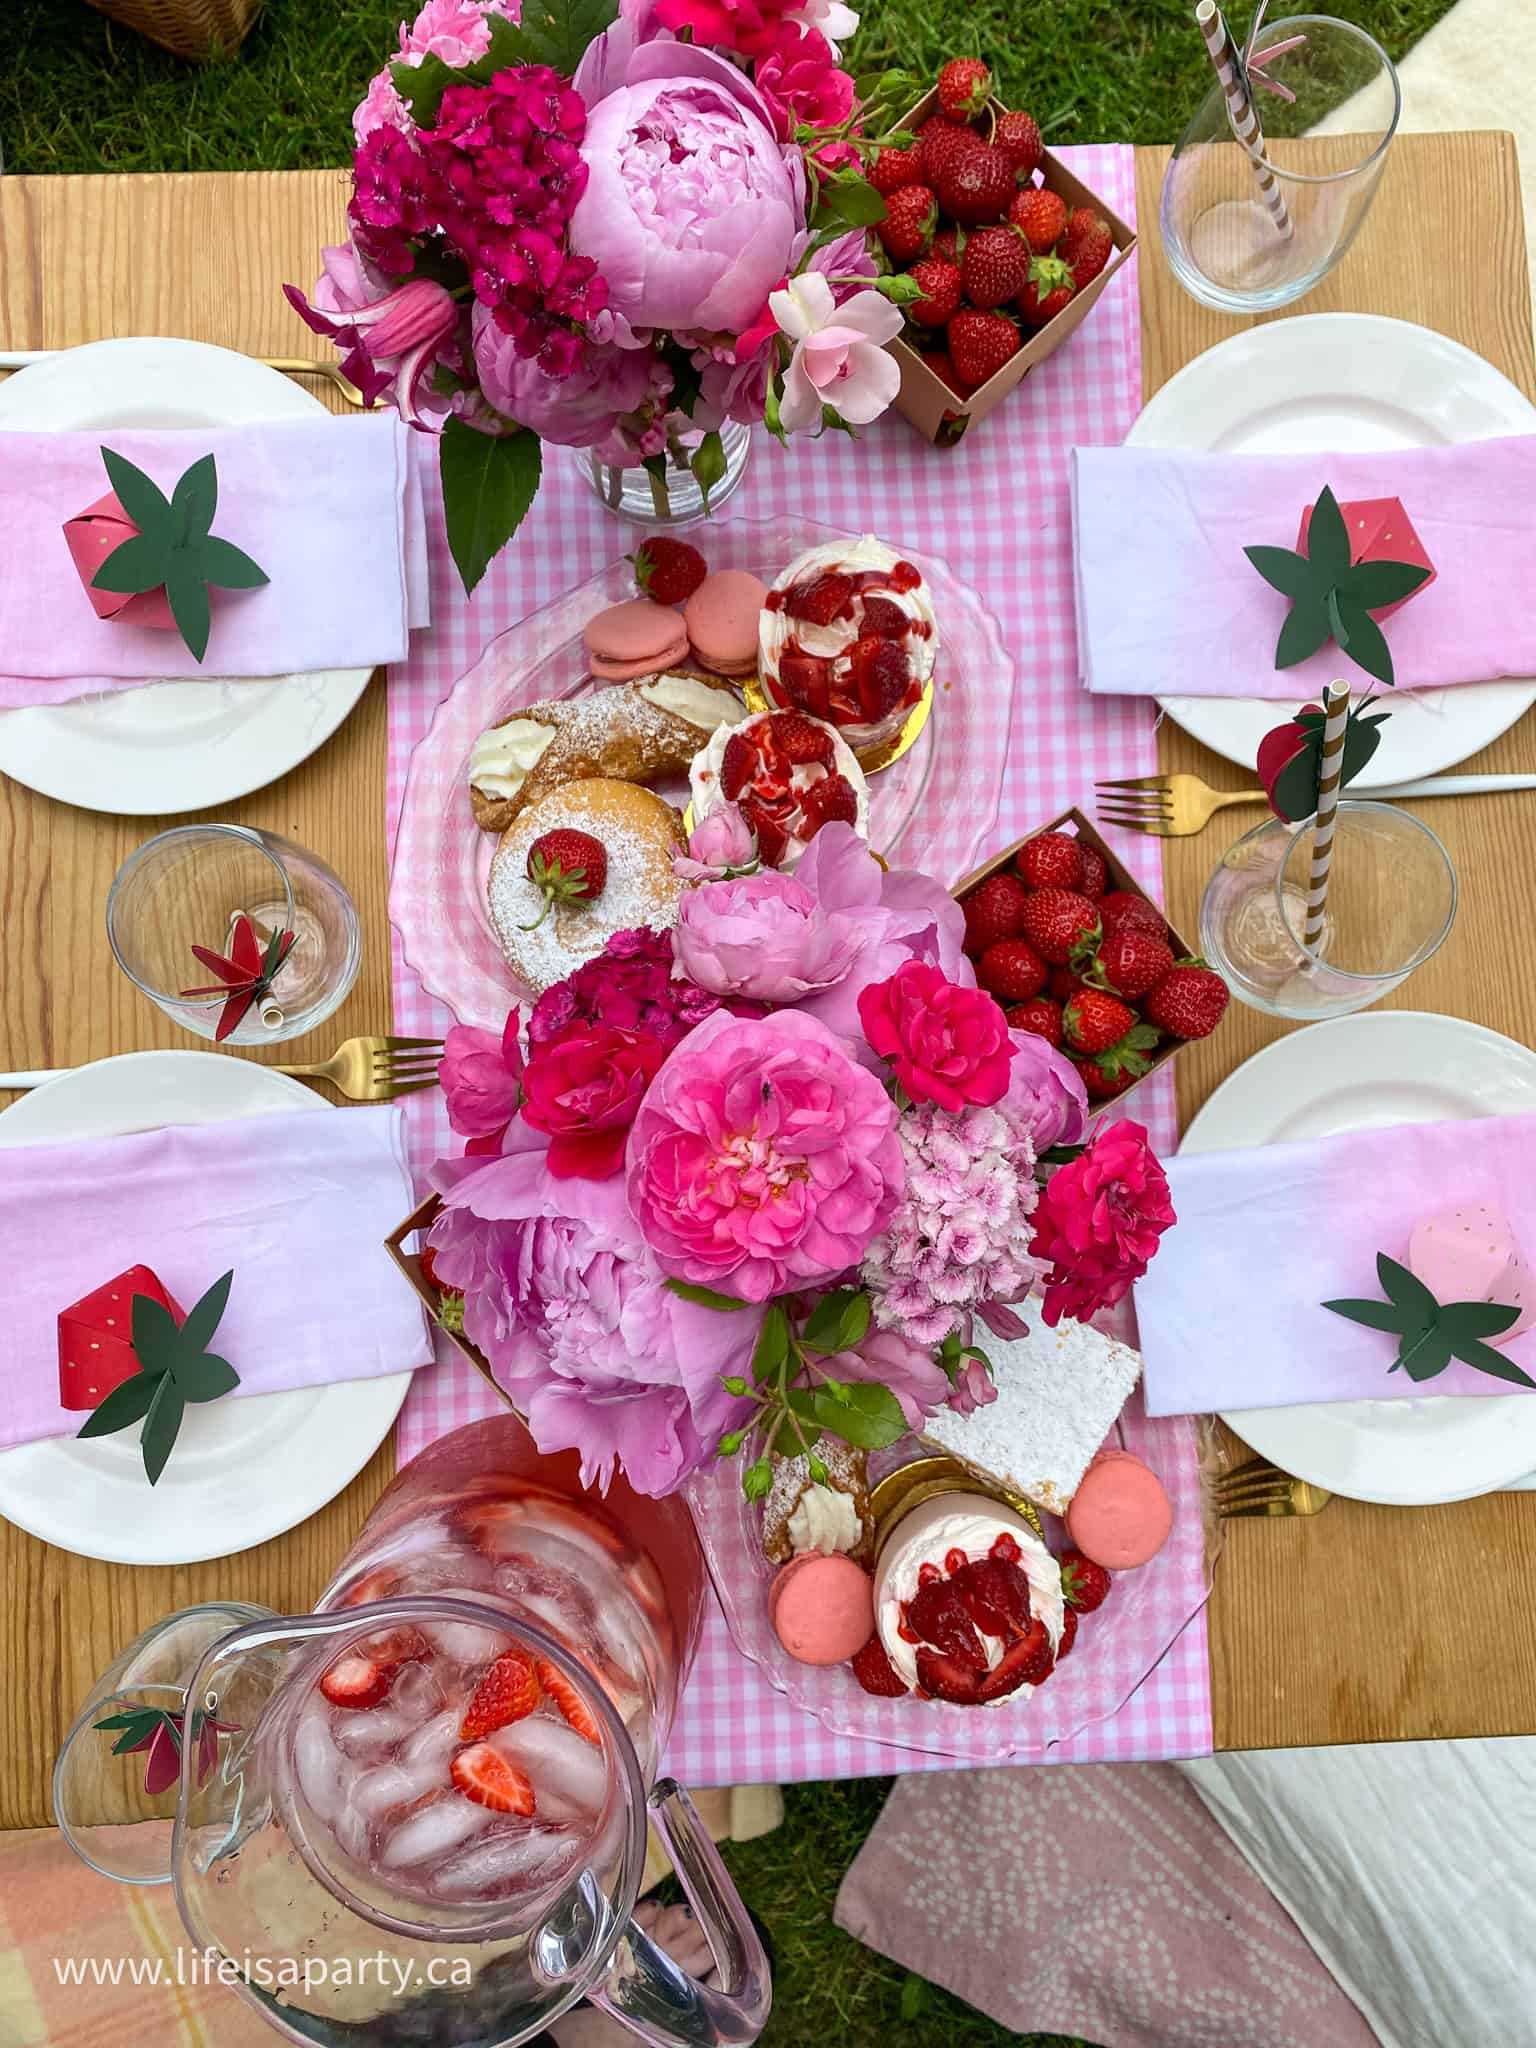
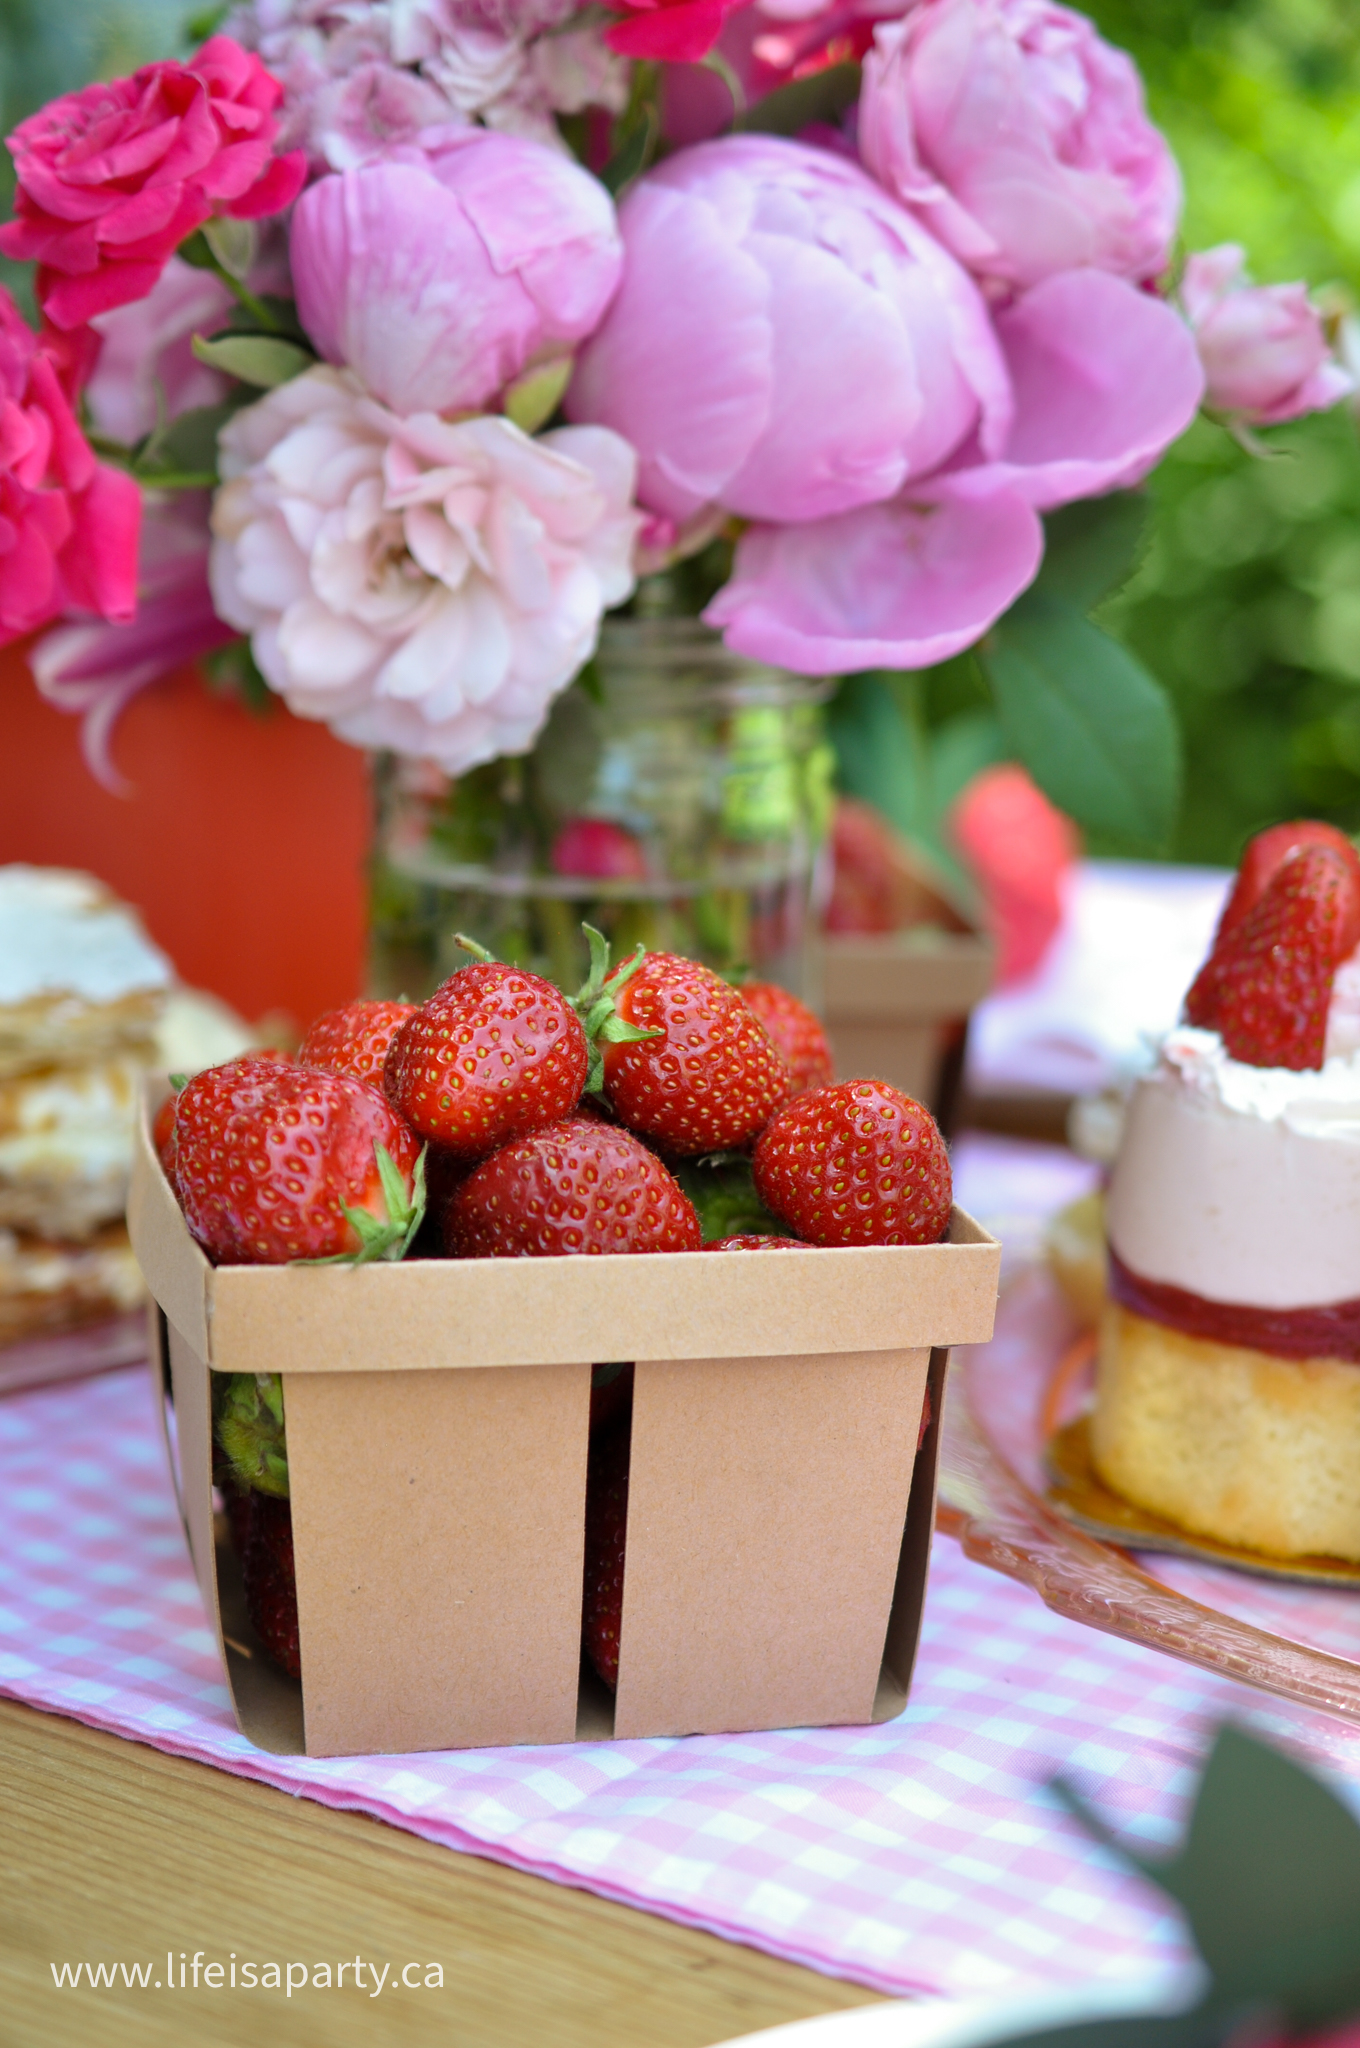
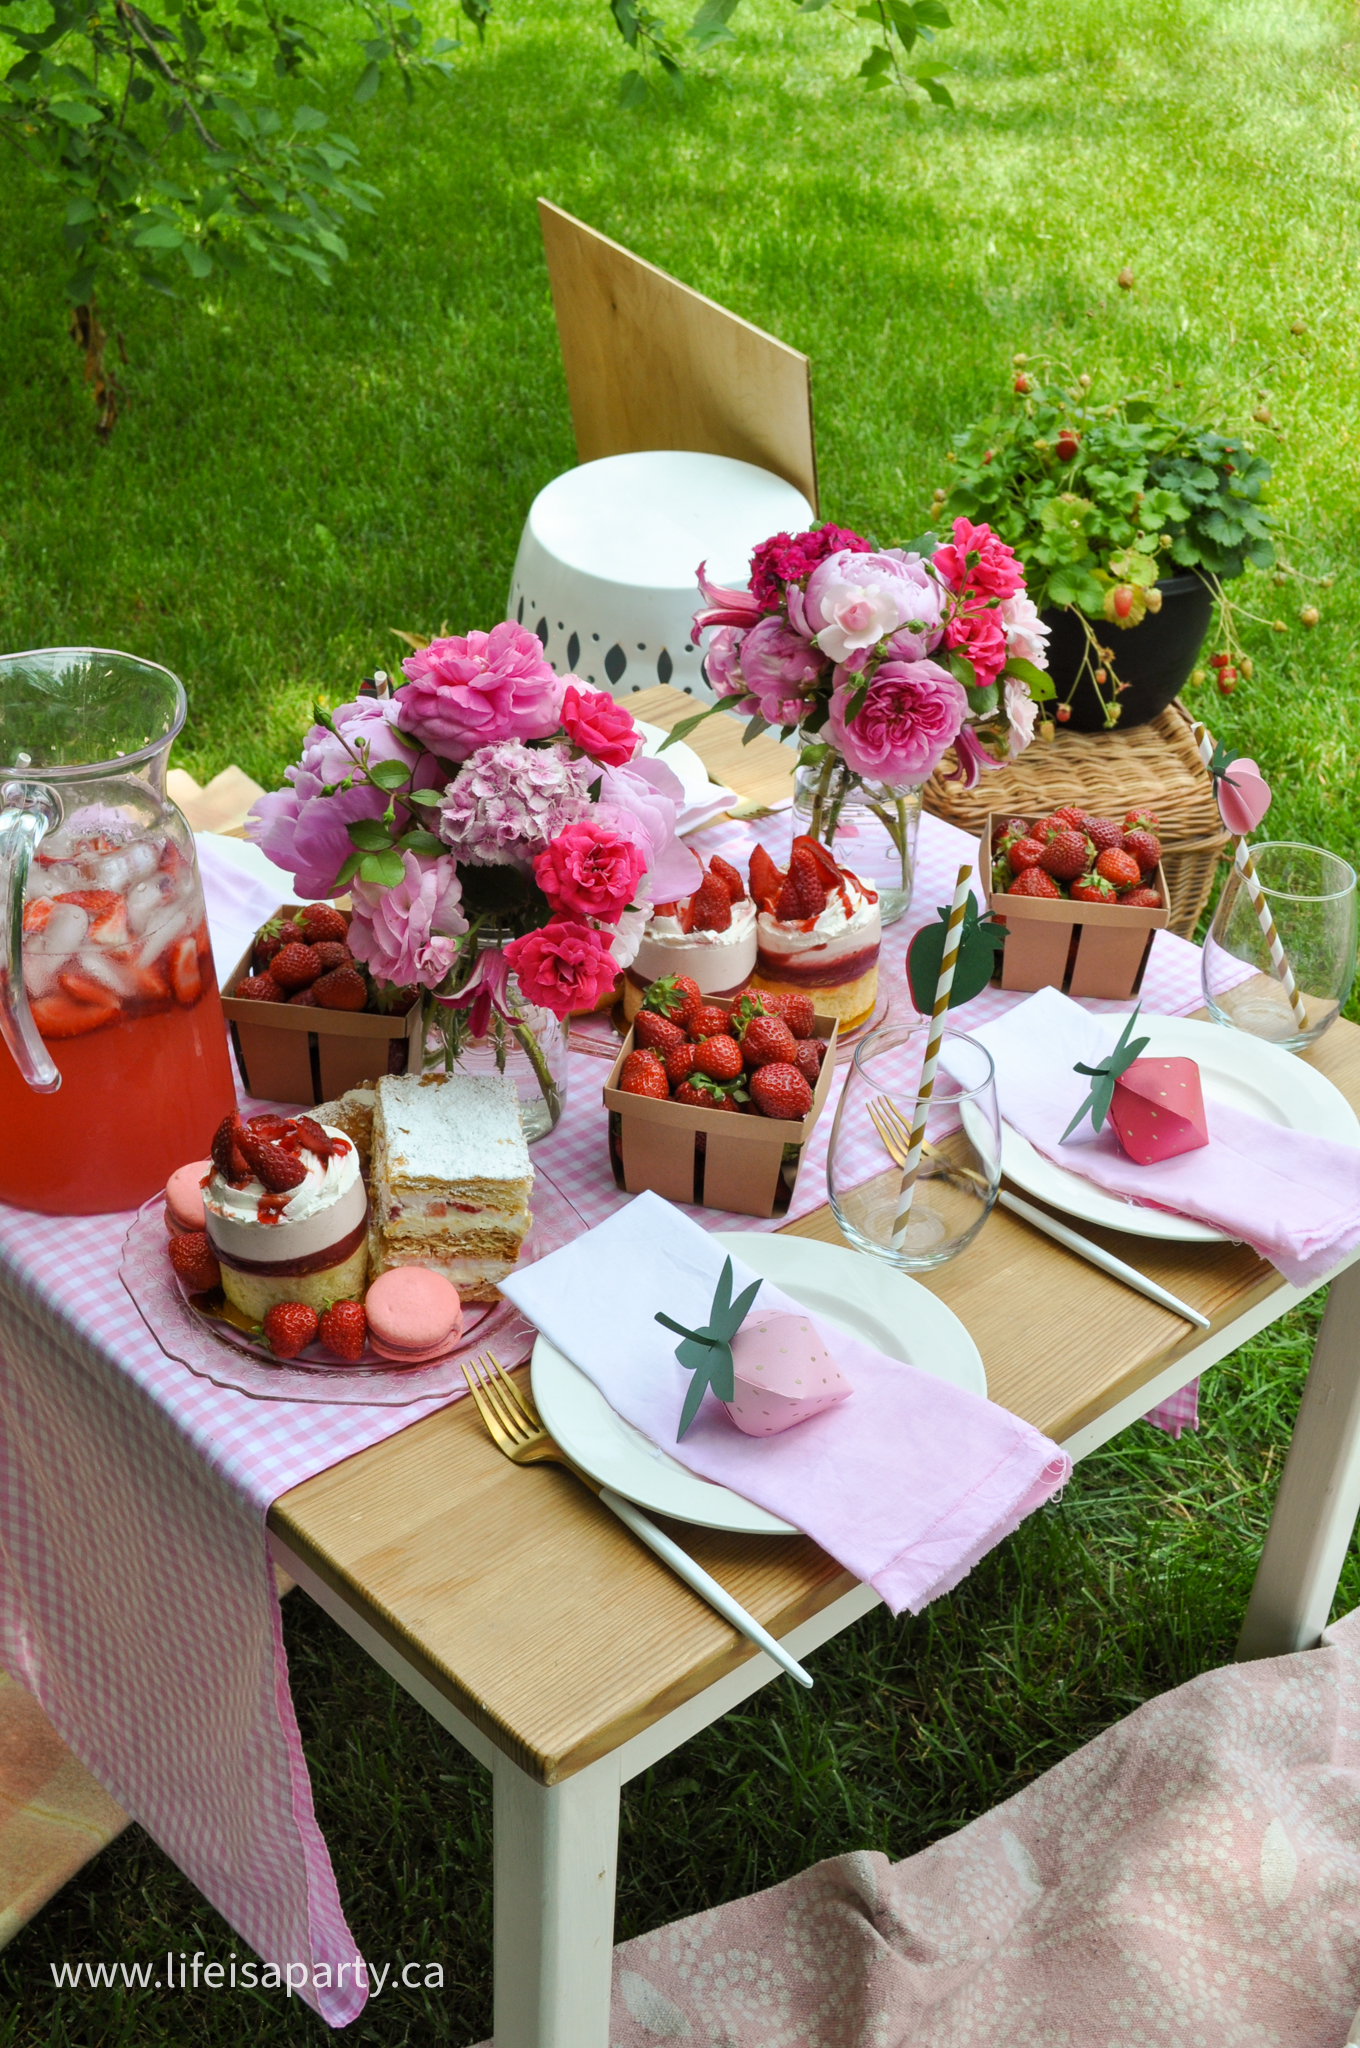
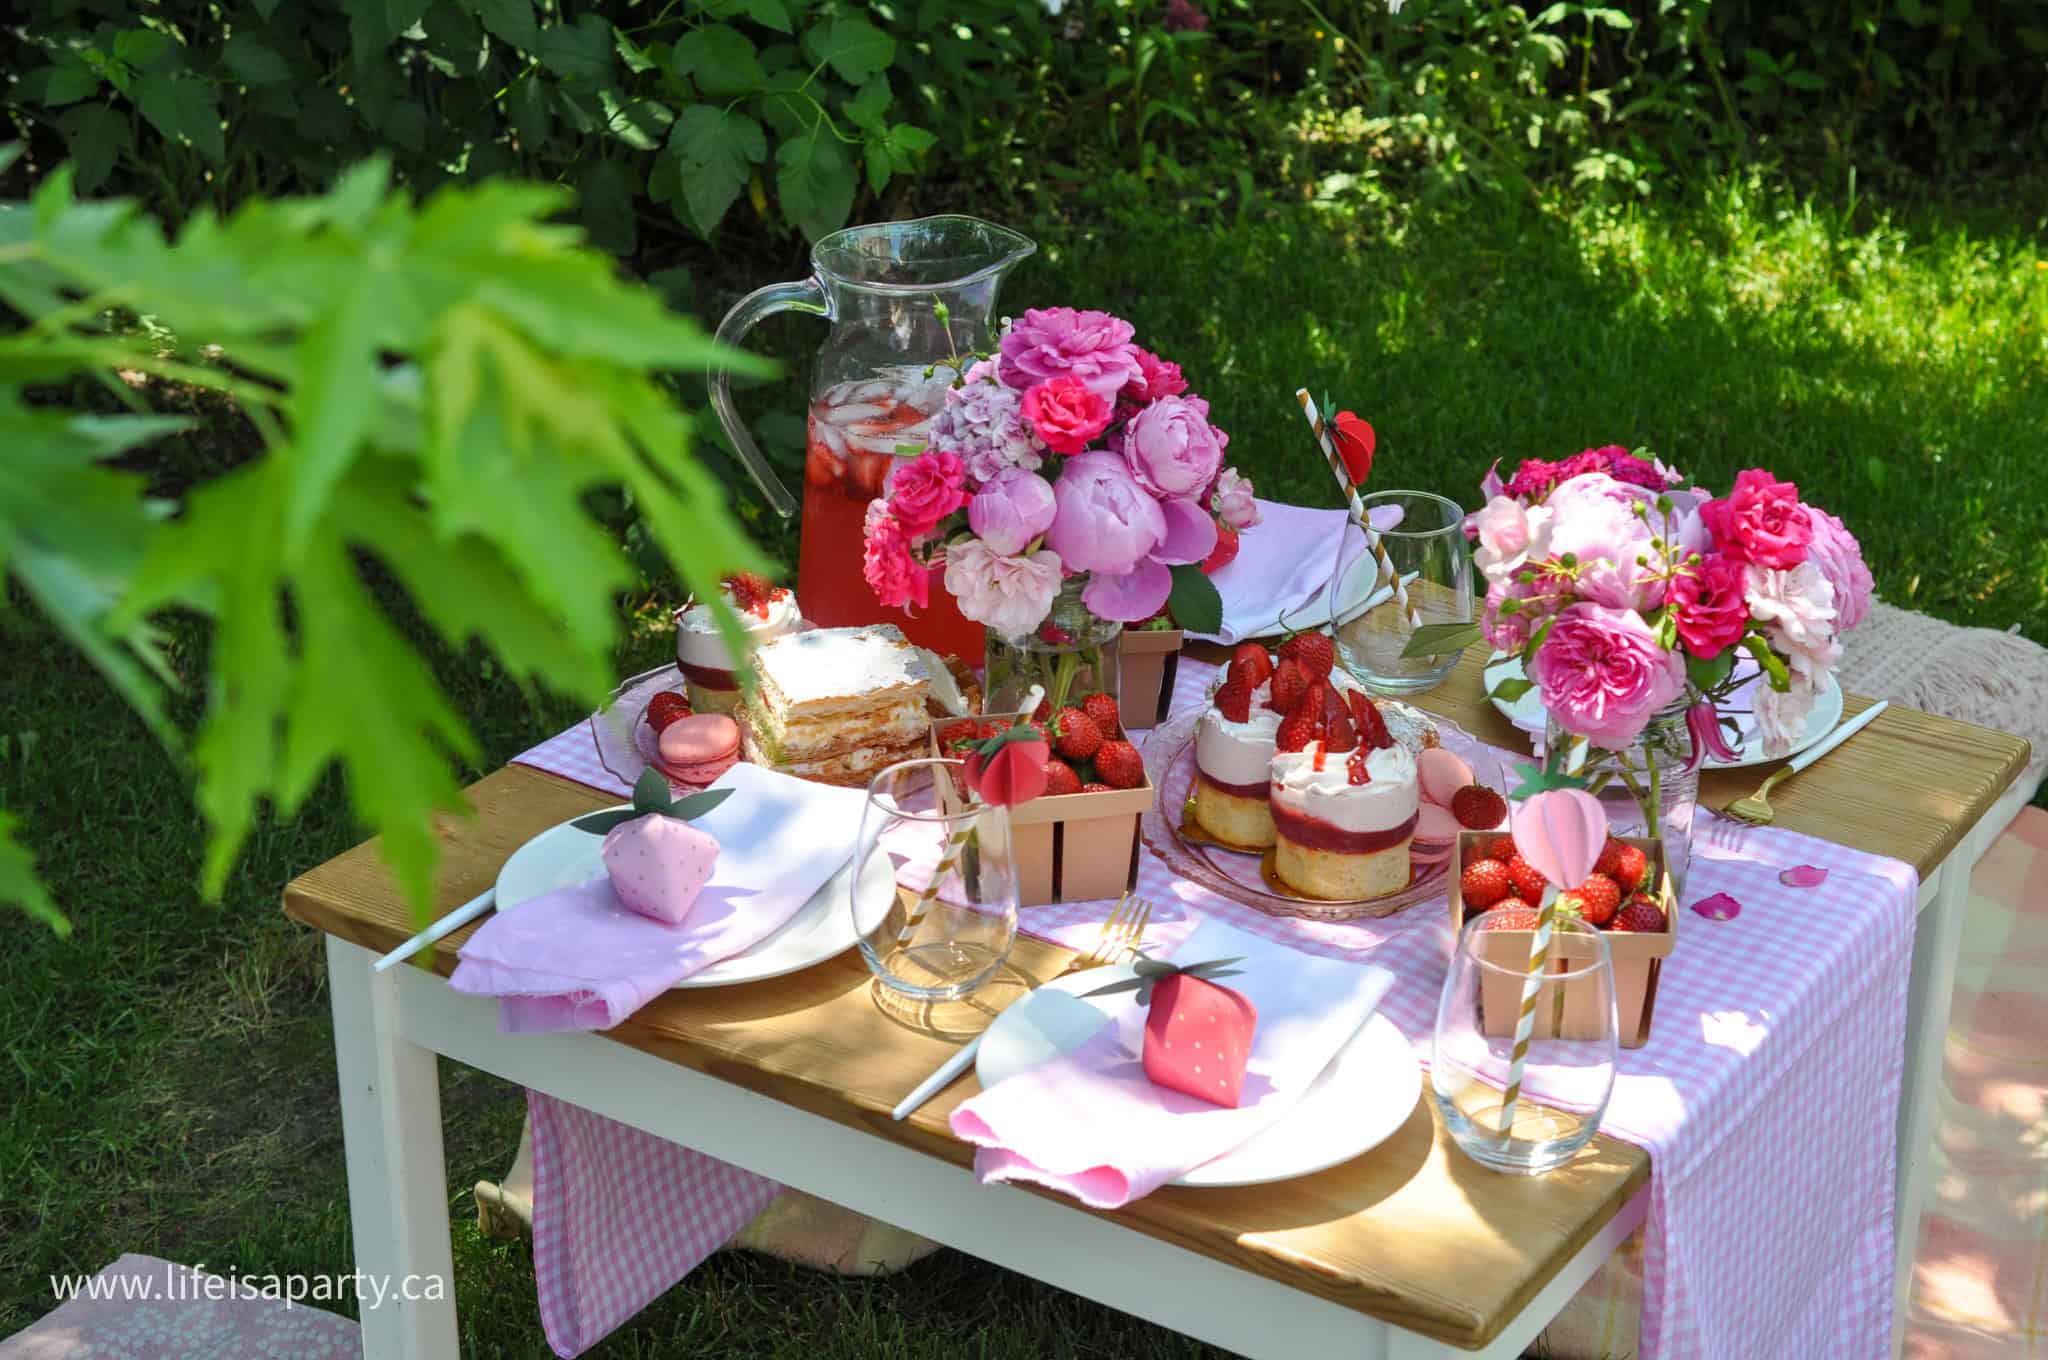
To set the table I layered a pretty pink gingham table runner. Gingham is always perfect for a picnic setting, and helps set the mood. We went with a beautiful red and pink color scheme for our adorable theme. Down the centre of the table I wanted to use lots of strawberries and flowers. We filled our DIY strawberry baskets with lots of ripe strawberries to enjoy while we gathered.
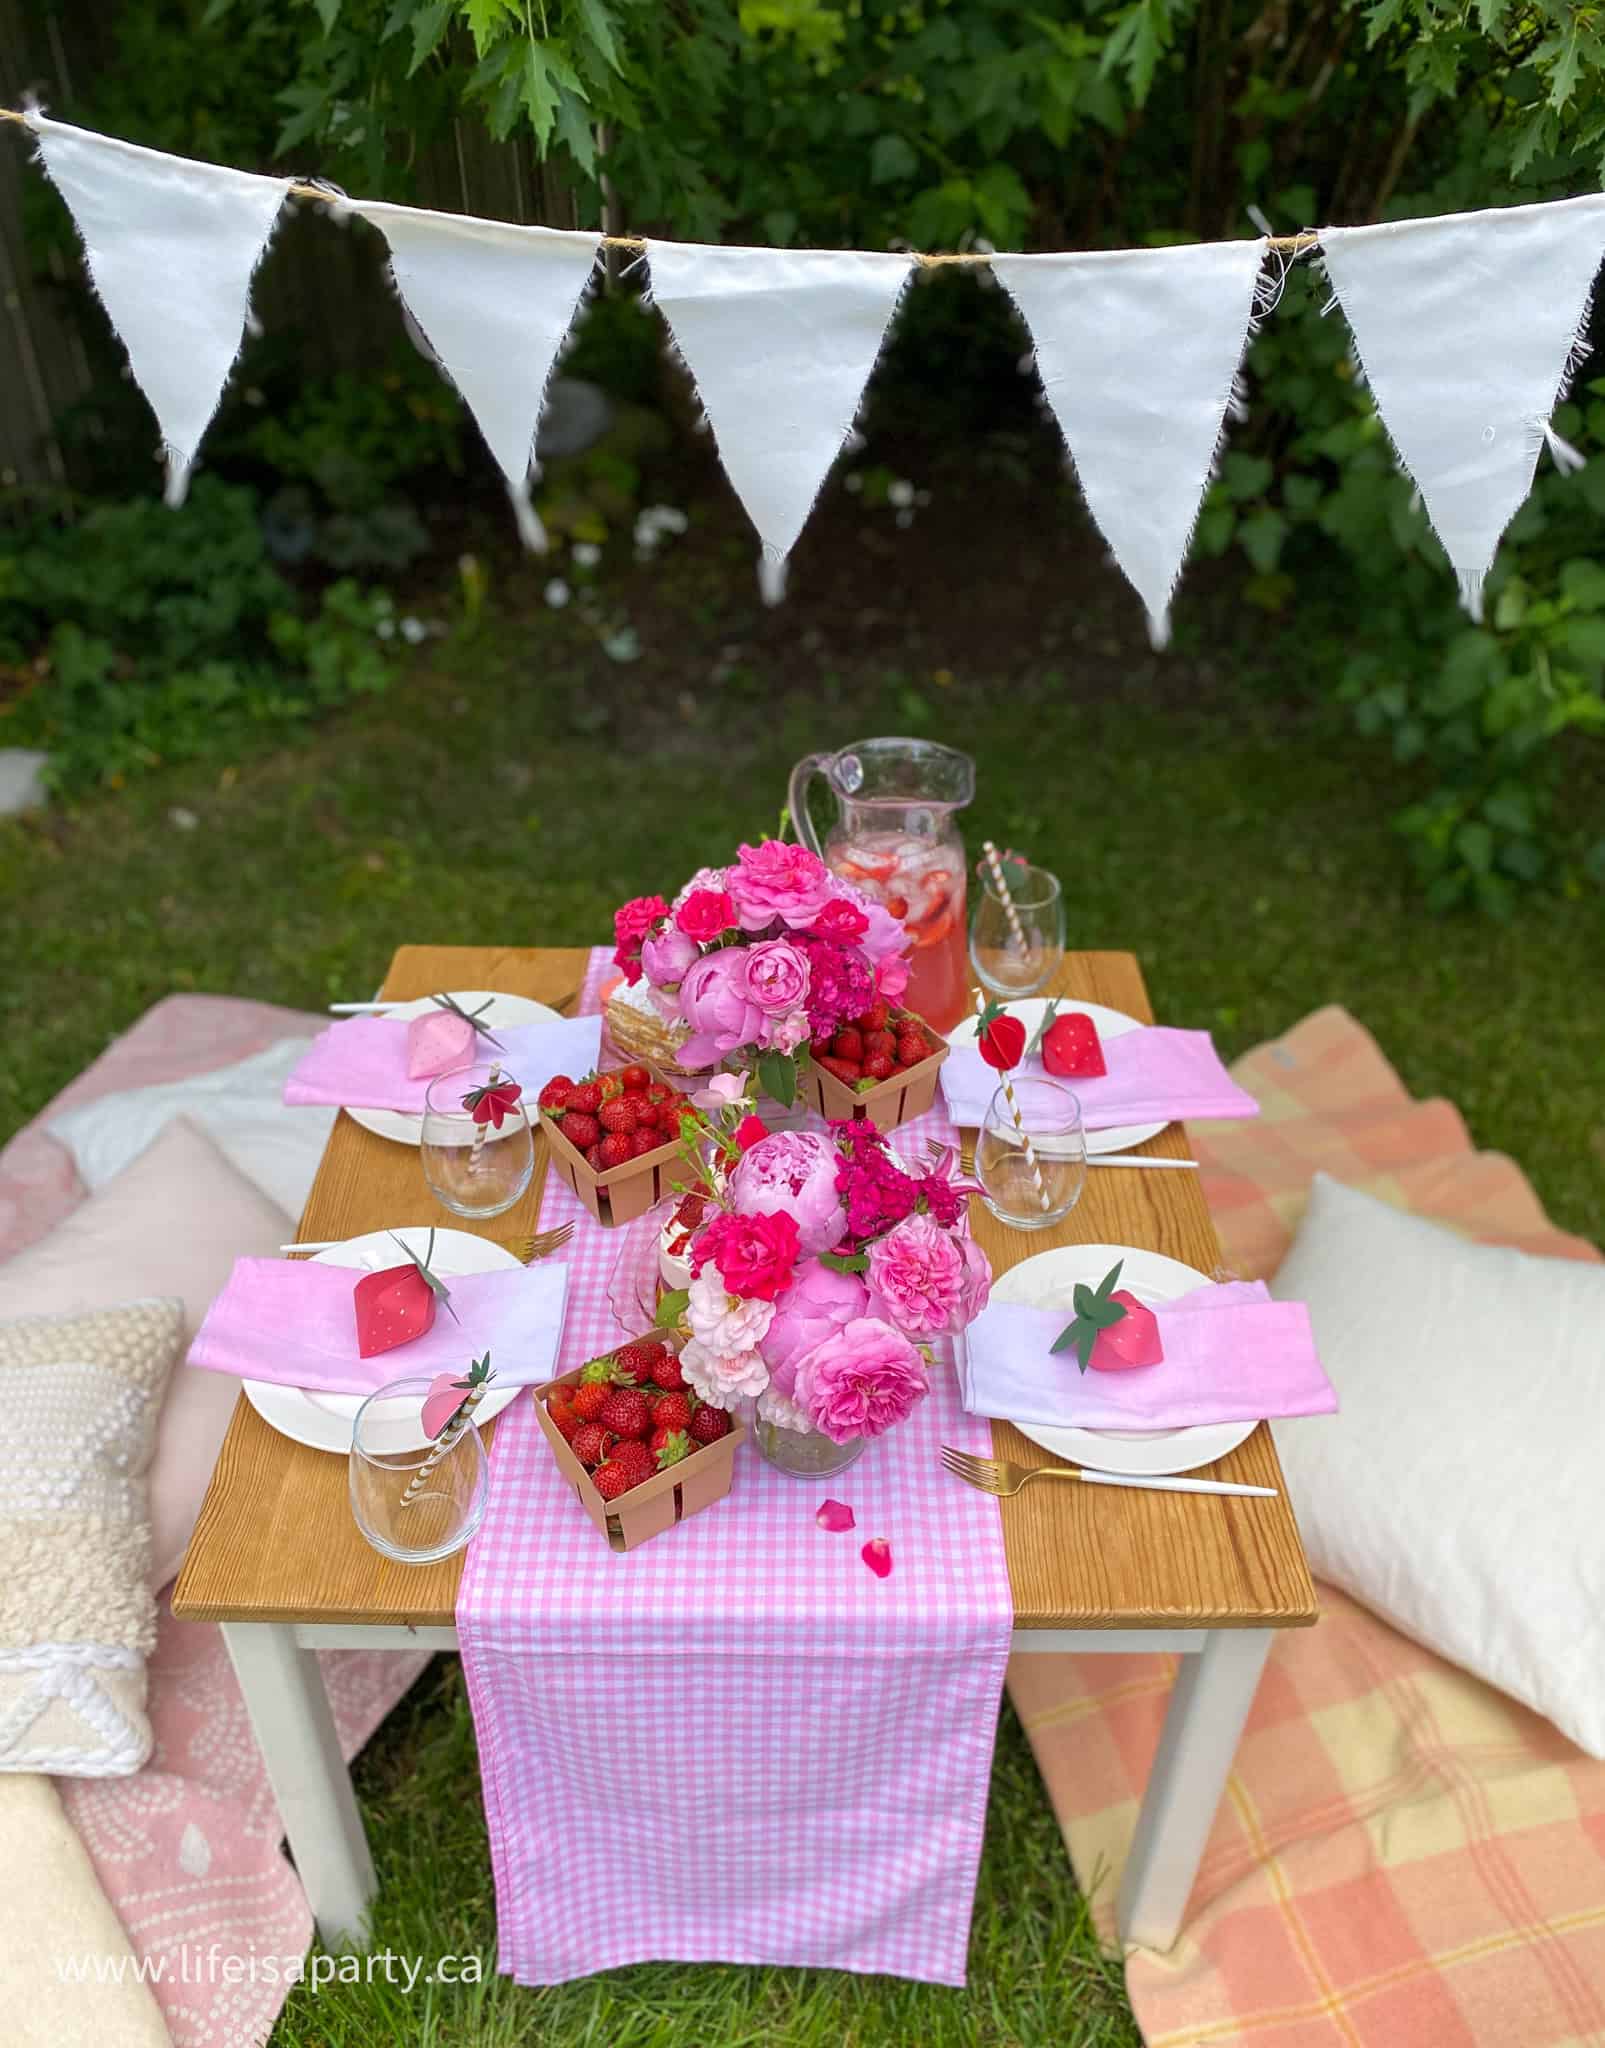
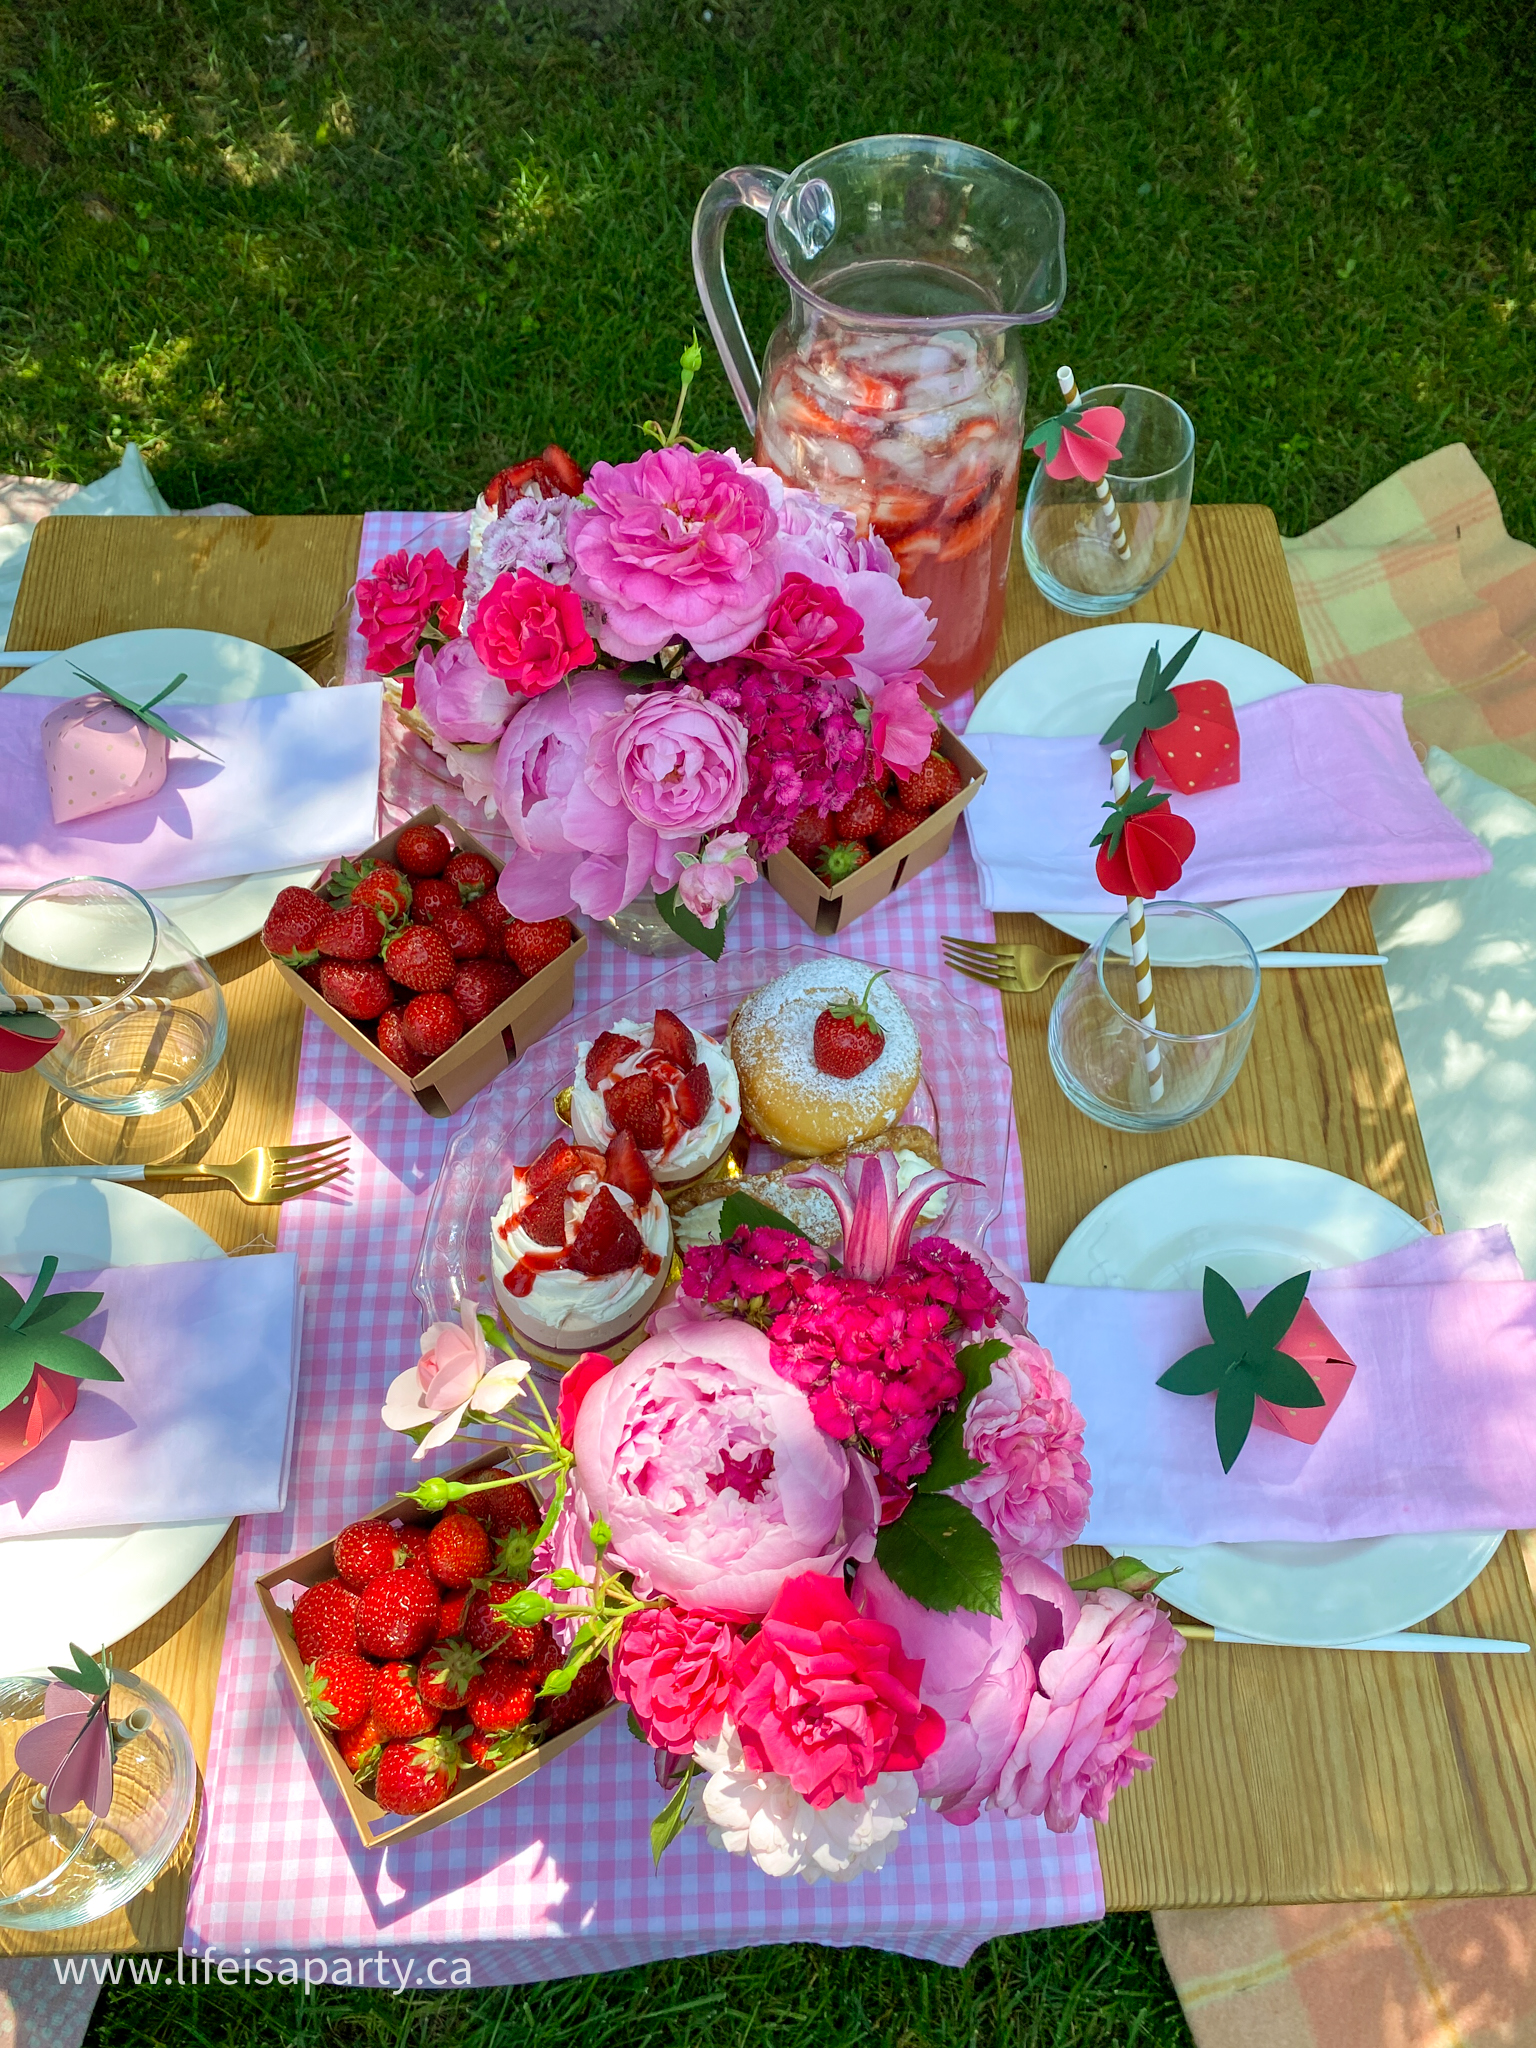
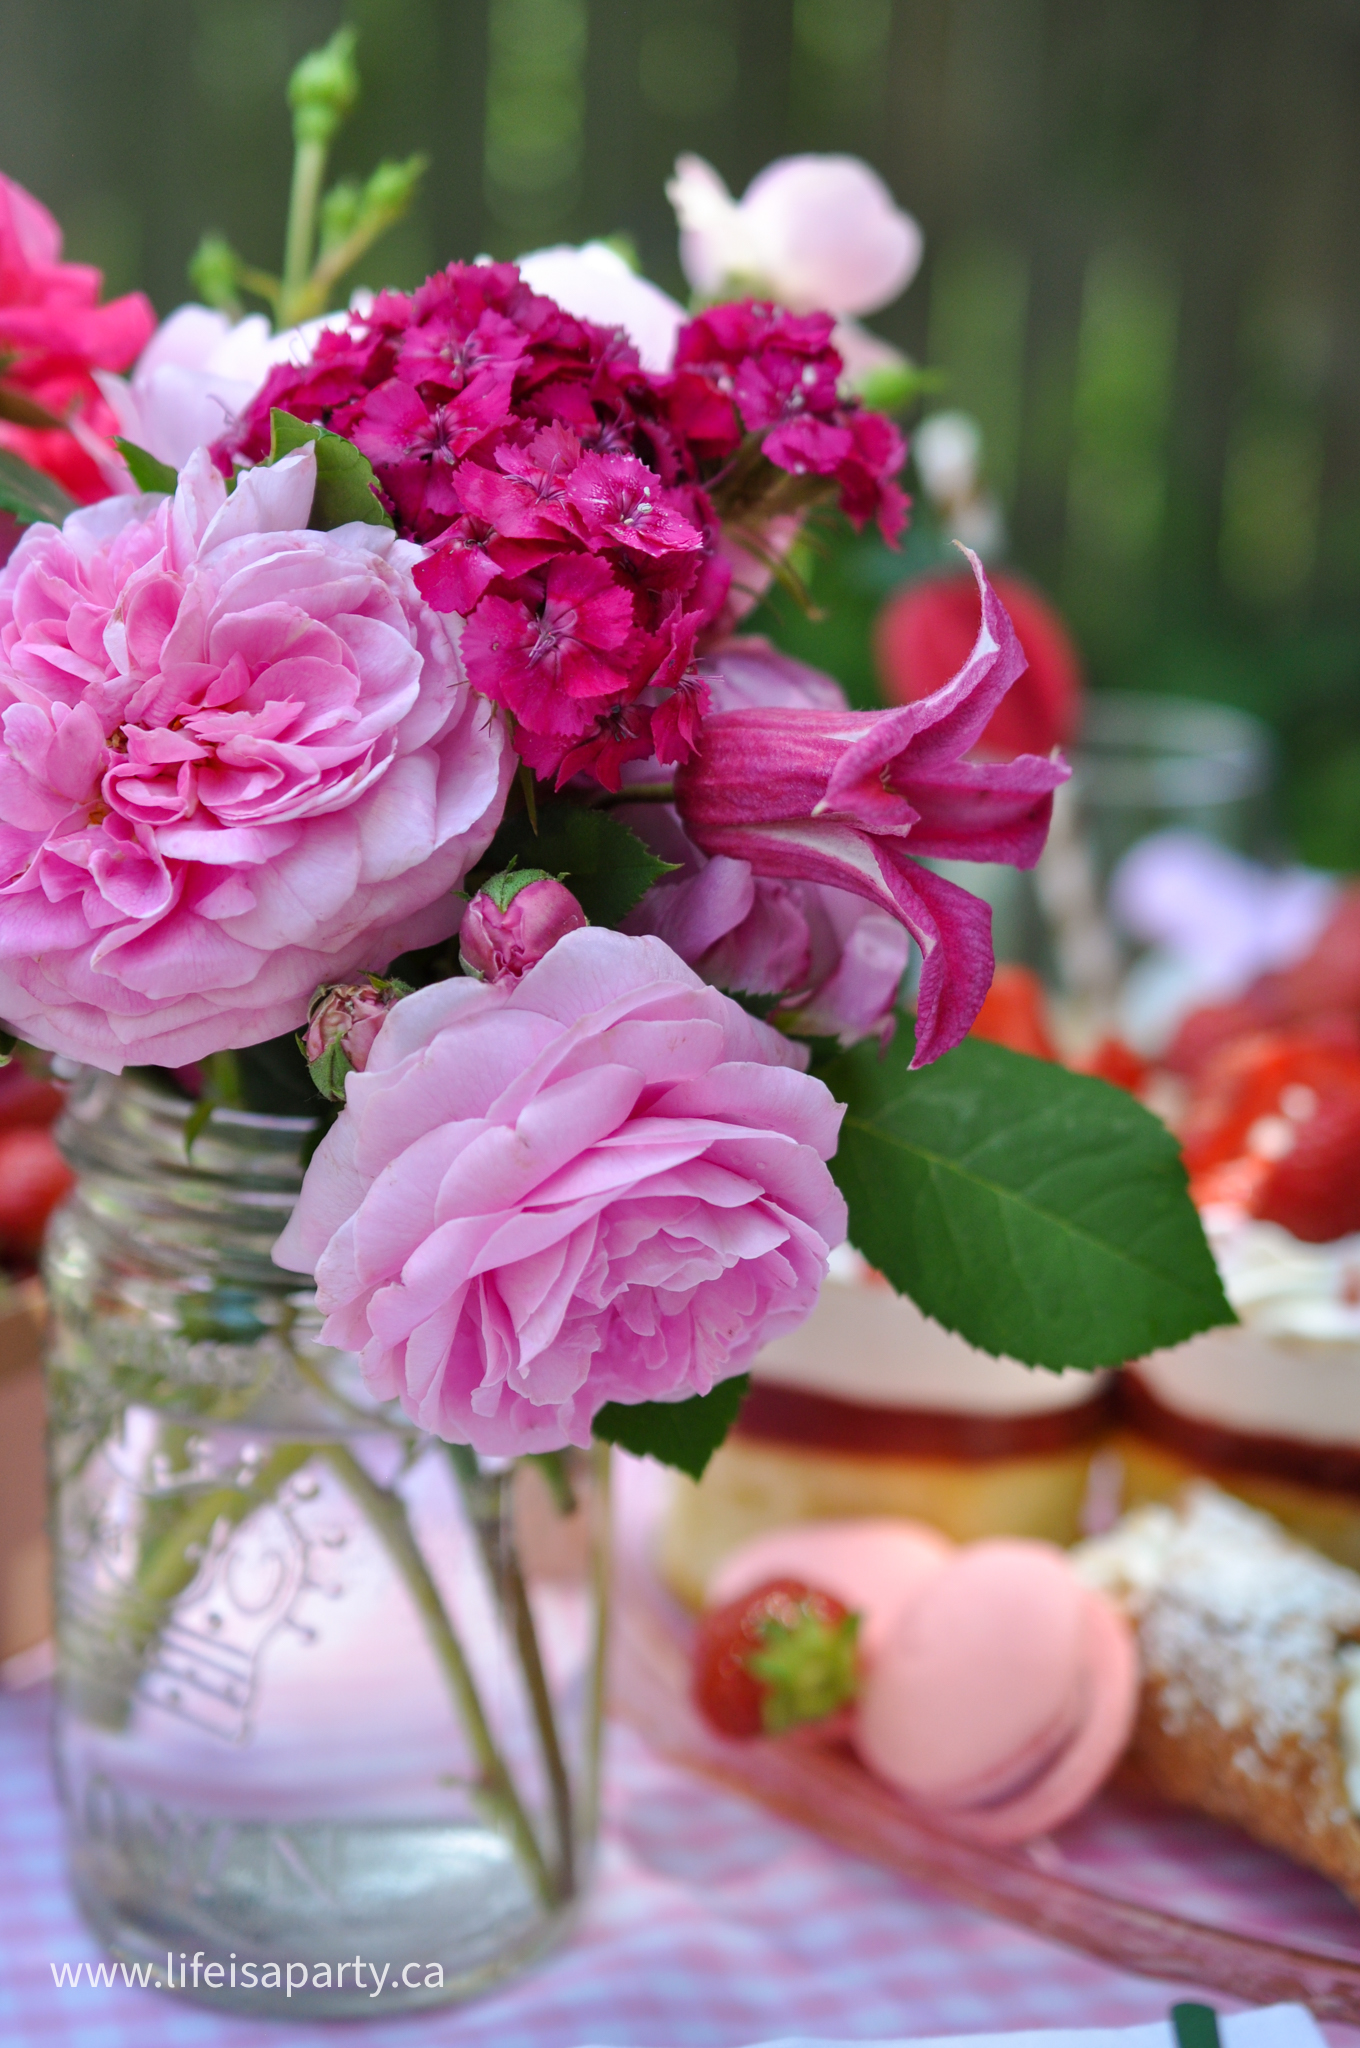
The table was also decorated with some beautiful red and pink flowers. We used garden roses, sweet william and peonies. I thought it would be a fun node to our theme to use some vintage mason jars as the vases, thinking of strawberry jam. If you didn't have vintage jars, upcycling some strawberry jam glass jars from the grocery store would be a great way to continue the theme too. I just love how full and lush our centrepiece of strawberries in our handmade baskets, and flowers turned out.
Guest Welcome
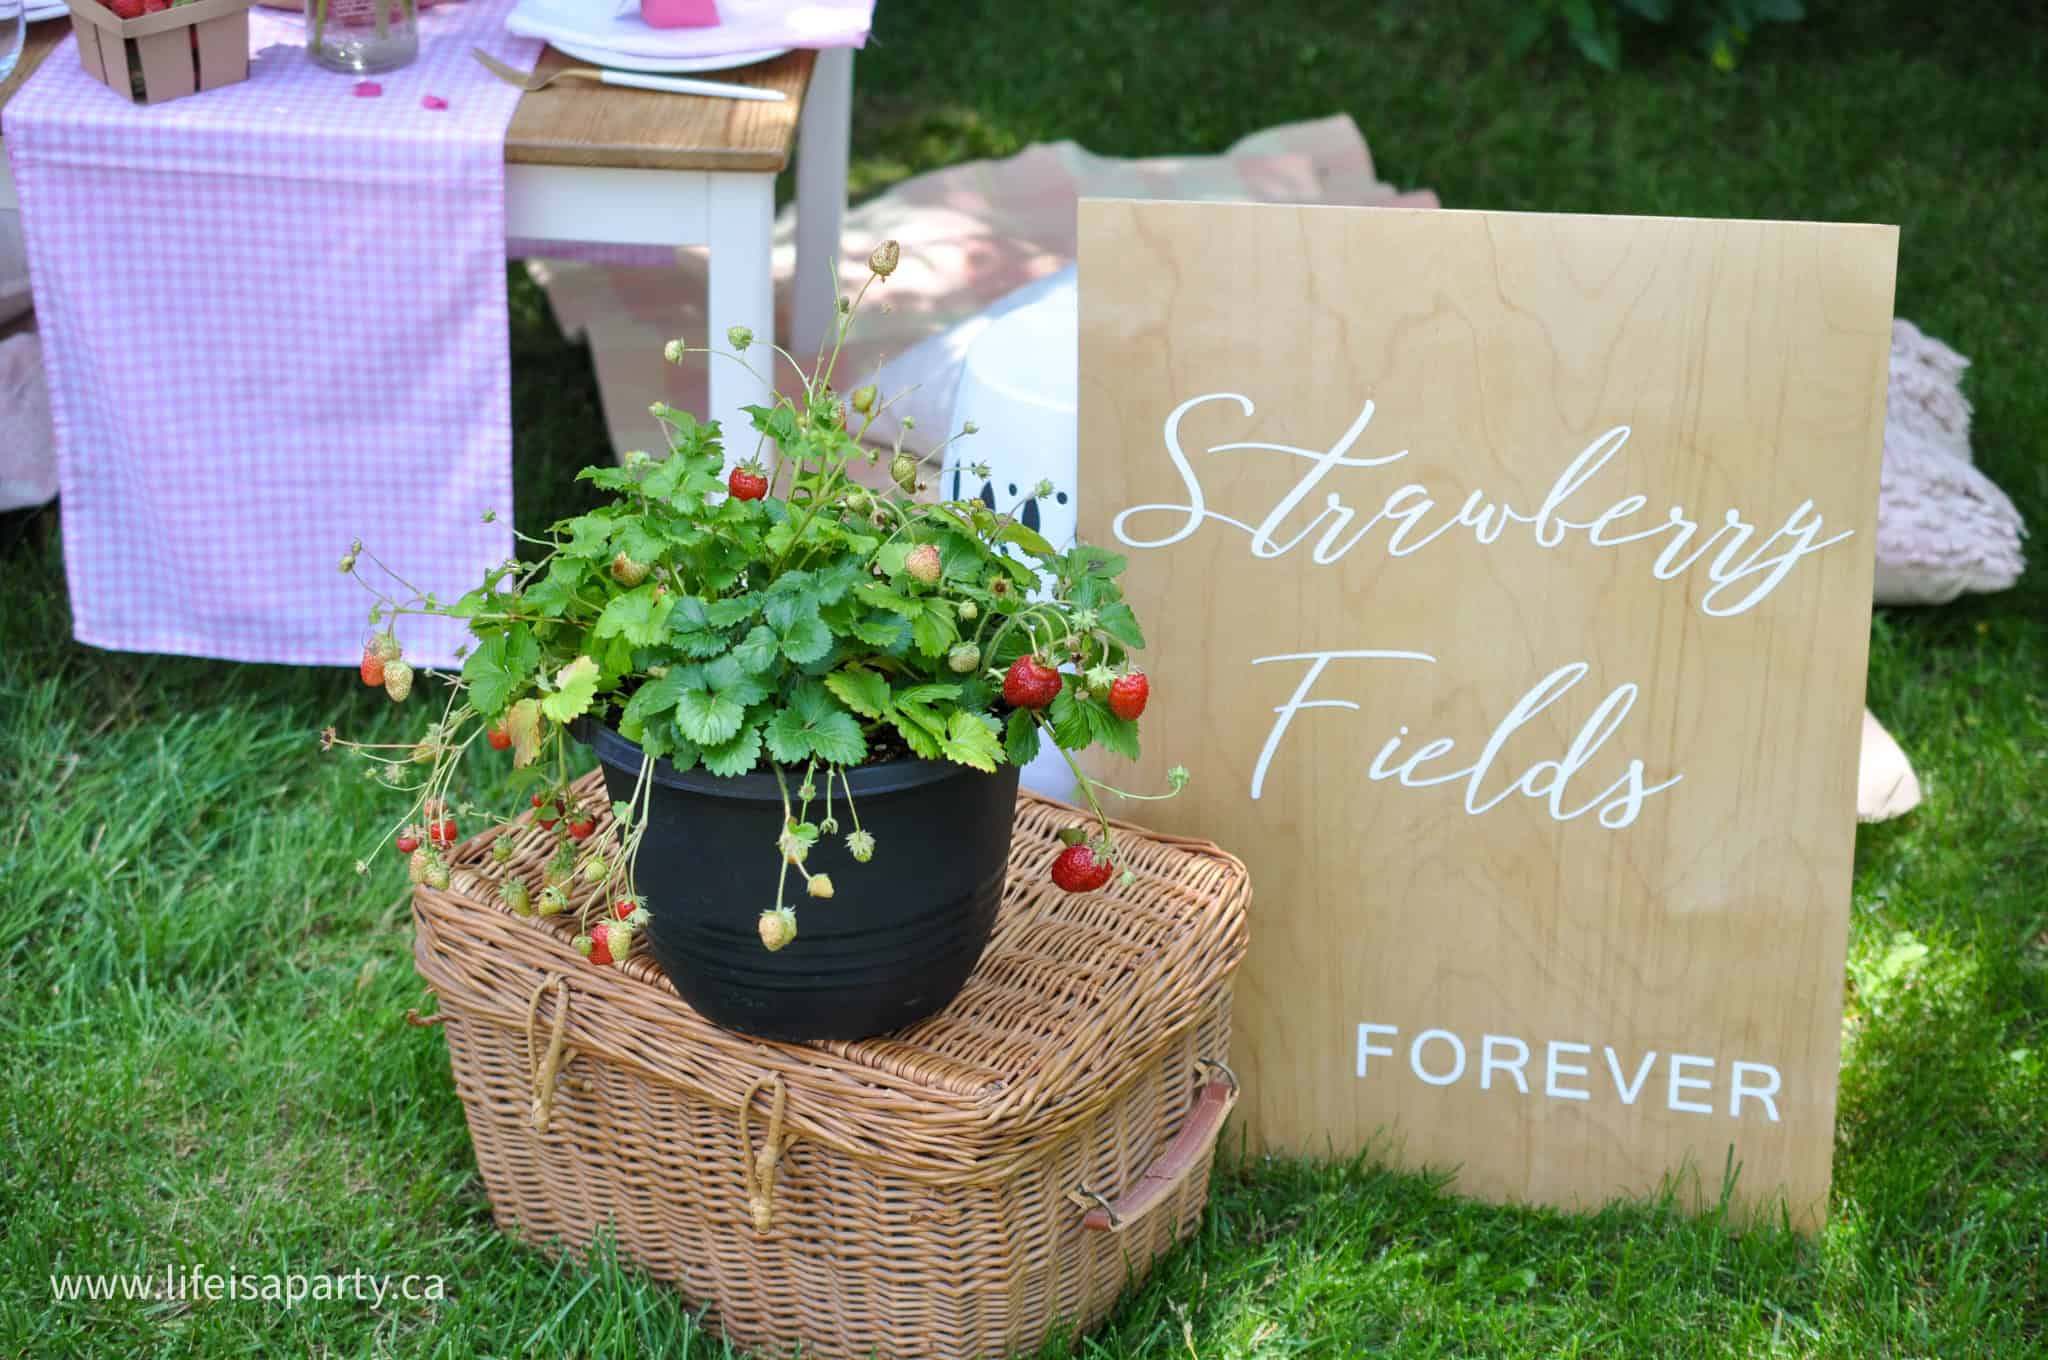
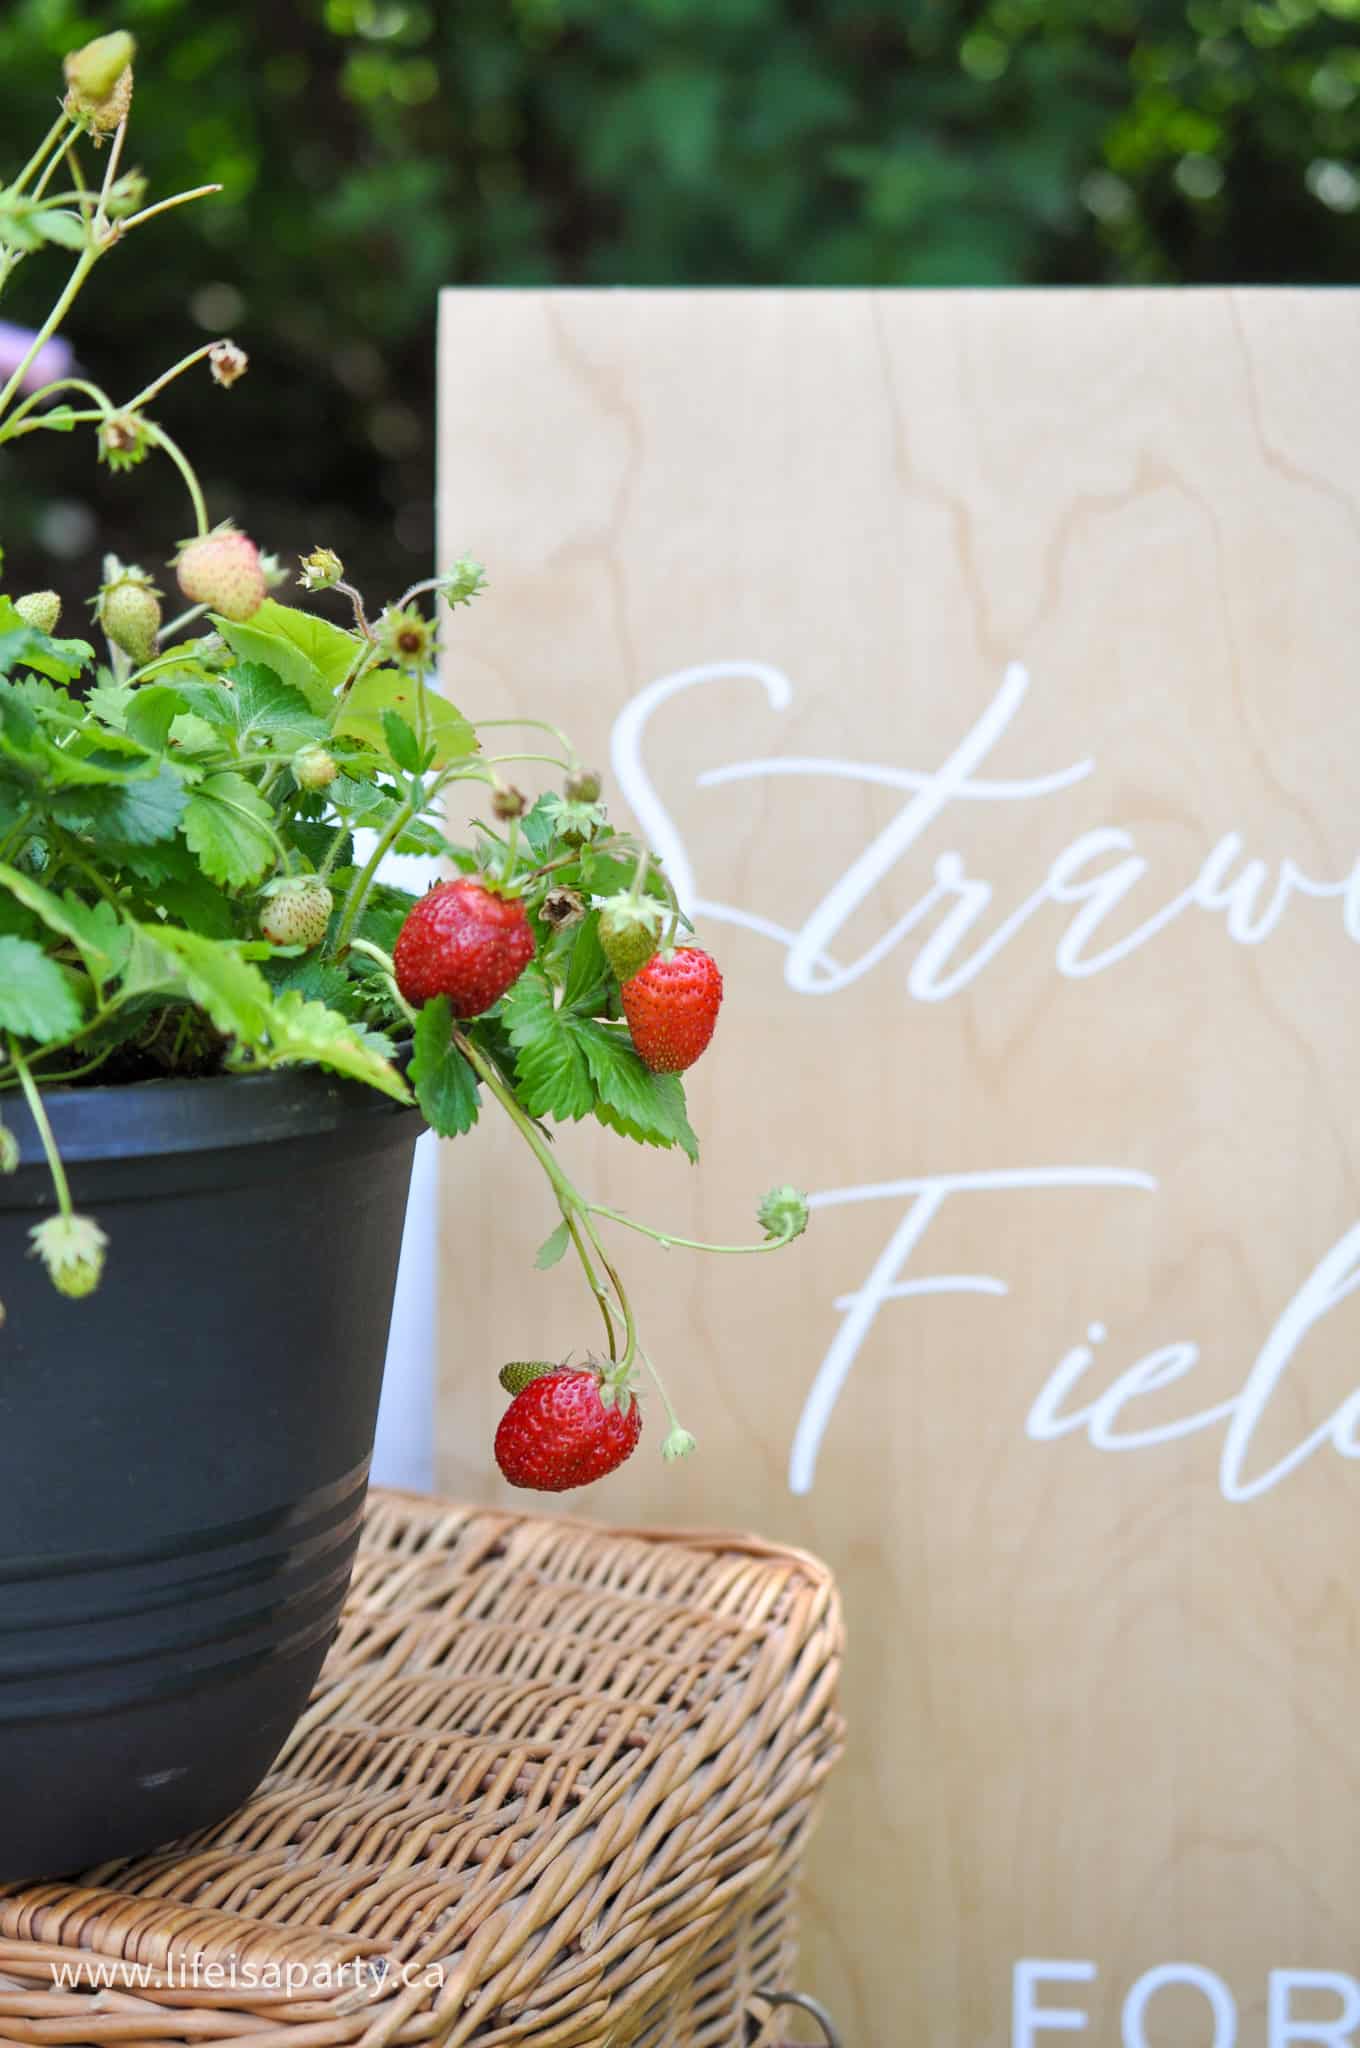
For our strawberry sign, we leaned it against a little side table to welcome guests as they arrived. I also added in a cute vintage picnic basket, and a pot of real strawberries. These look so beautiful as decor, and you can plant them in your garden afterward to remind your picnic year after year.
The Place Settings
For the place settings we used some simple white dishes. You could definitely use paper plates for a picnic, but there's something about using real ceramic ones that makes the whole party feel a bit more special and elevated. The gold cutlery was perfect to tie into the gold straws, and the gold strawberry seeds on the 3D paper strawberries we made. We used some DIY pink ombre napkins -see exactly how to make the napkins here. For glassware we used some simple stemless wine glasses, I love using these because they work for wine, water, or soft drinks. The strawberry straws look adorable in the glasses, ready for some strawberry lemonade. And at each place setting we also included our DIY 3D strawberries with strawberry chocolates inside for everyone.
Strawberry Theme Party Food
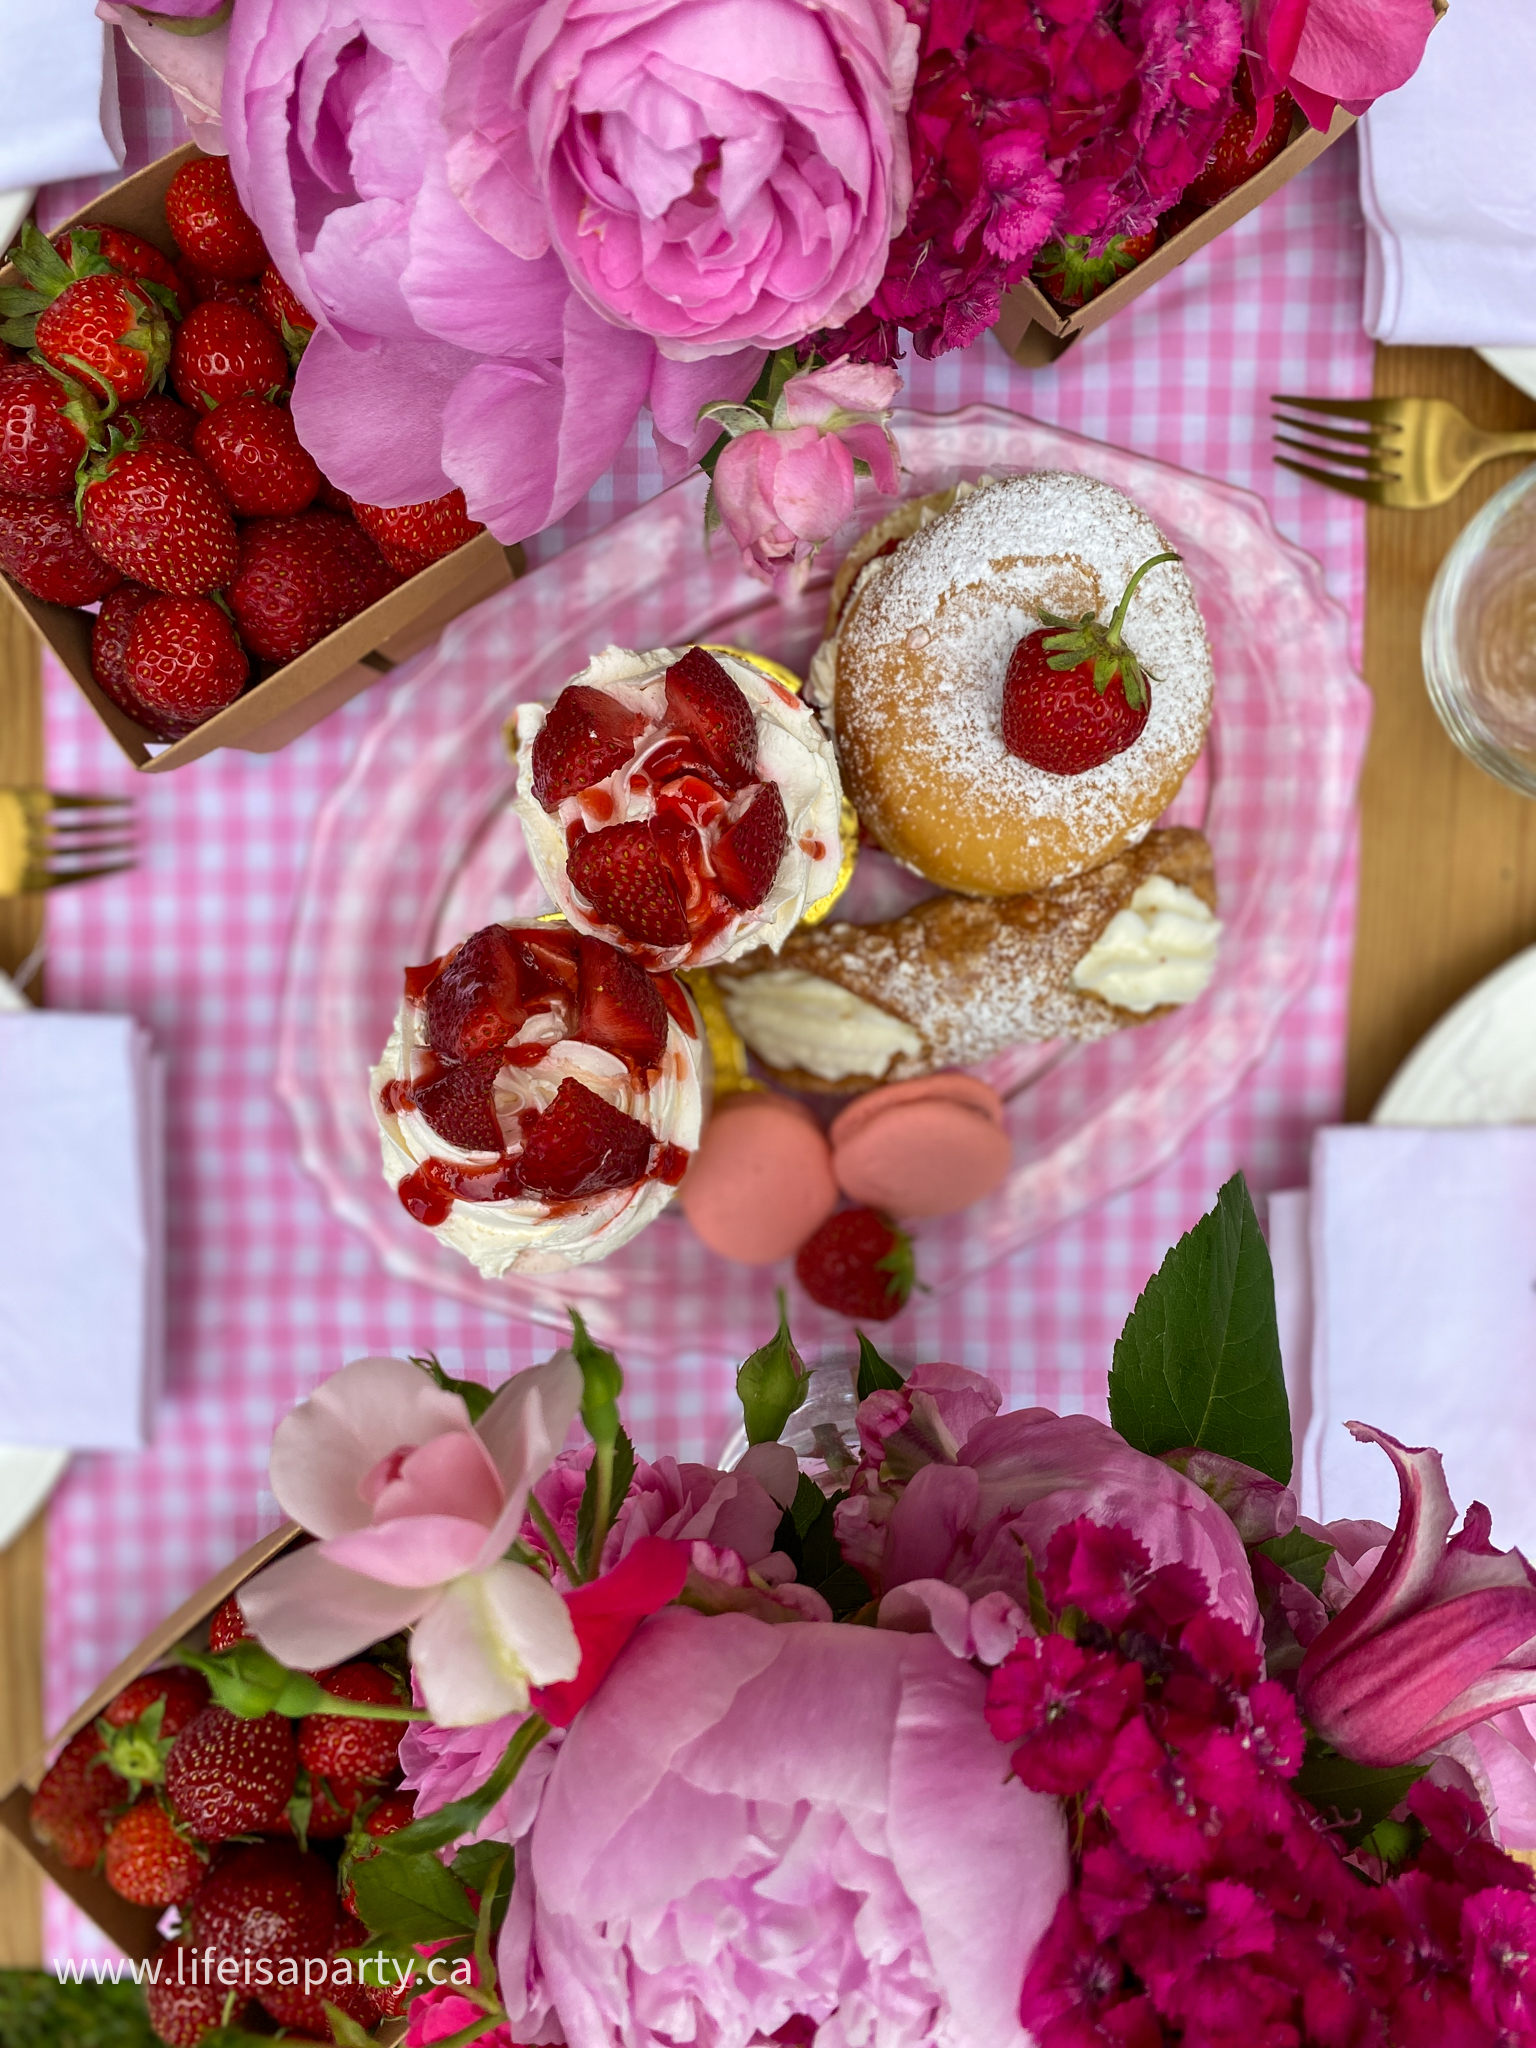
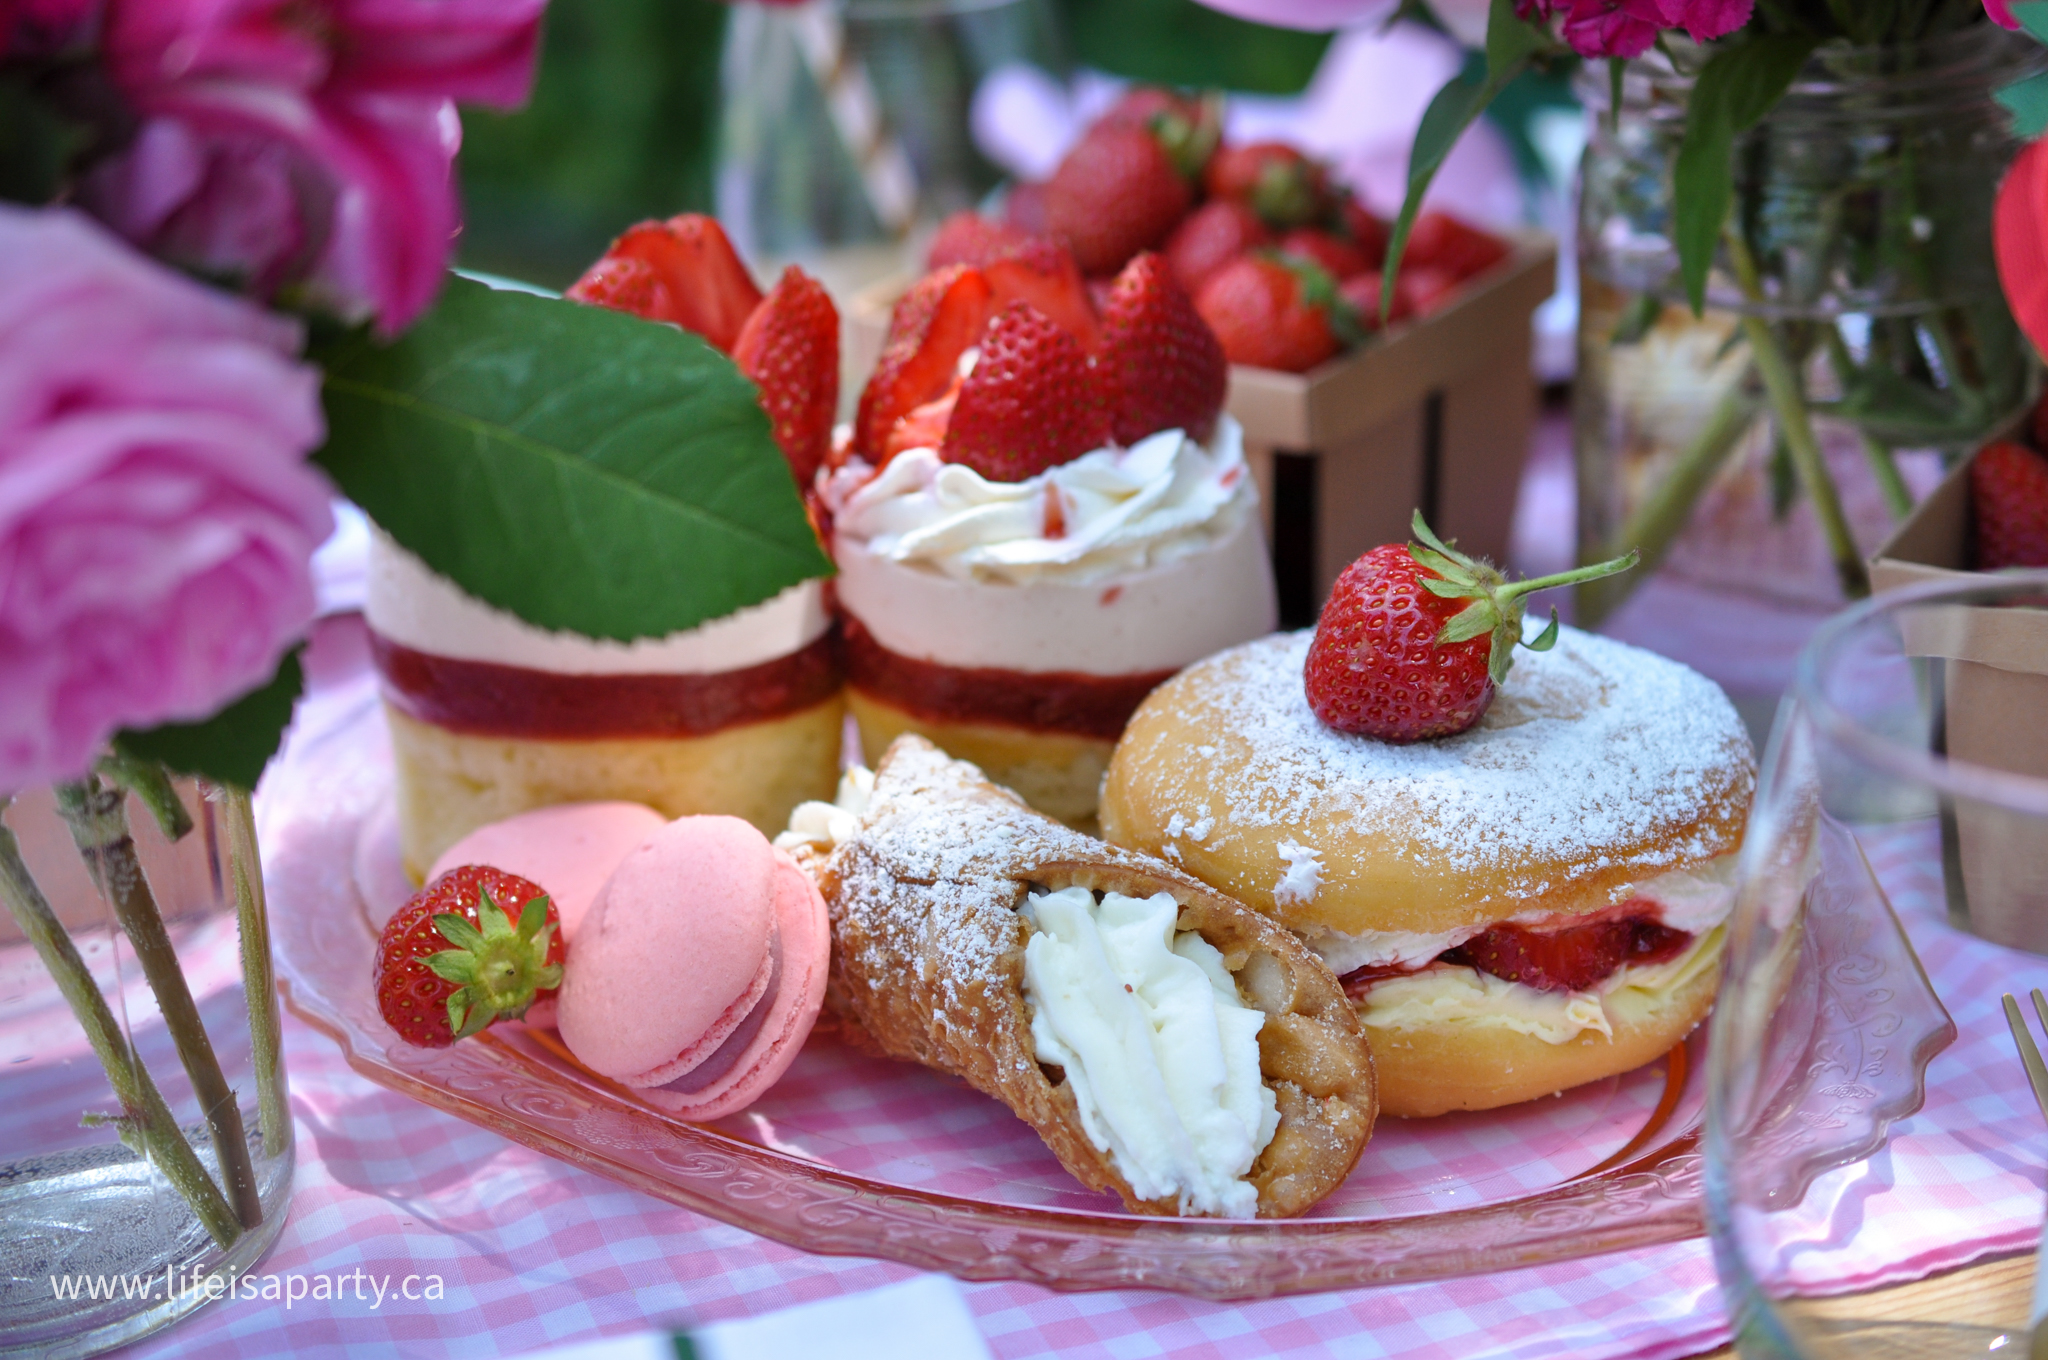
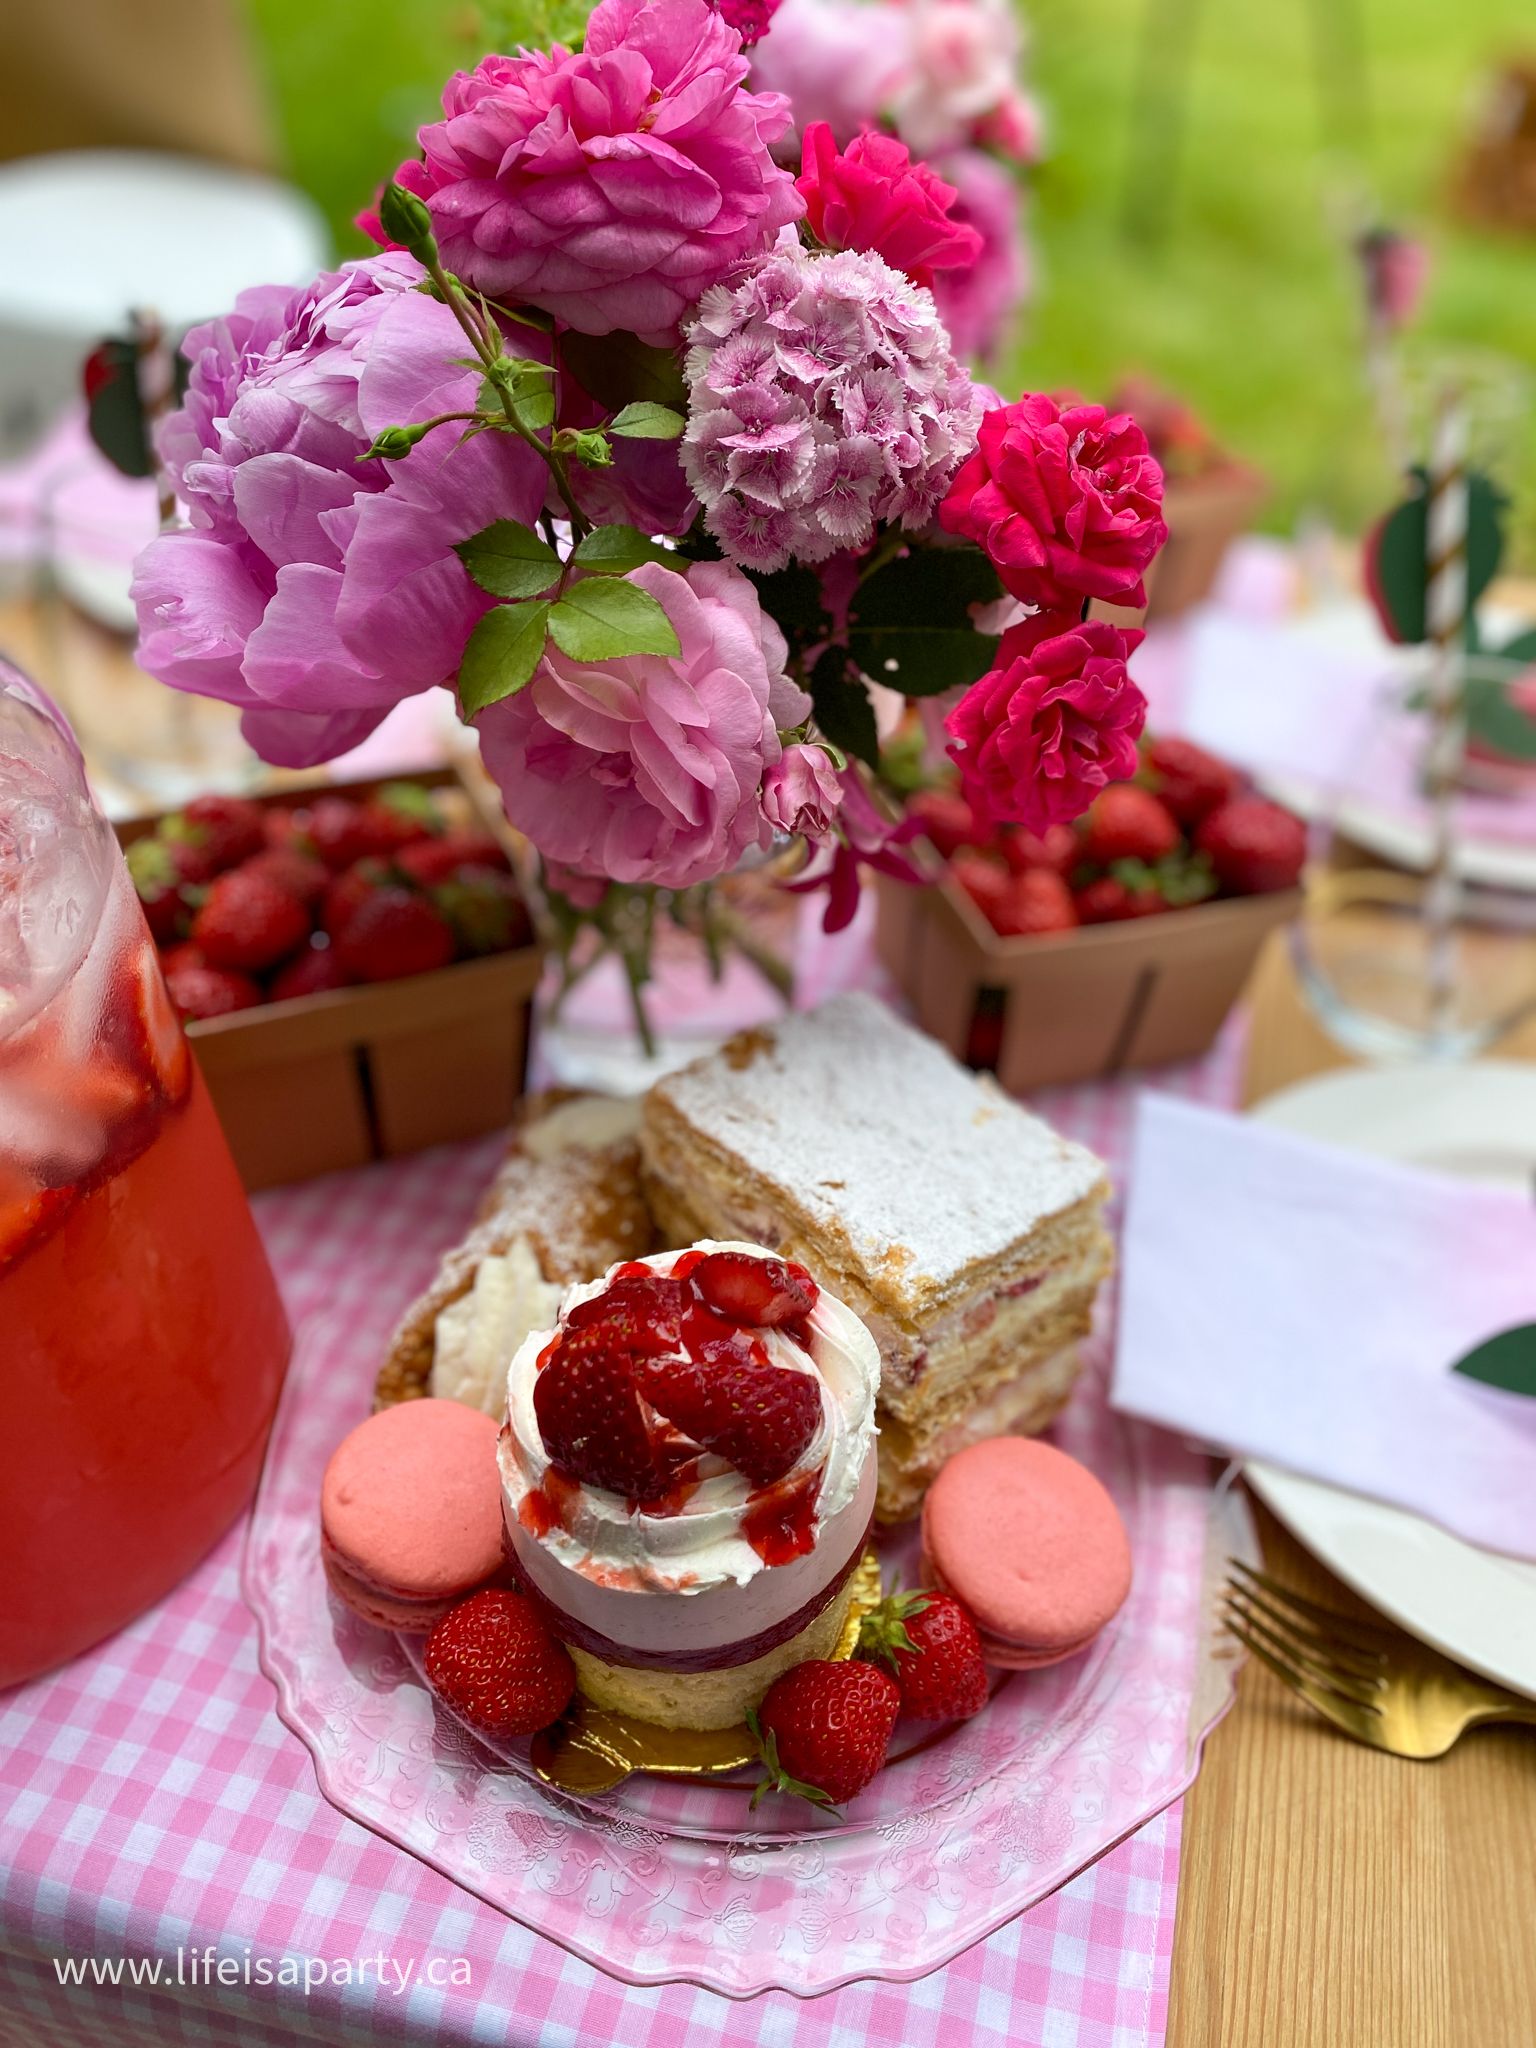
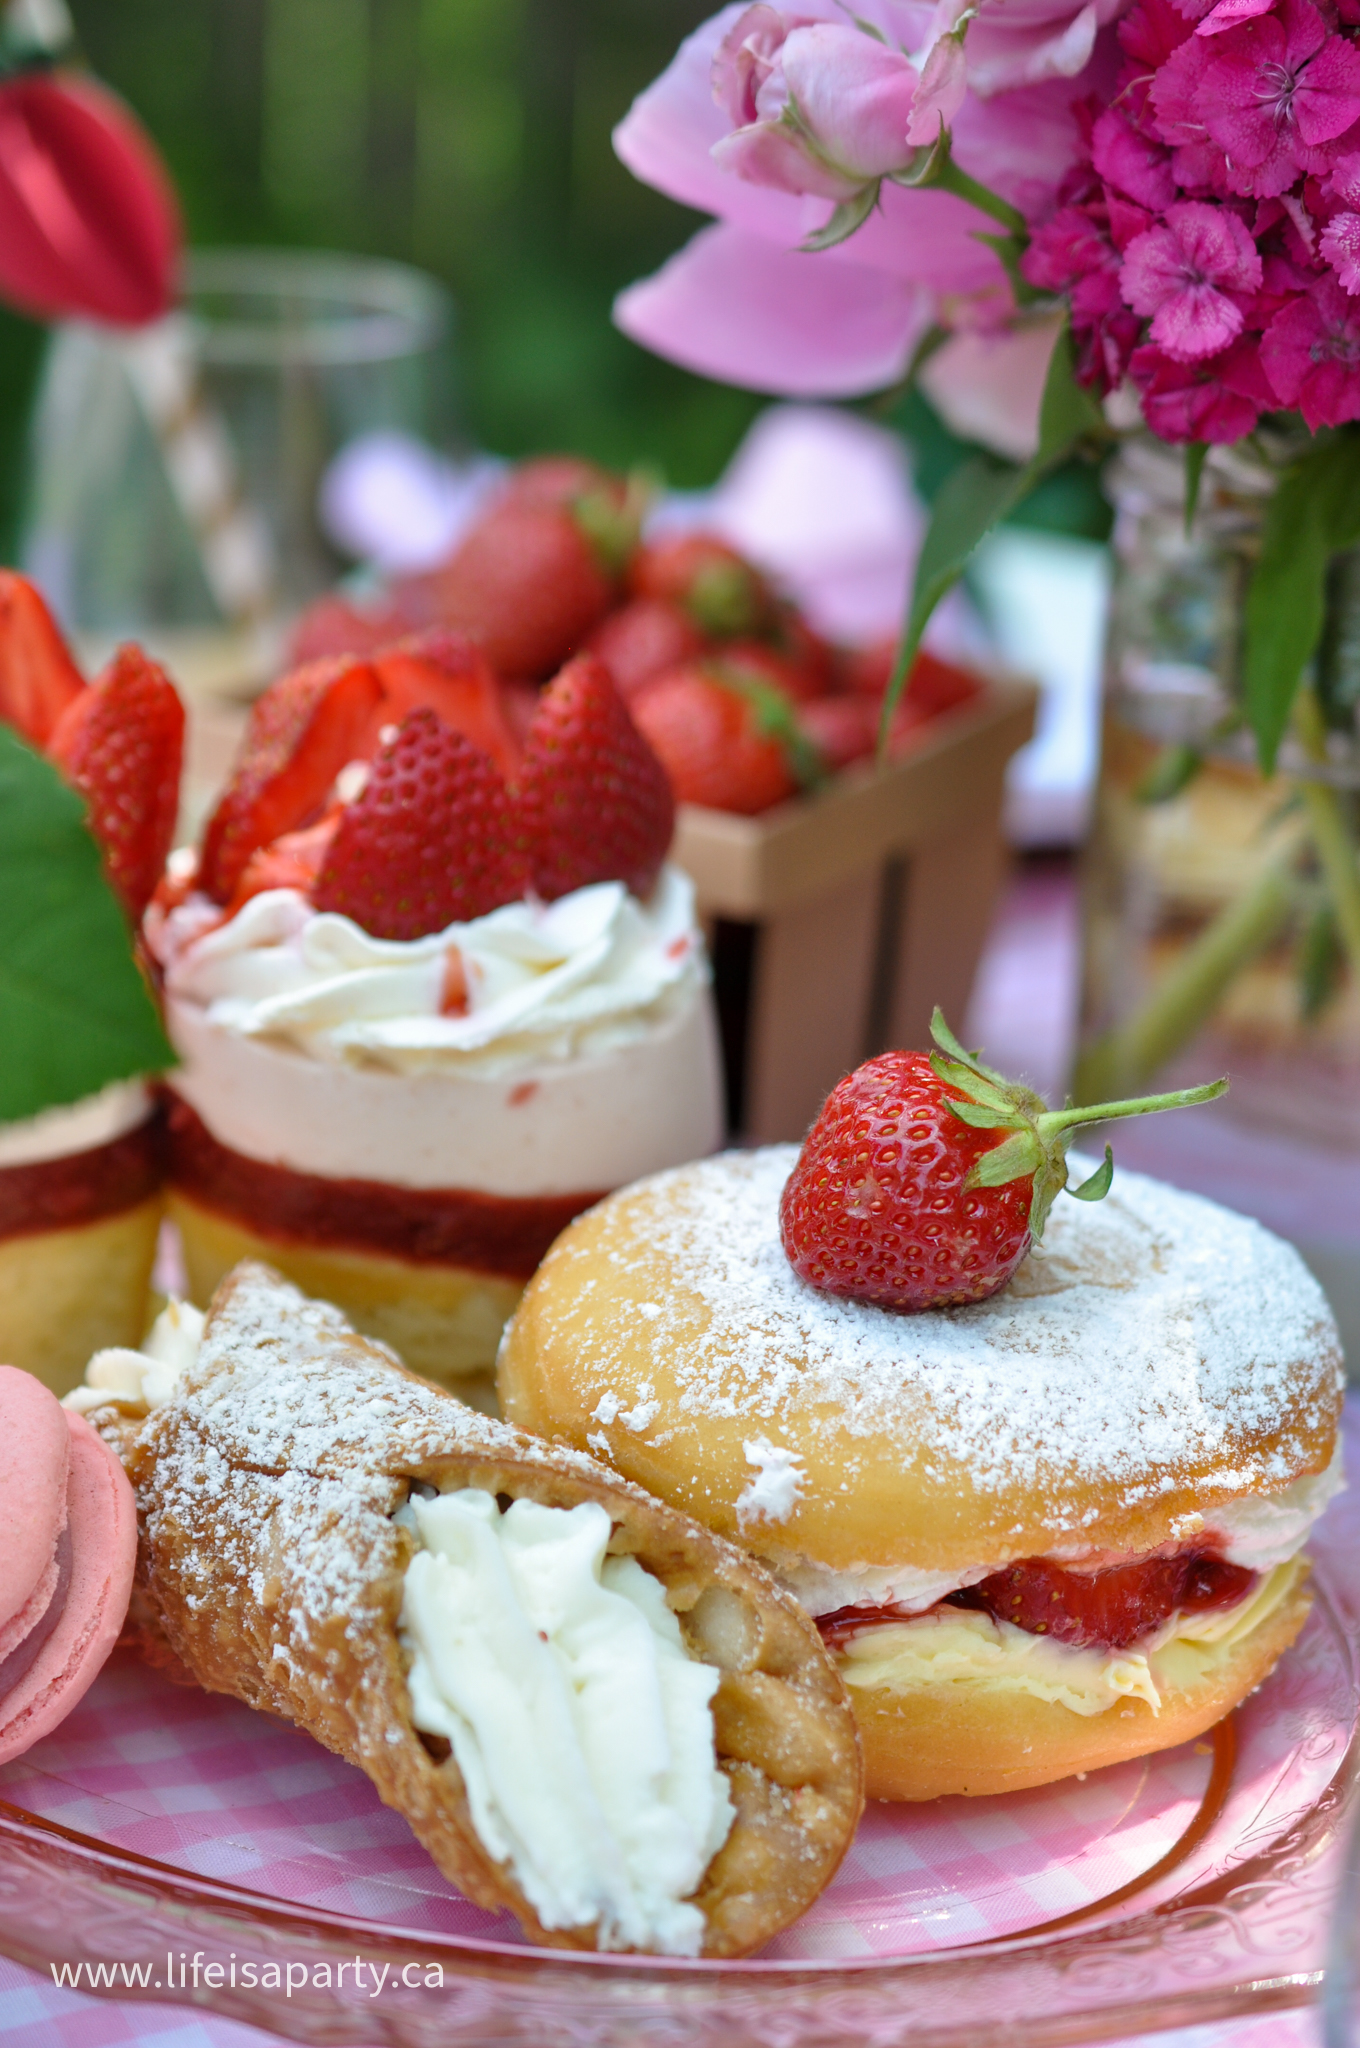
I wanted our strawberry party to include lots of different strawberry themed foods for our picnic so that it was a dessert table in itself. On the morning of the party the last thing I did was go to my favourite local bakery and pick up some amazing strawberry sweets. We chose mini cakes, macaroons, pink donuts, and strawberry pastry. You can't really have a strawberry themed party without strawberry short cake! Along with all the fresh the strawberries on the table, there were lots of beautiful strawberry treats to enjoy and the food made our party table look even more beautiful. For drinks, I made a batch a strawberry pink lemonade, perfect for sipping all afternoon.
We had so much fun at this strawberry themed picnic that all our hard work and last minute shopping for treats was worth it. Our big day of picnicking was such a fun treat. This would be an amazing strawberry birthday theme too. Whether you're celebrating a first birthday, dessert with friends, a baby or wedding shower, girls night, or date night a strawberry picnic is the perfect summer theme. Happy party planning!
This post is sponsored by Cricut Canada. As always, all opinions are our own. Thanks for supporting the brands that make Life is a Party possible.
More Strawberry Inspiration
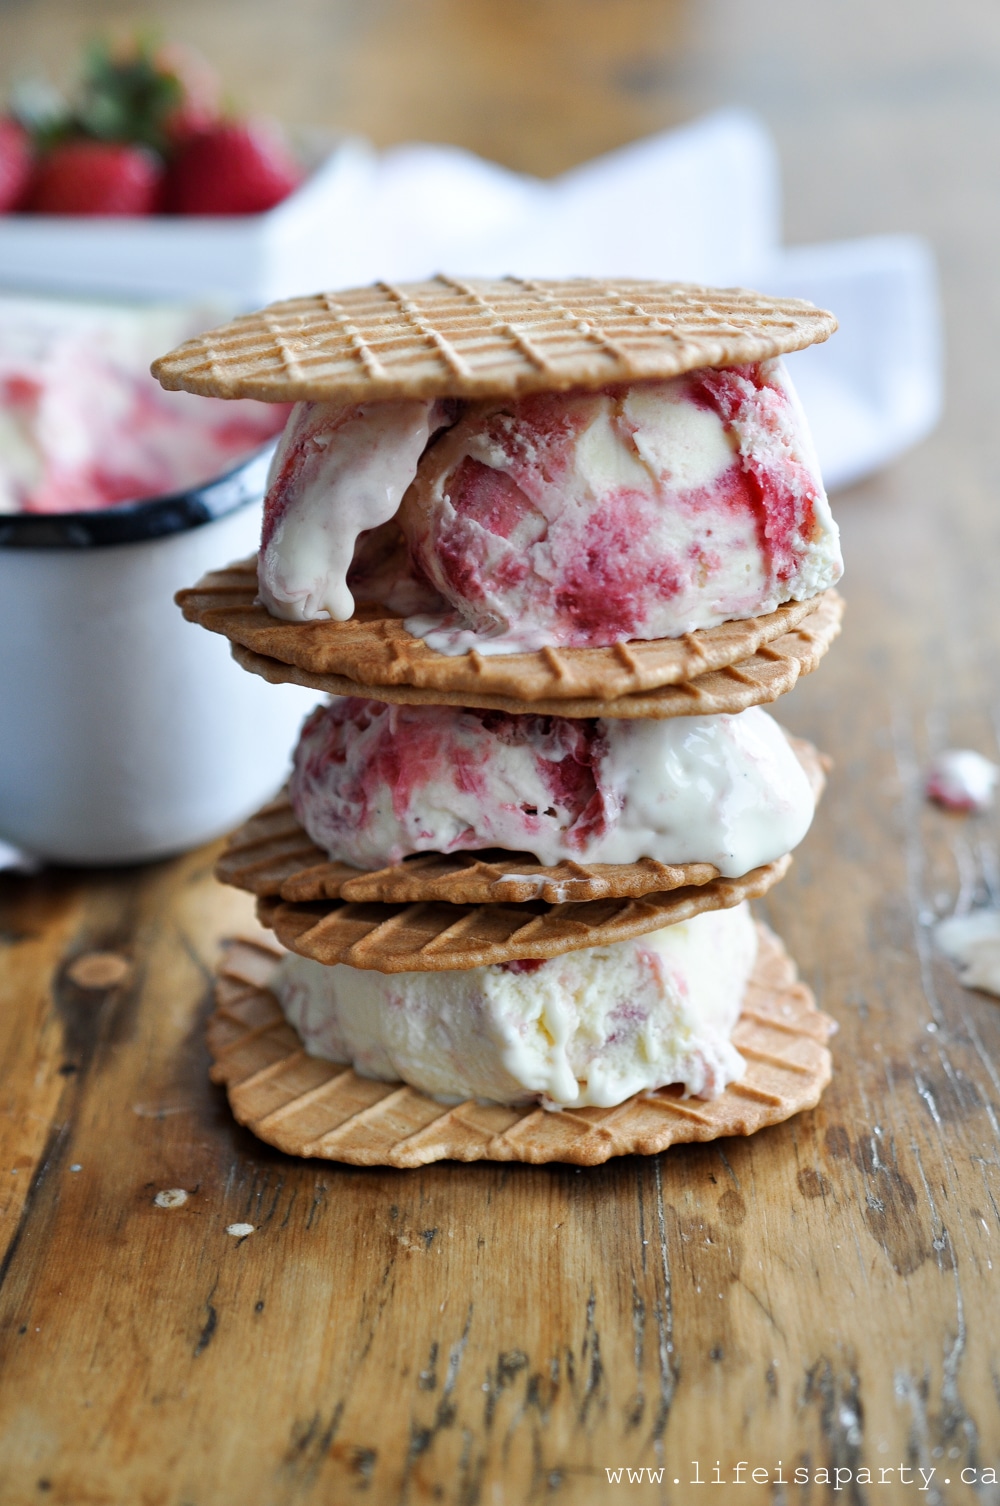
You might also like our Strawberry Rhubarb Ice Cream Recipe here.
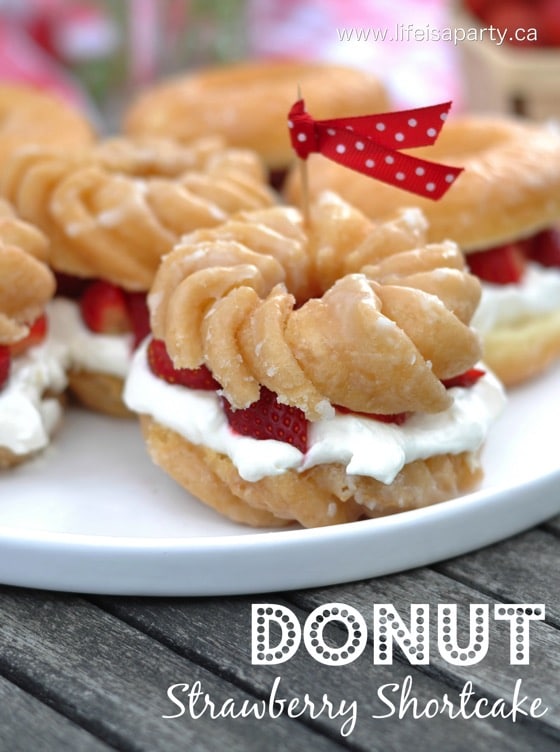
You might also like our Easy Donut Strawberry Shortcake Recipe here.
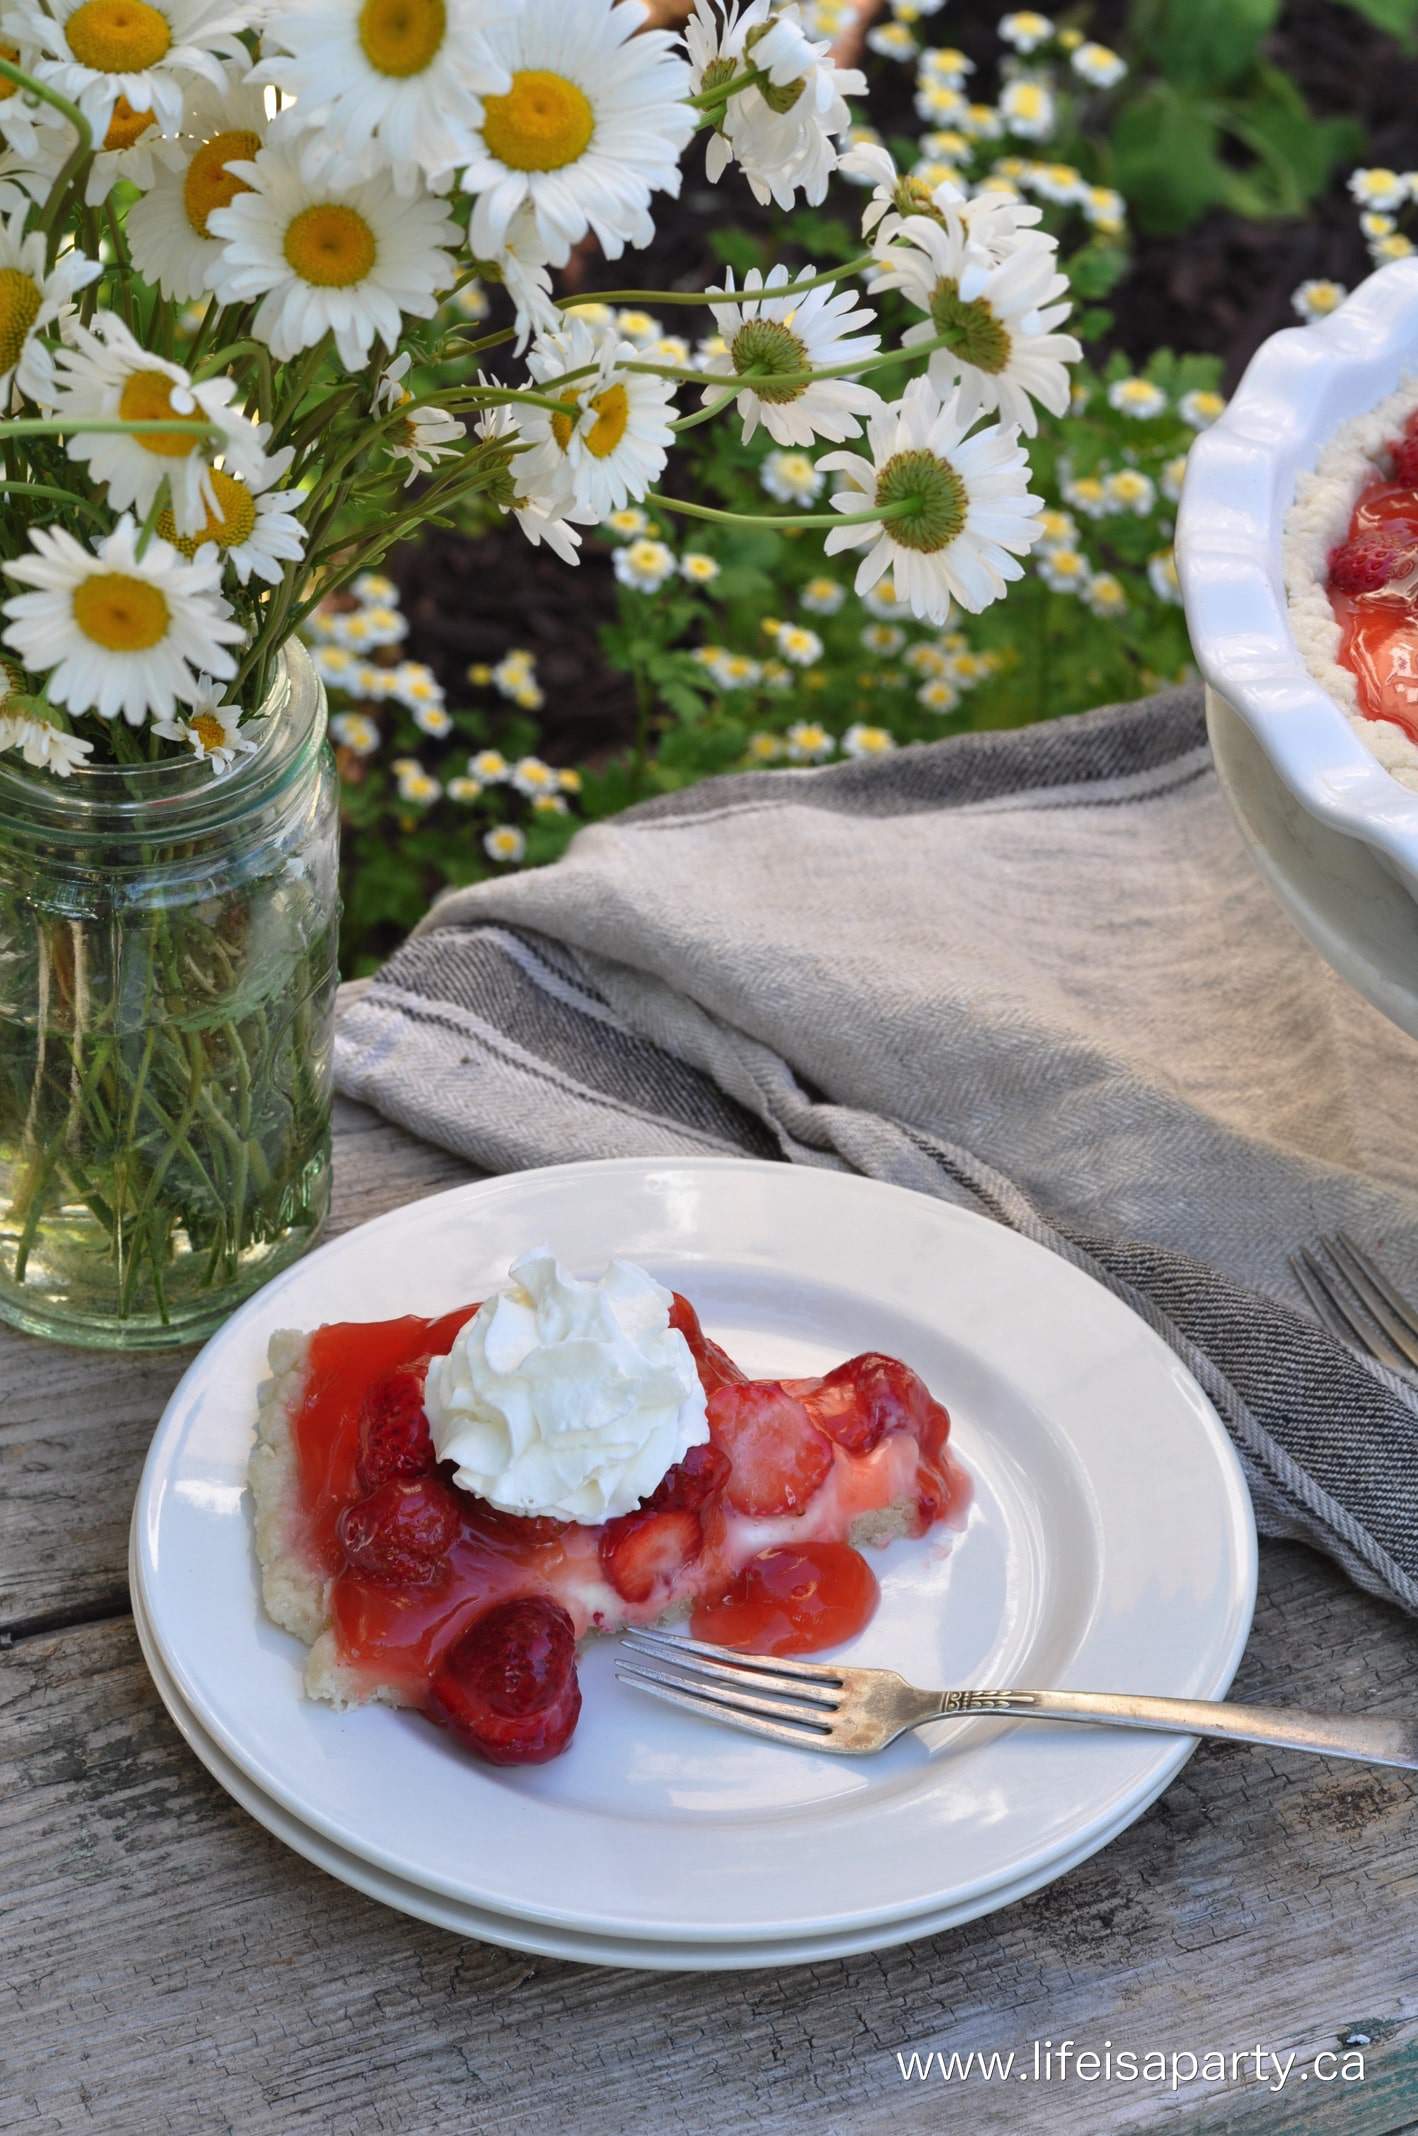
Also check out our Strawberry Cheesecake Pie Recipe here.


Leave a Reply